Trying to do a homemade Christmas can be hard. What do you get the tech guy or teen in your life?
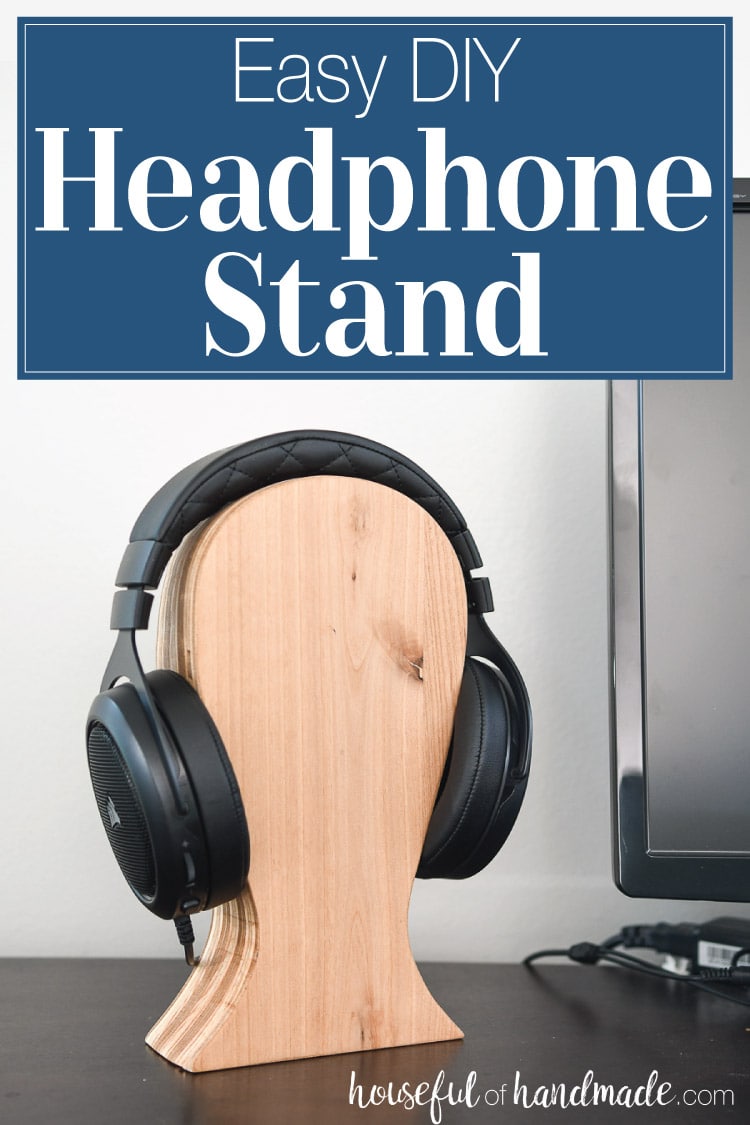
Turn a single board (or scraps of wood) into a beautiful DIY headphone stand. The only cost for this gift was a little time!
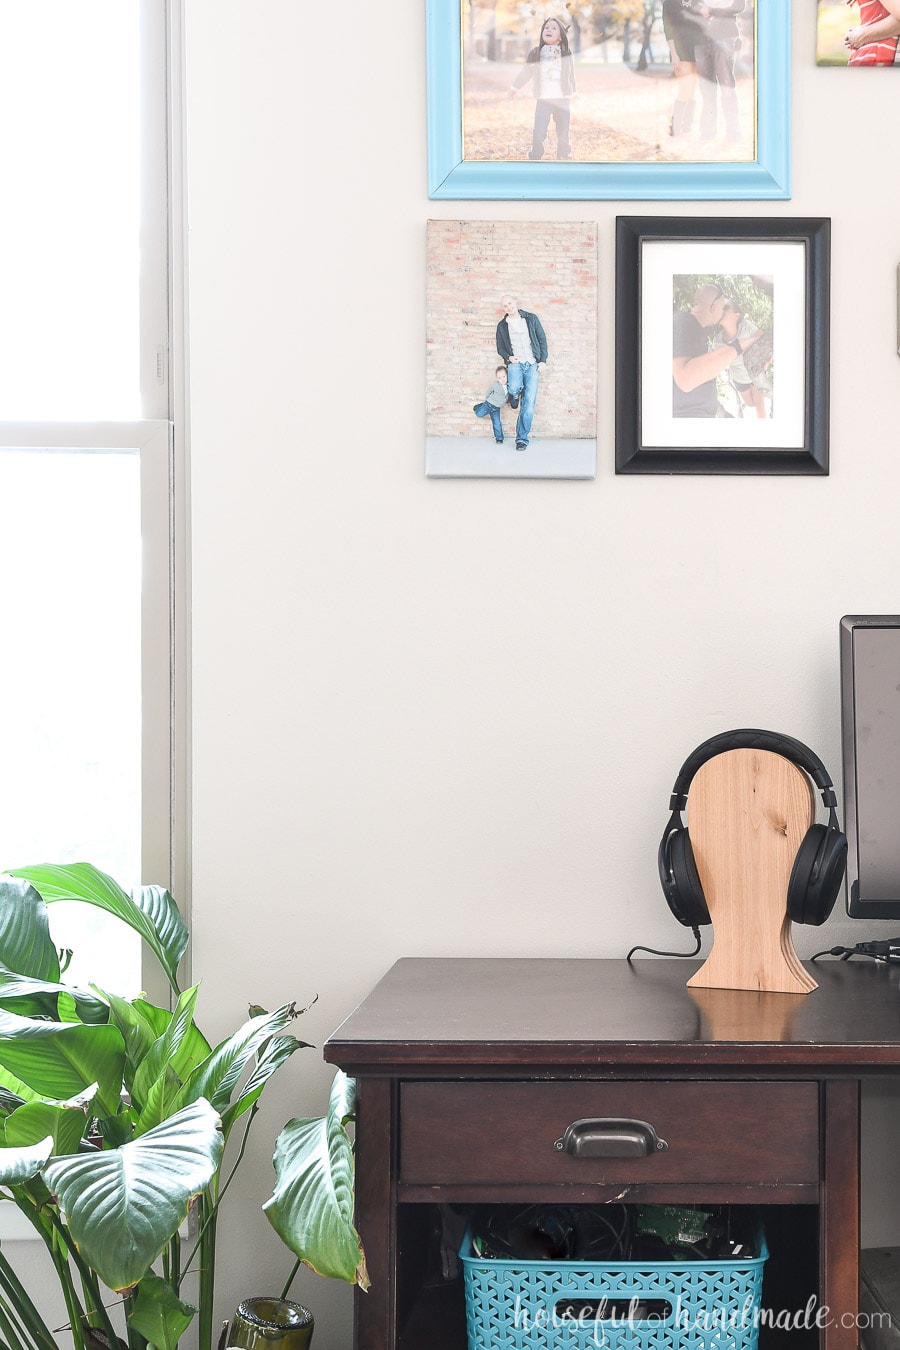
And you can make a full gift set by also building a DIY monitor stand to go with it. This was also made from scraps.
This post may contain affiliate links. As an Amazon Associate I earn from qualifying purchases. Click here to read my full disclosure policy.
Why are some people so hard to find gifts for? Mainly men and teenagers.
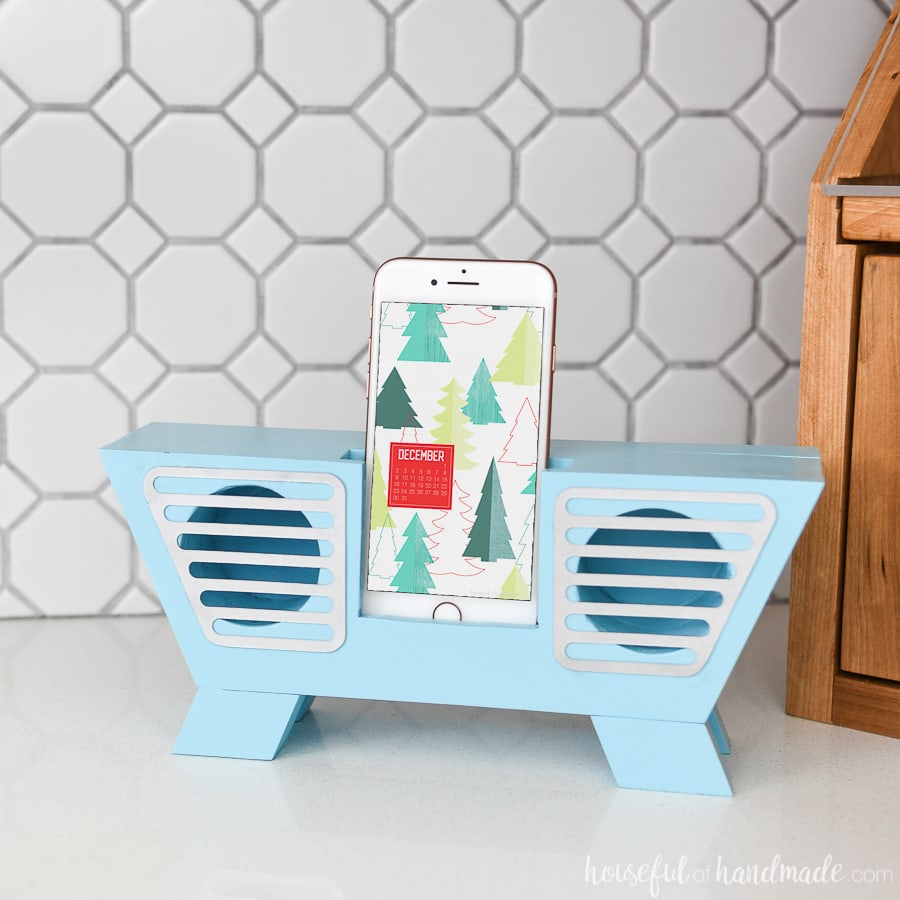
I love to DIY presents for Christmas like this Retro Wooden Speaker. But I want to always give gifts that they will love and use.
So when I was racking my brain to figure out something to make for my husband, I decided to go to the source. And I am so glad I did.
You know what he wanted… a headphone stand!
I had never even heard of one since I prefer small earbuds. But he uses his fancy headphones when he plays games or edits videos on the computer.
And his last pair was destroyed by the kids because they were knocked on the floor and the cord was cut. Yikes!
Why Do You Need a Headphone Stand?
The short answer is you don’t. You can just plop your headphones on your desk or shove them in a drawer.
But if you want to extend the life of your headphones, and have them close at hand, with out getting tangled up, then you’ll love a simple headphone stand!
5 Reasons You Want a Headphone Stand
- Display your headphones
- Keep them from falling and braking
- Free up desk/drawer space
- Keep long cords organized
- Helps break in your headphones
And making a headphone stand is really easy.
However, a headphone stand build does require some time. Time for the glue and finish to dry. So make sure to give yourself a few days to build it.
But you can easily make this fun headphone holder in a weekend. So go find some scraps and enjoy!
More DIYs for Him
Need more fun DIY ideas for the boys in your life? Check out these easy builds.
How to Make a Headphone Stand
Tools & Materials
Recommended Tools:
- Saw
- You will need some kind of saw to cut the wood to size. For plywood it could be a table saw or circular saw (use a guide track to make accurate cuts). If using boards, a miter saw would work (I still use this inexpensive miter saw).
- Jigsaw
- Bar clamps
- Sander
Supplies:
- (3) 10″ x 5 1/2″ scraps of 3/4″ plywood
- If you don’t have scraps of plywood, you could also use pieces of 1×6 boards
- Wood glue
- 220 grit sandpaper
- Wipe on polyurethane
- Or make your own wipe-on poly by mixing 1 part polyurethane (not water based) with 2 parts odorless mineral spirits (this is my new favorite finish, I used it on my dining room hutch and wall jewelry organizer).
STEP 1- Cut the Pieces
Cut your 3/4″ plywood scraps according to the cut list in the PDF plans. You could also use 1/2″ plywood scraps, just cut 4 of them.

Or you could use 1×6 scraps too. That would give the DIY headphone stand a solid wood appearance.
But I like the stripes on the side from the plywood, and happened to have plenty of plywood scraps that needed to be used up.

STEP 2- Glue up the Boards
Using the wood glue, glue the 3 pieces of wood together to create a large block.
Add a hefty amount of glue all over the top of one piece. I love this GluBot and use it daily!
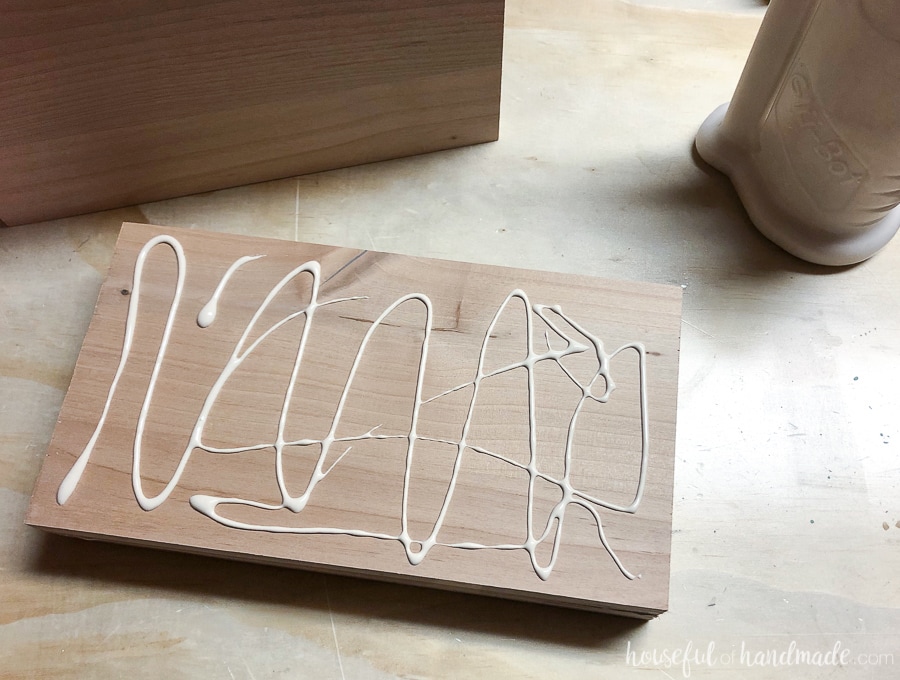
Then place the next piece on top of it. Move it around in circular motions to spread out any glue.
Repeat for the 3rd piece.
The pieces of wood will slide around a bit as you get the glue in between them. That is okay, it means you have enough glue!
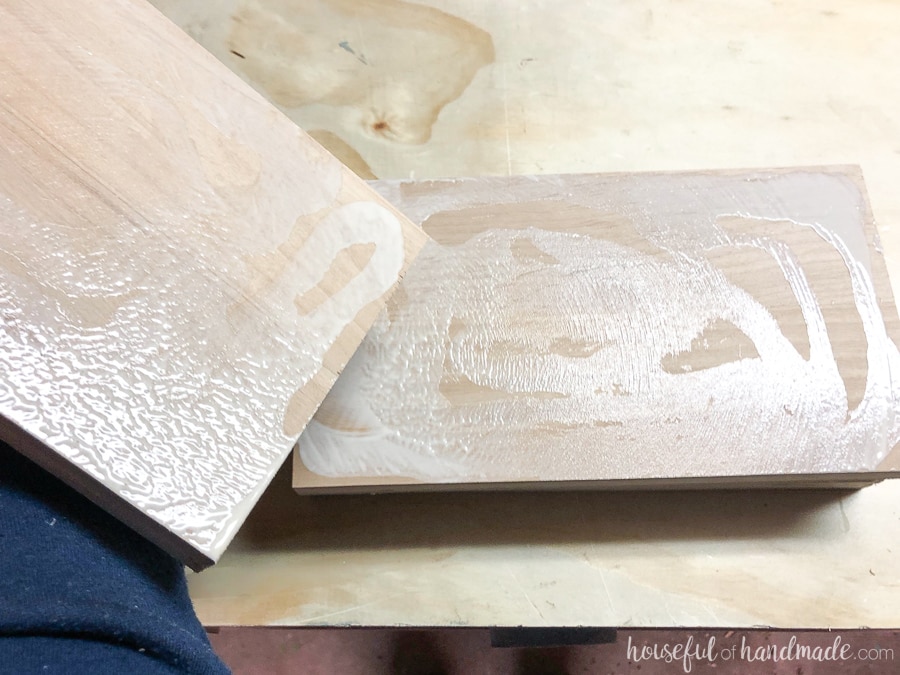
Once the three pieces are together with the glue between, line them up.
I focused on making sure that just the bottom of the boards was perfectly aligned. This is the only side that will not be cut again.
The other three will be shaped by the jigsaw so don’t stress too much about getting them perfectly aligned.
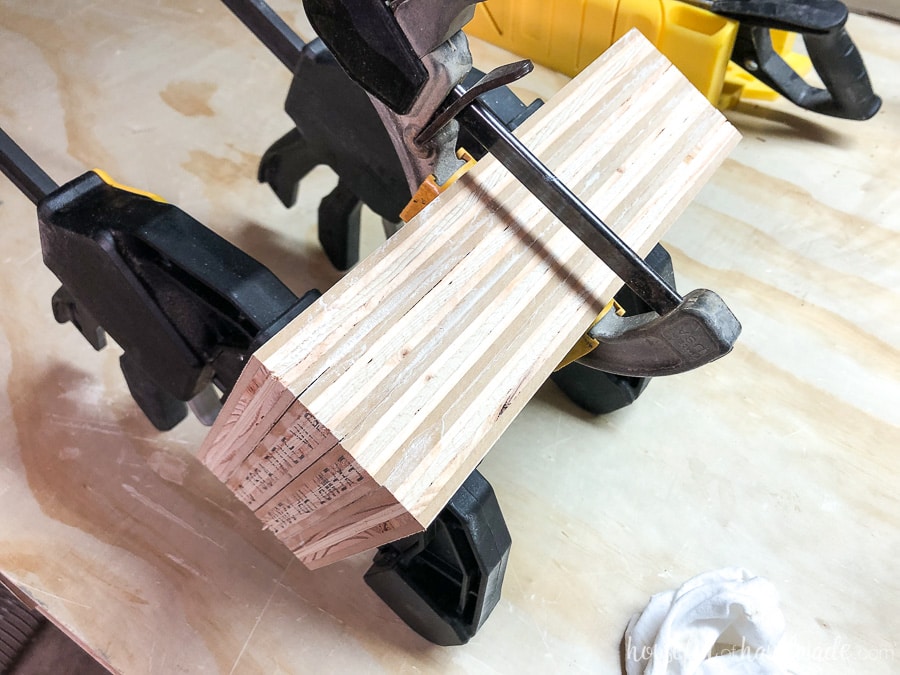
Then clamp the three boards together.
I used 3 bar clamps. Two on one side and then the 3rd on the top to make sure the clamping on the one side didn’t make the other side fan out a little bit.
You may notice that my original headphone stand was made with 4 pieces of 3/4″ plywood. I thought I wanted it thicker. But then it was too thick for the jigsaw to cut through. I just forgot to take photos of the 3 pieces clamped together.
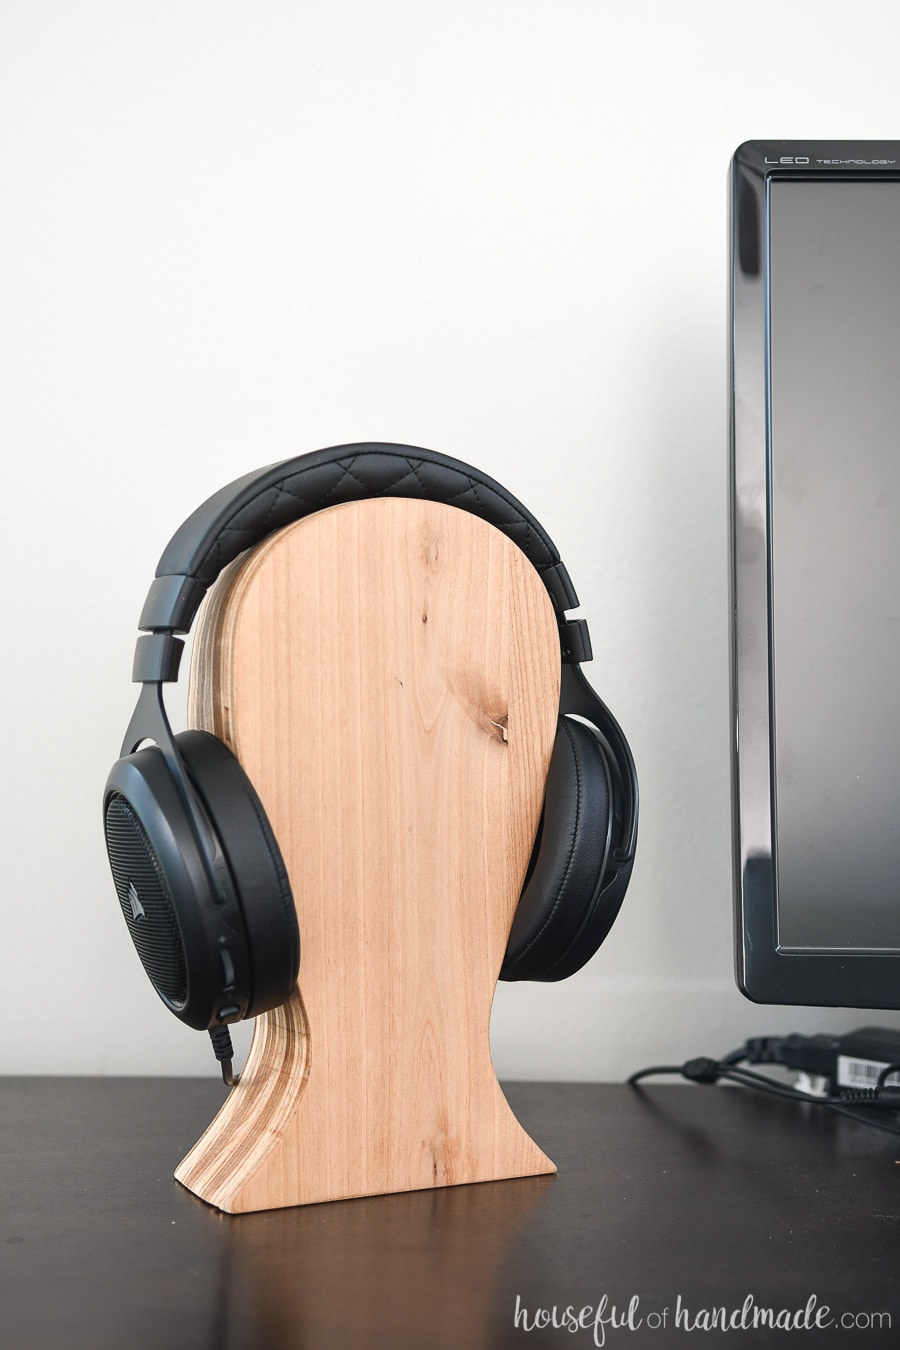
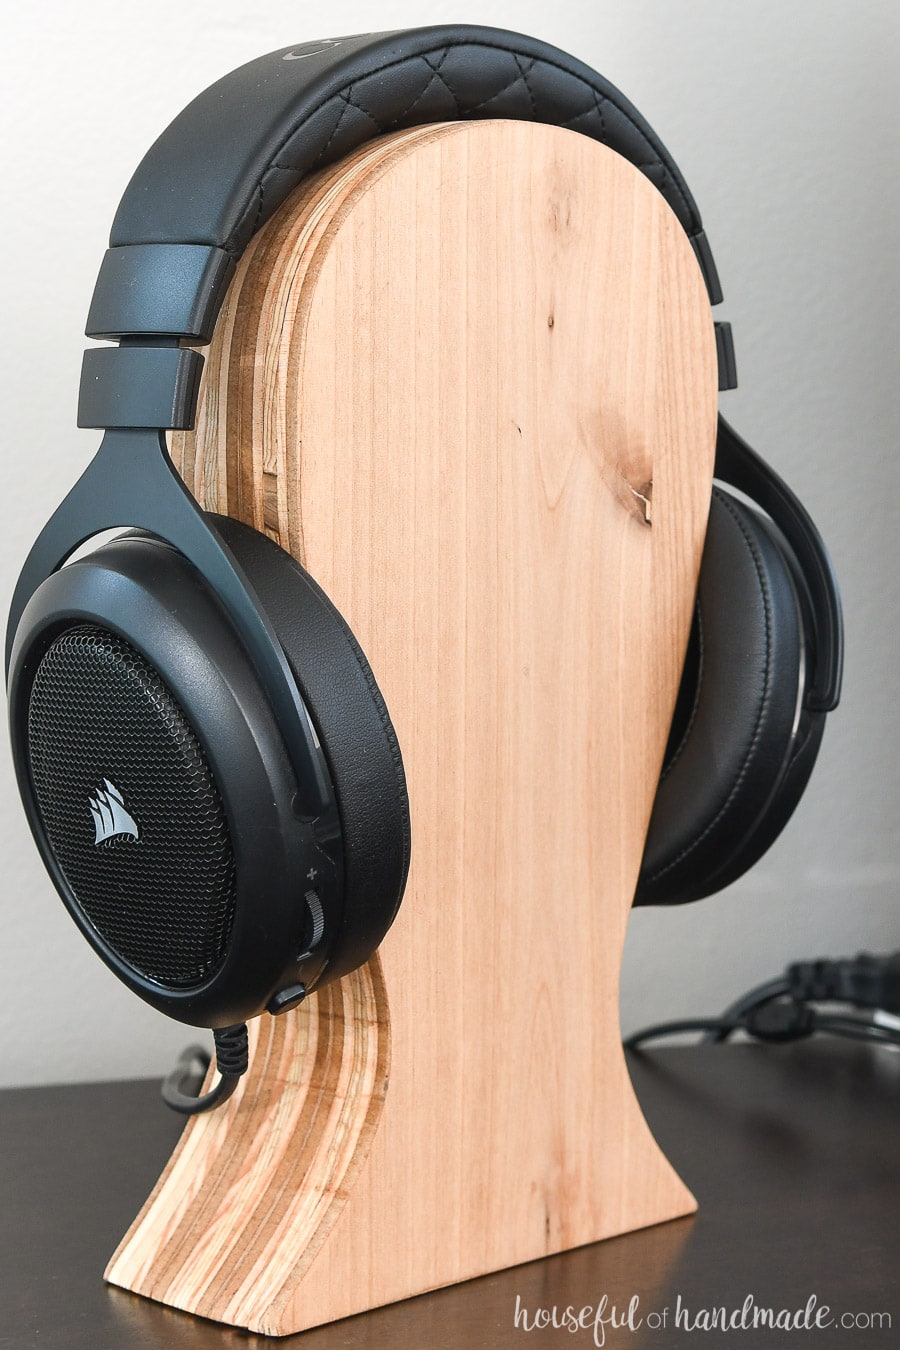
And the 3 pieces of plywood actually make it the perfect thickness to cradle the headphones.
Let it dry overnight.
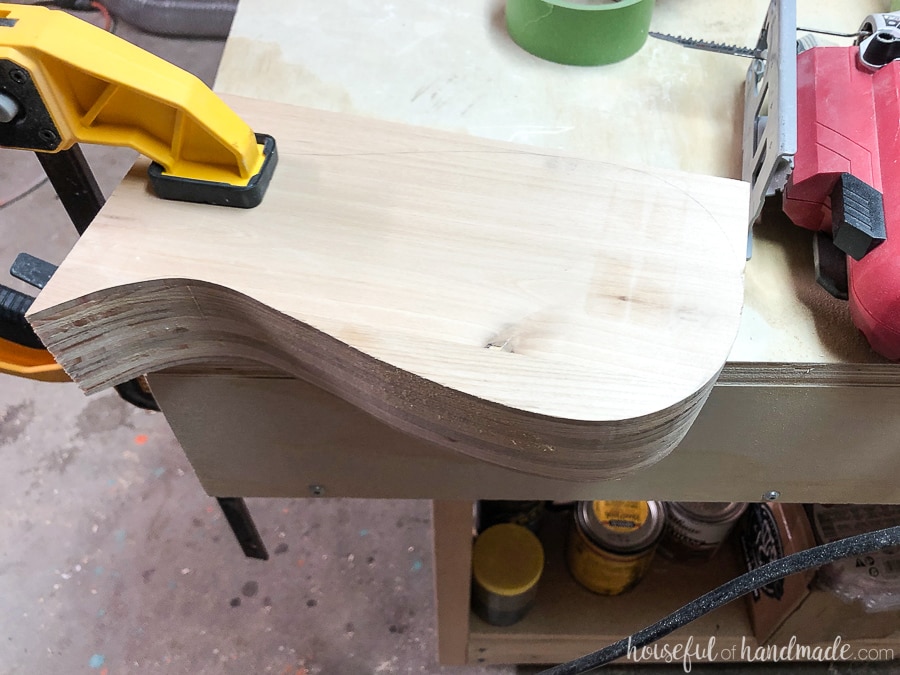
STEP 3- Cut Out the Shape
After the glue is dry, print and cut out the headphone stand template or draw your own shape.
Trace it on your block of wood. Make sure the bottom of the drawing is on the bottom of the block that you made sure was nice and flush.
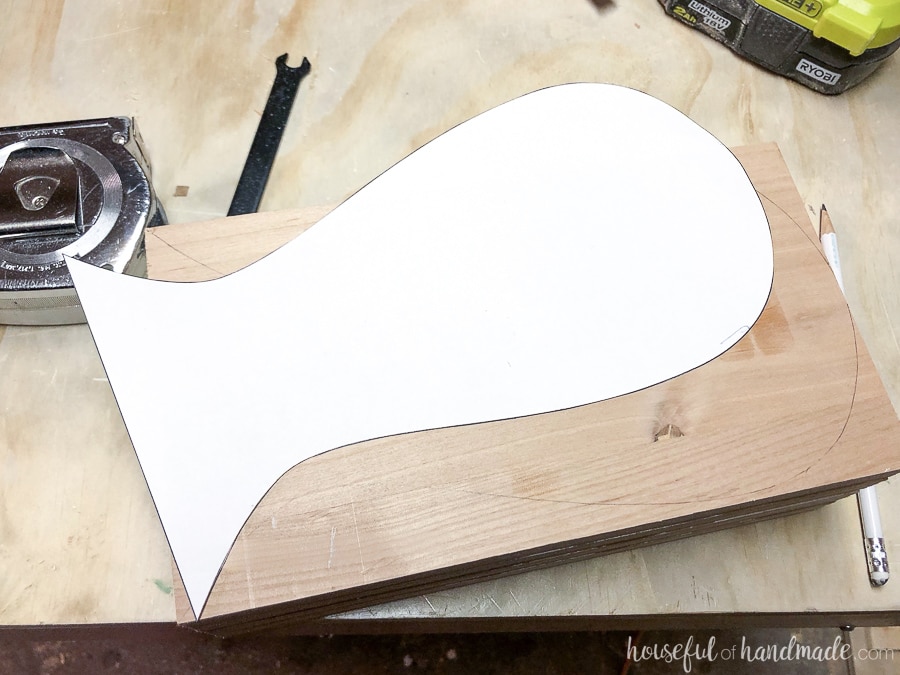
Using a jigsaw with a long blade, made for wood (I used this Ugly jigsaw blade by Skil), carefully cut around the design.
Because the wood is so thick, it will take a bit of time so go slow and let the jigsaw cut it’s way through.
Focus on keeping the the blade straight by keeping the base plate of the jigsaw flat with the top of the wood.
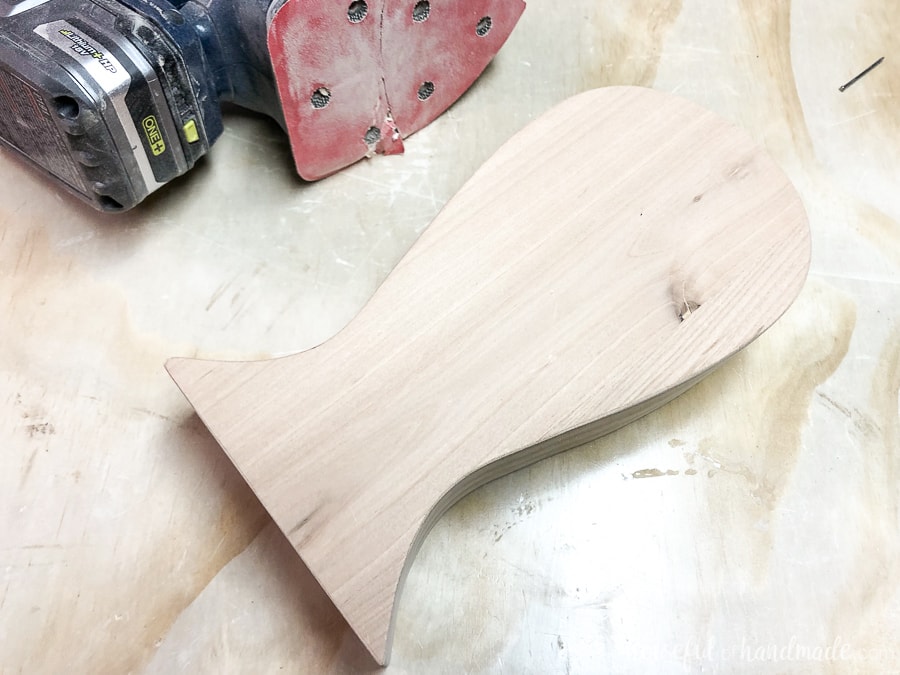
Once the stand is cut out, smooth out the sides with sandpaper. I used 22o grit sandpaper and a corner cat sander.
This allowed me to get into the curves easier. If your sides are not very smooth after cutting, start with a lower grit sandpaper and then finish with the 220.
STEP 4- Finish the Wood
Paint/stain/seal your headphone stand however you want.
I love the color of the alder plywood and the exposed plywood on the side, so I chose to just seal it.
I used a homemade wipe-on polyurethane. You can easily make your own by adding 1 part polyurethane (it cannot be the new water-based polyurethane) and 2 parts odorless mineral spirits to a disposable container. Shake well them apply liberally with a cloth.
The wipe-on poly soaks into the wood because it is thinned out with the mineral spirits. It also doesn’t create a super shiny, sitting on top of the wood, finish like traditional polyurethane.
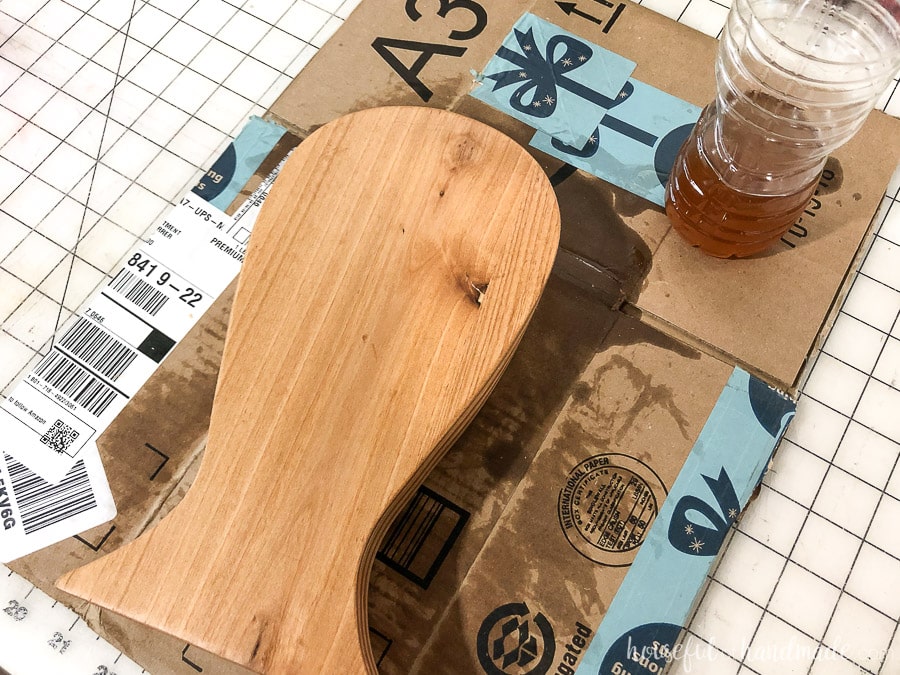
Let the finish dry completely.
PDF mini plans include:
- Recommended Tools
- Shopping list
- Easy to read cut list table
- X-ray view with measurements
- Step-by-step instructions
- BONUS: 3D SketchUp file
Now you are ready to test add your headphones.
The thick wood base stands sturdy and holds the headphones nicely.
And I think it looks quite awesome on his desk. Way better than some of the other boring headphone stand options.

And I cannot get over how easy it was to make with scraps in the garage. Zero dollar gift for the win.
Happy Building!