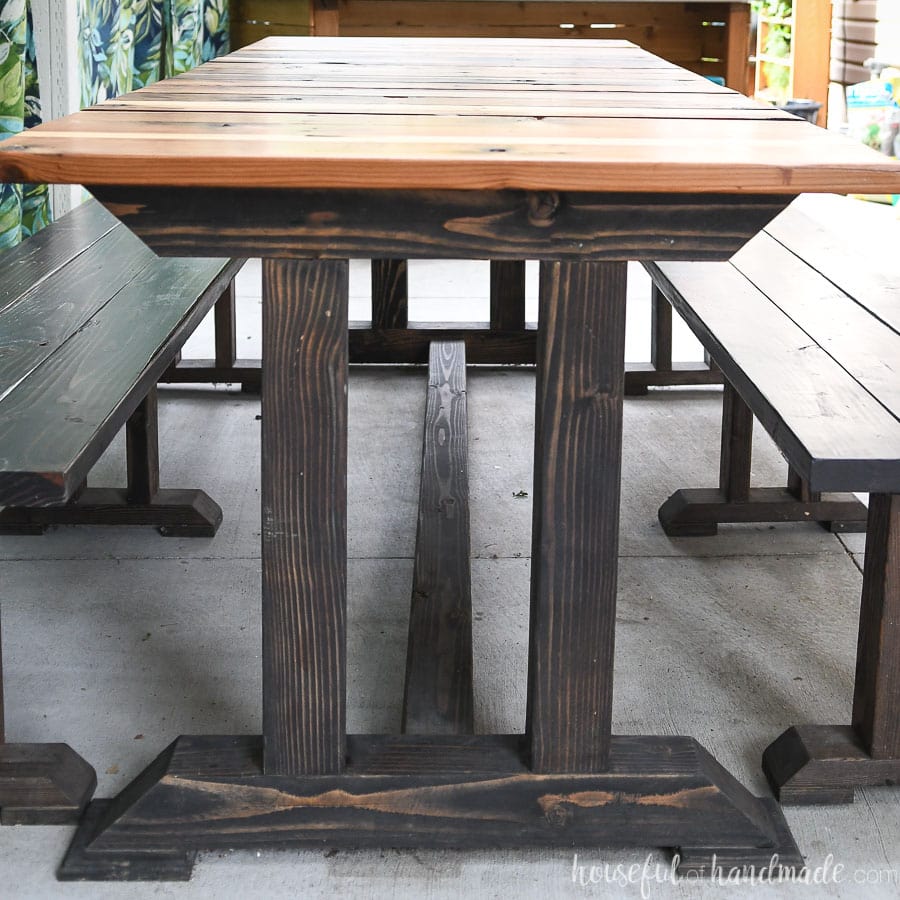
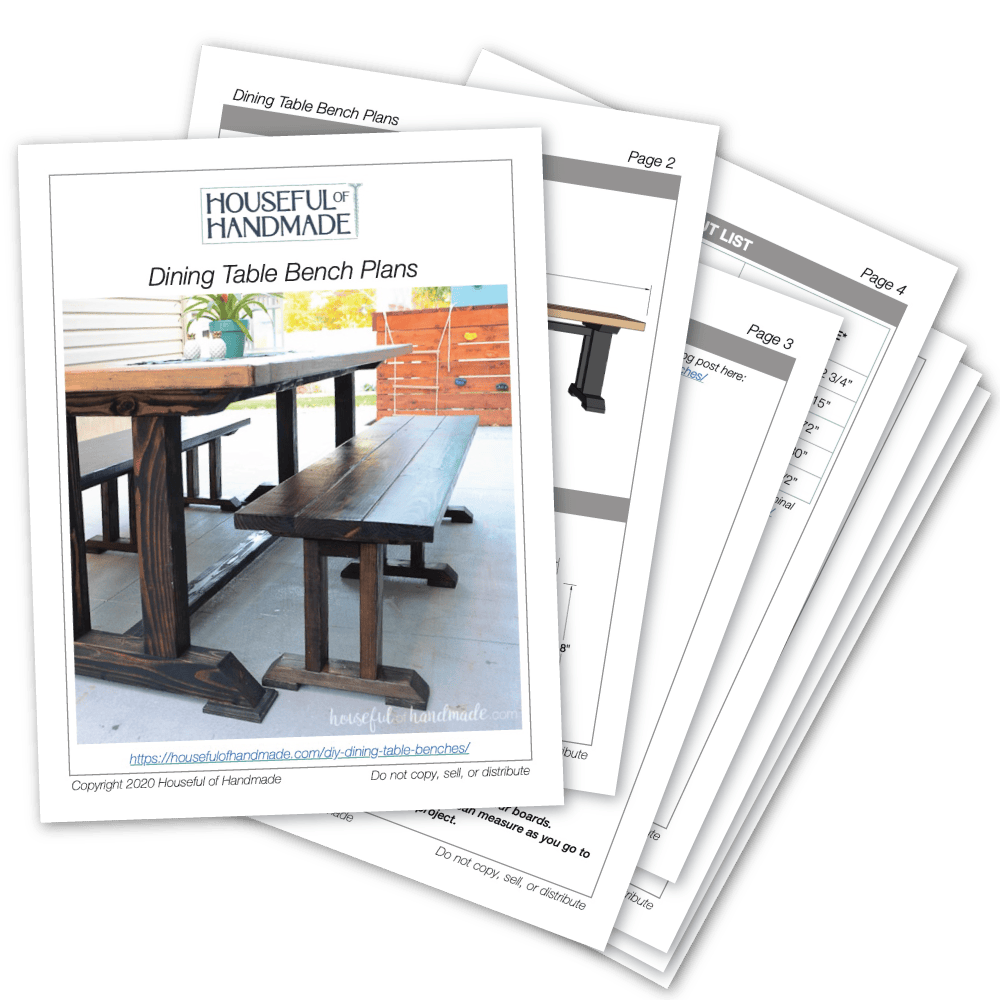
Benches are a great seating solution! They hold lots of butts without taking up a lot of space.
If you have kids, you can fit many more people on a bench then if you have to make room for all those individual chairs.
But my favorite thing about dining table benches is they are less expensive than buying chairs. Especially when you build them yourself.
This post may contain affiliate links. As an Amazon Associate I earn from qualifying purchases. Click here to read my full disclosure policy.
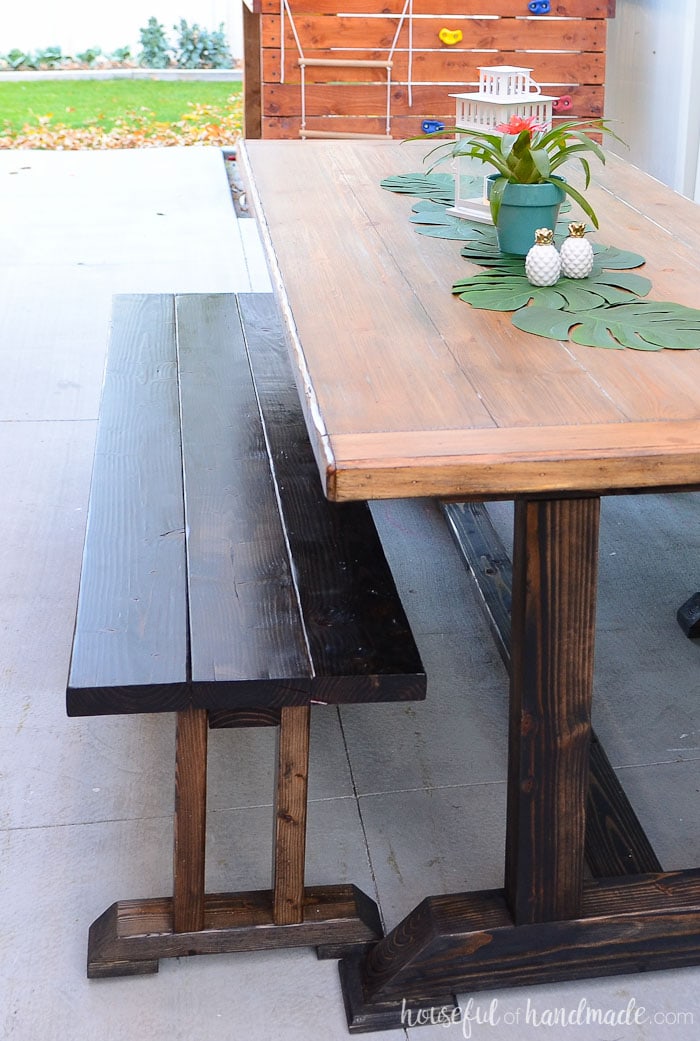
Matching Table and Benches
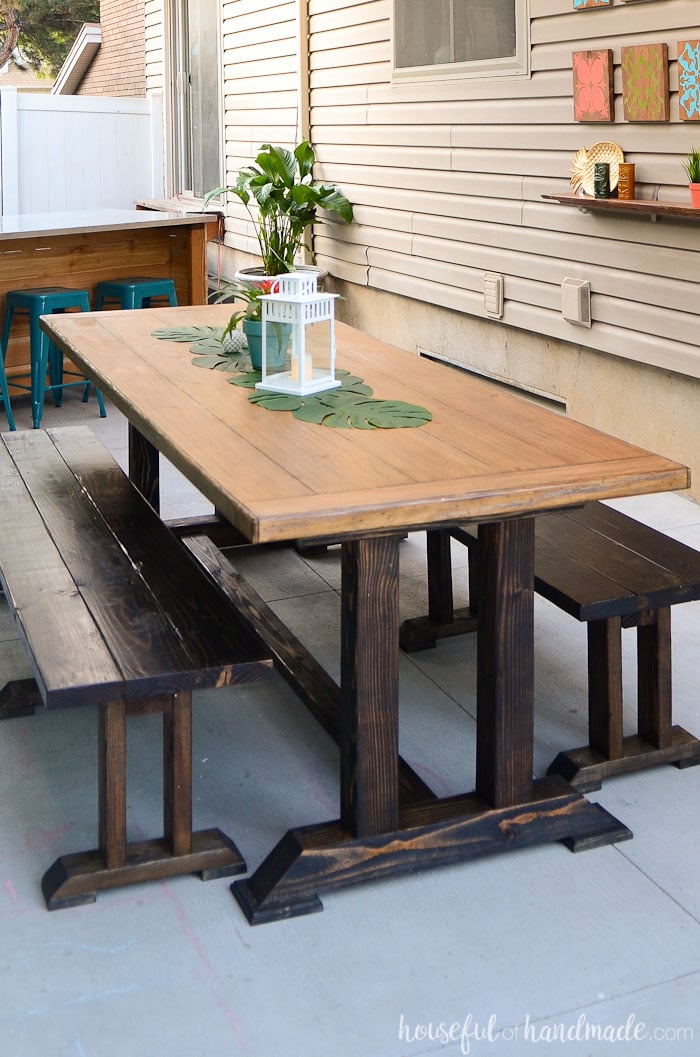
I build this large dining table for our outdoor dining area. It is under our DIY pergola with the clear pergola roof.
It might just be my favorite place in our home, especially on summer evenings when we can enjoy dinner and board games outdoors.
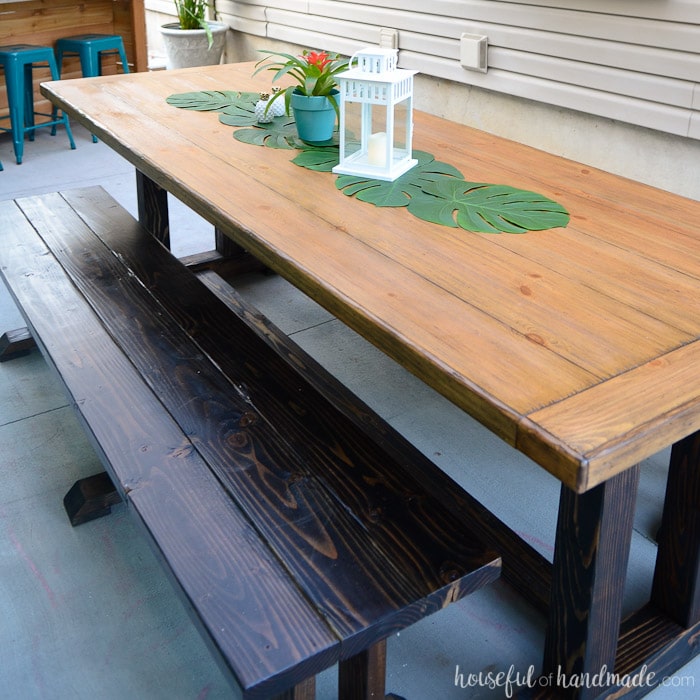
These easy dining benches were designed to match the dining table with the straight legs and footed bottoms.
You can build these dining table benches to go with the matching table. Or keep it eclectic and build them to go with the dining table you already have.
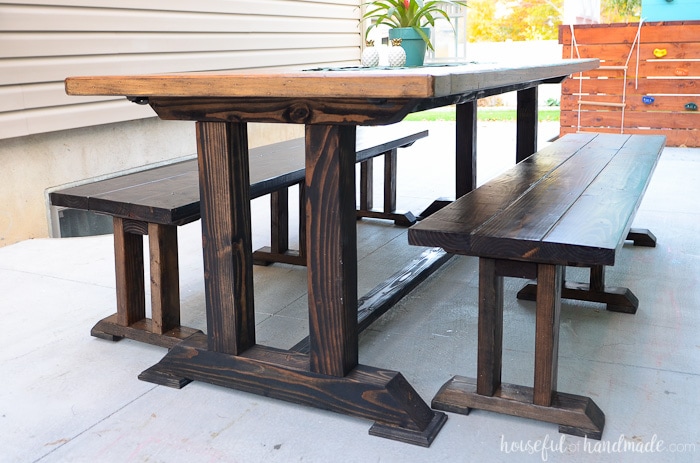
Dining Table Ideas
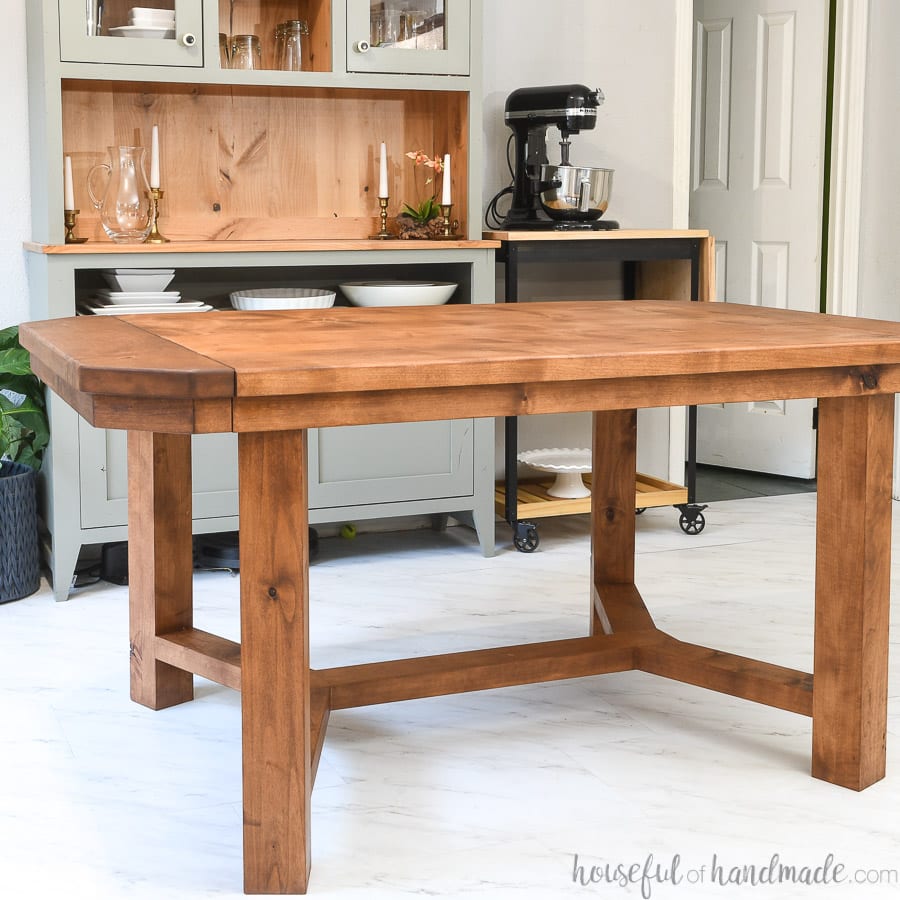
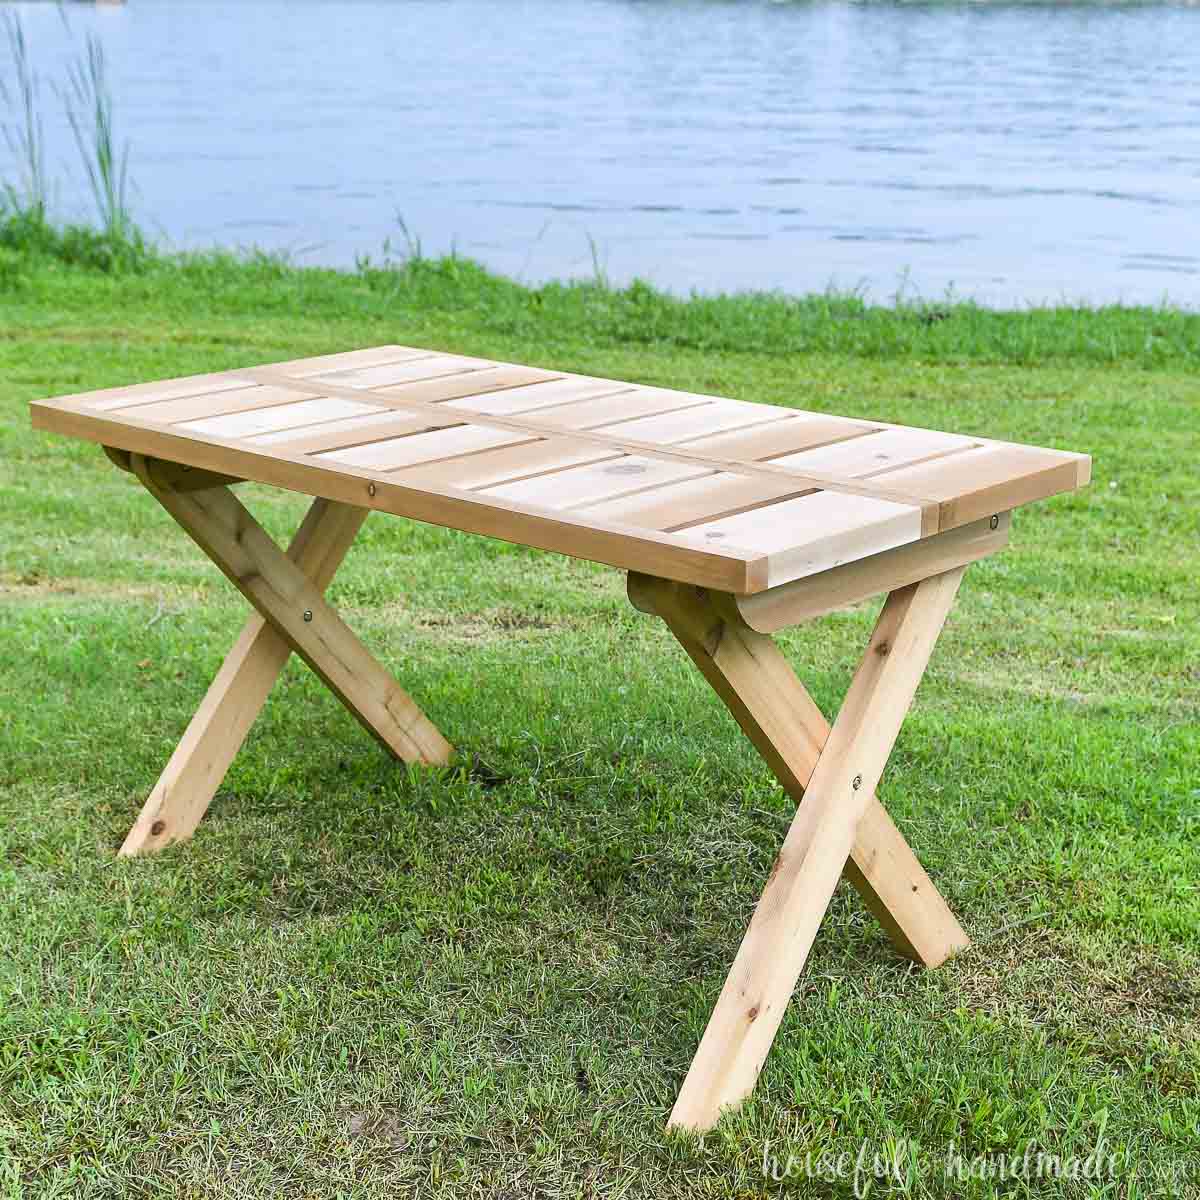
You will need a table to go with your new benches so why not DIY one!
How To Build Dining Benches
Tools & Materials
Recommended Tools:
- Miter saw
- I recently upgraded to this larger sliding miter saw (watch for it to go on sale), but all my projects before were built with this inexpensive miter saw that I loved.
- Pocket hole jig
- Drill
- Impact driver (optional, but I love not having to switch bits with the drill)
- Measuring tape
- Speed square
- Sander
- Clamps
Supplies:
- PDF Build Plans
- Wood products (per bench):
- (3) 2×4 boards, 8′ long
- (3) 2×6 boards, 8′ long
- (1) 1×4 board, 2′ long
- 1 1/4″ wood screws
- 2 1/2″ wood screws
- 2 1/2″ pocket hole screws
- Wood glue
- Stain/sealer or paint
Overall Dimensions
The finished bench is 80″ long x 16 1/2″ wide x 18″ tall.
I use it next to my 8′ long dining table.
Cut List
Cut out the pieces according to the easy-to-read table in the PDF plans.
STEP 1- Build Bench Legs
For the top and bottom of the bench legs, cut both ends at a 45 degree angle.
Attach 3 of the bench leg tops to the bench leg support with 2 1/2″ wood screws.
The two outer ones should be flush to the outside of the leg support and the center one should be centered.
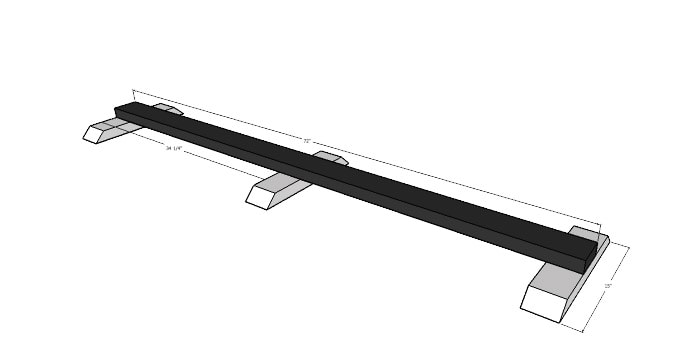
Attach the bench leg posts to the bench leg tops. Clamp them so they are flat against the leg tops.
Secure the legs with 2 1/2″ screws through the leg tops into the leg posts.
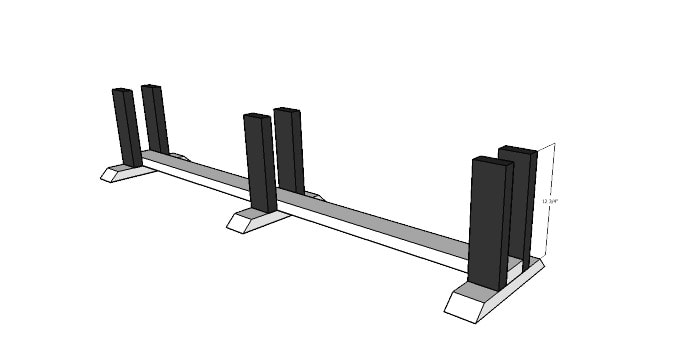
Attach the feet to the bottom of the bench leg bottoms with wood glue and 1 1/4″ wood screws so the screws are flat or slightly countersunk.
Be careful not to attach the feet too close to the outside of the leg bottoms where it is angled or the screws will come through the top.
Repeat for all the bench bottom boards.
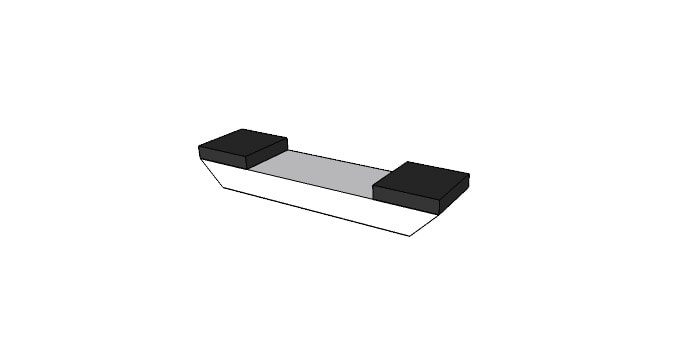
Attach the bench leg bottoms.
Use a scrap of 2×4 to space the posts and make sure they are centered on the leg bottoms.
Secure with 2 1/2″ screws through the bottom of the leg bottoms into the leg posts.
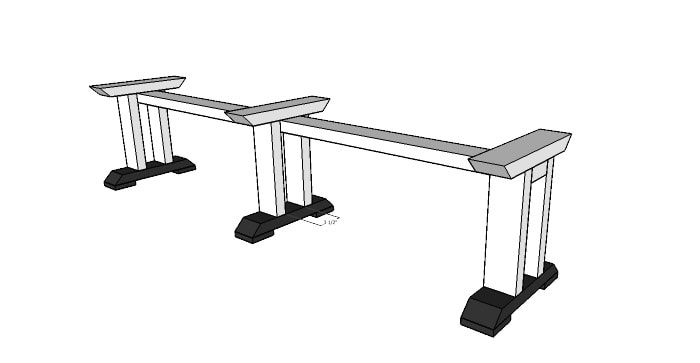
STEP 2- Build Bench Top
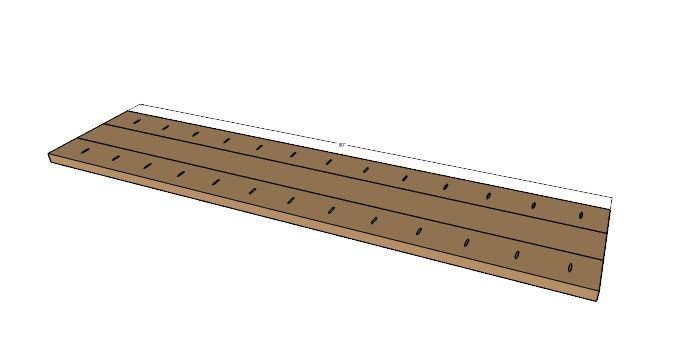
Drill pocket holes set for 1 1/2″ thick material along one edge of 2 of the bench top boards every 6-8″.
Build the bench top by attaching the 3 bench top boards together lengthwise.
Use wood glue on the seam and secure with 2 1/2″ pocket hole screws.
STEP 3- Attach bench top
Secure the bench top to the bench legs with the 2 1/2″ screws through the bottom of the leg tops into the bench tops.
Finish the table with outdoor approved stains and sealers.
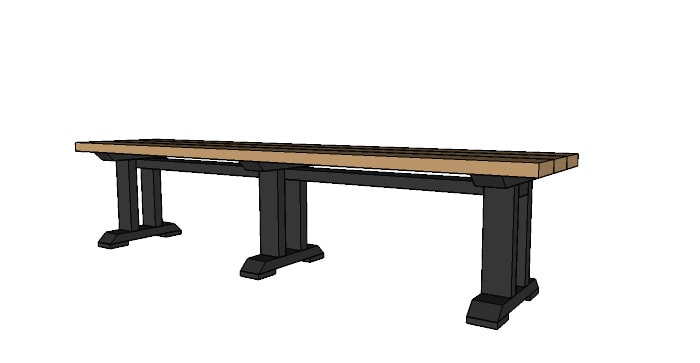
You did it!
Premium plans include:
- Recommended Tools
- Shopping list
- Easy to read cut list table
- Cut diagrams
- Step-by-step instructions with 3D renderings
- Helpful resources
- BONUS: 3D SketchUp file
Place your new bench next to your dining table and enjoy all the seating.
