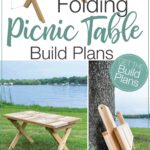
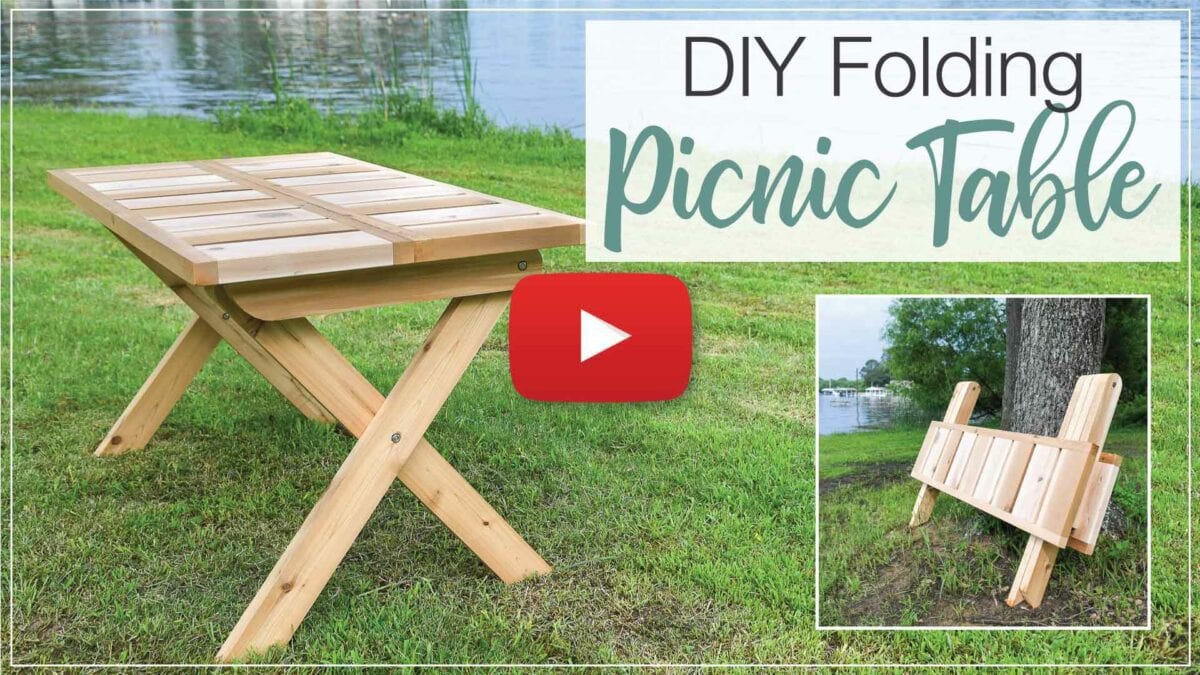
Get ready for eating outdoors with a new folding picnic table.
Summer is quickly approaching and as the weather warms up, I get so excited to eat outside. In our last home, we had a nice patio with pergola and outdoor dining table.
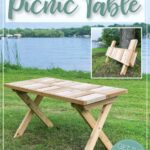
But in our new house, we do not have a place for a permanent picnic table. So I partnered with Kreg Tools to build a folding picnic table!
Now we can enjoy eating outside by our new fire pit. Then easily put the picnic table away when we are done!
This post may contain affiliate links. As an Amazon Associate I earn from qualifying purchases. Click here to read my full disclosure policy.
What wood is best for Picnic Tables?
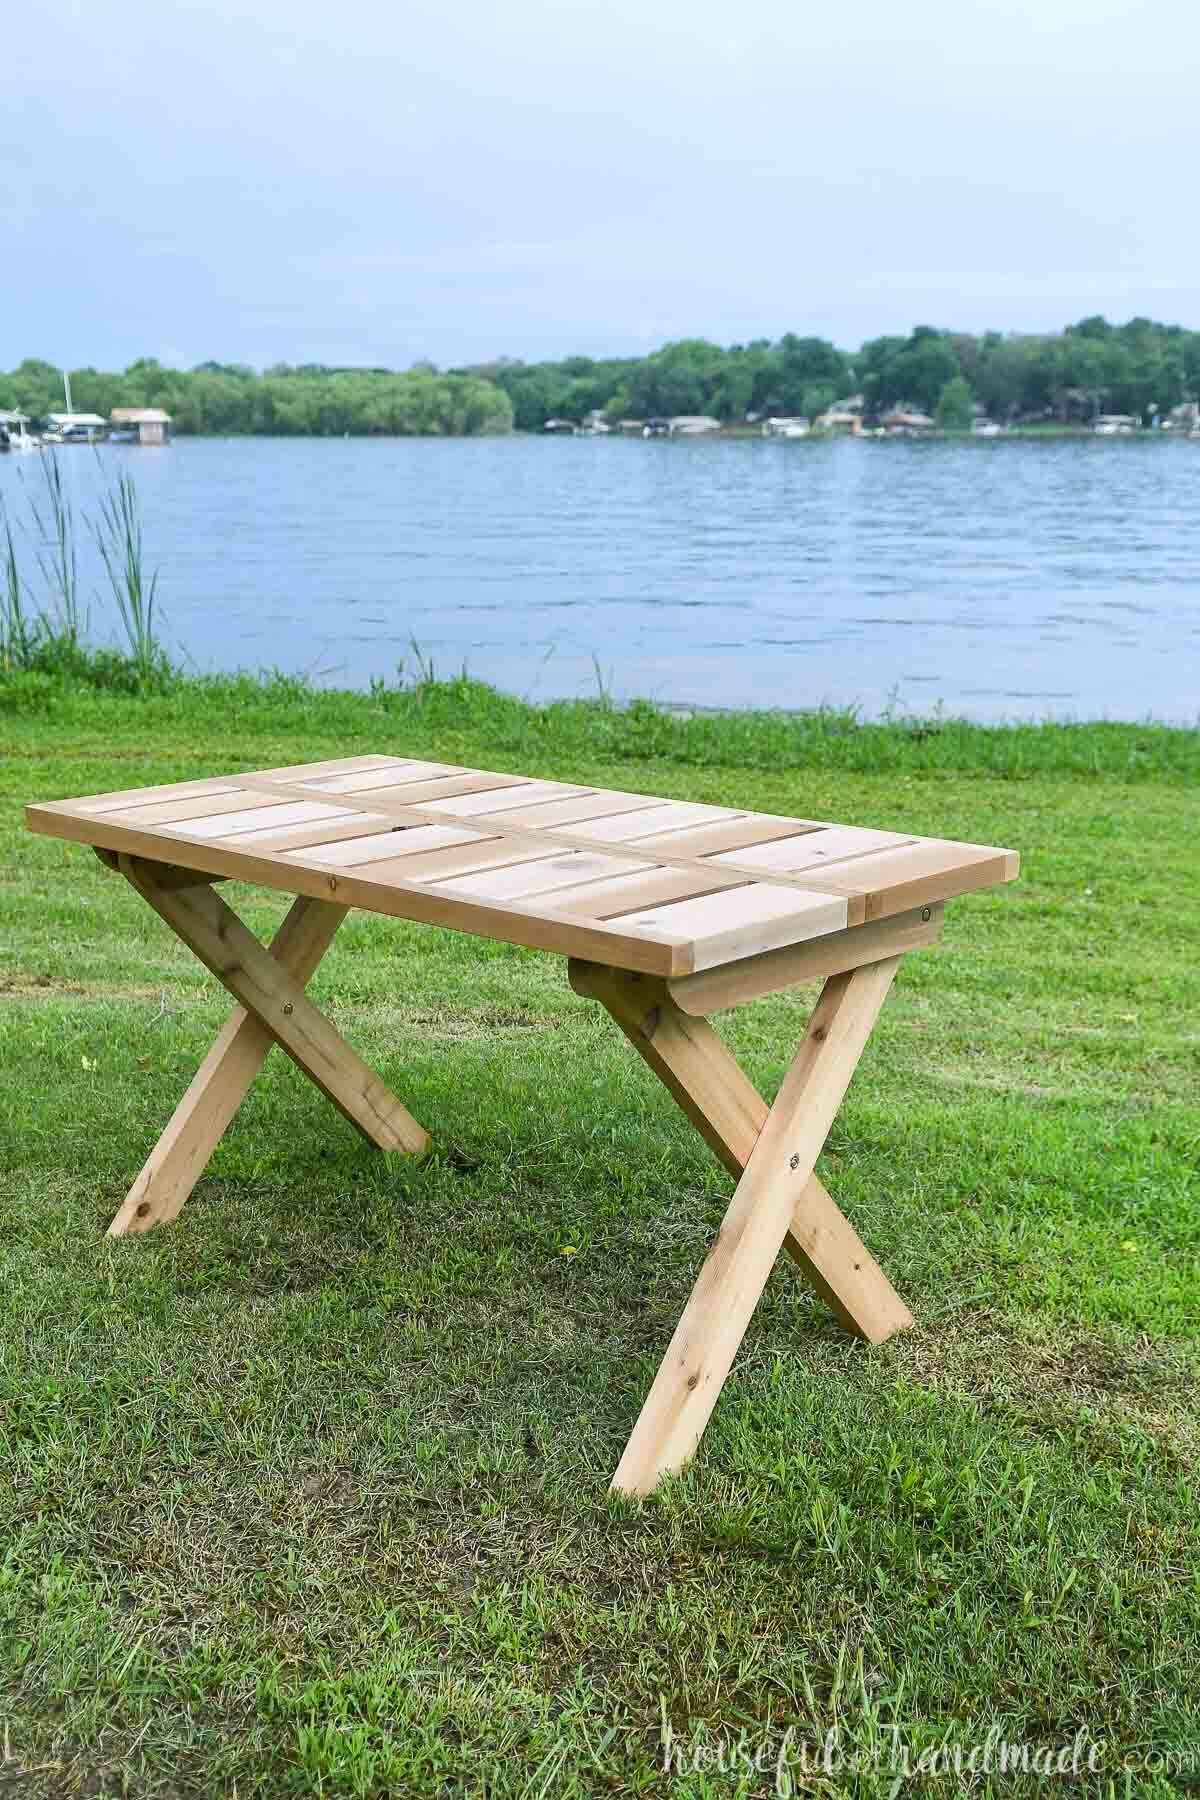
When building a folding picnic table, it is a important to have a lightweight table so you can easily move it. So I chose to build my wooden table out of cedar.
The cedar wood is lighter weight than other wood options, plus it has lots of other benefits for an outdoor table. Cedar naturally resist bugs and decay and weather.
Aside from the lightweight table and great outdoor benefits, cedar is also beautiful. I love the light and dark variations with a slightly red color.
And with a simple outdoor sealer, it will bring out the natural beauty of the wood so you don’t need to do anything else to it.
I have not yet sealed our folding picnic table because we have been getting rain every single day for the last 2 weeks.
But once things dry out a little bit, I plan to use an outdoor oil to seal the wood. It will need to be reapplied every spring and fall to keep the wood oiled so it doesn’t patina.
How hard is it to build?
The best part of this folding picnic table is that it is easy to build!
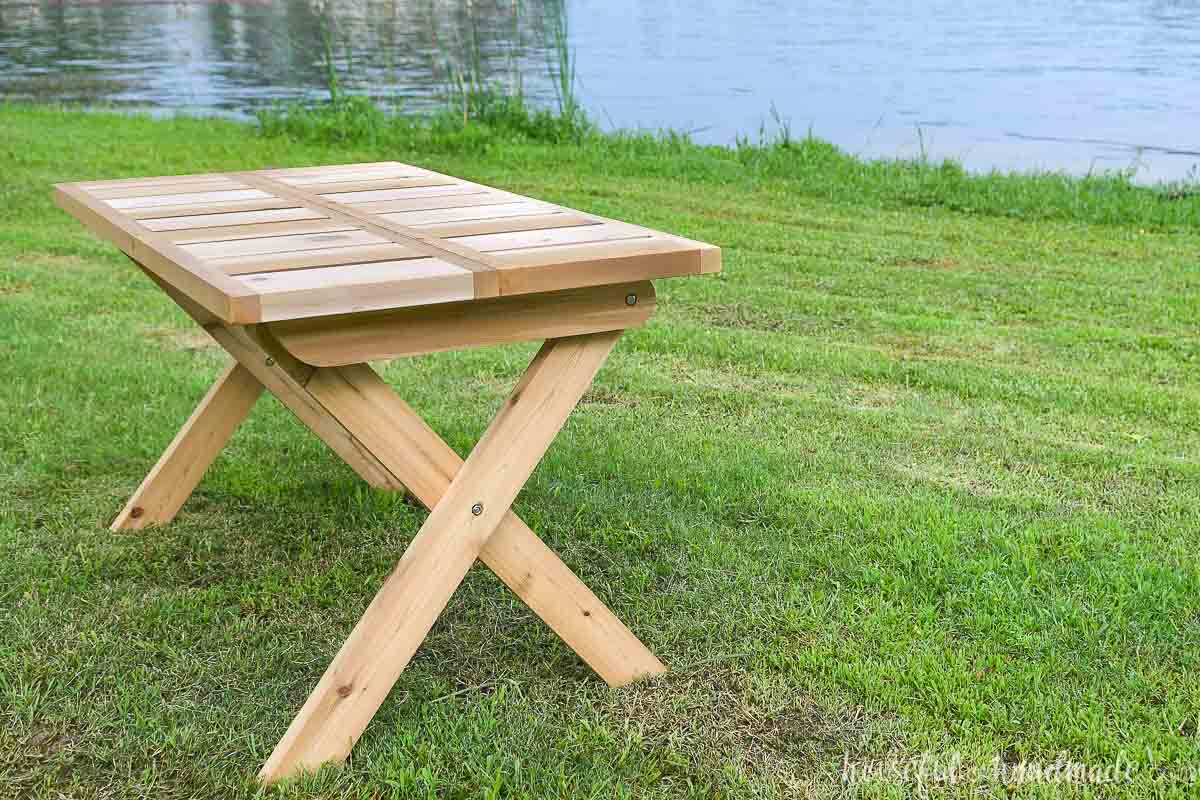
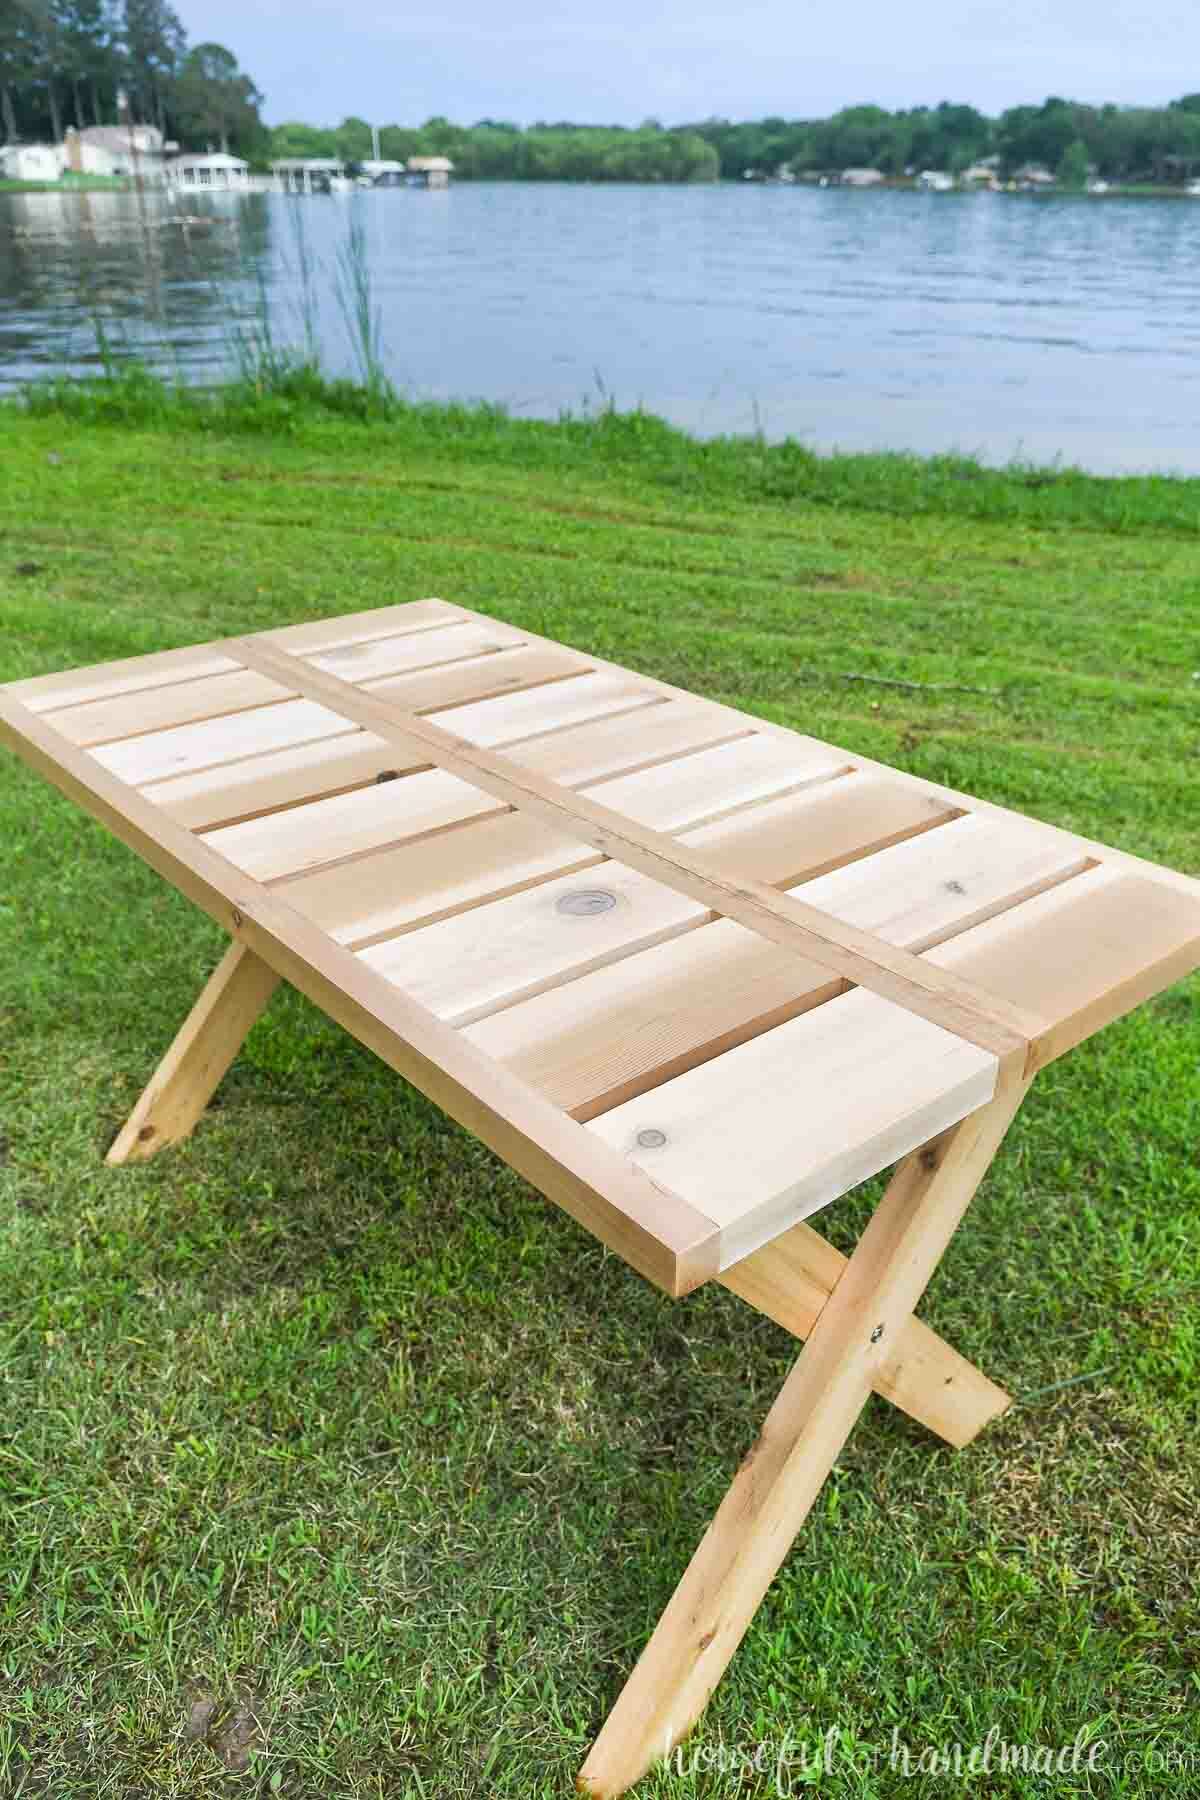
The table top is made up of 2×6 and 2×2 boards that create 2 smaller table tops, when placed together they come together to make one 55 1/2″ x 30″ table top.
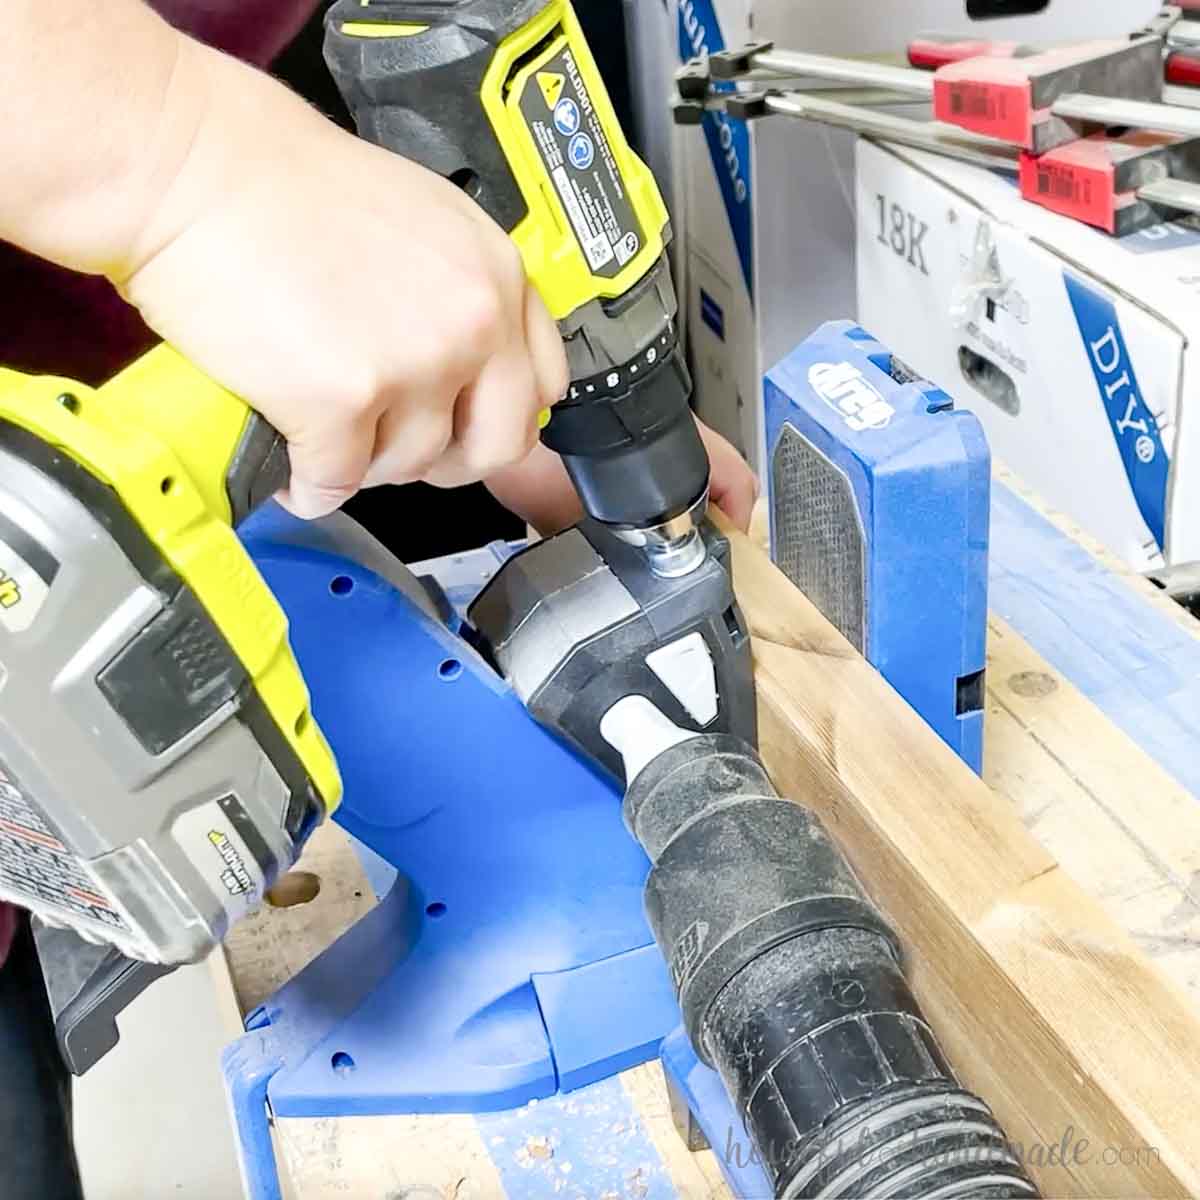
The table top pieces come together quickly and easily with the Kreg Jig.
I love building with the new Kreg 720, but their less expensive 520 jig or 320 jig are great jigs for beginners or small spaces (and I use them in my shop too).
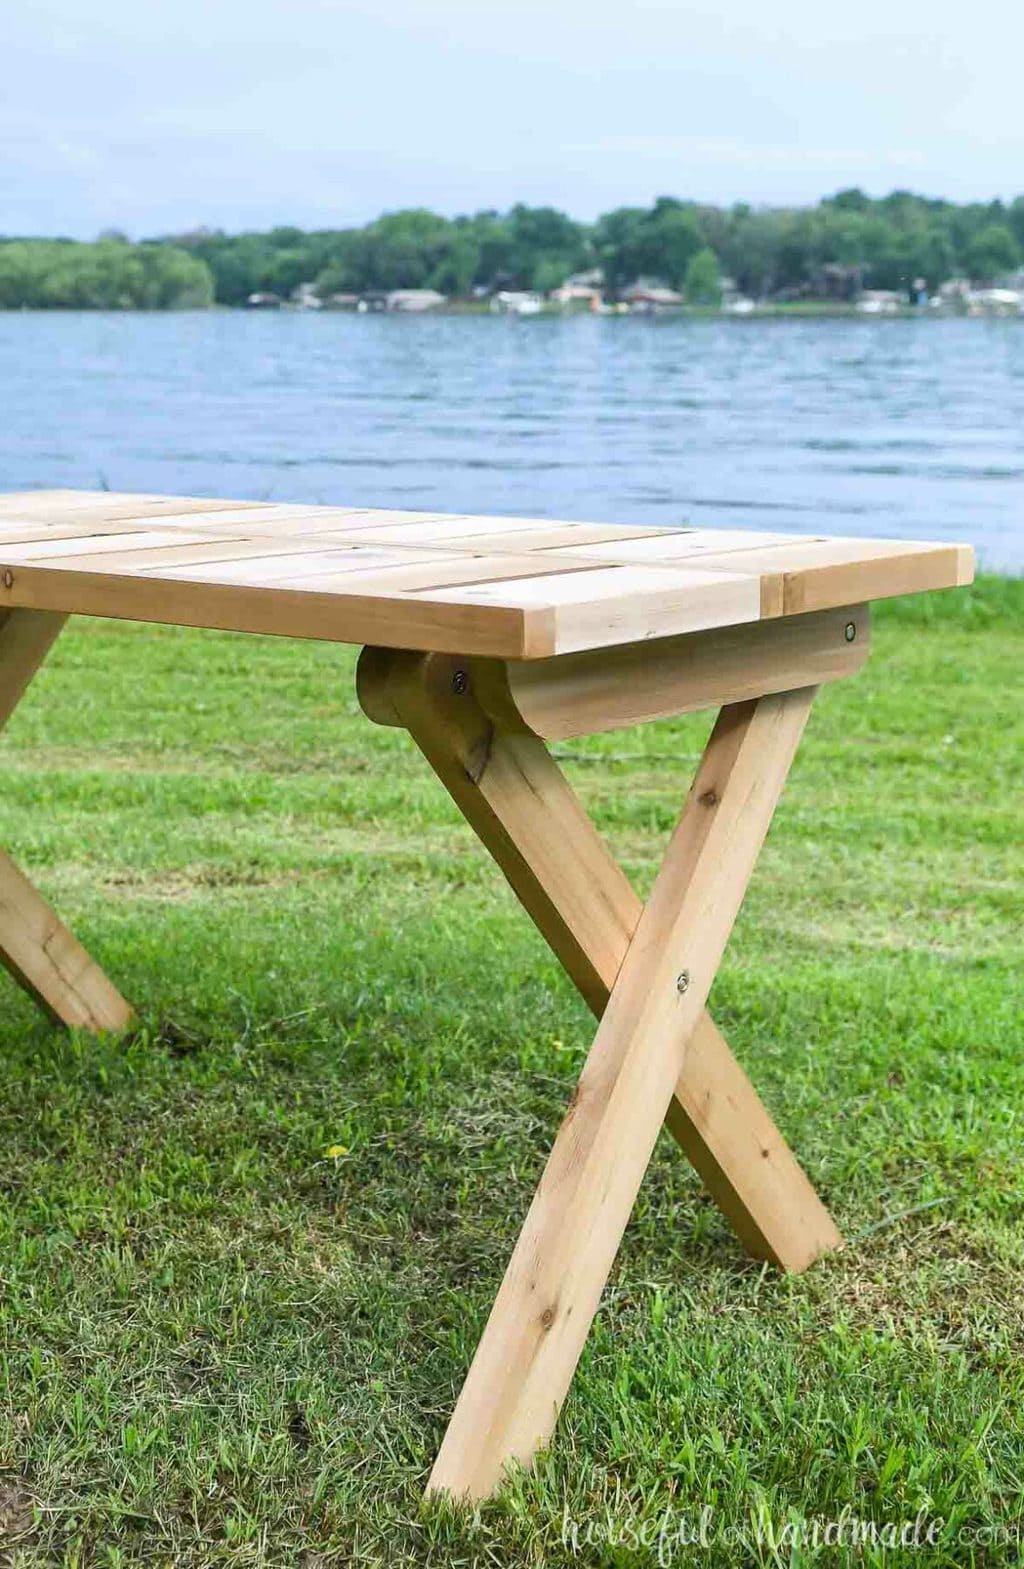
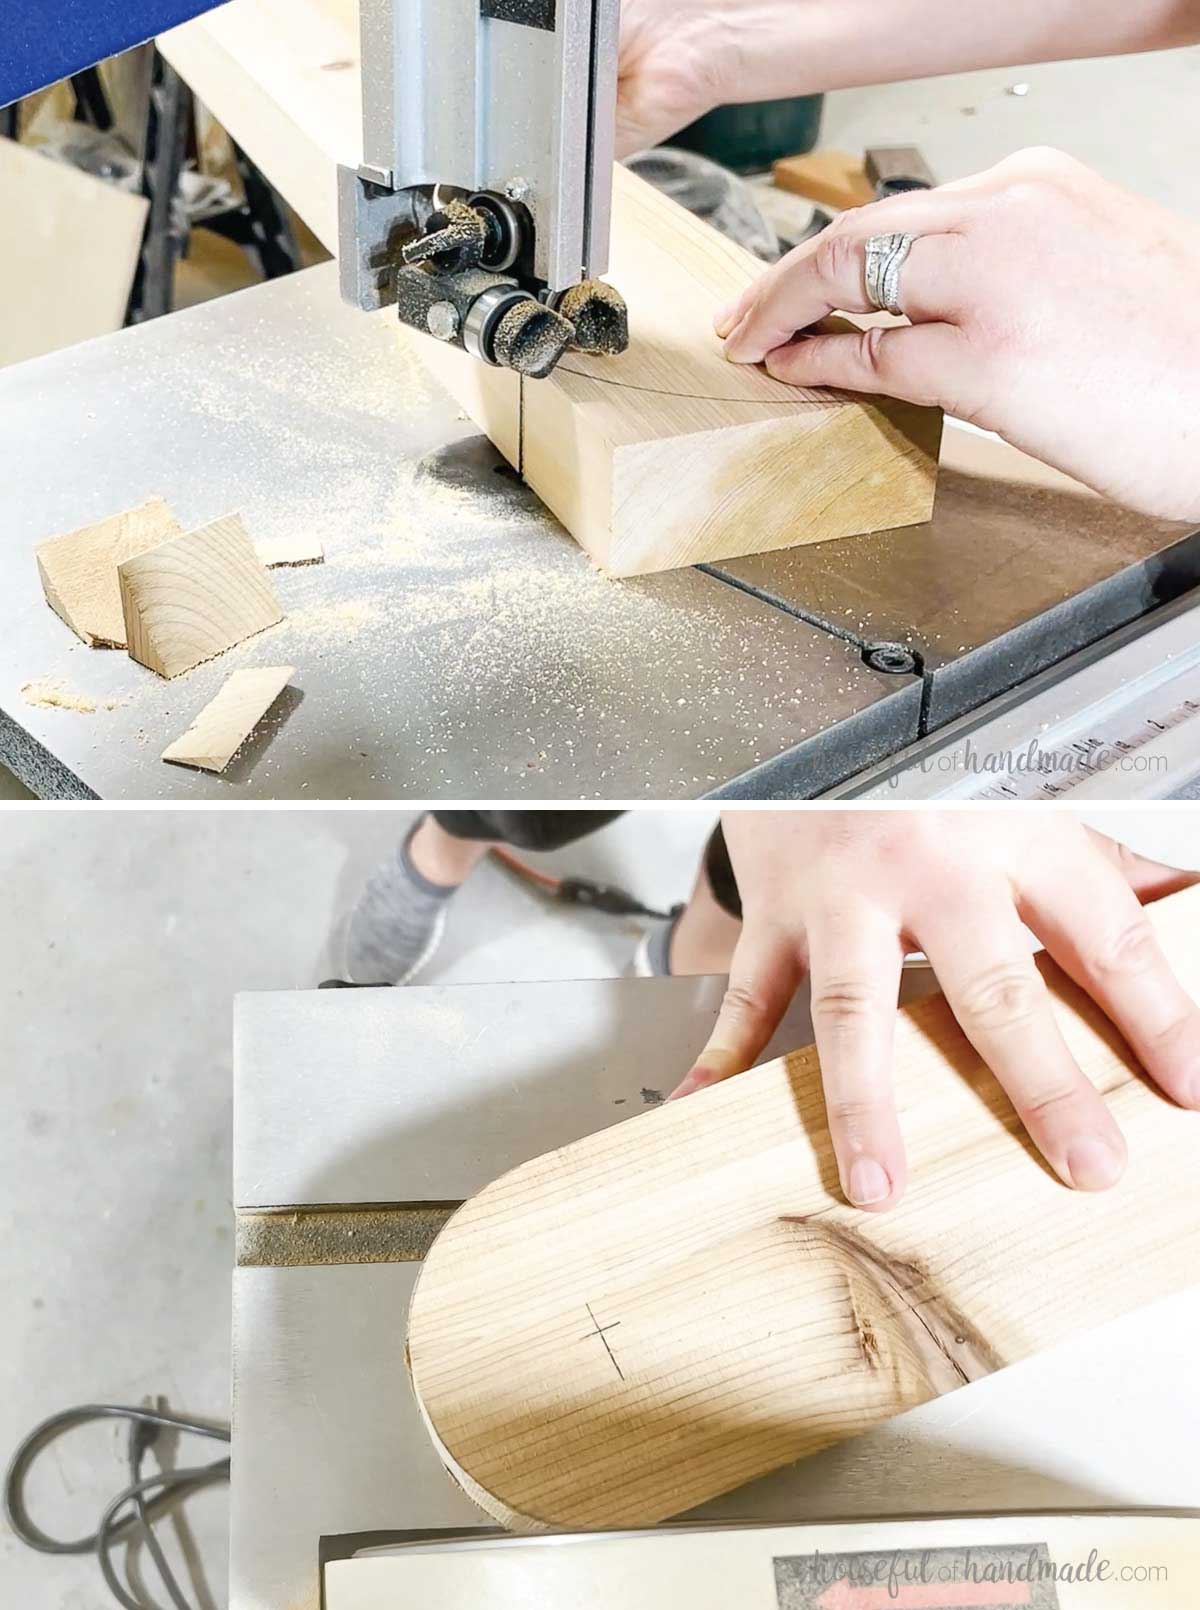
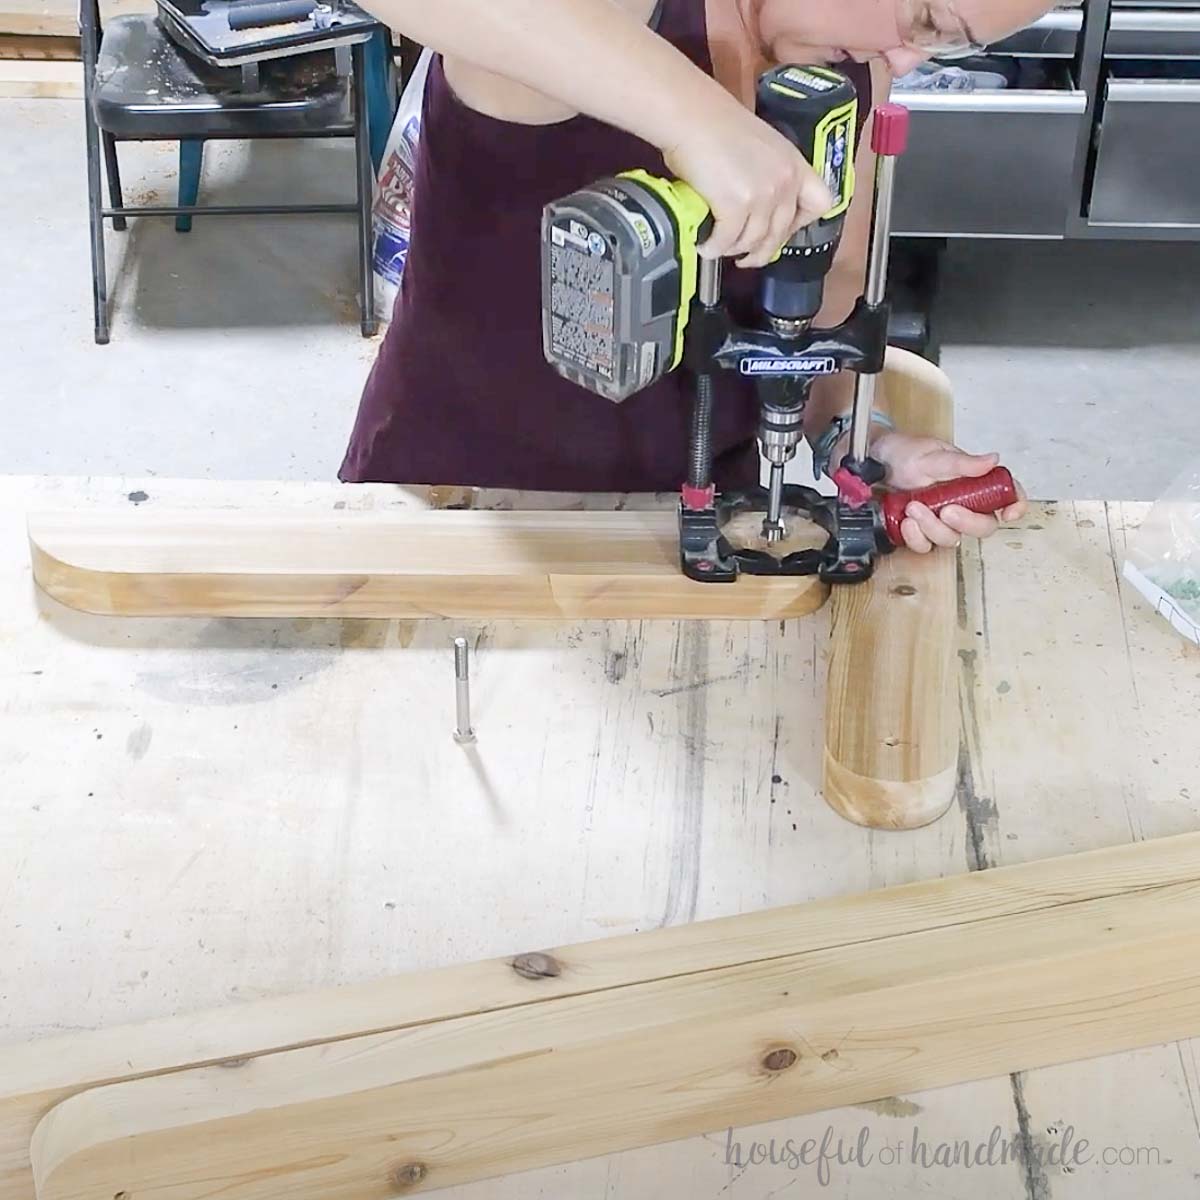
The trickiest part of the build is the legs. The legs are made of 2×4 boards and one edge needs to be rounded over to allow them to move when you fold them.
I used a bandsaw and sander to round over one edge of the leg pieces. But you can also use a jigsaw and sander to do it.
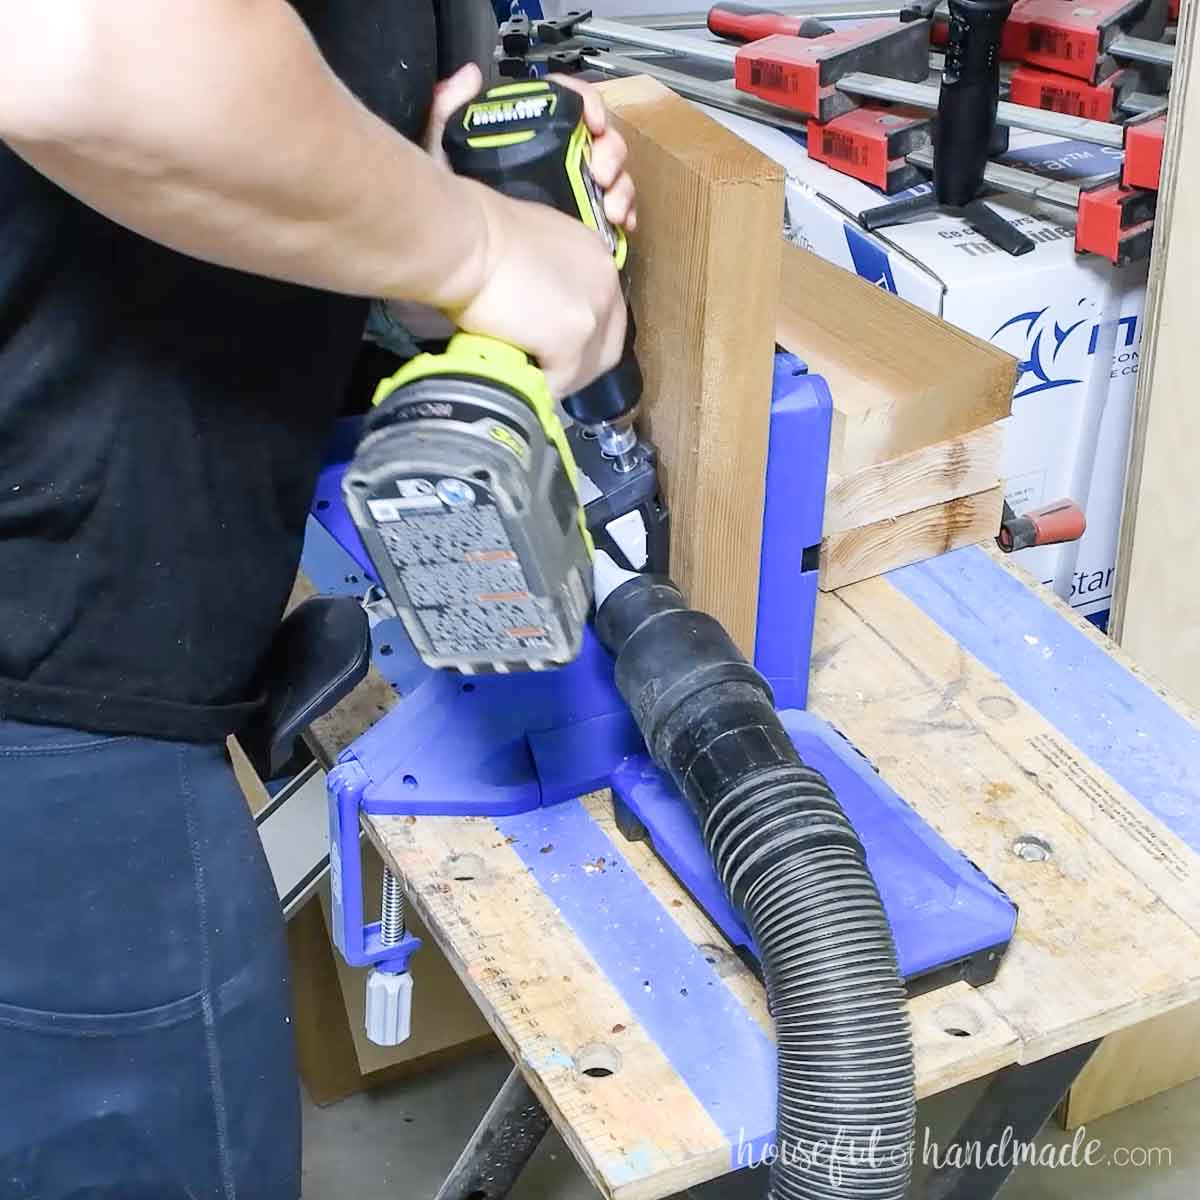
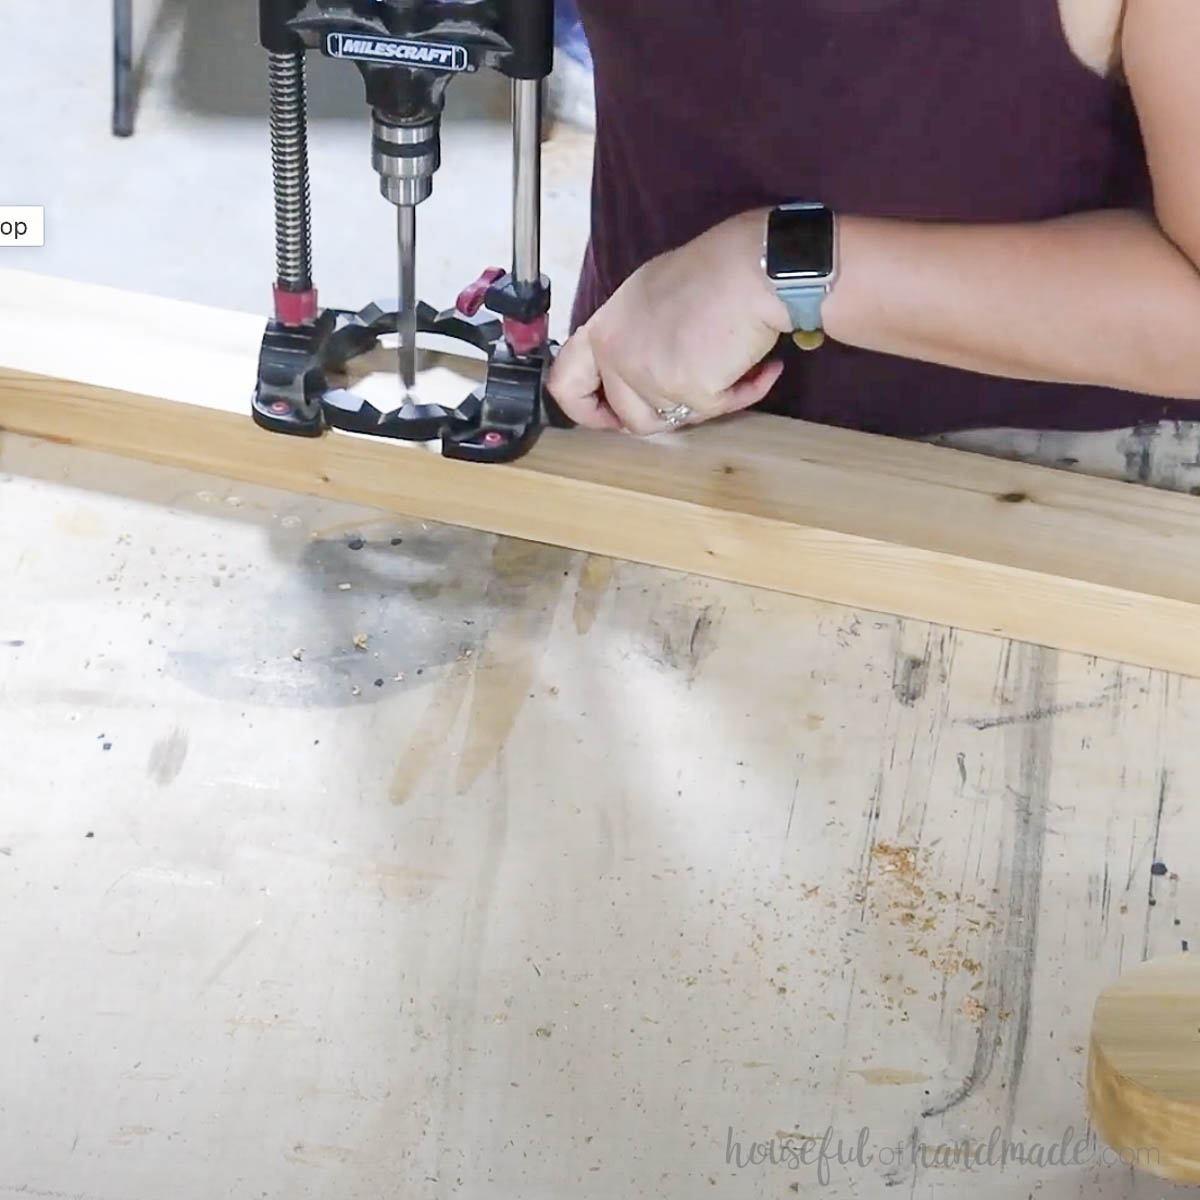
The final tricky piece is that the holes drilled in the legs need to be straight. If the are not at a 90 degree angle to the board the bolts will not sit in the legs correctly.
If you have a drill press you can easily drill nice straight holes, I do not. So I used this drill guide.
It helps to keep your drill straight while drilling. Or you can make a jig like they do in this video.
Then once the leg pieces are cut properly, they are easily put together with the bolts!
How to Build a Portable Picnic Table
Tools & Materials
Recommended Tools:
- Miter saw
- I recently upgraded to this larger sliding miter saw (watch for it to go on sale), but all my projects before were built with this inexpensive miter saw that I loved.
- Jig saw
- Pocket hole jig
- Drill
- Impact driver (optional, but I love not having to switch bits with the drill)
- Speed square
- Multi-mark measuring tool
- Face clamp
- Drill guide
Supplies:
- Wood products
- (4) 2×2 boards, 6′ long
- (3) 2×6 boards, 8′ long
- (3) 2×4 boards, 8′ long
- 2 1/2″ Blue-kote pocket hole screws
- 2 1/2″ long 3/8″ hex bolts
- 3/8″ nuts
- 3/8″ washers
- Outdoor wood glue
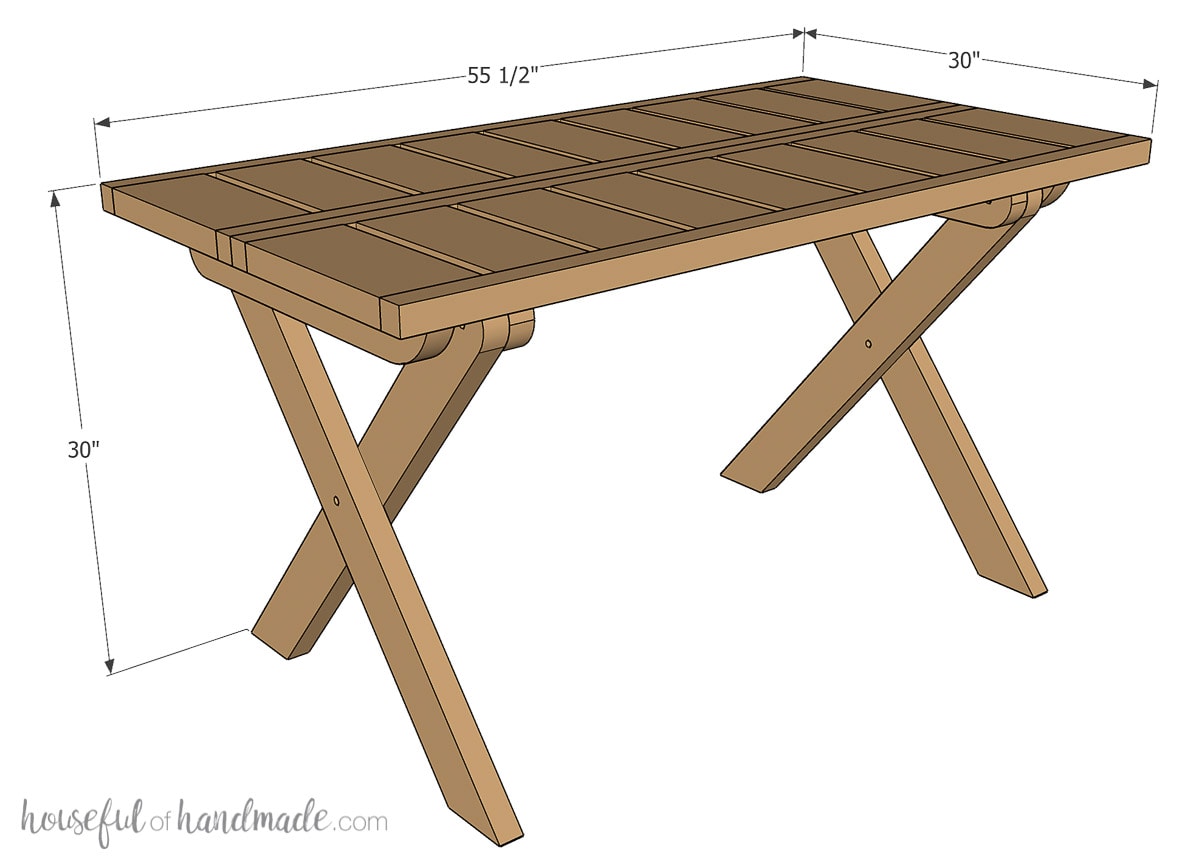
Overall Dimensions
The finished table is 55 1/2″ long by 30″ wide and 30″ tall once set up.
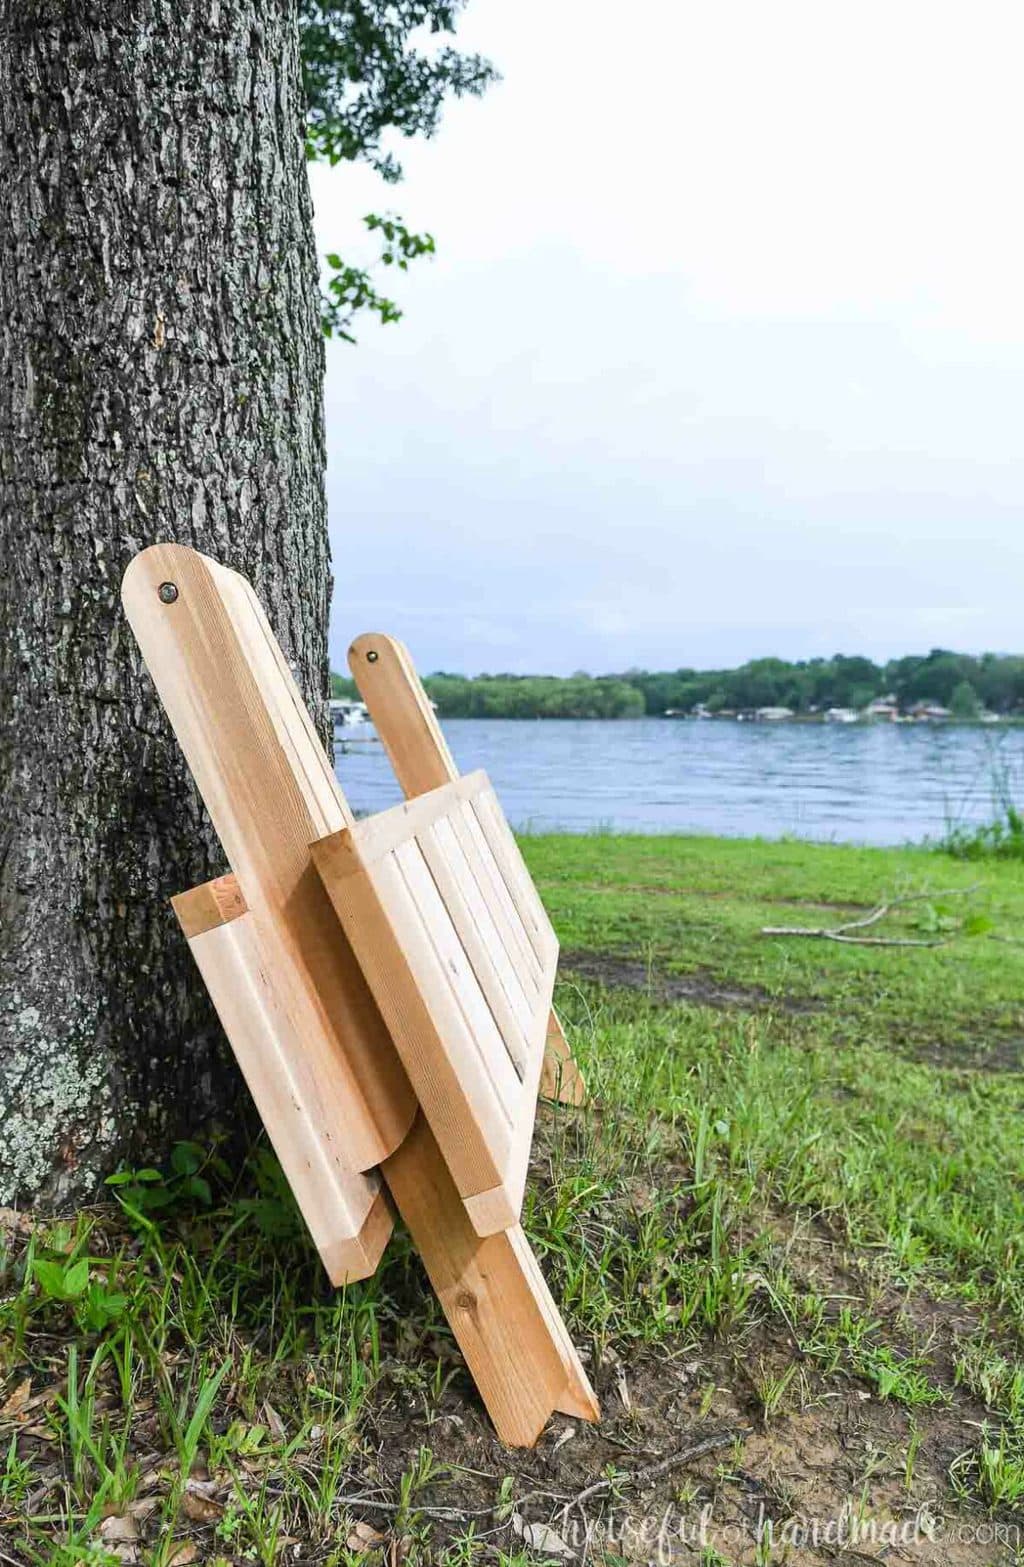
When folded for storage, it is 38″ tall by 6 1/2″ wide and 55 1/2″ long.
Cut List
Cut out the pieces according to the build plans on KregTool.com.
For the leg pieces, cut one end at a 40 degree angle.
On one end of the leg top pieces, curve the end so it curves from the top to 3 ½” away from the side. On the other end and the non-angled end of the leg pieces, curve the entire end so it is rounded over.
STEP 1- Build the table tops
Set your pocket hole jig for 1 ½” thick material and drill pocket holes on both edges of the top center slats.
Attach one side of the slats to one of the top edge boards.
The outer slats should be flush with the ends of the edge boards. Then space the remaining boards so there is a ¾” gap between them.
Secure with wood glue and 2 ½” pocket hole screws.
Add wood glue to the open ends of the top center slats and attach them to a second top edge board.
Make sure to line up the ends and leave the ¾” gap between the boards. Secure with wood glue and 2 ½” pocket hole screws.
Repeat for the second top piece.
STEP 2- Drill Holes in Leg Pieces
Measure and mark on the rounded edge of all the leg boards 1 ¾” in from the end. Drill a ⅜” hole at this point centered on the board.
Use a drill press, guide or jig to make sure the holes are at 90 degree angles to the boards.
For the leg boards, also drill a hole 17 23/32” away front the rounded edge in the center of the board.
Lay out the leg pieces according to the diagram in the plans. Make sure to pay attention to the direction of the angle on the leg pieces and the direction of the leg top pieces.
Mark where the bolt heads and nuts will go. You will be bolting the top rounded edges of the leg top pieces to the top rounded edge of the leg pieces and the two leg pieces together in the center.
Drill a 1” wide hole ½” deep on top of the other hole to house the bolt head and nut.
The bolt is only 2 ½” long and the two boards are 3” thick together, but you need the bolt head and nut totally hidden inside the legs pieces or they will get stuck when you fold and unfold your table.
I used 3” bolts and need to replace them with the shorter bolts and deeper holes.
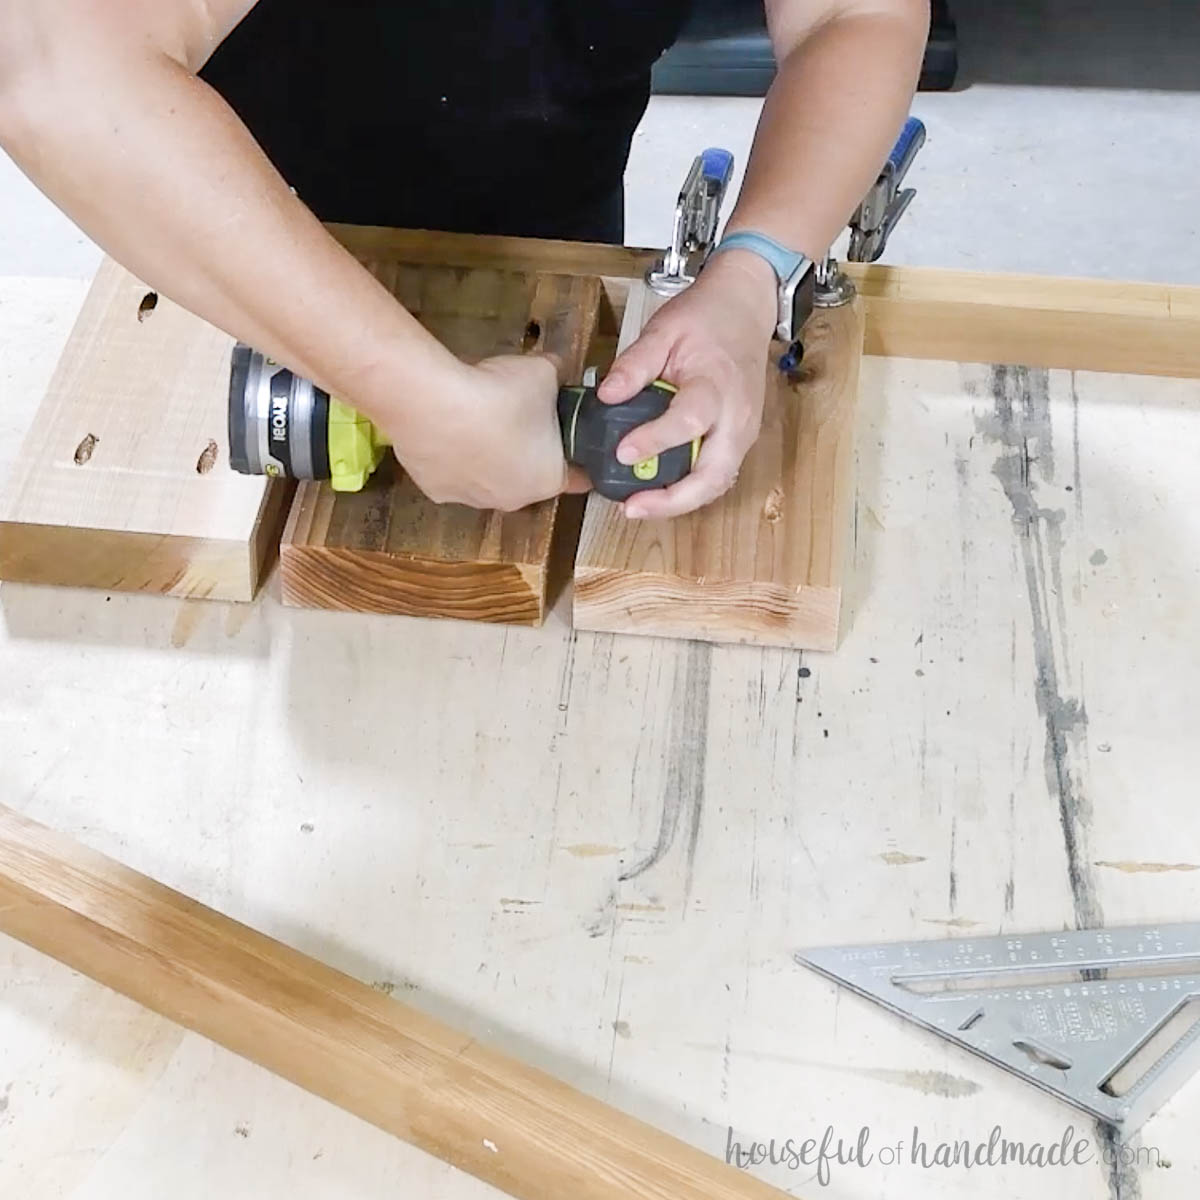
STEP 3- Assemble Legs
Drill pocket holes set for 1 ½” thick material on the inside of the leg top pieces.
Only drill pocket holes on the half of the board with the curved section without the hole (not the fully rounded end).
Line up the assembled table top pieces then attach the leg tops to them.
The measurements recommended account for the washer being 1/16” thick so adjust if your washers are a different size.
Each board will only be attached to one of the top pieces.
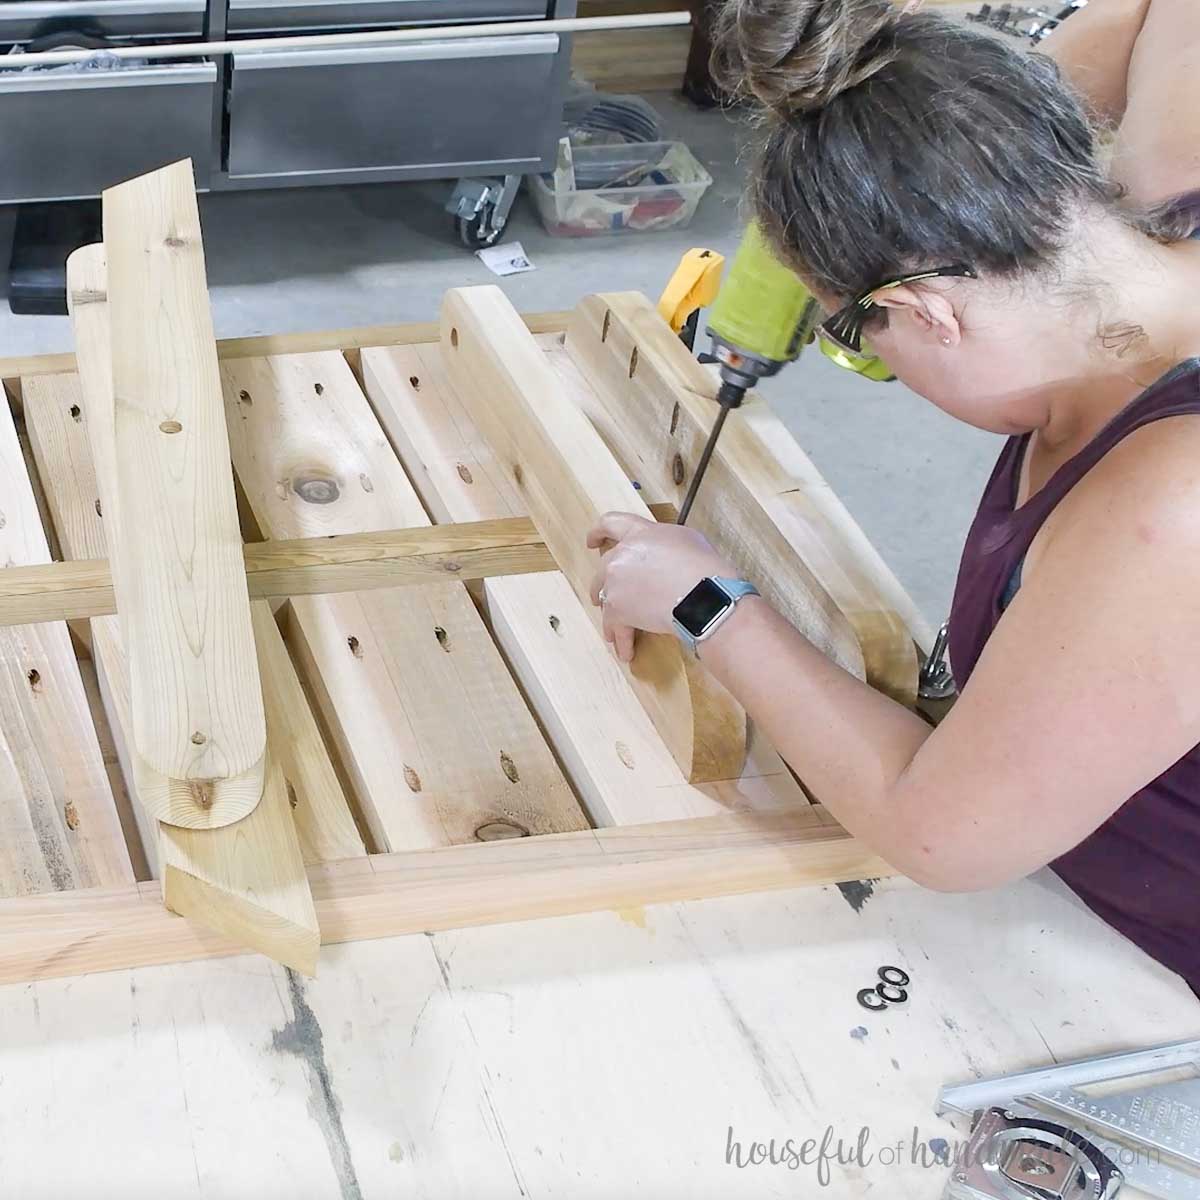
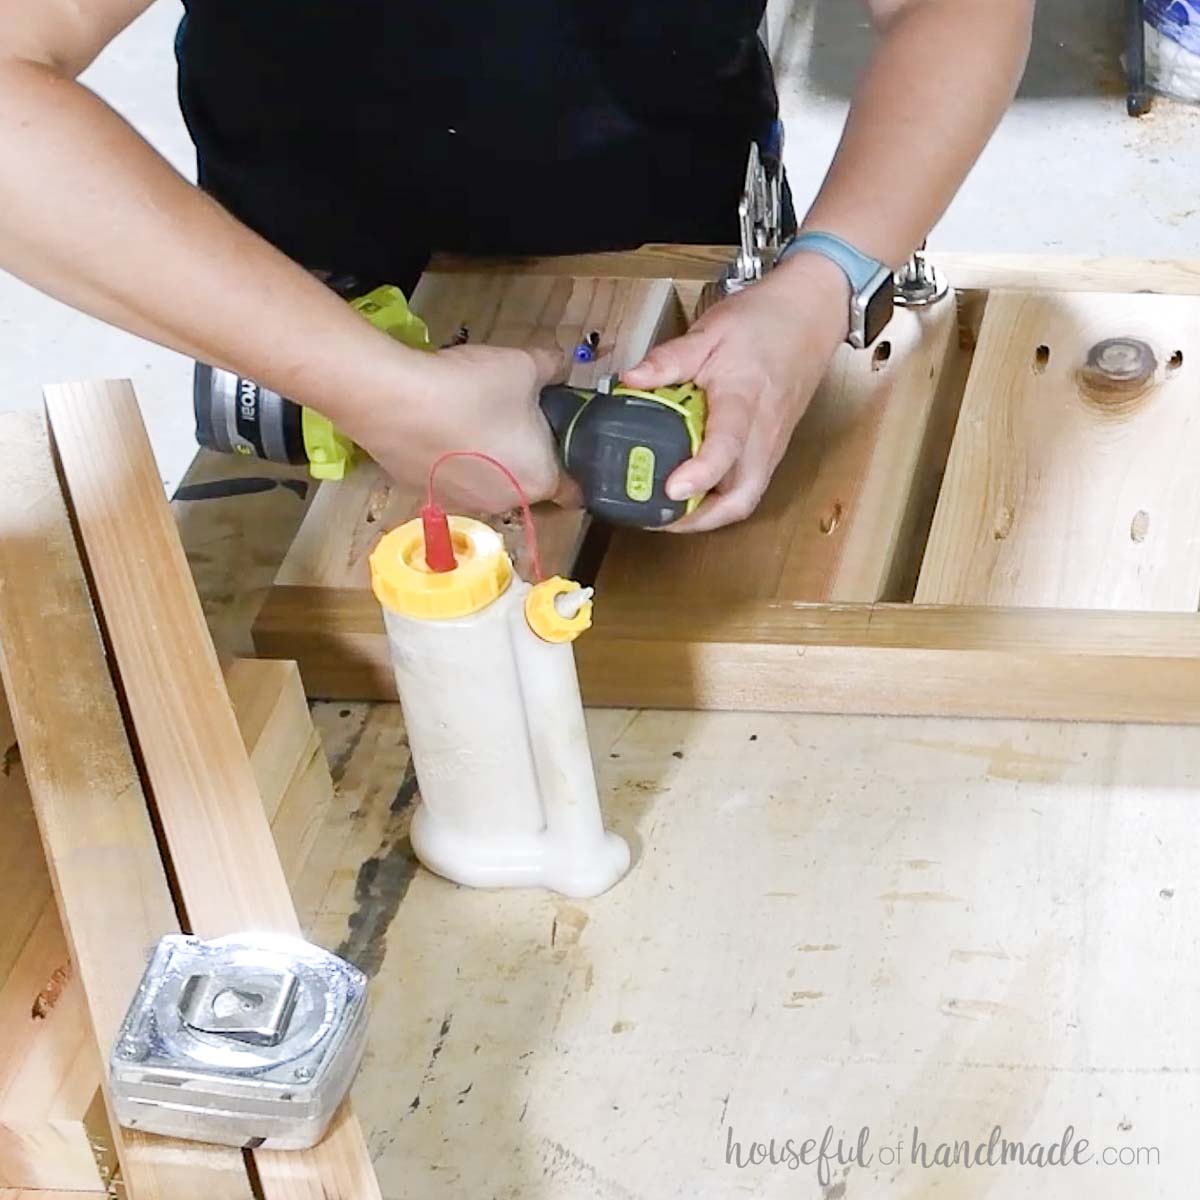
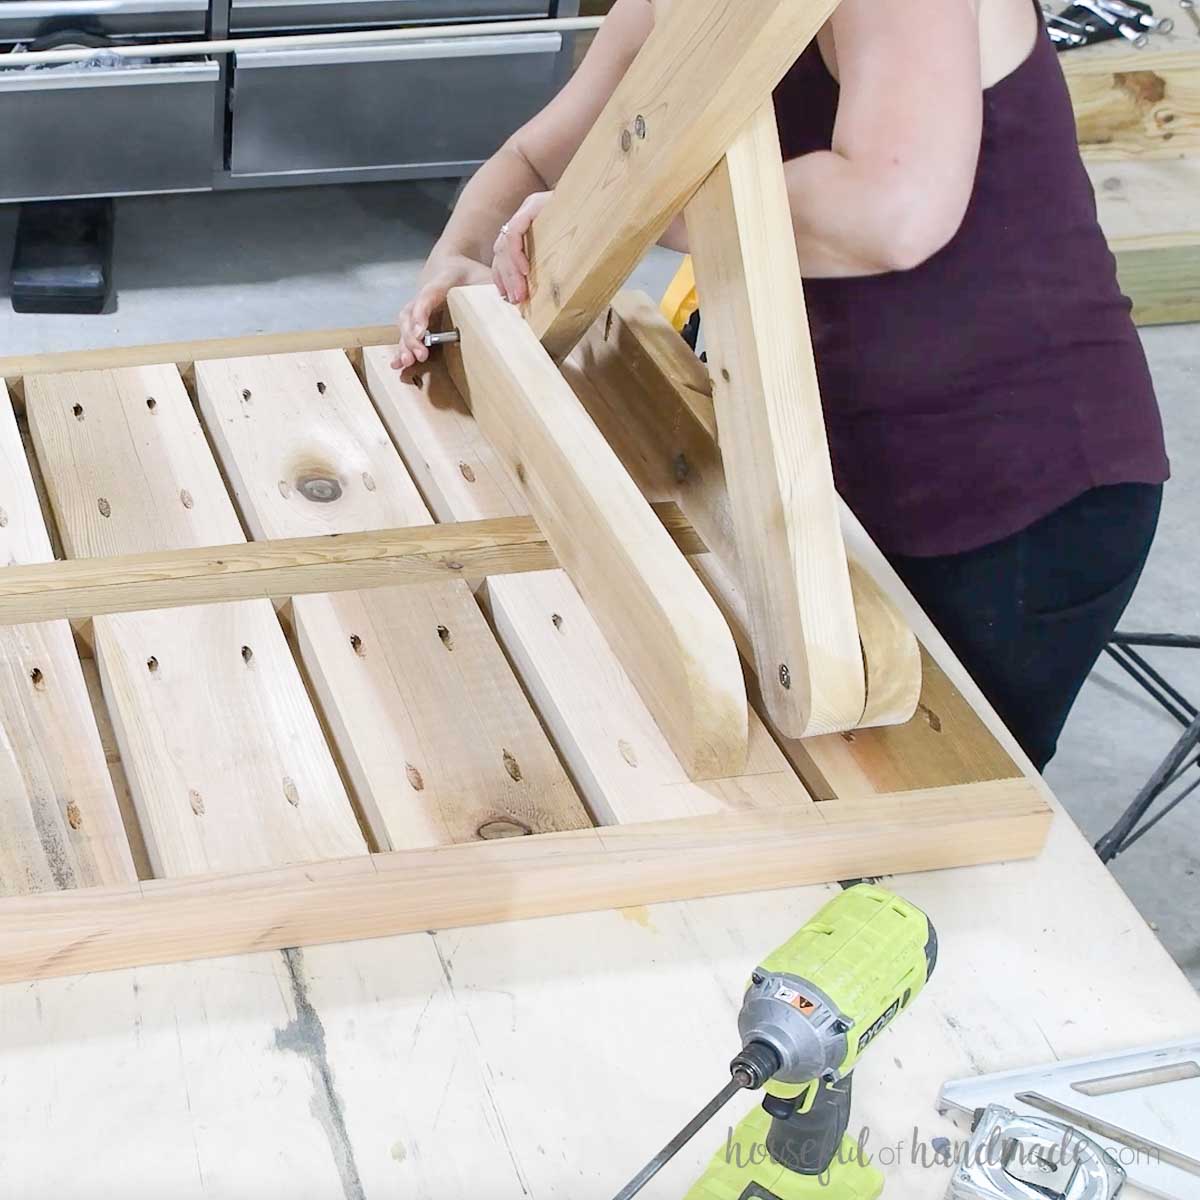
Place the leg pieces inside the attached leg top pieces. Make sure the table top pieces are still lined up.
Bolt the two leg pieces together at the center hole with a washer between the boards.
Then bolt the rounded edges to the attached leg top pieces with a washer between the boards. The legs will stand up properly once bolted.
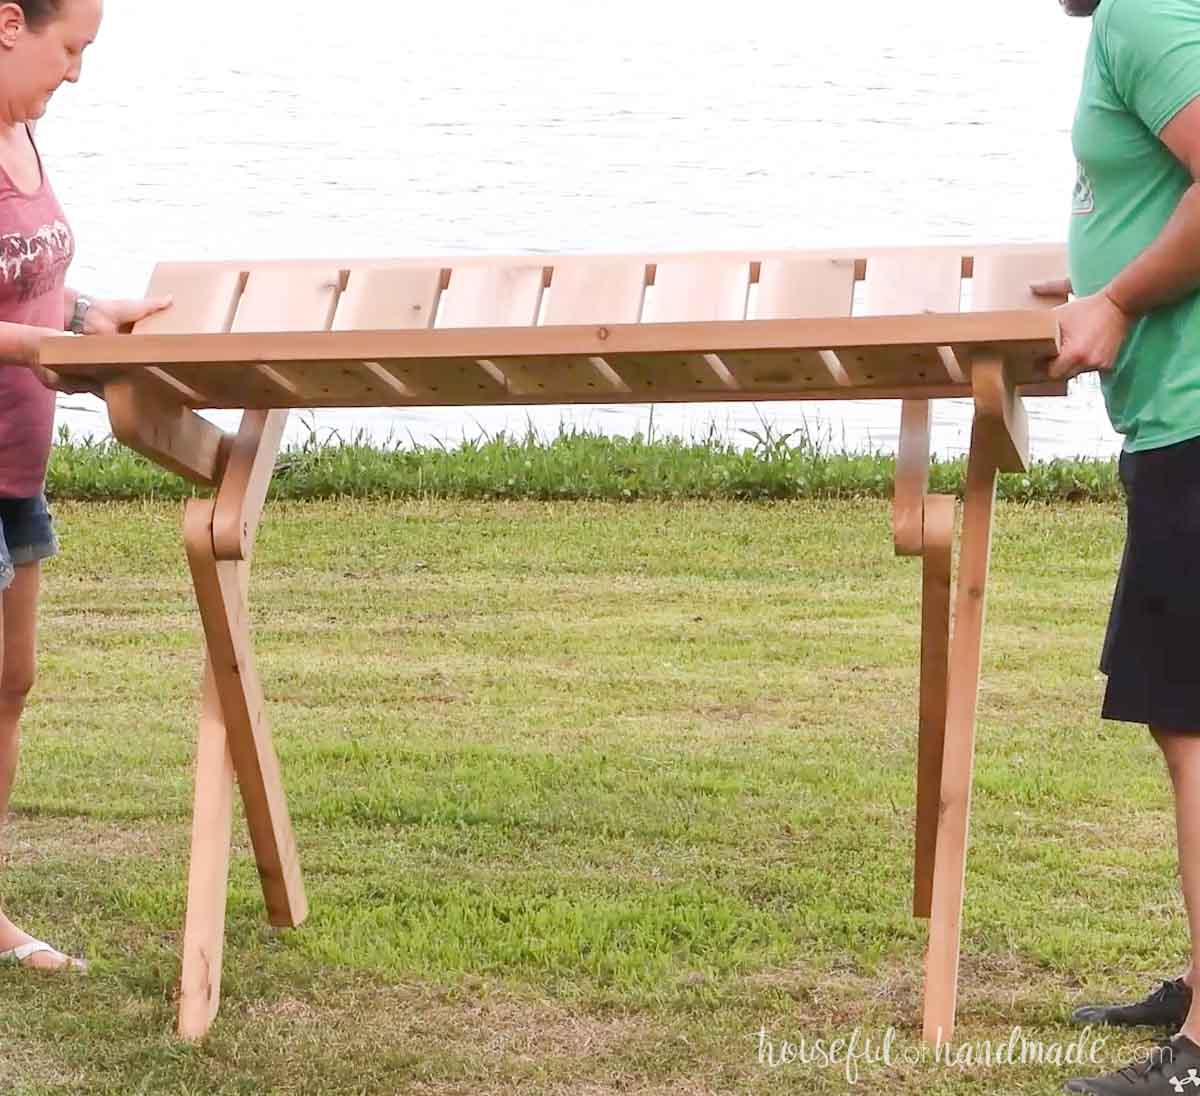
Repeat for the other leg assembly then flip your table over and it is done!
To fold the table: Pull the two sides of the table top apart until the rounded edges of the leg assembly are visible.
Then let the table top pieces fall flat to the sides and press all the leg pieces flat together between them.
To set the table up: Lift the table top pieces up and tuck the rounded edges under the table top pieces. Then press the table top pieces together and let them settle on top of the legs.
If the table is wobbly, pull the legs apart from each other until it is stable.
Prefer to Watch? Check out the Video Below
Happy building!

Thank you to Kreg Tools for sponsoring this post. I only recommend products that I use and love and all opinions are 100% my own. Click here to read my full disclosure policy.