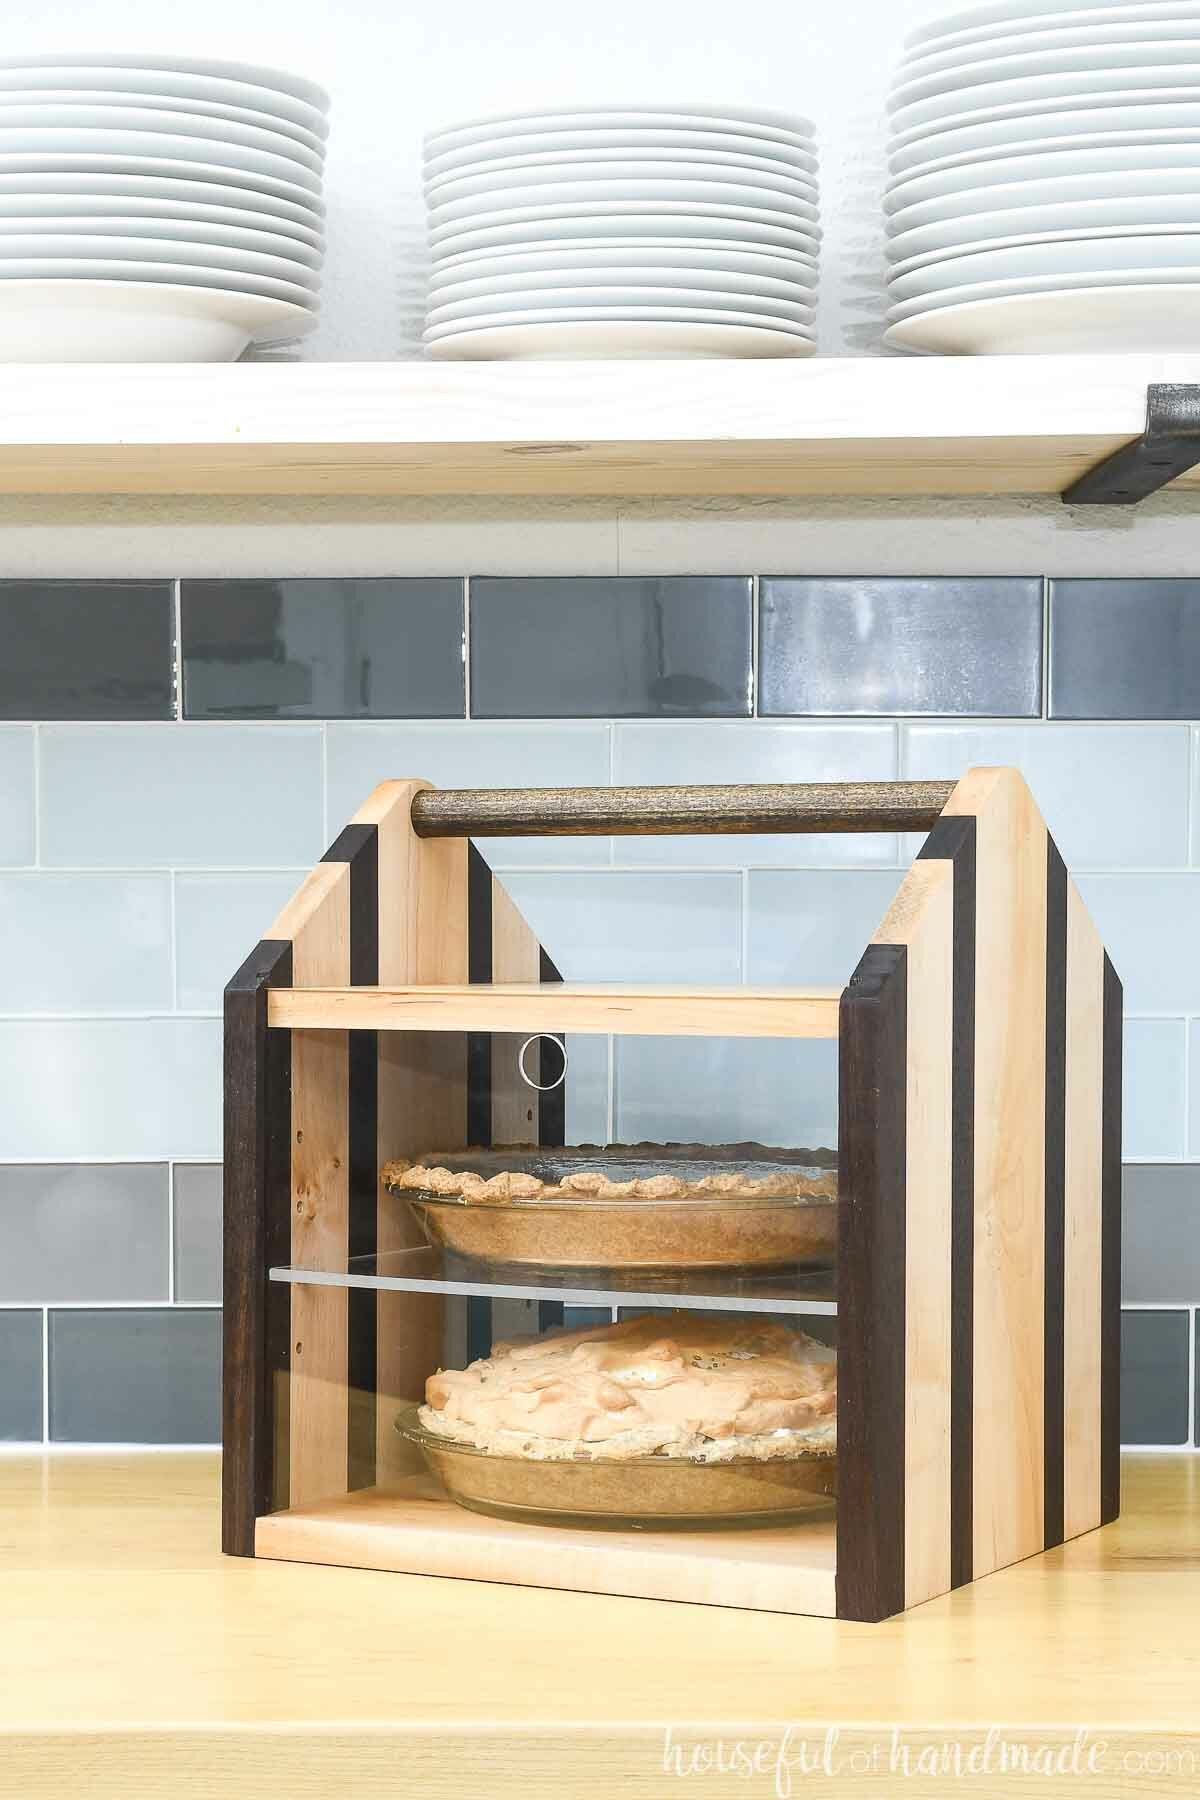
Transport your pies in style with this beautiful pie carrier.
You can never have too many pies. But when you have to transport them, they become a pain. Unless you have your own DIY pie carrier!
This fun afternoon project not only makes carrying pies easier, it also displays them beautifully. The acrylic front and back turn the pie box into a display case.
I partnered with Kreg Tools to share this easy wood pie box just in time for Thanksgiving. Your pies will be the envy of the Thanksgiving table.
This post may contain affiliate links. As an Amazon Associate I earn from qualifying purchases. Click here to read my full disclosure policy.
And now is the best time to treat yourself to a new Kreg Tool. There are so many on sale right now, including the brand new pocket hole jigs!
Double Wood Pie Box
I designed this pie carrier to have room for 2 large homemade pies.
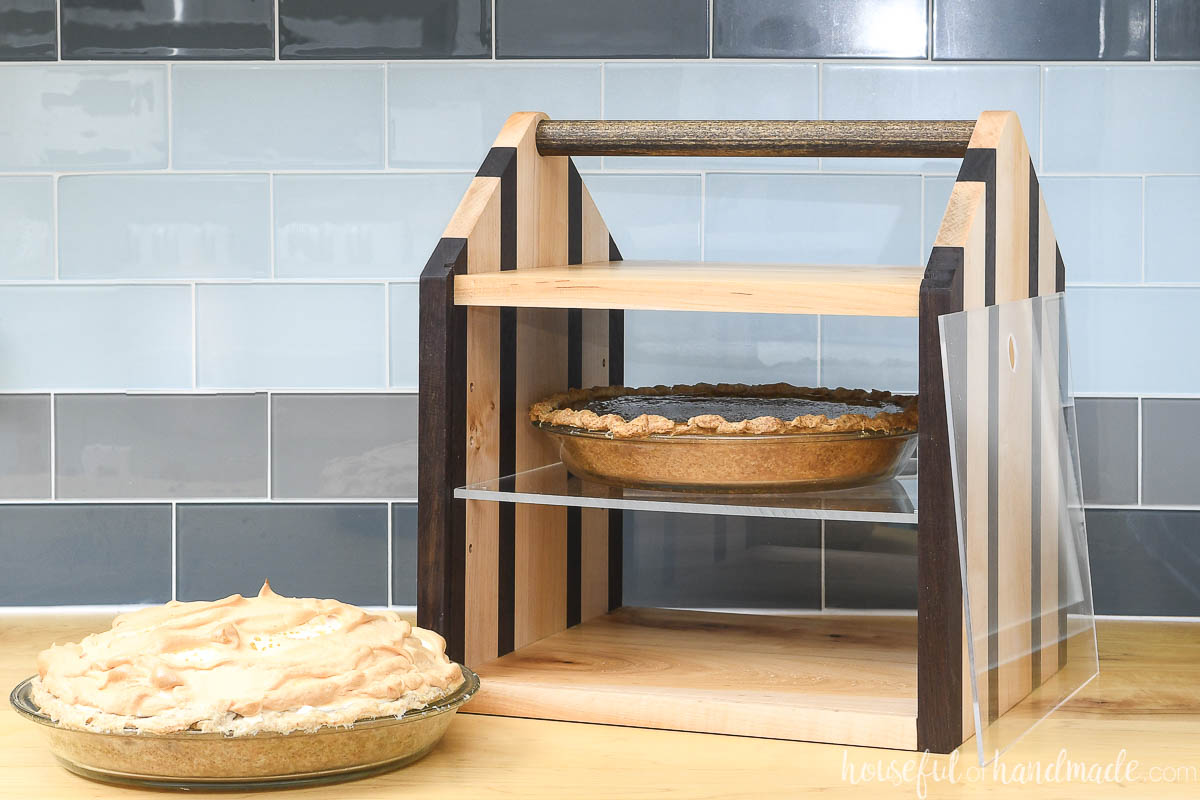
The shelf is adjustable using simple shelf pins so you can easily carry extra tall pies like meringues or cheesecakes. You may even be able to add a third pie if all your pies are short.
To make transporting the pies even easier, the pie carrier has a large, sturdy handle.
Then when you get your pies to their location, you can quickly access them by sliding the acrylic front out of the grooves.
Now your carrier has turned into a beautiful pie display box. And it fits nicely on the countertop so you can store non-refrigerated pies in it too.
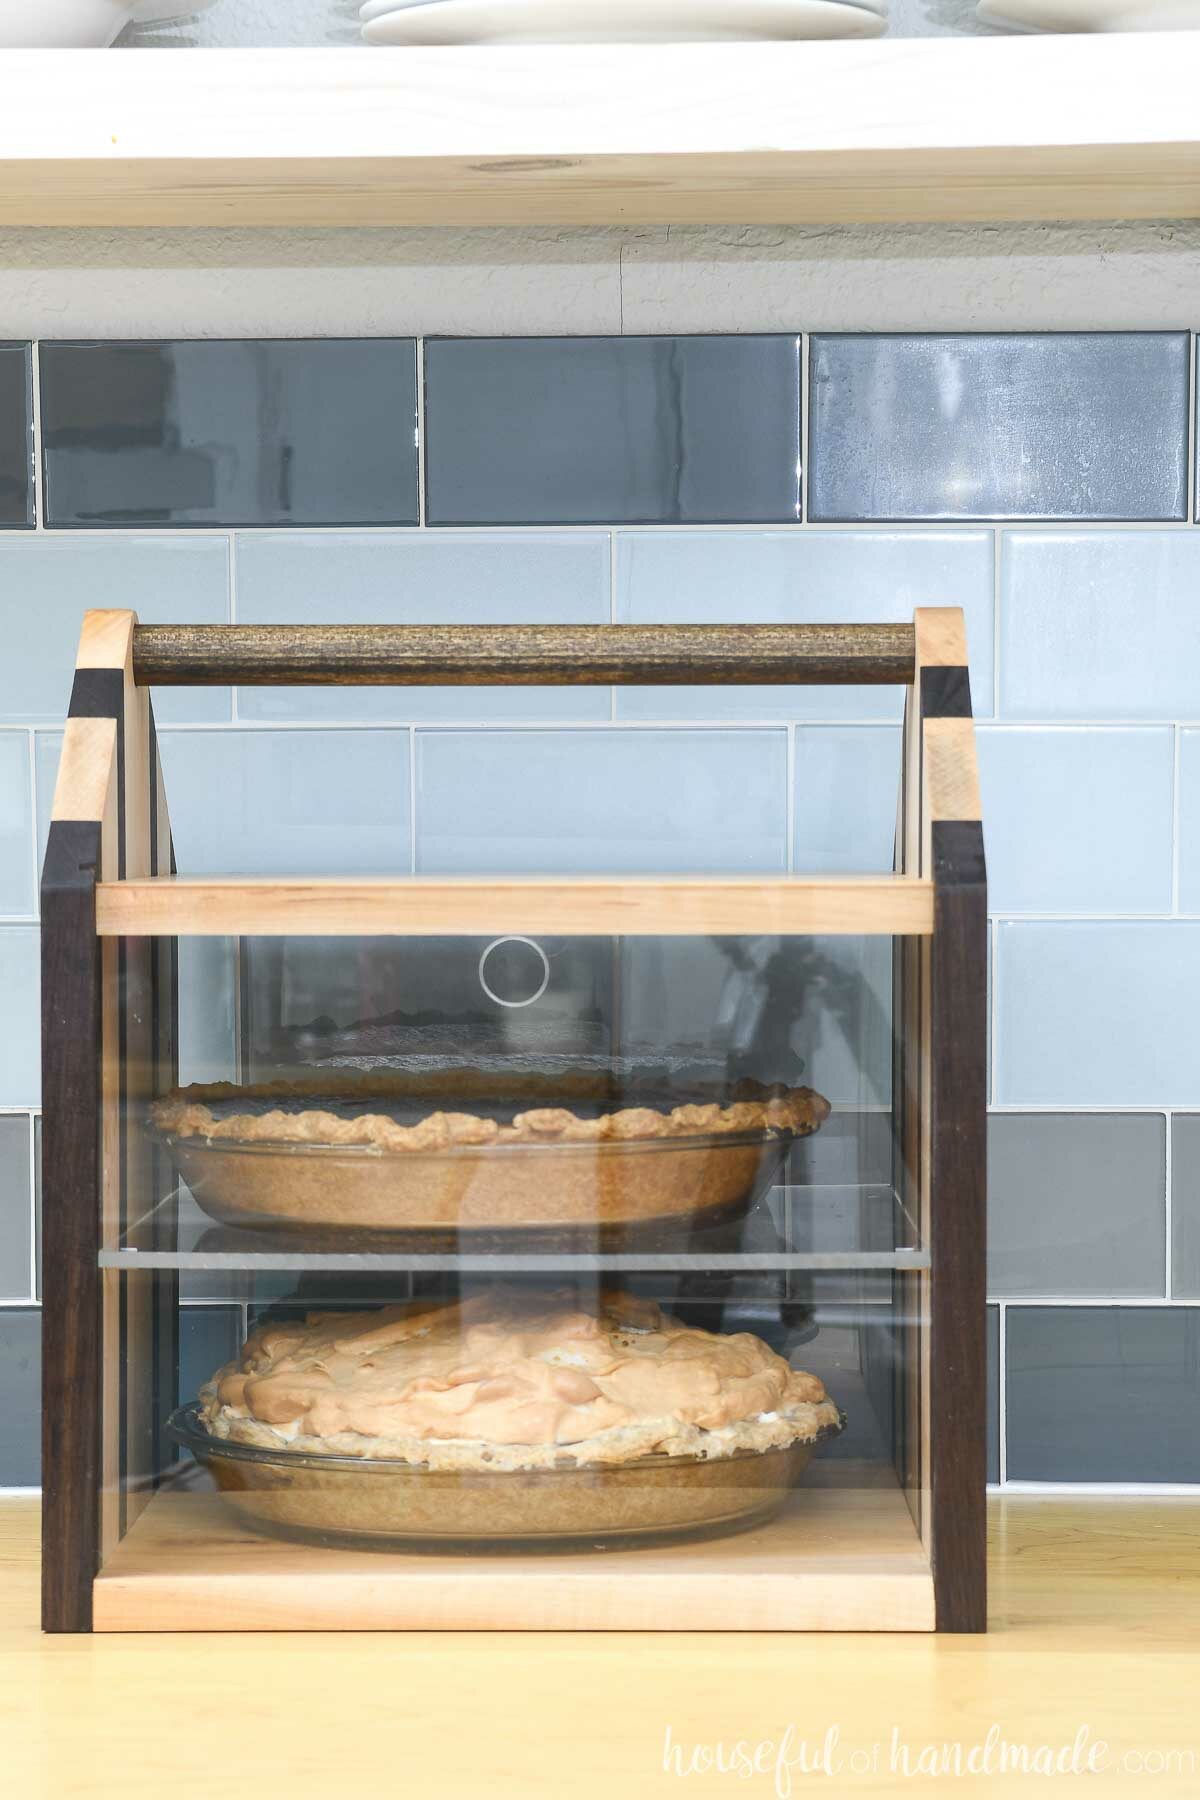
How to Make a Pie Carrier
Tools needed:
- Kreg Adaptive Cutting System (ACS)
- Or you could use a circular saw with guide track
- Kreg pocket hole jig
- Drill
- Impact driver (optional, but I love not having to switch bits with the drill)
- Kreg shelf pin jig
- Drill press or drill guide
- Hammer
- Belt & disc Sander
Supplies:
- Wood products-
- (1) 1×12 6′ long board*
- (1) 1″ dowel 12″ long
- 20″ x 13″ piece of 1/8″ thick acrylic or plexiglass
- 11″ x 12″ piece of 1/4″ thick acrylic or plexiglass*
- 1 1/4″ Kreg pocket hole screws
- 5mm shelf pins
- 1″ wire nails
- Food grade sealer
*You can use scraps for the side/shelves of the pie carrier instead of a 1×12 board. See Step 1 for details. Also, you can use either wood or 1/4″ acrylic for the adjustable shelf. If using wood, you do not need the 1/4″ acrylic.
Overall Dimensions:
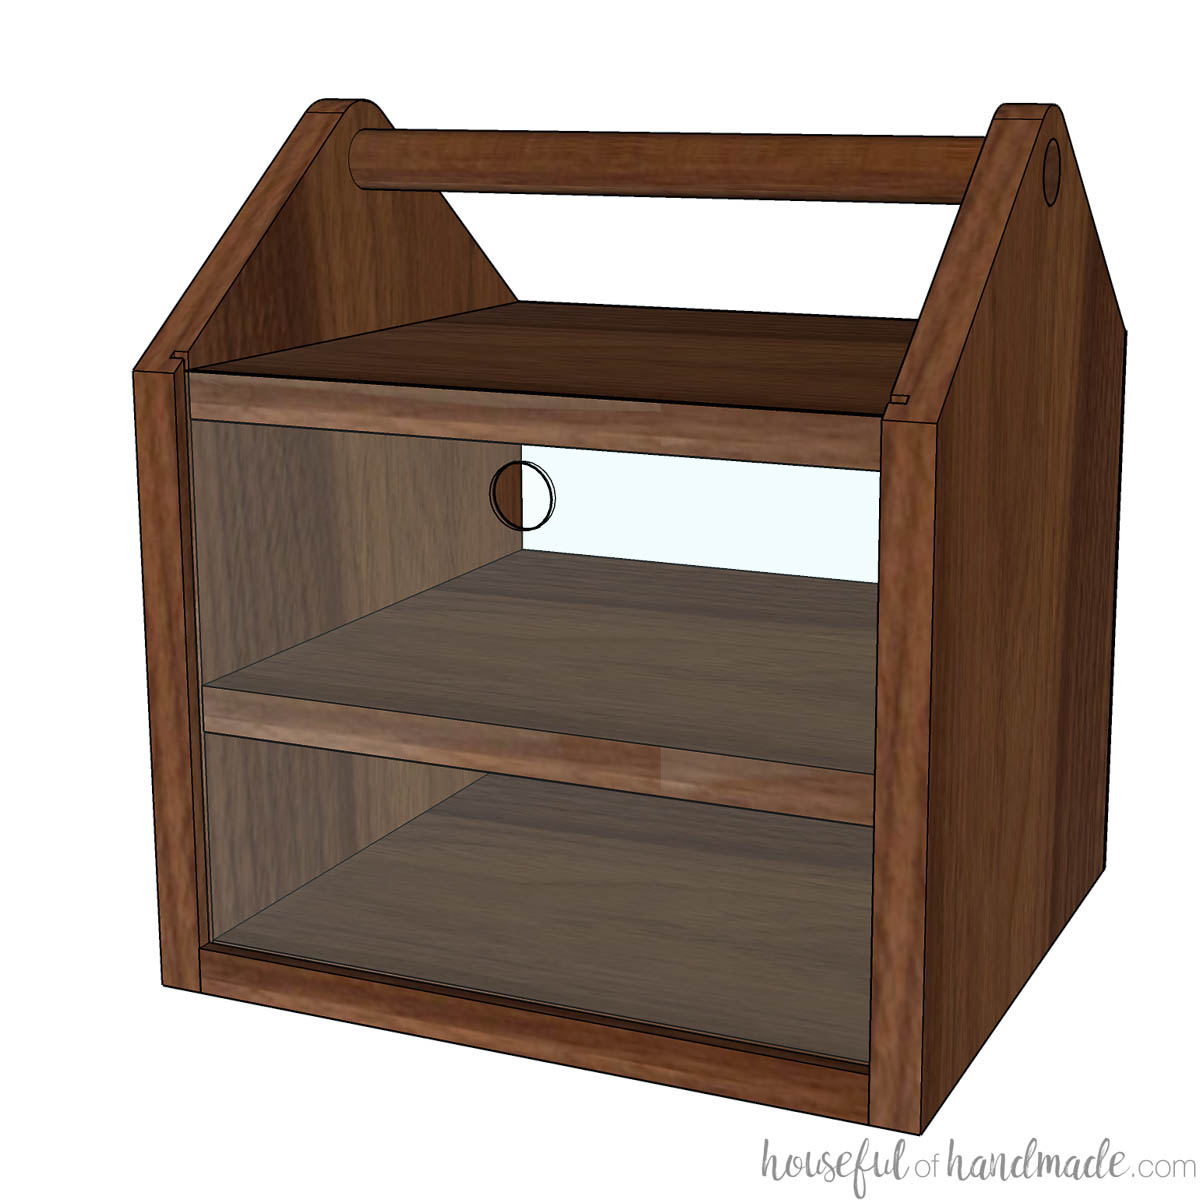
- The wooden pie carrier is 14″ tall.
- The inside is 11 1/4″ x 11 1/4″.
- There is 9 1/2″ of space between the top and bottom for pies.
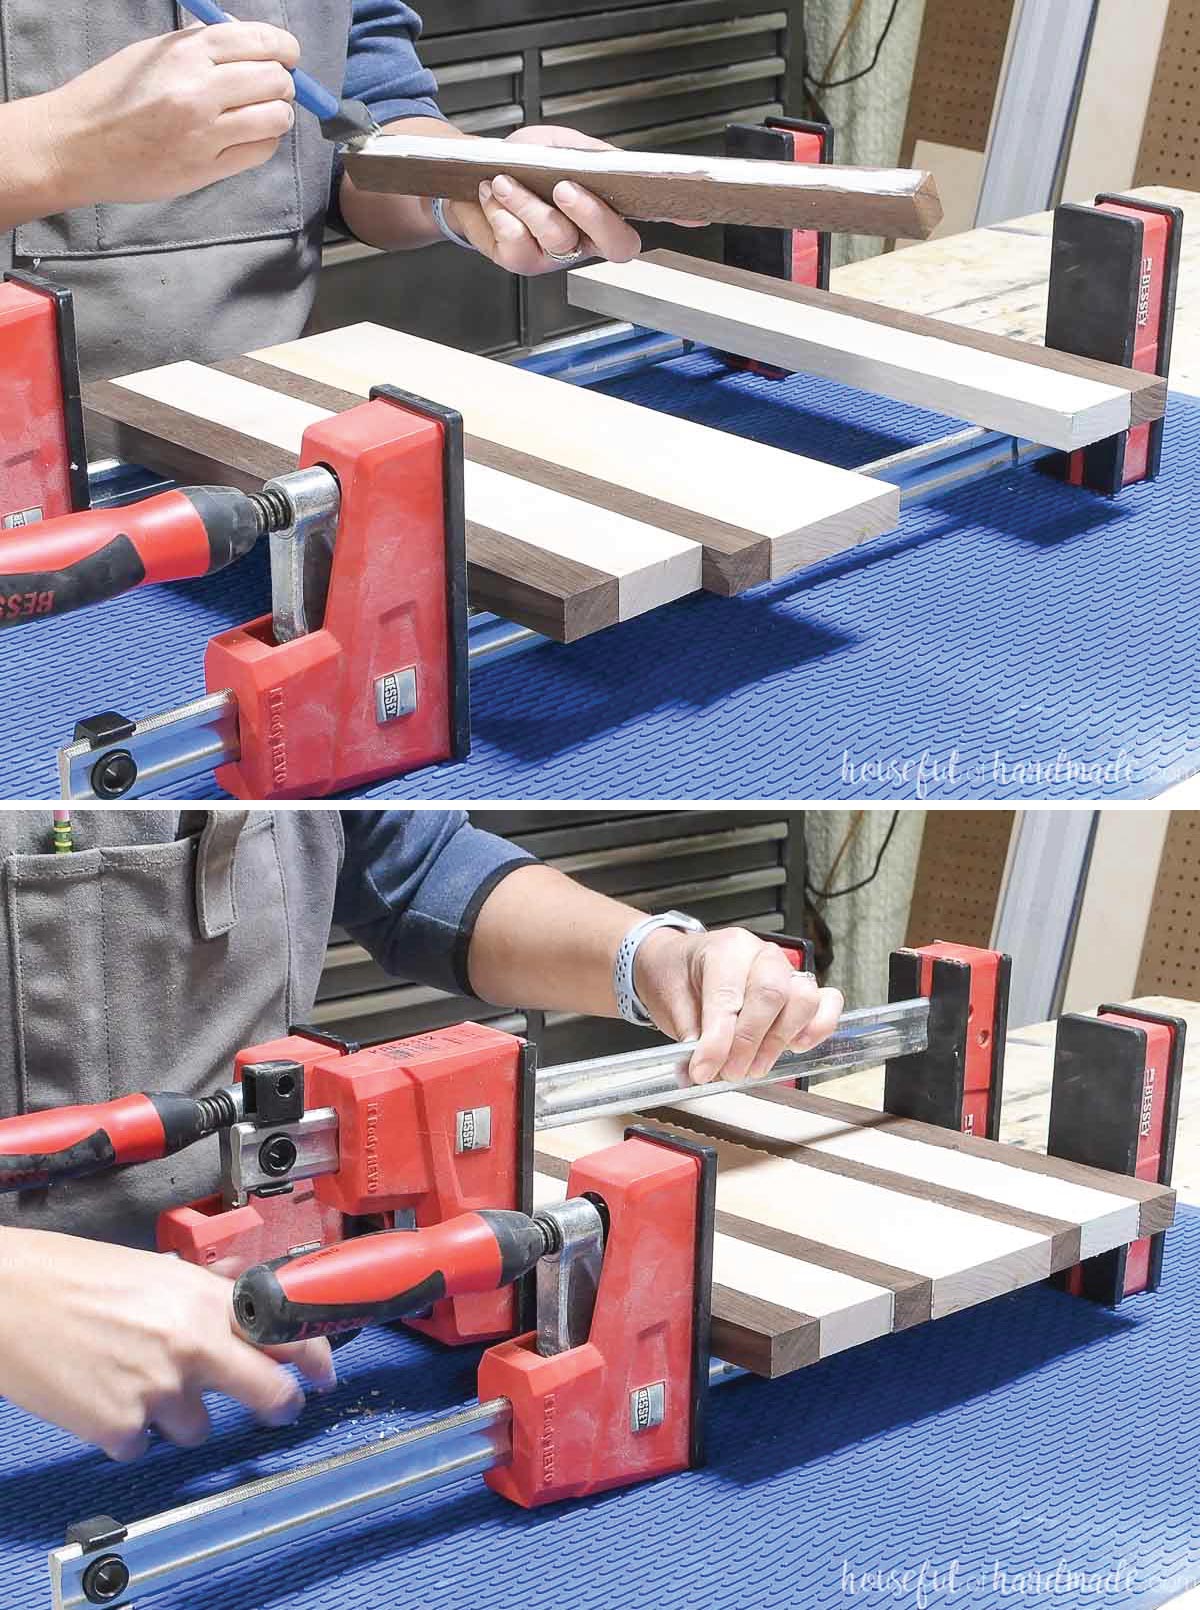
STEP 1- Glue together boards (optional)
If you want to use up scraps, you can create a fun design on the sides and/or shelves of your carrier. This is totally optional. You can also build the carrier out of a 1×12 board or plywood.
To glue up the boards you will need to have a final width of 11 1/4″ (the width of a 1×12 board). It is a good idea to plan a little extra and then trim the boards to final width once glued together.
Rip all the pieces together then lay them out on in order. Add wood glue to the inside seams and clamp them together.
EXPERT TIP:
Alternate your clamps from top to bottom to help prevent buckling when you glue up boards.
Once the glue is dry, plane or sand the sides smooth.
Trim the glued together boards to final width (11 1/4″).
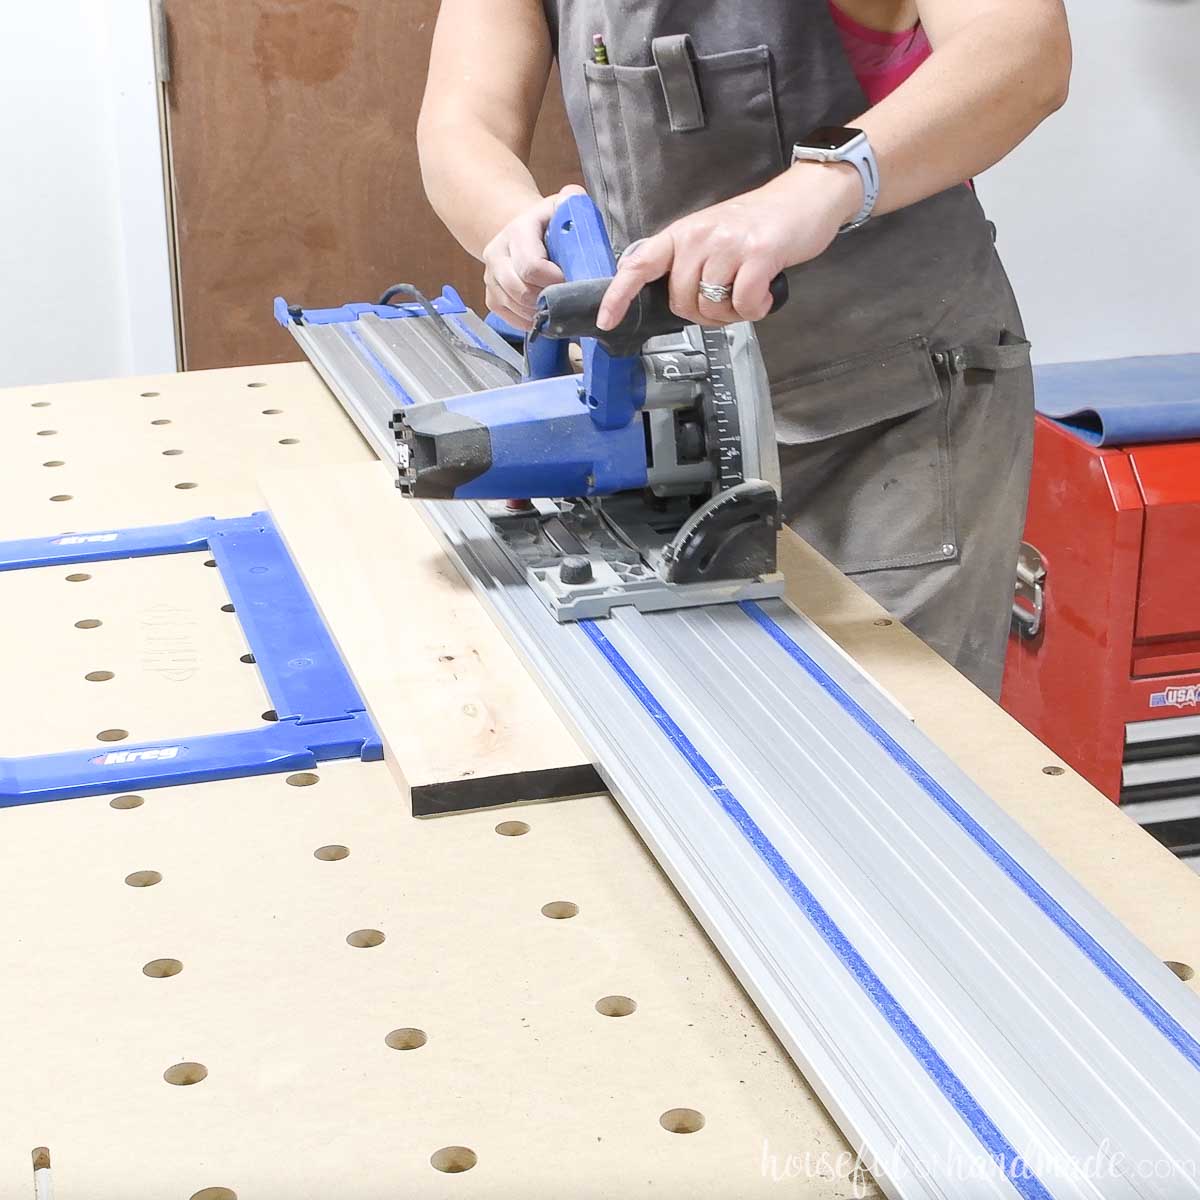
Then square off one edge. The Kreg Adaptive cutting system makes it easy to suare up your boards iwth the laser cut holes and versa stops.
Finally cut the sides to 14″ long and the top and bottom pieces to 11 1/4″ long.
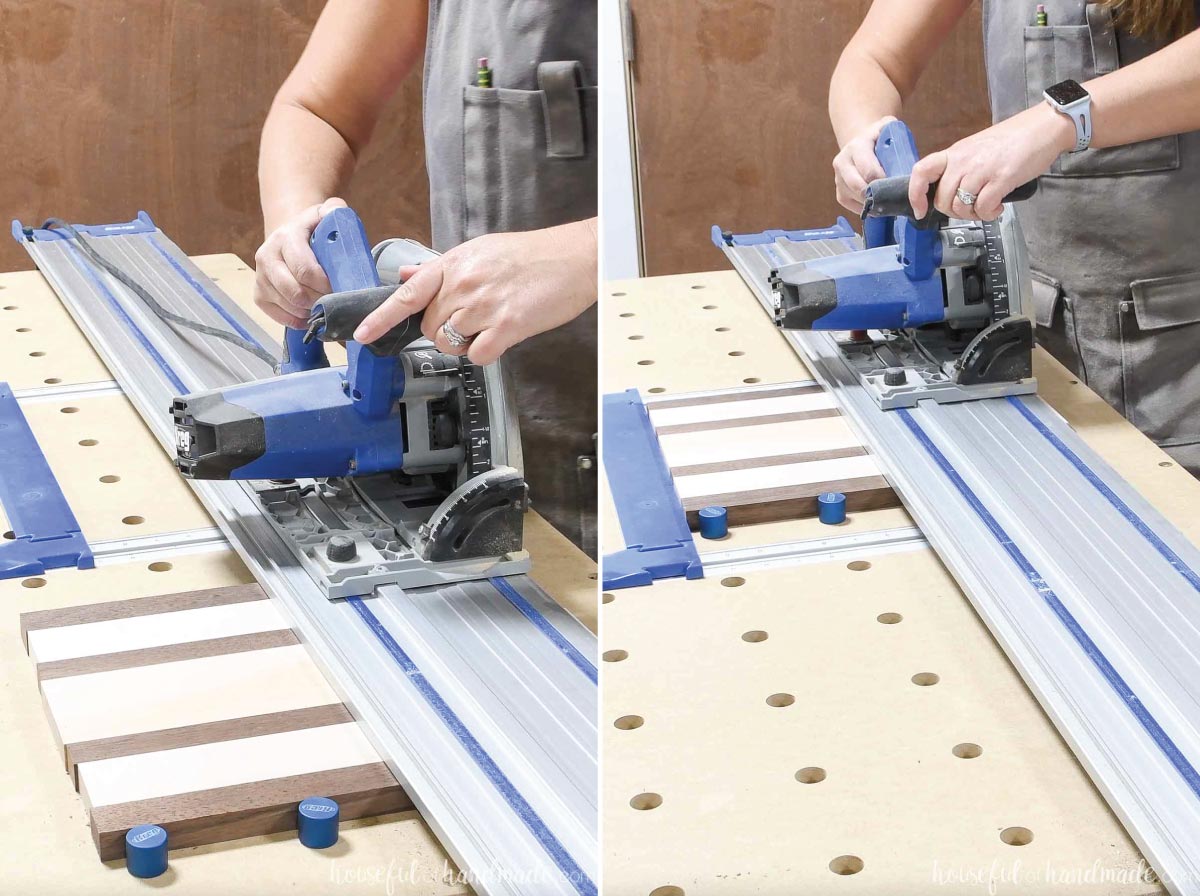
STEP 2- Prepare the side pieces
With your side pieces cut to length (14″), measure and mark a 1″ section at the top center. On the sides, measure and mark 10″ up from the bottom.
Draw a line between these two marks creating an angle at the top.
Cut the side pieces along this line.
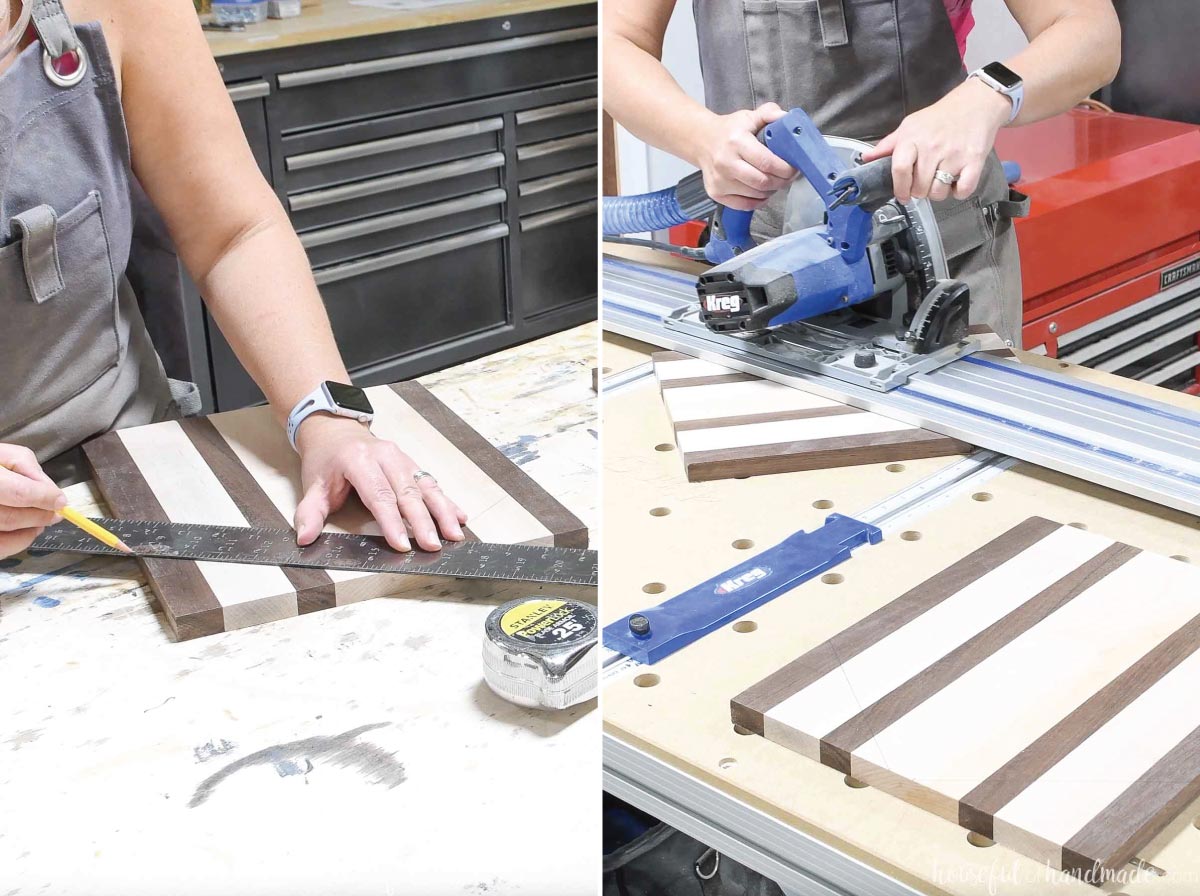
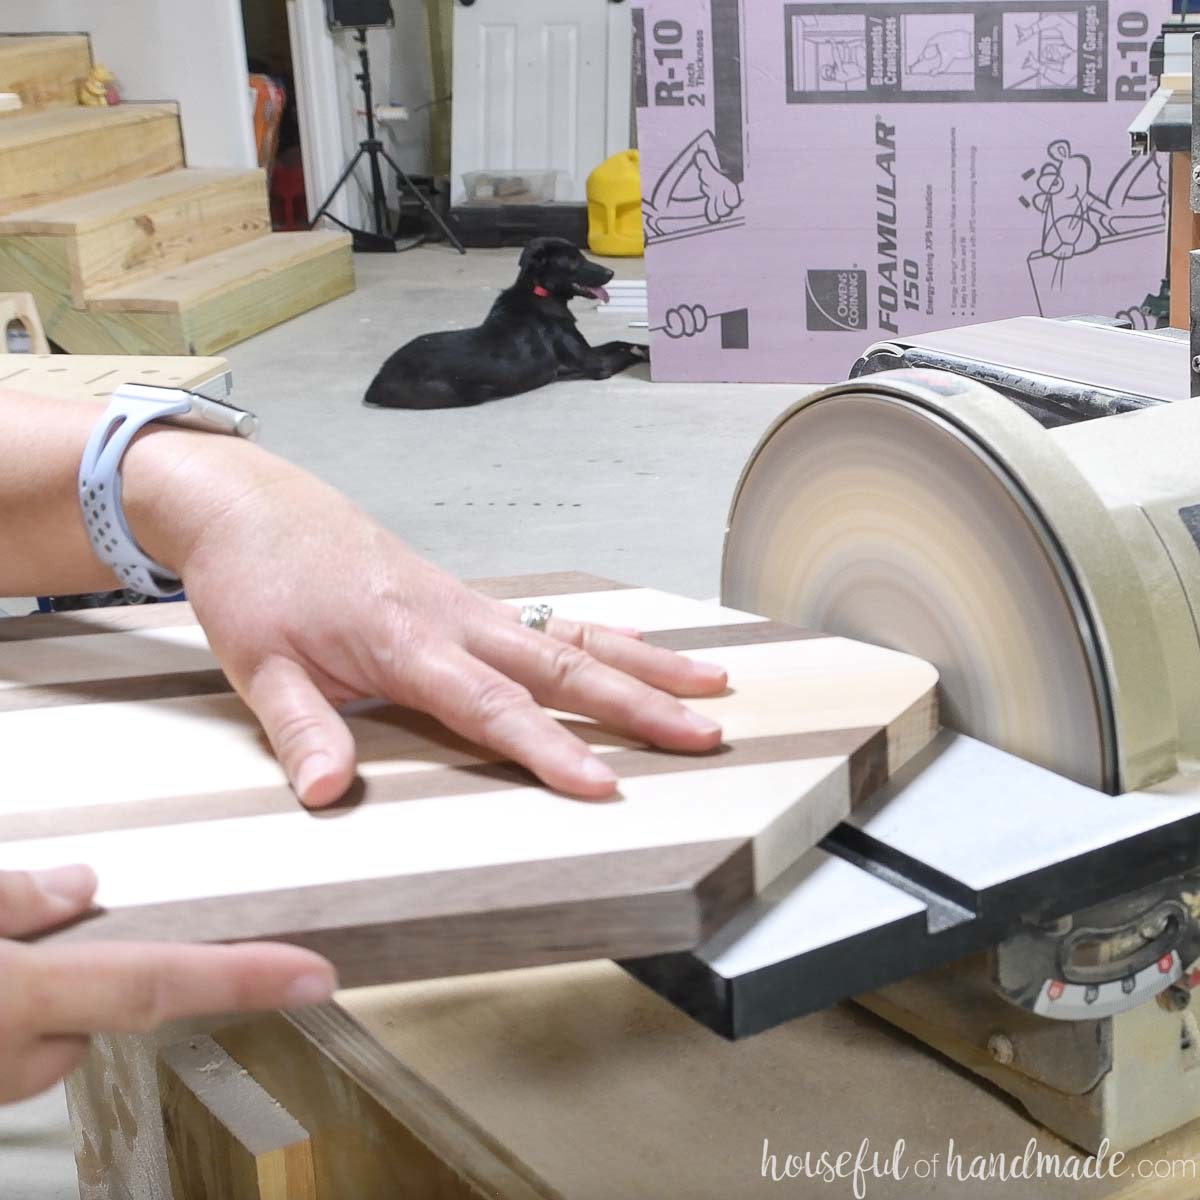
Sand the top peak smooth to create a wide arch.
Decide which side of each side board will be the inside and the outside. Make sure they are mirrored when you add all the holes/grooves.
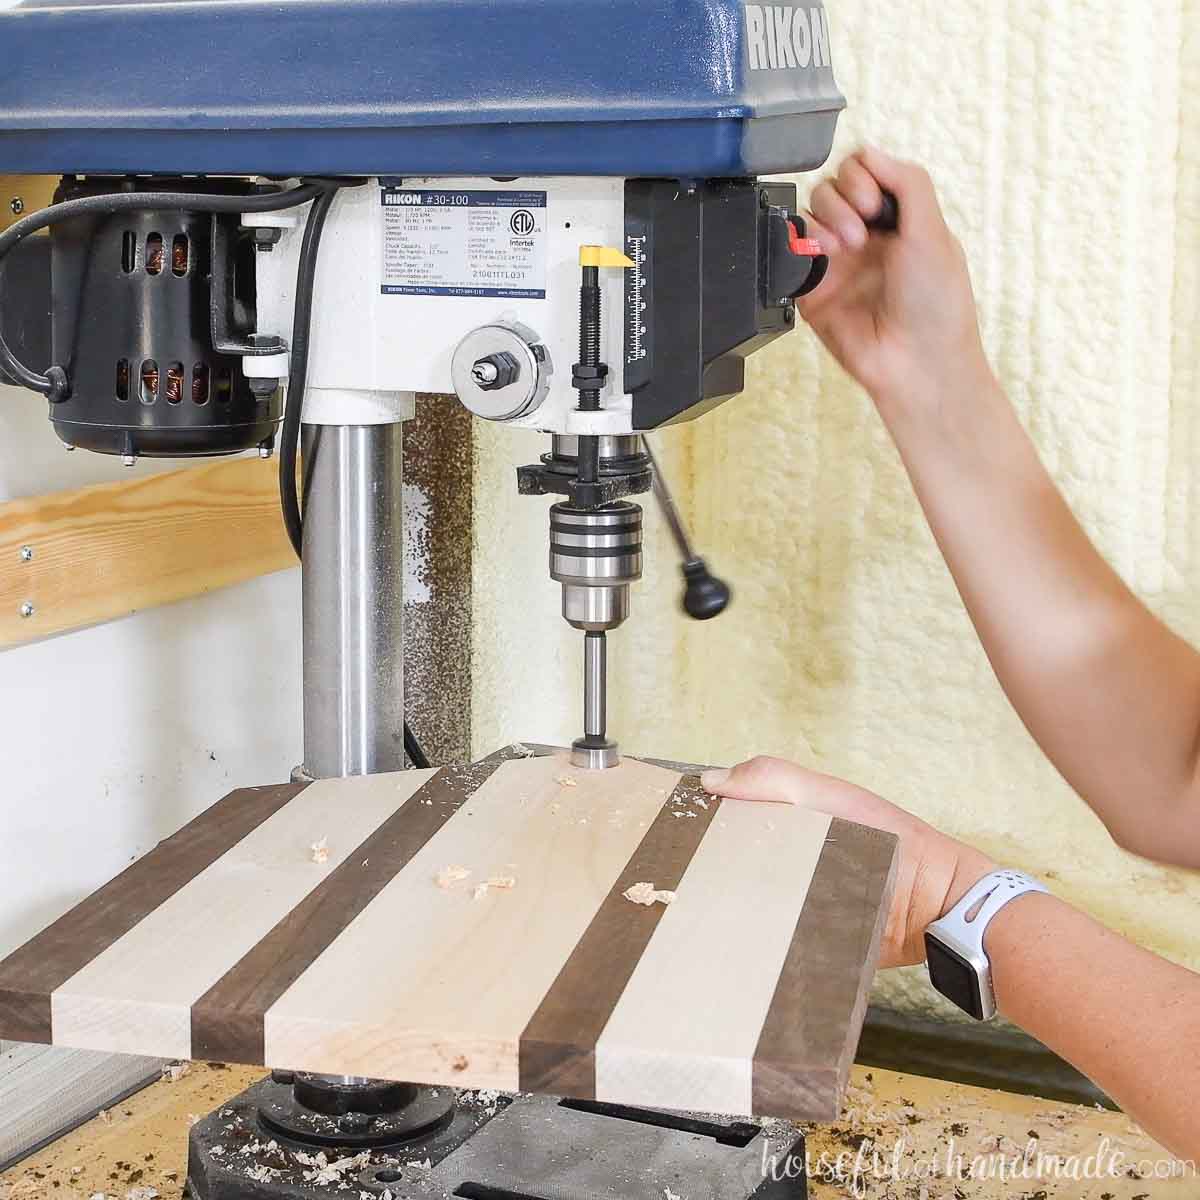
Drill a 1″ wide and 1/2″ deep hole in the top center of the peak so it is 1/4″ below the top.
EXPERT TIP:
Make sure to measure and mark the hole placement from the bottom of your board since the top might not be perfectly symmetrical because of the sanded curve.
If you do not have a drill press, you can use a drill guide to keep the hole straight as your drill.
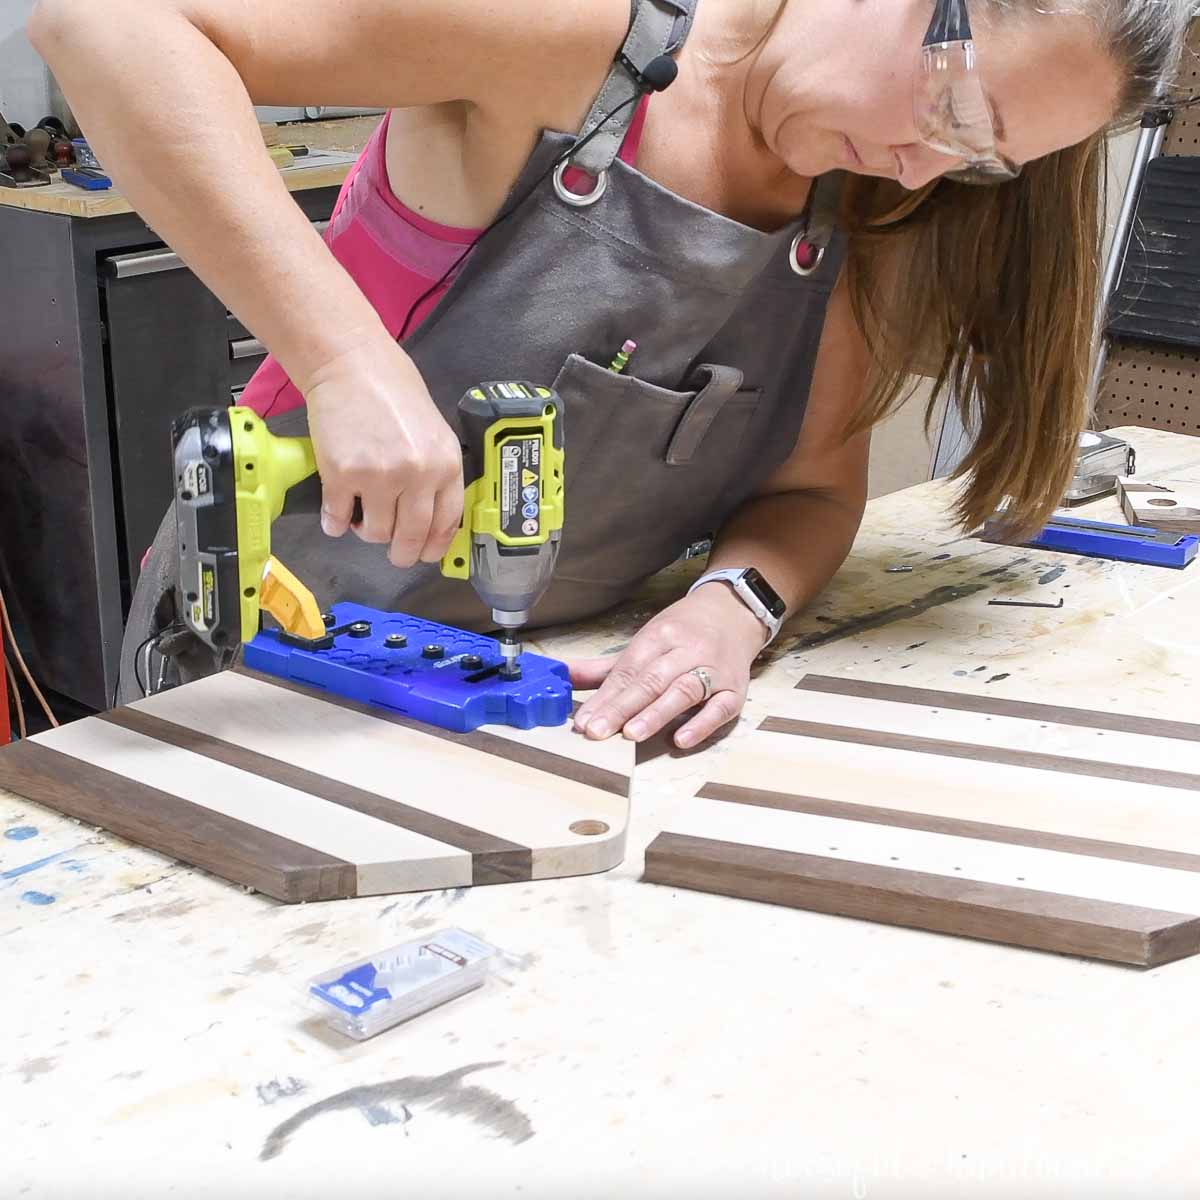
Add 5mm shelf pin holes to the inside of each side piece with the Kreg shelf pin jig.
Lay the side of the jig up with the side of the board and keep the bottom of the jig flush with the bottom of the board.
You only need to drill 3 or 4 shelf pin holes in the center of the non-slanted section.
STEP 3- Cut grooves for the front
The acrylic front is attached to the pie carrier by sliding it into grooves in the sides and bottom pieces.
To cut the grooves in the sides and bottom, set the Kreg ACS up so that you will only cut 1/4″ deep. Place the stops so that the cut is 1/4″ away from the front of the side/bottom.
Cut one line down the front inside of each side piece and the bottom. Check to see if the groove is big enough for your acrylic piece.
If not, adjust the stops on the ACS just slightly so the groove cuts a little more into the center of the board (leave the 1/4″ on the outside of the groove).
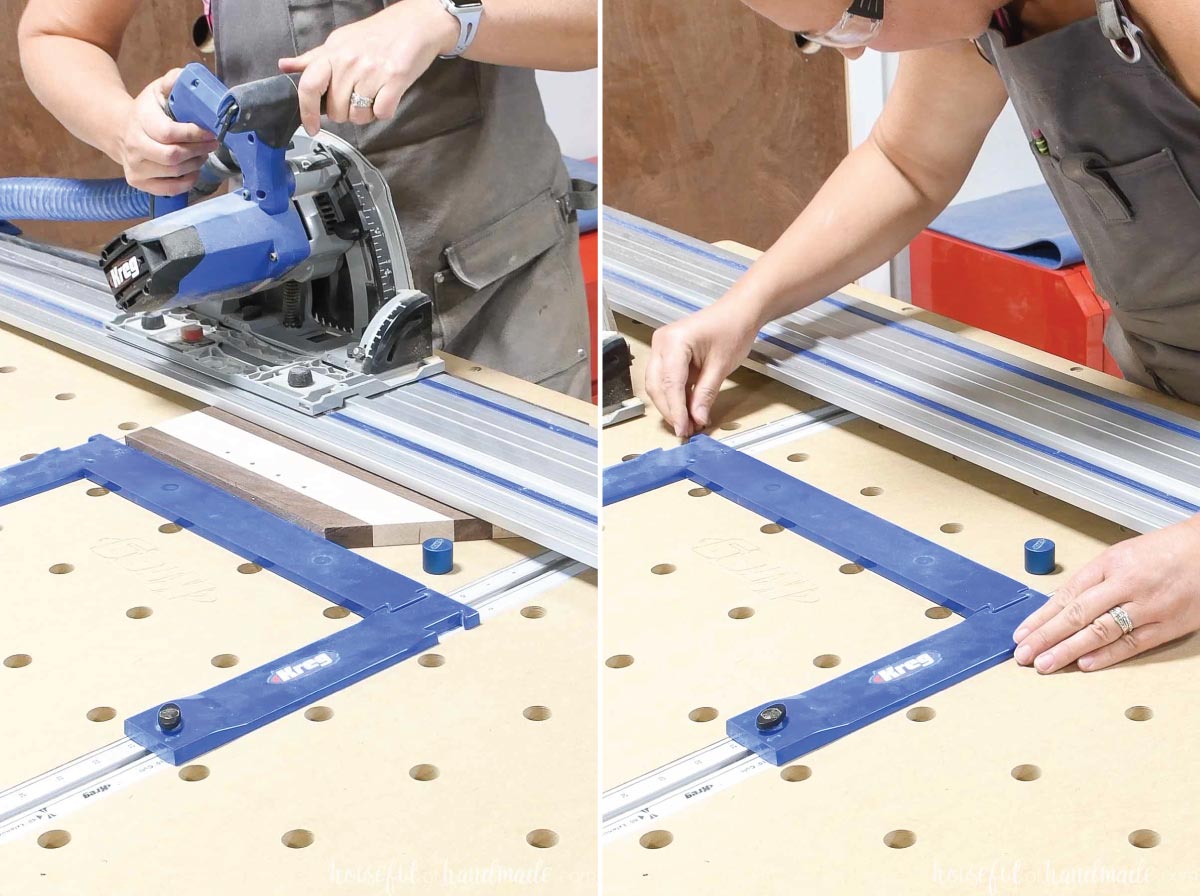
Then cut one line down each board again, making the groove slightly thicker. Check the thickness of the groove with your acrylic.
Repeat as needed. I only needed to do 2 passes.
Be careful to take small steps with each pass, not a full blade width, so you do not accidentally make your groove too wide. You want the acrylic to slide easily, but not be too loose.
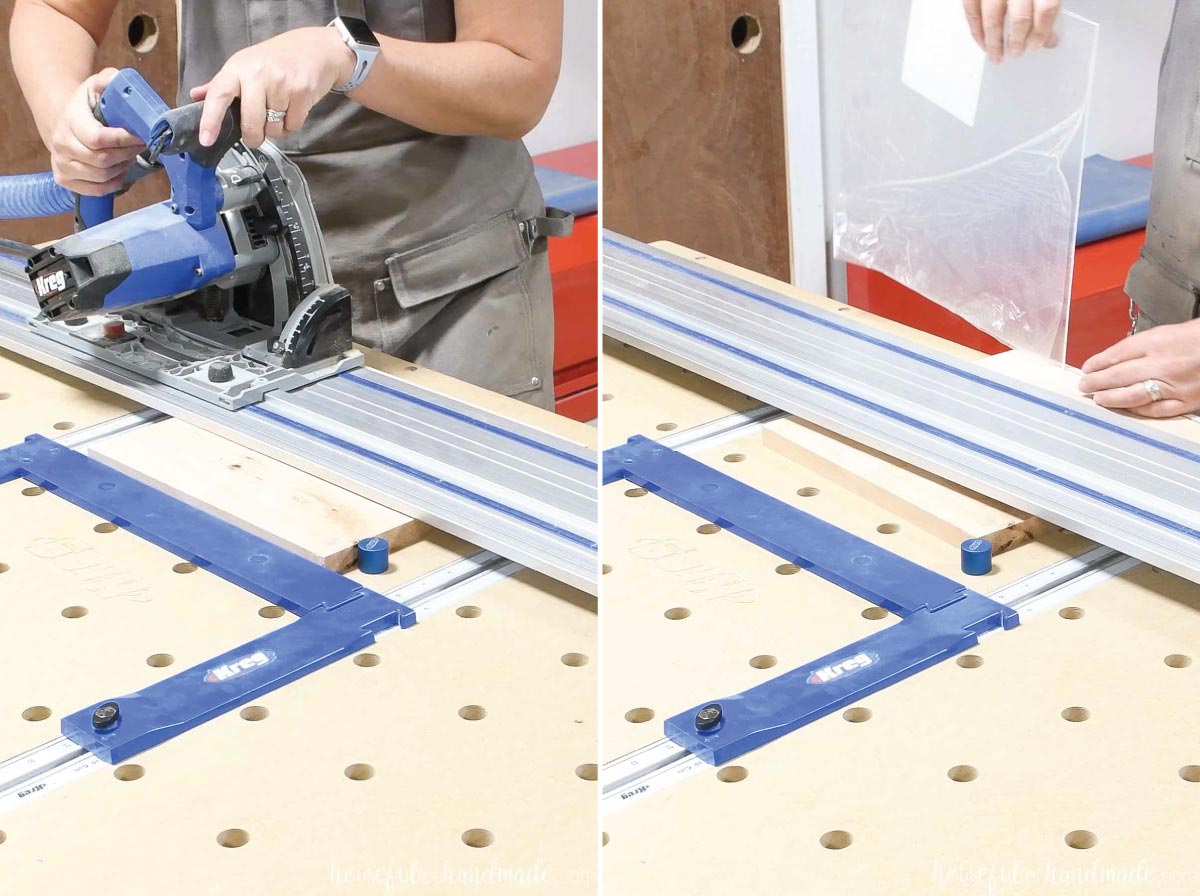
Once you have cut the groove in both side pieces and the bottom. Adjust the depth of the saw to cut through the board, do not move the stops.
Then trim the top piece to this width. This will make sure the top piece is in perfect alignment with the groove.
STEP 4- Assemble
Cut your dowel so you have a 12″ long piece. This will allow it to sit 3/8″ into each side piece.
If you want to stain your dowel a contrasting color, do it before assembly.
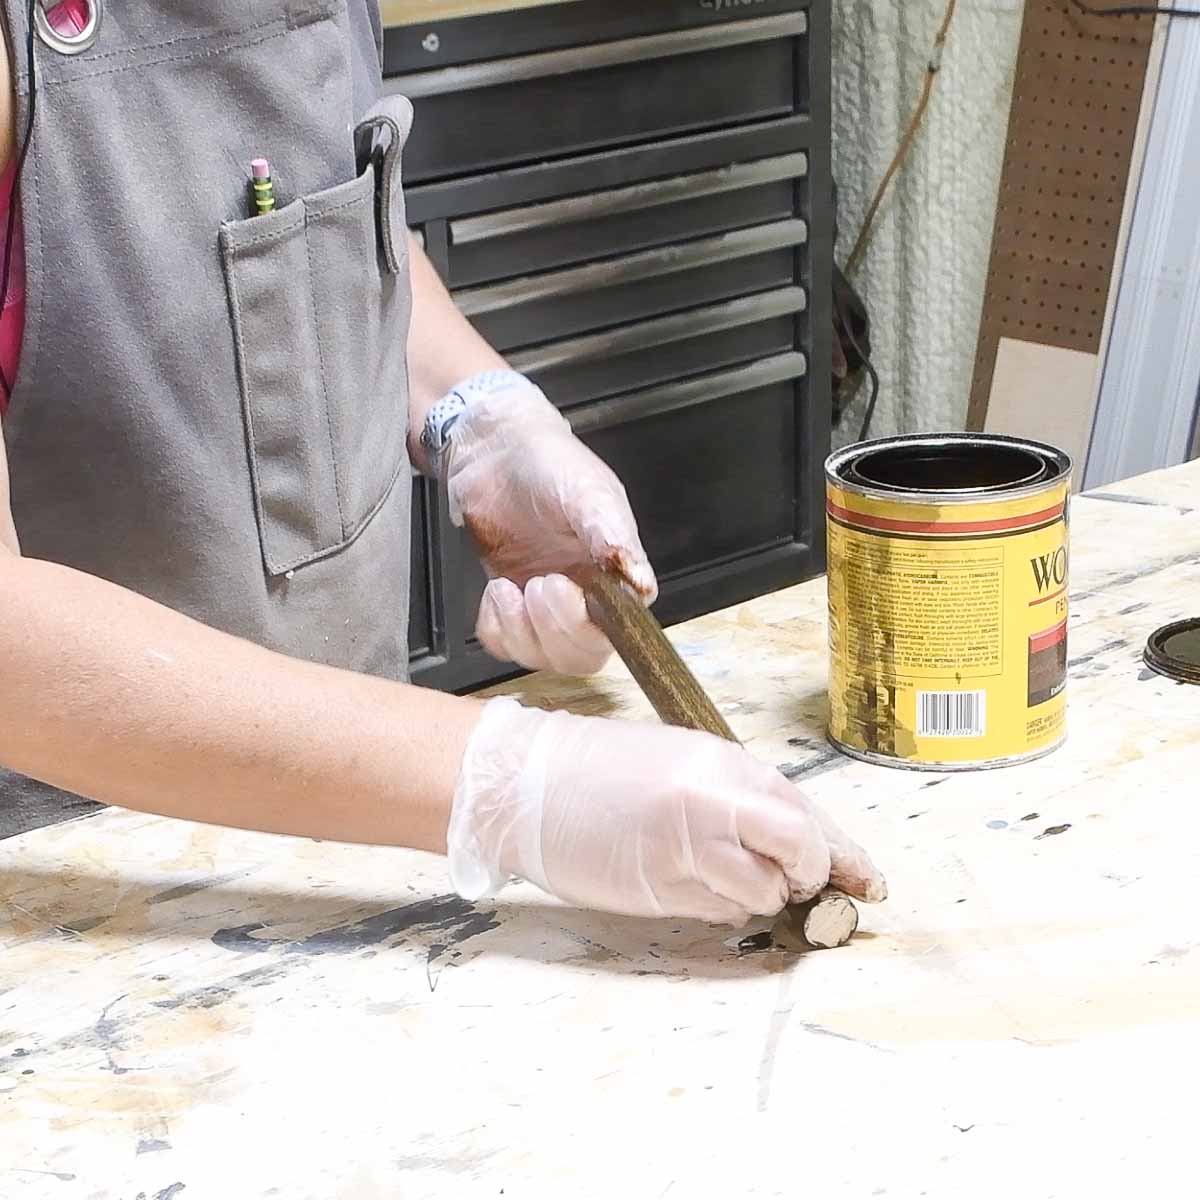
Set your pocket hole jig for 3/4″ thick material. Drill 4 pocket holes in each end of the top and bottom pieces.
On the bottom, drill the pocket holes on the opposite side as the groove.
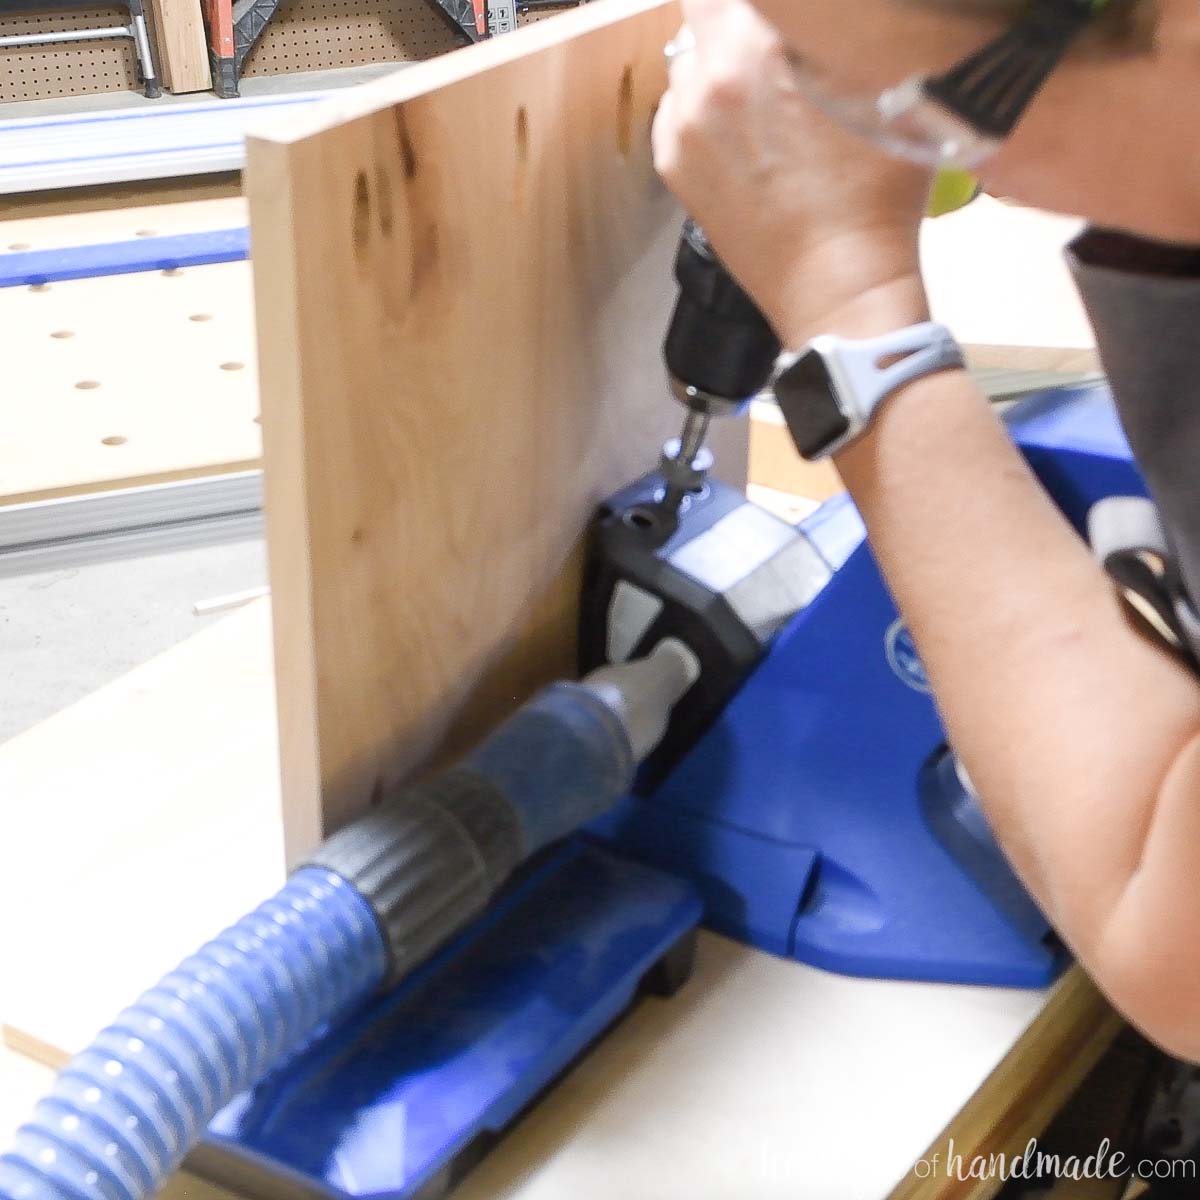
Attach the top piece to one side piece so the top is 10″ up from the bottom.
Secure with wood glue and 1 1/4″ pocket hole screws.
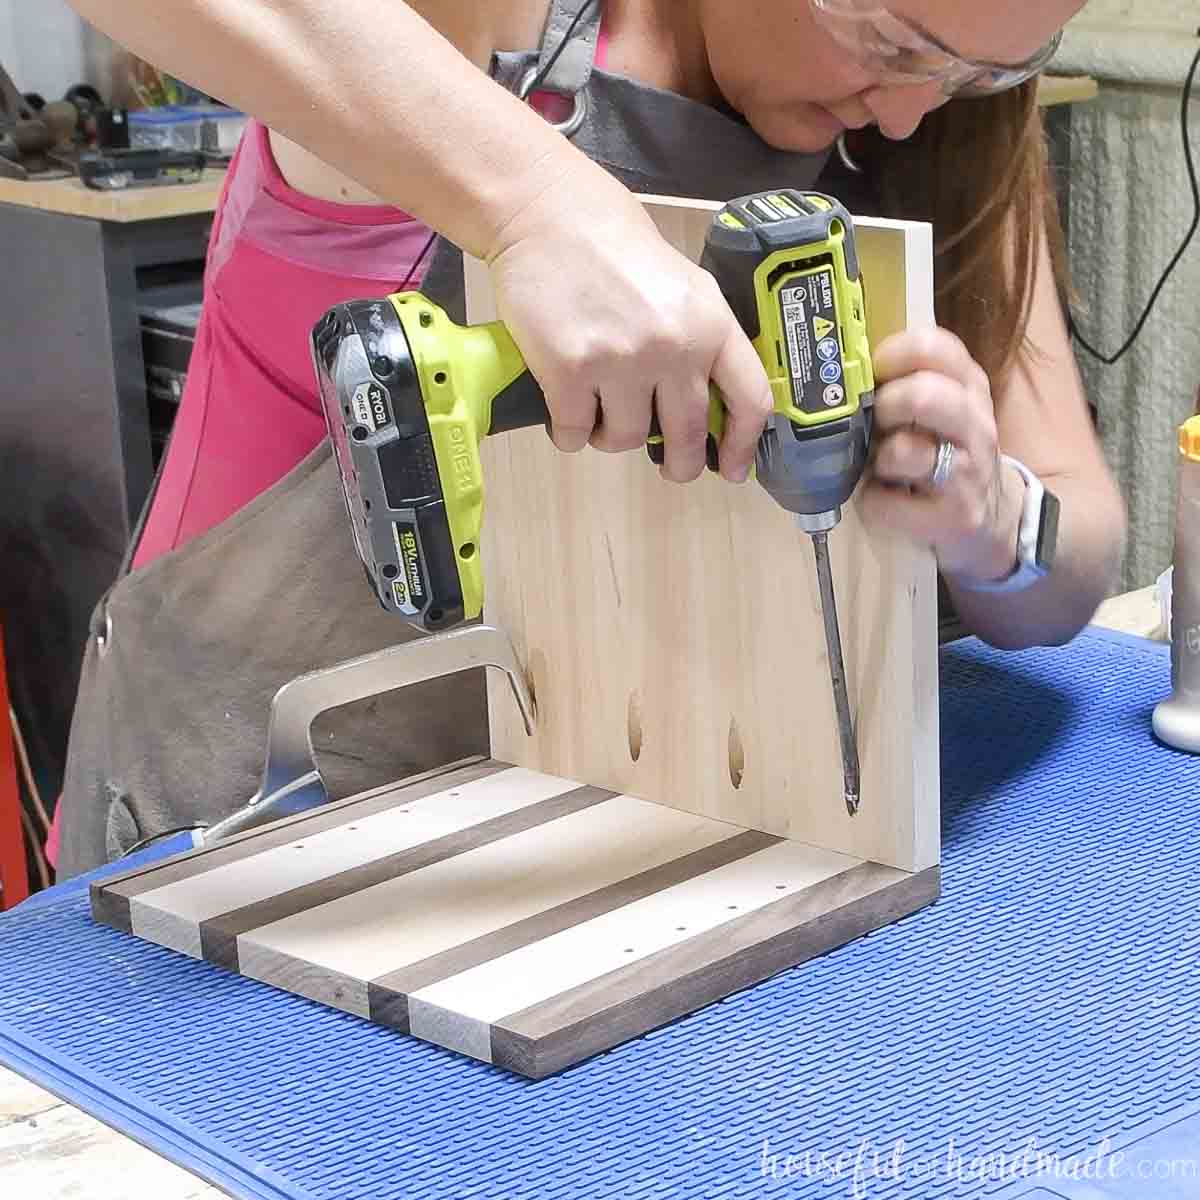
Then attach the bottom board to the side piece so it is flush with the bottom.
Secure with 1 1/4″ pocket hole screws and wood glue.
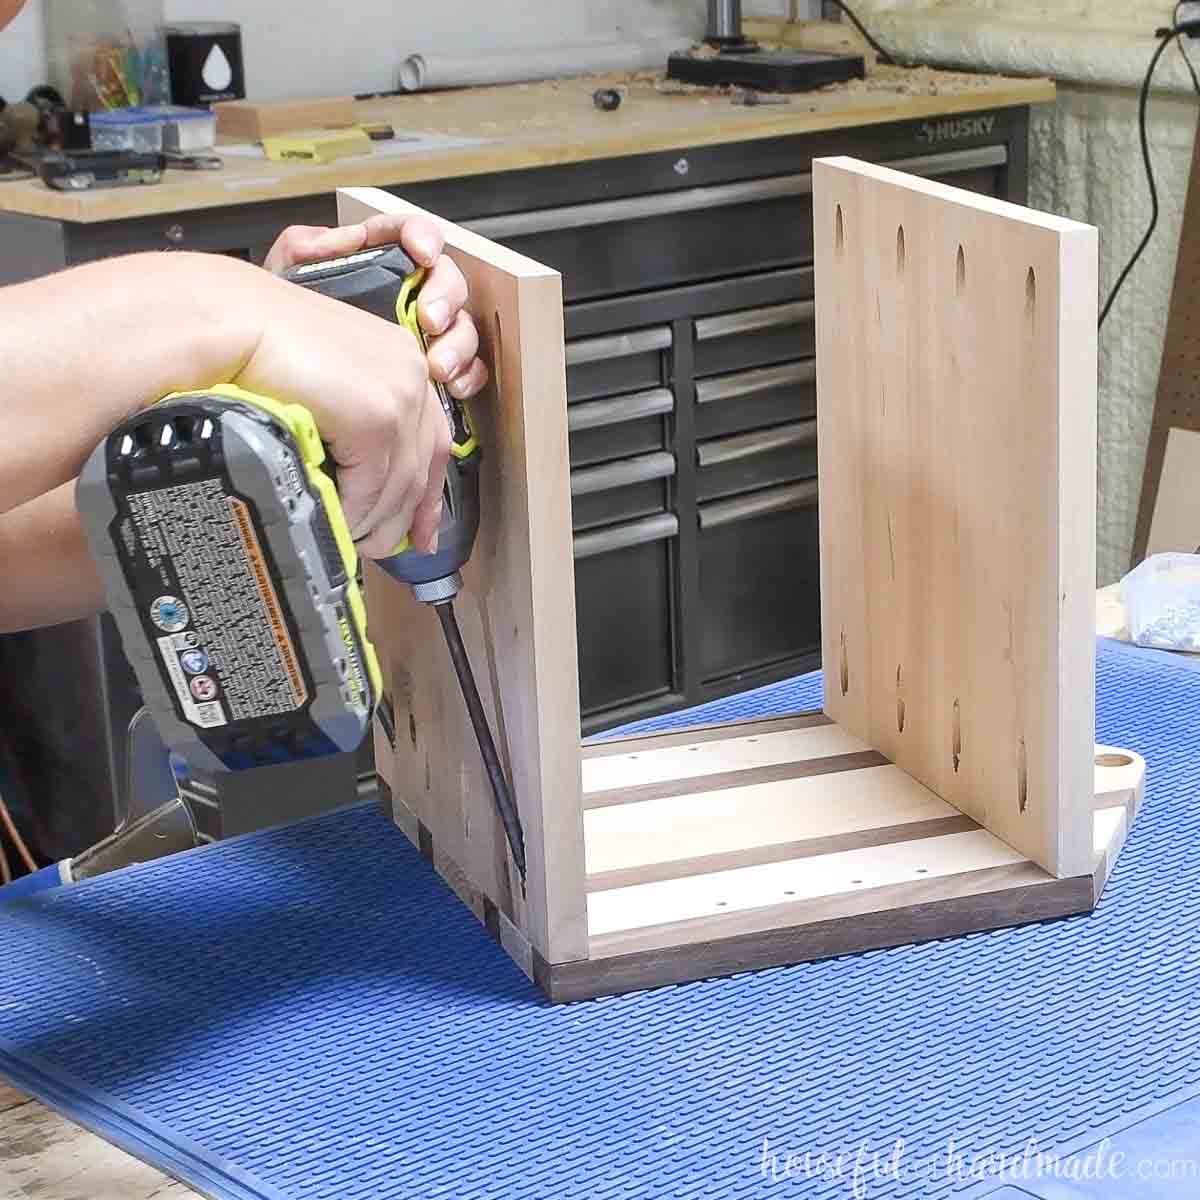
Glue the dowel into the hole on the one side.
Then add glue to the dowel and edges of the top/bottom boards and flip it over onto the other side board.
Press the dowel into the other hole to secure.
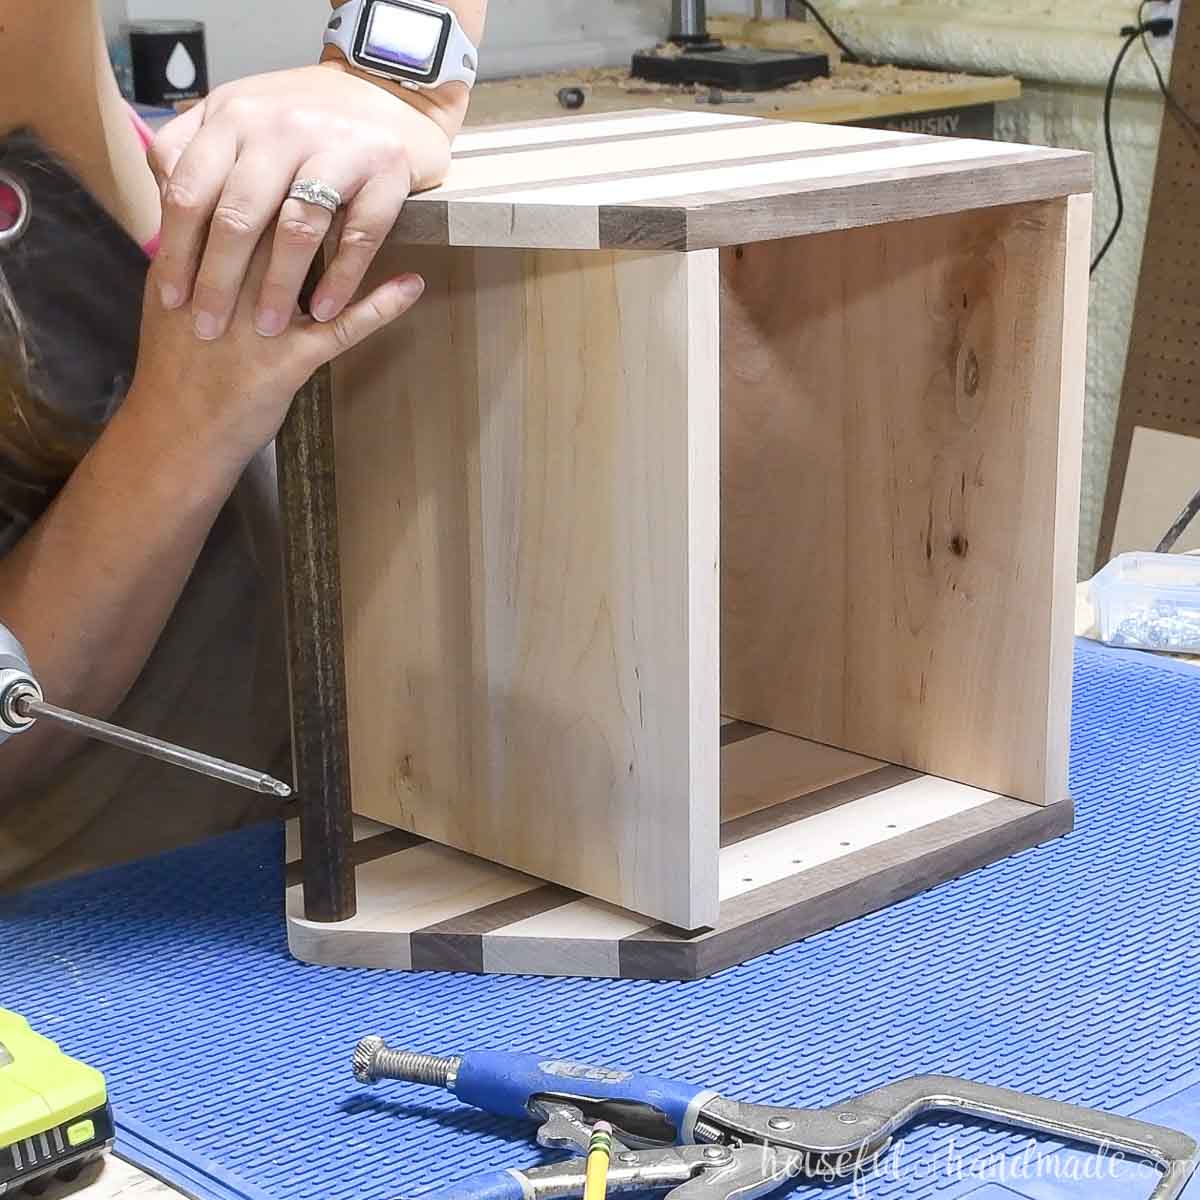
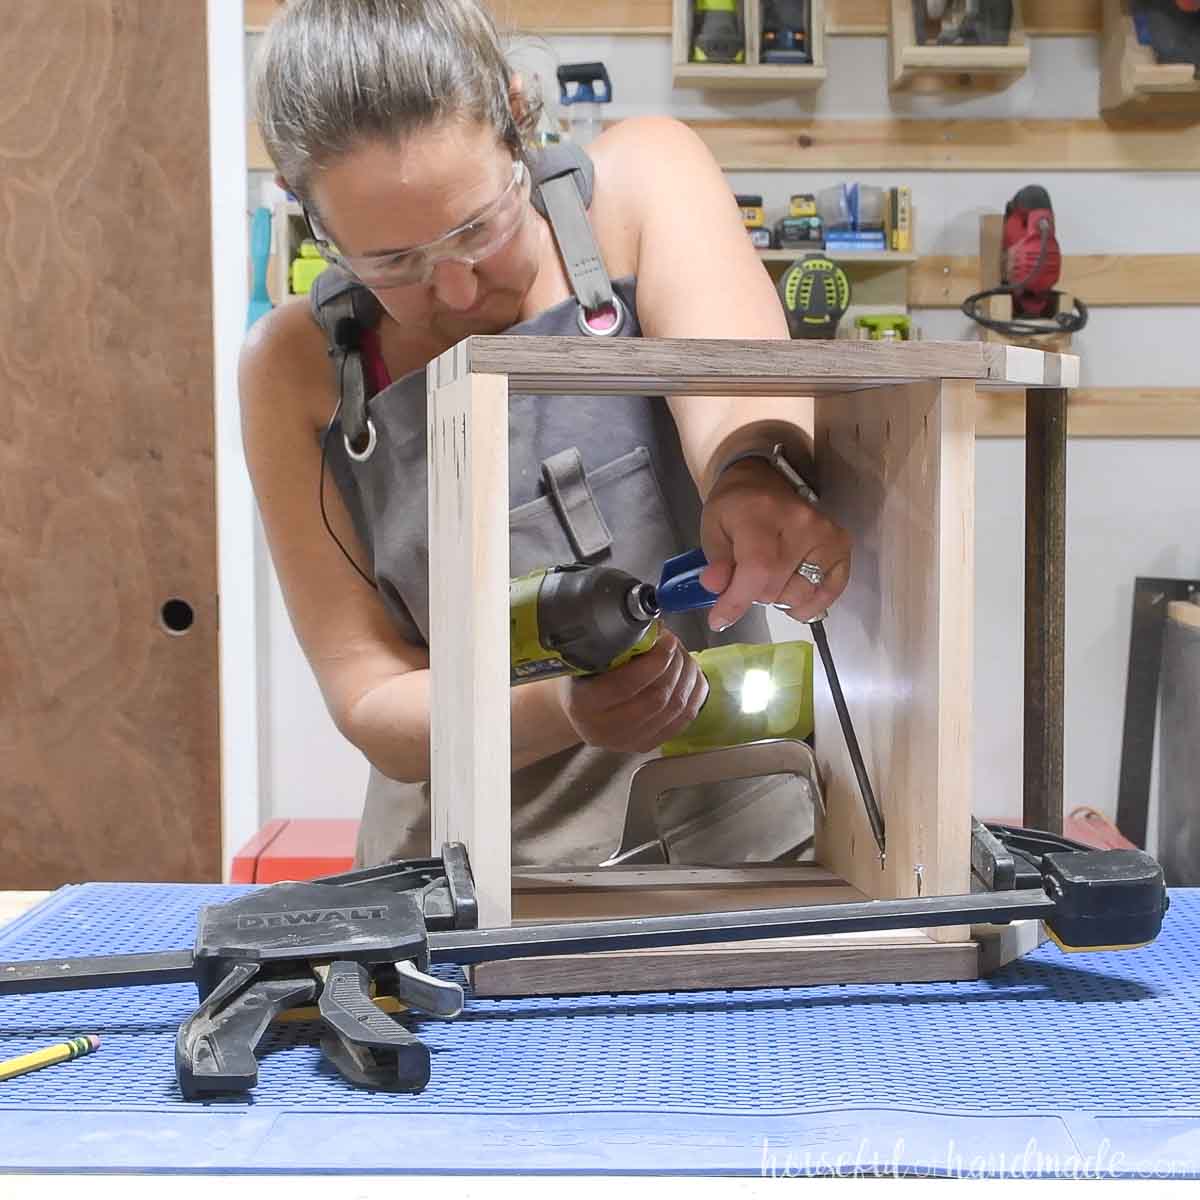
Line up the top and bottom pieces on the other side board and secure with 1 1/4″ pocket hole screws.
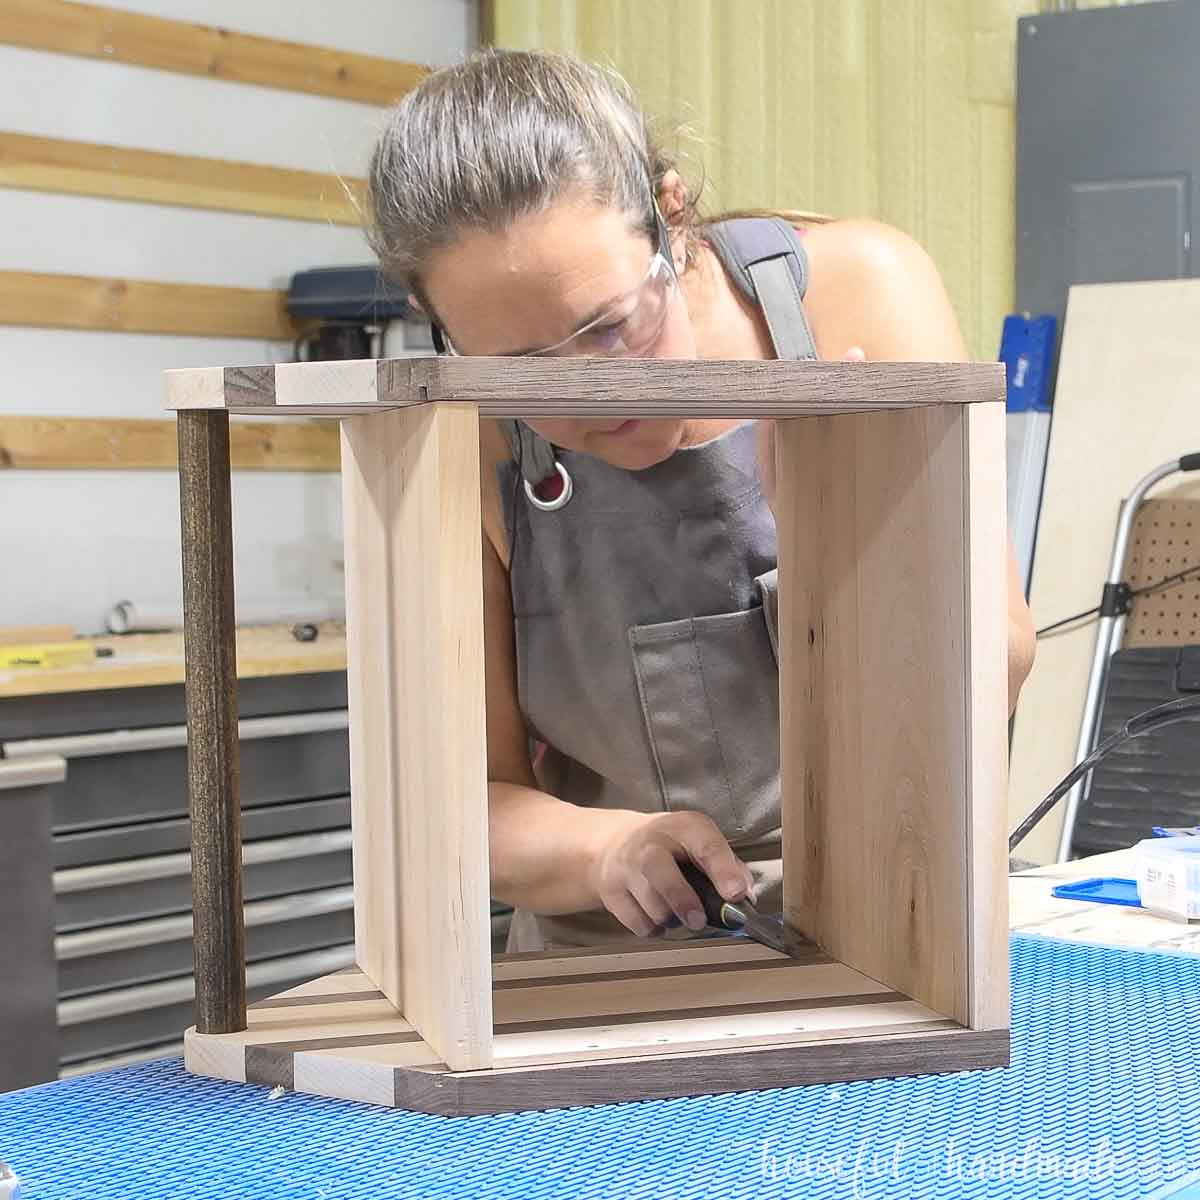
Remove any glue squeeze out with a sharp chisel.
It is easiest to remove the glue once it is firm, but not fully dry and hard.
STEP 5- Finish the carrier
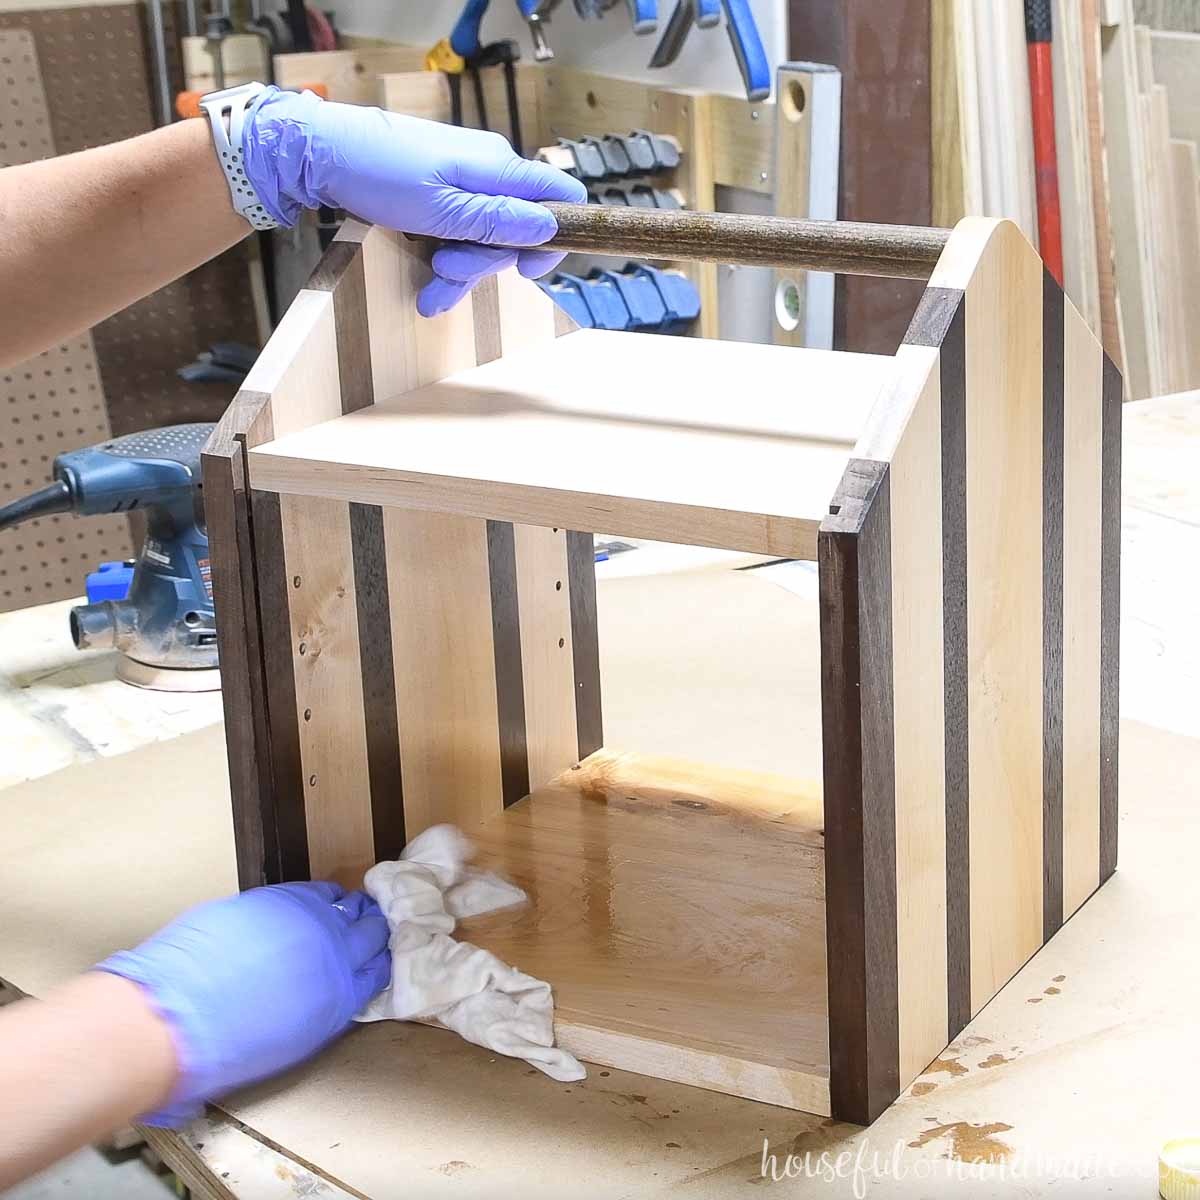
Sand and seal your pie box with a food grade sealer. I used pure tung oil to seal mine (just like you would a cutting board).
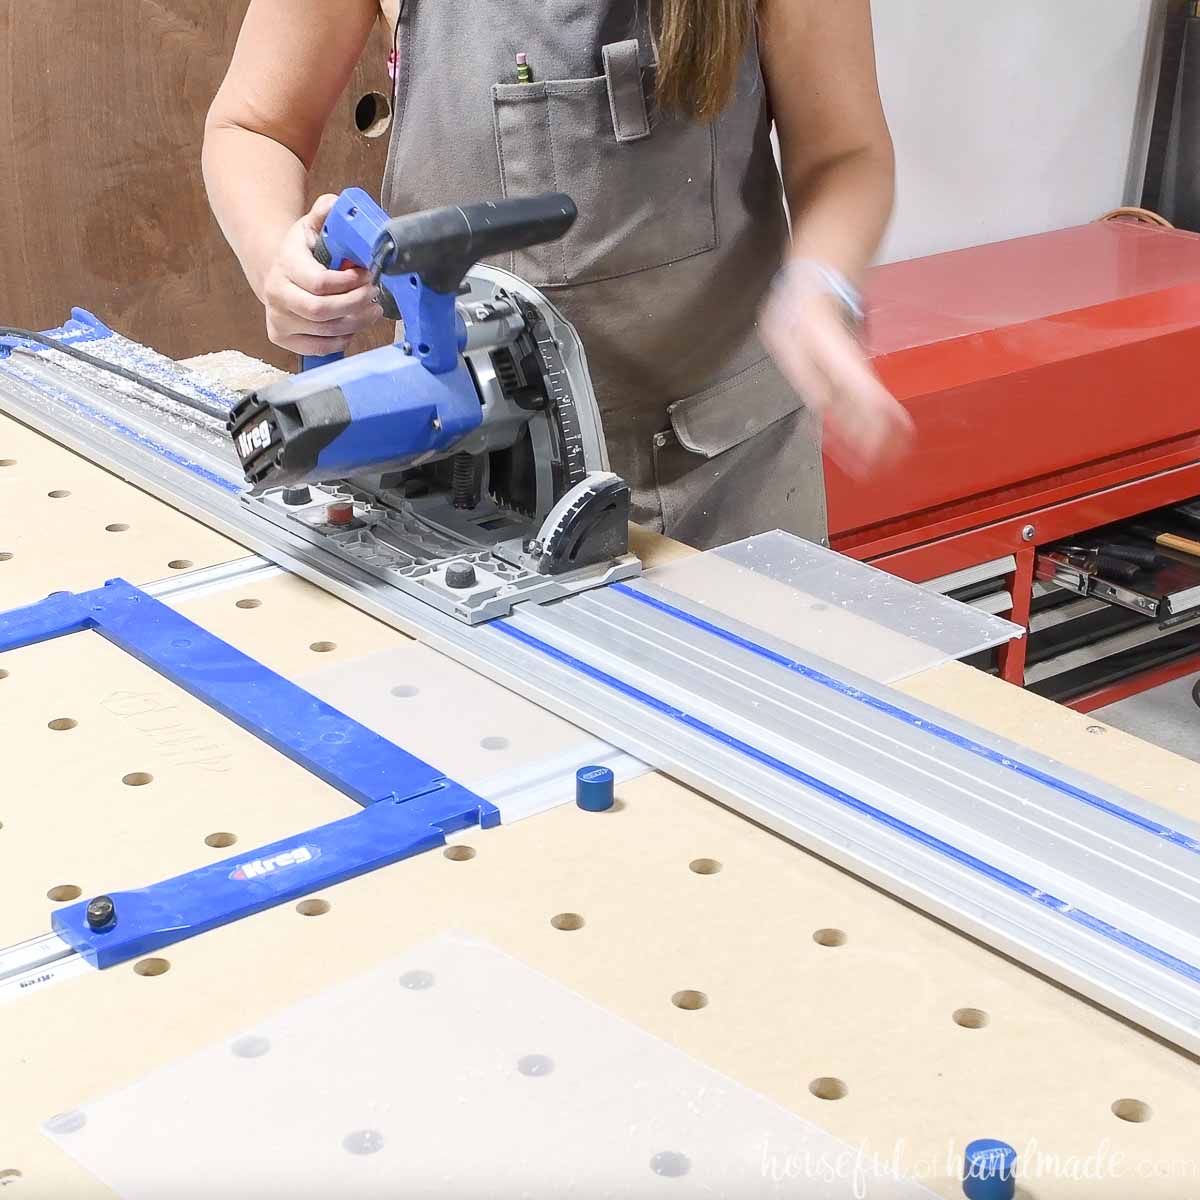
Measure the back of your pie carrier and cut a piece of acrylic to fit. Then measure the front, inside the grooves, and cut the front piece to fit it.
You can use either acrylic or plexiglass for your pie carrier.
The acrylic will cut nicer with your power tools. Plexiglass tends to melt more and can gum things up if you go slowly. Leave the protective coating on it while cutting.
You can also cut them by scoring with a utility knife about 10 times then snapping it along the score. Sometimes the snap can break it not along the score, so I prefer cutting it with my power tools.
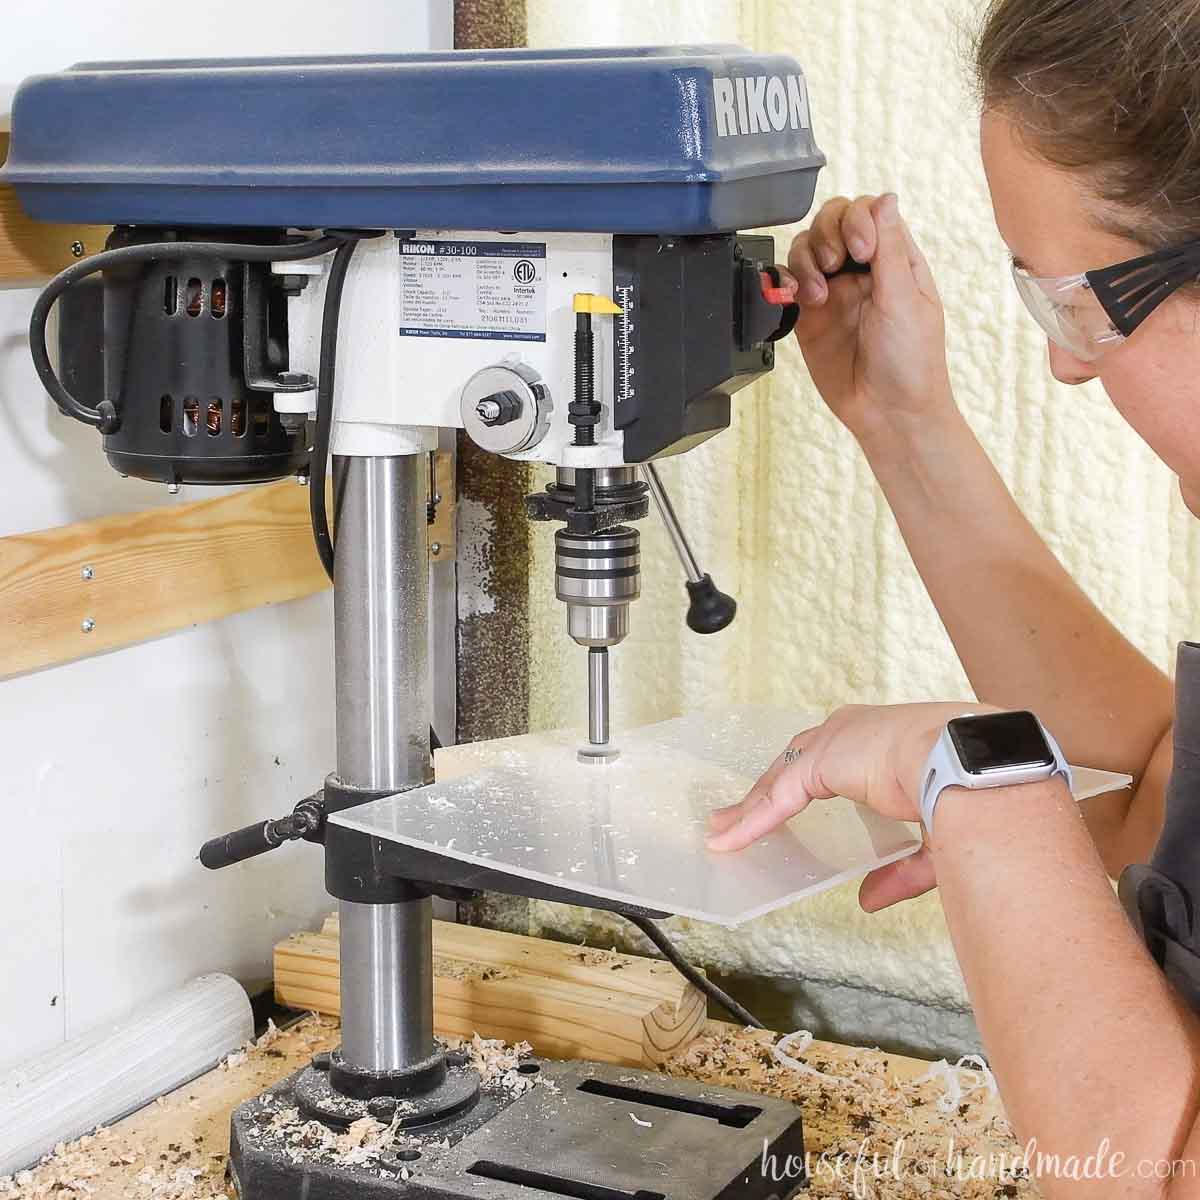
On the front piece, drill a 1″ hole through the top center. You want the hole to be 3/4″ down from the top so it is just below the top board.
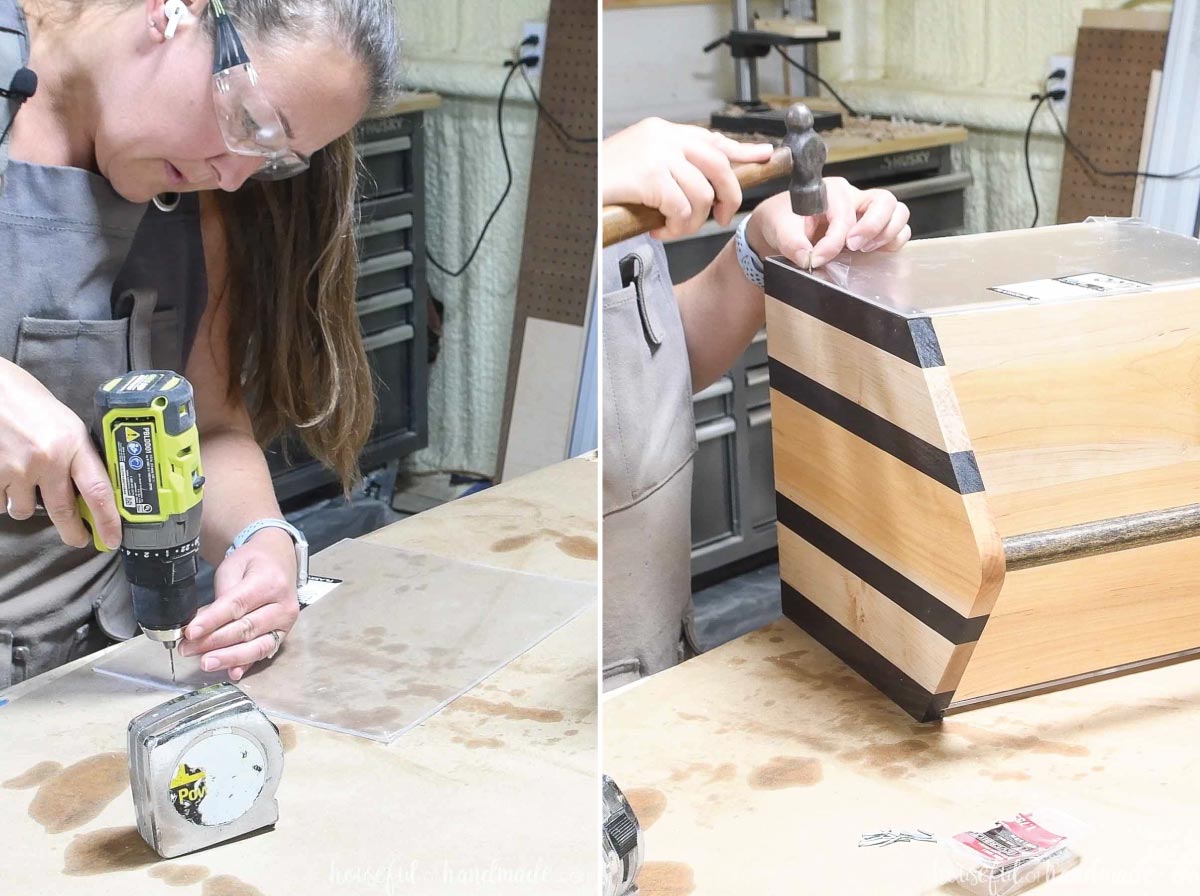
Drill tiny holes (1/16″) along the sides of the back plexiglass.
Set them in 3/8″ so they are centered on the side boards. Evenly space them along the side.
Then peel back the protective coating and attach the back with 1″ wire nails. Carefully hammer them through the holes into the side boards.
Cut your shelf piece so it is slightly narrower than the inside of the pie box. You can cut it either out of wood or 1/4″ acrylic.
Place shelf pins in the shelf pin holes and position your shelf on top.
Slide the front piece into the grooves to close. And you are all done!
Now you can go bake your favorite pies. I chose lemon meringue and pumpkin. But really, picking a favorite pie is like picking a favorite child, it just doesn’t feel right!
Happy building!

Thank you to Kreg Tools for sponsoring this post. I only recommend products that I use and love and all opinions are 100% my own. Click here to read my full disclosure policy.
