
My favorite part of Christmas is getting a new game to play.
All the free time during break is the perfect time to learn it and improve your strategy. And with the cold weather and dark nights, games are a must in our house!
So this year I am building a new game to put under the tree for my teenagers. It’s called Shut the Box.
This post may contain affiliate links. As an Amazon Associate I earn from qualifying purchases. Click here to read my full disclosure policy.
It’s a simple dice game with origins so old no one actually knows where it started. All I know is, it’s a fun game played with 1-4 players, perfect for our family.
The game board is not hard to build, but it does take some time because there are lots of little pieces to sand and stain.
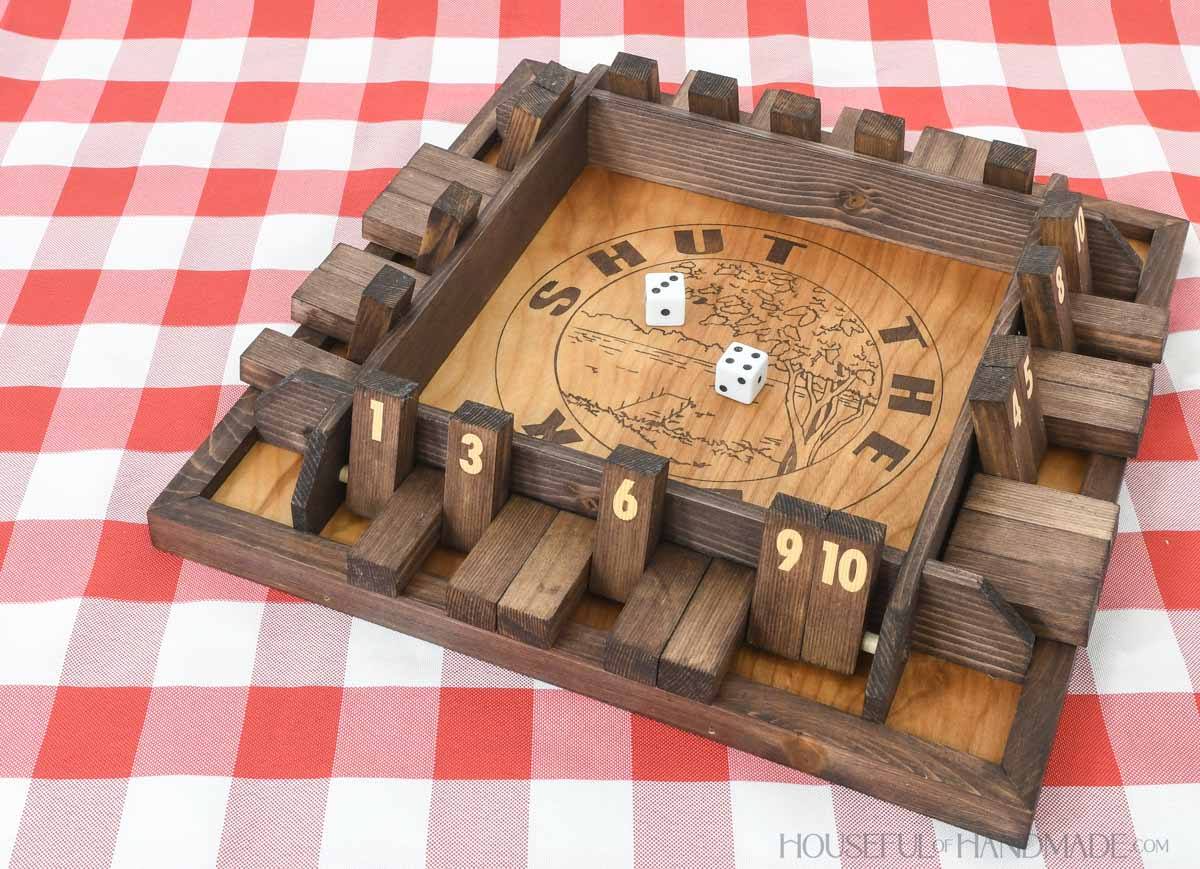
How to Play the Game
This game is a fun one because there are no standard rules or scoring. You can play it however you want!
The most classic game play includes tossing 2 dice at a time. You add up the total of the dice then put down any combination of 2 number tiles that equal the total.
It sounds easy, but once you roll a dice that you cannot “shut” the tiles, you’re done. Then you add up all the numbers on the tiles you have left.
When everyone is done, lowest score wins. Unless someone happens to “shut the box” by putting down all their numbers. Then they immediately win the game!
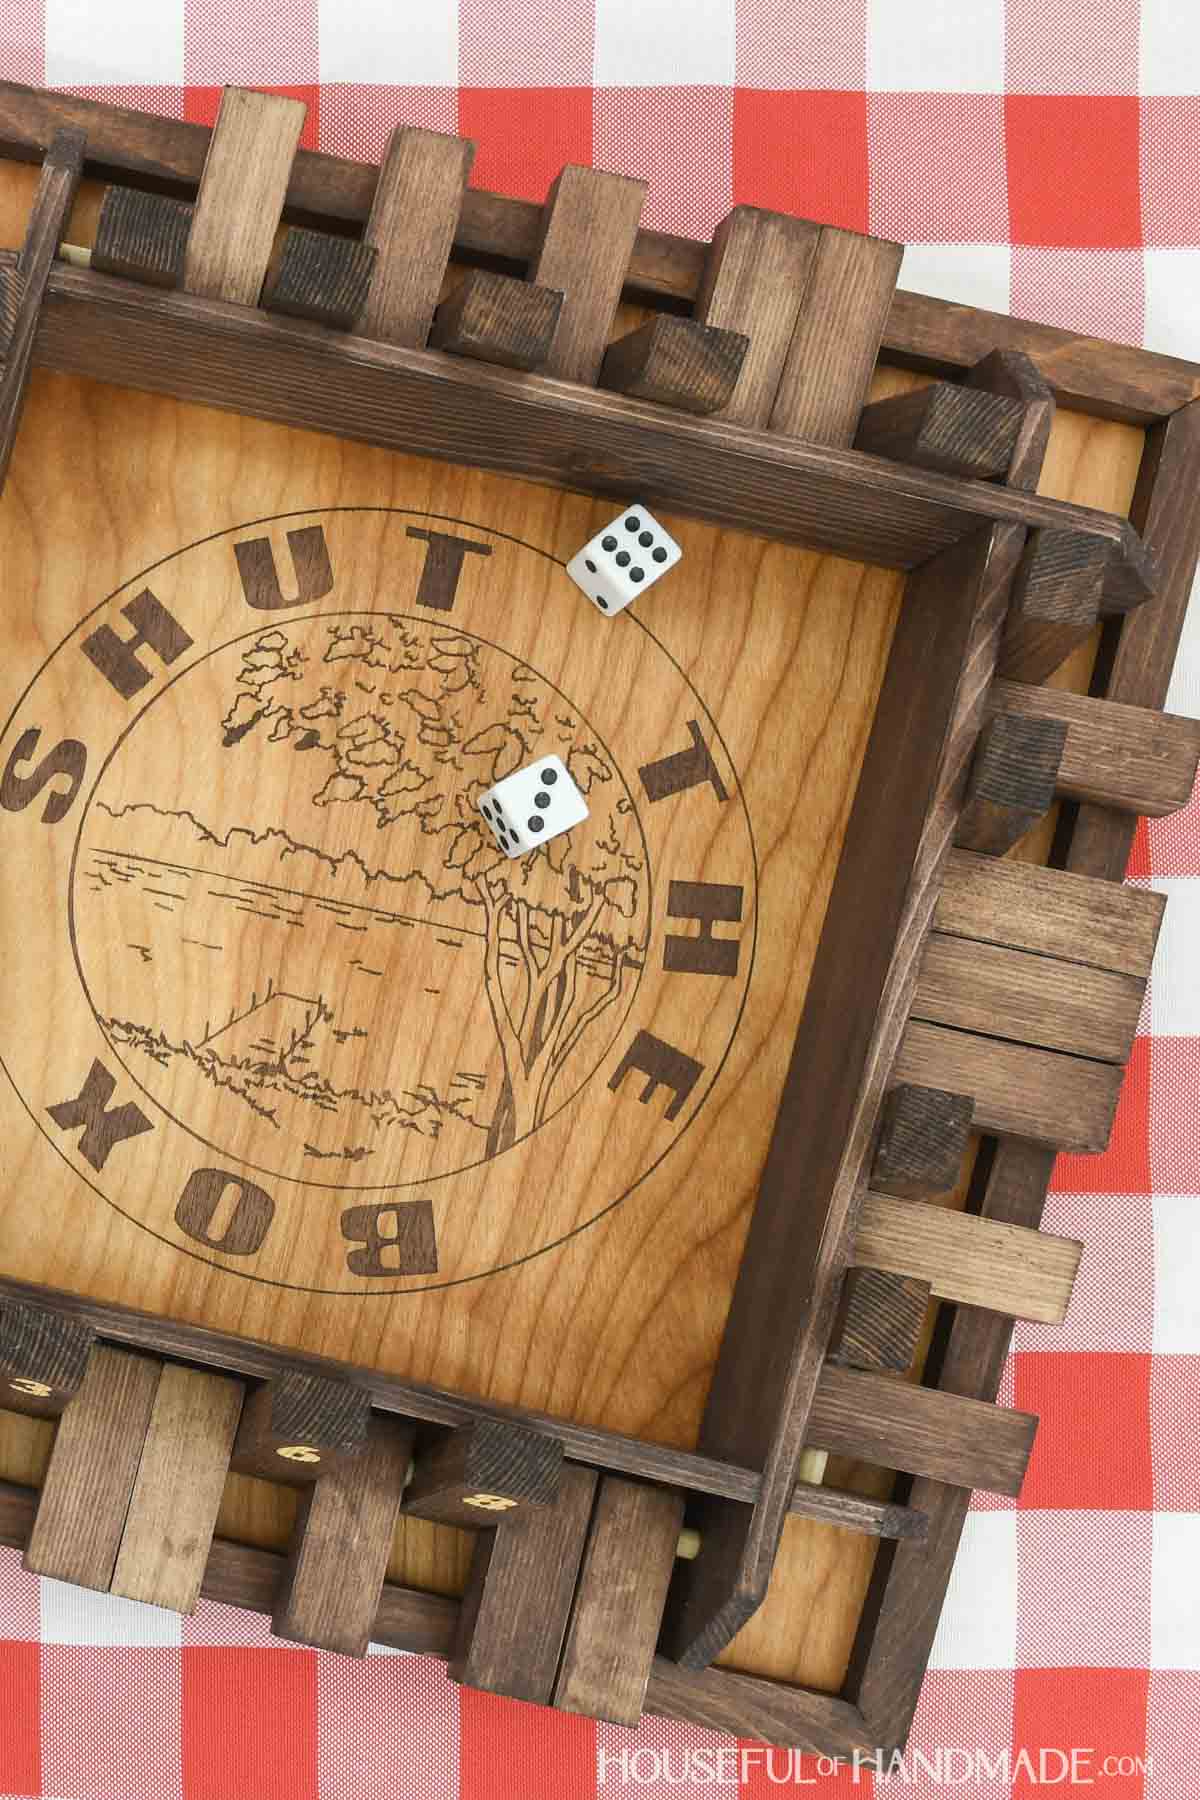
Then if you want to change things up, you can add other rules or other scoring.
- Take turns rolling or give everyone different colored dice and let everyone roll at the same time.
- Close as many tiles as you want that add up to the total rolled, not just two.
- Score by reading the leftover tiles, left to right, and that number is your total score. Makes your strategy for “shutting” tiles different.
There are numerous different variations, a quick internet search will give you lots of ideas. But anyway you play, have fun!
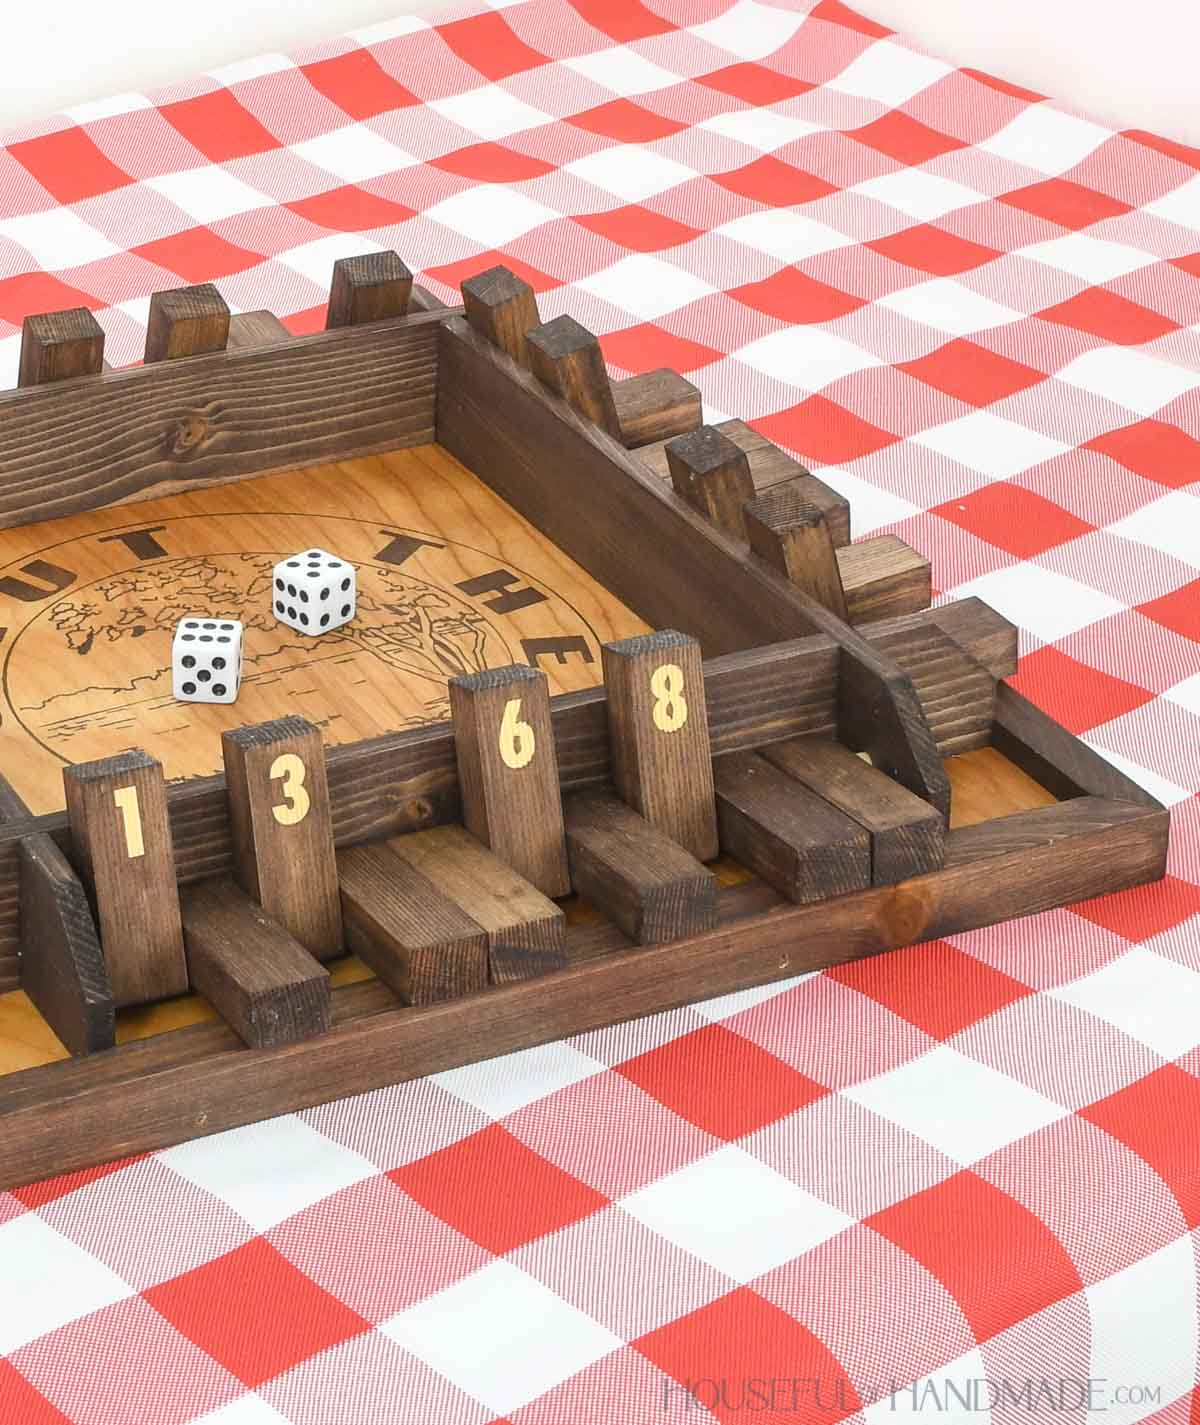
How to Build a 4 Player Shut the Box Board
Tools & Materials
Recommended Tools:
- Miter saw
- I recently upgraded to this sliding miter saw (watch for it to go on sale), but previously used this inexpensive miter saw that I love.
- Circular saw with guide or Table saw
- Drill press or Drill with guide
- Brad nailer (18 gauge)
- Speed square
- Multi-mark measuring tool
- Sander
Supplies:
- Wood products
- (1) 1/4×2 project board, 4′ long
- (3) 1/2×1 project board, 4′ long
- (1) 1/2″ plywood, 11 1/2″ x 11 1/2″
- (1) 1/4″ dowel, 4′ long
- Wood scraps for a jig
- Wood glue
- Optional: (4 sets) vinyl numbers 1-10
Overall Dimensions
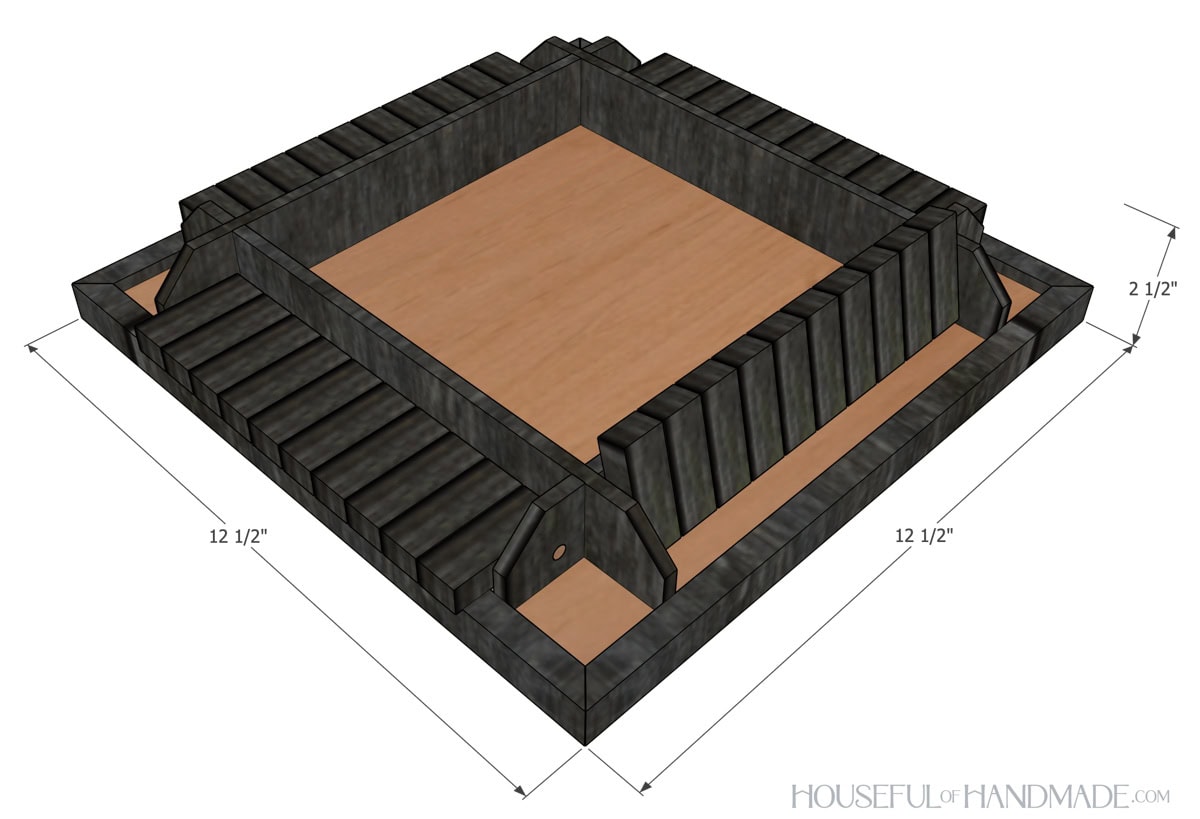
The finished game board is 12 1/2″ x 12 1/2″. This shut the box game has 10 number for each player.
Cut List
Cut out the pieces according to the easy-to-read table in the PDF plans.

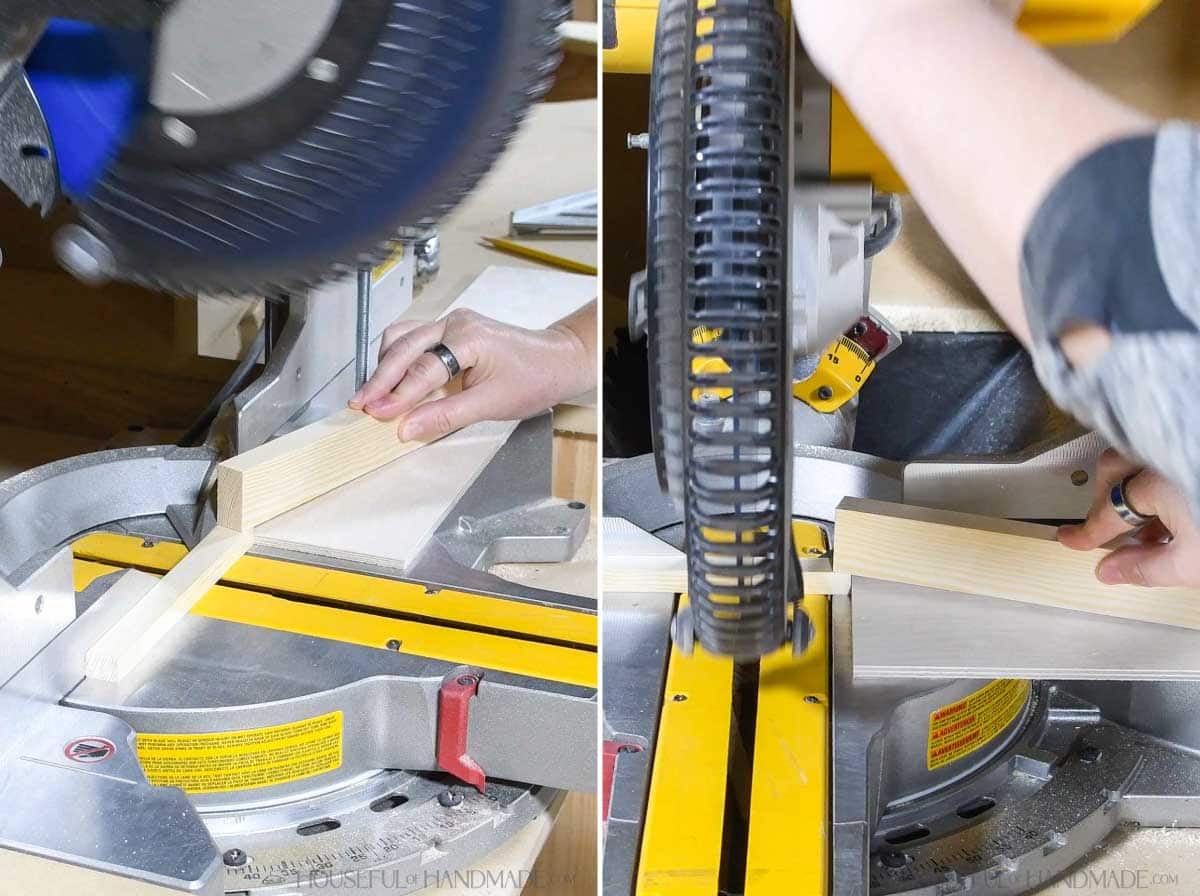
To cut all the small pieces for the number tiles quickly and safely, I clamped a scrap of 1/4″ board to the side of my miter saw as a stop.
Then I used a scrap of 1×2 to hold the small board in place while cutting.
EXPERT TIP:
Holding the board on the same side as the stop and letting the other side be free will help prevent the small pieces from shooting out from the blade while cutting.
STEP 1- Shape the dividers
Set your miter saw depth stop so the blade only goes 3/4” down (half way through the 1 1/2” wide board).
Cut a notch for a cross lap joint in both edges of the boards so it is 1 1/2” in from the edge.
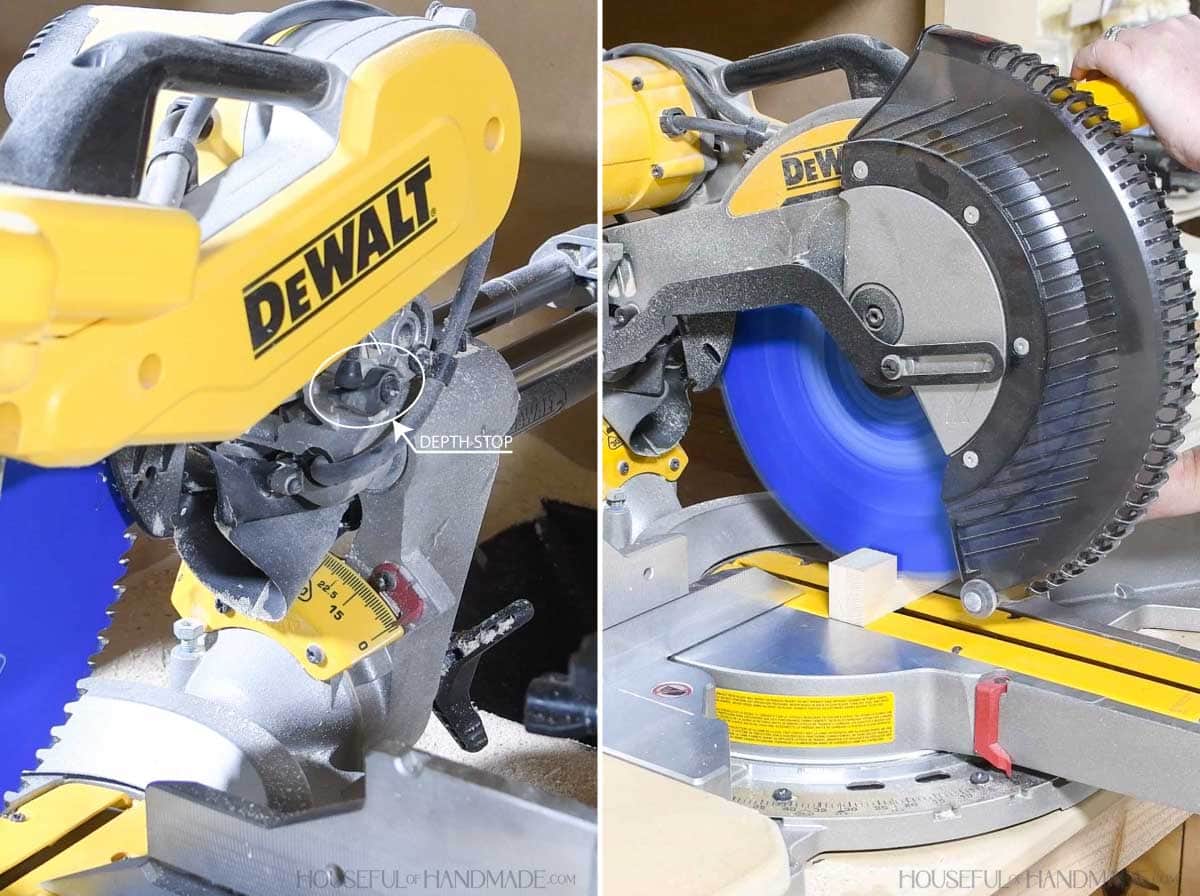
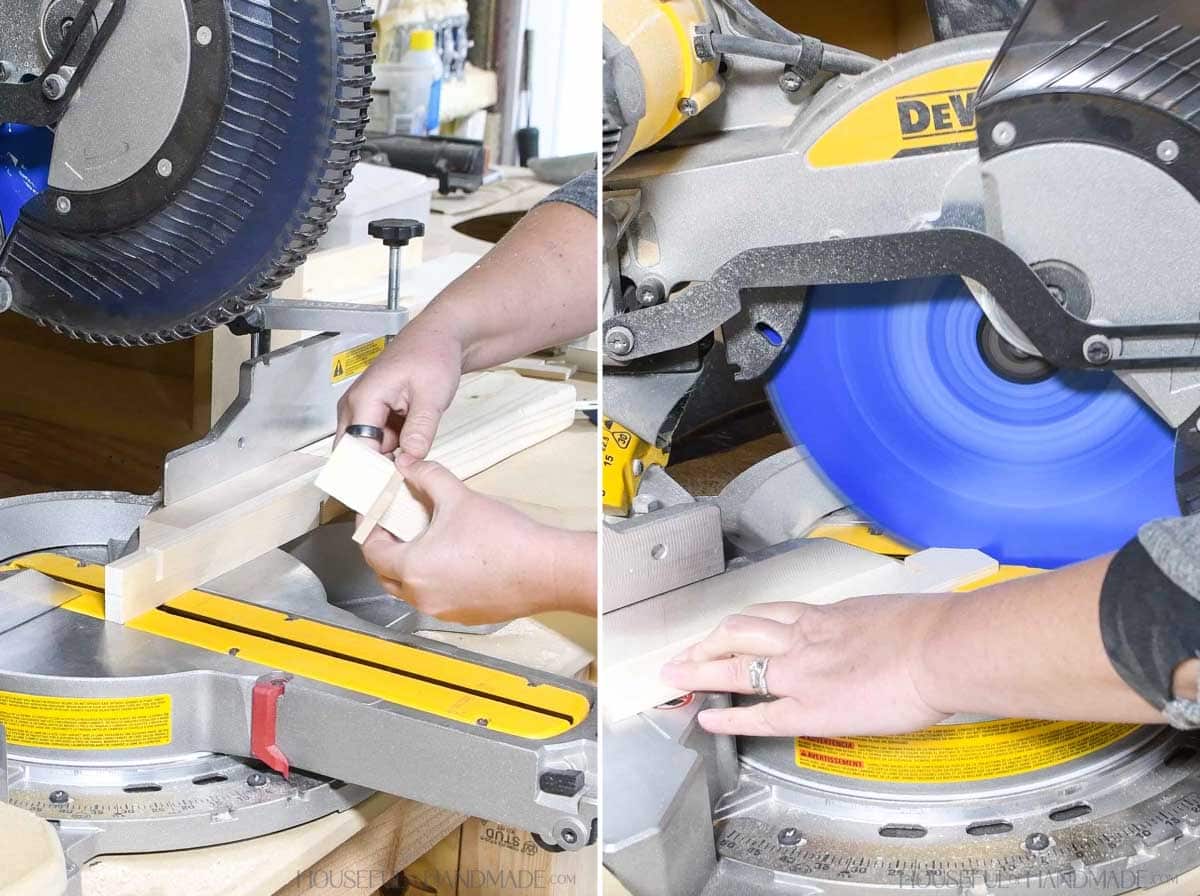
Take 2-3 passes until the notch is the same thickness as the board. Test as you go to get a snug fit.
Then cut the top tips off both corners of the boards at a 45 degree angle.
Finally, on the inside left of each board, drill a 1/8” deep hole to fit your according to the diagram in the plans.
On the other side drill the hole all the way through the board.
I made all my boards identical, it does require a little shifting when putting them together later, but makes managing all the different cuts/holes easier.
![]() STEP 2- Drill holes in number tiles
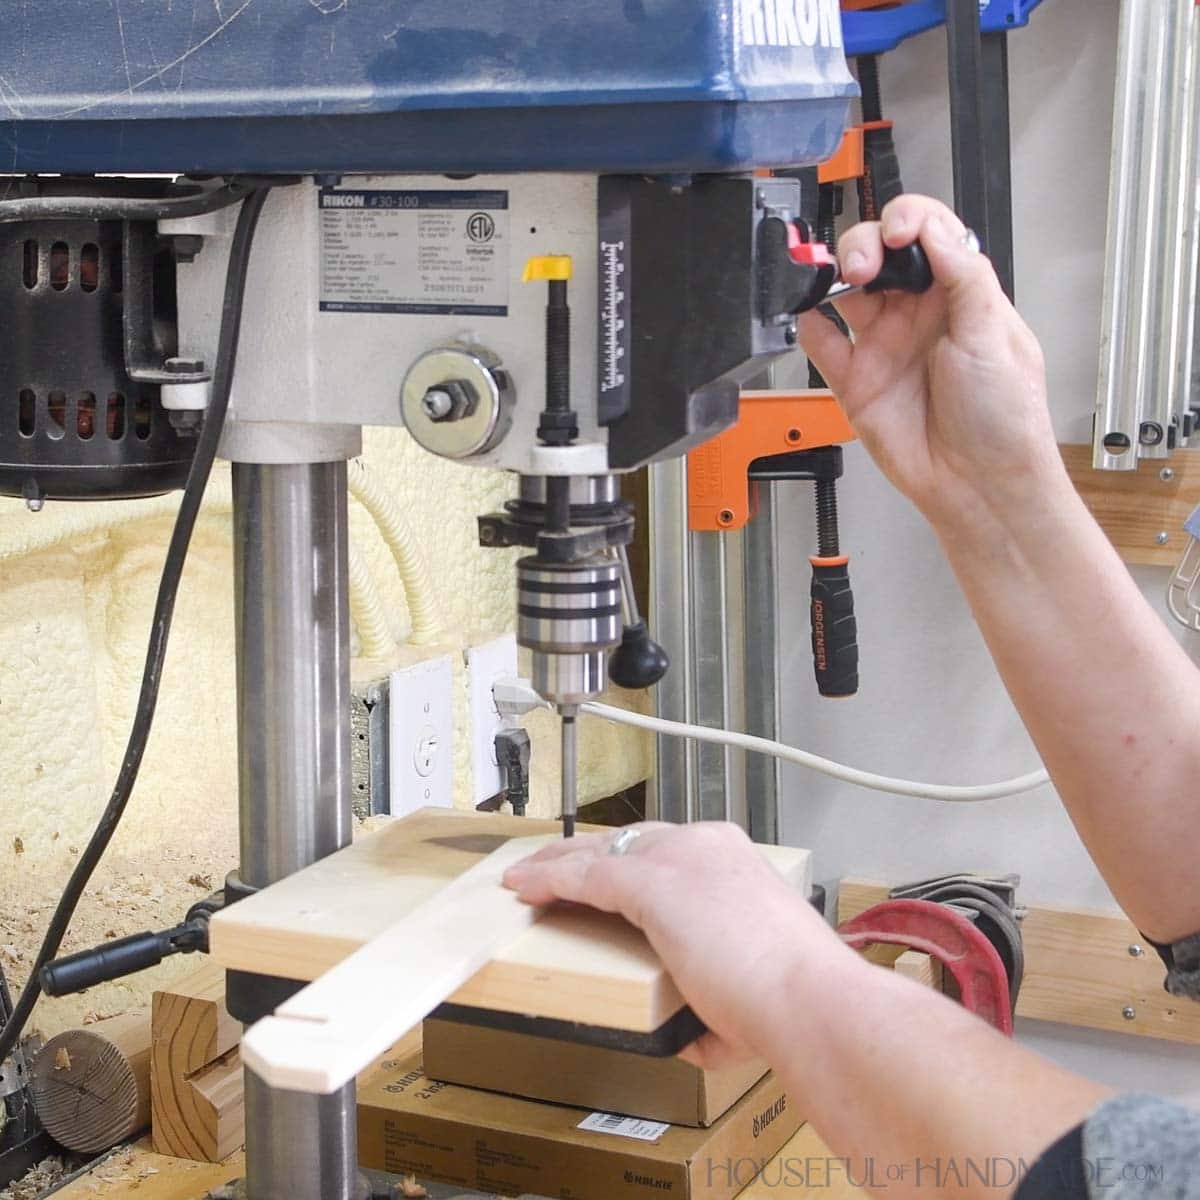
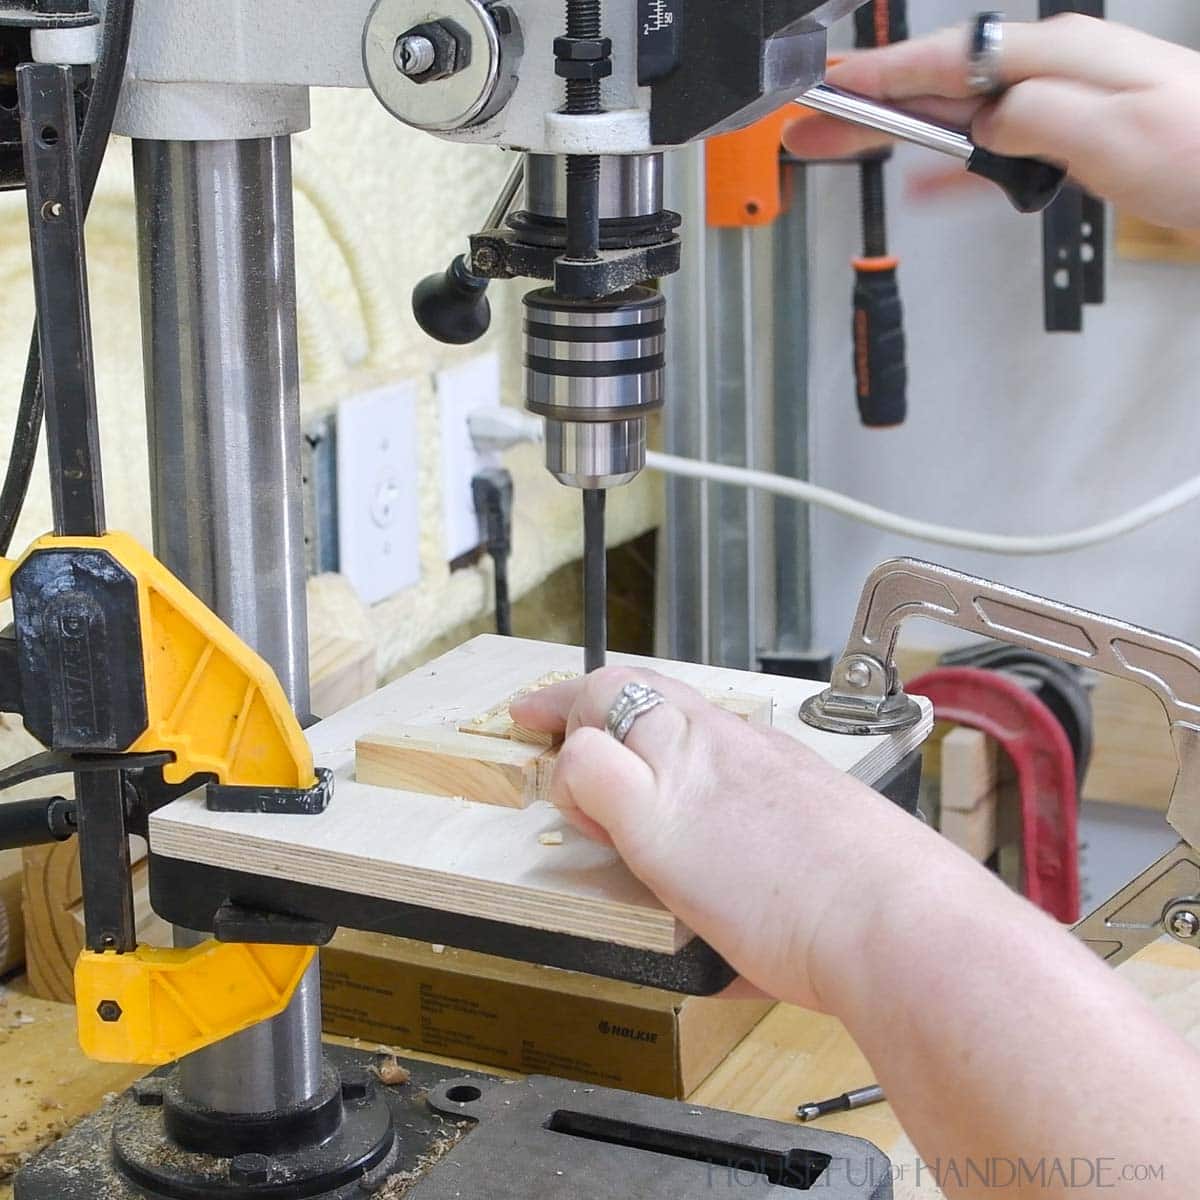
Drill a 5/16” hole through the side of each of the tile pieces.
Use a drill press or drill guide to make sure all the holes are straight through the wood tiles.
To make fast work of drilling so many holes, I made a jig to clamp to my drill press.
On a scrap of 1/2” plywood, I mounted some leftover pieces of the 1/2” x 3/4” board to fit snug (but not tight) around a tile with brad nails.
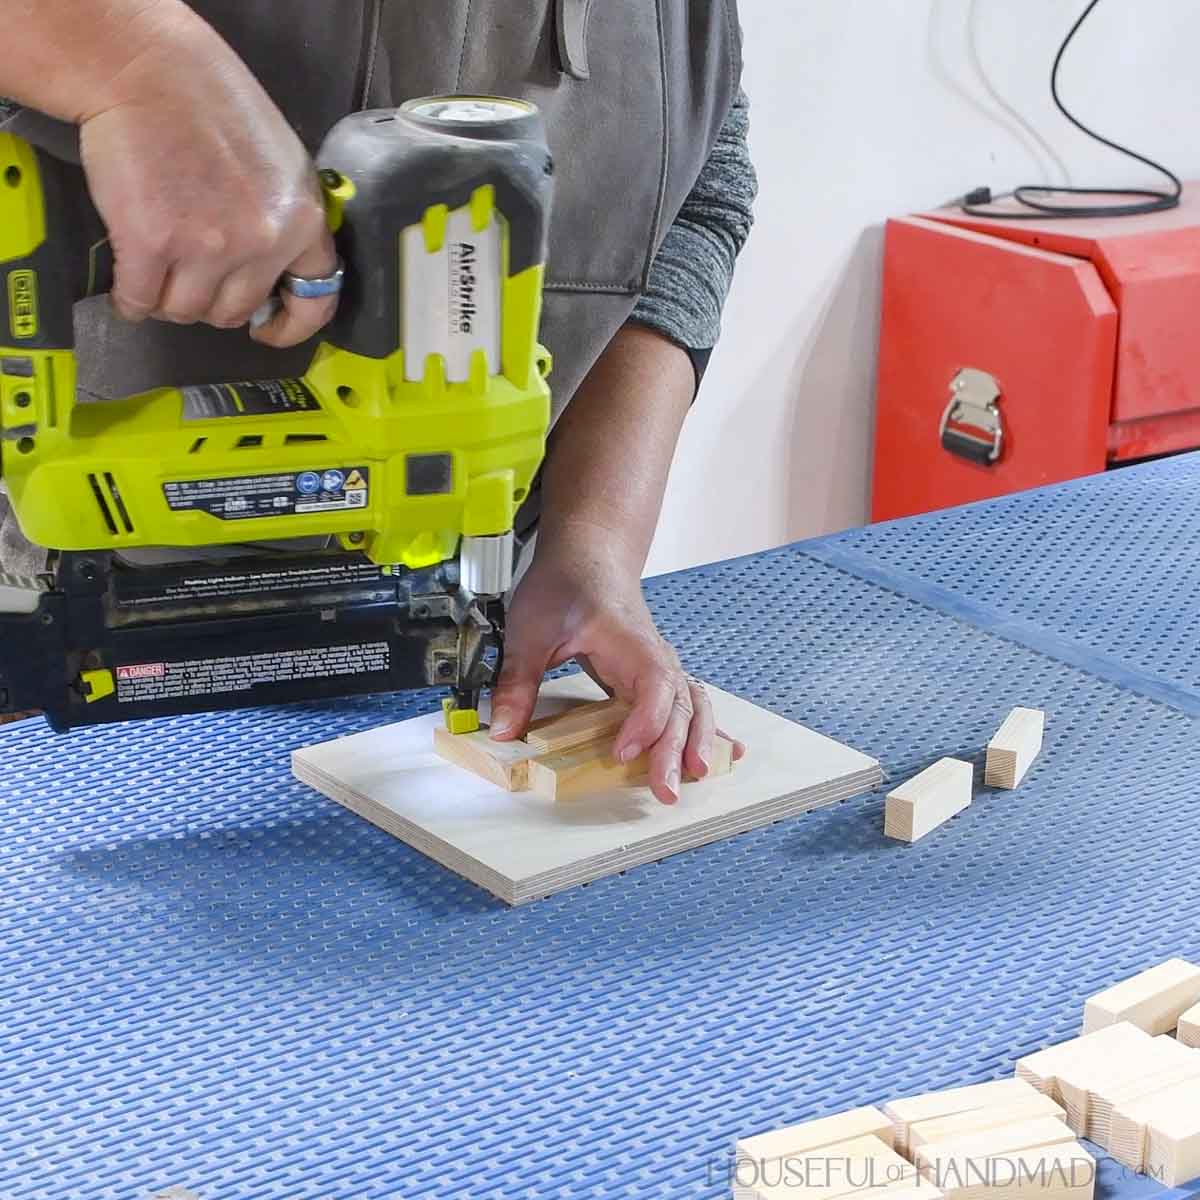
I marked the center point of the hole on the tile in the jig, then clamped it to my press.
Then I could quickly drill the hole, and add a new tile to the jig and re-drill, without having to measure, mark and align each piece.
It also kept all the holes perfectly aligned since they ended up being slightly toward the front instead of perfectly centered.
STEP 3- Add numbers and finish
Sand all the pieces. Number 4 sets of the tiles 1-10.
To add a number to each tile, I placed a vinyl number on the to inside of each one.
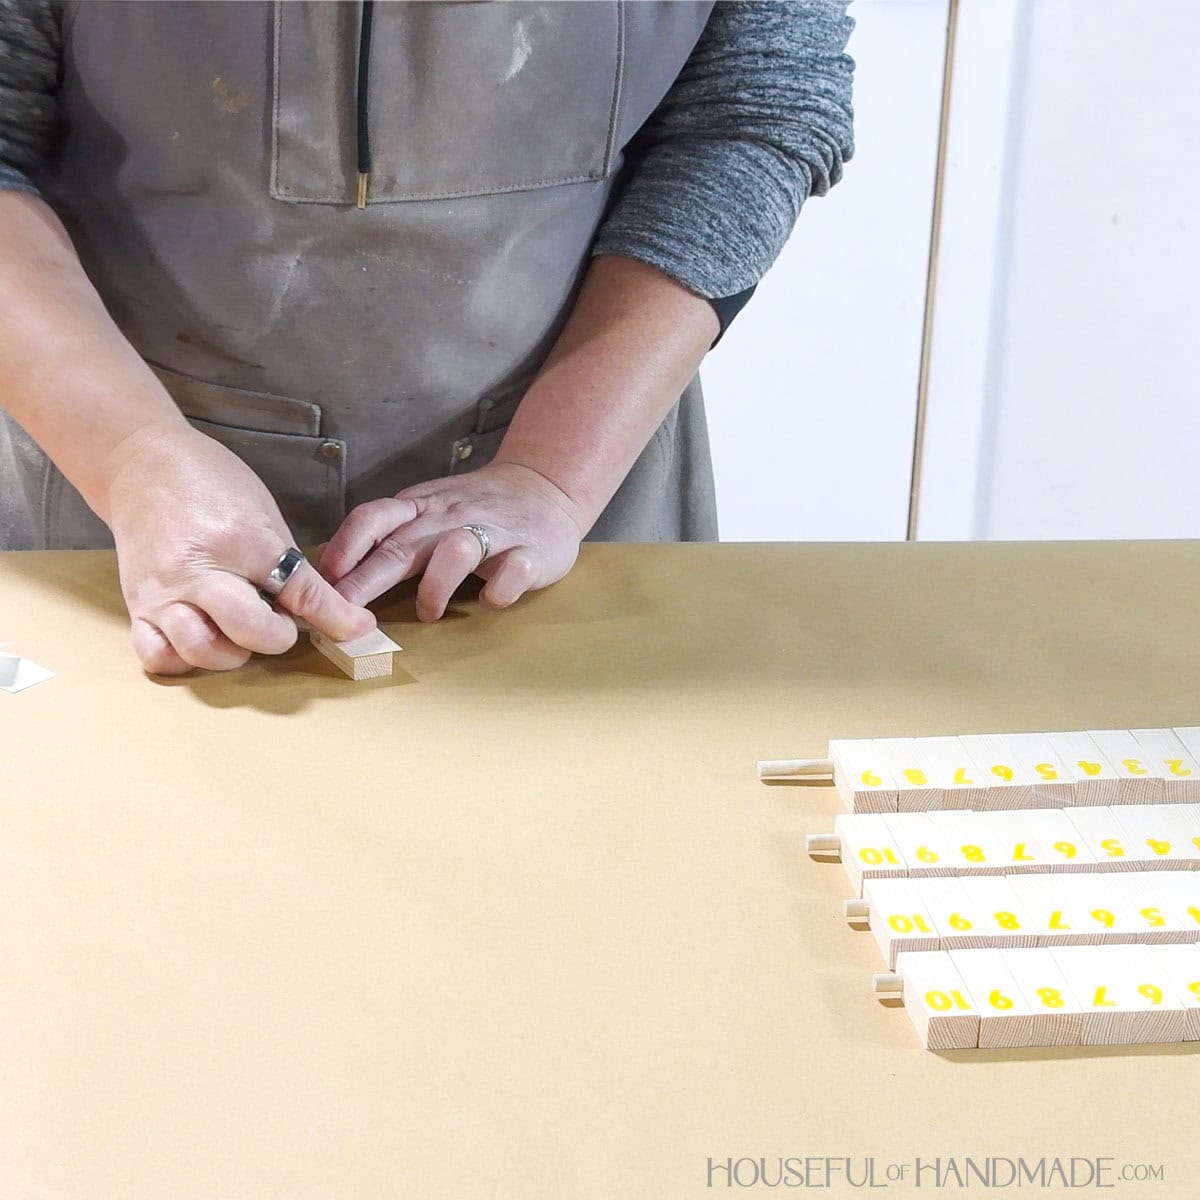
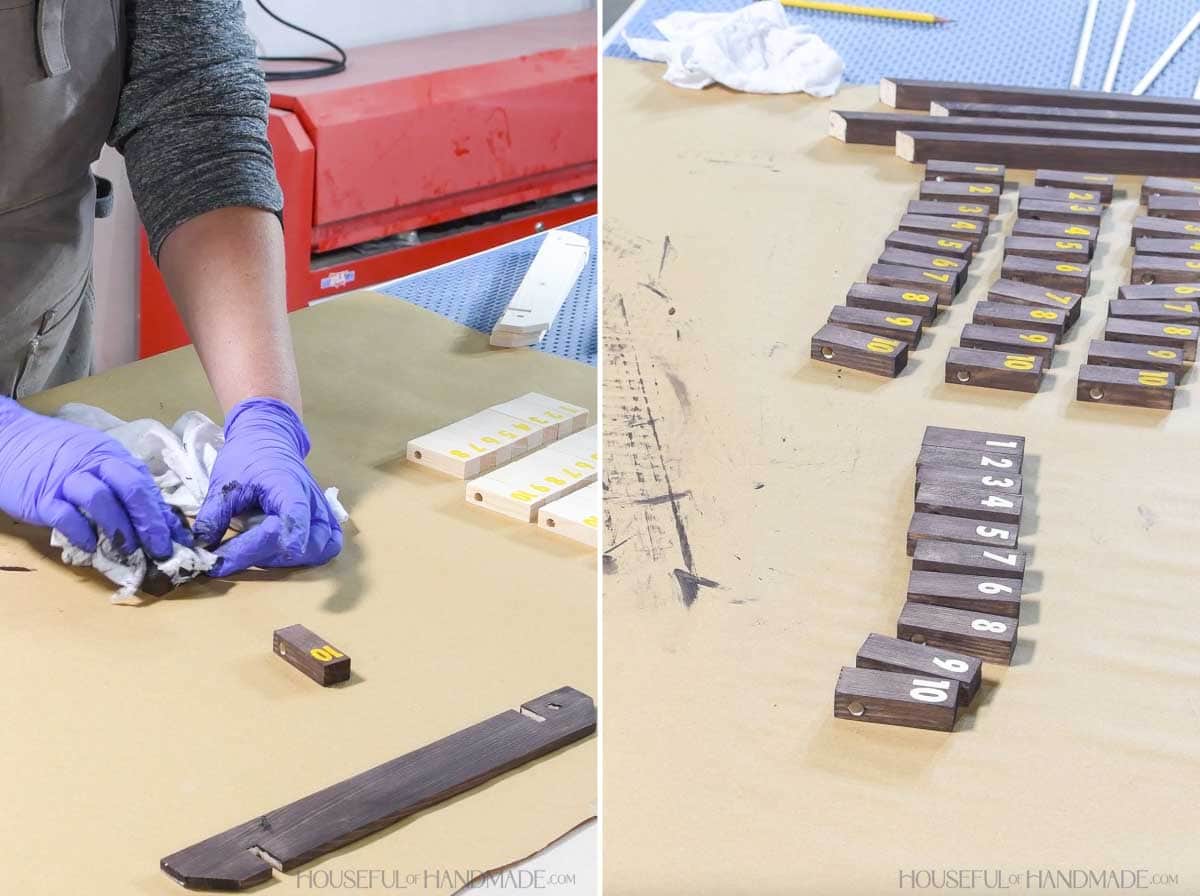
Then I used a waterbased wood stain to stain them. The waterbased stain will not bleed under the vinyl like oil based ones do.
You could also do it with paint. Or add vinyl numbers or paint on number after staining/sealing. Remove the vinyl sticker and seal the tiles as desired.
Also stain the dividers (if doing a two-tone look). But leave the bottom unstained so the glue will adhere.
If you want to add a custom design to the center of the base, I recommend doing it now, before attaching the rest of the pieces.
I used my technique for creating a faux laser engraving on wood to add a personalized design.
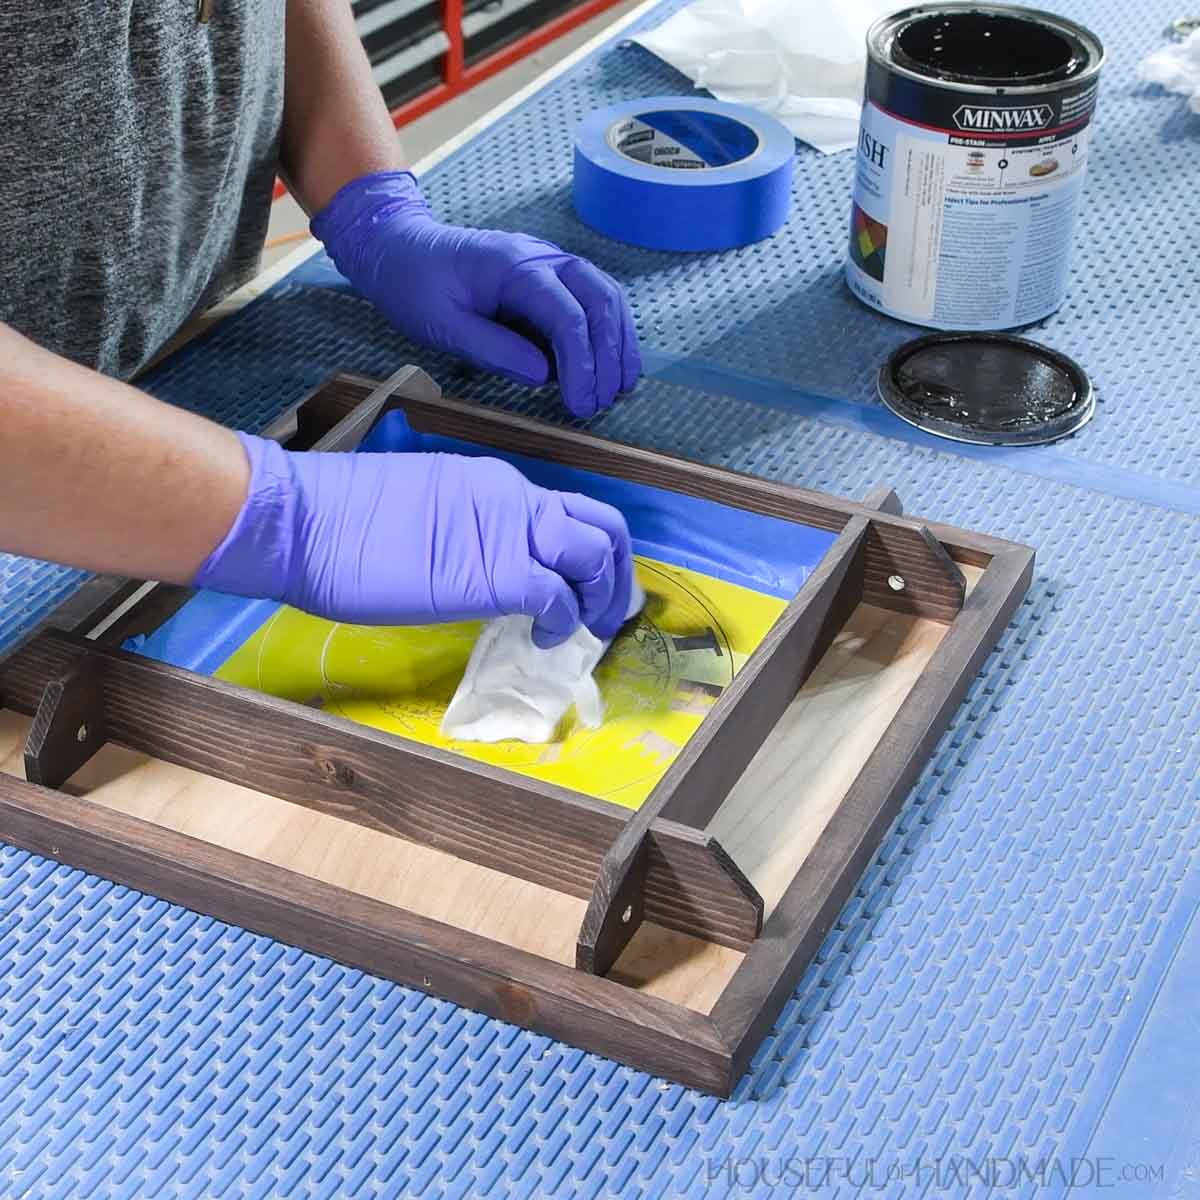
STEP 4- Build the base
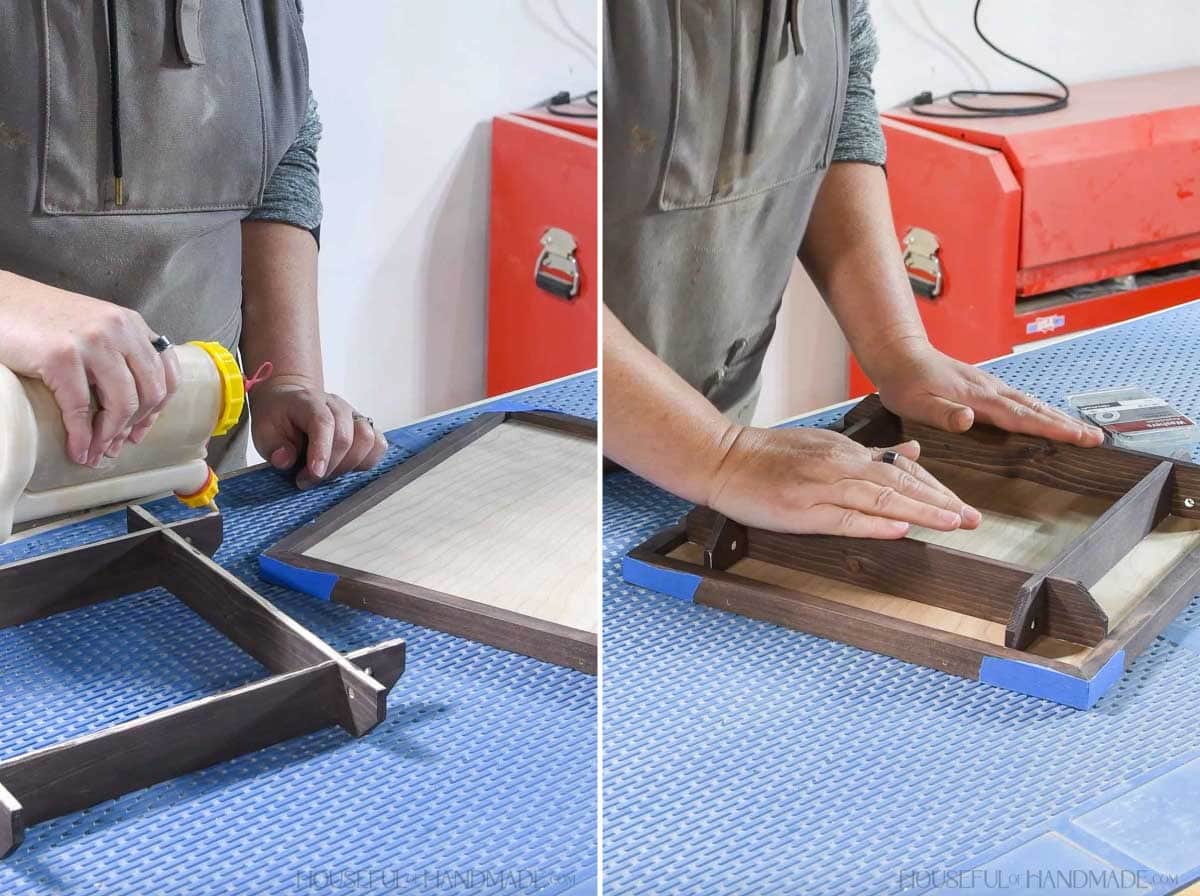
If you want a two toned look, stain the frame pieces before attaching. Leave the mitered ends unstained so the glue will adhere.
Attach the trim to the base so it is flush with the bottom, leaving a 1/4” lip on the top.
EXPERT TIP:
I like to use painters tape at the mitered corners to create clamps while glueing it around the base. Leave it on until the glue dries for nice clean mitered corners.
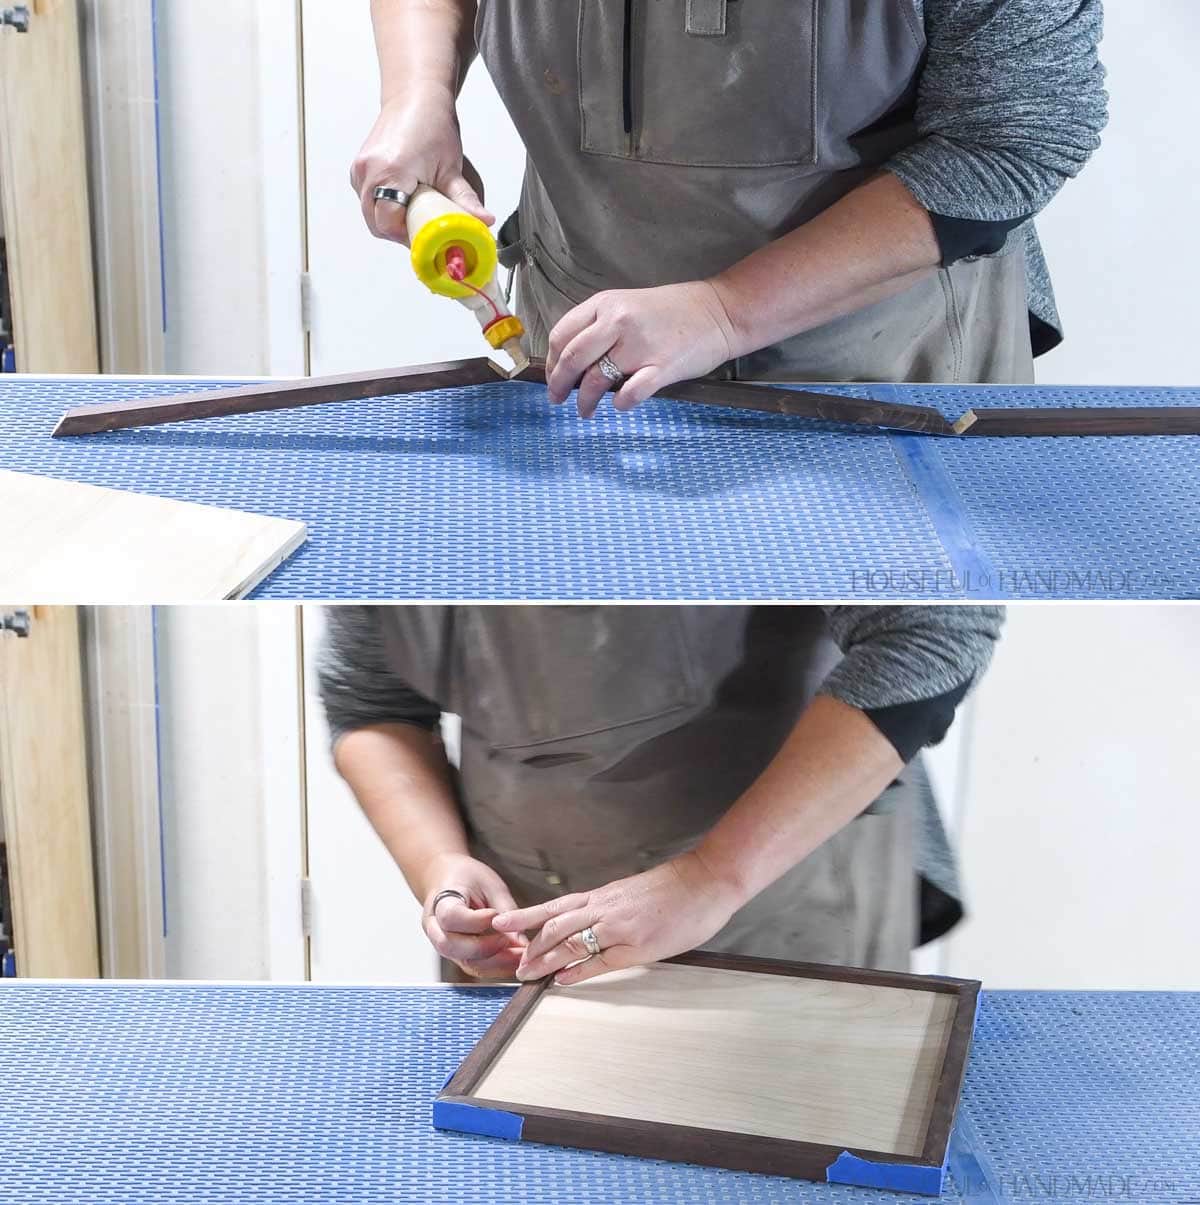
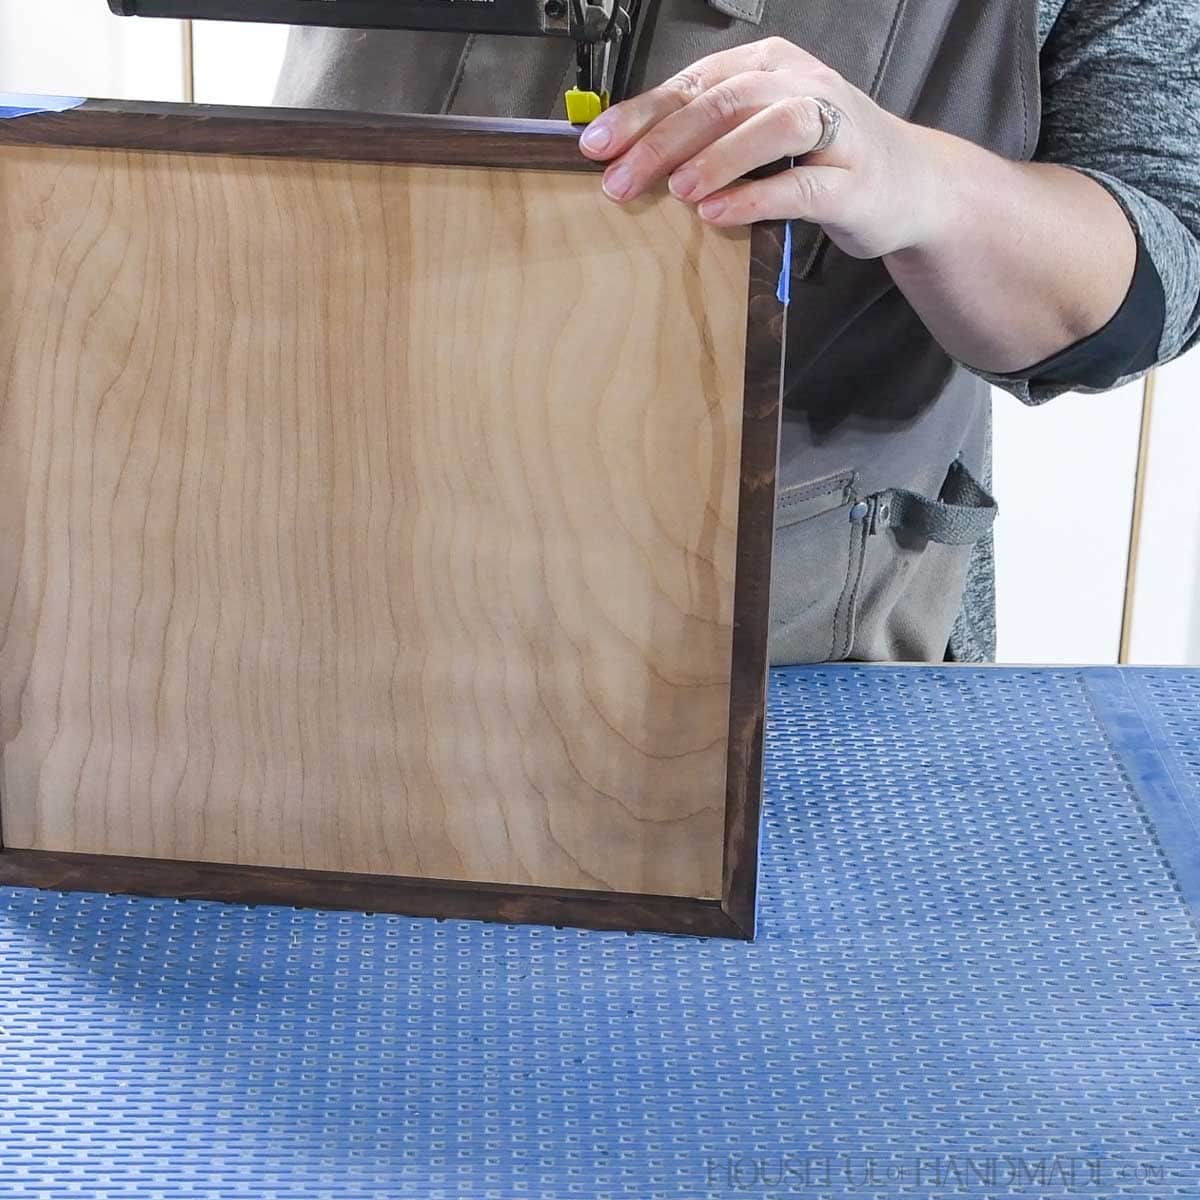
For extra insurance, I also used a couple 1” brad nails around the perimeter of the frame.
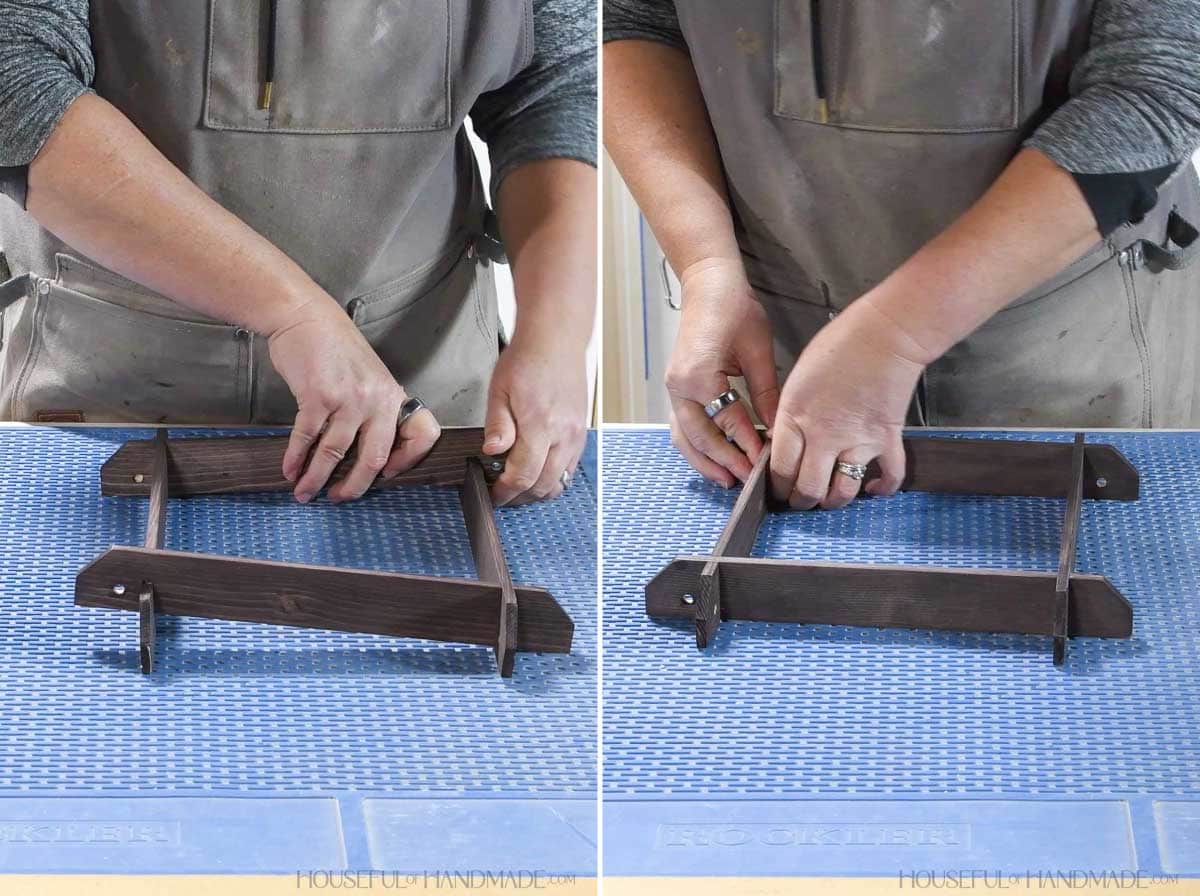
Slide the dividers together at the cross lap. Because all the pieces have one up and one down, you will have to shimmy things into place a little at a time until they all sit flat.
Make sure to keep the holes aligned so one side of each section has a hole all the way through and the other side is only 1/8” deep toward the center of the board.
I didn’t add any glue to my dividers because they were nice and snug. You can add glue if needed to secure it.
Then add glue to the bottom of the dividers and center it on the base. It should be a nice snug fit. Press it flat and place something heavy on top to hold while the glue dries.
Finish the base with any additional stain/paint/sealer.
STEP 5- Install the number tiles
Press the dowel through the hole on the right until it is close to the other side, but there is enough room to feed the number tiles on the dowel.
String all the tiles on so the numbers are in order.
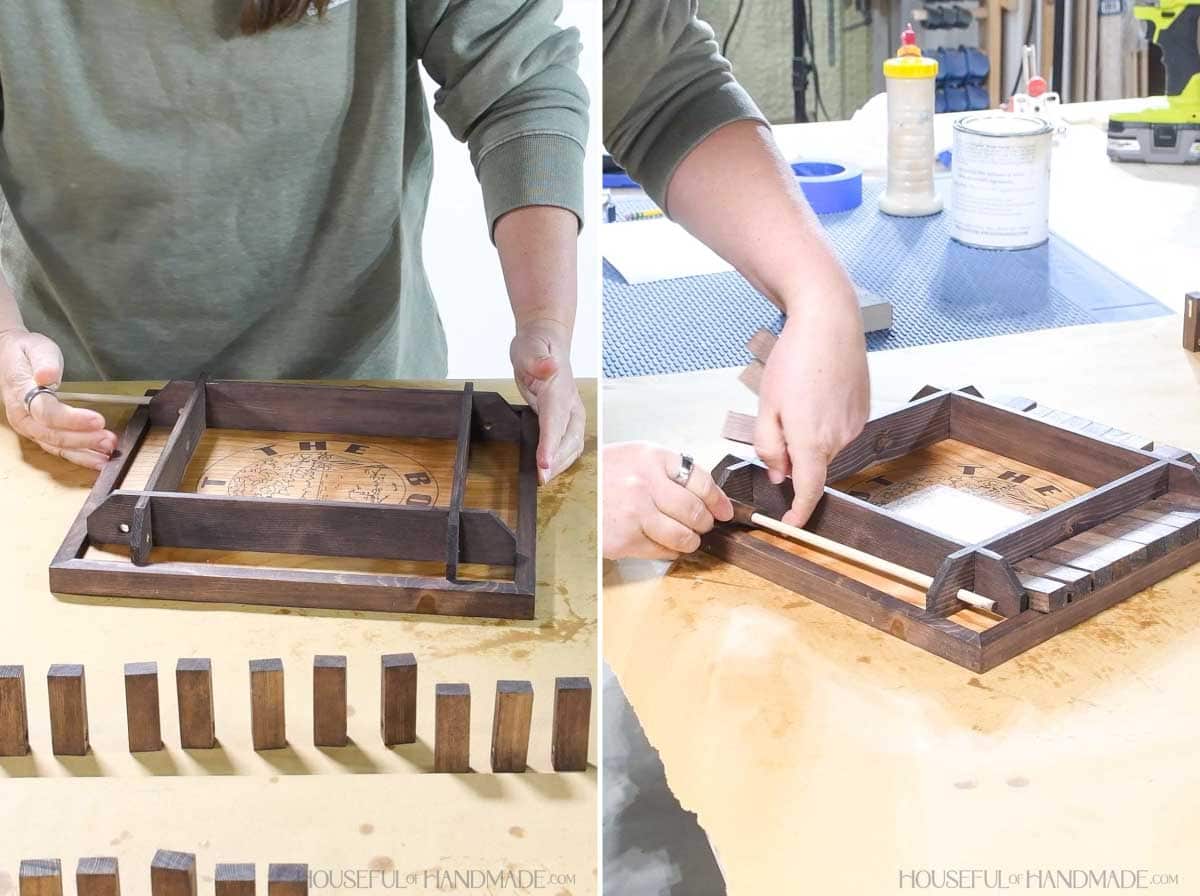
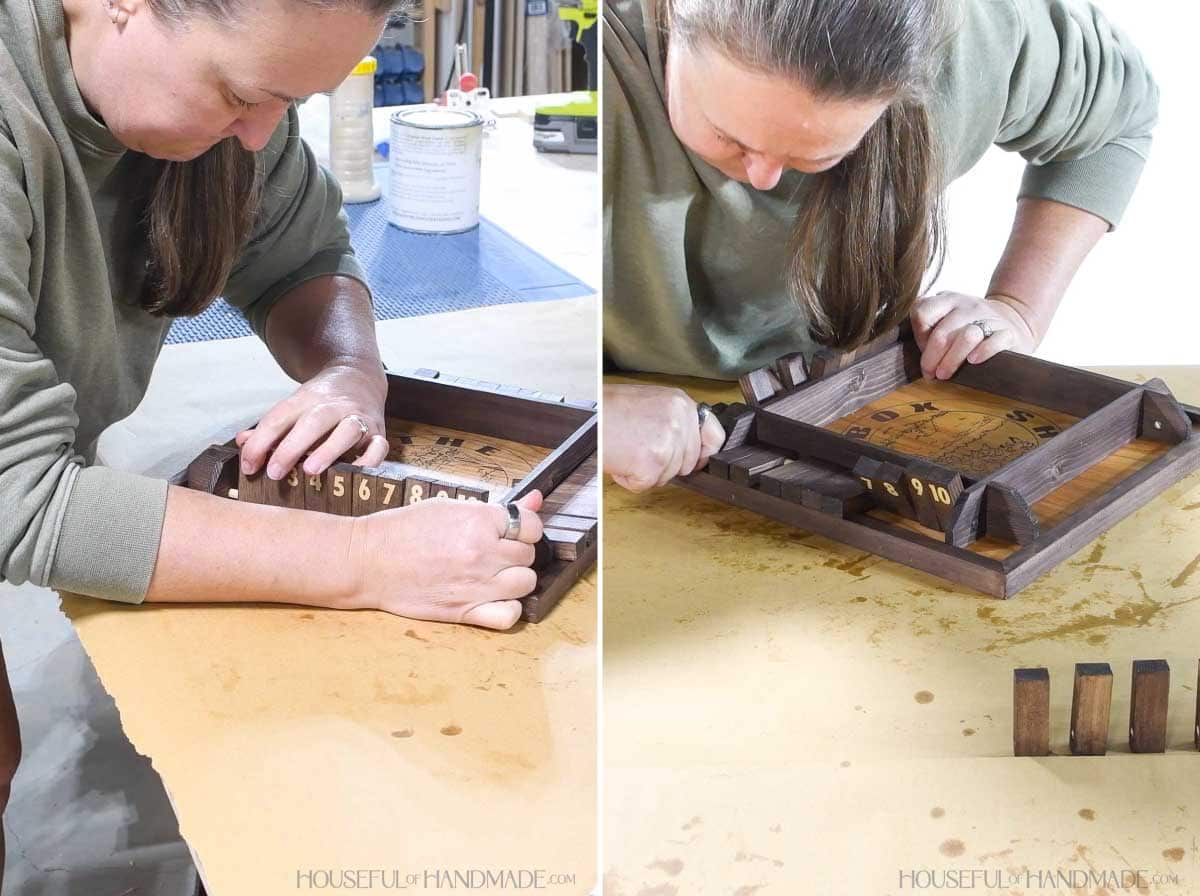
Then carefully press the dowel the rest of the way in until the end seats inside the hole. You may have to hold the end tile and move it around to get it all lined up.
Press firmly on the open end of the dowel to push it all the way into the hole. I used the back of a screw driver to give me leverage to do it.
Repeat for all sides.
Premium plans include:
- Recommended Tools
- Shopping list
- Easy to read cut list table
- Cut diagrams
- Step-by-step instructions with 3D renderings
- Helpful resources
- BONUS: 3D SketchUp file
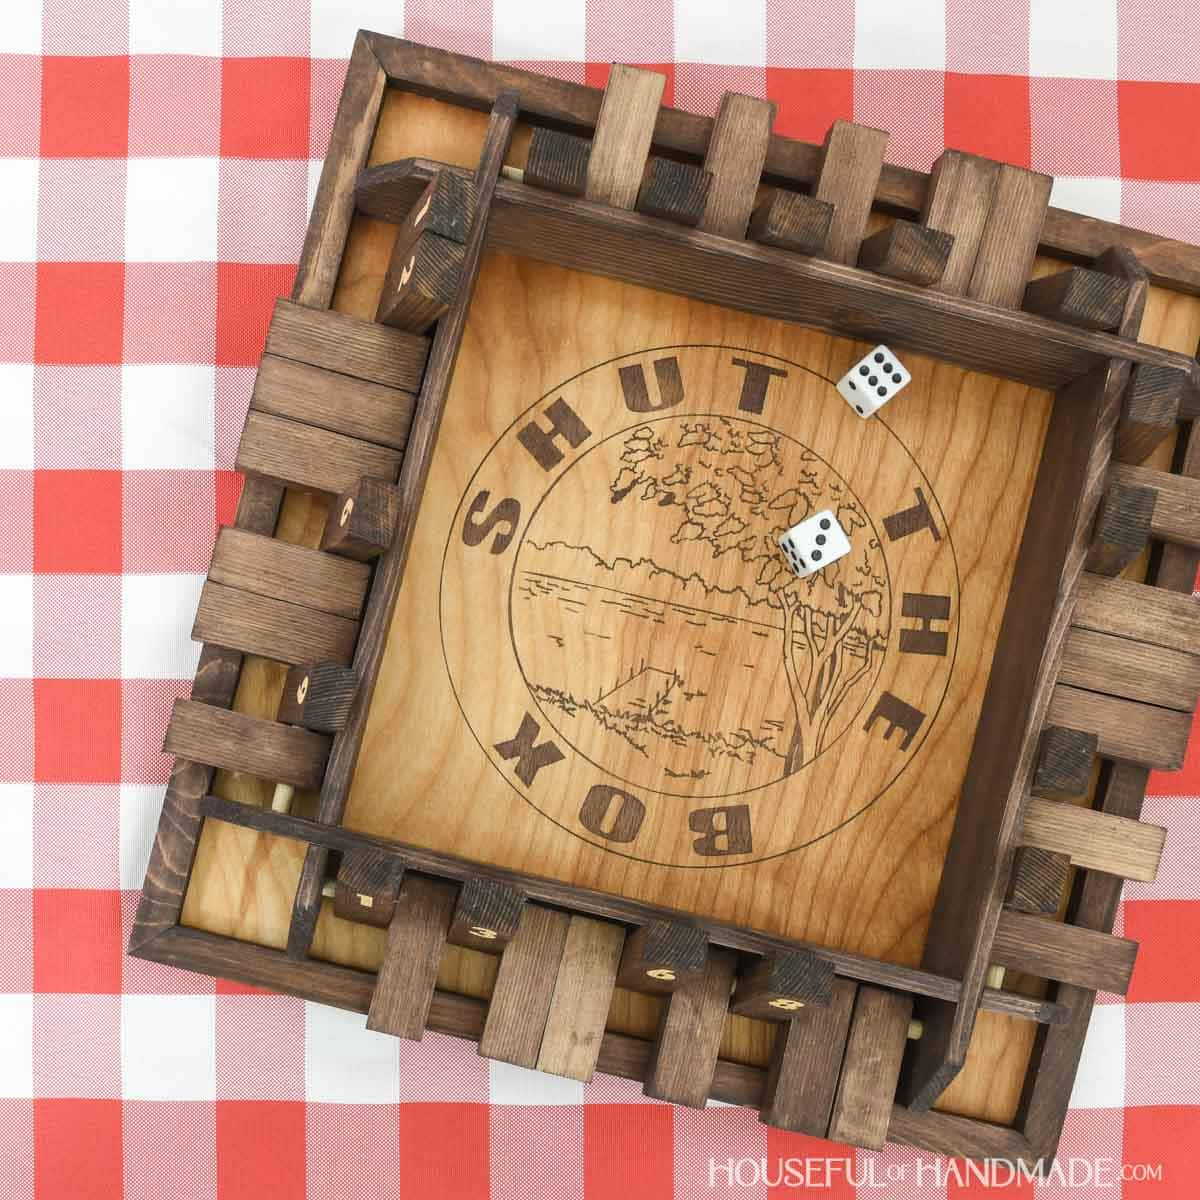
You did it!
Now you can grab your dice and get to playing. Have fun making up lots of different house rules for your very own Shut the Box games.
DIY Gift Week- Day 5
It’s the final day of DIY Gift week! All week I have shared new DIY gifts along with my friends from WoodShop Diaries and Anika’s DIY Life.
Today we have the last 3 DIY gift ideas… and we might have saved the best for last! Check out the final gift ideas below.
Happy building!