It’s finally happening! The weather is warming up. I am even optimistic that we won’t be getting anymore snow (knocking on wood as I write this).
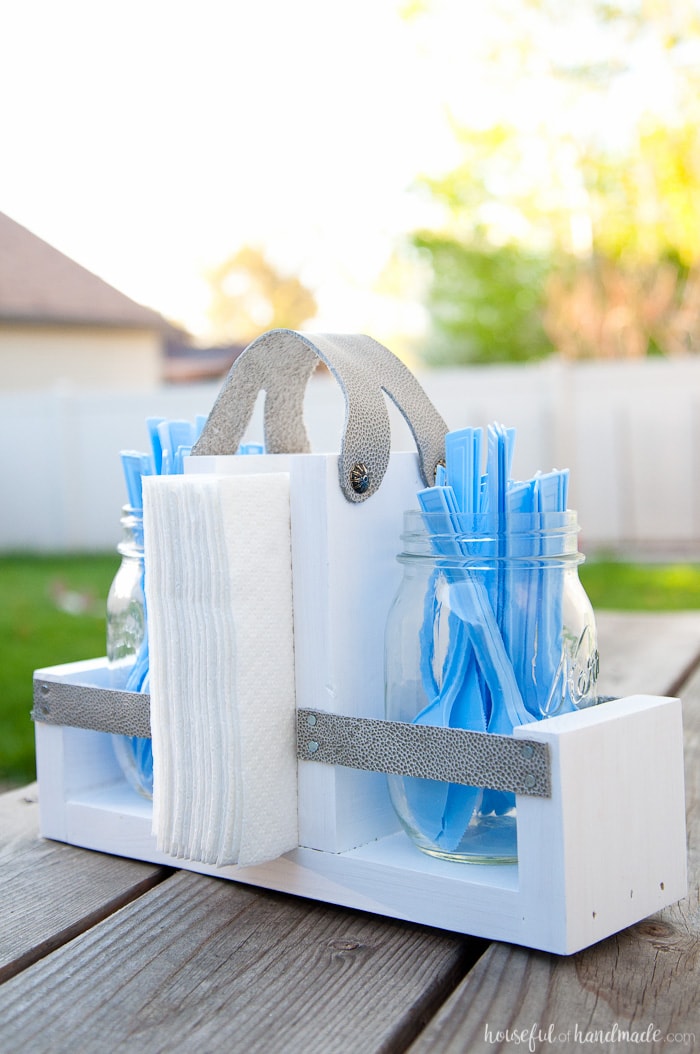
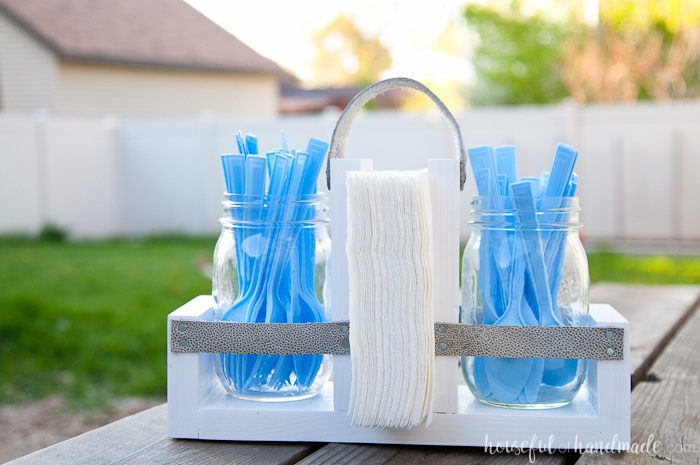
We are now working really hard to get the backyard ready so we can enjoy lots of dinners outside. And to make it easier to dine al fresco, I decided to make this easy DIY utensil Caddy with mason jars.
Now we are ready for summer to come!
This post may contain affiliate links. As an Amazon Associate I earn from qualifying purchases. Click here to read my full disclosure policy.
This spring we have already had a lot of yard work to do. Today we spent all day pulling weeds and raking pine needles (because the grass was too wet to mow). Two giant bags full!
But now we are one step closer to lots of summer fun.
This year I am determined to finally build our patio area. I cannot wait to have a beautiful place to entertain family and friends.
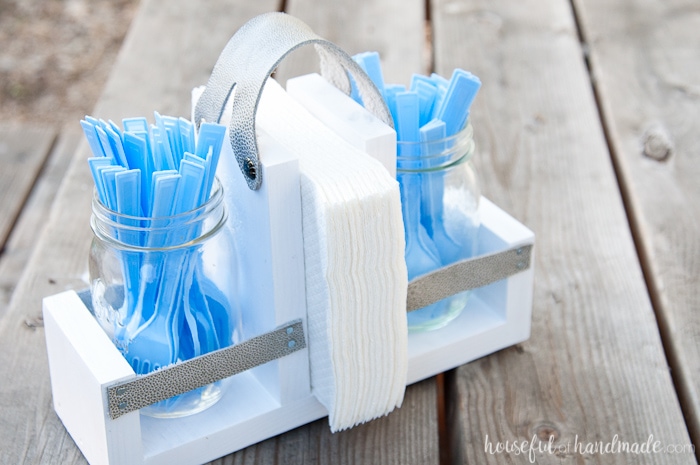
And when we do, this DIY utensil caddy is going to be at every party too.
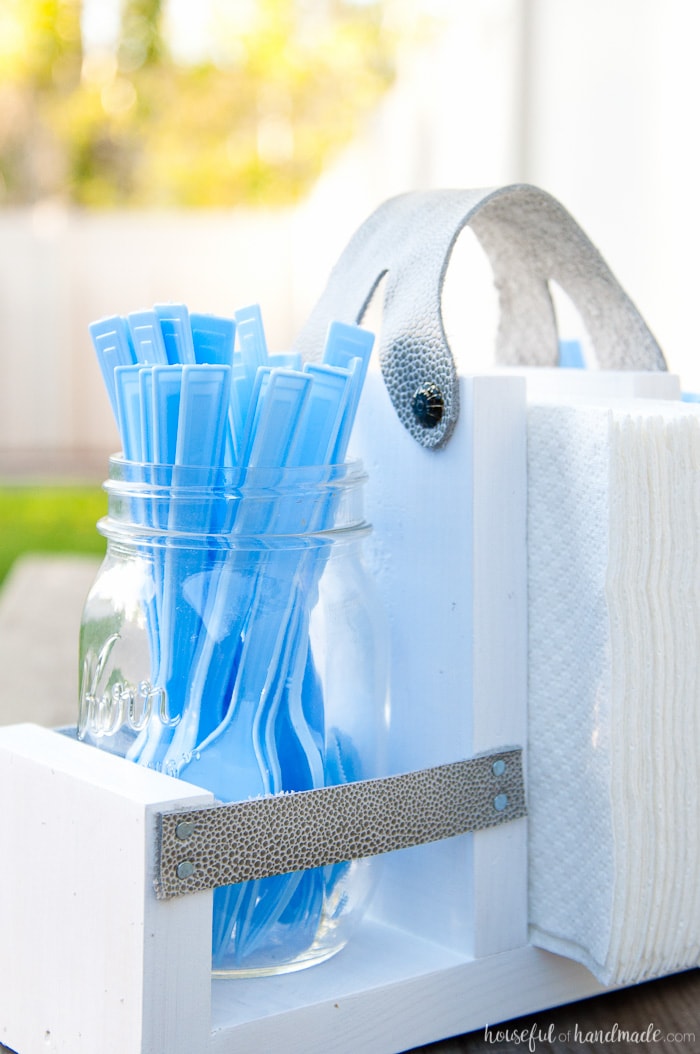
I love that it can hold our silverware and napkins so we don’t forget anything. It also has a handle so that I can carry it while my hands are full of platters of watermelon too.
And do you want to hear the best part? It was built with just a few scraps in a few minutes. It’s so easy to make, you can have your own DIY utensil caddy ready for a party in no time.
How to Make a Utensil Caddy
Supplies:
- 40″ of 1×4 board
- Leather or strapping
- Paint
- 1″ flat head nails
- 2 quart mason jars
STEP 1- Assemble the Caddy
Cut out the following pieces from a 1×4 board:
- 1 @ 9 1/2″ for the bottom
- 2 @ 3″ for the sides
- 2 @ 6″ for the center
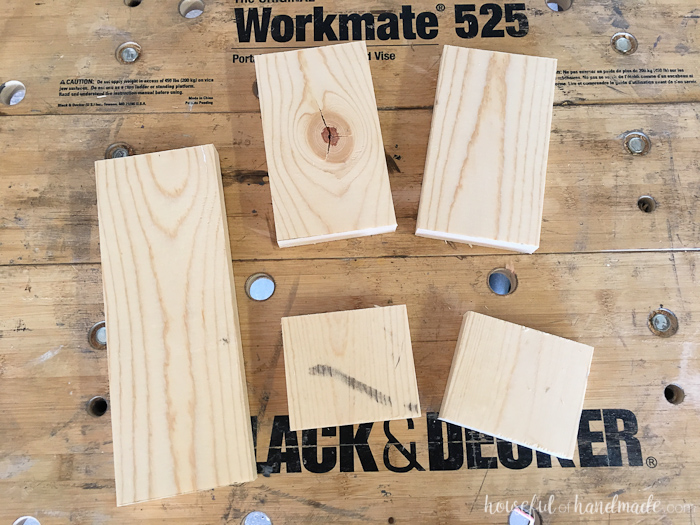
Add wood glue to the end of the bottom board and line one of the sides boards up so it is flush on the bottom.
Secure with a nail gun and finishing nails.
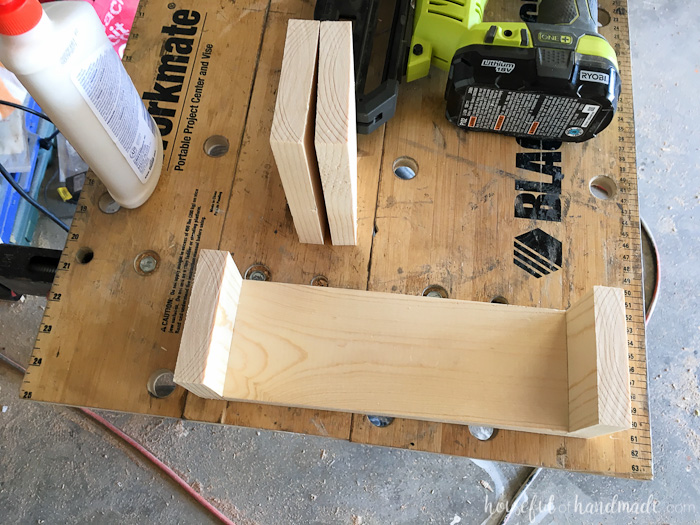
Repeat for the other side.
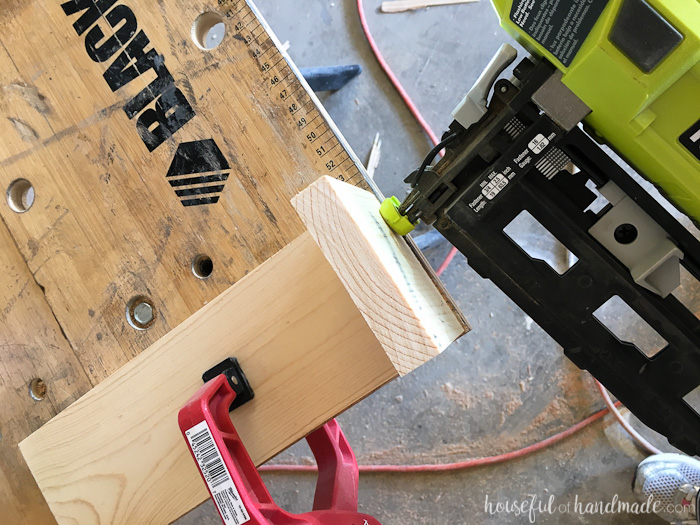
Make a mark on the bottom board 3 1/4″ in from the outside edge on each side.
Add wood glue on the bottom edge of one of the inside boards and line thitem up on the inside of the marks.
Secure with a nail gun and finishing nails.
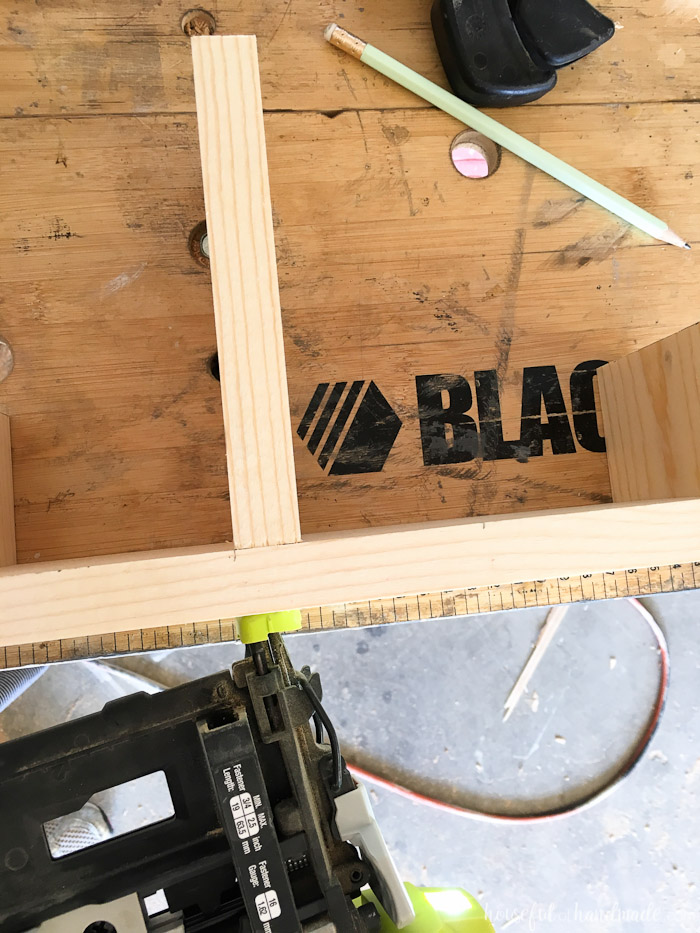
Repeat for the second inside board.
Let the glue dry. Then sand and paint your utensil holder.
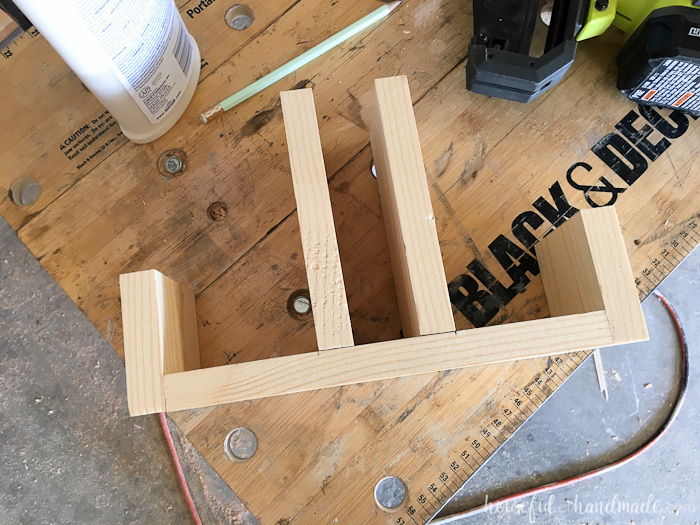
STEP 2- Attach Handle & Straps
Cut your pieces of leather to create a handle and strapping to hold the mason jars in place.
- 4 pieces 3/4″ x 4 1/2″
- 1 piece 7″ x 3″
If you do not want to use leather, you can use nylon strapping instead.
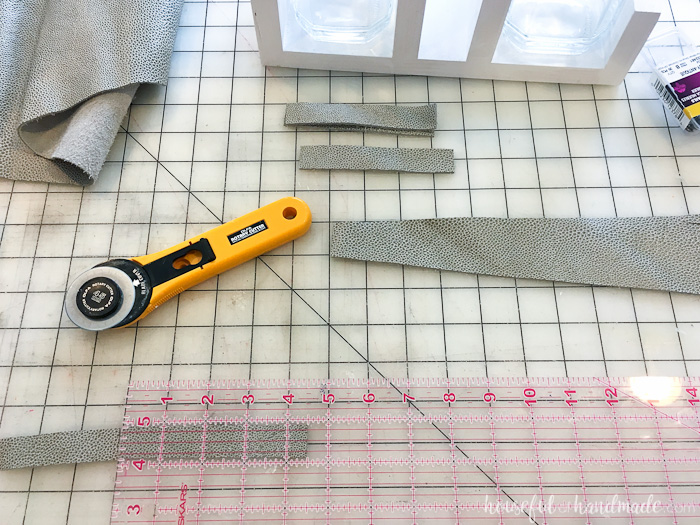
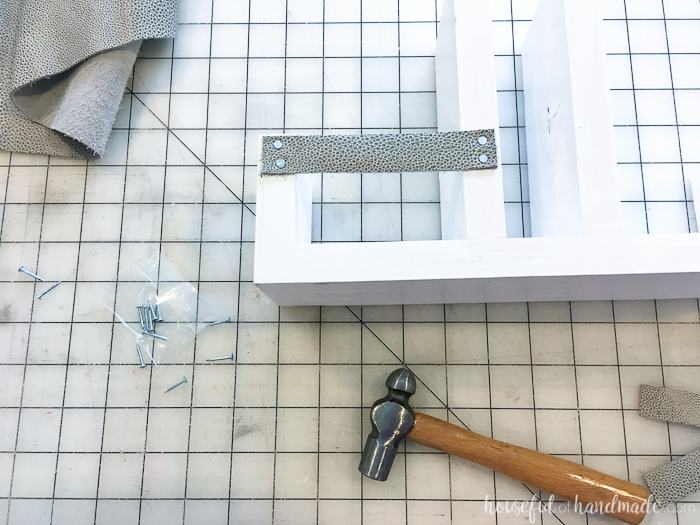
Using small nail with a flat-head, attach the 3/4″ x 4 1/2″ pieces to each side of the jar holder sections of the utensil holder.
I used 2 nails on each side of the leather.
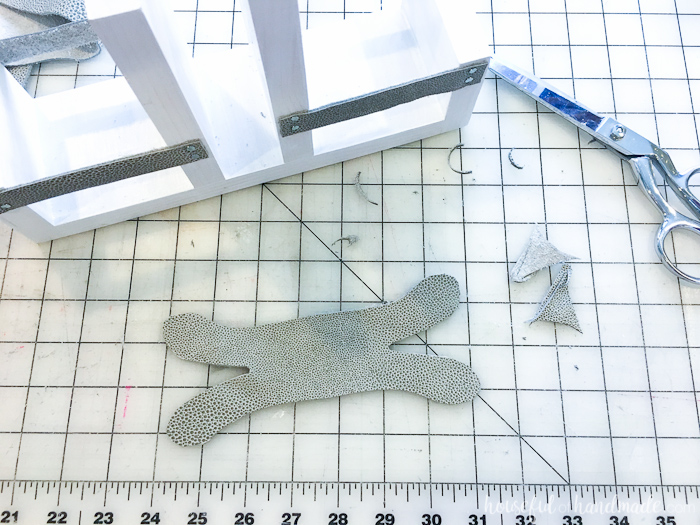
For the handle, shape the 7″x3″ piece of leather.
I curved the center so it was narrower and easy to grip with my hand. Then I created two fingers on each end to give it a fun look.
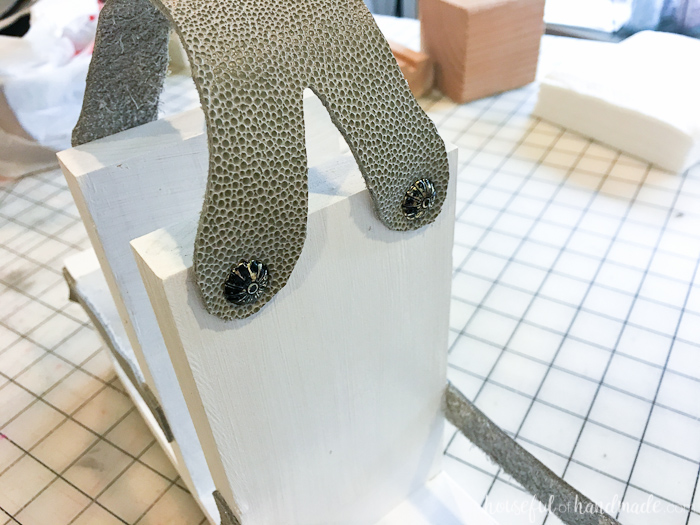
Using more nails (or decorative furniture tacks like I did) attach the hand on either side of the napkins area.
Now all that is left is to place your mason jars in the caddy and load it up.
It’s the perfect place to store utensils and napkins for your next BBQ!
Now I guess I should go do some more yard work.

