Organize and hide all your jewelry with this beautiful DIY wall jewelry organizer.
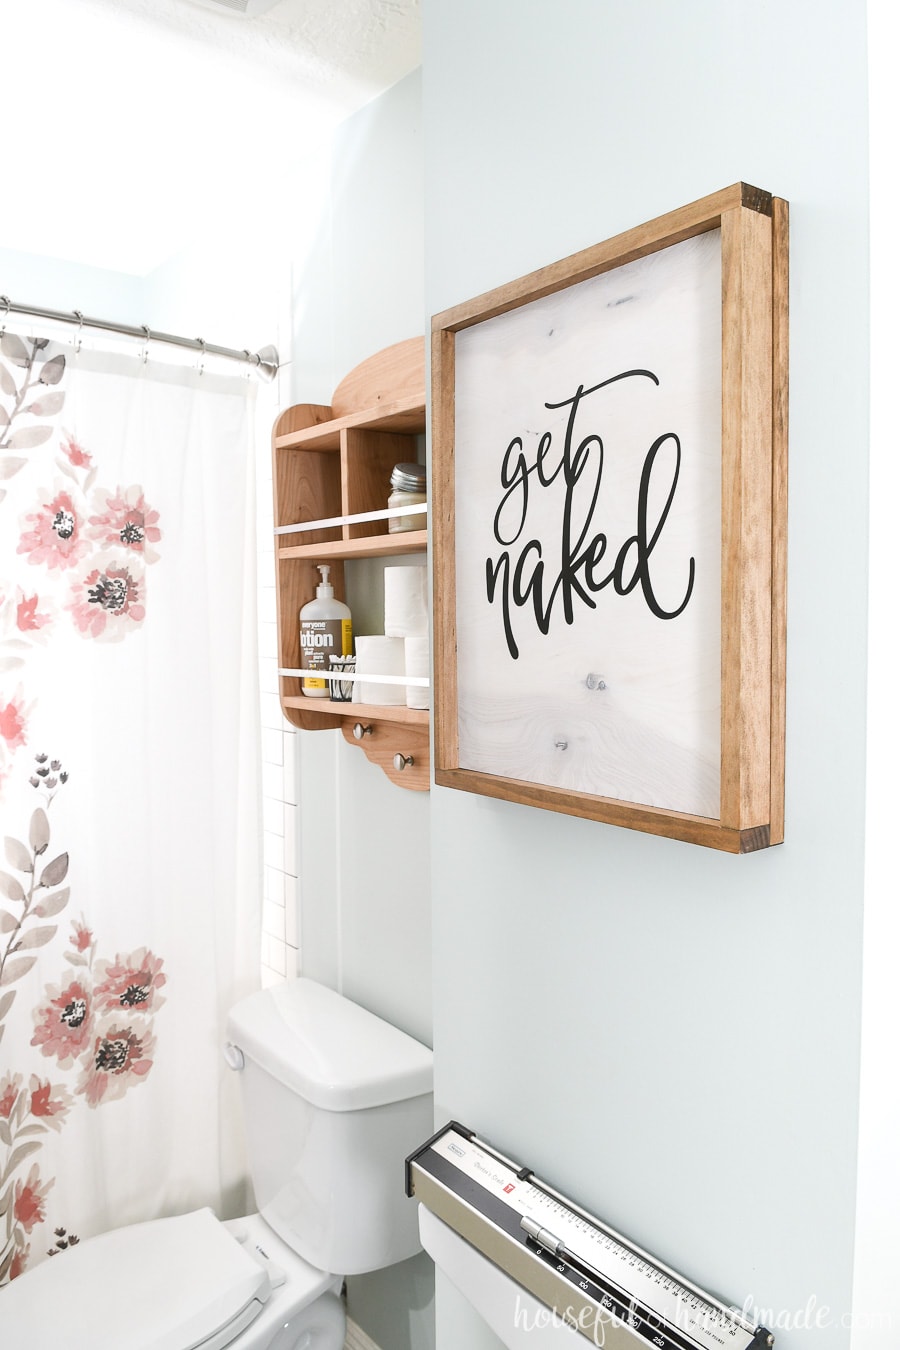
This easy to build wall jewelry organizer will become your new favorite part of any room. The front of the jewelry cabinet is a modern wood sign that you can put any design on.
But the inside is where the magic happens. And I partnered with Kreg Tools to share the build plans with you for free!
Who doesn’t love the fun new design trend of wood signs? I know I am hooked!
This post may contain affiliate links. As an Amazon Associate I earn from qualifying purchases. Click here to read my full disclosure policy.
You can add so much personality to your home and they are easy to build, especially if you have a Kreg Jig! So when it was time to finally tackle the pile of jewelry that was tangling itself if my dresser drawer (embarrassing, I know) I decided to combine my love of wood signs and need for jewelry organization.
And the end result is amazing!
For anyone visiting my house, all they see is funny bathroom art (he he). But if you open up the chunky wood sign, the inside is a treasure trove of jewelry organization! It makes me so happy to see it all organized like this.
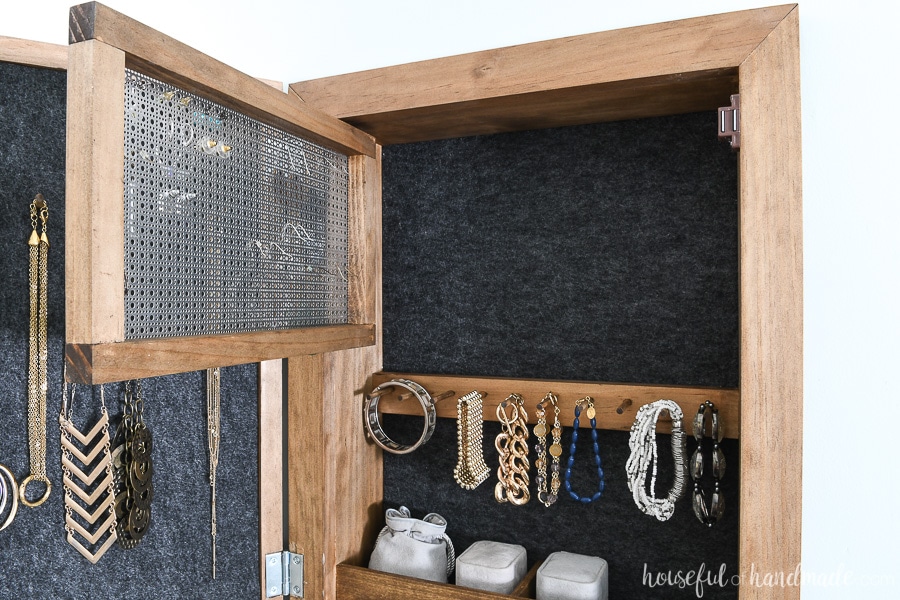
On the back of the wood sign are pegs for hanging necklaces. And the felt back glued to the inside does more than just protect the necklaces. It also hides the pocket holes that so easily hold together the wood sign.
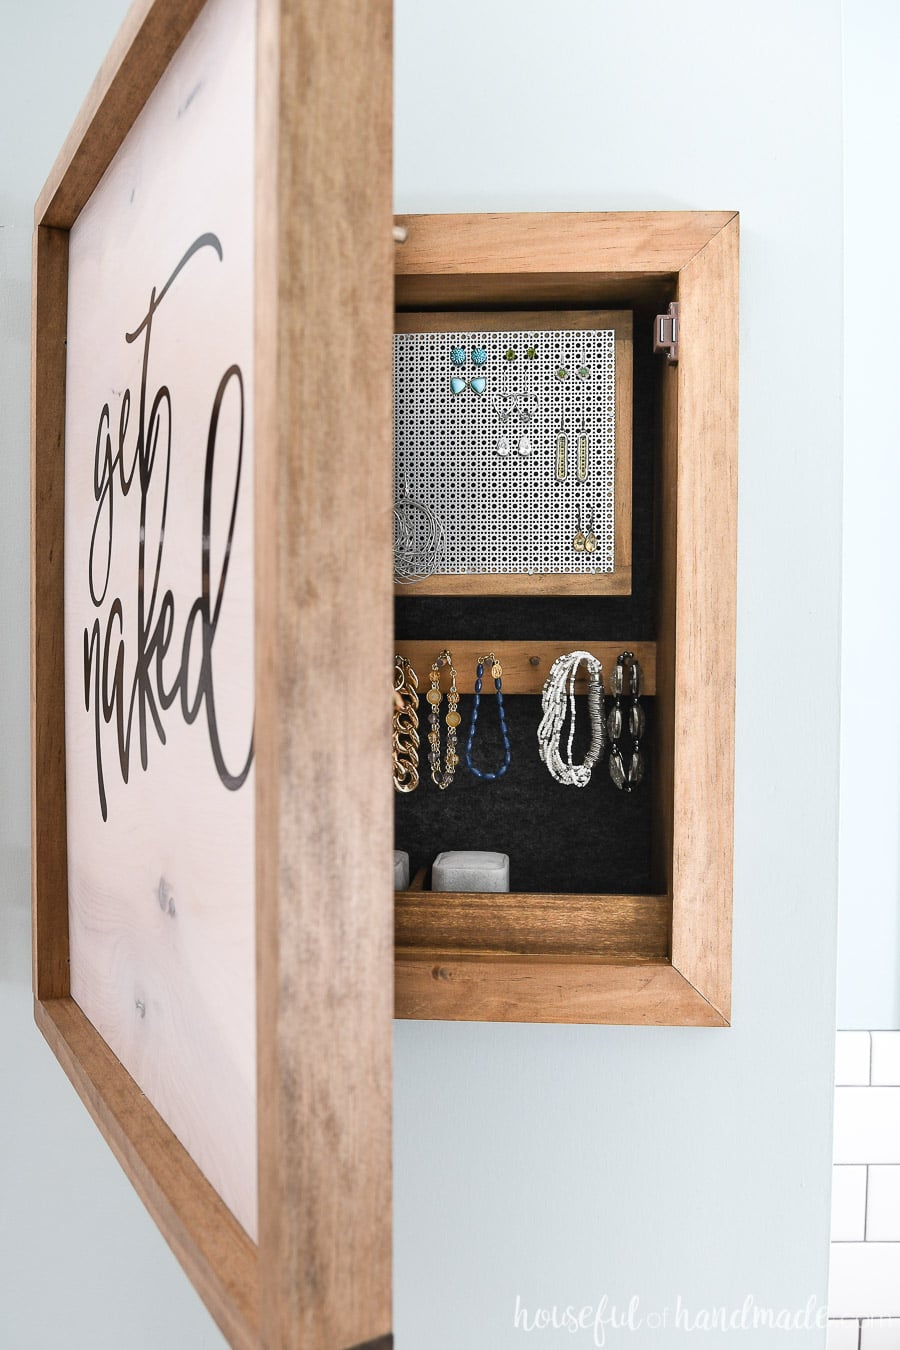
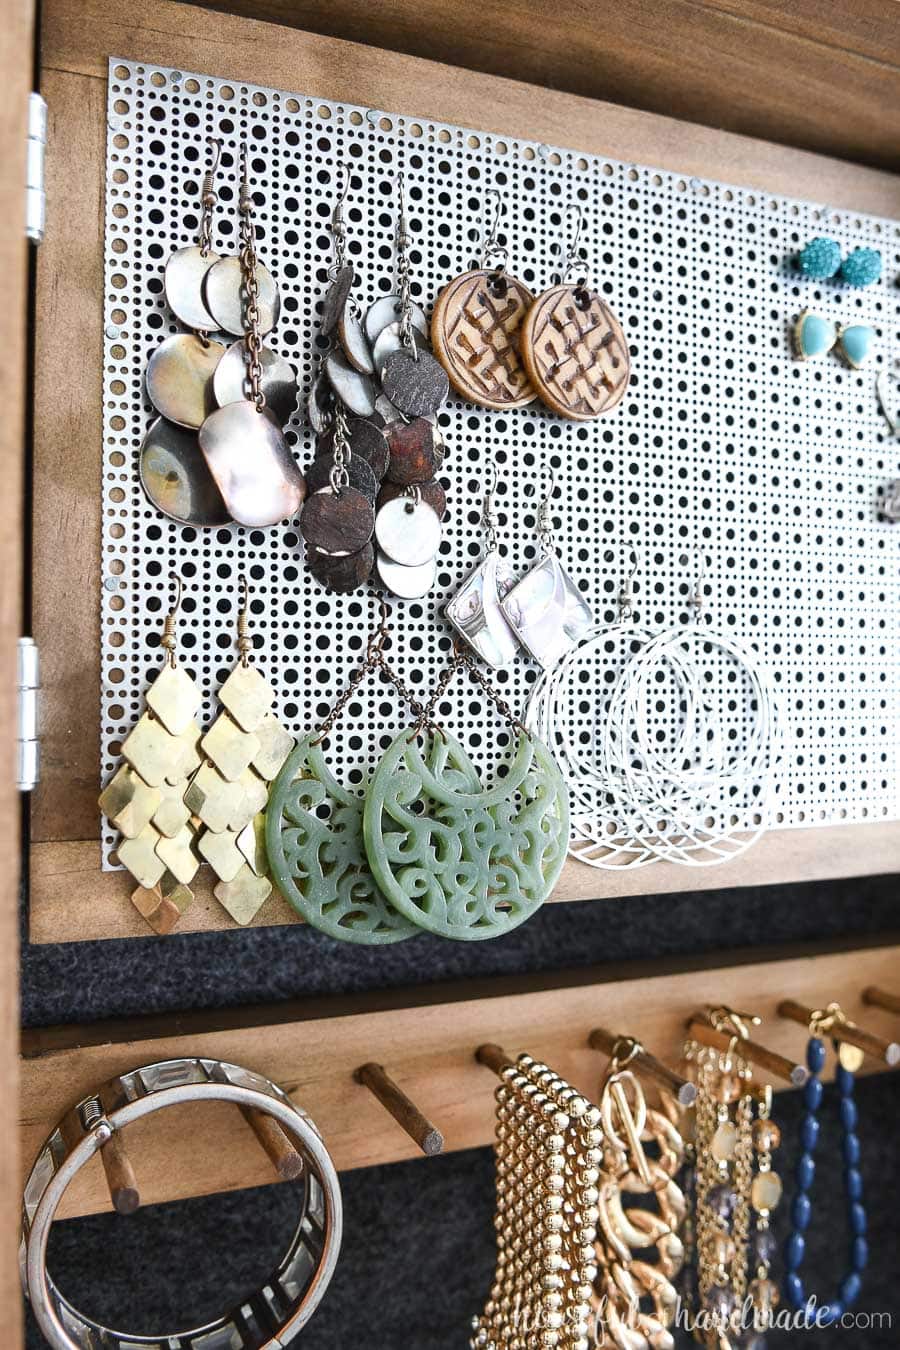
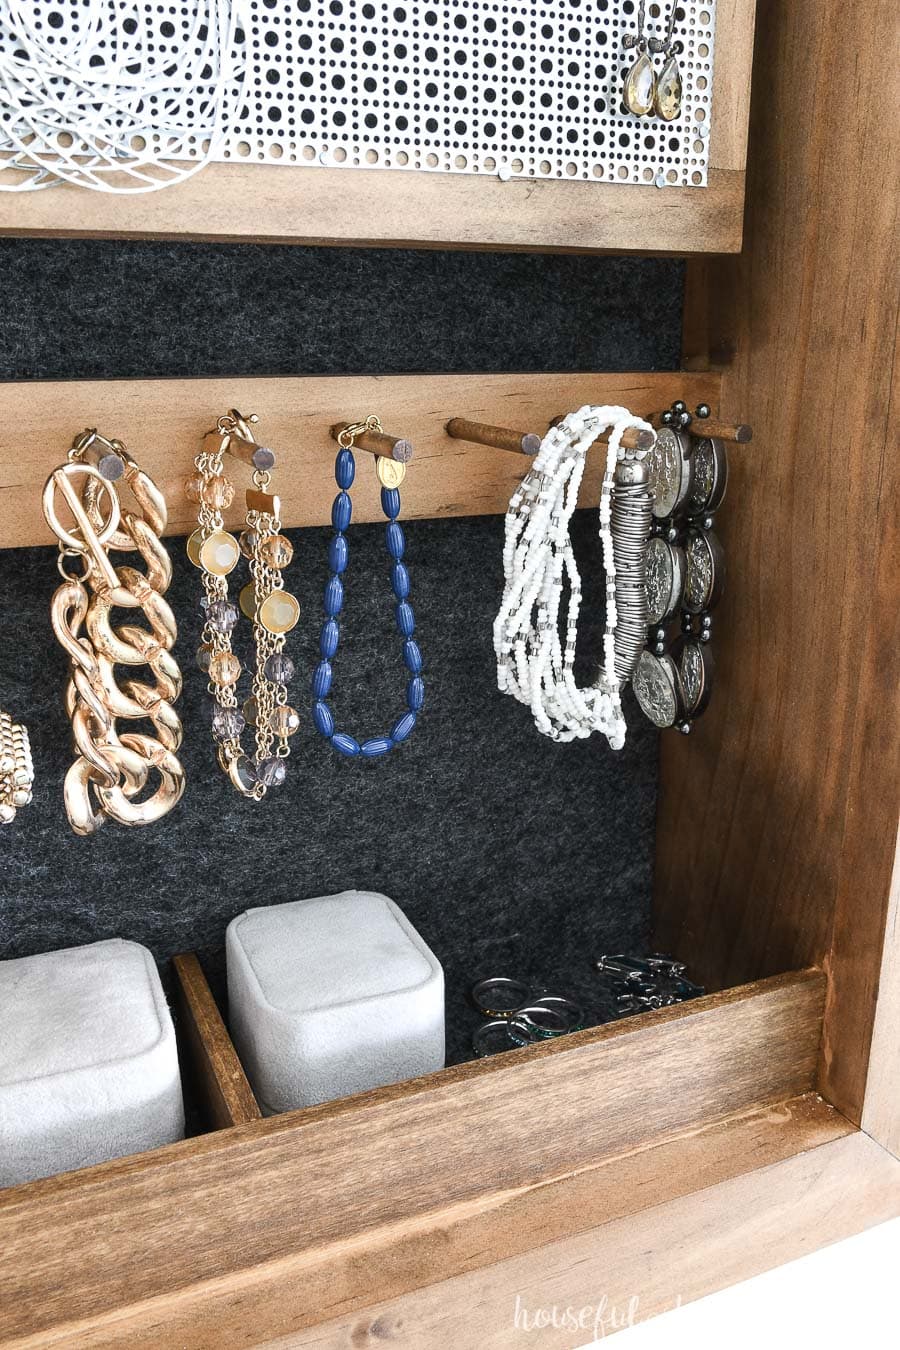
Then on the inside, hidden in the wall, you have the perfect way to store all your earrings. This earring rack is on hinges so you can easily access the back. This makes it perfect for dangly earrings as well as studs!
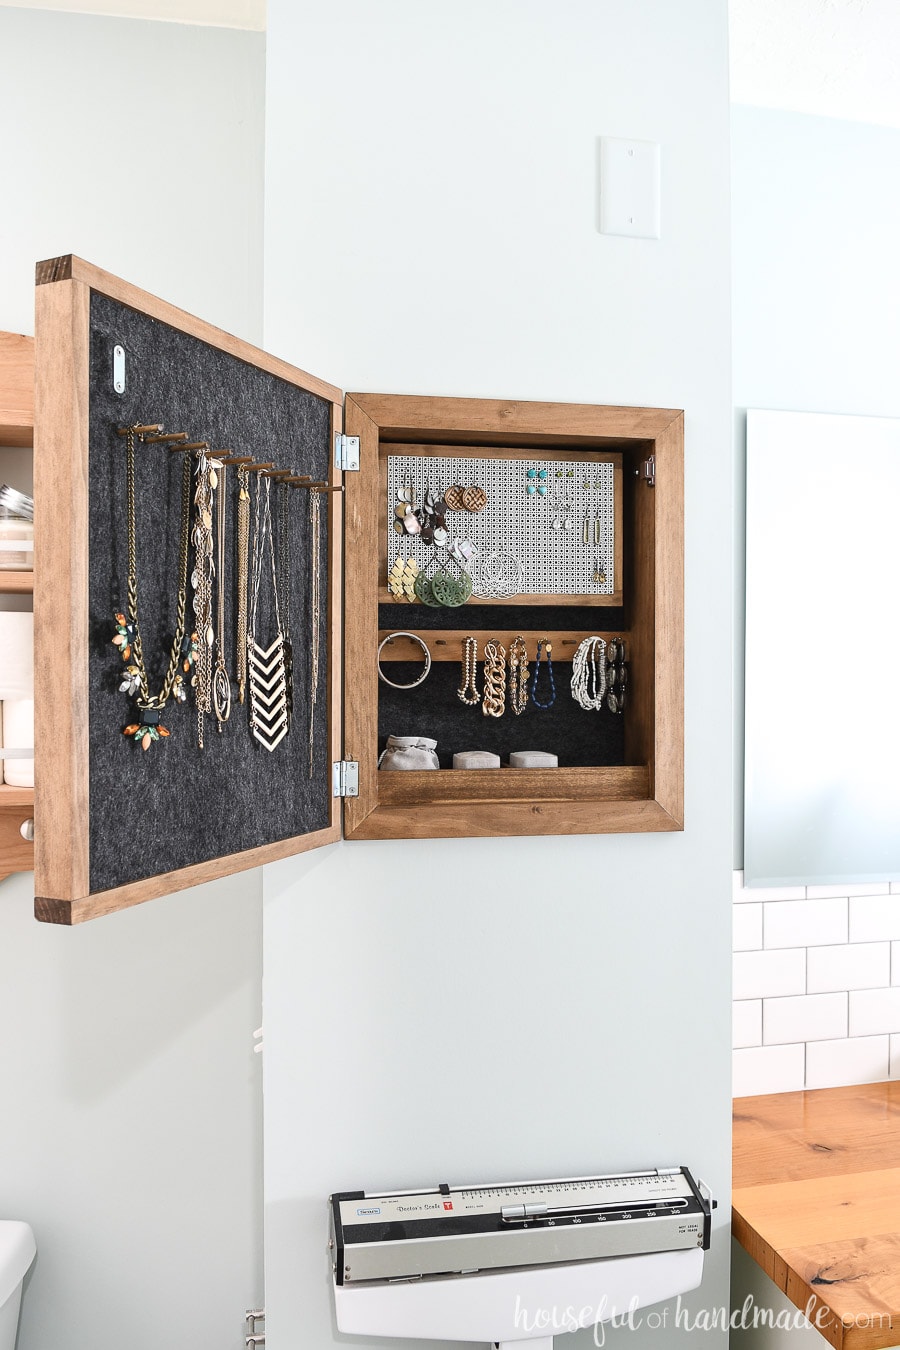
There is a row of more pegs to hold bracelets. So simple, but they really look amazing right? And then at the bottom are two compartments perfect for storing rings. Or anything else you might want to hide in your new hidden jewelry cabinet!
This DIY wall jewelry organizer is a fun weekend build and would be perfect for a handmade gift. Who wouldn’t love a place to organize and hide all their jewelry? And if you want extra bonus points, put a new necklace in the jewelry cabinet ????
But this is the project that almost didn’t happen! I made the plans, built the wall jewelry organizer. Then the problems started…
First, before building to the final measurements, I cut a small hole in the wall to double check that it would fit. I was pretty sure there was nothing where I wanted to put it because I just put drywall on that a couple years ago. So after confirming I went to work.
Then I went back to finish cutting out my opening and 1/4″ away from the line, I hit the studs! Yikes. I figured I would just have to shift it 1/4″ to the other side but yep, on the other side 1/4″ from my line… studs again! I had miss calculated how much distance was between them. Luckily this will not happen to you, because studs are typically 16″ apart (and the cabinet is only 14 1/2″).
Luckily these studs are not very important, they are just holding the drywall up to cover a vent coming up from the furnace. So I asked my husband to notch out the studs so I could fit my already built cabinet inside.

Smooth sailing??? Nope! We got the absolutely beautiful jewelry organizer in the wall and then I went to add the wood sign to hide the jewels inside.
Well, this is where my design was flawed. I thought I had figured it out good enough. But come to find out, there was not a hinge in the world that would allow the front of the jewelry cabinet to open up the way I had designed it.
I wanted the wood sign to sit over the top of the jewelry cabinet. That way the frame would only be 1/4″ off the wall and no one would even guess there was a storage compartment behind it. It was a great idea!
And that idea I had a hard time letting go of. I tried hinges in so many different places and different ways. I spent almost an hour just staring at the thing hoping my brain would magically see the answer. Well it did, the answer was to make the wood sign the same size as the cabinet so that it would hinge properly.
After accepting defeat, I quickly recut the wood sign and presto. The whole thing came together! Even with the challenges I faced, I adore my new hidden jewelry organizer. I love the punny bathroom art, I love the felt lined cabinet, I love the hinged earring rack. I love it all!
And it was easy to build. The whole thing comes together so easily with the Kreg Jig and their Shelf Pin Jig (love this thing for anyone that wants to build any kind of cabinets).
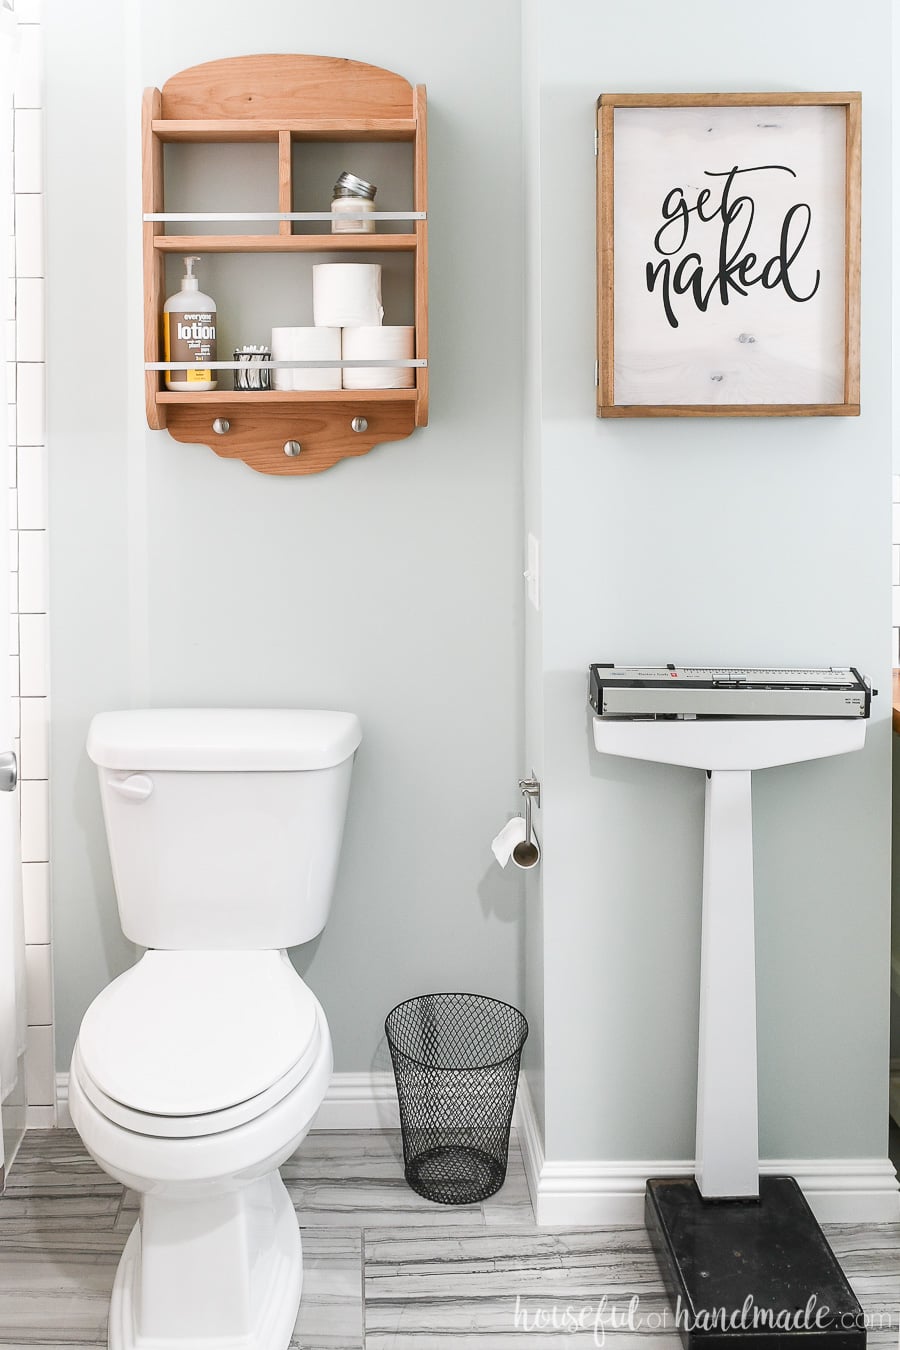
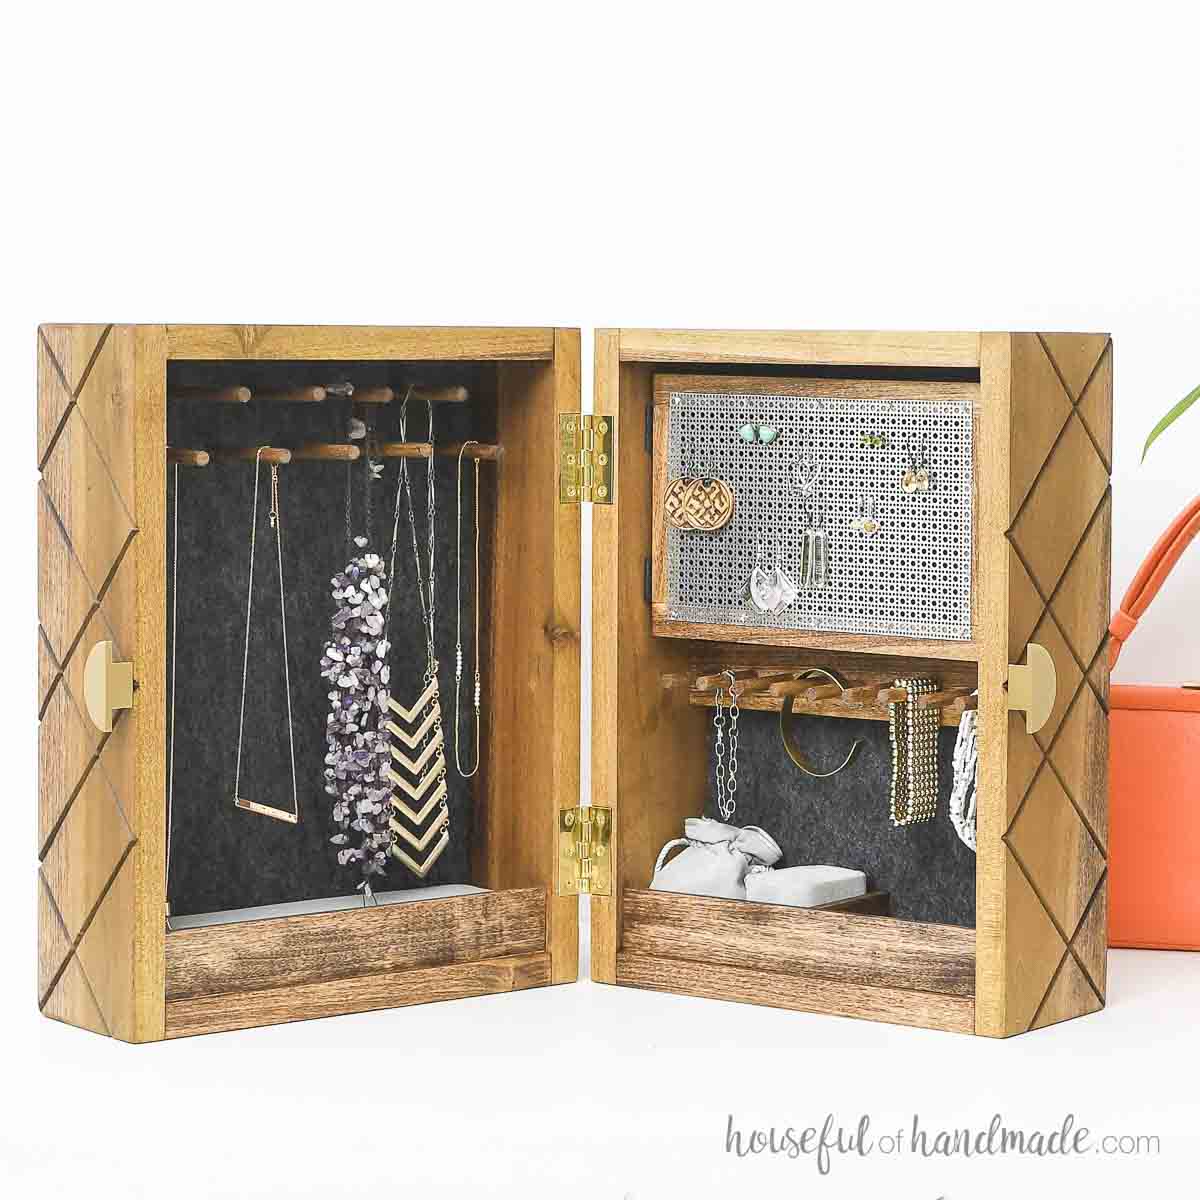
Table Top Jewelry Organizer
I loved the wall jewelry box so much, but we moved and I had no where to put a new one.
So instead, I redesigned it to make a tabletop version. This large jewelry box has all the same features I loved in the wall version and can go with me if I ever move again.
Plus I offer a printable PDF plan for the table top version.
Jewelry Organizer Build Plans
If you want to make your own DIY wall jewelry organizer, I am sharing the free plans over at KregTool.com.
Click here for the complete build plans.
Happy Building!

Thank you to Kreg Jig and BuildSomething.com for sponsoring this post. I only recommend products that I use and love and all opinions are 100% my own. Click here to read my full disclosure policy.