It’s no surprise I love all things DIY. Sometimes I know what I am doing, but most times I am just figuring things out as I go. Along the way I have learned a few tips and tricks that can hopefully help you in your DIY adventures too! So today I am sharing 8 DIY & woodworking hacks that help make DIY a little easier.
Measure like a pro
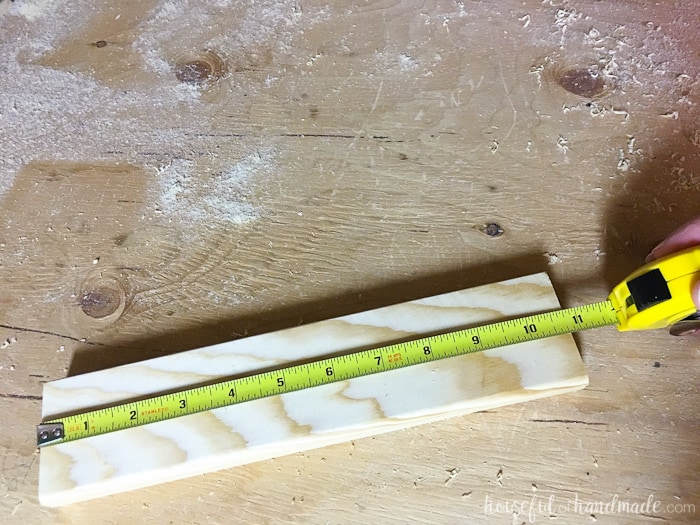
For projects were you are measuring to the 16th of an inch, you can easily measure and record numbers fast like the professionals do. Write down all measurements in 8ths but leave off the /8. So 34 5/8″ becomes 34 5 and 16 1/2″ (aka, 4/8s) becomes 16 4. Then when you need to go to the 16th, you record it as strong (+) or weak (-). So now 29 5/16″ becomes 29 2+. It’s also much easier to read this measurement on the tape measure than trying to count and divide 1/16ths of an inch.
This post may contain affiliate links. As an Amazon Associate I earn from qualifying purchases. Click here to read my full disclosure policy.
Keep your wood from splitting
When hammering a nail close to the edge of a board, hit the tip of the nail with your hammer to slightly dull it. Now when you hammer in your nail it will press through the wood instead of cutting it with it’s sharp tip. You will have less chance of your wood splitting and ruining your project.
Perfectly fit in drywall
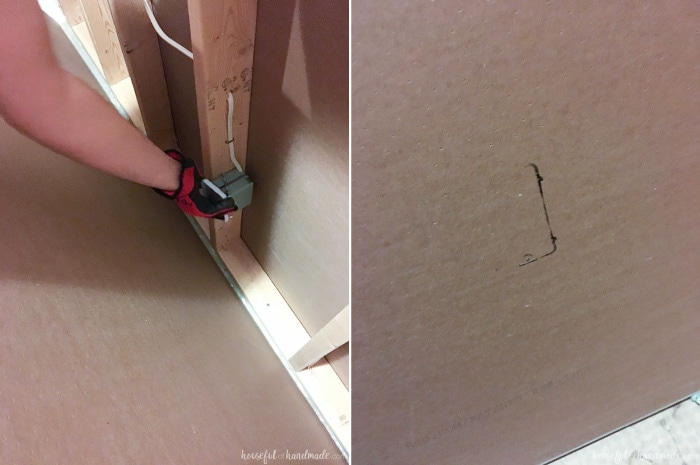
When laying drywall over electrical boxes, rub a stamp pad over the front of the box. Then line up your drywall and carefully press it against the electrical box. The ink will lightly transfer to the back of your drywall so you can easily cut it for the perfect fit.
Protect your hands from paint
Before painting a project or room, coat your hands in a good, thick lotion. Then when you are ready to wash the paint that you inevitably get all over them, it comes off much easier. If you have a big project (aka, painting for lots of hours), don’t forget to reapply the lotion every time you wash your hands. Not only will you no longer be going out in public with green fingers, but you will also have super soft hands!
Remove wood stain from your finger nails
If you forget to wear gloves while staining your project (oops!), easily remove the stain from your cuticles and knuckles with a homemade sugar scrub like this one. It still takes a little bit of scrubbing, but you won’t be sporting a dirty manicure for long. And you probably already have all the ingredients in your pantry.
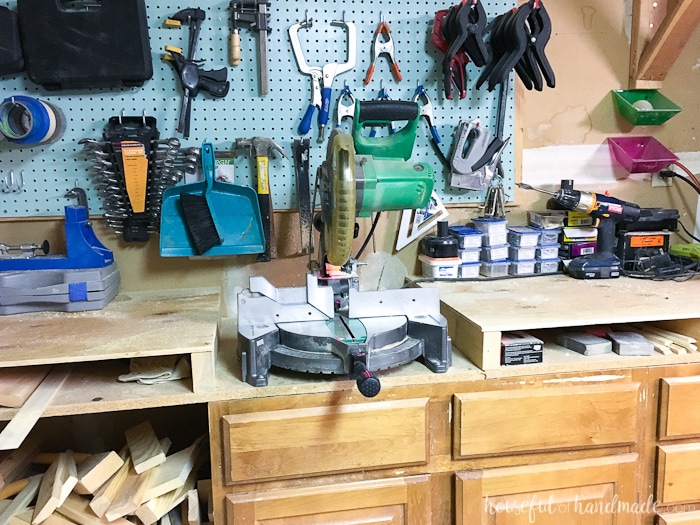
Super simple miter saw table
Make a table for your miter saw with some scrap 2x4s and plywood. Rip the 2x4s to the height of your miter saw minus the width of your plywood. Mount the 2x4s on your work table and top with plywood. Measure your wood and table saw carefully so the new table top is level with your miter saw base and you will have a much easier time making cuts on large boards.
Quick and easy miter saw guide
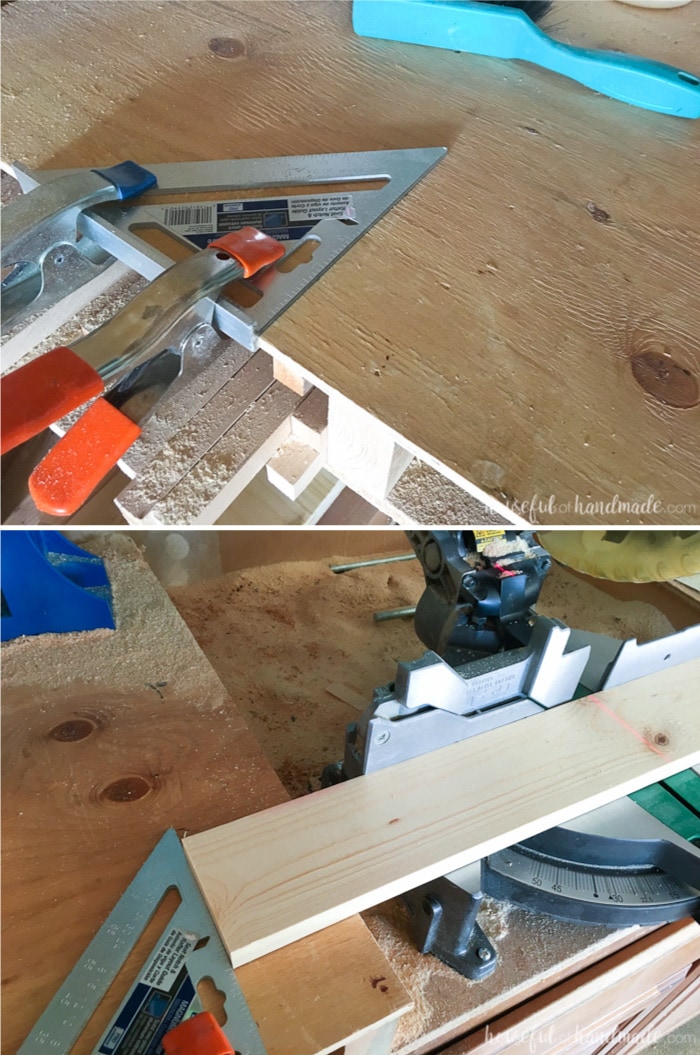
When you need to make lots of the same length cuts on your miter saw like I did in these plans, clamp a carpenters square (or even scrap piece of wood) to the table on the side of miter saw so the edge is at the measurement needed. As long as your miter saw is secured to your work table, you can quickly butt the wood up against the carpenters square and make all your perfect cuts in just minutes.
Scrap wood to save your fingers
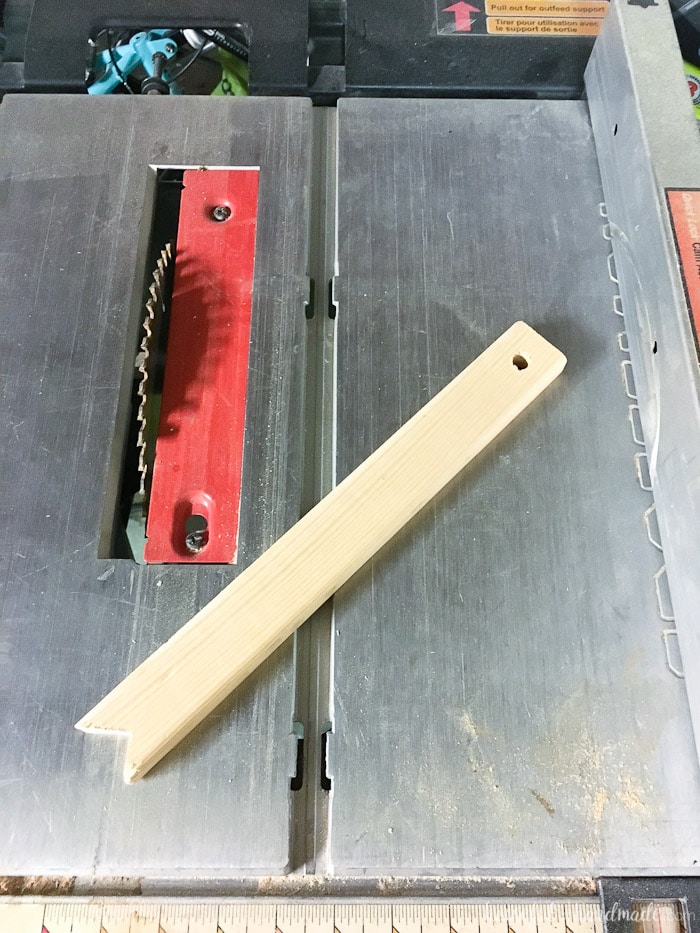
Make a table saw push stick with a piece of scrap wood and a jig saw. Cut the tip of the wood so there is a 90 degree notch out of the top of it. Now you can apply pressure to the top of the board while pushing it through your saw and save all your fingers! I also drilled a hole in the back so I can easily hang it on my pegboard to keep it from getting lost in the scrap wood pile.
If all else fails, drink lots of wine!
But not while using power tools (I do not recommend drinking while DIYing)! DIY takes lots of patience, but when you finish a project it is so rewarding. So grab a cup of coffee and get going.
Happy DIYing,

