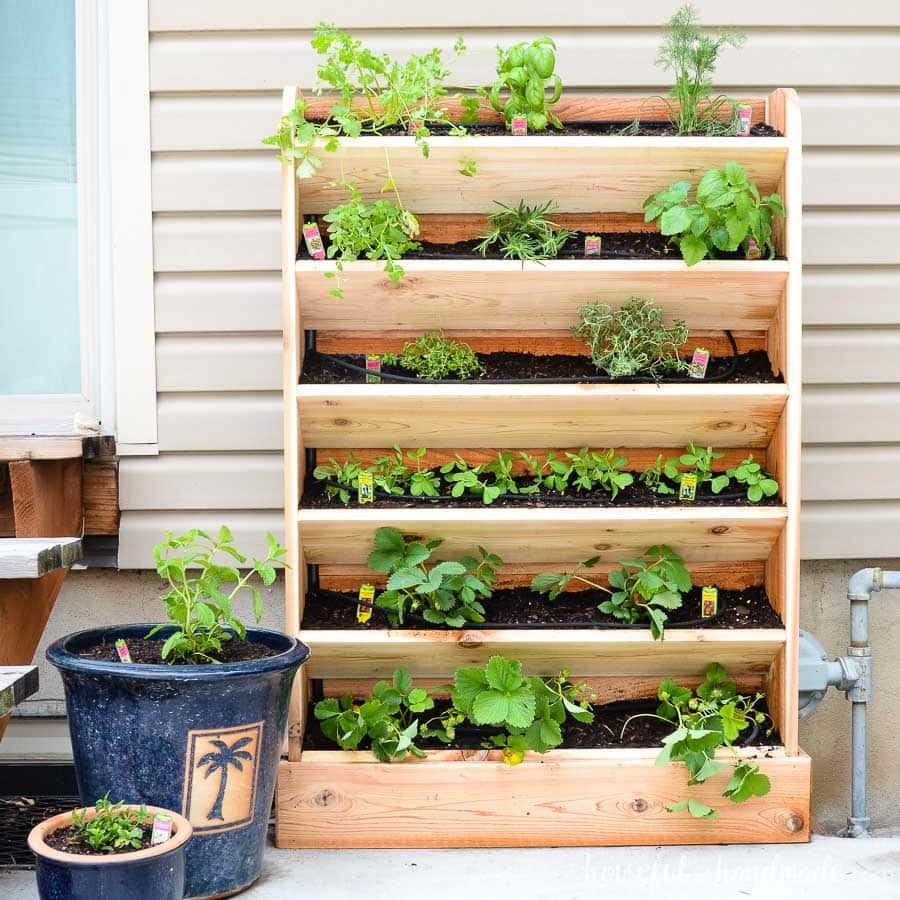
One of my favorite things about spring is planting a vegetable garden! In our home in Utah, my garden was an in-ground section on the back of our tiny yard.
But in our new place in East Texas I needed raised garden beds for my vegetable garden. I have built quite of few of these easy raised beds over the last few years.
There are many ways to build a wood garden bed, but this is the simplest and most economical one I have found. And the beds are so fun to garden in!
This post may contain affiliate links. As an Amazon Associate I earn from qualifying purchases. Click here to read my full disclosure policy.
Why raised garden beds?
There are many benefits and reasons to choose a raised garden bed. These are some of the reasons to choose a raised bed over an in-ground garden:
- If you have poor soil
- If you get a lot or rain/flooding
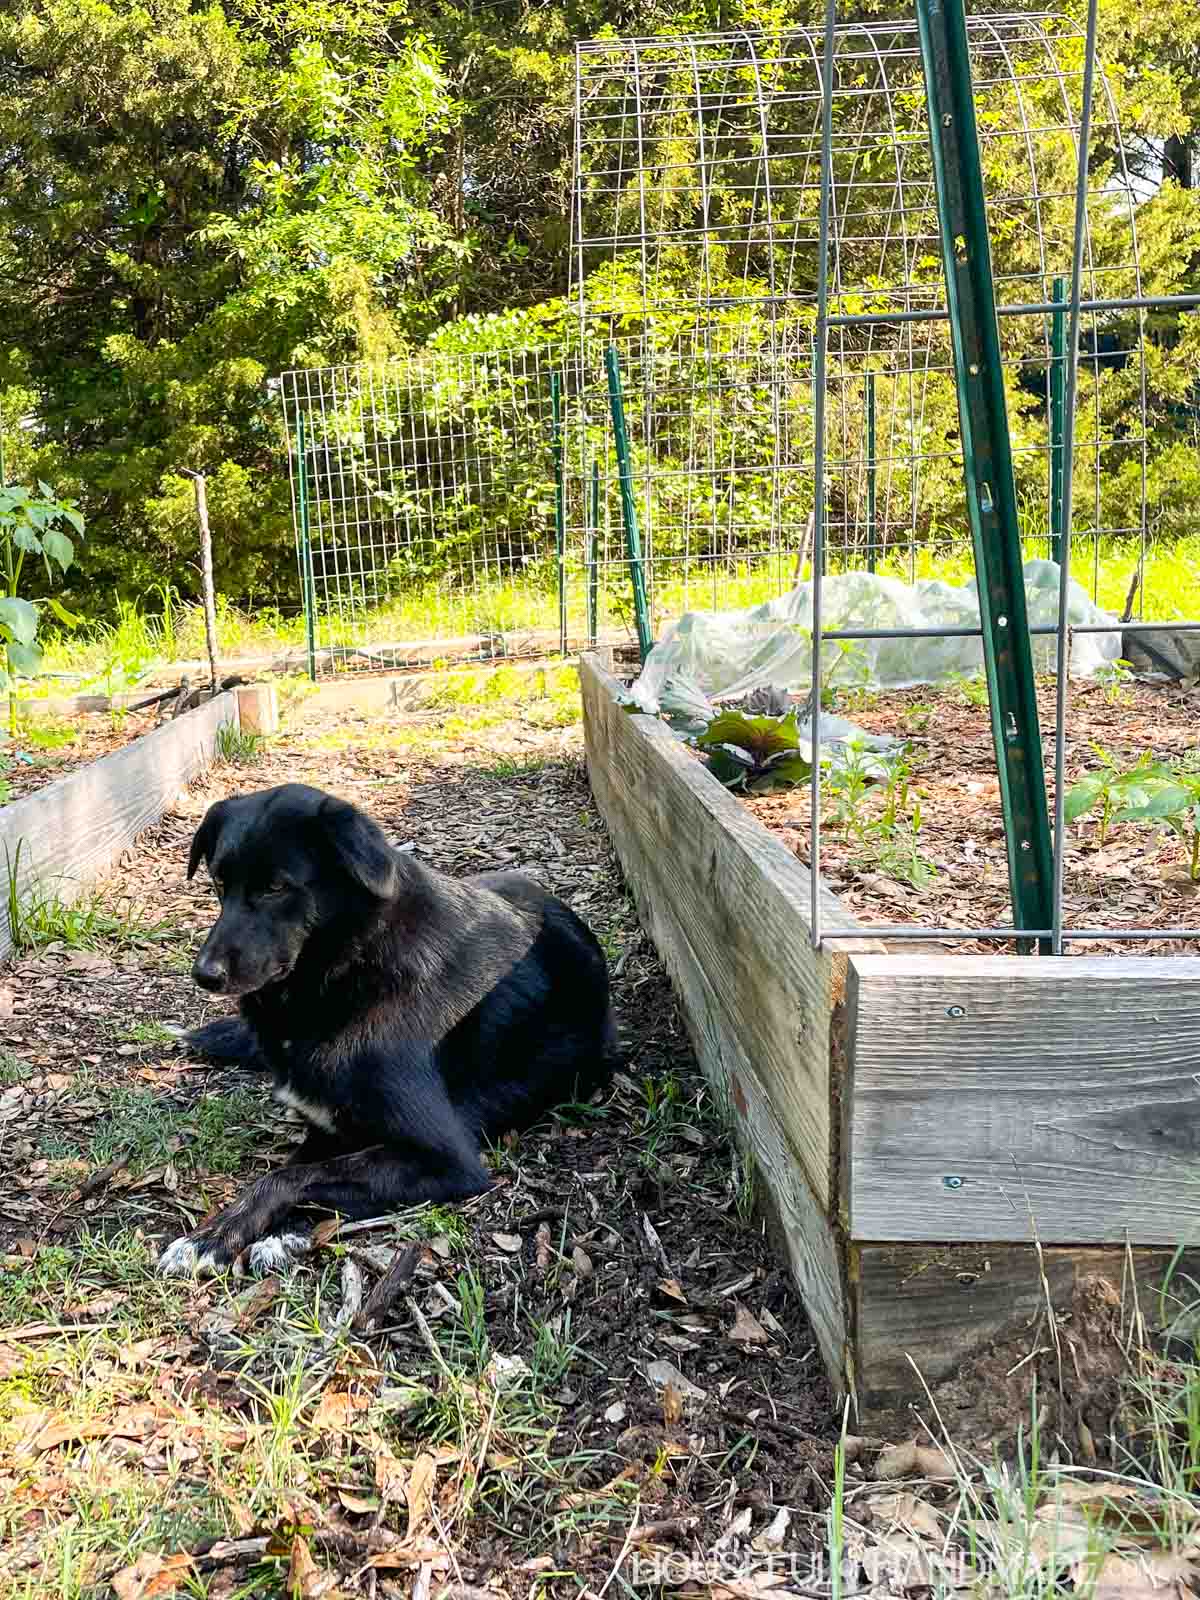
- If you have kids or dogs
Raised beds need to be filled so you can add quality compost and other materials to it to create amazing soil.
But my favorite is the raised beds define the garden space from the walkways. This keeps my dogs and children from accidentally walking where I have things planted.
What wood to use for raised beds?
The wood you choose for your garden beds will impact the cost and the life of the bed.
The cheapest option is to use Douglas fir or pine 2x boards. These will break down into the soil quickly. Expect to only get 3-5 years from them before needing to be replaced.
For longer lasting garden beds, choose cedar or redwood boards. These species will hold up better to decay. They can typically last 5-10 years.
You can also use hardwoods to build your garden beds and they will last the longest. But unless you have a lumber mill and access to hardwood trees, they will be very expensive.
If you want to garden organically, avoid boards that are treated. They are usually labeled as “For ground contact.”
Also sealers and paint can leach into the soil. So make sure to choose one you are comfortable with the ingredients if you want to use them.
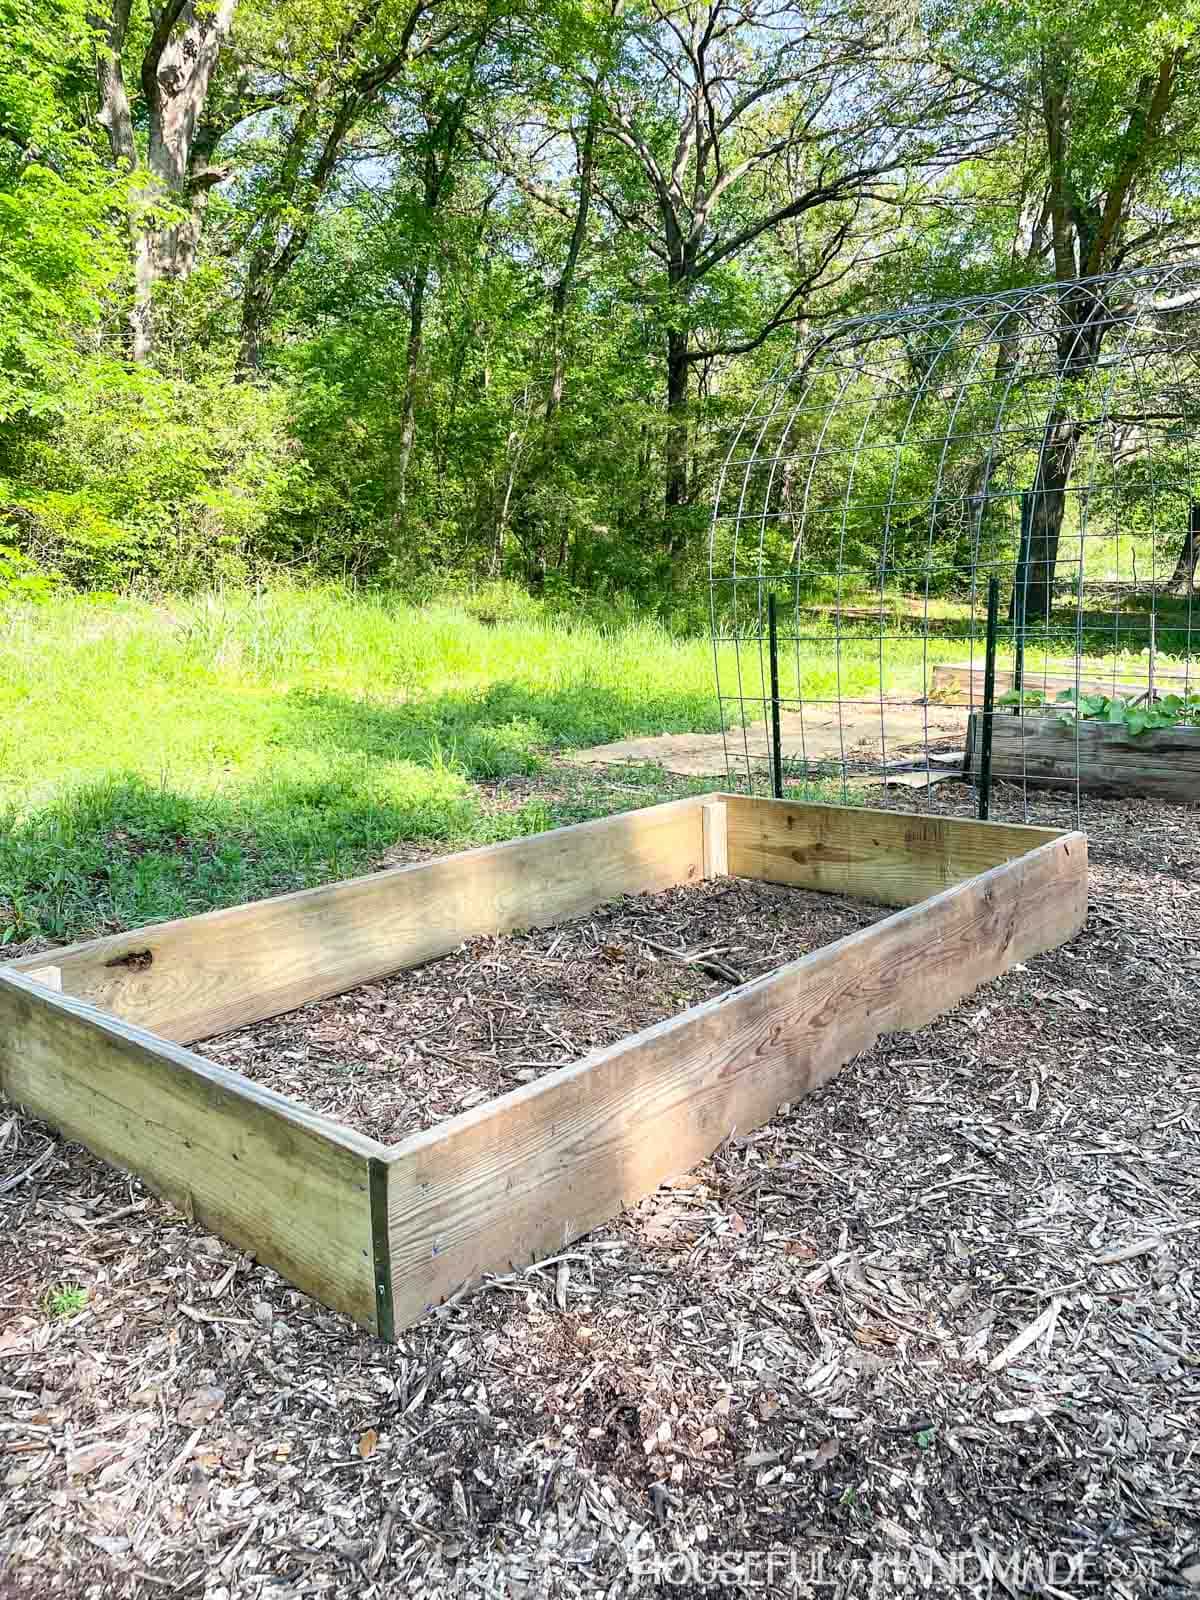
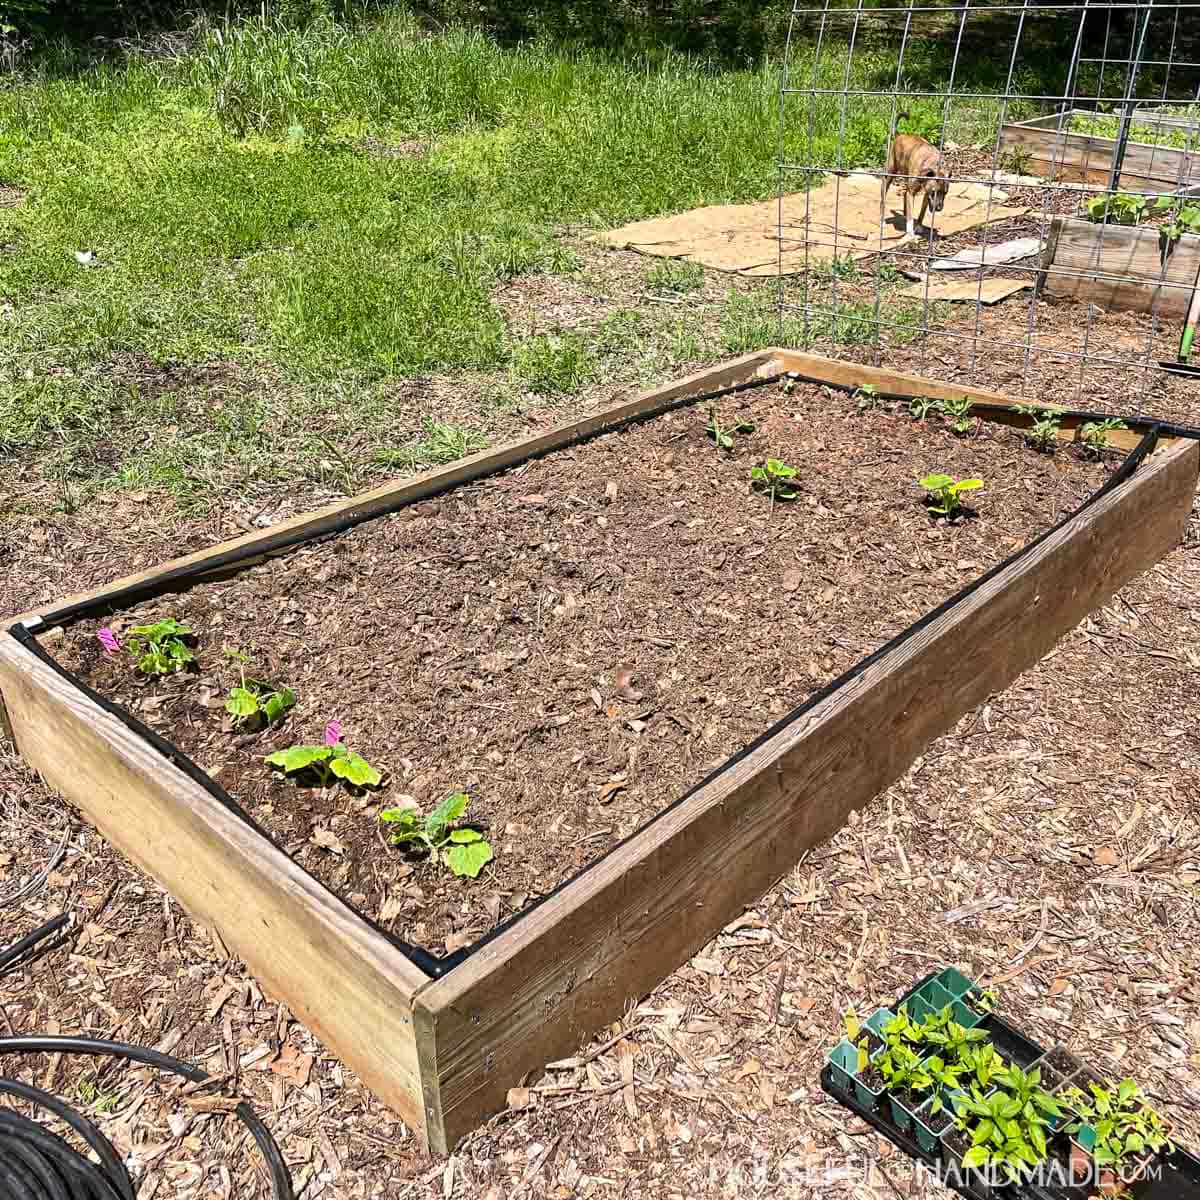
My current garden is a mix of left-over and hand-me-down boards. I even used some old deck boards to make a bunch of beds.
I know these boards will not last too many more years, but the wood is easy to replace because the soil will remain in a pile if you remove them carefully.
Eventually I plant to replace all my boards with cedar as we have the time and money to do it. Until then, I am happy to grow my garden in a not-picture-perfect space.

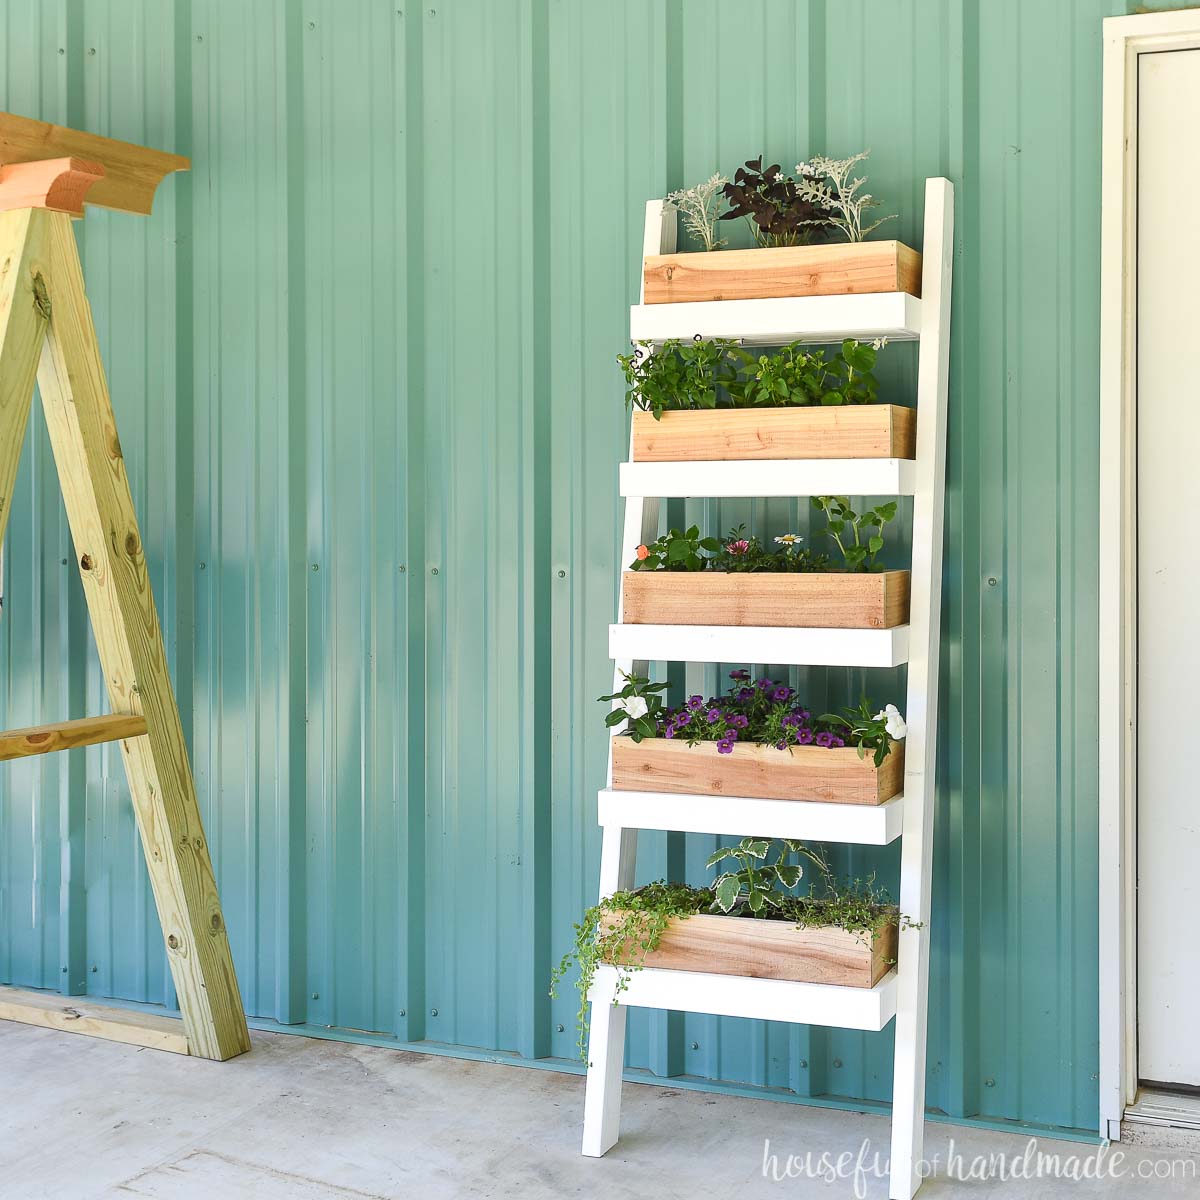
More DIY Gardening Ideas
Gardening is extra fun when it is combined with DIY projects like these.
How to Build a Garden Bed
Tools & Materials
Recommended Tools:
- Circular saw
- Drill or Impact driver
- Speed square
- Measuring tape
Supplies:
- Wood products
- (3) 2x boards, 8′ long
- Scraps of 2×4 boards
- 3″ long outdoor wood screws
- Optional: Corner brackets
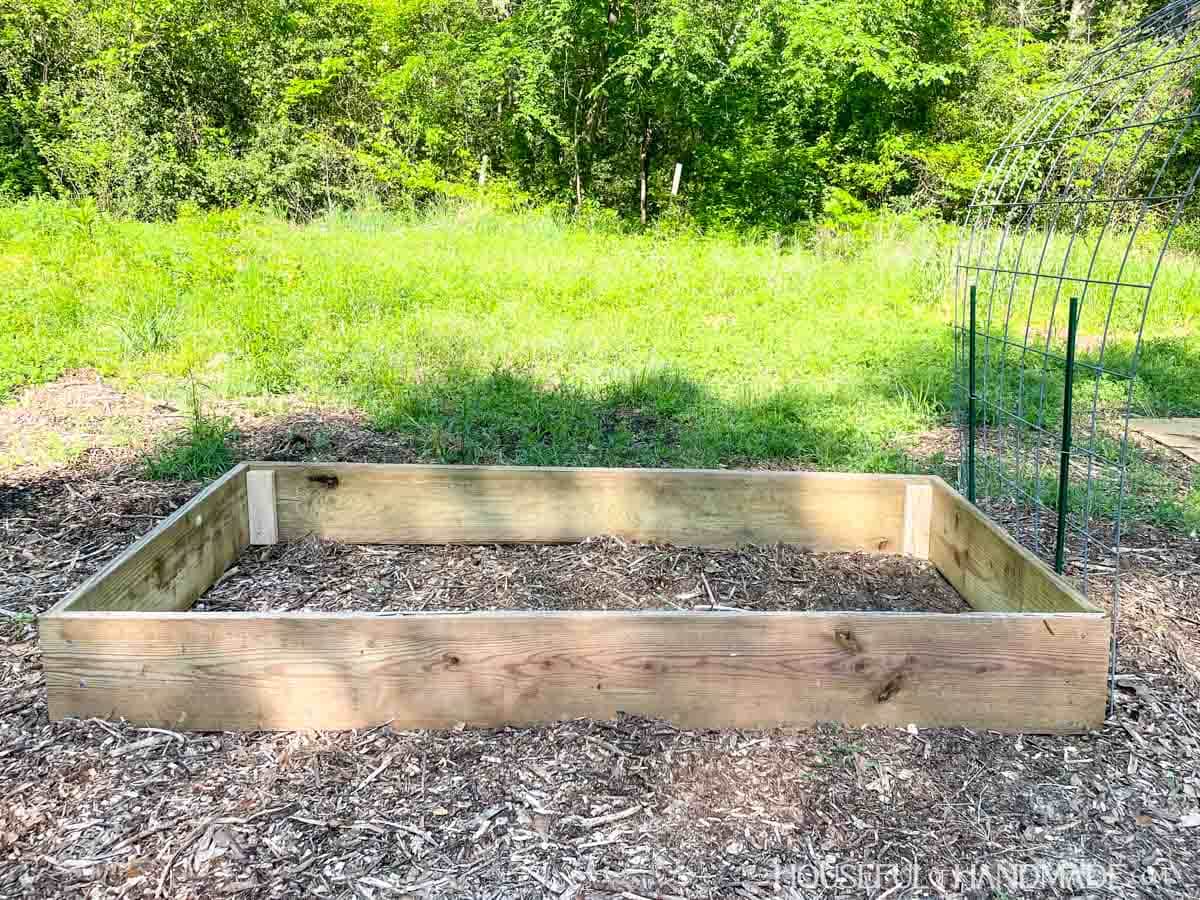
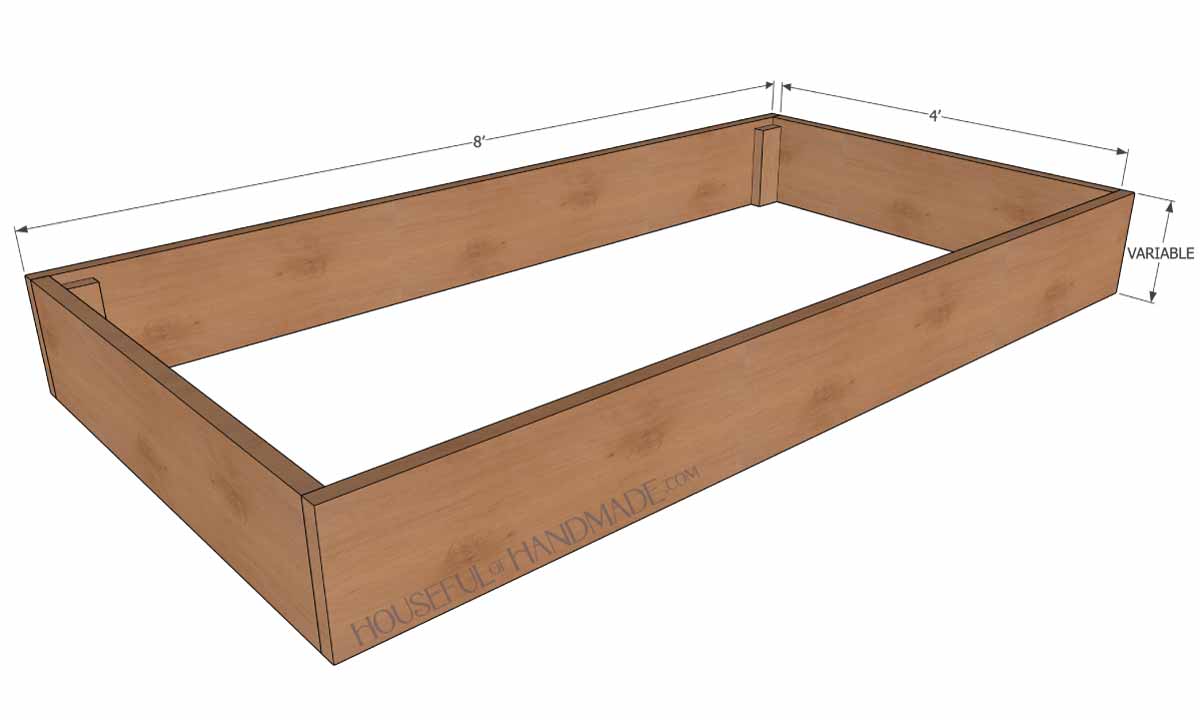
Overall Dimensions
The finished garden bed is 8′ long and 4′ wide. The height depends on the width of 2x board you buy (see below for details).
Cut List
Cut out the pieces according to the easy-to-read table in the PDF plans.

The height of your garden bed is determined by the width of your 2x boards.
- 2×6 boards = 5 1/2″ tall bed
- 2×8 boards = 7 1/4″ tall bed
- 2×10 boards = 9 1/4″ tall bed
- 2×12 boards = 11 1/4″ tall bed
You can also build your bed taller (great if you have trouble bending over) by stacking 2 boards when assembling.
For example, stacking two 2×8 boards will create a 14 1/2″ tall bed.
STEP 1- Cut your boards
For each garden bed you will need to cut one of the 2x boards in half.
I like to use my battery powered circular saw and cut it directly in the garden (sawdust is great for adding organic matter to the soil).
EXPERT TIP:
Hold the side of the speed square against the side of the circular saw base. This will help you cut a straight line.
Also cut 4 pieces from the 2×4 scraps to equal the height of your bed minus ~1″.
I like to cut it about an inch short so that the inner support is hidden inside the bed once filled with soil.
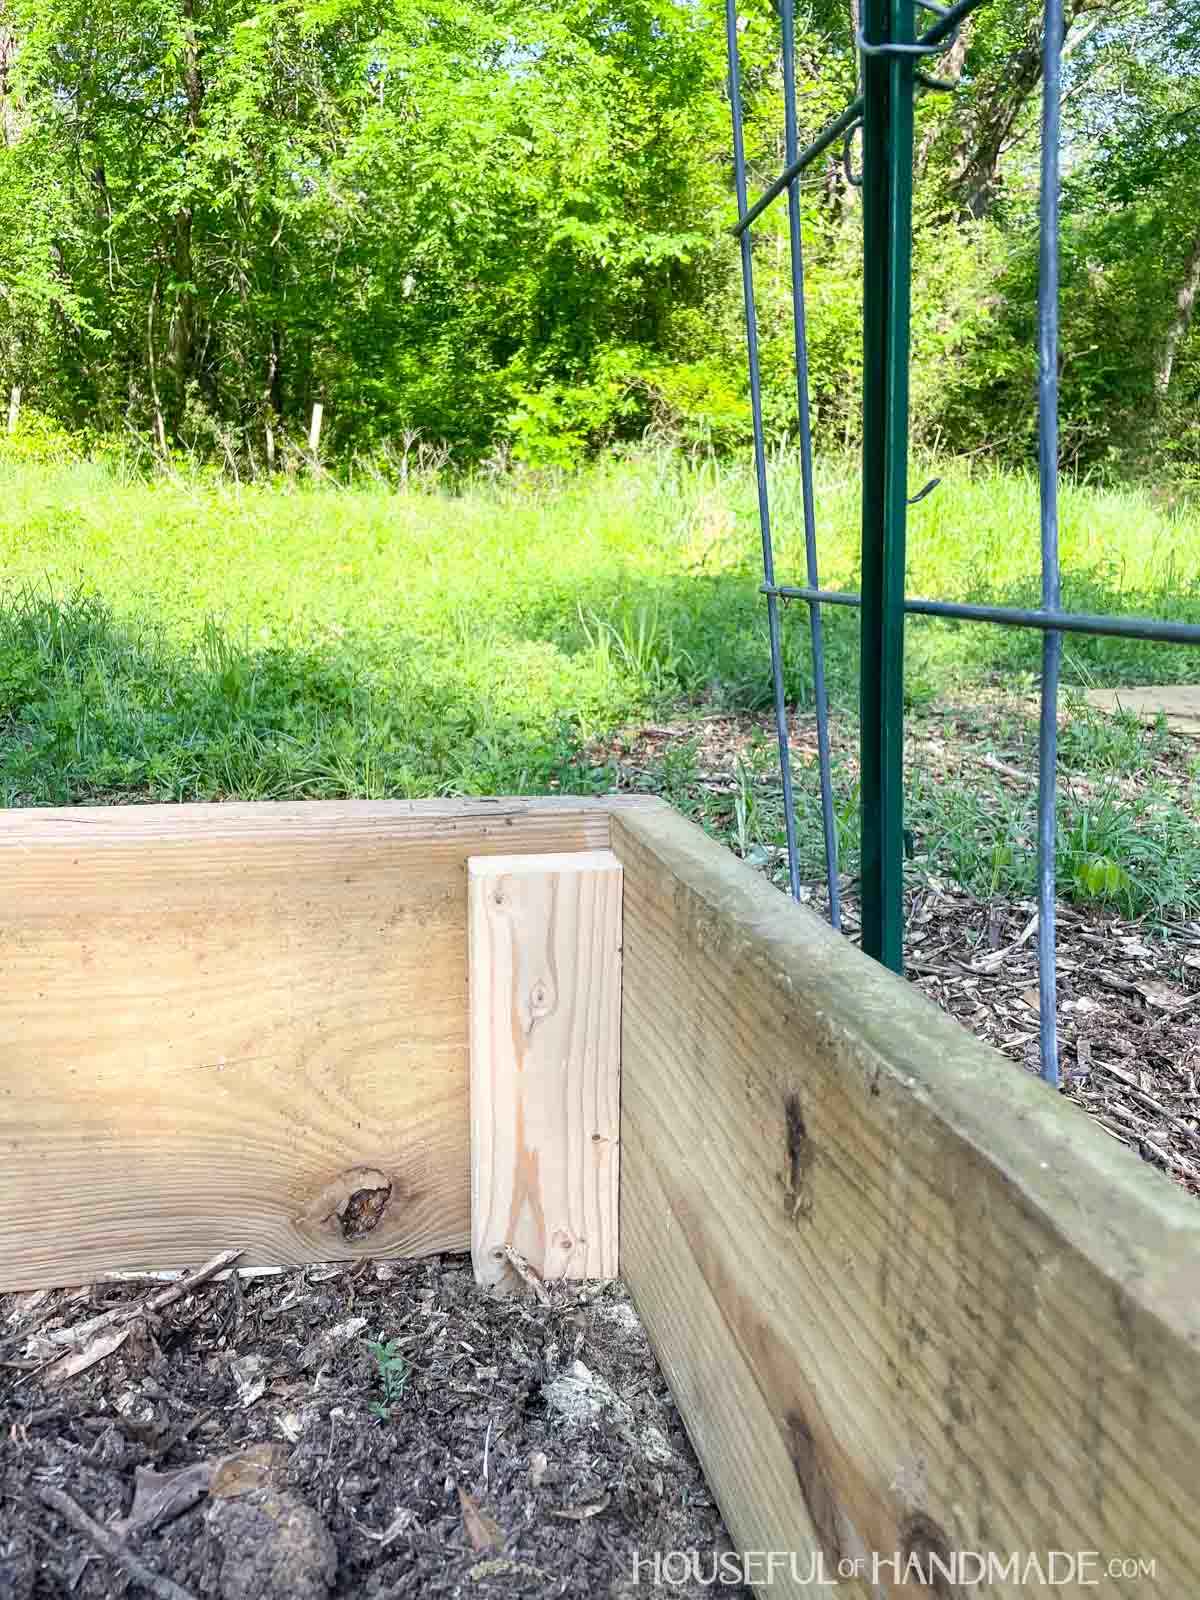
STEP 2- Attach supports to ends
Attach the 2×4 boards to the ends of the shorter boards.
I like to attach these so the short side is up against the board and they are flush with the bottom and the edge.
Secure with at least three 3″ wood screws.

STEP 3- Attach sides together
Next attach the ends to the side boards.
The longer part of the 2×4 support will be up against the 8′ long board. Make sure the two boards are flush in the corner.
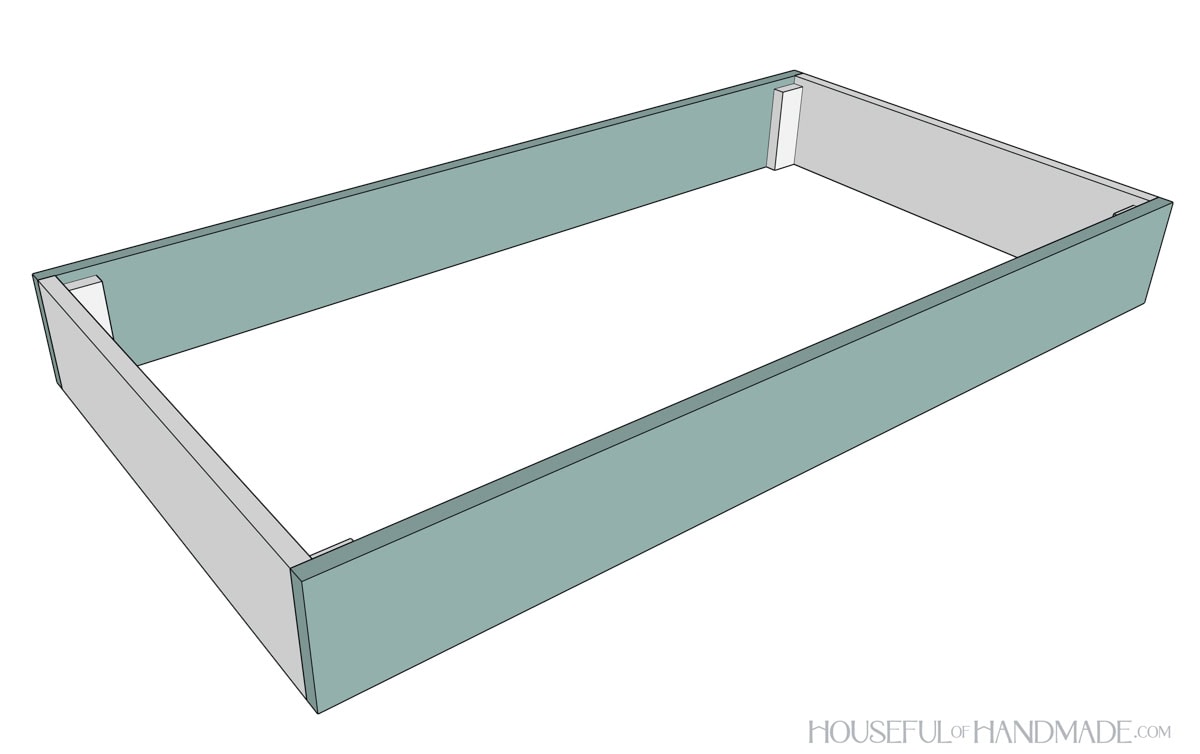
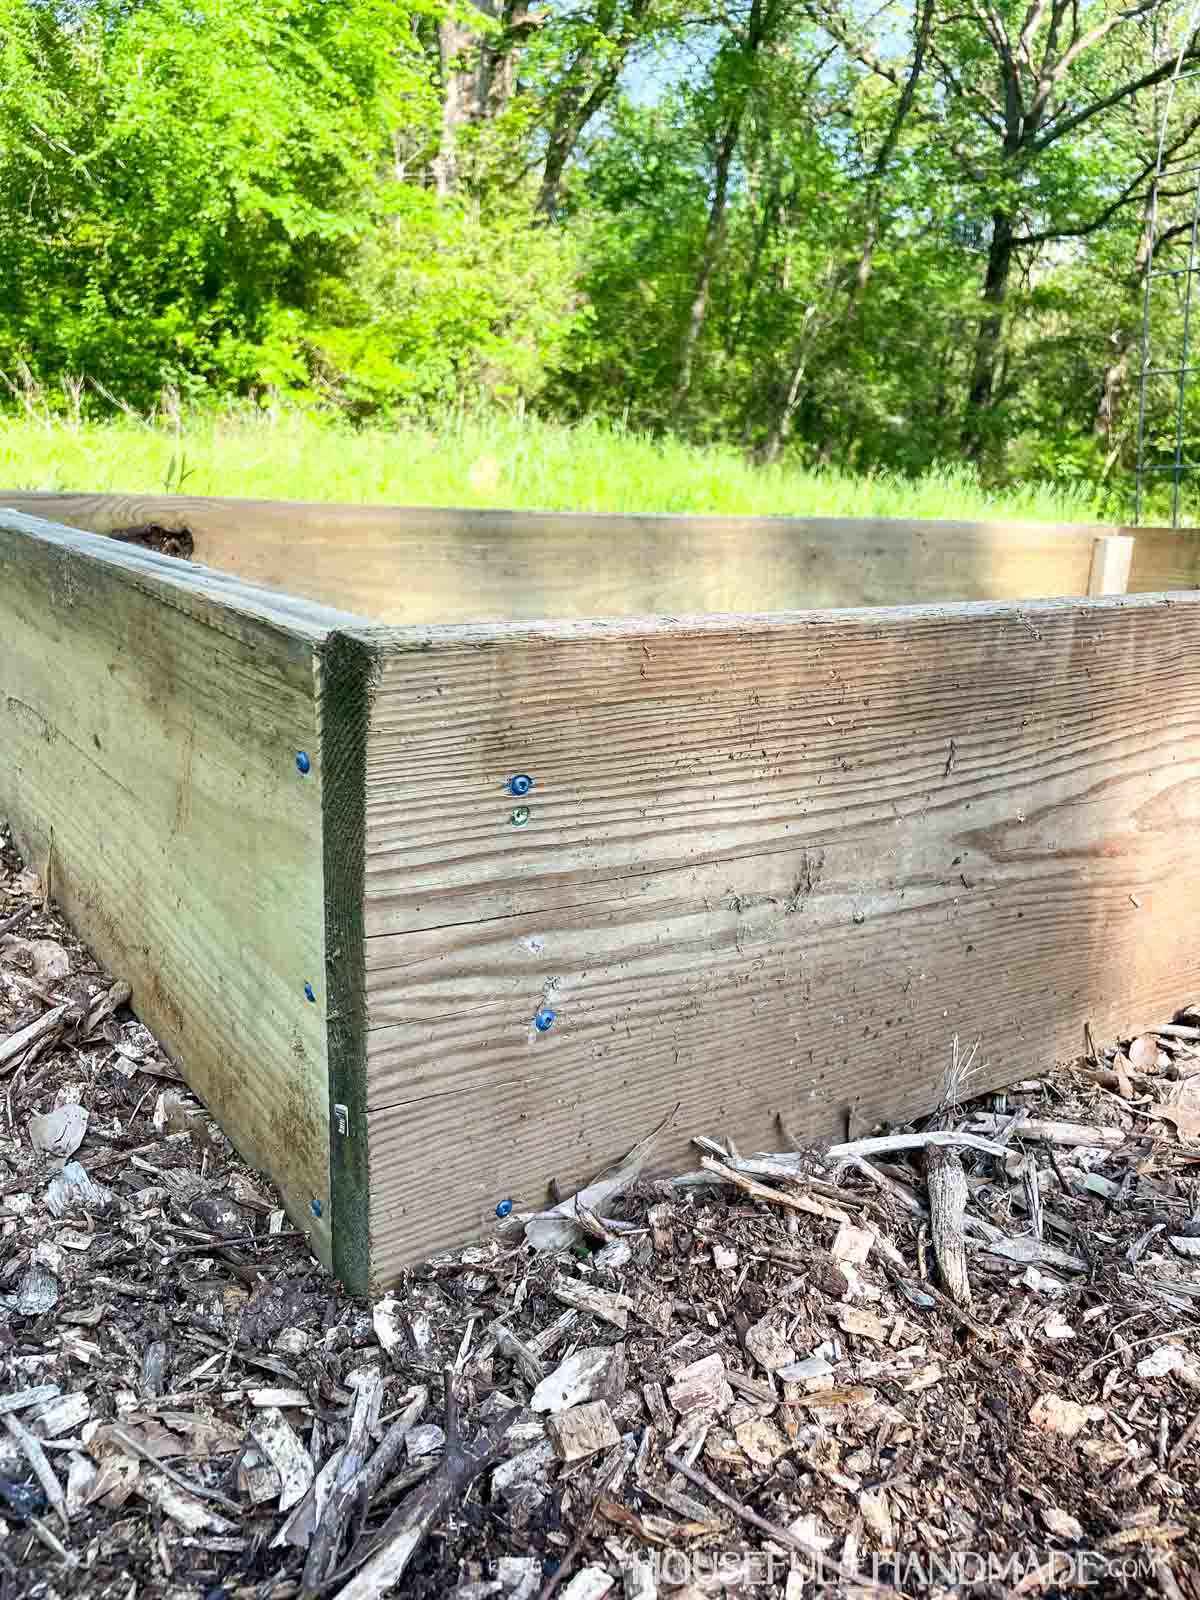
Secure with at least three screws per board. Make sure the screws go into the support board.
Do not try to skip the support and drive the screws directly into the side of the board or your bed will not stay together very long.
Screws do not grip as well in the end grain as they do the face or edge grain of a board.
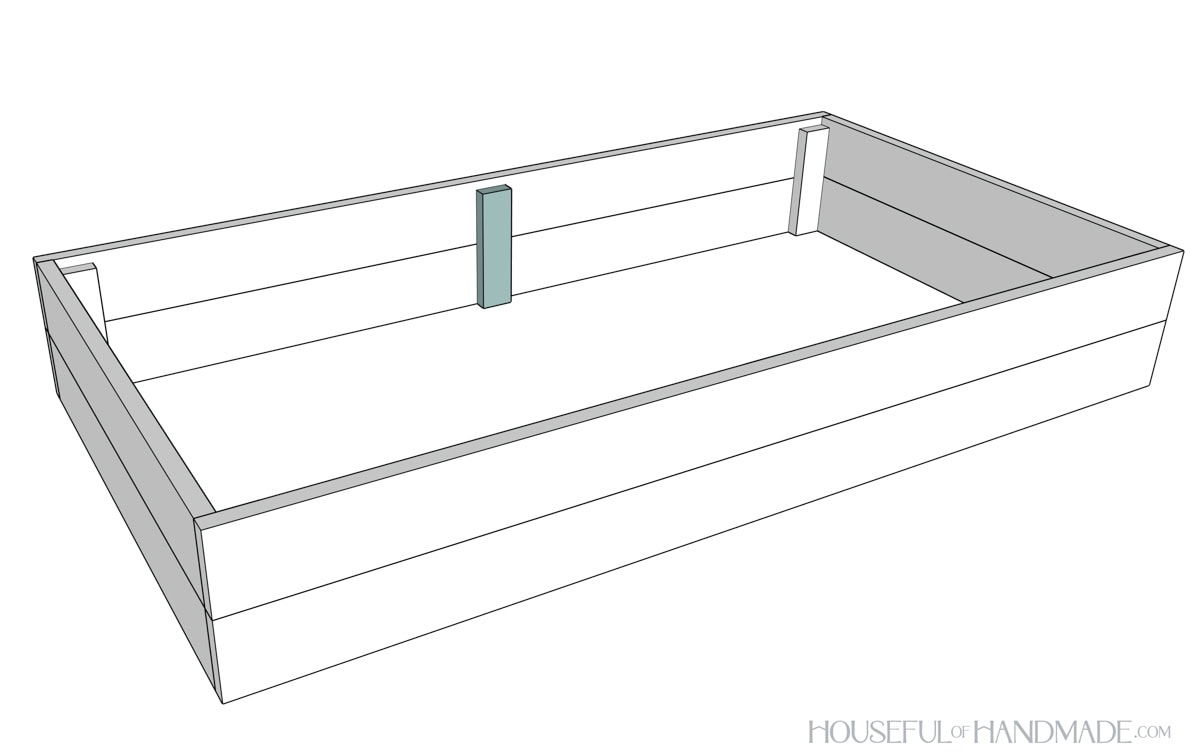
If you are stacking the boards for a taller bed, I recommend adding a center support to the long side.
Cut 2 more 2×4 boards ~1″ shorter than the height of the bed. Then attach it so it is centered on the sides and flush with the bottom.
If you want to add more support to the corners, you can always add corner brackets to them. This will help prevent the corners from coming apart as the supports start to break down.
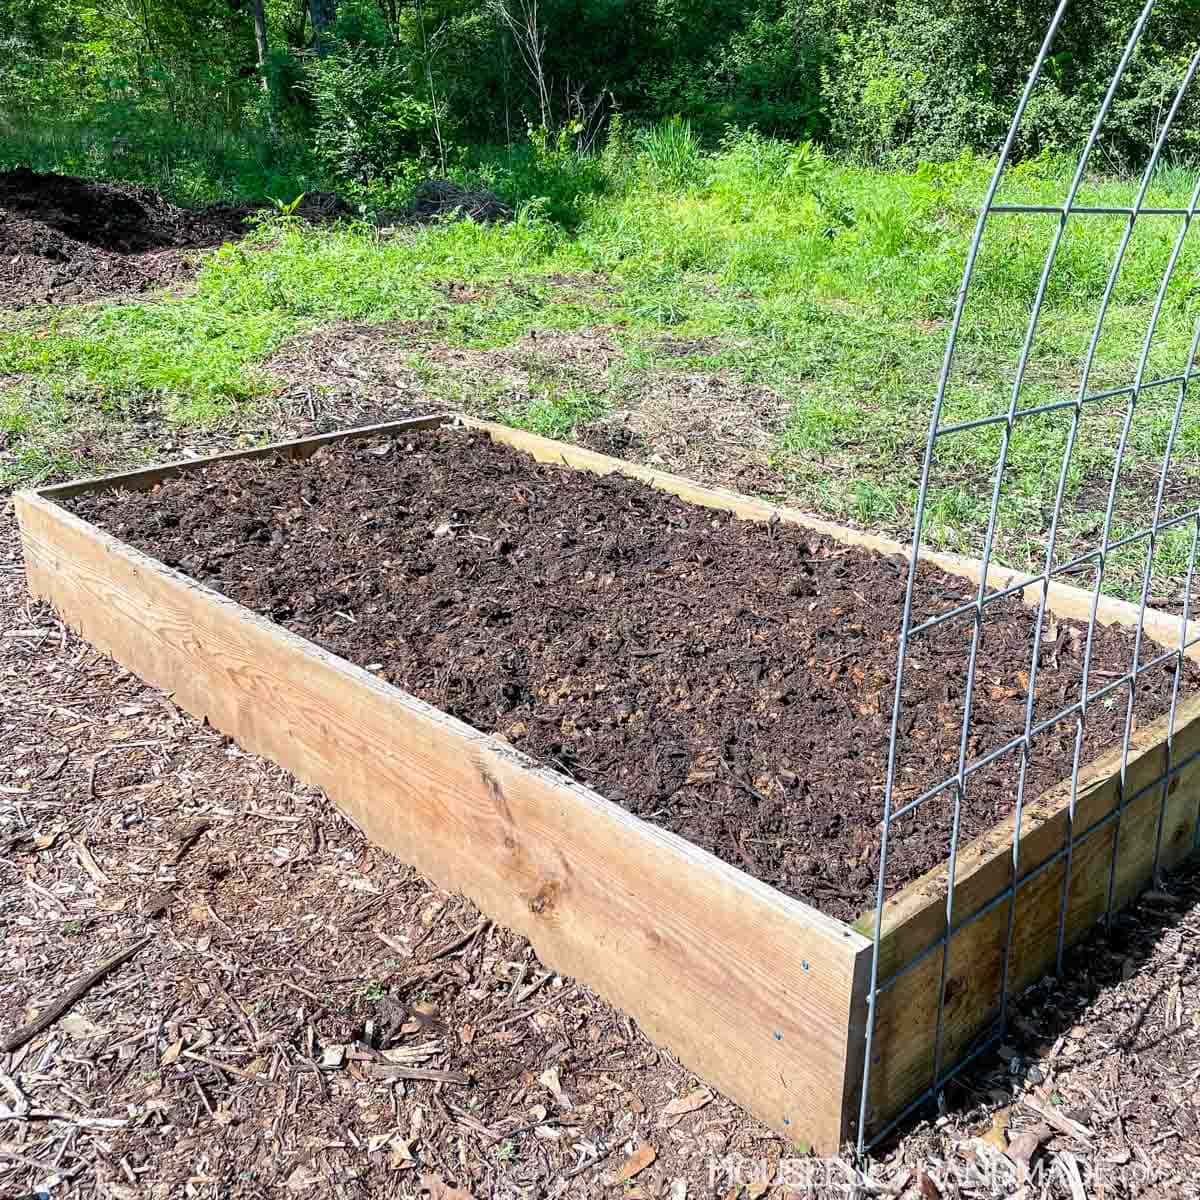
STEP 4- Fill and plant
Now your garden bed is ready to fill up.
For a new bed, you want the top 6-12″ filled with good quality compost or garden soil.
If your bed is taller than that, you can fill the bottom with logs, sticks, leaves, etc. These will break down over time and contribute to the soil.
Premium plans include:
- Recommended Tools
- Shopping list
- Easy to read cut list table
- Cut diagrams
- Step-by-step instructions with 3D renderings
- Helpful resources
- BONUS: 3D SketchUp file
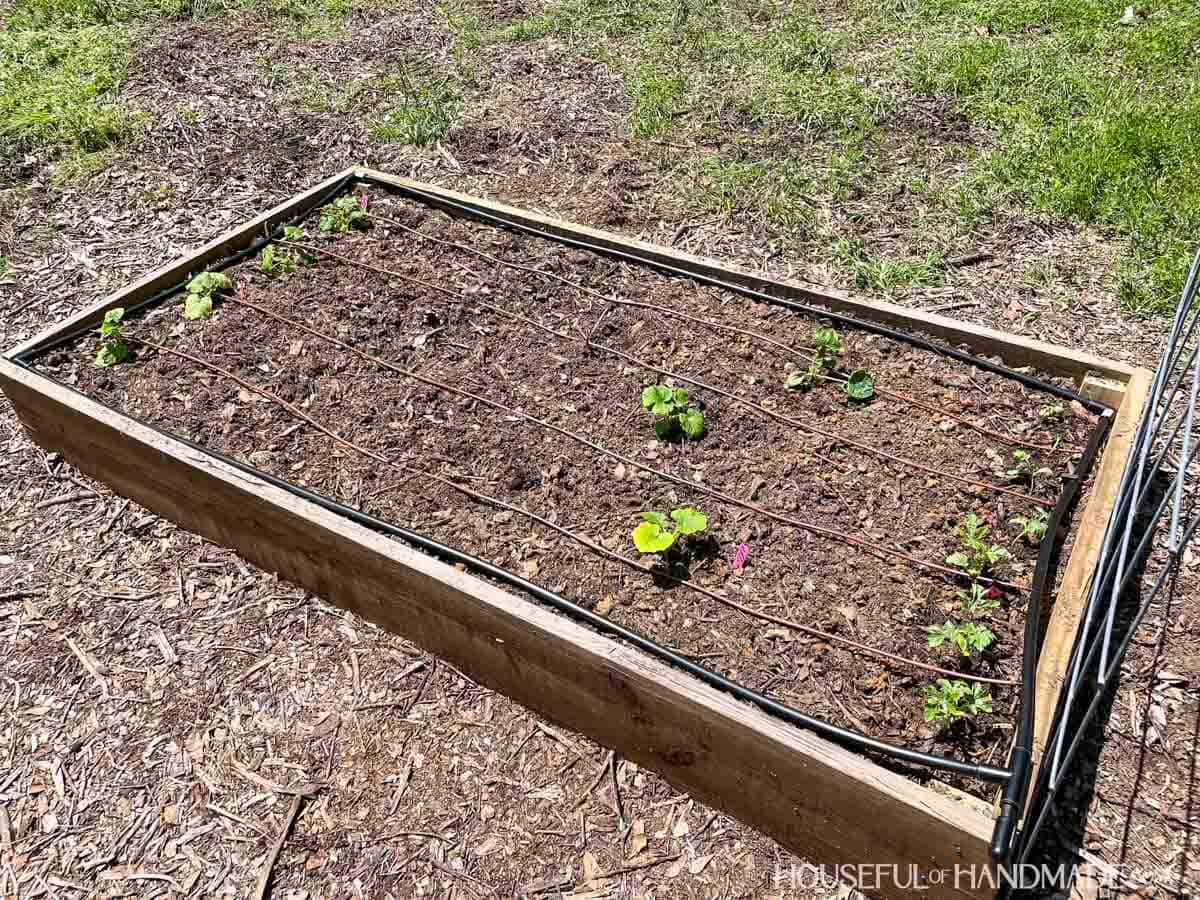
You did it!
Now it is time to plant. Add your starts and seeds and watch them grow.
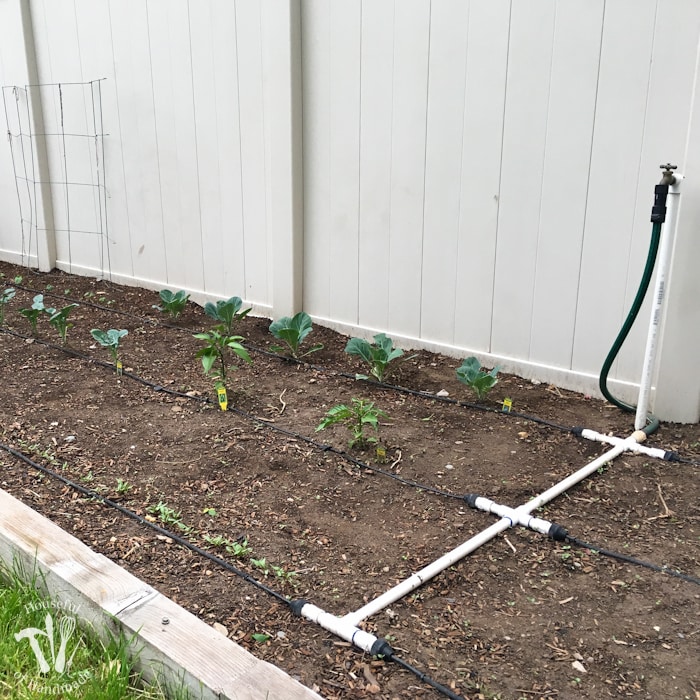
Then if you want to make your garden season truly amazing, see how I added drip irrigation for raised beds to make gardening less time consuming this year.
Happy building!
