Reading is so important for kids. And one of the ways to make reading more fun, is to create a little bookcase just for them.
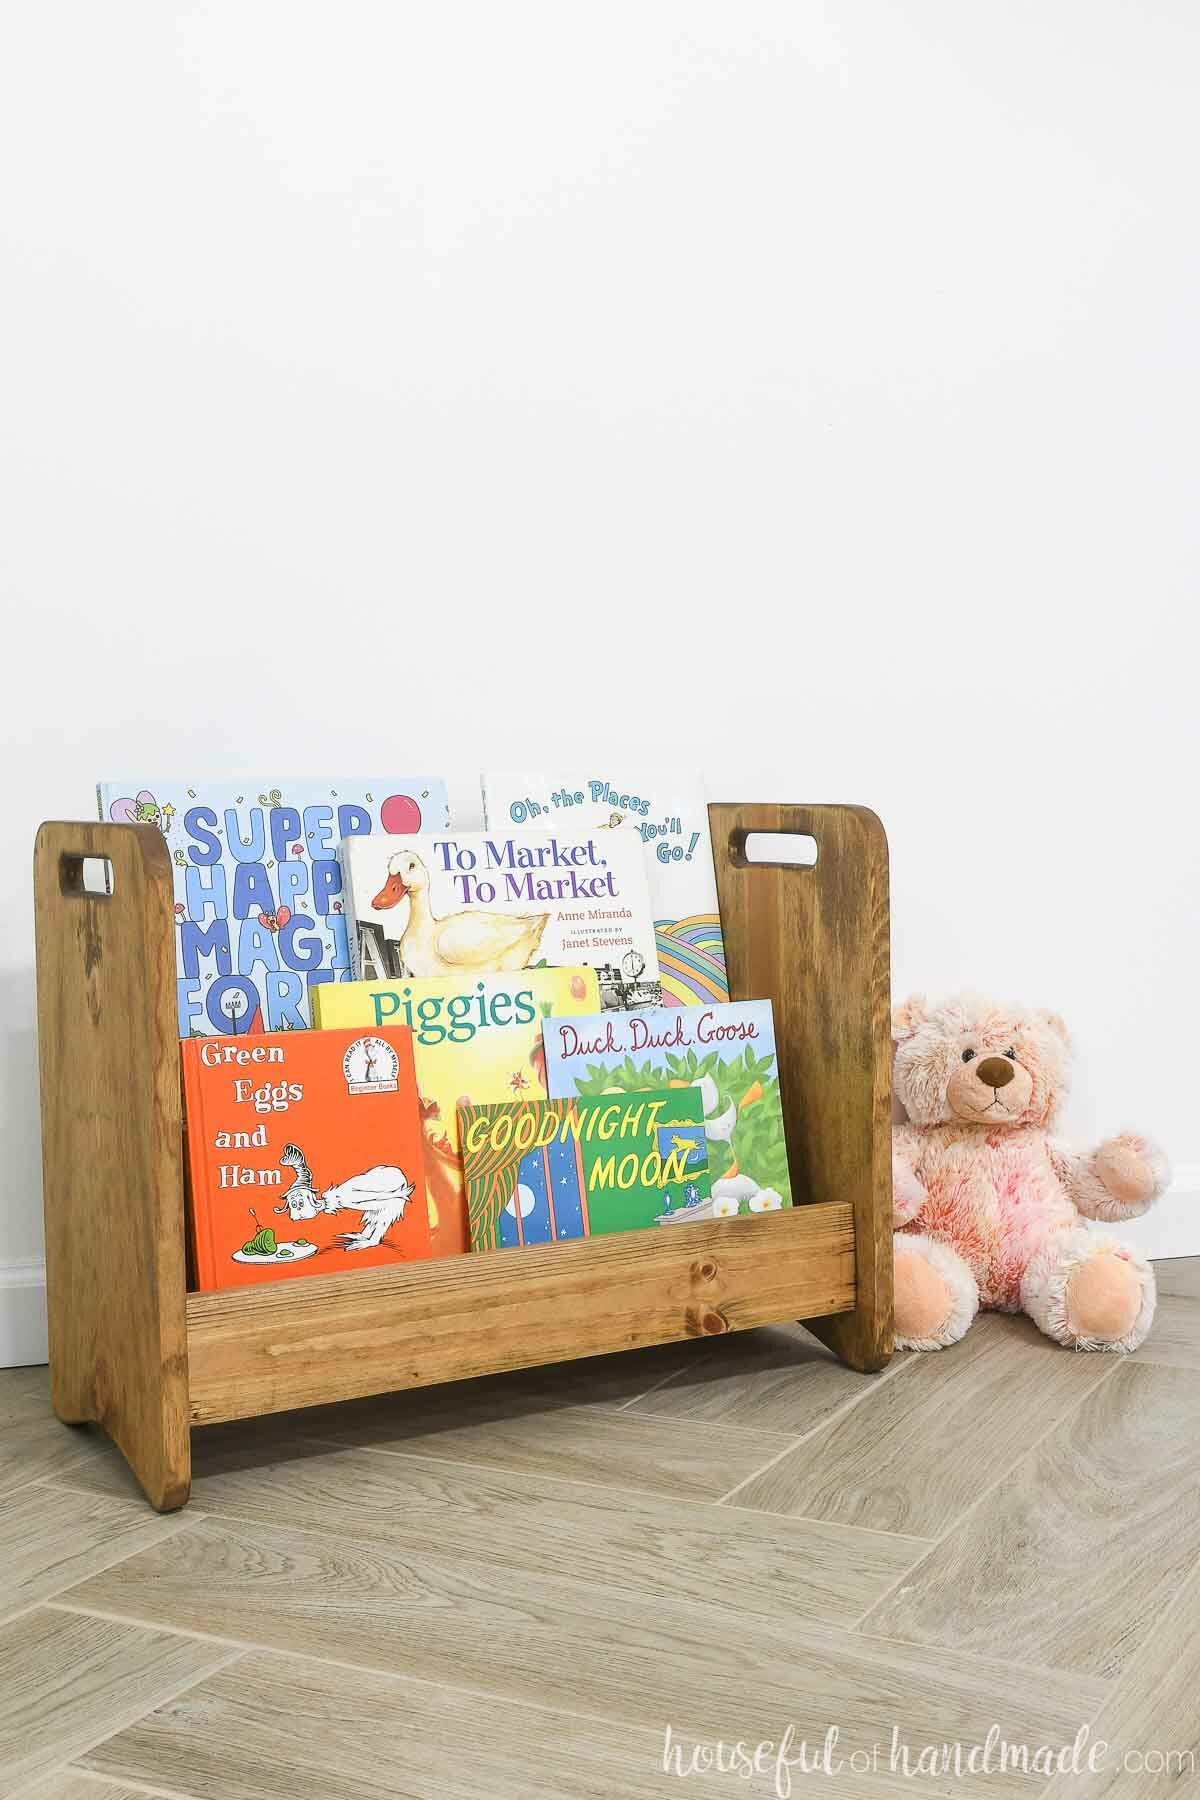
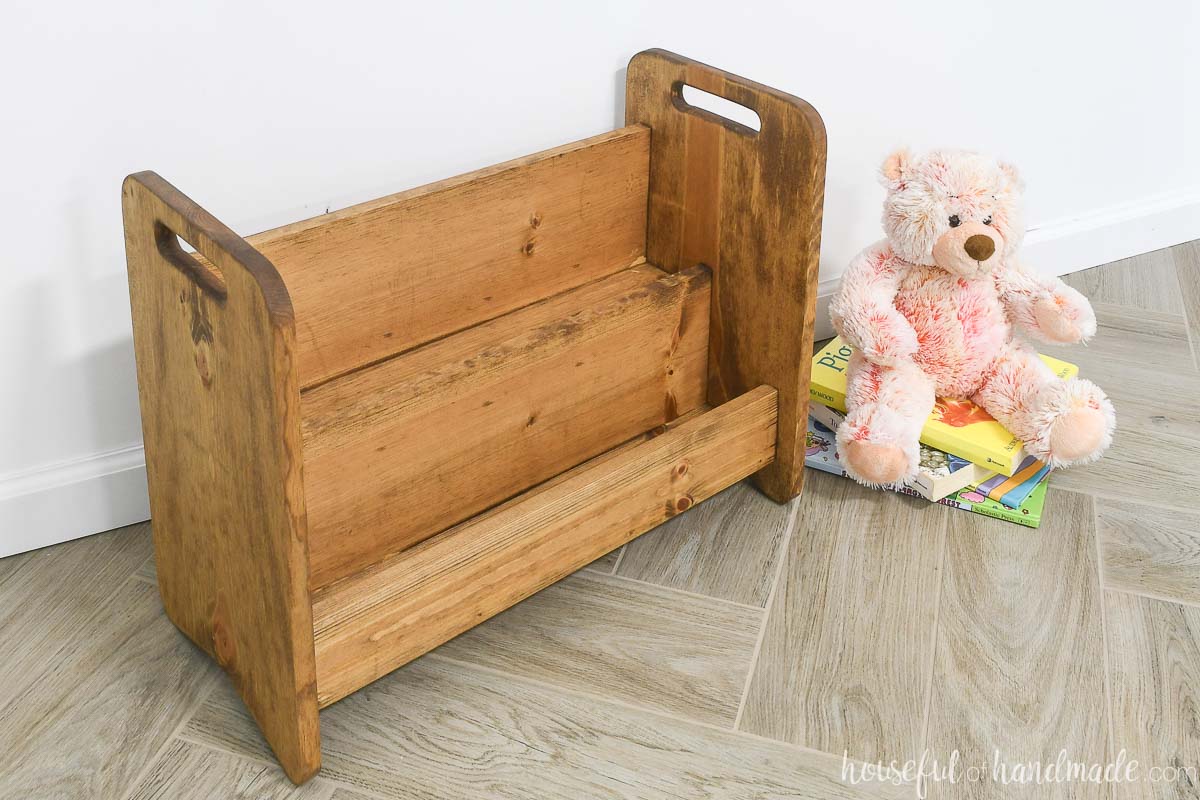
This fun toddler bookcase is perfect for instilling a love of books at a young age!
The simple design is small enough for little kids to carry around. And little kids love anything that they can carry on their own.
This post may contain affiliate links. As an Amazon Associate I earn from qualifying purchases. Click here to read my full disclosure policy.
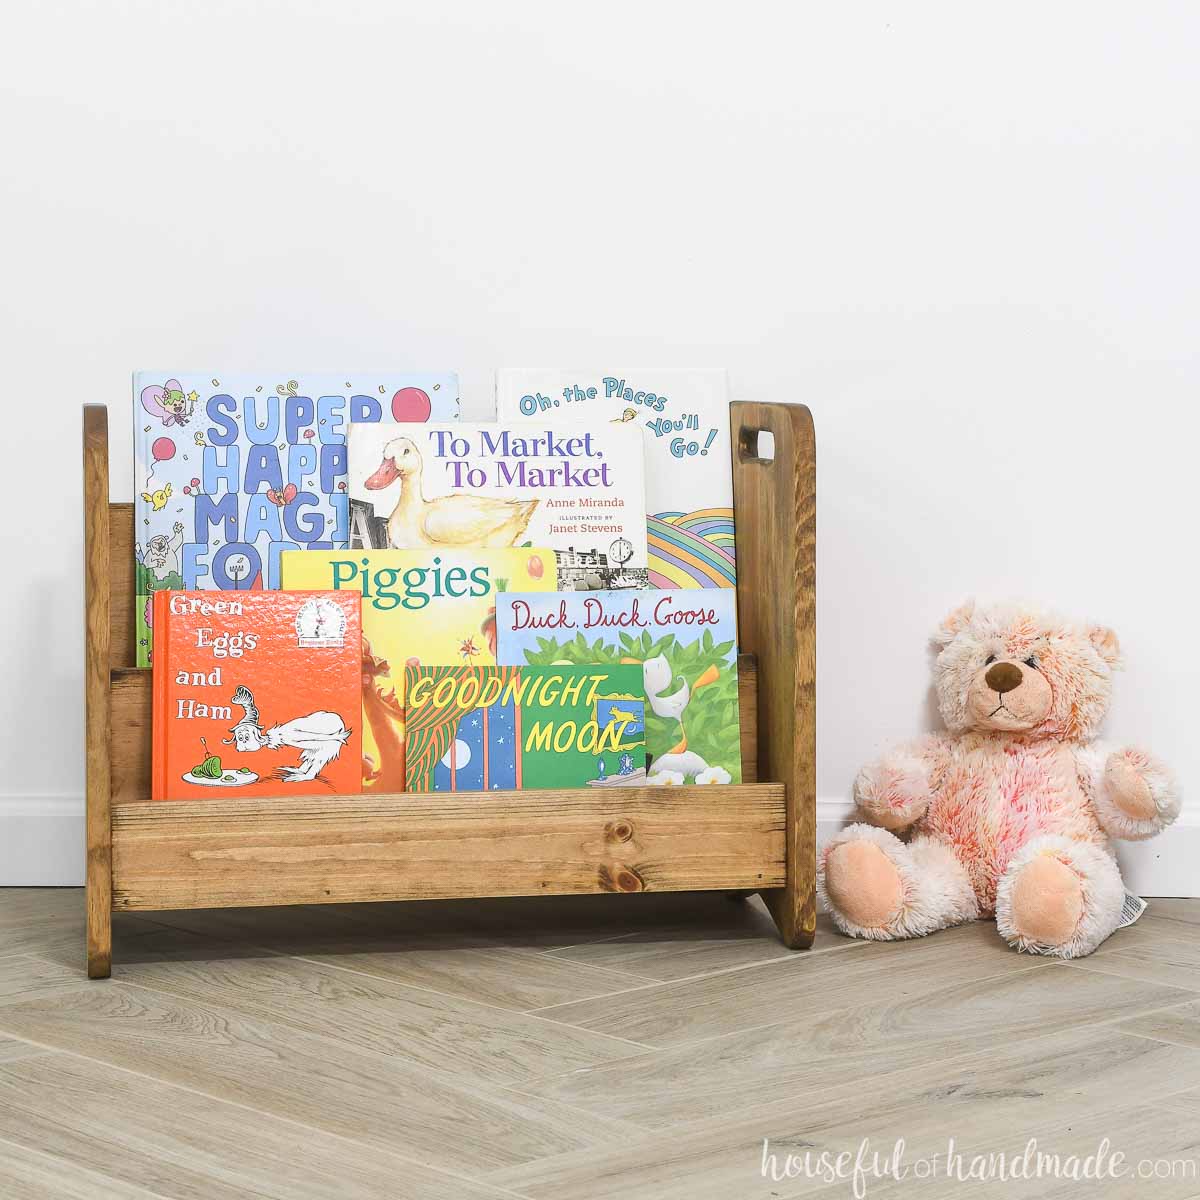
The bookshelf design is like a Montessori bookcase where the covers of the books face forward. Perfect for babies and toddlers.
Montessori-Style Bookshelf
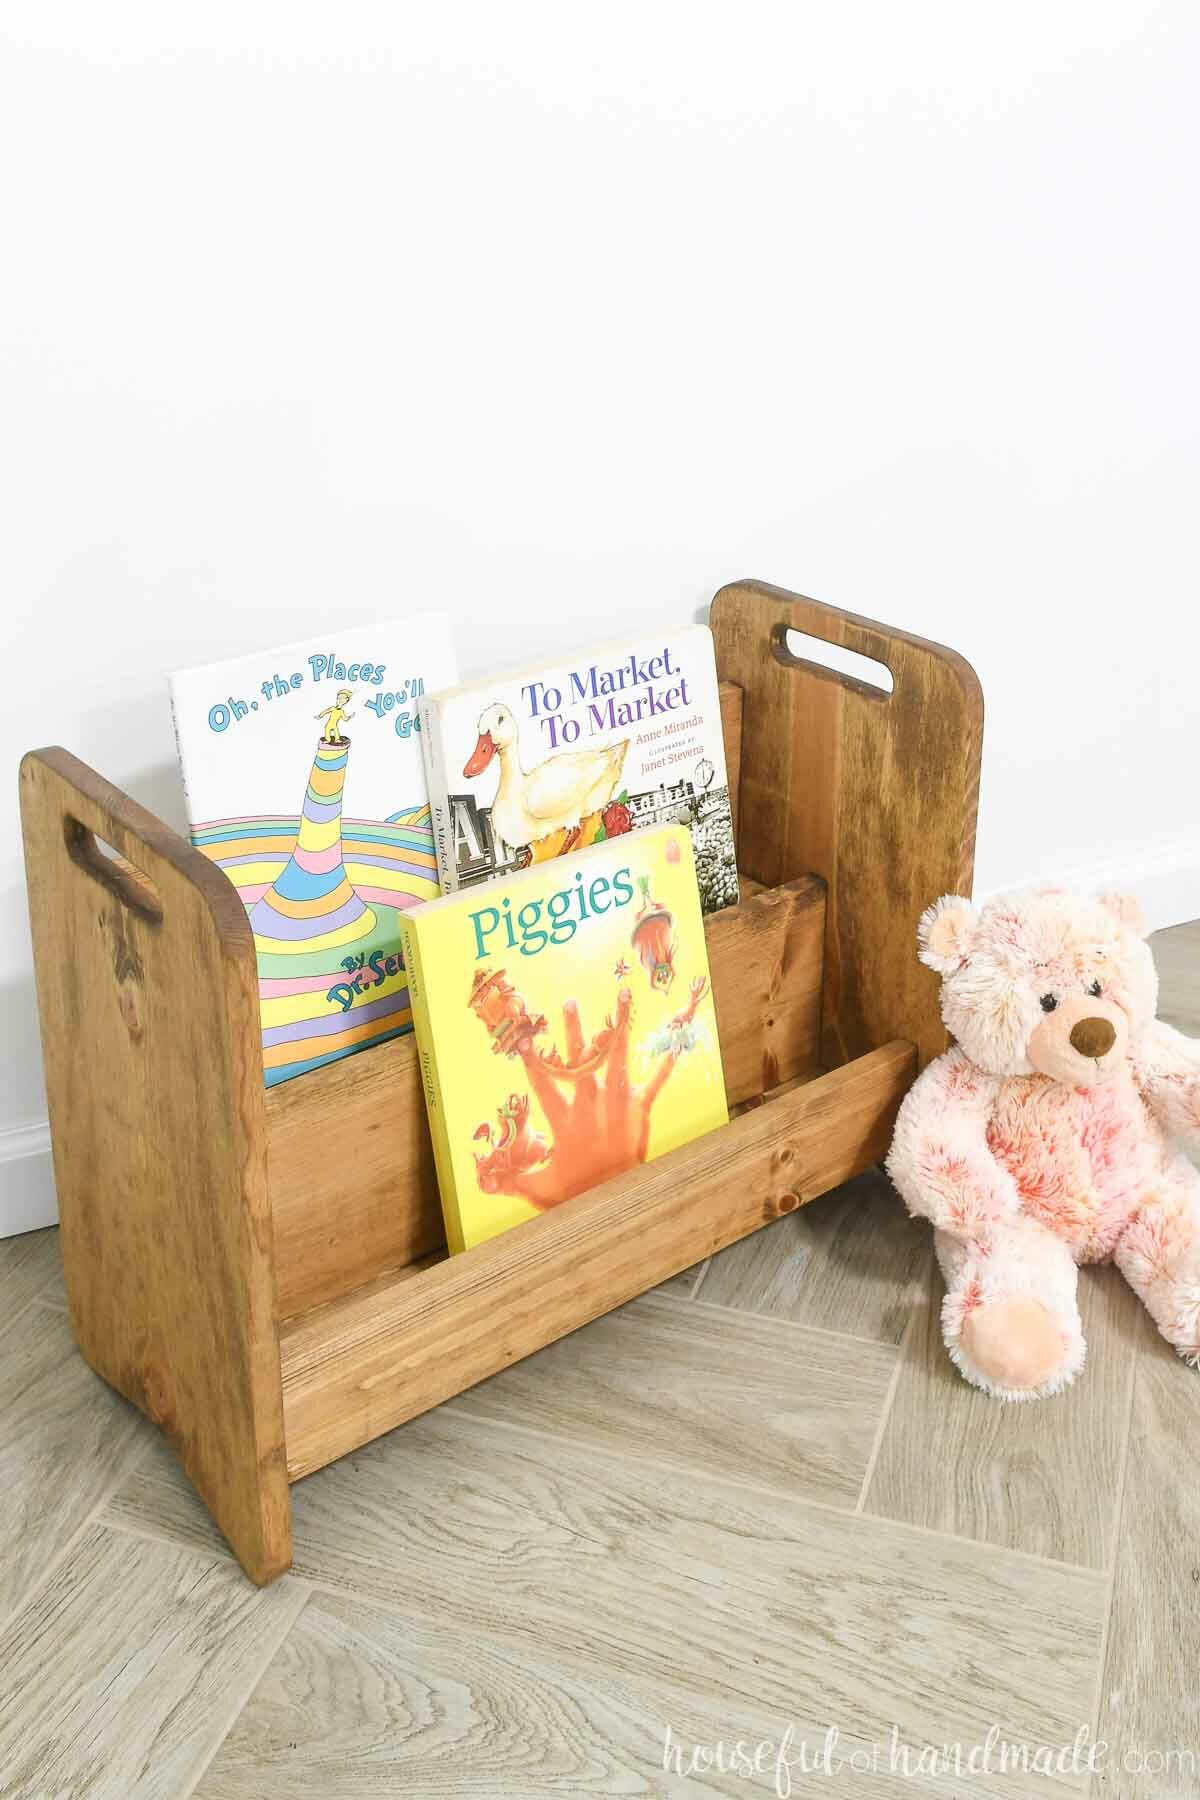
Montessori-style bookshelves are a little different from standard bookcases. Instead of shelving the books with their spines visible, you shelve them so the books are front facing.
This makes it easier to see what books are on the shelf, making it easier for young children to access them.
It also holds less books, making it less overwhelming to little kids.
If you have more books, they can be stored away and swapped out as needed. This will create a newness and excitement when they have different books to read.
This easy to build bookcase is the perfect gift for toddlers. It also makes a fun gift for expecting mothers who are preparing their home for a new baby.
You can build the bookshelf out of scraps if you have a hefty scrap pile. Or purchase just a couple boards to build it.
But the best part is, this fun bookcase comes together very quickly!
With just a couple hours of work, you can build a bookcase ready to delight.
How to Make a Small Bookcase
Tools & Materials
Recommended Tools:
- Miter saw or Circular saw
- Jig saw
- Pocket hole jig
- Drill
- Impact driver (optional, but I love not having to switch bits with the drill)
- Finish nailer
- Sander
Supplies:
- Wood products
- (1) 1×12 board, 4′ long
- (1) 1×4 board, 6′ long
- (1) 1×8 board, 4′ long
- 1 1/4″ pocket hole screws
- 1 1/4″ finishing nails
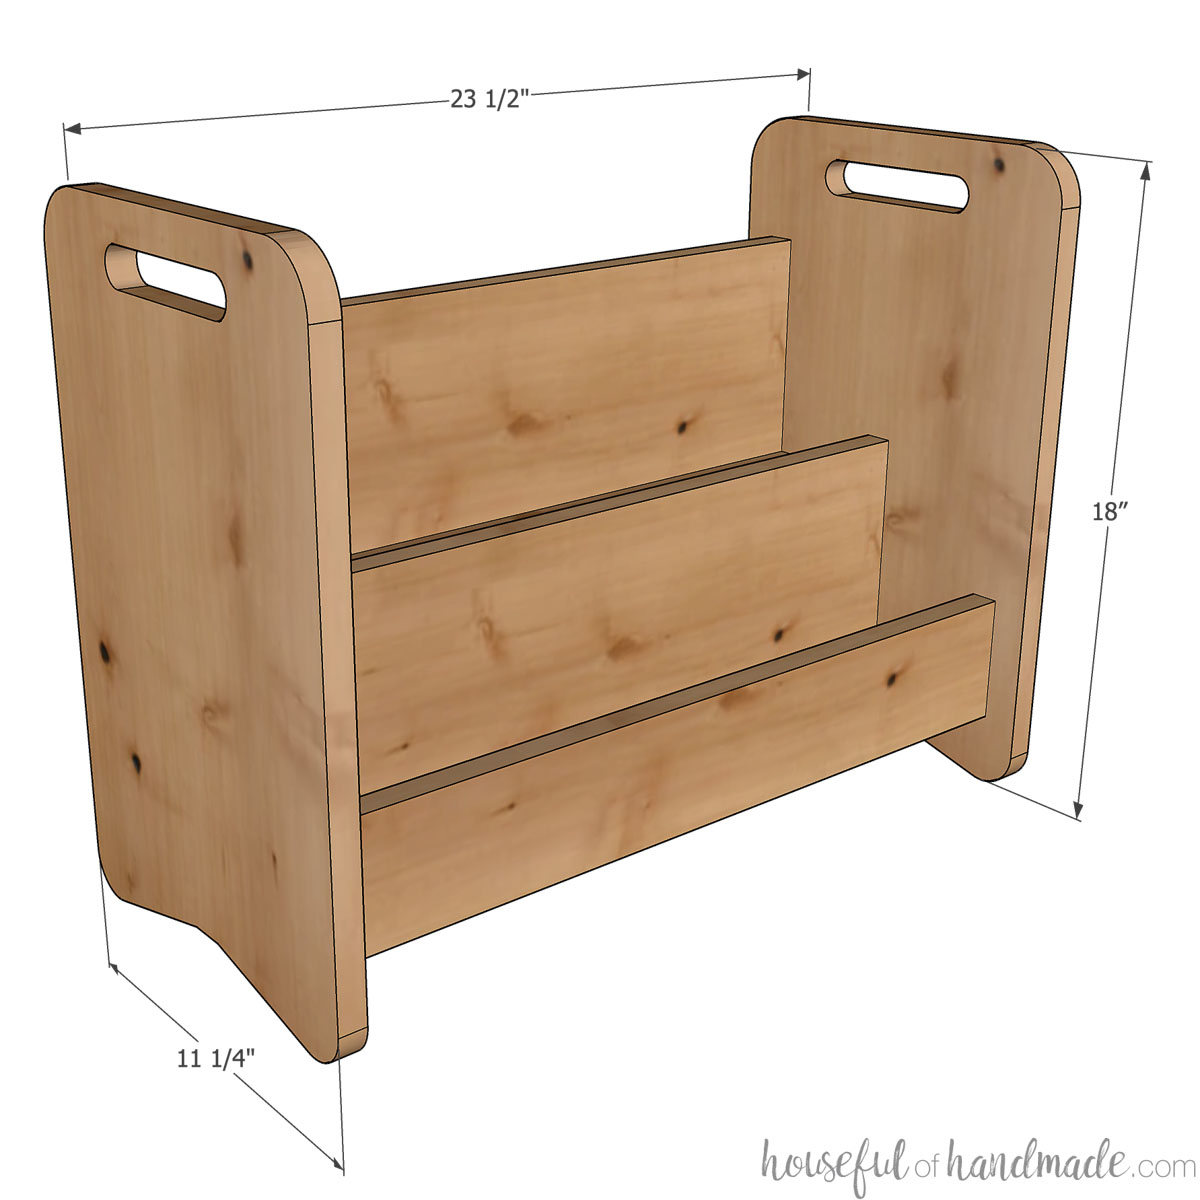
Overall Dimensions:
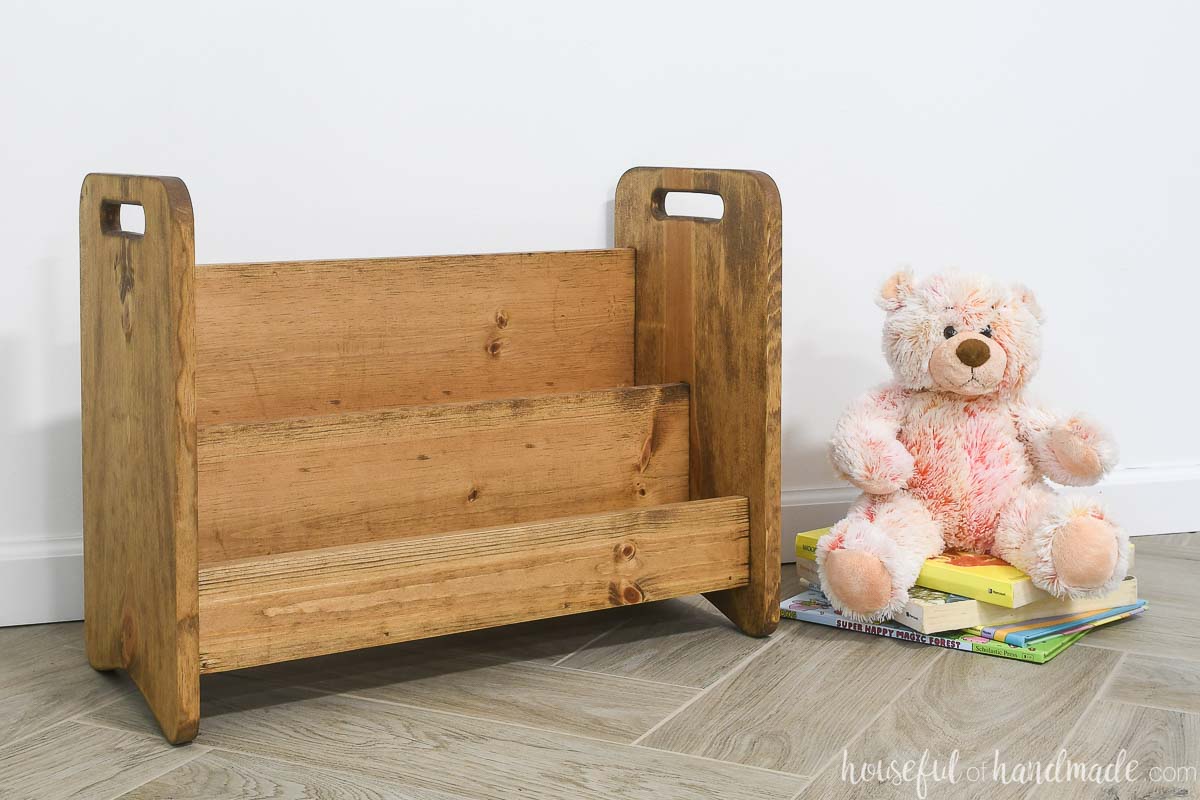
The final bookcase is 18″ tall, 11 1/4″ deep and 23 1/2″ wide. It has 2 shelves that are 22″ wide and 3 1/2″ deep to store books.
STEP 1- Cut out the pieces
Cut your boards according to the cut list in the build plans.

EXPERT TIP:
The 1×12 boards are 11 1/4″ wide. If you do not have a sliding miter saw, you cut through 1/2 the board, then flip it over to cut the other half. Carefully line up the blade to the previous cut or use a stop to ensure a straight cut.
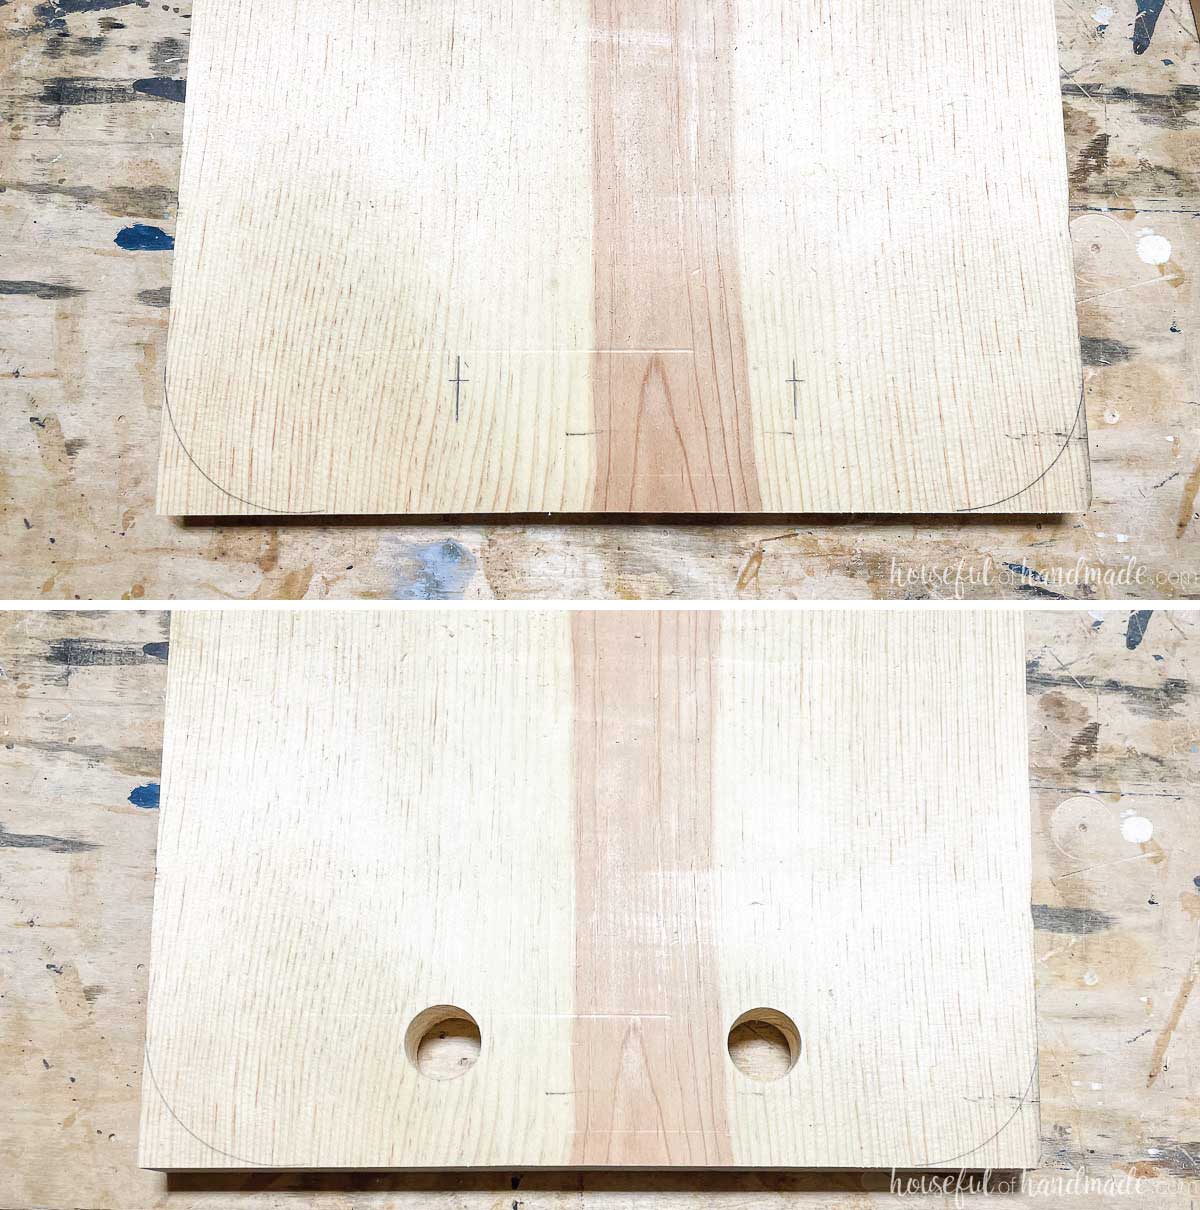
On the side boards, measure down 1 1/2″ from the top and in 3 1/2″ from each side. Drill a 1″ hole at each of these point.
Draw lines between the two holes connecting the top and bottom. Use a jigsaw to cut along the lines creating an oval handle.
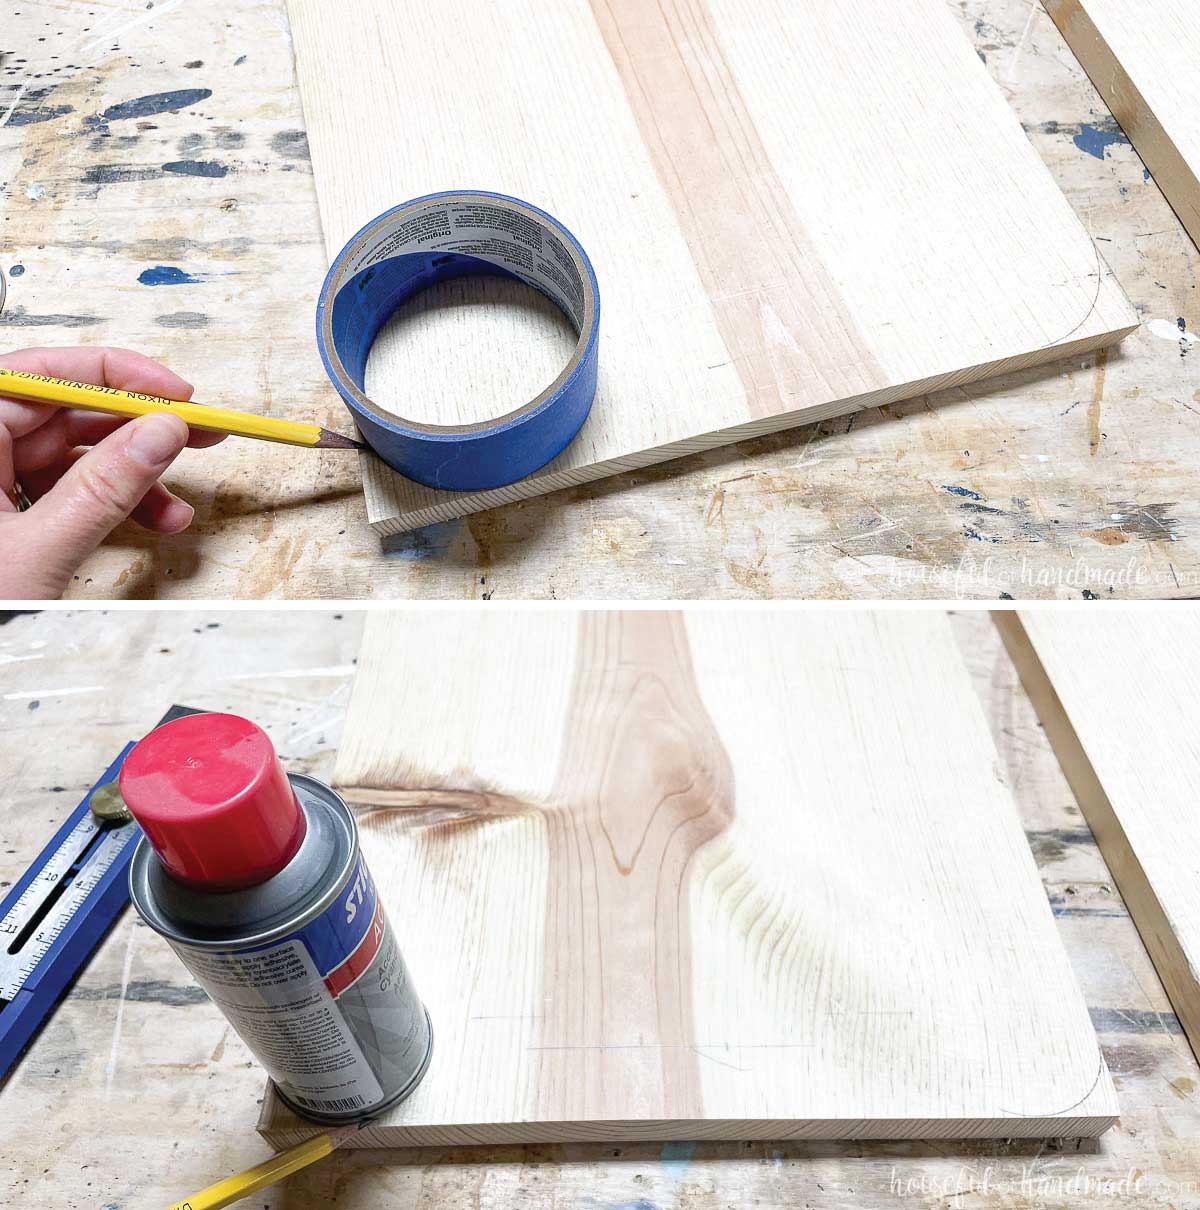
Find some round objects to create curves on the top and bottom corners.
I used a larger object (a pack of tape) for the upper corners and a smaller one (glue can) for the bottom corners.
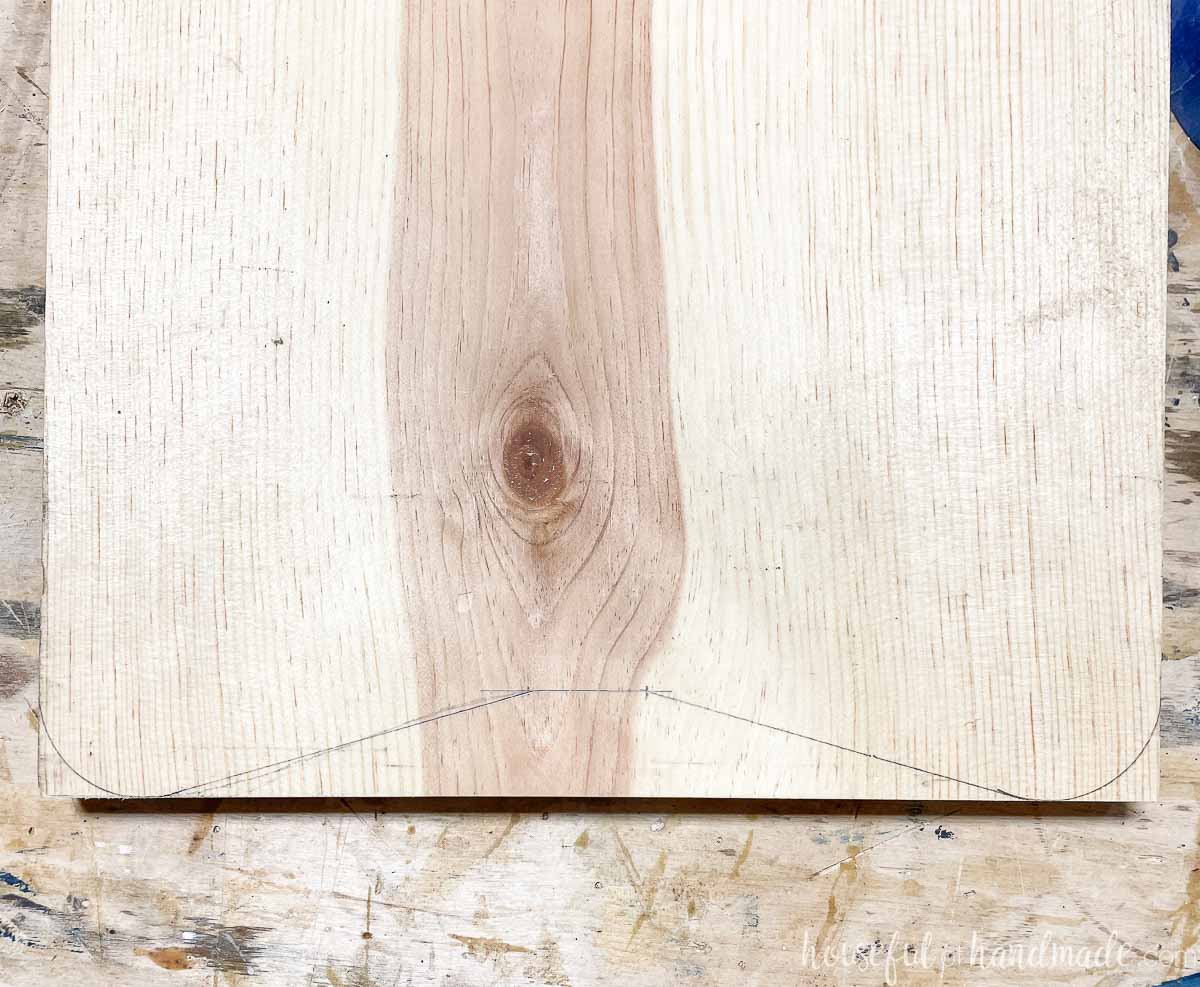
To create the feet, measure and mark out a 1″ line in the center of the side 1″ up from the bottom.
Draw a line connecting the curve on the bottom corners to this line as detailed in the diagram in the plans.
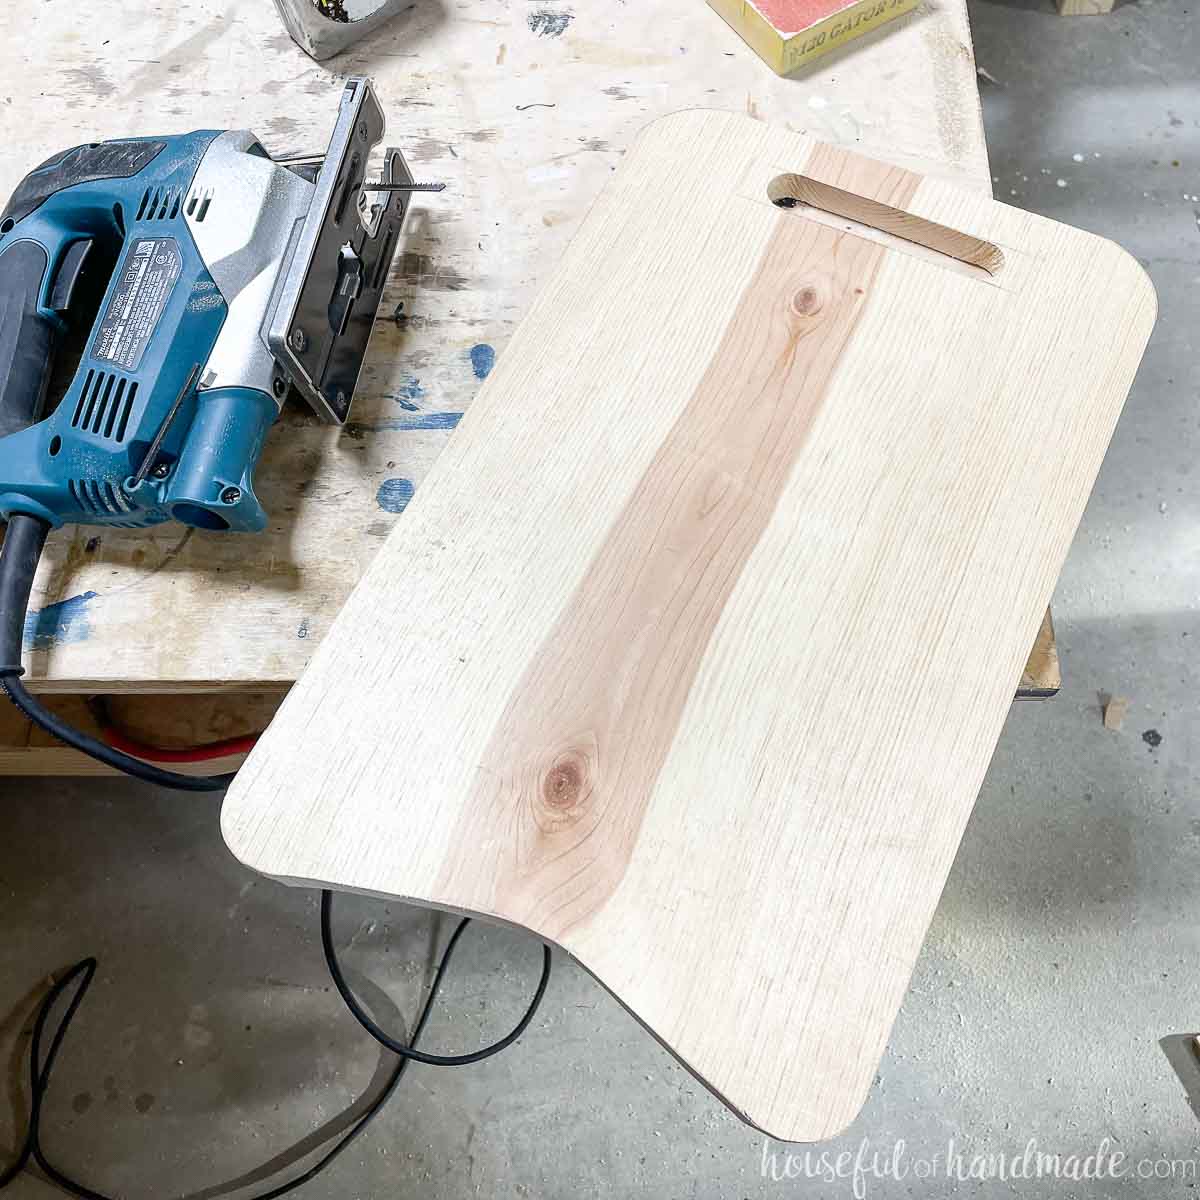
Use a jigsaw to cut the area out of the center. Then sand it smooth.
Repeat for the other side piece.
STEP 2- Assemble the bookcase
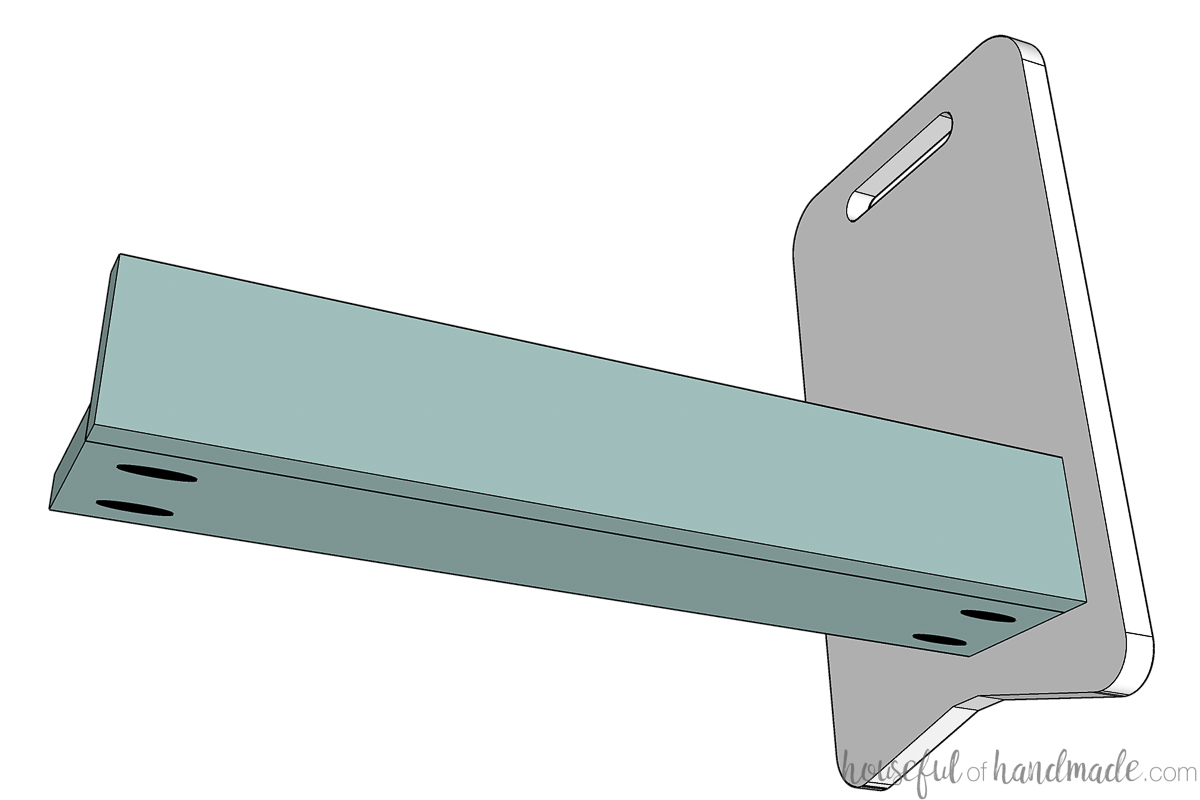
Drill pocket holes set for 3/4″ thick material in both ends of the 22″ long shelf bottom boards.
To one of these boards, attach the shorter shelf front piece to create an L.
EXPERT TIP:
If you do not want visible nail holes in the front of your bookcase, add pocket holes along the front of the shelf bottom board. If you don’t mind the rustic charm, just use glue and nails to attach it.
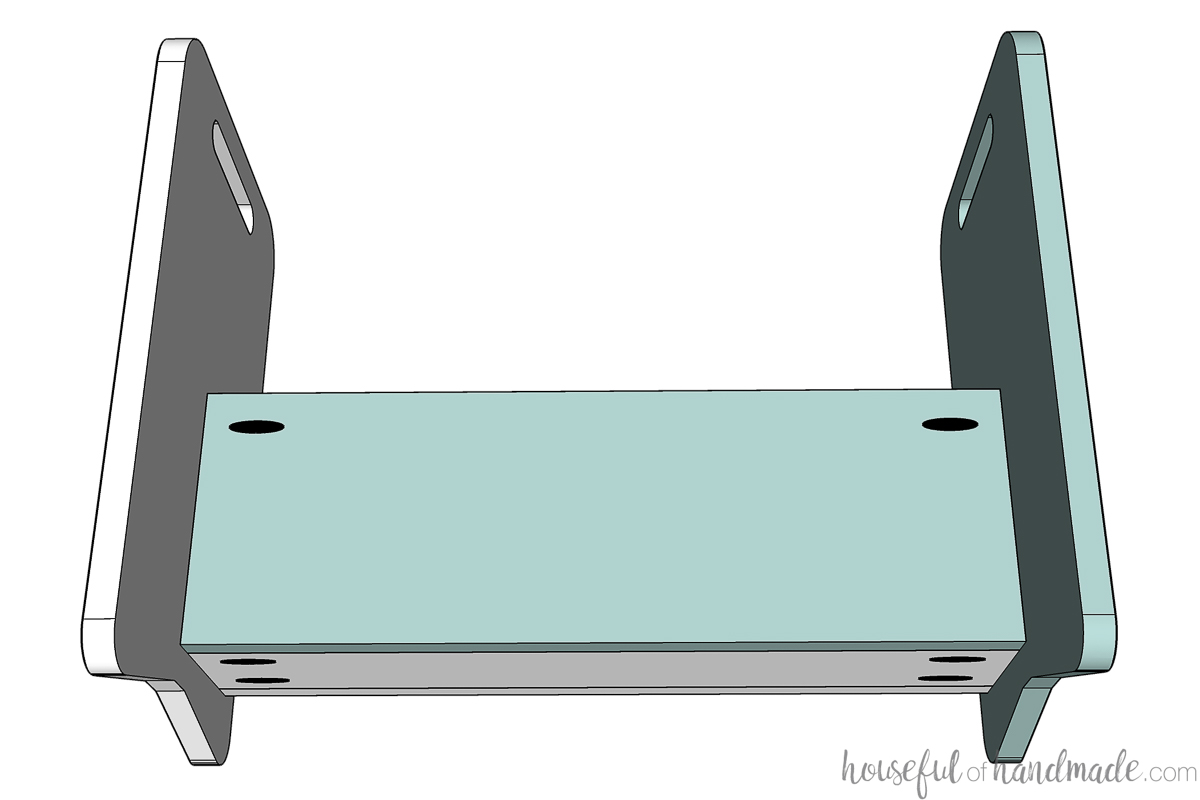
Attach the assembled L piece to one side board so it is 2″ up from the bottom and 1″ in from the front.
Secure with 1 1/4″ pocket hole screws and wood glue.
Drill 1 pocket hole (set for 3/4″ thick material) in the top back of both 22″ long back pieces.
Attach one of the back pieces to the back of the L shelf with wood glue and nails creating a U. The bottom should be flush with the bottom shelf.
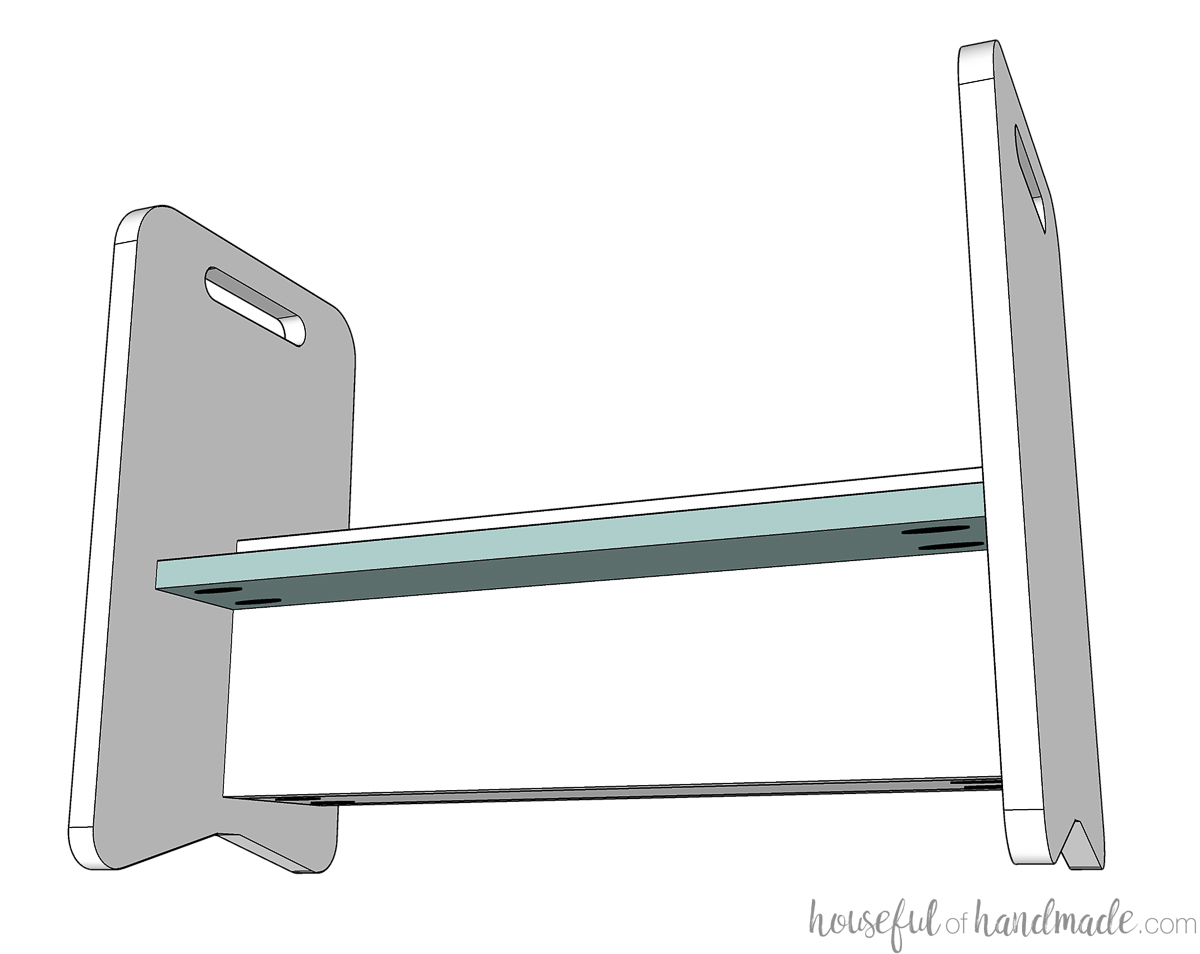
Secure the back piece to the side board with a 1 1/4″ pocket hole screw. Then attach the other side board, making sure to line up the boards on the other side so they are even.
Attach the second bottom shelf piece so the bottom is 2″ down from the top of the back piece on the front shelf.
Secure it with wood glue and 1 1/4″ pocket hole screws into the sides.
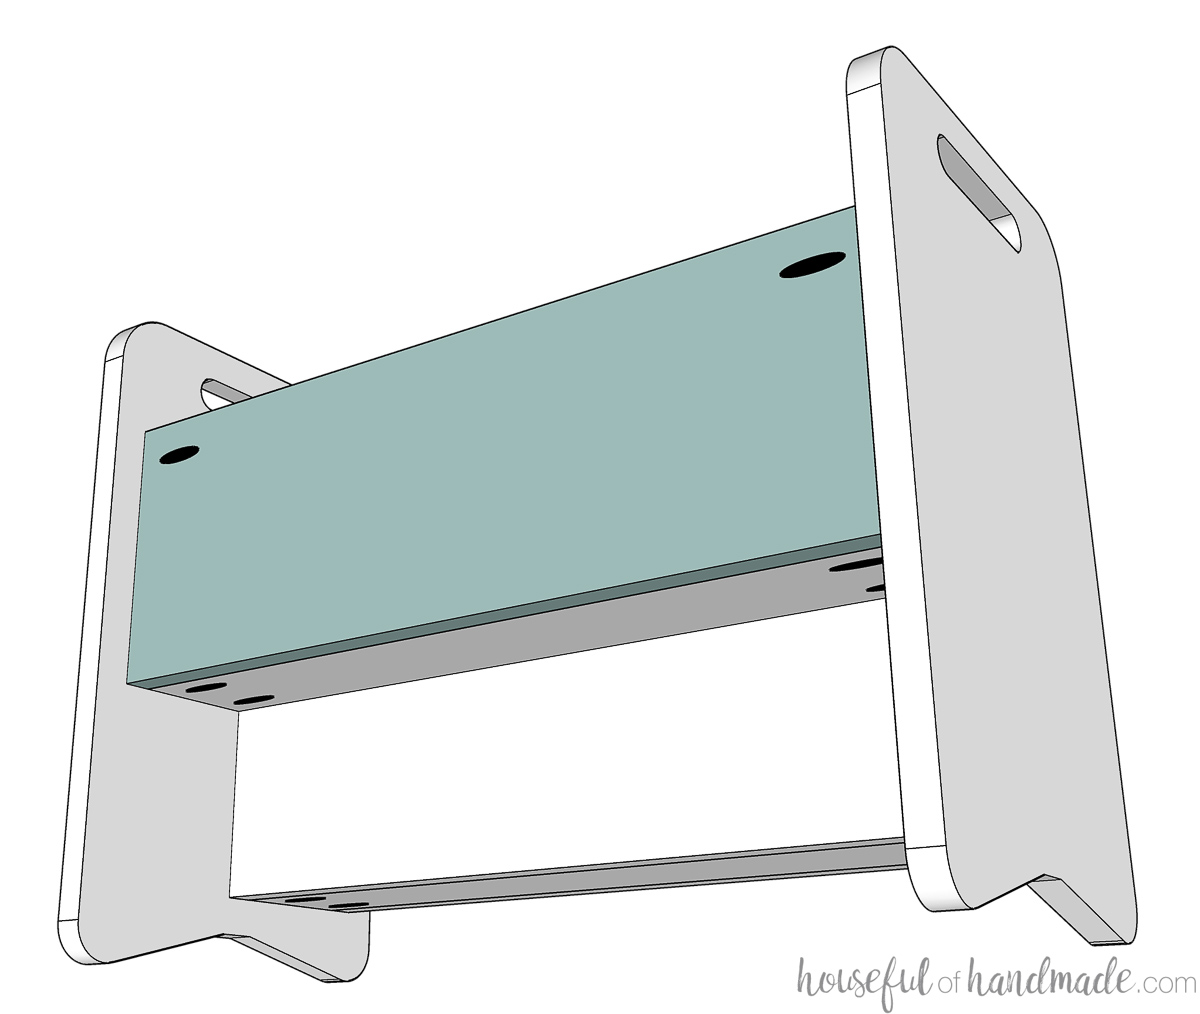
Finally, attach the final back piece to the shelf bottom with wood glue and nails.
Then secure it to the sides with pocket hole screws.
STEP 3- Finish the bookshelf
Fill any visible nail holes with wood filler.
If desired, plug or fill the pocket holes. These should all be hidden in the bottom or back of the bookcase so they will not be visible if not filled.
Sand and paint/stain/seal your new bookshelf.
Premium plans include:
- Recommended Tools
- Shopping list
- Easy to read cut list table
- Cut diagrams
- Step-by-step instructions with 3D renderings
- Helpful resources
- BONUS: 3D SketchUp file
And you are done!
Now you are ready to load it up with lots of fun books and let the reading begin!
The little kids will love having their own bookshelf full of their favorite picture books.
Happy building!
