One of my favorite things about having chickens is that the fresh eggs can sit on the countertop. But I was sick of storing the eggs in a boring plastic bin.
So I grabbed a scrap of 1×6 board and turned it into the cutest stacking egg trays. Now my eggs are food and decor!
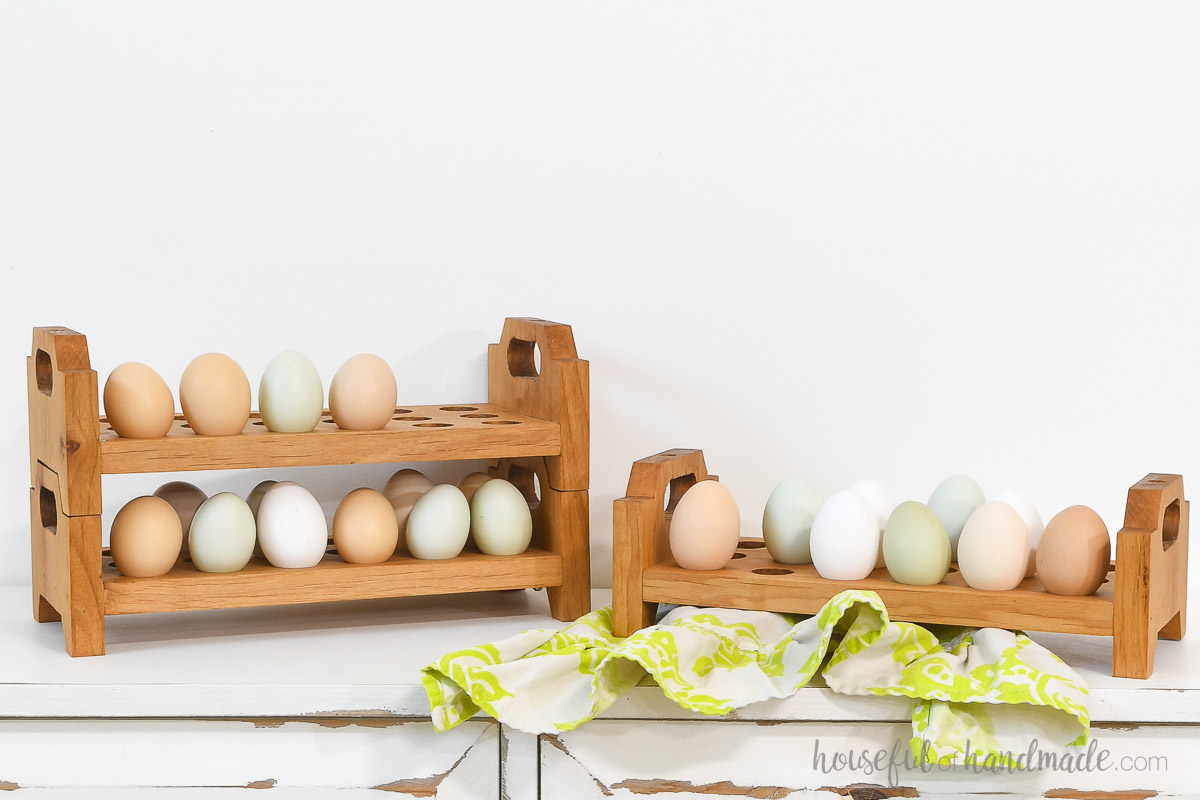
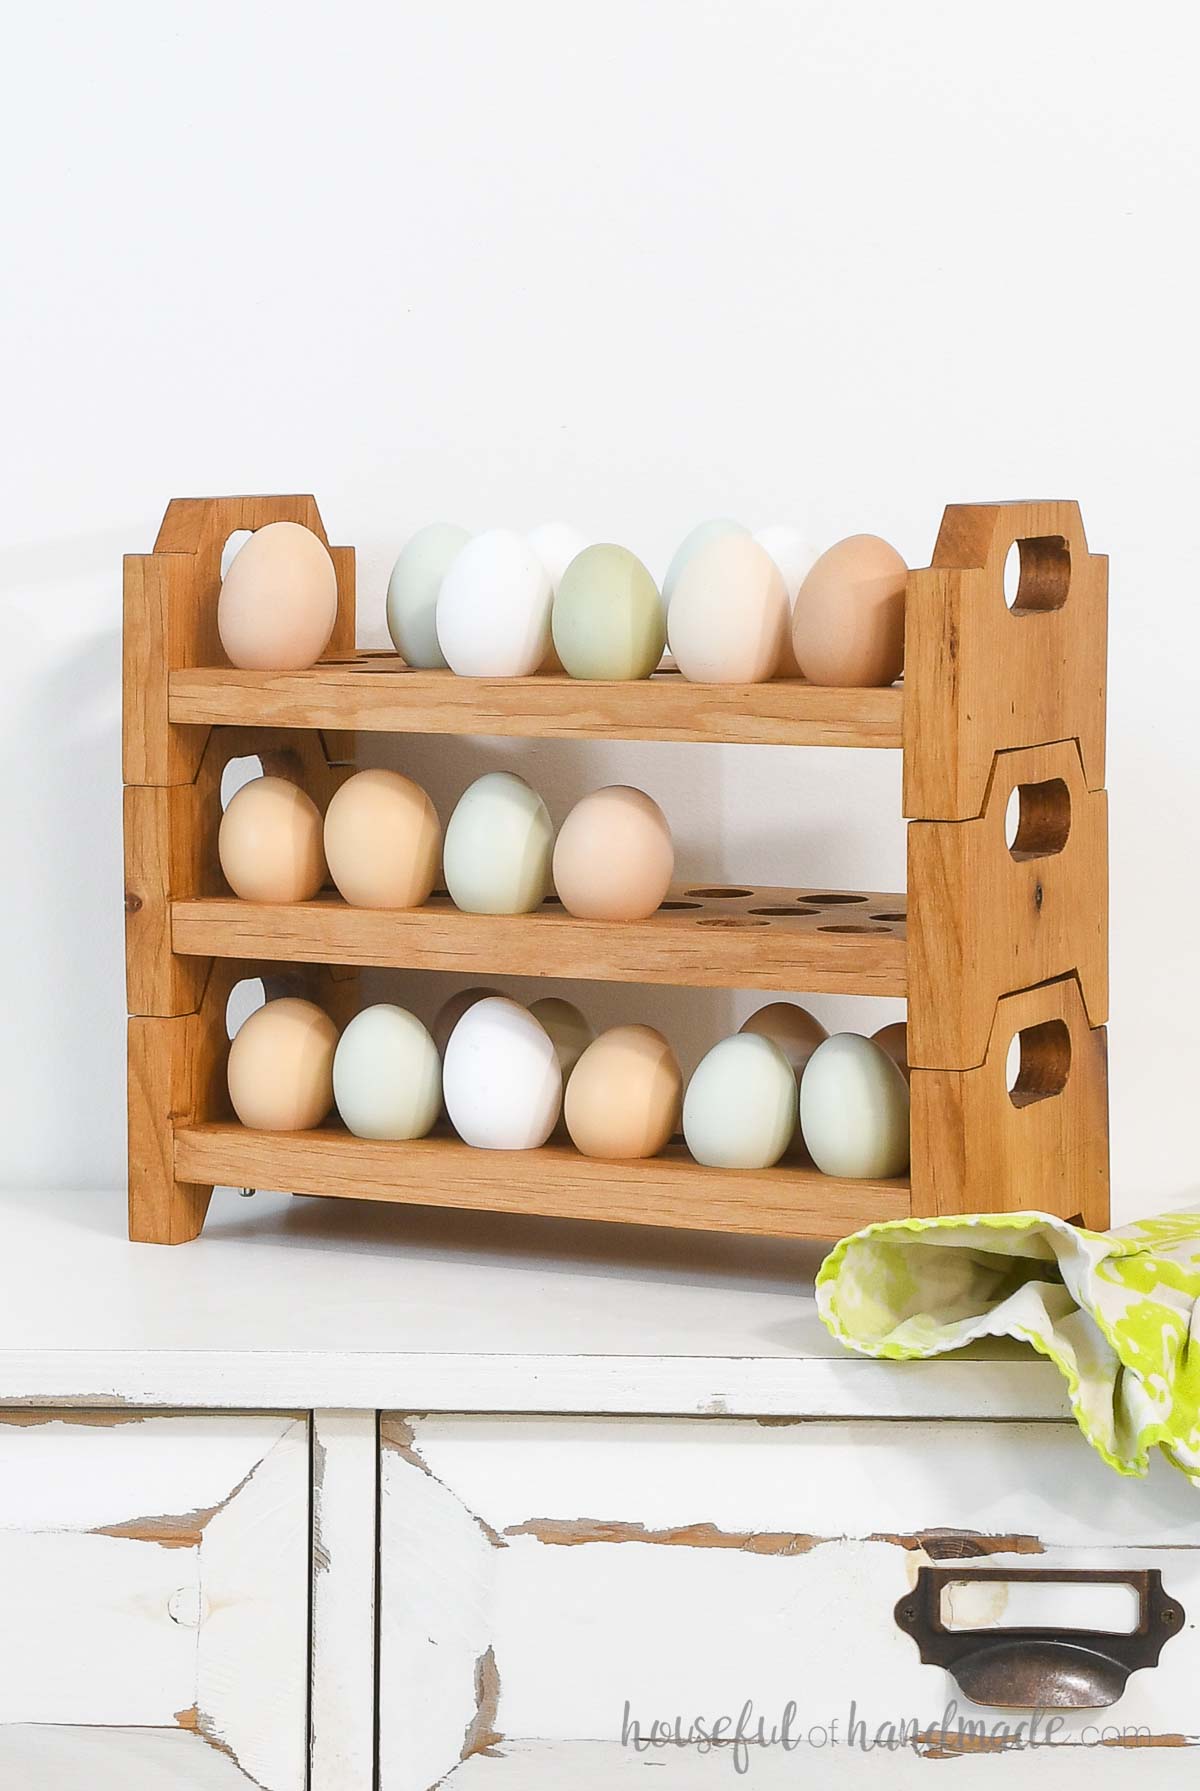
The DIY egg trays stack together so I can easily rotate the eggs we collect daily from our chickens in their sweet backyard chicken coop.
This post may contain affiliate links. As an Amazon Associate I earn from qualifying purchases. Click here to read my full disclosure policy.
I just love how it turned out and am excited to show you how easy it is to make!
1×6 Scrap Project
Sometimes I find myself holding on to some very small scraps. This was the perfect project to use them up.
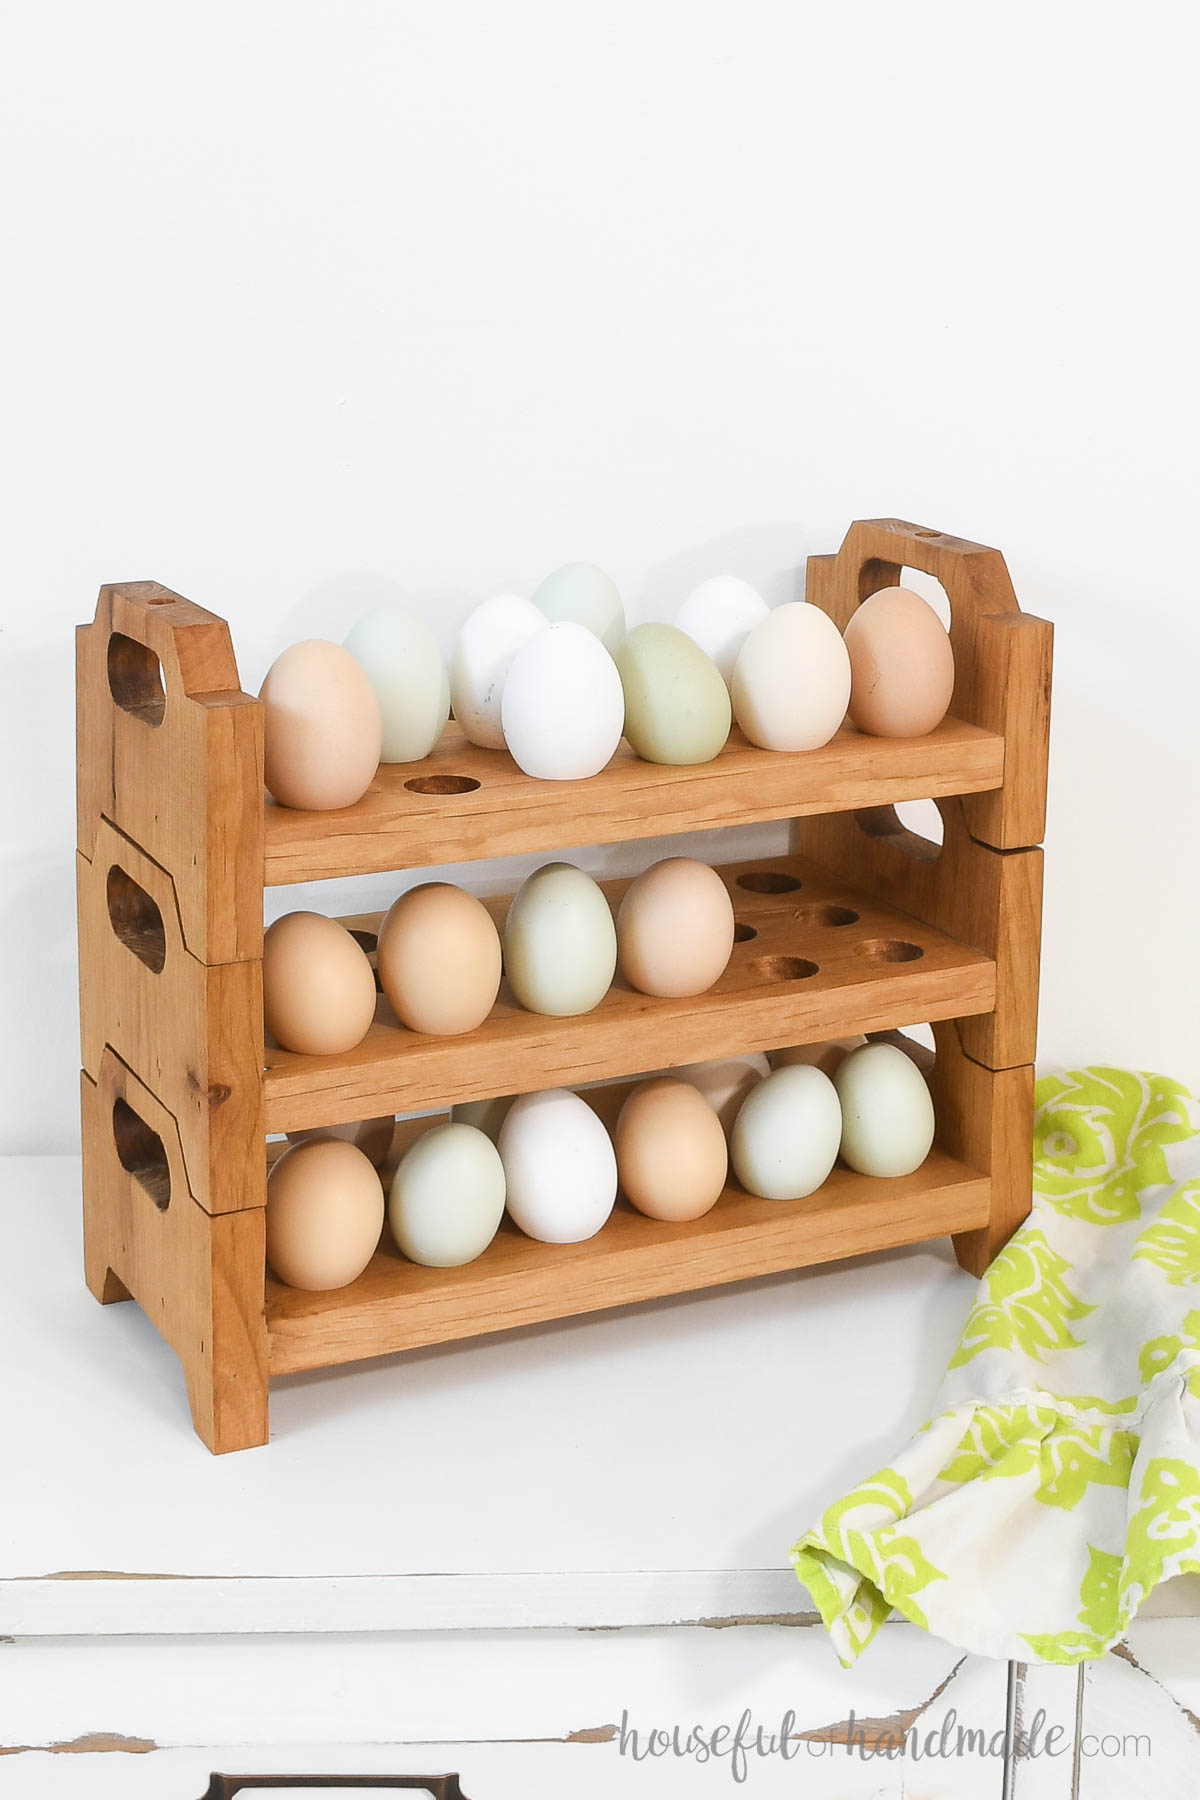
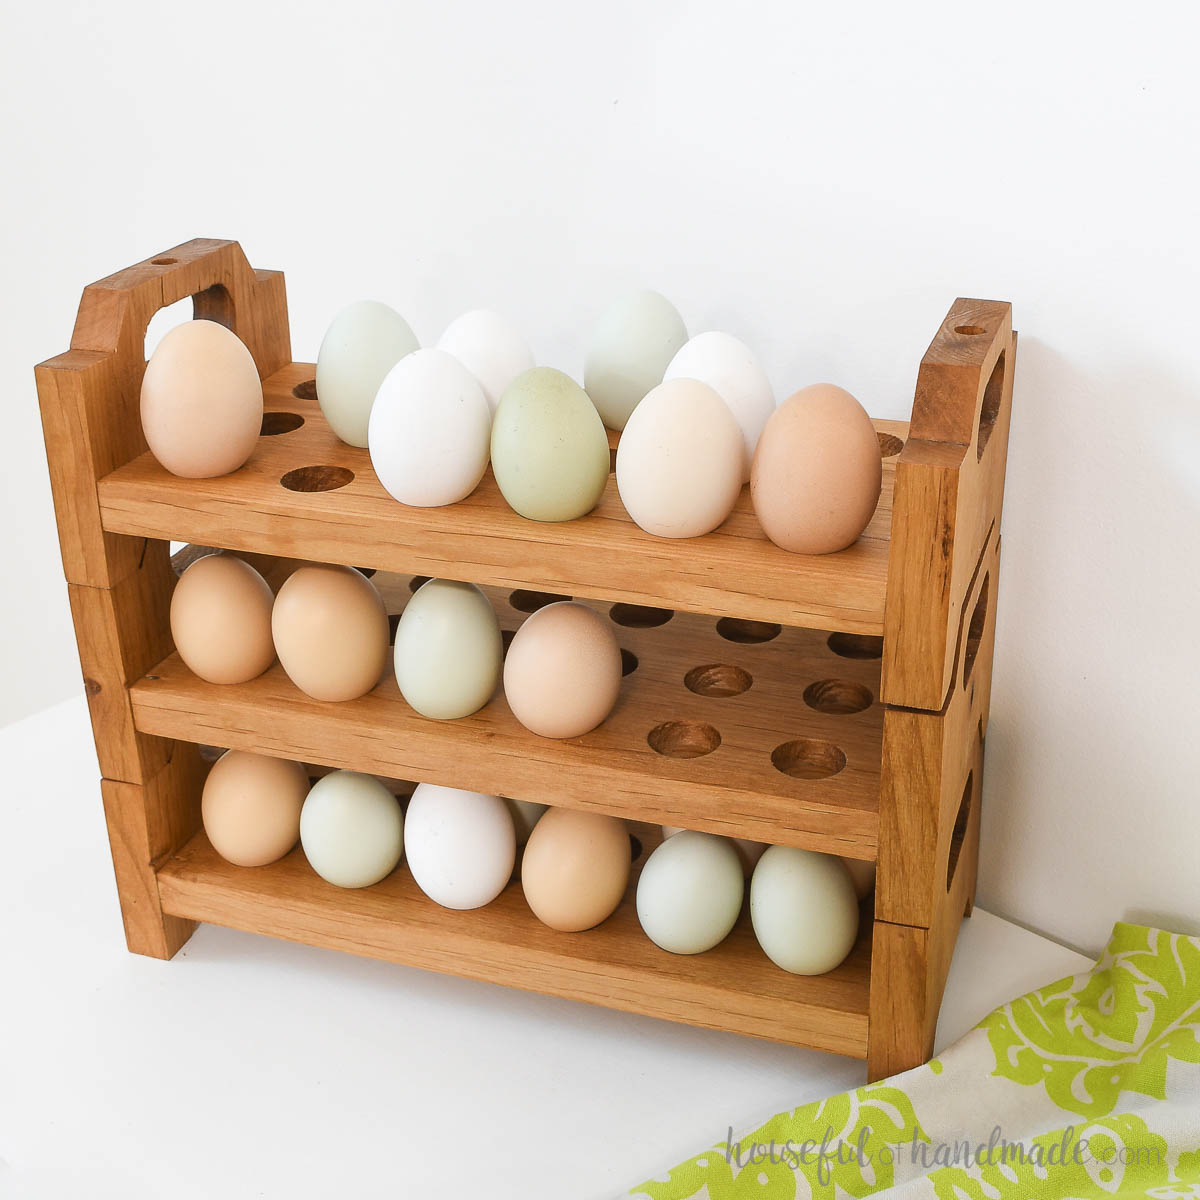
The stacking egg trays were built from 1×6 boards, the perfect width to hold 18 eggs on each tray.
And since the sides and bottom are small, they are easily cut from scraps or cut-offs left over from other projects.
So go raid that scrap bin because you will likely be able to build your own scrap wood egg holders too.
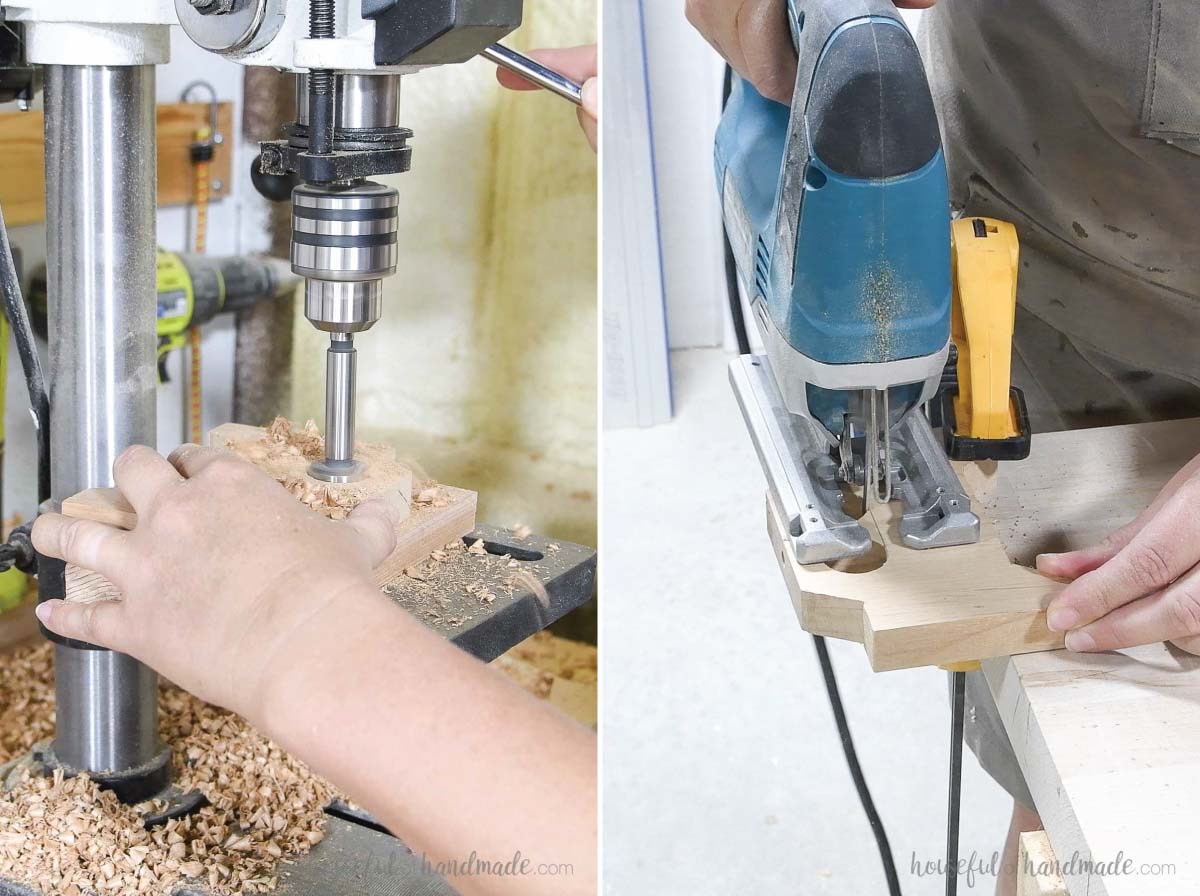
And these fun trays are also made using only a few basics tools: a miter saw, jig saw, drill, and nailer.
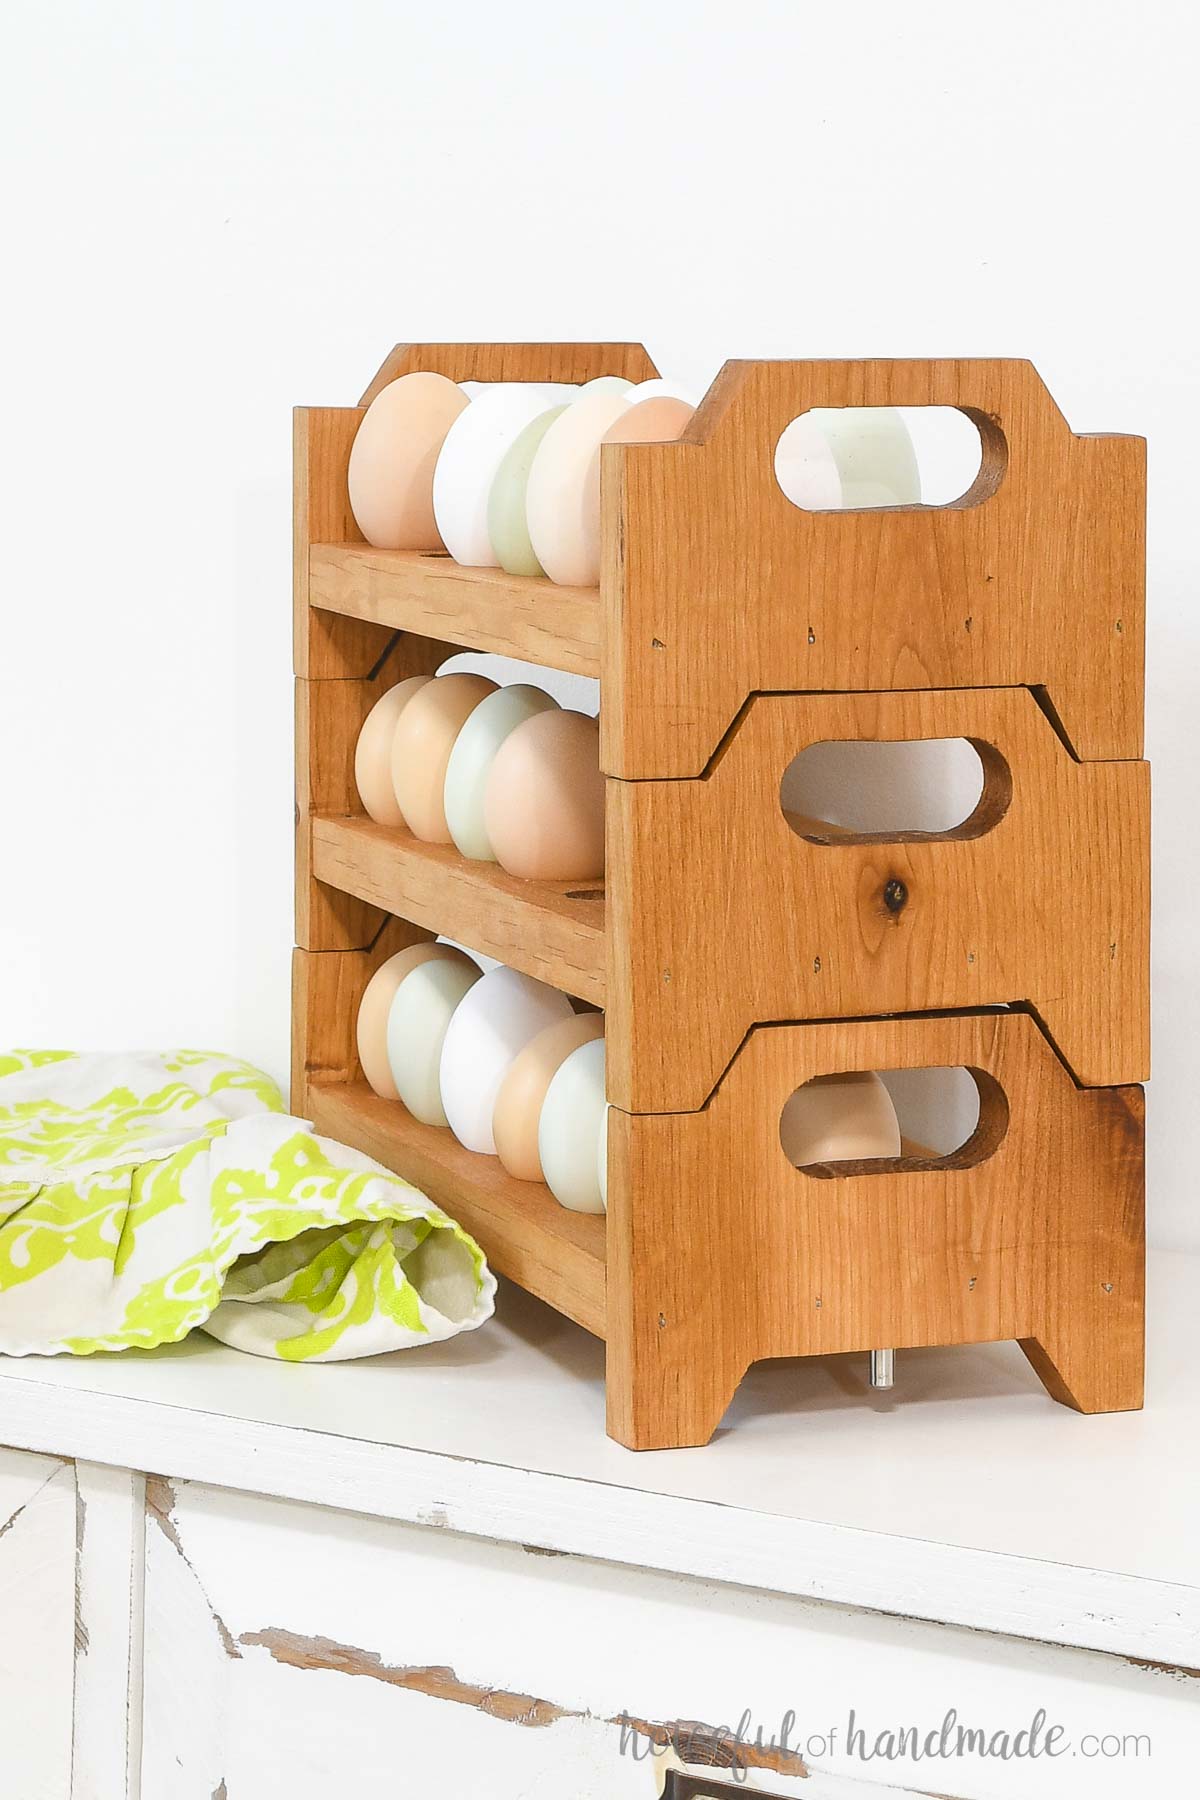
The sides are cut out with a jigs saw to create the feet and top that nest inside each other.
But don’t worry about getting the cuts too perfect. Farm eggs are best displayed on a handmade stand with character.
And there is a secret to keeping the not-so-perfect trays together to protect your eggs.
How to Build a Countertop Egg Holder
Tools & Materials
Recommended Tools:
- Miter saw
- I recently upgraded to this larger sliding miter saw (watch for it to go on sale), but all my projects before were built with this inexpensive miter saw that I loved.
- Jig saw
- Drill
- Brad nailer
- Portable drill guide
- Speed square
- Multi-mark measuring tool
Supplies:
- Wood products
- (1) 1×6 board, 5′ long
- 1 1/4″ brad nails
- 1/4″ shelf pins
- Super glue
- Food safe sealer
Overall Dimensions
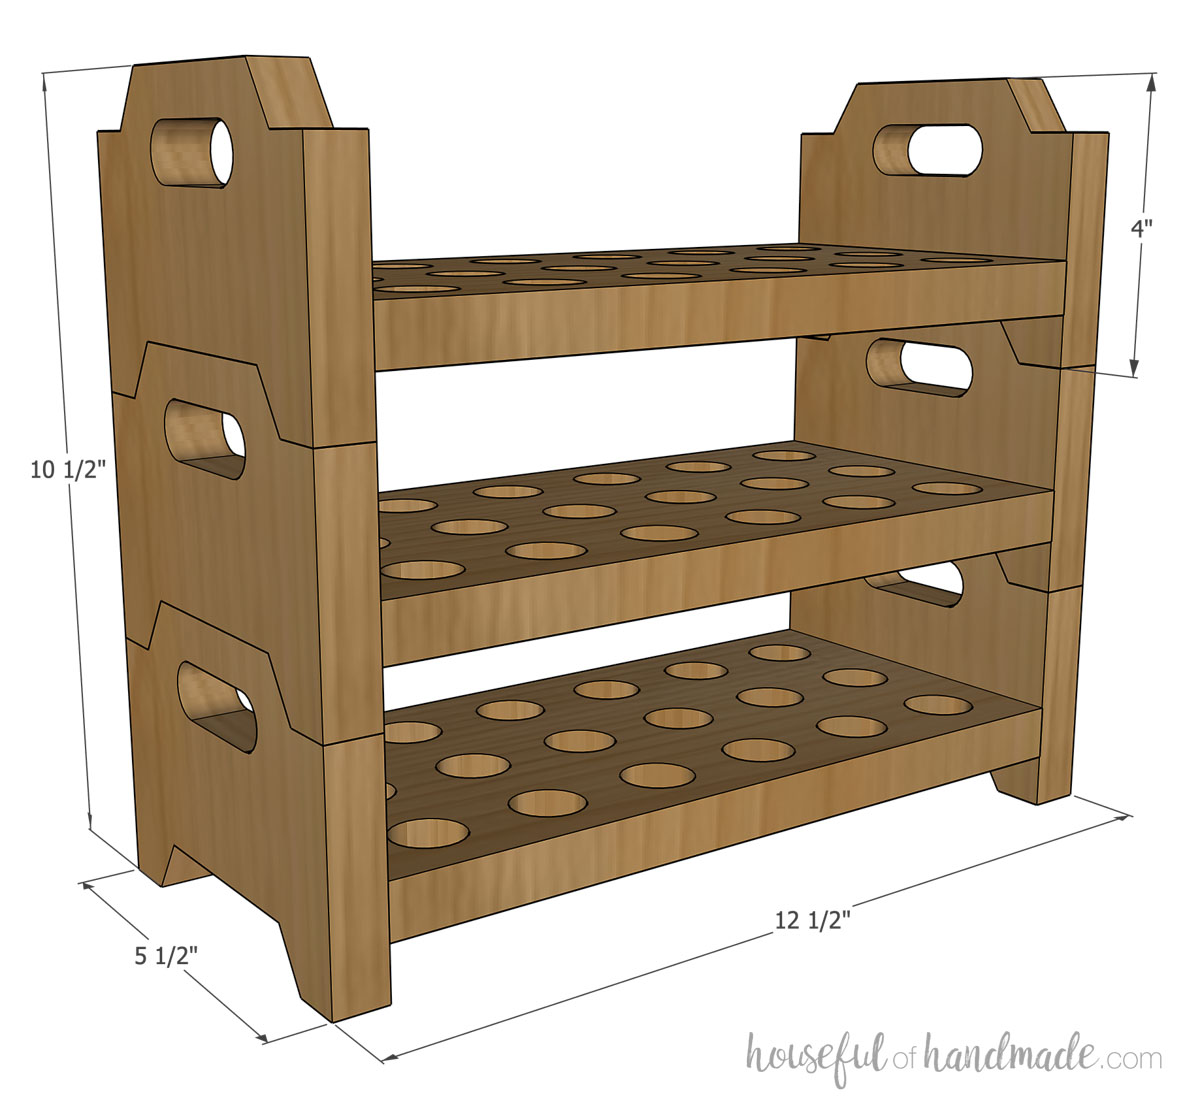
Each tray is 4″ tall x 12 1/2″ wide x 5 1/2″ deep. Since the trays nestle together when stacked, three stacked together are only 10 1/2″ tall.
Each tray holds 18 (1 1/2 dozen) eggs.
Cut List
Cut the 1×6 board into pieces for the tray bottom sides according to the cut list in the premium PDF plans.

STEP 1- Cut sides
Stack all the side pieces together and draw a line across the top in the center.
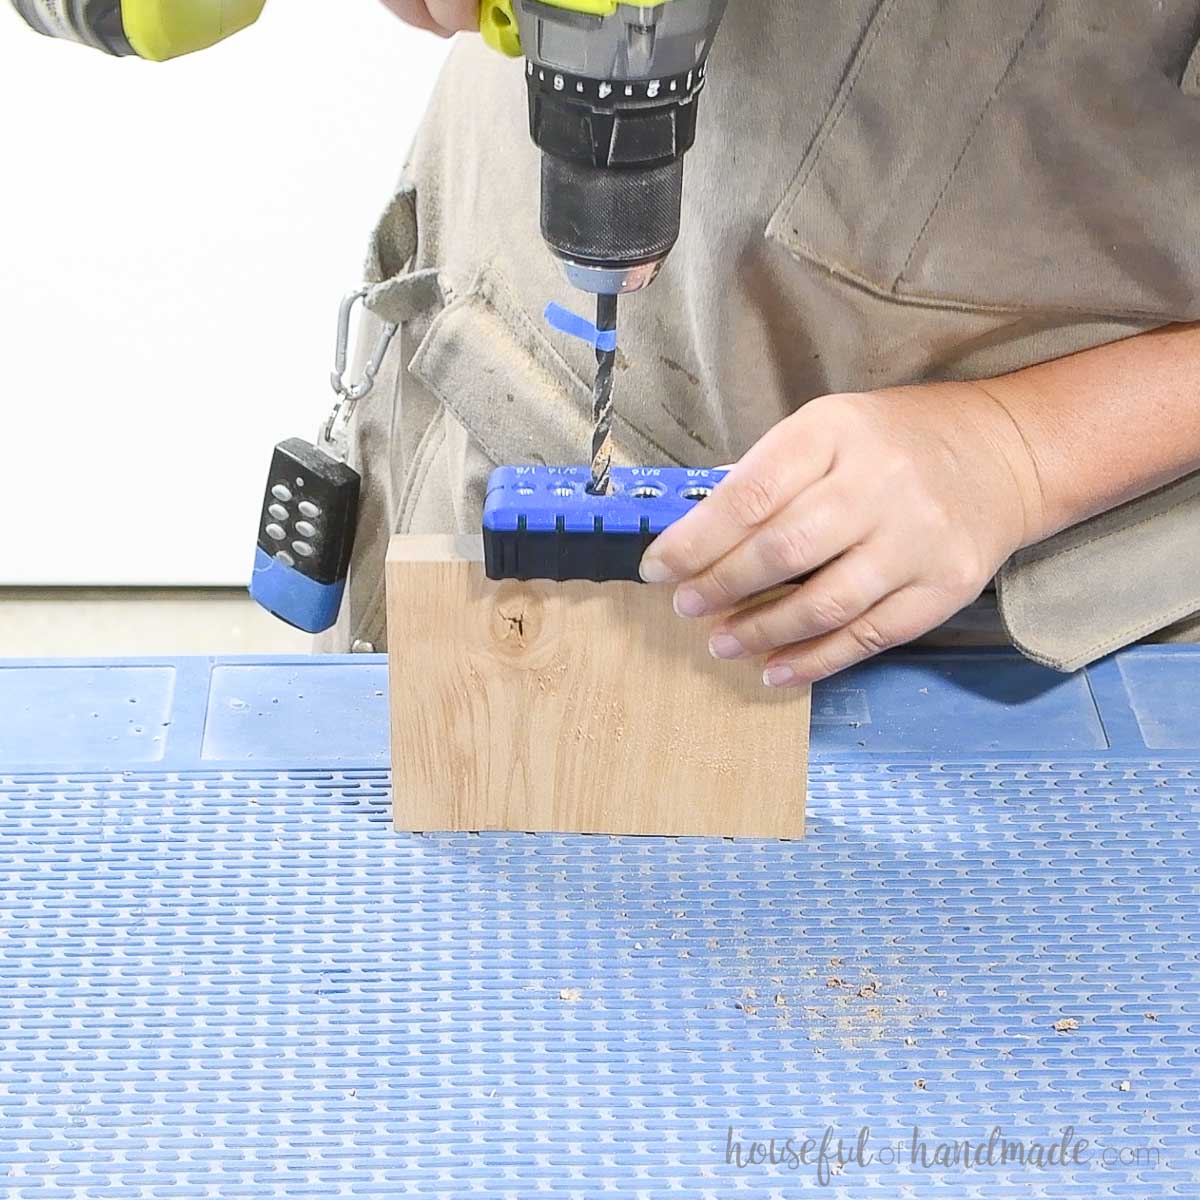
Drill a 3/8” hole in the center to fit your shelf pin rod with plenty of wiggle room. Only drill it deep enough for just over 1/2 your shelf pin to go in. Use a drill guide to keep your holes straight.
This will be the top of your side pieces.
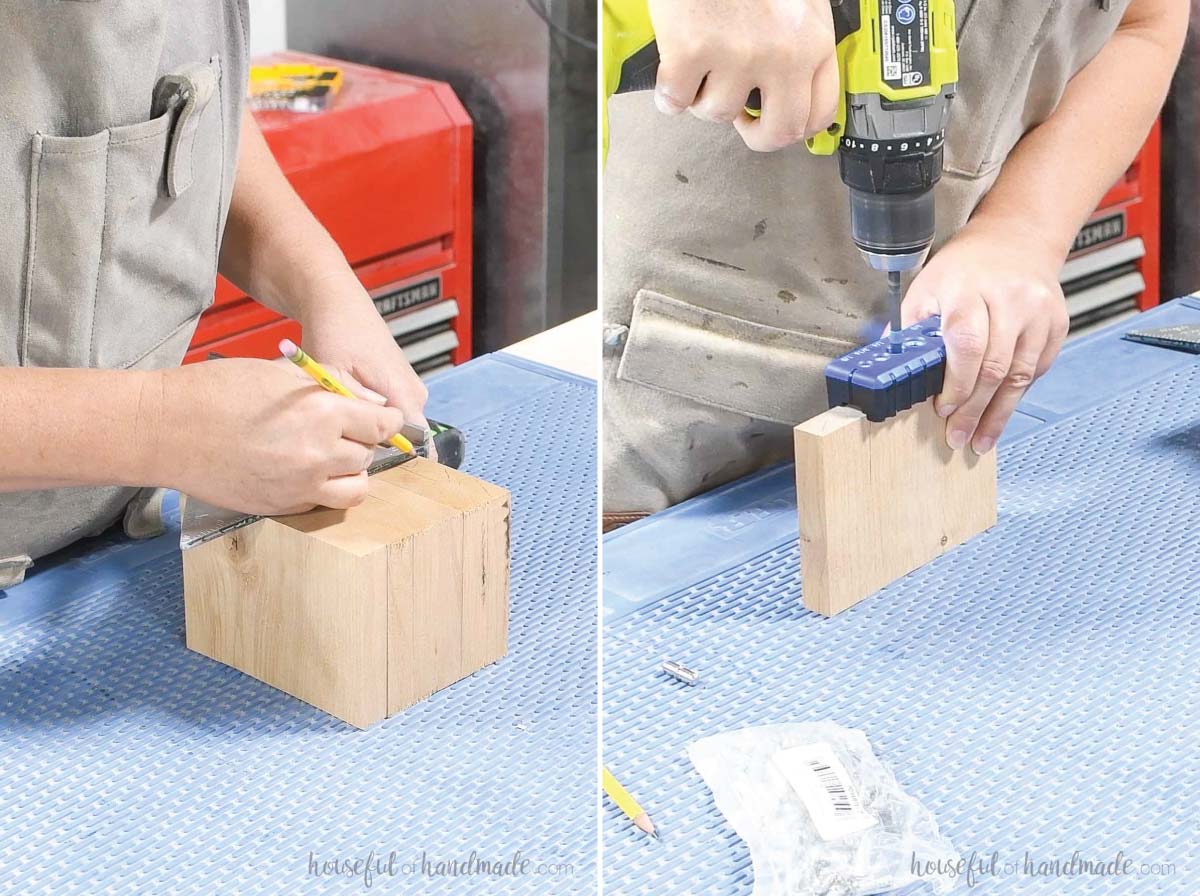
Repeat for the other side to be the bottom. But this time drill a 1/4″ hole.
Also, the bottom holes need to be deep enough for you to cut the 3/4″ notch in the bottom and still get 1/2 the shelf pin in.
EXPERT TIP:
I mark the depth of my hole on the drill bit with a thin piece of painters tape to ensure my holes were the proper depth.
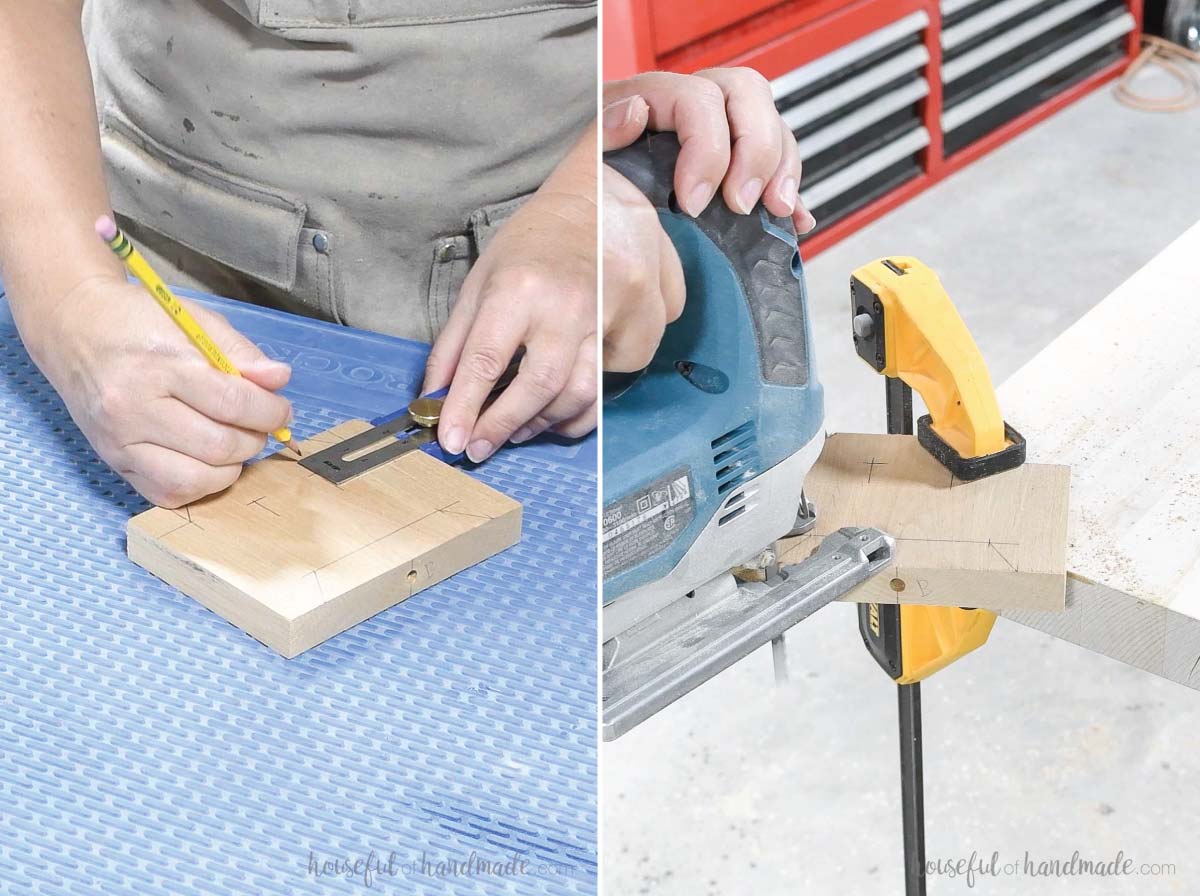
Draw out the side design according to the diagram in the plans on one side piece with a straight edge.
For the bottom notch, draw a line 3/4″ up from the bottom. Then for the feet measure 3/4″ in and draw an angled line to the line.
The top notches should be the same as the feet on the bottom so they can stack together.
Cut away the excess with a jig saw.
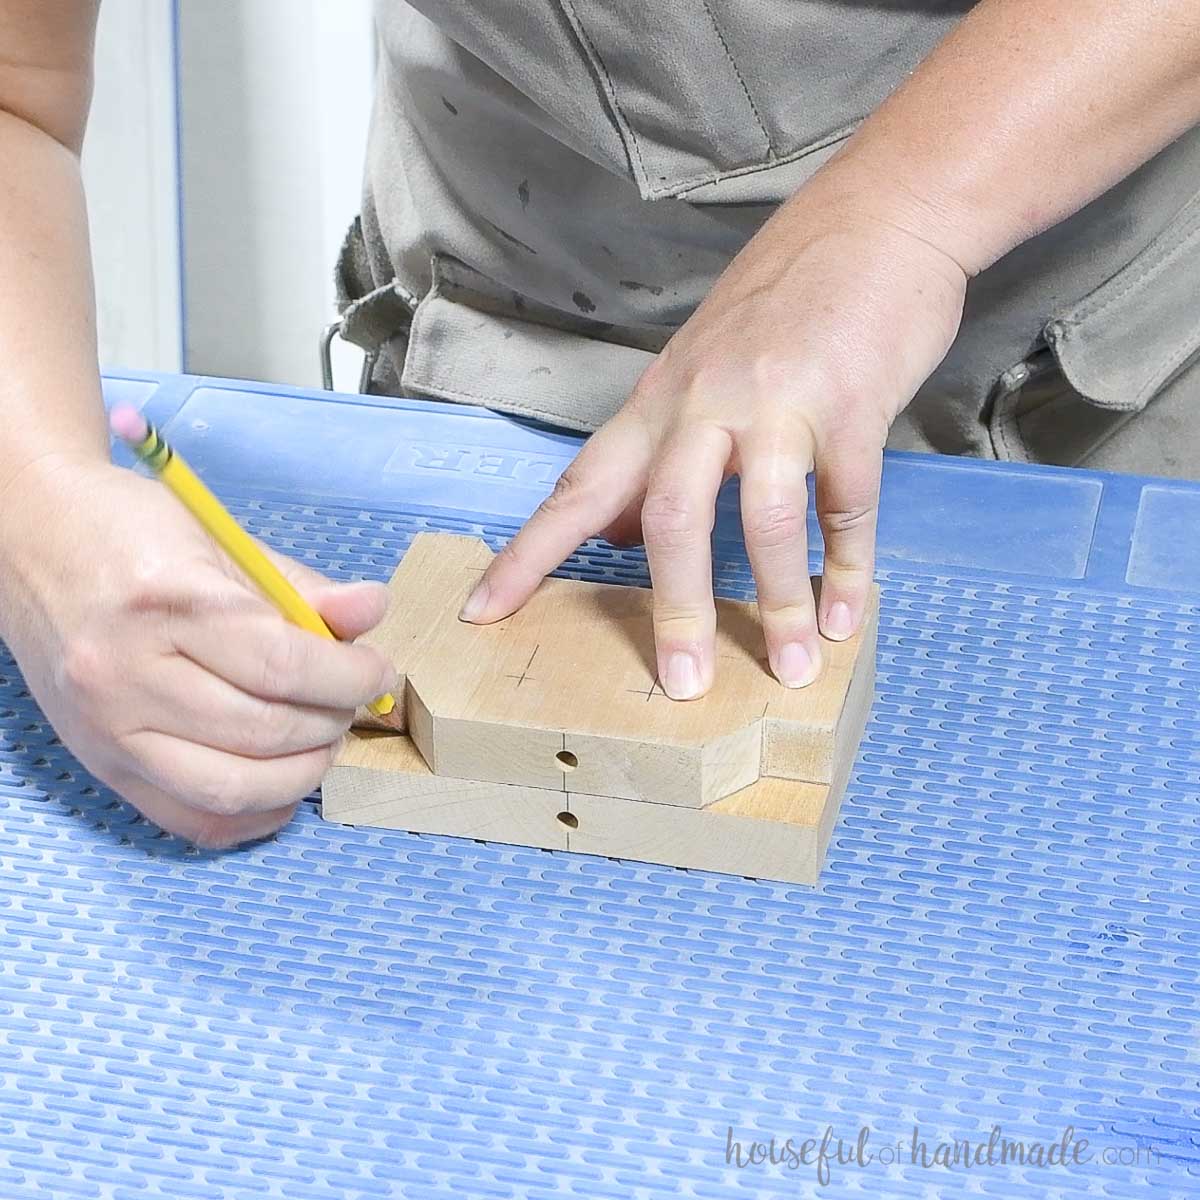
Once one piece is cut out, you can trace it on the rest of the side pieces. Then cut them out as well.
EXPERT TIP:
If you are worried about the cuts fitting together, cut just to the inside of your design line for the top and for the bottom cut just to the outside of the line.
For the handles, measure in 2” from the edge and up 3” from the bottom on both sides. Drill a 3/4” wide hole through with this mark at the center.
Clamp a scrap board under the tray piece to prevent tear out when you drill through to prevent tear out.
Then cut the excess between the two holes away with a jig saw creating the handle.
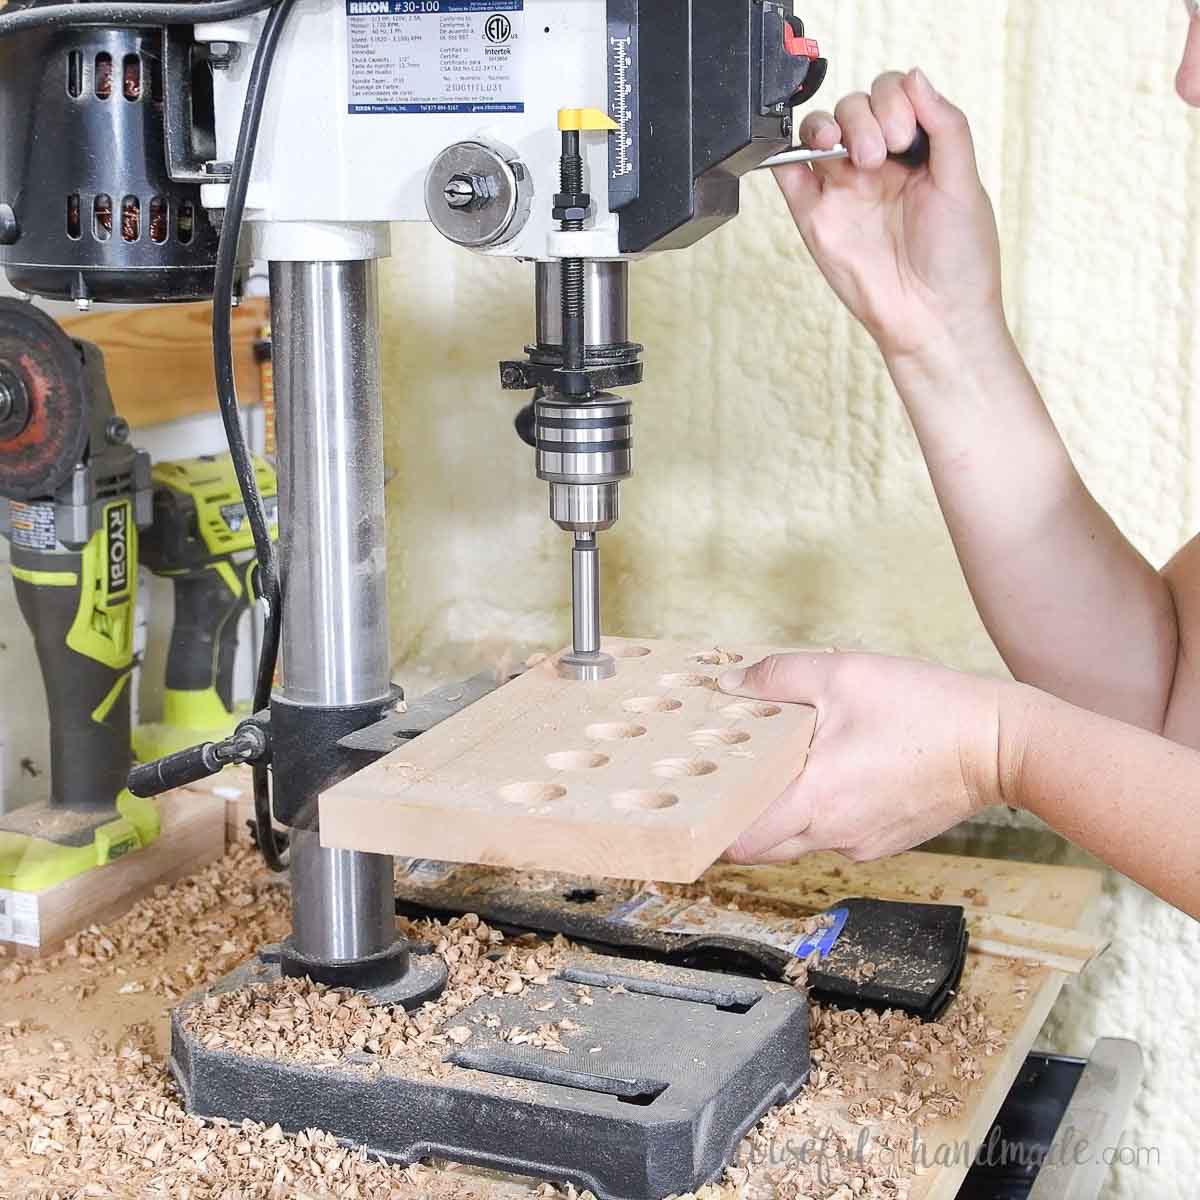
STEP 2- Drill holes in the bottom
Mark out the grid on the tray pieces.
For my grid, I started by measuring in from each end and then divided the remaining between the center lines.

Drill a 1” hole 1/2″ where every line crosses through the board.
I used a Forstener bit to drill the holes so they would be clean and flat on the bottom. You could also drill the holes all the way through if you want.
Repeat for all the bottom pieces.
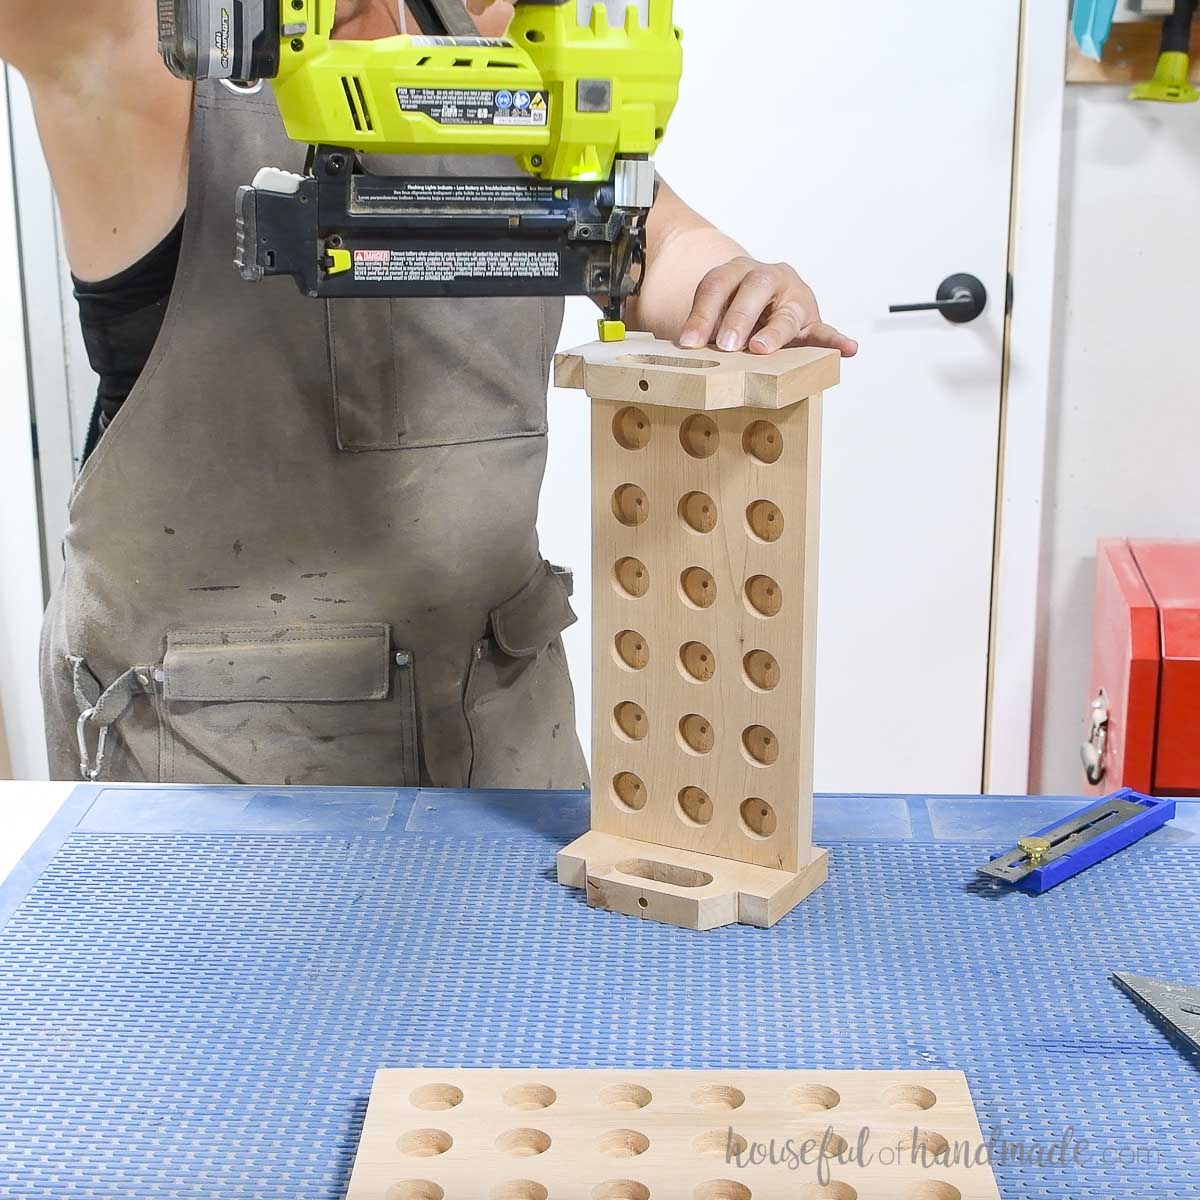
STEP 3- Assemble the trays
Line the trays up so they are 7/8″ up from the bottom of the side pieces. Secure with wood and 1 1/4″ brad nails.
Make sure to only add nails between the holes so they don’t accidentally poke through them.
Repeat for all trays.
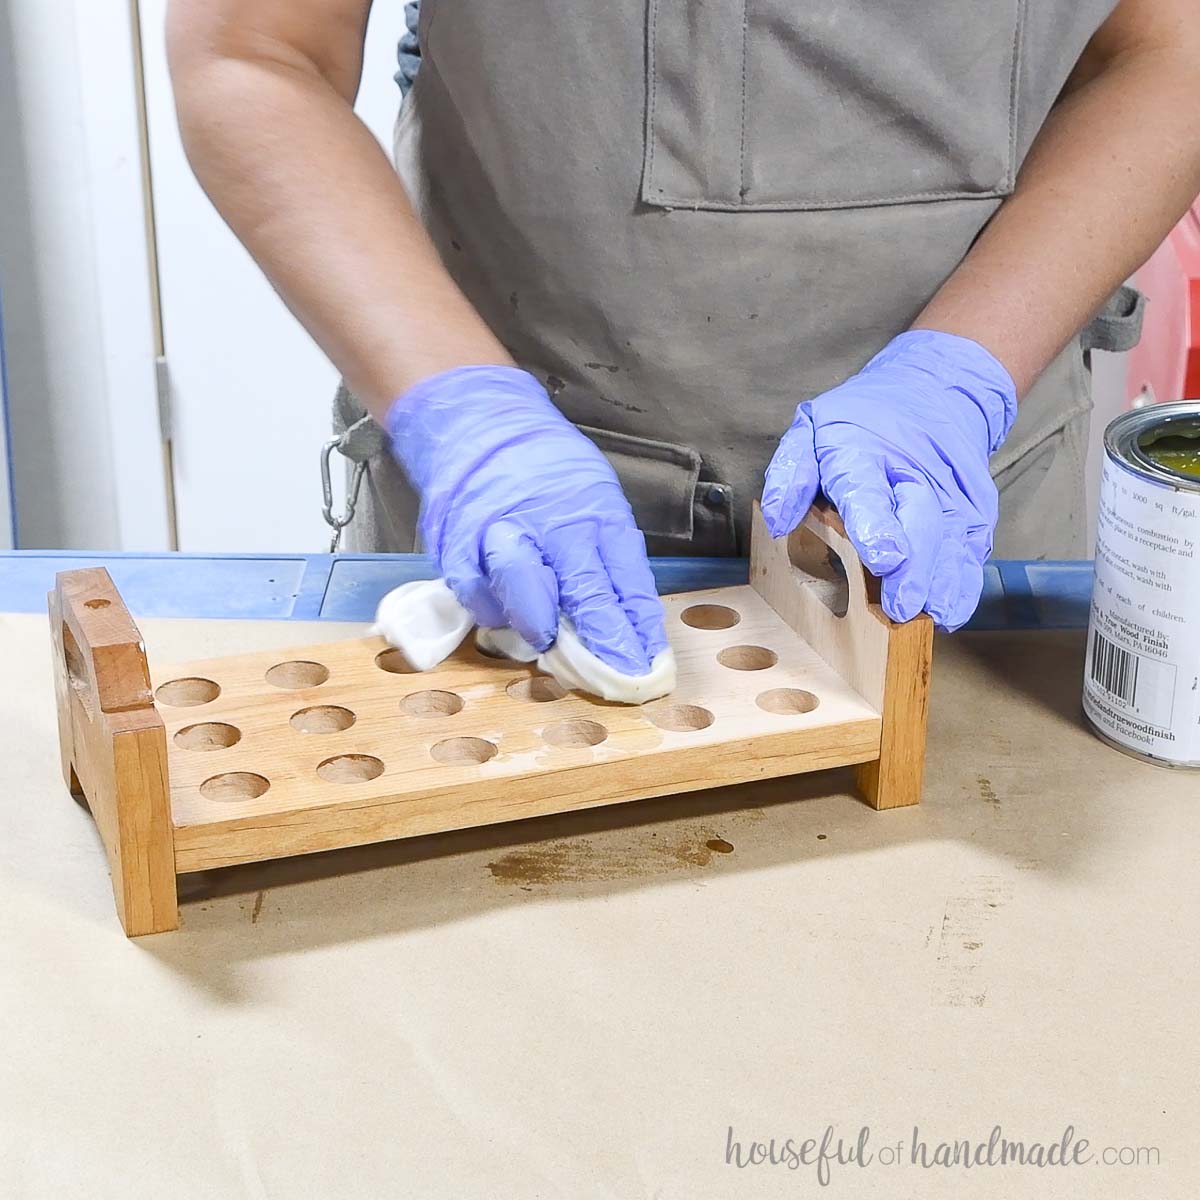
STEP 4- Finish
Sand your finished egg trays. Then use a few drops of super glue to glue a 1/4″ shelf pin in the bottom of each side piece.
The pins will prevent the stacked egg holders from being able to slide side-to-side.
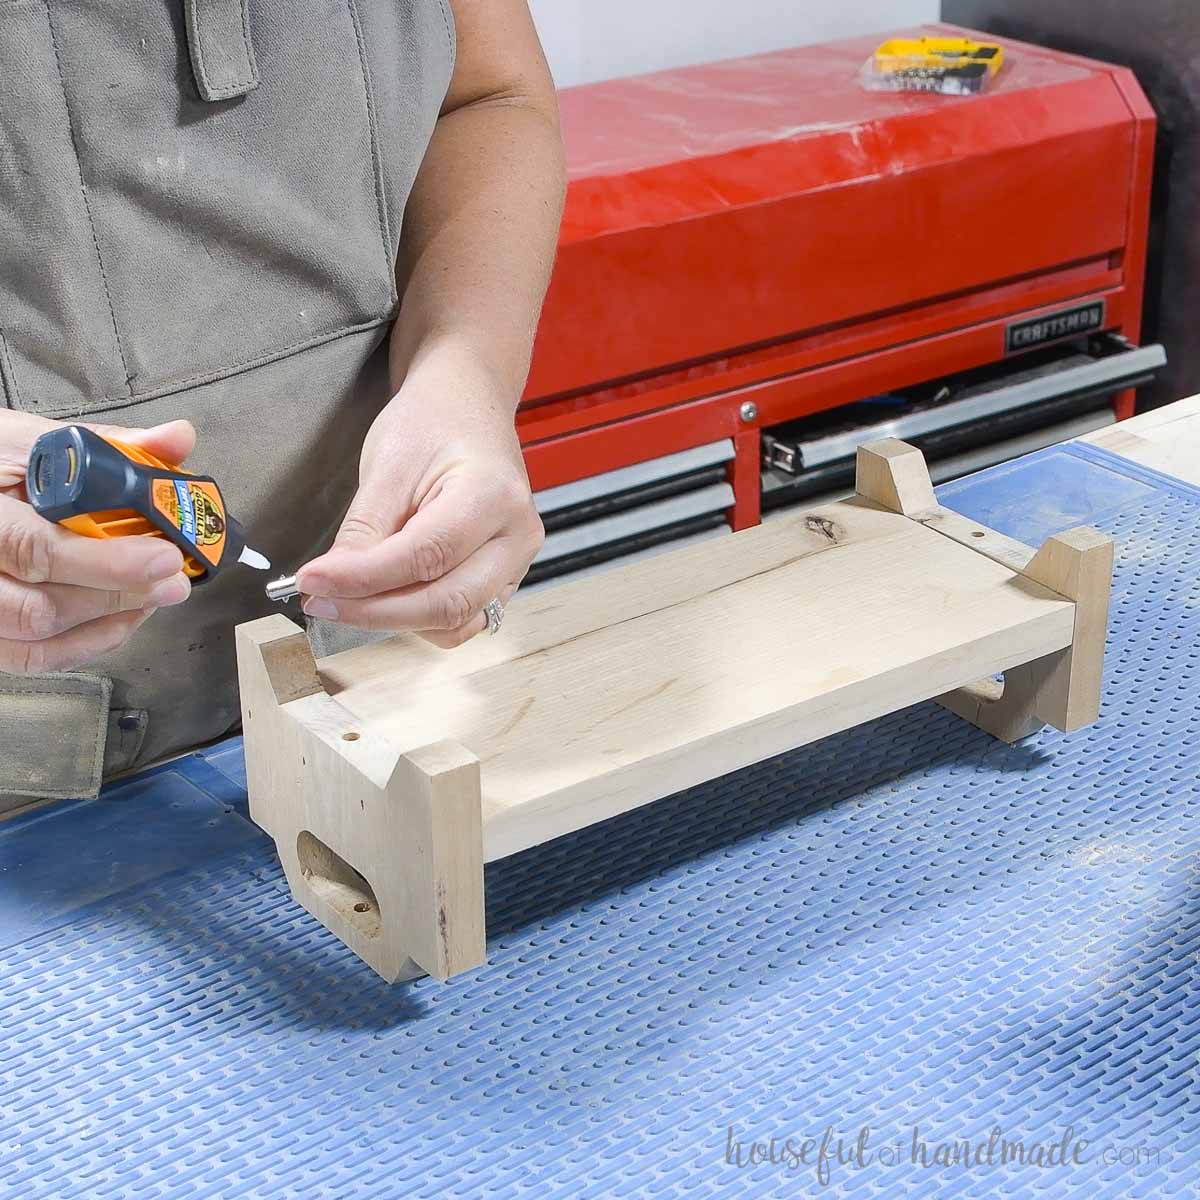
Seal your finished trays with a food safe sealer.
I used Tried & True original sealer to seal the alder wood trays I made.
You did it!
Premium plans include:
- Recommended Tools
- Shopping list
- Easy to read cut list table
- Cut diagrams
- Step-by-step instructions with 3D renderings
- Helpful resources
- BONUS: 3D SketchUp file
Now you can load up your new trays with your farm fresh eggs. Stack them on the countertop and enjoy.
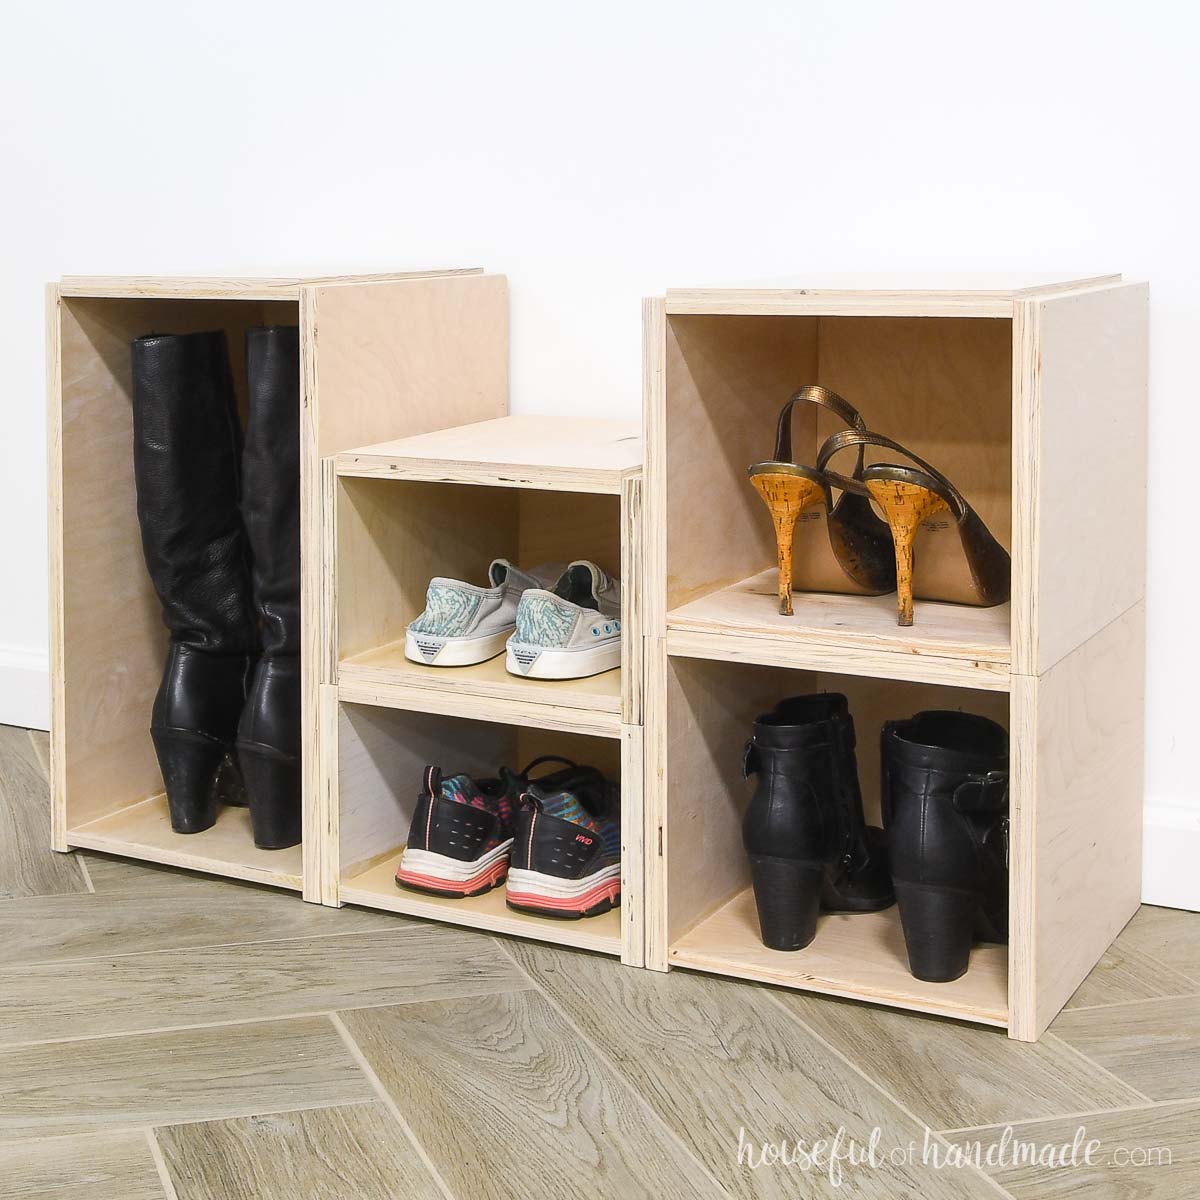
More Things to Build from Scraps
I am sharing this project as part of Scrap Wood Summer.
Every Tuesday in August my friend Shara from Woodshop Diaries and I will share a new project made from our scrap piles.
Check out all the other scrap wood projects below from the month so you can use up all those scraps of wood!


Happy building!
