Are you ready for more Halloween fun today?
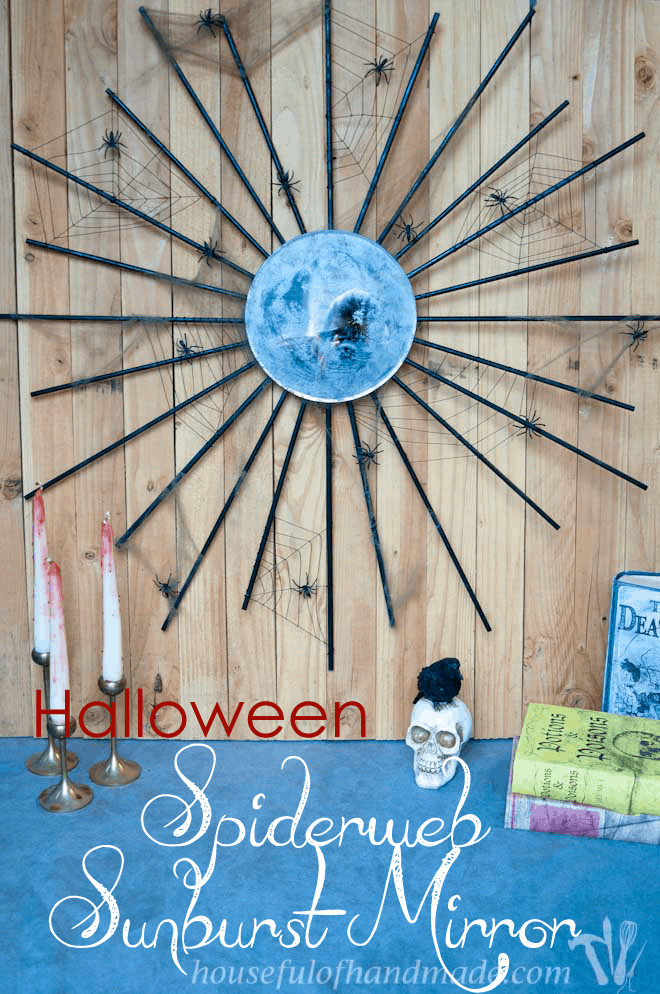
I have been racking my brain for a focal piece for my Halloween mantle. The rest of the mantle is set up like a scary witch’s apothecary, with lots of potion bottles and potion ingredients.
Then I will add the new potions and spell books I just made. But everything I had was low, and I needed some height in the middle.
This post may contain affiliate links. As an Amazon Associate I earn from qualifying purchases. Click here to read my full disclosure policy.
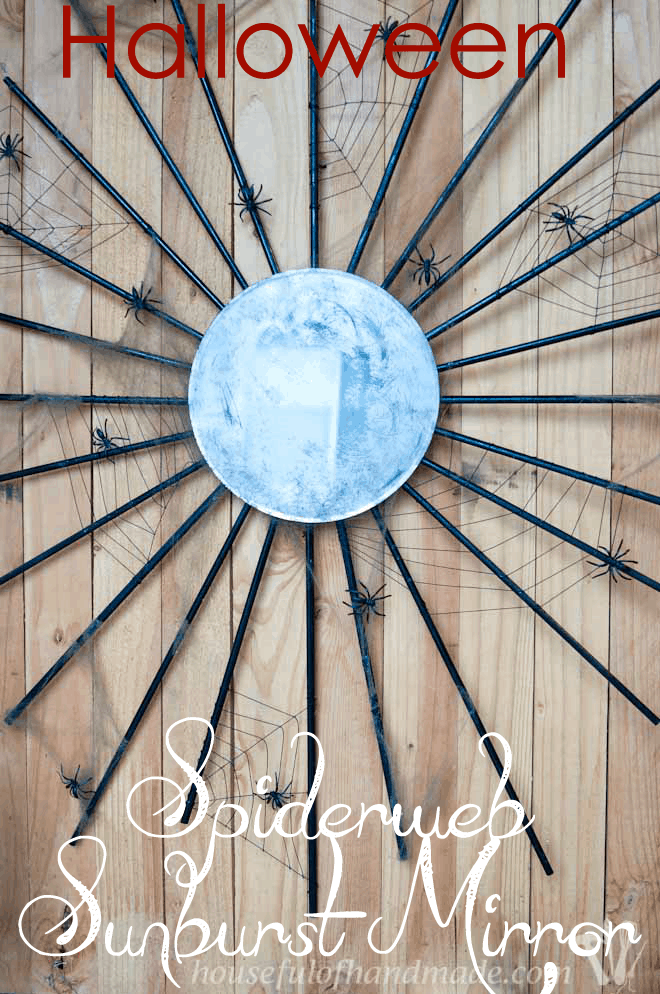
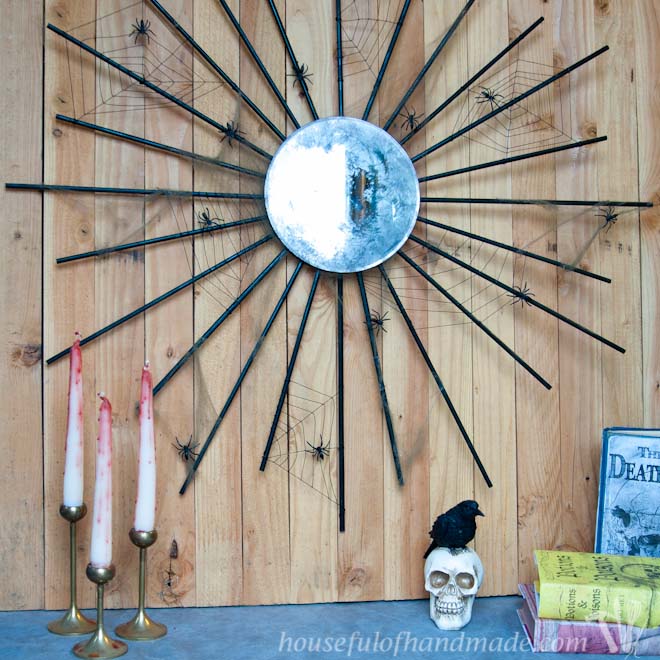
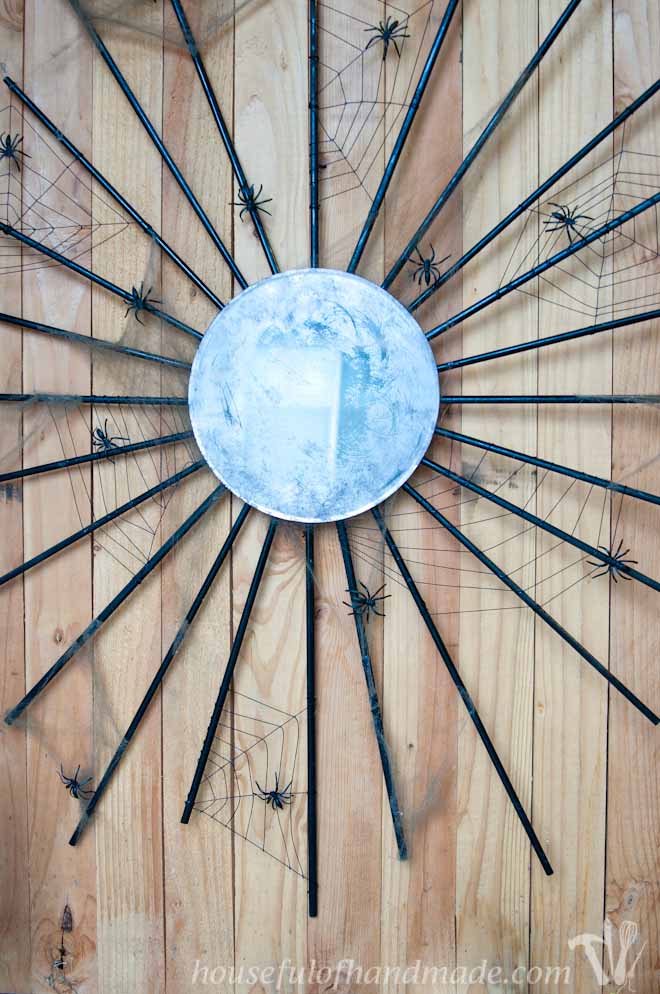
I have always liked the look of sunburst mirrors, so I made one, and then I made it spooky for Halloween!
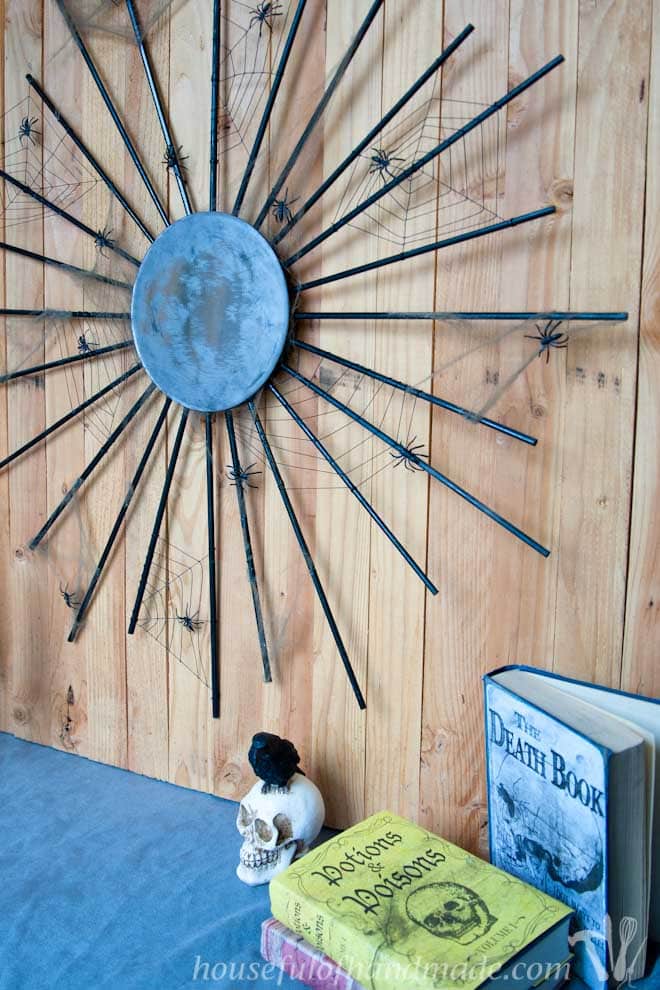
What would be the better to hang in an old witch’s apothecary, than a sunburst mirror that was found in grandma’s attic or a haunted house?
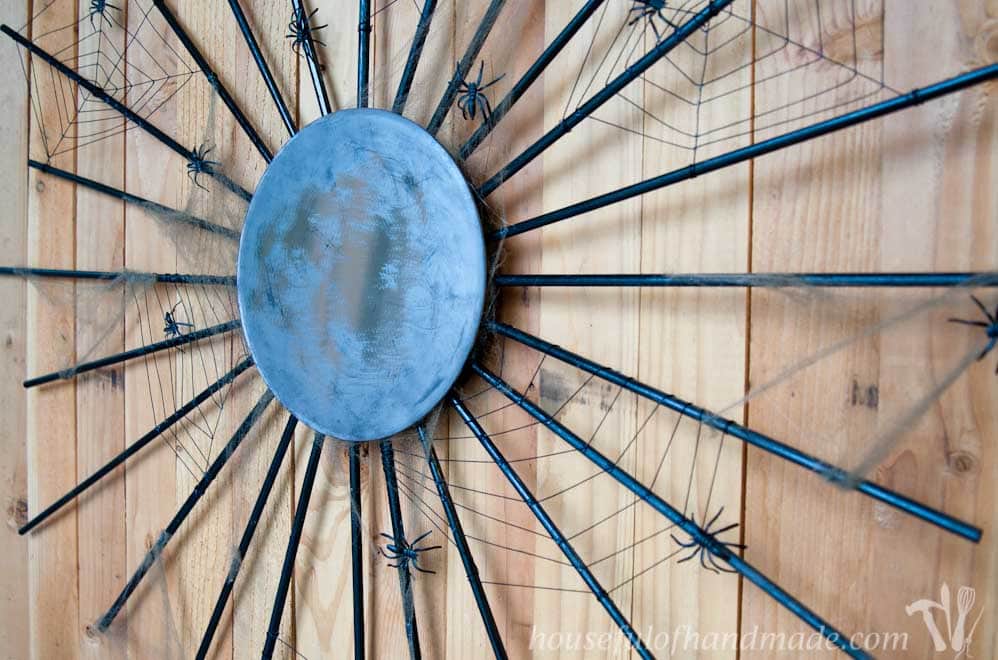
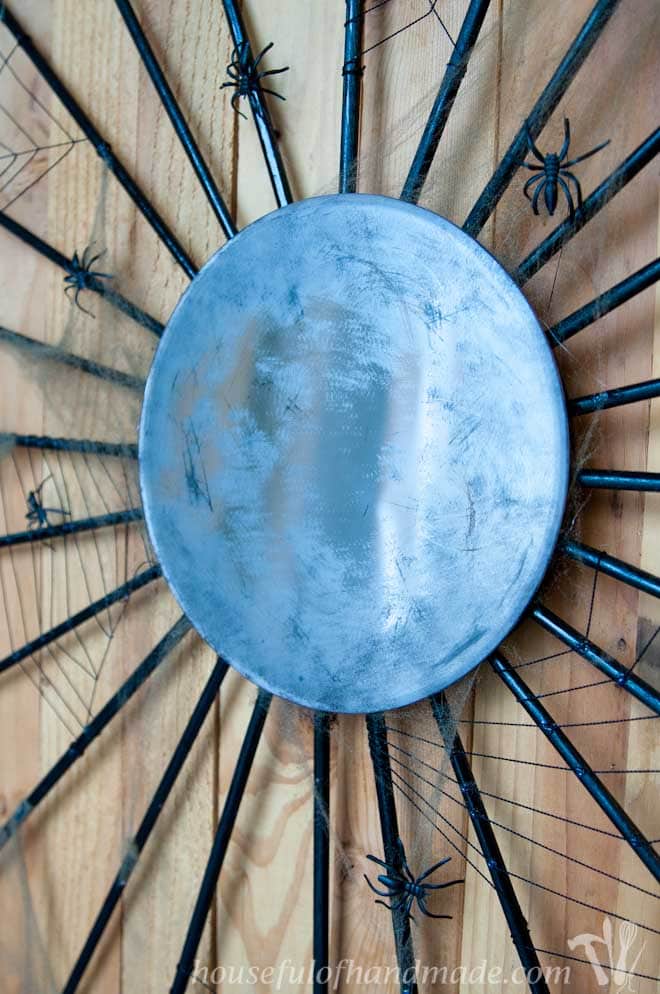
All worn out and covered in spiders, with a scratched and scary looking mirror.
Halloween is a great time to try out new decor.
You can make something, then scratch it up to make it look worn, then cover up all the parts you don’t like with spider webs. It’s awesome!
Then if you like the decoration, you can make it again, and the second time you make something it always turns out better! So that is what I did with this Halloween sunburst mirror.
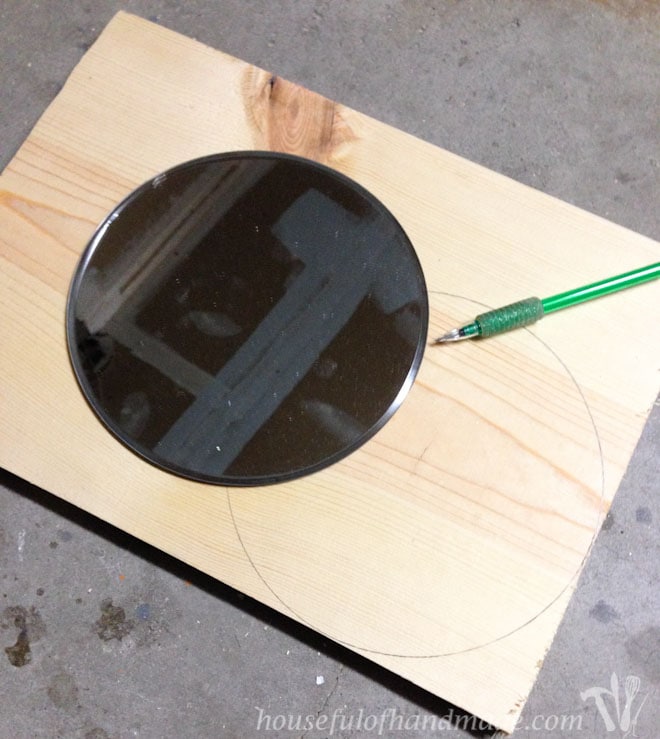
I started by finding a mirror. They have a bunch of sizes of beveled edge craft mirrors at Hobby Lobby and that is where I bought mine.
Then you will need a piece of wood big enough to cut a circle just smaller then the mirror.
My mirror was 8″. To cut the circle, I traced the mirror on my scrap wood.
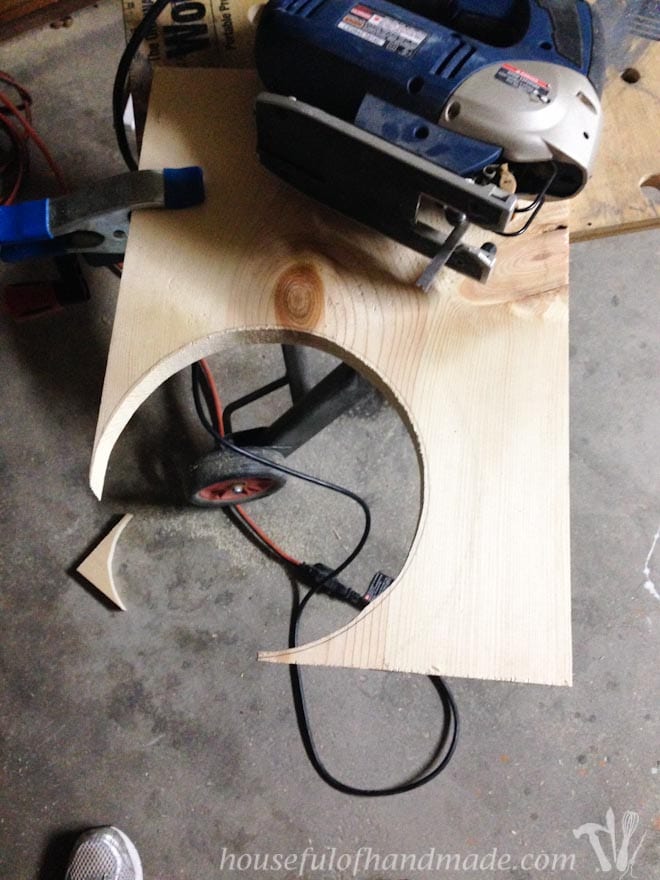
Then using my jigsaw, I cut out just inside the circle (about 1/4″).
If your circle isn’t perfect, don’t worry, it is totally hidden behind the mirror!
Next I cut 7-48″ long 1/4″ dowels into 12-12″ pieces and 12-14″ pieces.
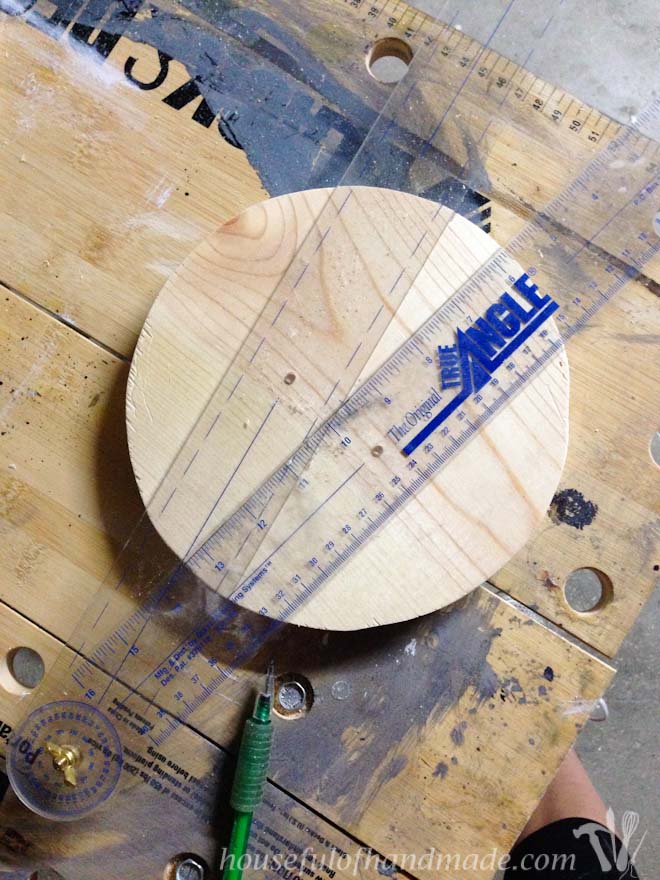
To make sure my dowels were evenly placed around the mirror, I figured I needed 15 degrees between each of the dowels (cause there’s 360 degrees in a circle and I have 24 dowels, so 360/24=15 degrees).
I found the center of my circle then drew a line through it so I had a place to start.
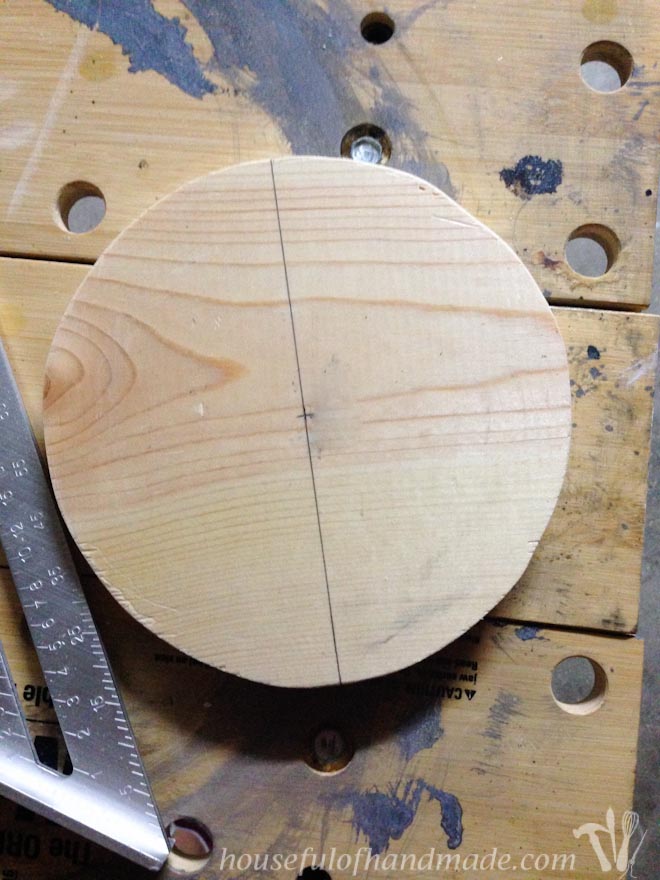
Then I used an angle tool set to 15 degrees and marked lines all around my circle.
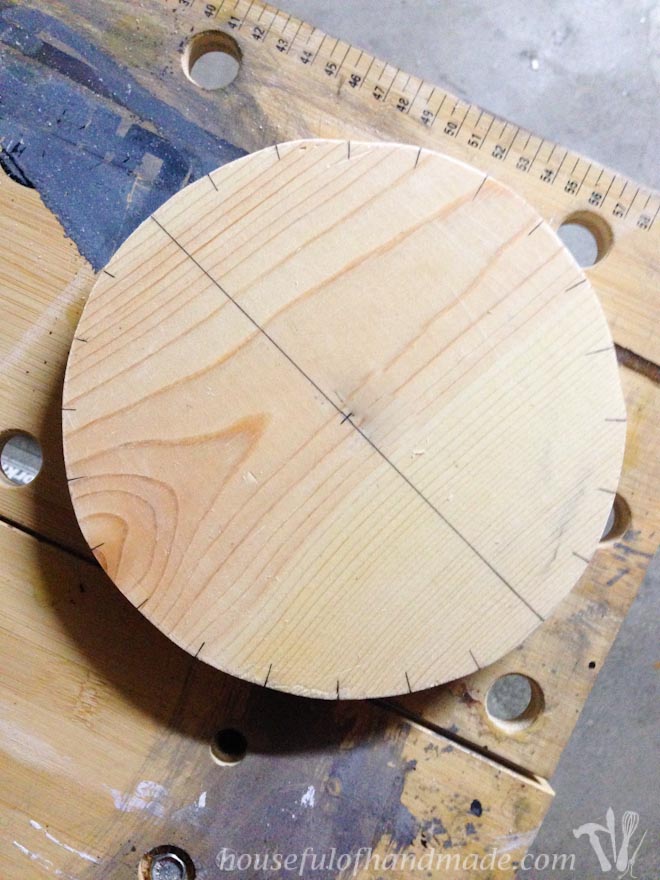
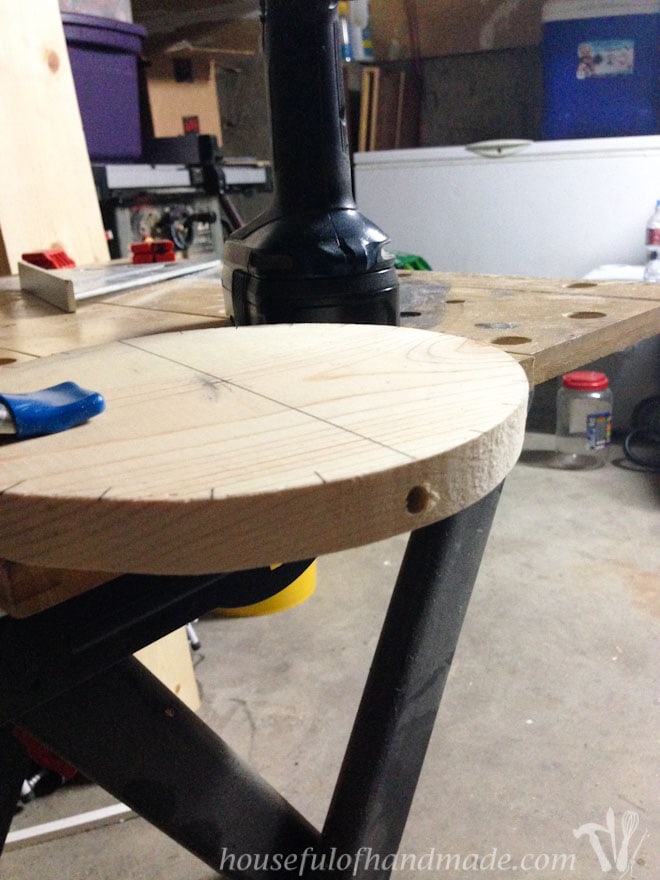
I used my drill to drill a shallow hole into the side of the circle at each mark.
I used a drill bit the same size as my dowel so my dowels fit in nice and tight.
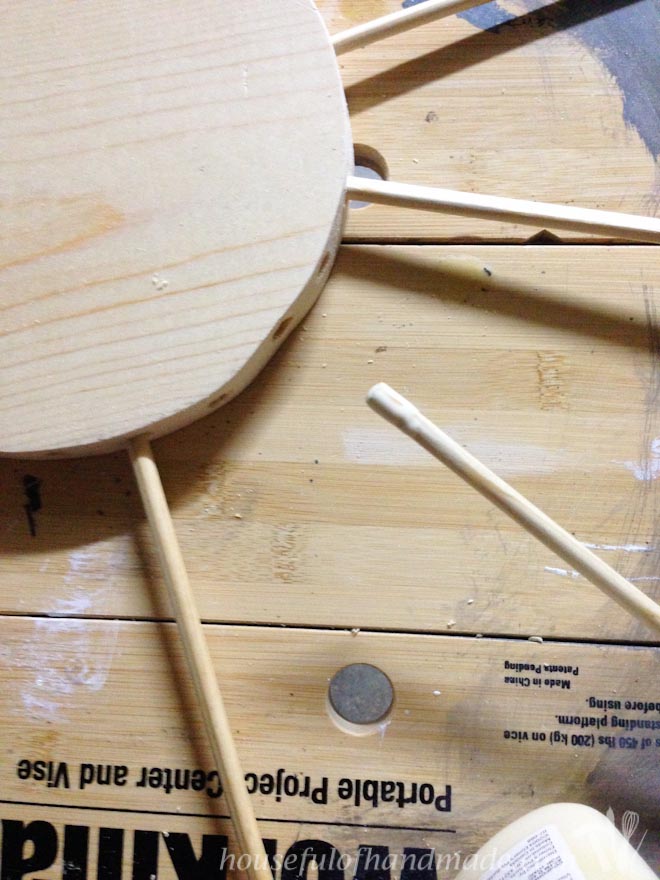
Then it was time to glue in the dowels. I dipped the end of each dowel into some wood glue, then stuck it in the hole.
I made sure to alternate between the 12″ and 14″ dowels.
After the glue was dried, I spray painted the whole thing black (in the rain, cause it’s been really rainy and I just had to get it done, but again, it’s Halloween decor so if it isn’t perfect it’s okay).
While that was drying, I decided to tackle the mirror. It couldn’t be all clean and beautiful if the mirror frame was covered in spiderwebs and cobwebs.
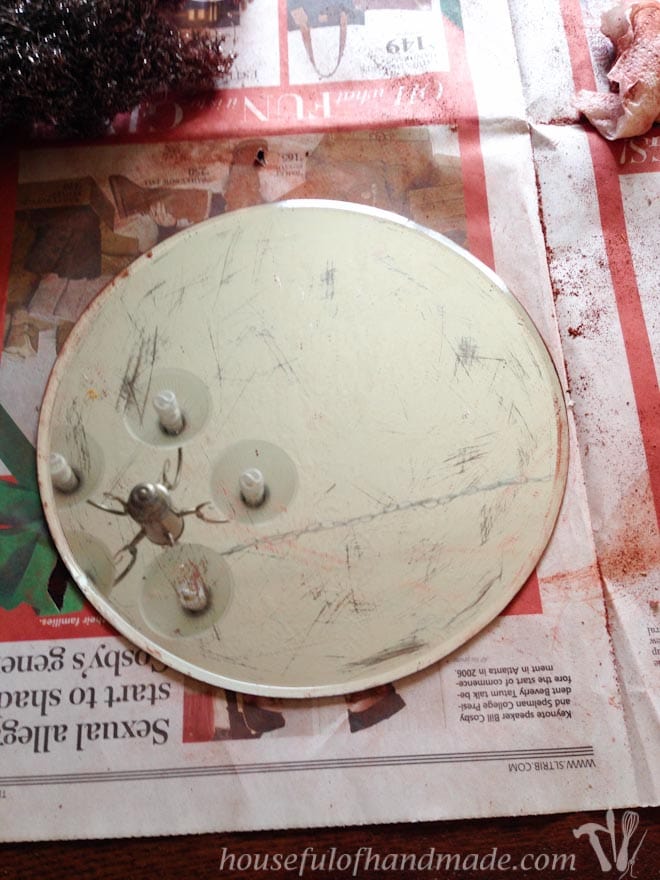
I started by scratching up the back of the mirror. I’m not going to lie, this was harder than I thought!
Apparently the mirror coating was really thick. I used some acetone to loosen it up and then scratched at it a lot with a piece of steel wool.
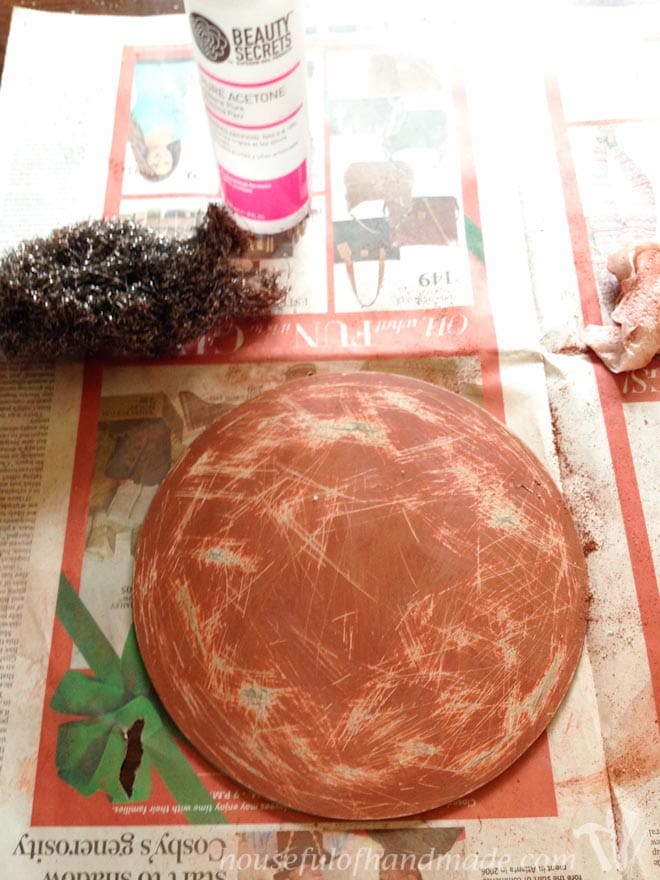
I worked up quite a sweat, but got a few scratches in it.
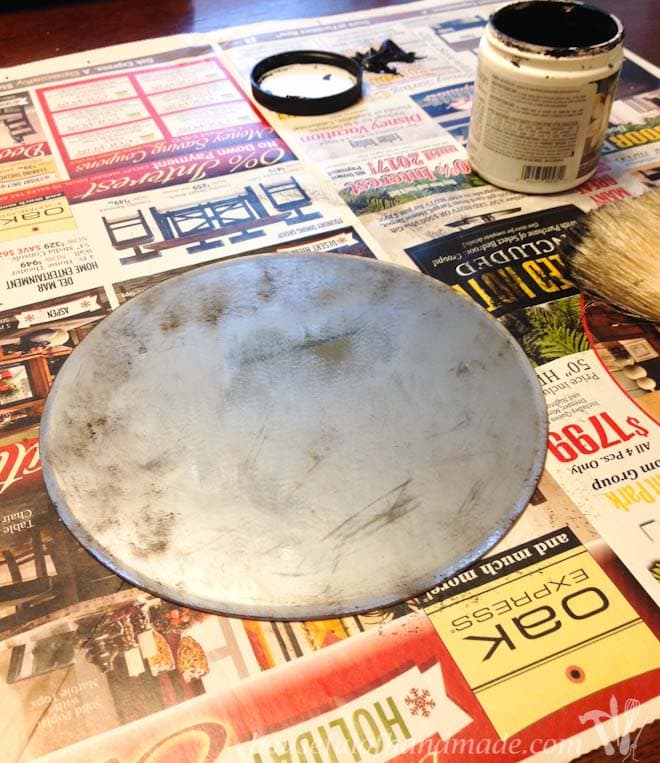
Then I added some black paint. I used black wall paint that I bought a sample of for another project, you could probably use craft paint too.
I wanted a splotchy, thin layer of paint on the mirror so it looked like it had been accumulating dust for years.
I used a dry brush and a paper towel, stippled a little bit, then smudged a little bit until it looked like I wanted it to.
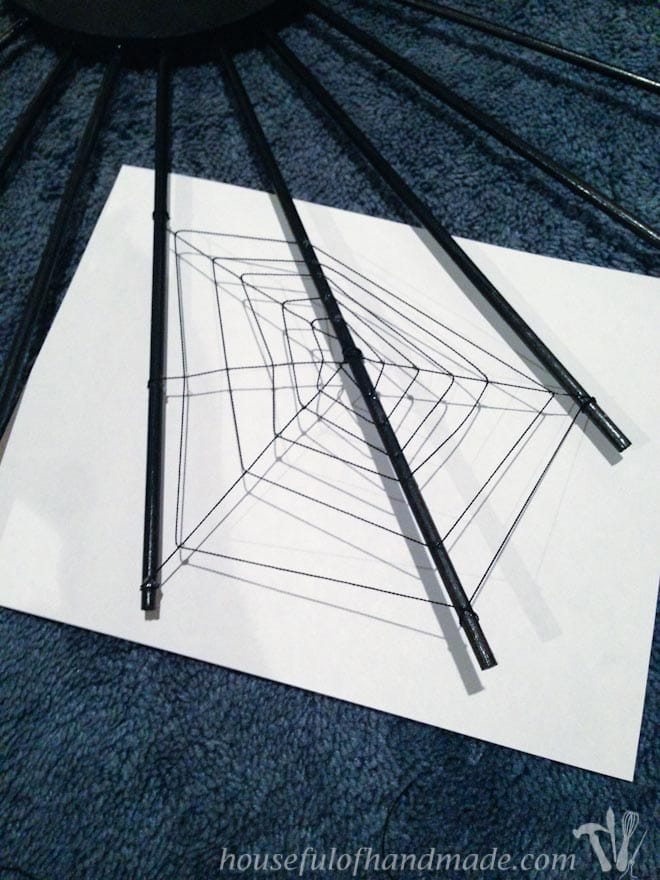
The next part was a little time consuming, but I put the kids to bed, then sat in a comfy spot with Netflix keeping me entertained as I hot glued spiderwebs in various shapes and sizes all over the place.
I used a small drop of glue, then held it till it dried. Not hard, but you have to wait for the glue to dry before moving on or it won’t stay put like you want. I used a similar technique on my Halloween spiderweb wreath.
After I got all the spiderwebs in place, it was still missing something… If it was truly an old mirror in a haunted house or attic, it would be covered in cobwebs as well as spiderwebs.
I don’t know if these are really different, but I always thought cobwebs were just the webs of dust that accumulate in corners and such, no actual spiders involved, but I could be wrong!
So I bought some of the stringy spiderweb stuff that you get in the Halloween decor. I found this nice brownish-gray color one at Target for $3 and I loved that the color made it look old.
I only used about 1% of the bag for the Halloween sunburst mirror, but was able to use up more on this Easy DIY Halloween Lamppost.
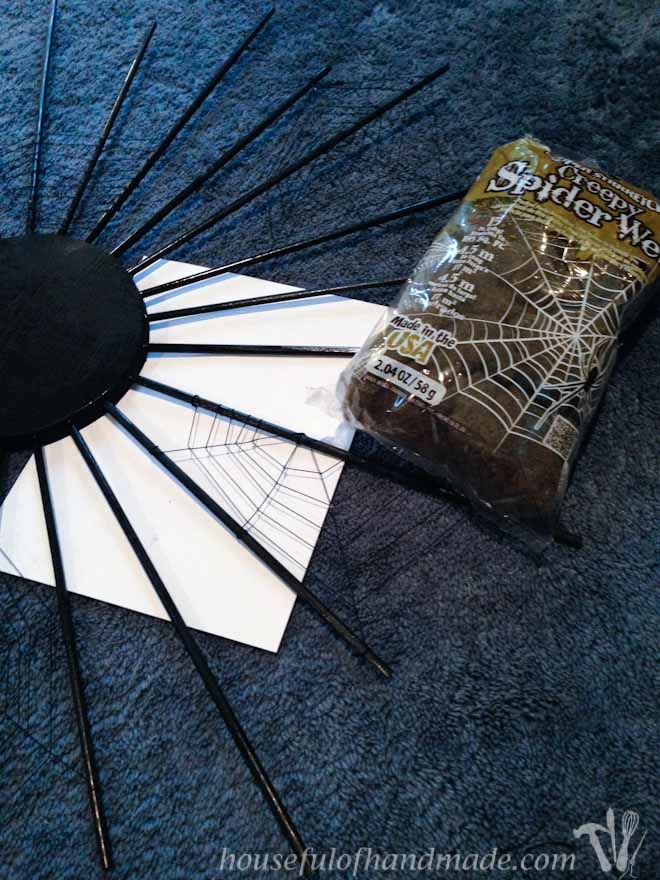
I stretched it around the dowels in places and used hot glue to secure it a bit.
Then I hot glued on some spiders. I used spider rings that I cut the ring off the back.
The sizing was perfect for the thin dowels and webs. I really wanted to use the cute fuzzy spiders again, but they just didn’t work as well with this project 🙁
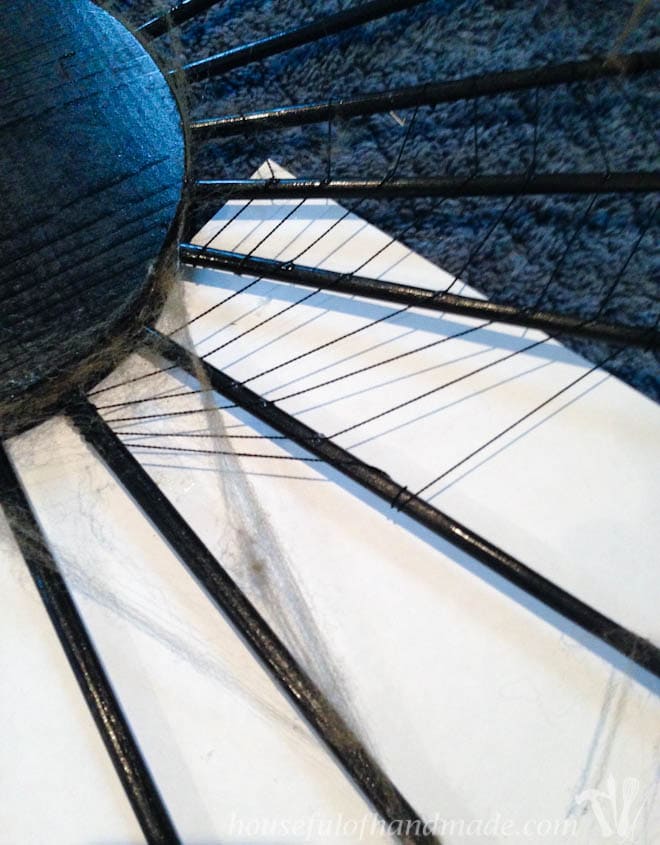
Before I glued the mirror to the front, I attached a ribbon loop on the back with my staple gun so I had something to hang it with.
Then I hot glued the mirror down and it was all done!
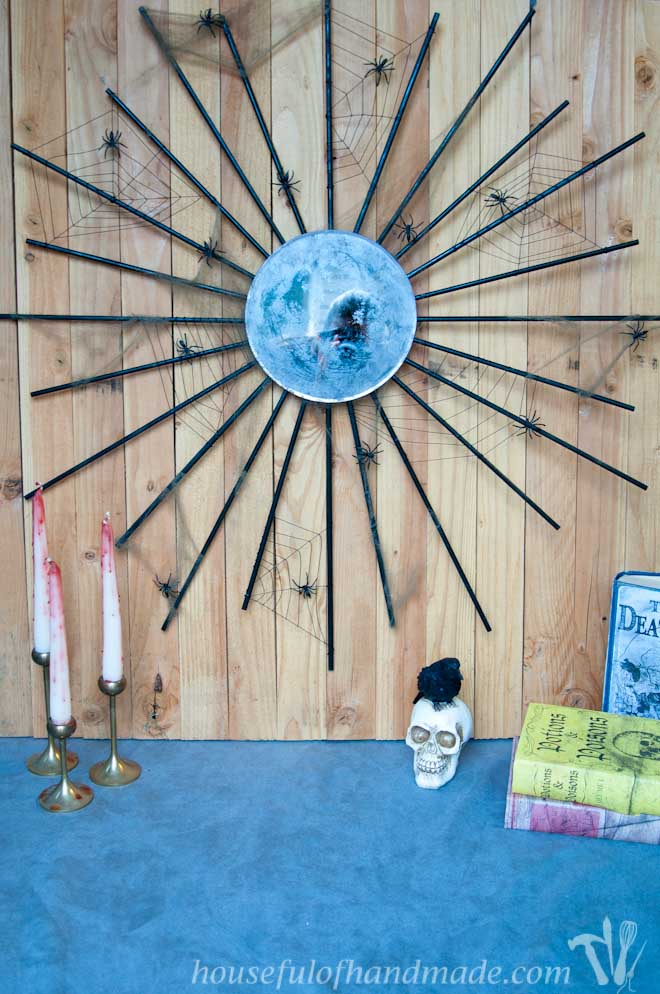
I think my favorite thing is that I don’t have to dust this ever!
It will just get more and more old and spooky with every passing year of dust 🙂
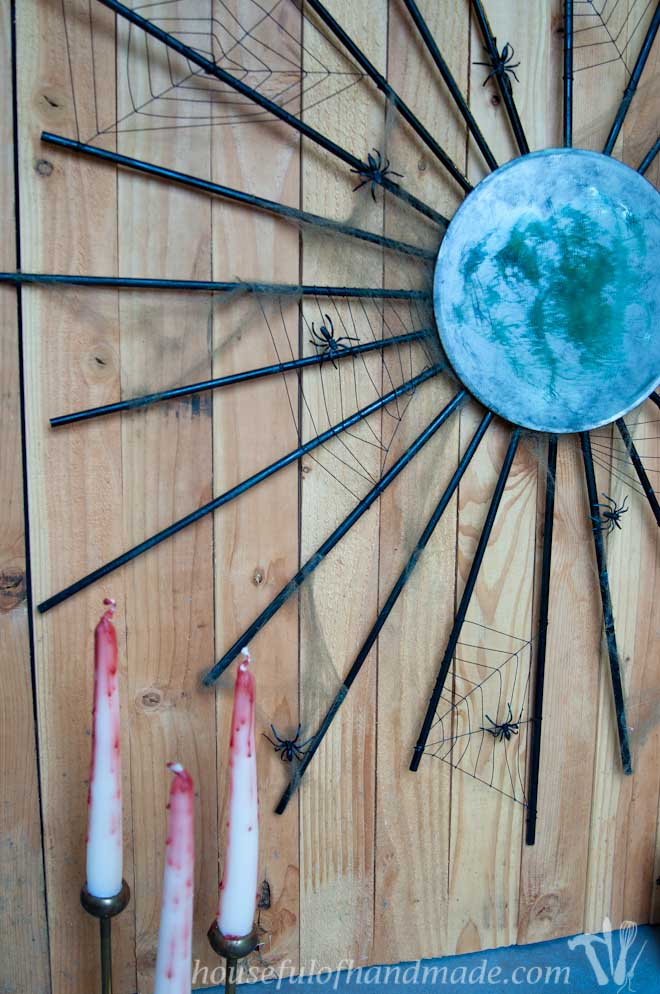
I just love how the mirror turned out. I honestly didn’t know if it would look like what I wanted, but sometimes, the magic happens.
And the mirror looks even better in person (I learned that it’s kinda hard to take pictures of mirrors!).
Now it’s going to be even harder to wait till October 1st to assemble my Halloween mantle.
I just keep reminding myself that I don’t want to get bored with my Halloween decor so I need to wait.
Until then, I will just work on some more Halloween fun (and sneak in a little girls birthday party too, it’s gonna be awesome).

