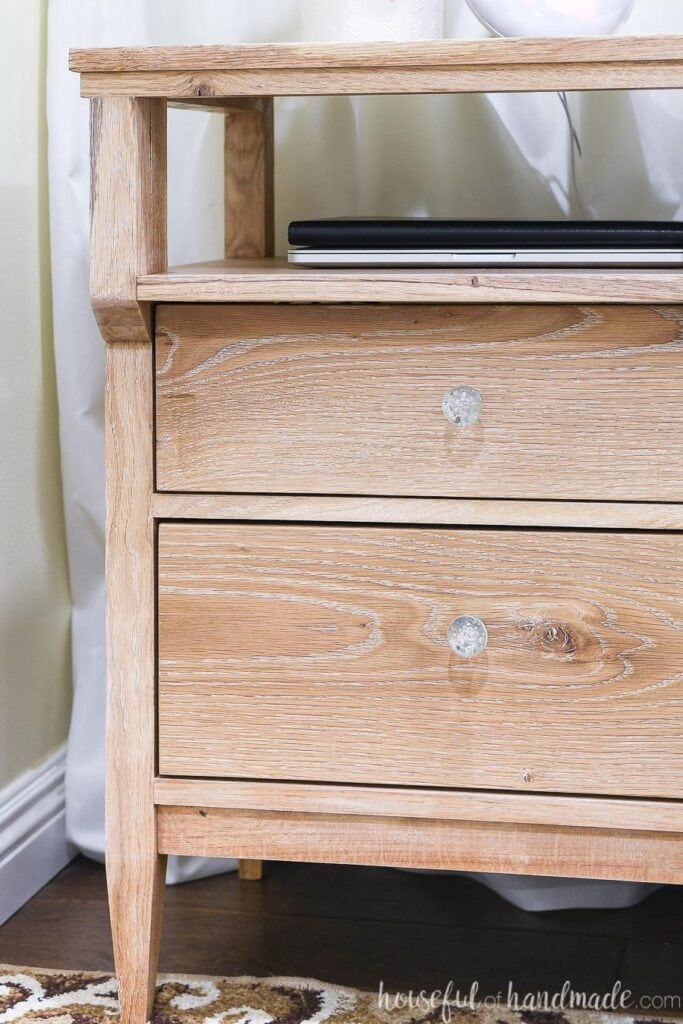
Take the headache out of lining up and installing drawer fronts on your next woodworking project.
One of the most frustrating parts of any build can be attaching your drawer fronts. You want to make sure they are perfectly lined up so the reveal all around is the same.
But then how do you secure it without messing up that reveal?
Whether you are installing overlay drawer fronts or inset drawers. These steps will have you installing drawer fronts perfectly in no time!
This post may contain affiliate links. As an Amazon Associate I earn from qualifying purchases. Click here to read my full disclosure policy.
Need more ideas and things to build? Check out all my woodworking plans or learn how to build your own cabinets.
The Easiest Way to Line Up Drawer Fronts
Before you attach drawer fronts, you will need to install your drawer boxes. You can read this post for tips and tricks on how to install drawer slides.
STEP 1- Mark where drawer pulls go
Mark where the holes in the front of your drawer front for your pulls/knobs will go. A cabinet hardware jig like this makes it easy to add knobs and pulls to all projects.
Clamp the jig centered on the drawer front. With the drill bit in your drill, drill a tiny indent to mark the placement of the hole, but don’t drill all the way through yet.
If you fully drill out the hole, it may have some wiggle room when you attach the drawer front later.

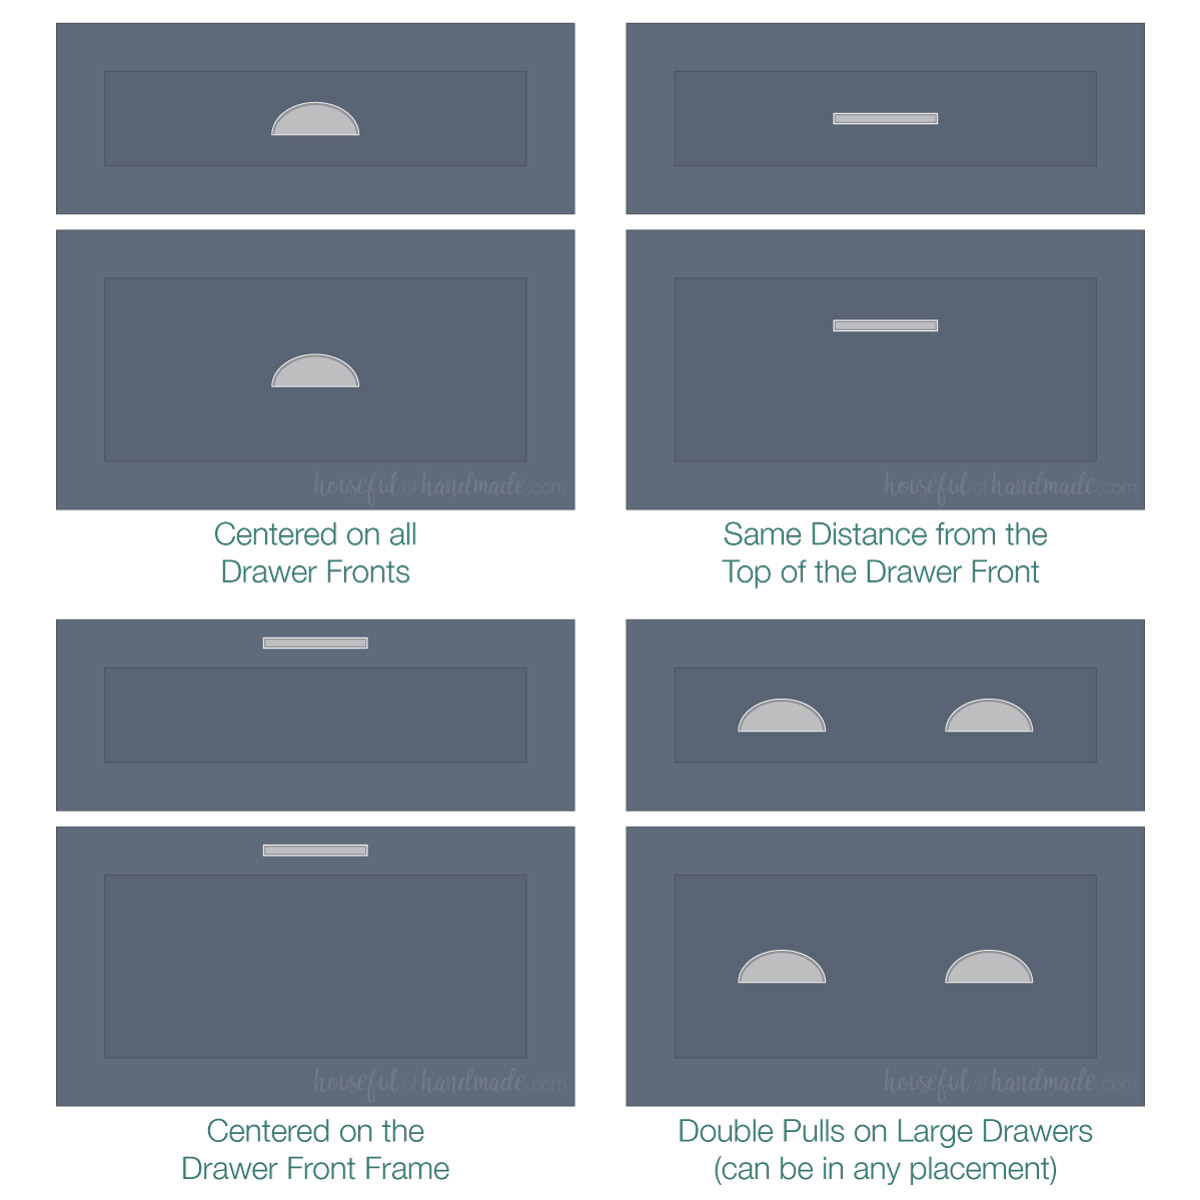
Drawer Pull Placement
Where you put the drawer pulls on your drawer front is personal preference. Some have a more traditional look and others more modern.
Here is a diagram showing some of the most common drawer pull placement options:
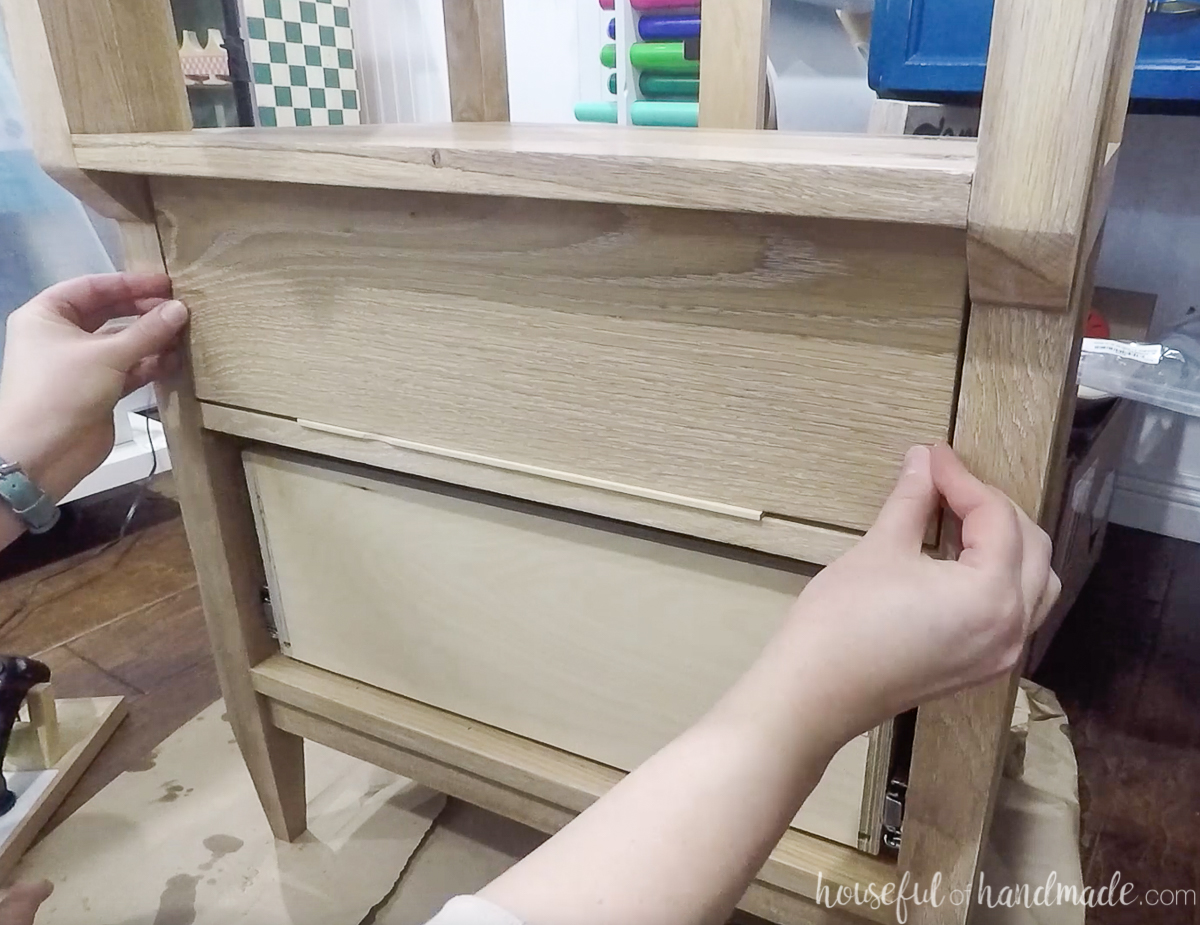
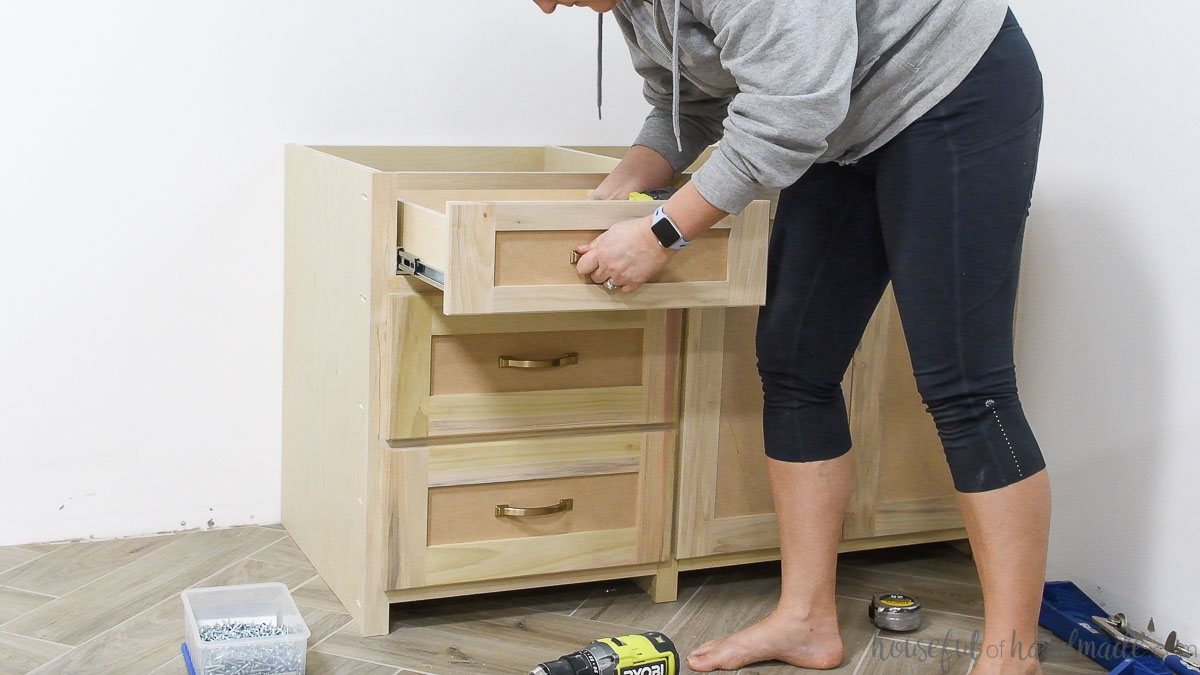
STEP 2- Temporarily attach drawer front
Line the drawer front up on your cabinet. Make sure to check the reveal all the way around the drawer.
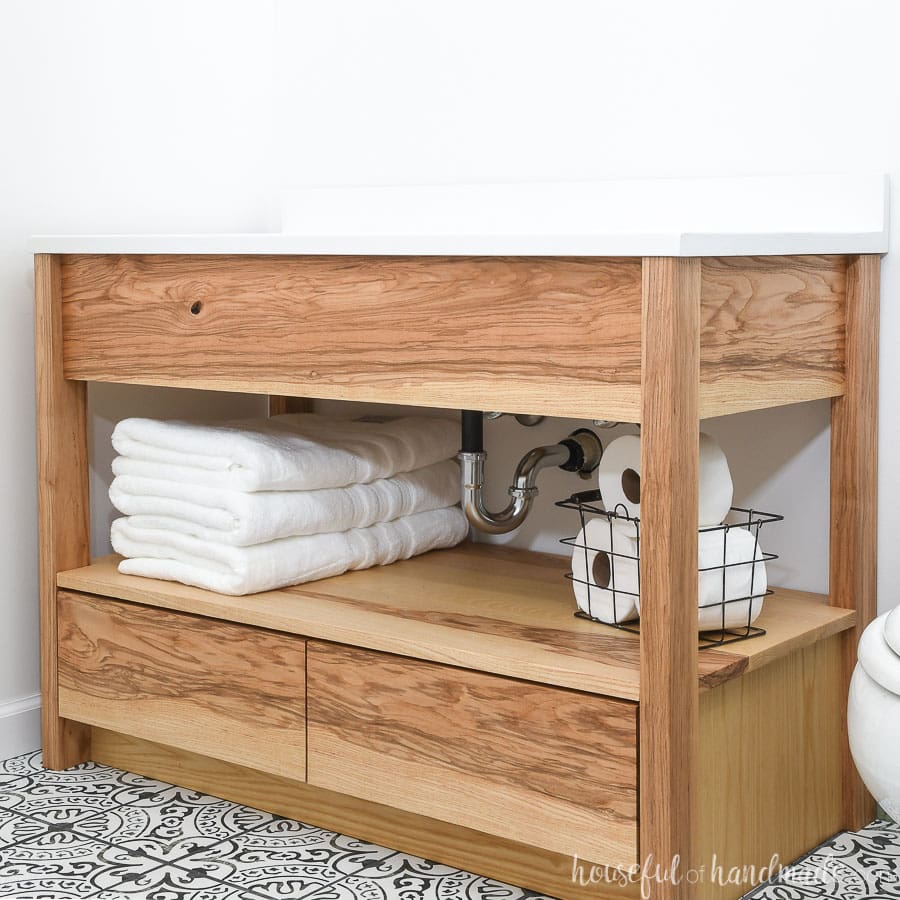
For inset drawer fronts: Use cards or other thin spacers to hold the drawer fronts inside the opening at the correct reveal.
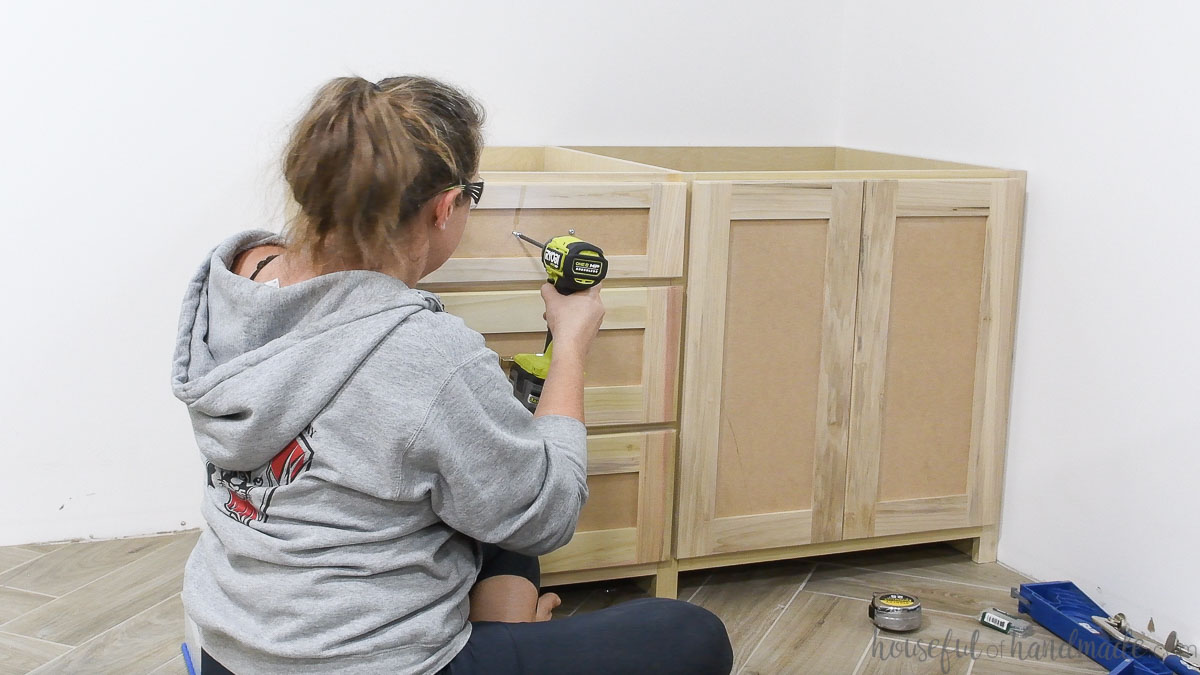
For overlay drawer fronts: measure the reveal on your face frame so it is even all the way around.
Secure the drawer front to the drawer box with self tapping screws through the indents or markings on your drawer fronts.
I prefer to use self-tapping screws because then you do not have to pre-drill the hole. The pre-drilled hole may have some wiggle to it when you attach the drawer front through it. This could mess up your alignment.
How to Install Drawer Fronts
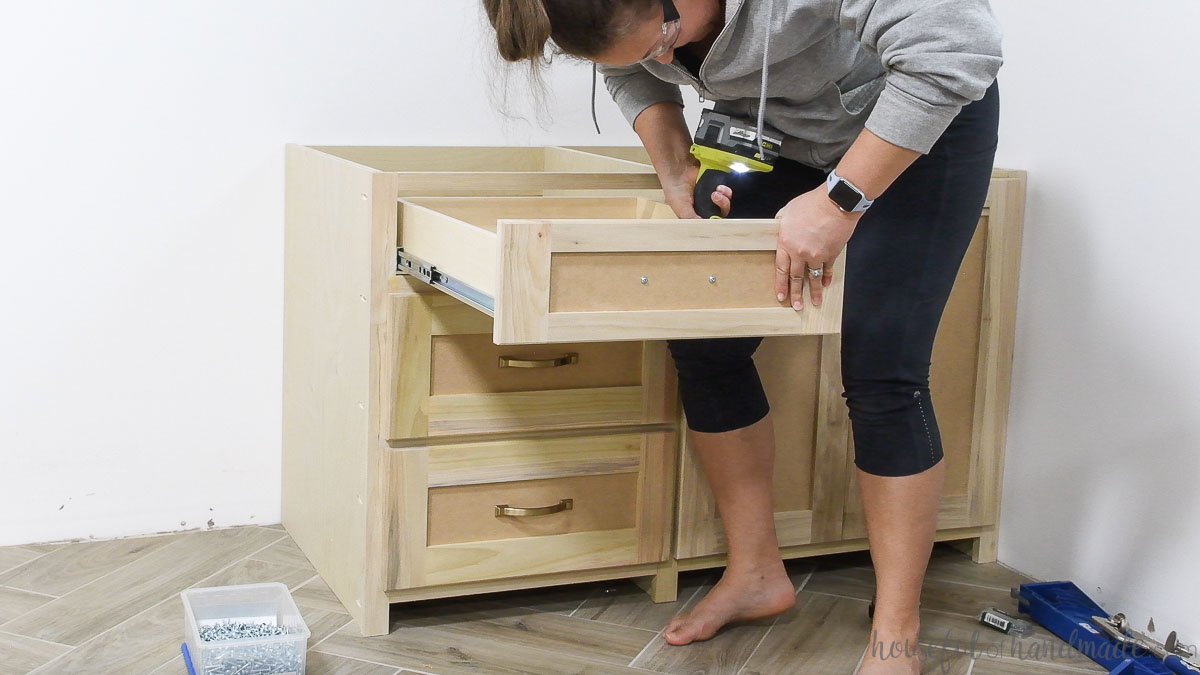
STEP 1- Attach drawer front from inside drawer box
With the drawer front temporarily attached and perfectly lined up, open the drawer.
Permanently attach the drawer front from the inside of the drawer with screws. Make sure the screws are not too long that they poke through the drawer front.
- For 3/4″ thick drawer fronts with 3/4″ thick drawer boxes, use 1 1/4″ screws
- For 3/4″ thick drawer fronts with 1/2″ thick drawer boxes, use 1″ screws
Make sure the screws go into the stiles of the door fronts if your center panel is recessed.
For small (and shallow) drawers, use 2 screws, one on each side. For large (and deep) drawers, I like to use use 4 screws in the four corners of the drawer box.
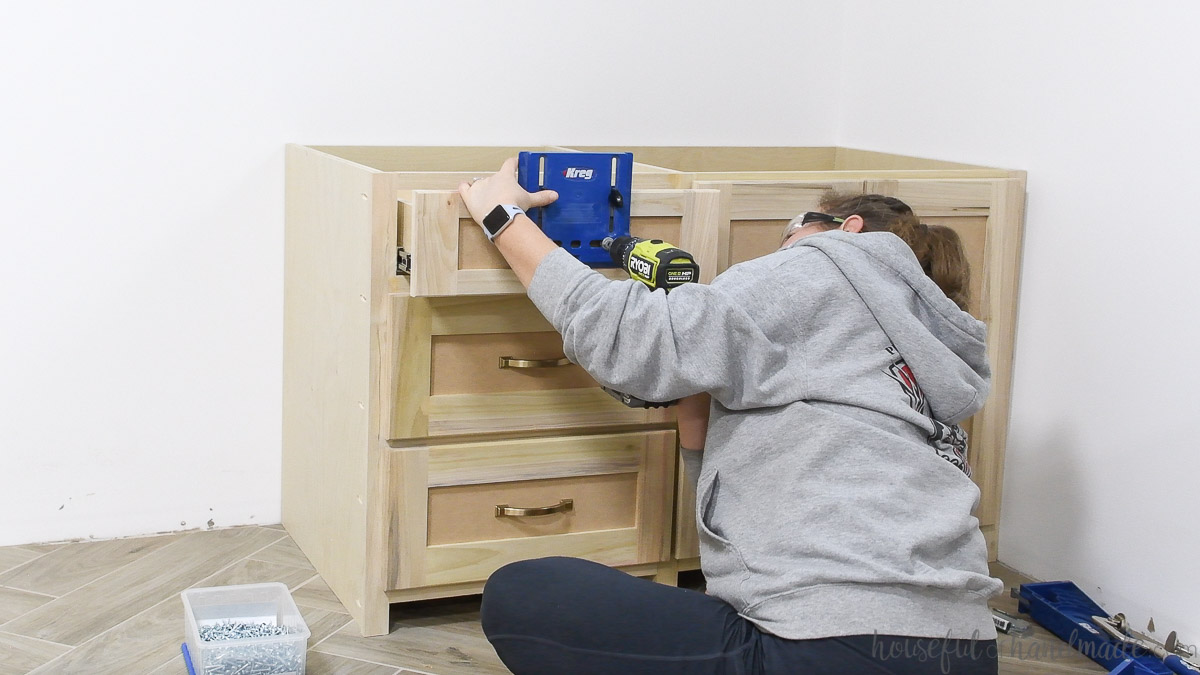
STEP 2- Attach drawer pulls
Remove the two screws from the front of the drawer that were temporarily holding it on.
Drill holes for your drawer pulls through where they were located. Drill the holes completely through the drawer front and drawer box.
Insert hardware screws into the holes from the inside of the drawer.
Place the pulls on the front of the drawer onto the screws and tighten to secure.
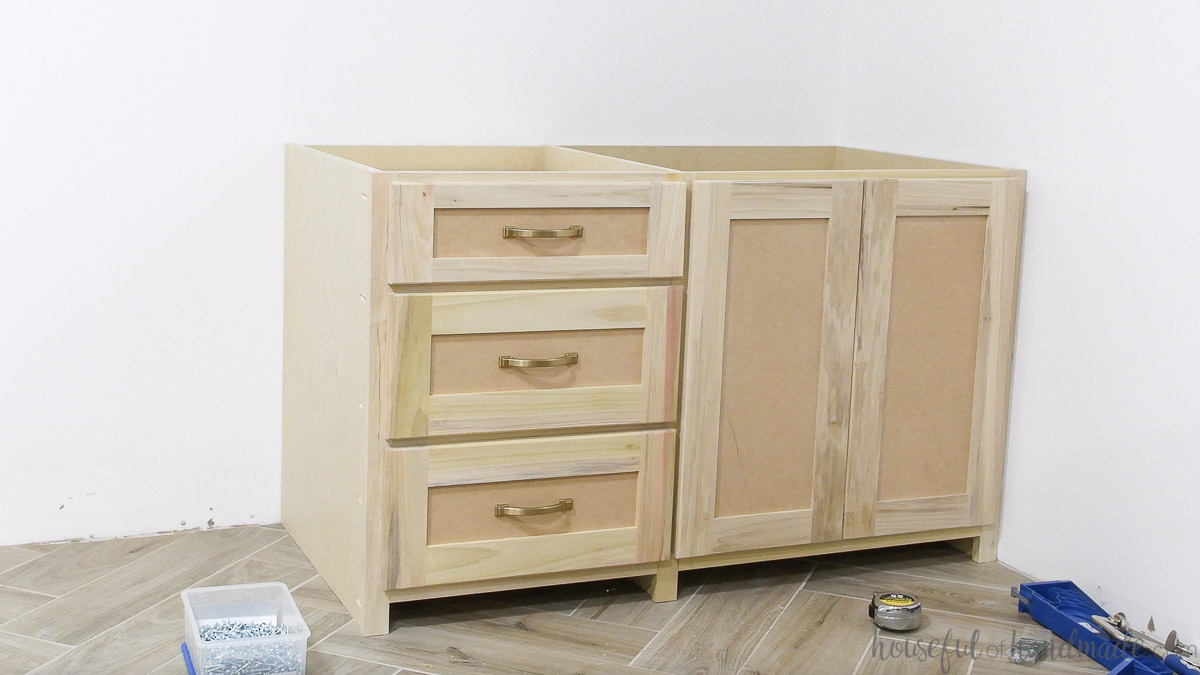
Close your drawers and repeat!
And now you have perfectly lined up drawer fronts on all your projects.
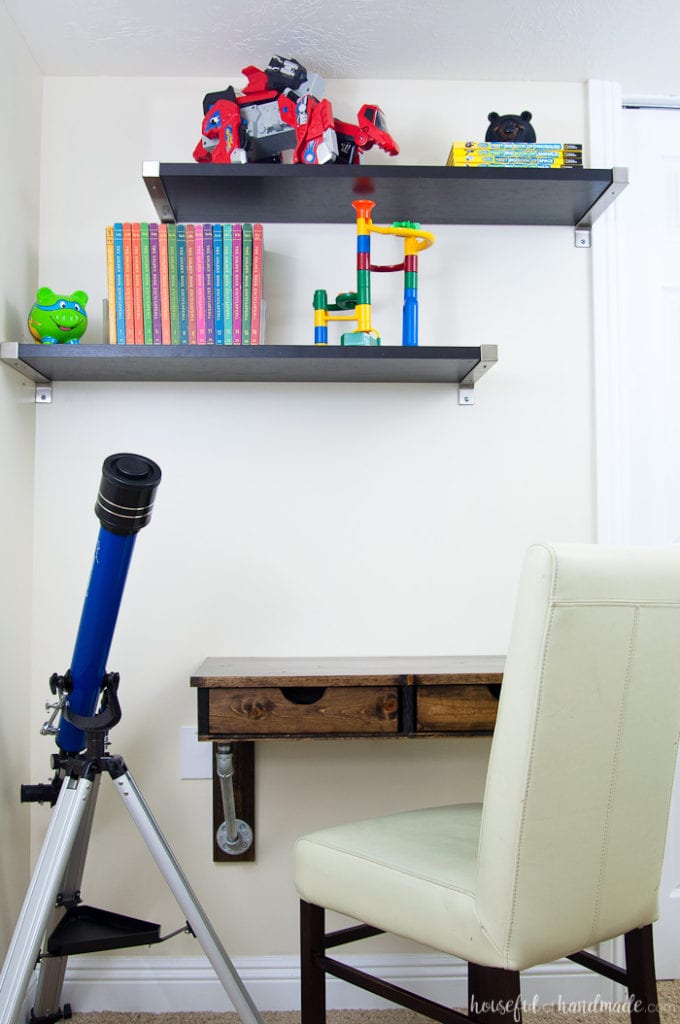
How to Install Drawer Fronts without Pulls
If you have drawers that you want to use without drawer fronts, how can you line them up to install without screws?
Line up the drawer front with the proper reveal. Then you can use any of the following to temporarily attach the drawer fronts.
- Heavy duty double sided tape
- Hot glue
- Clamps (attach drawer fronts before the top is installed)
Once the drawer front is temporarily attached, you will open the drawer and permanently attach it with screws from the inside of the drawer box the same way.
This will also work with drawers where the pulls are not lined up over the drawer box.
Happy building!
