One of the things I struggle with is hanging up art in our home. I don’t know why.
Maybe it’s because I hate putting holes in the walls after I work so hard to paint them…
Maybe it’s because once the room is livable, I’m too tired to decorate the walls…
This post may contain affiliate links. As an Amazon Associate I earn from qualifying purchases. Click here to read my full disclosure policy.
Maybe it’s because art is so expensive to buy, mount and frame…
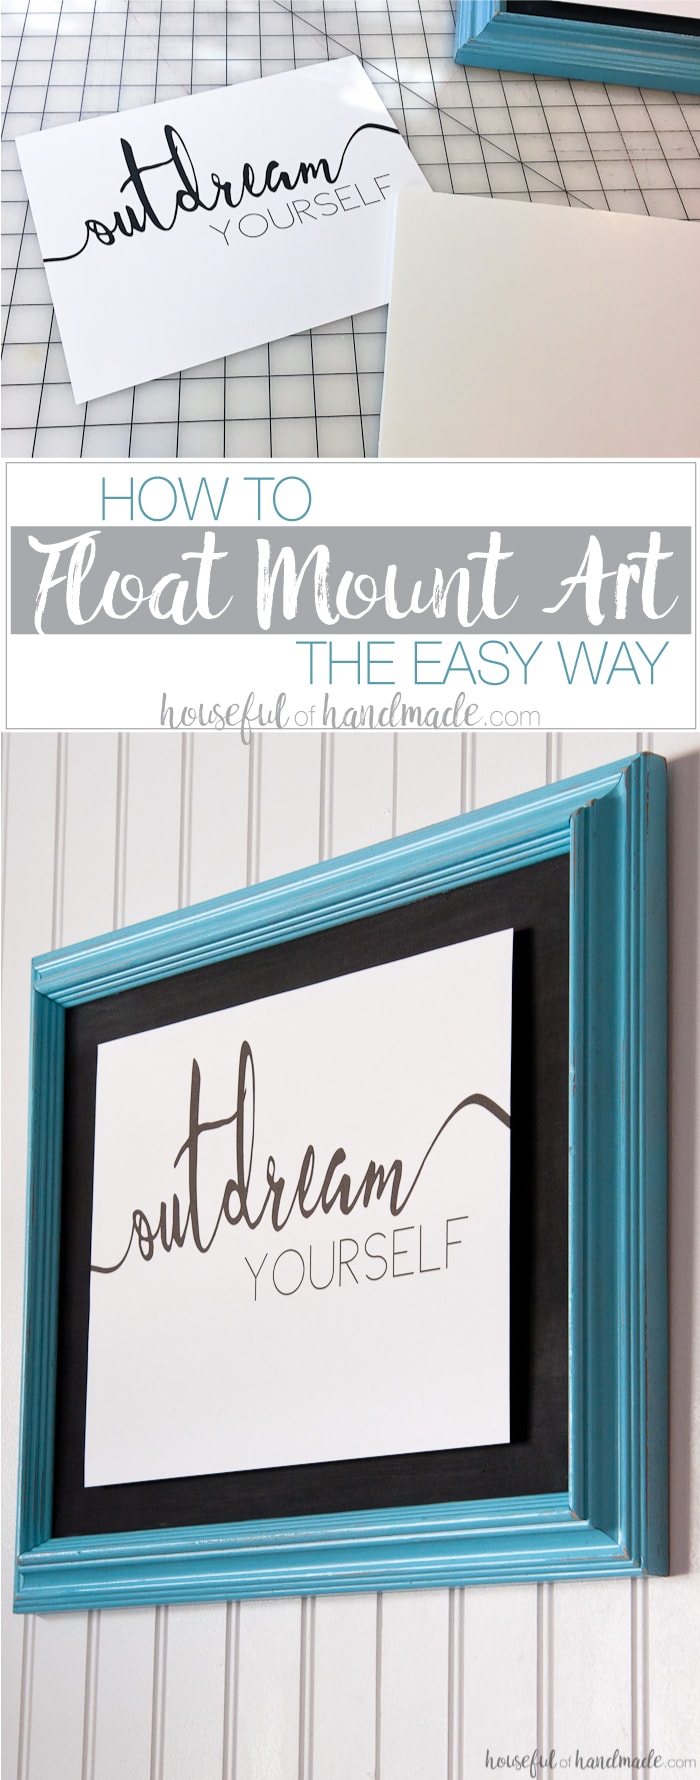
Lately I have been really trying to not let any of these things hold me back from adding those finishing touches. And I even figured out how to float mount art the easy way so I can have lots of variety in my walls.
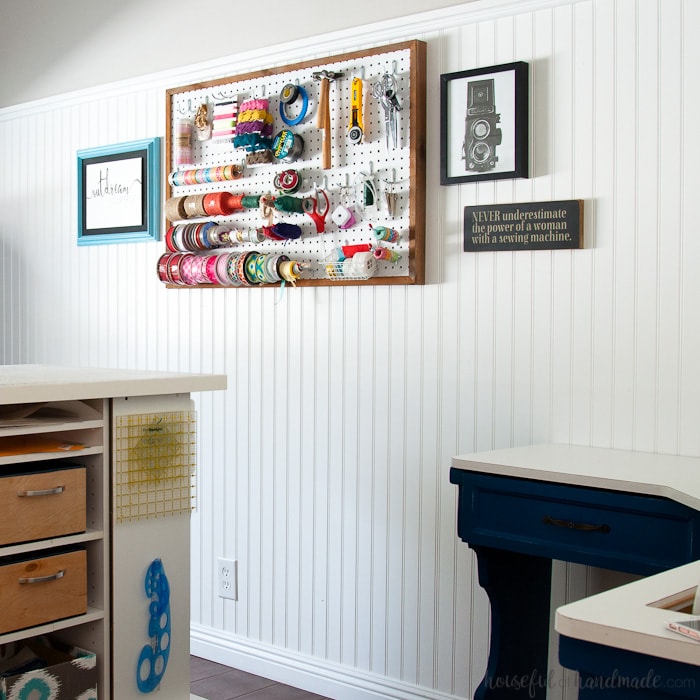
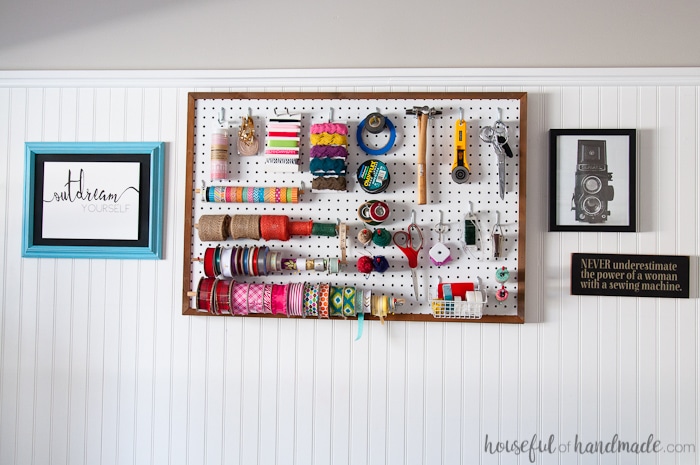
In my new office & craft room I fell in love with this saying because my office is all about fulfilling my dream. To add some depth and dimension to the walls I wanted to figure out how to float mount art so this saying would pop.
I did some searching and learned the “right” way, you know the way they use when they charge you hundreds of dollars for your frame and mounting. But I didn’t have that in the budget.
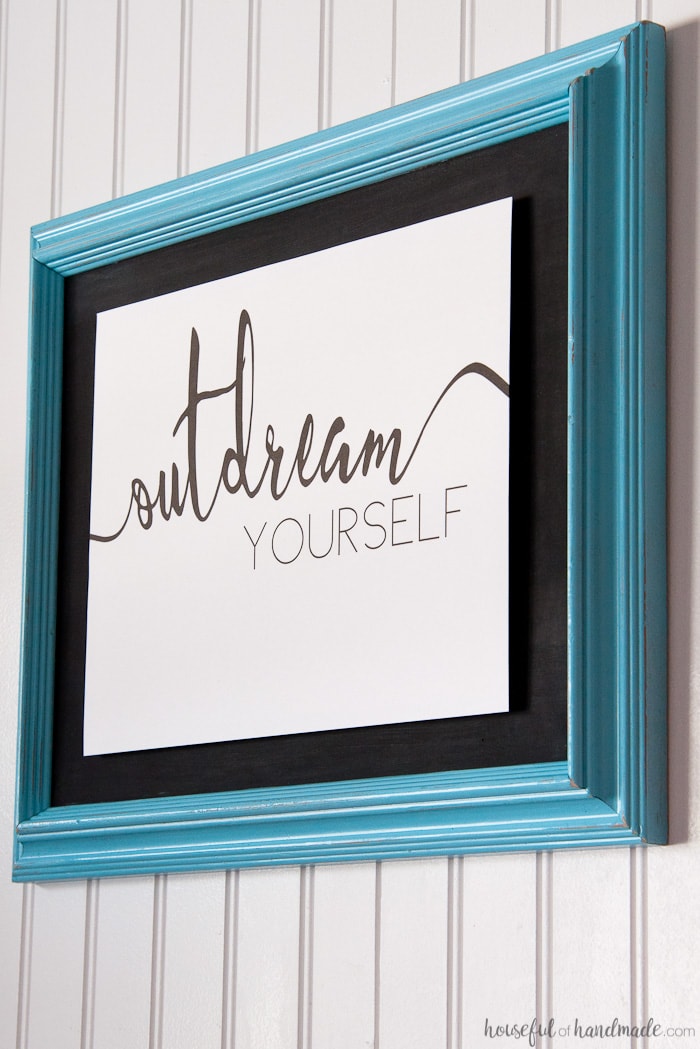
Instead, I decided to cheat! I found a picture frame with broken glass at the thrift store for $1. I knew I could create the appearance of floating art with a few cheap supplies so I set to work.
The result… I love my floating saying. It looks like an expensive float mounted piece of art but cost me just a couple dollars. Next I want to get some deeper frames so I can add some more float mount art, but keep the glass too. Either way, this how to float mount art the easy way tutorial will work!
Also, I shared 5 cheater ways to fake great handwriting over at Silhouette School today. Now there is no reason not to finish off all the walls in the house!
How to Float Mount Art the Easy Way
Supplies:
- Art
- I have lots of free printables in my library of freebies. Click here to subscribe and get access today! The art I used in this tutorial is from Etsy, you can see it here.
- Foam core board
- Ruler
- X-acto knife
- Acid-free photo mounting stickers
- Frame with mat board (or more foam core board)
- Optional: spacers
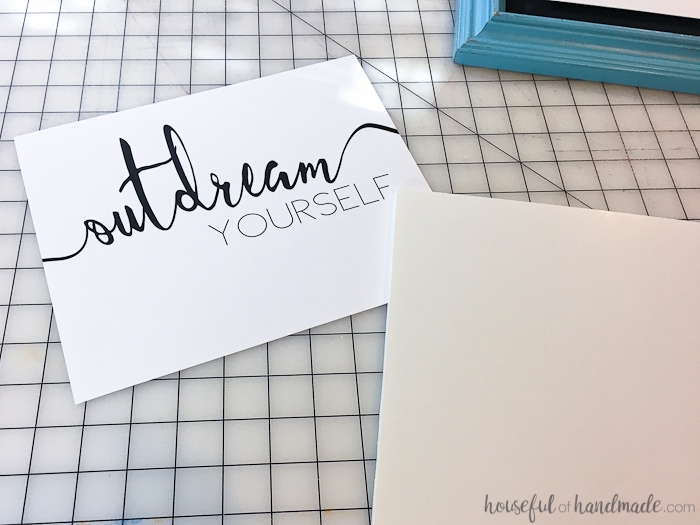
Cut a piece of foam core board so it is 1″ smaller than your art both vertically and horizontally. So if your art is 8×10 your board will be 7×9.
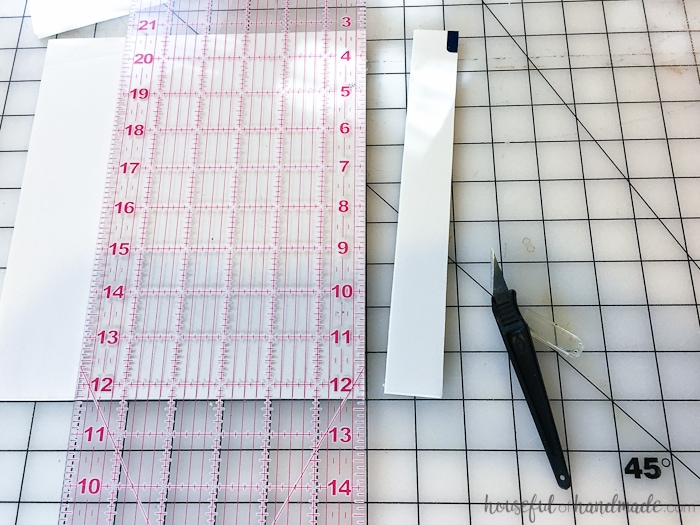
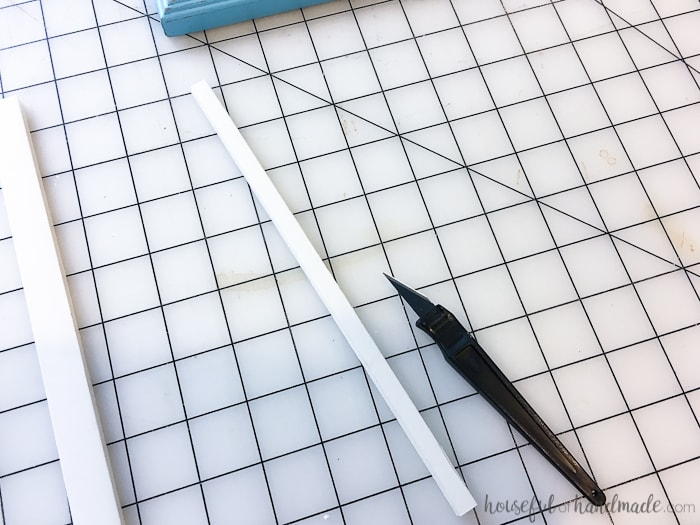
The easiest and cleanest way I have found to cut my foam core board is to use an X-acto knife and a ruler. I love these clear grid rulers that were made for quilters. Do not try to push the knife all the way through the first time. It usually takes about 3 times to cleanly cut through the entire board, but it will give you a nice clean edge.
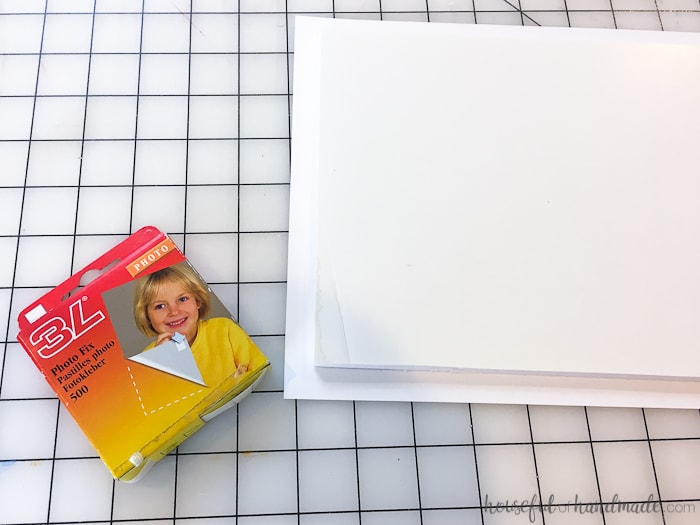
Turn your art over on a clean surface and adhere the foam core board to the back so that there is 1/2″ boarder around the entire board. Use the acid free photo mounting stickers to protect your art. One sticker in each corner should be perfect.
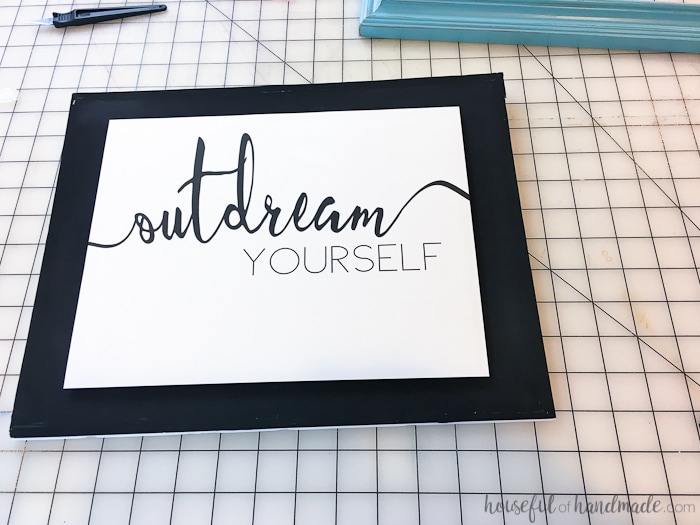
Now grab your mat board from your frame, or cut a second piece of foam core board to fit the opening for the mat. I used a piece of foam board and then painted it so that it was the color I wanted. You can easily paint the foam board with craft paints or even spray paints (gold mat anyone?!).
Using the photo mounting stickers, center your mounted art on the board and secure.
If you are not using glass in your frame, put your art back in your frame and you are ready to hang your new float mounted art. But if you want to have glass you will need to make sure your frame is deep enough for the float mounted art. Then you can either buy spacers to hold the mat board with the mounted art back from the glass, or you can cut scraps of foam board to the depth you need and insert those in the edges of your frame.
You can learn how to float mount art and hang lots of pictures in just a few minutes. It’s that easy! Now I really have no more excuses for not finishing the walls in all the rooms of our house (except maybe the I’m too tired one!).

Now on to decorate another wall!

