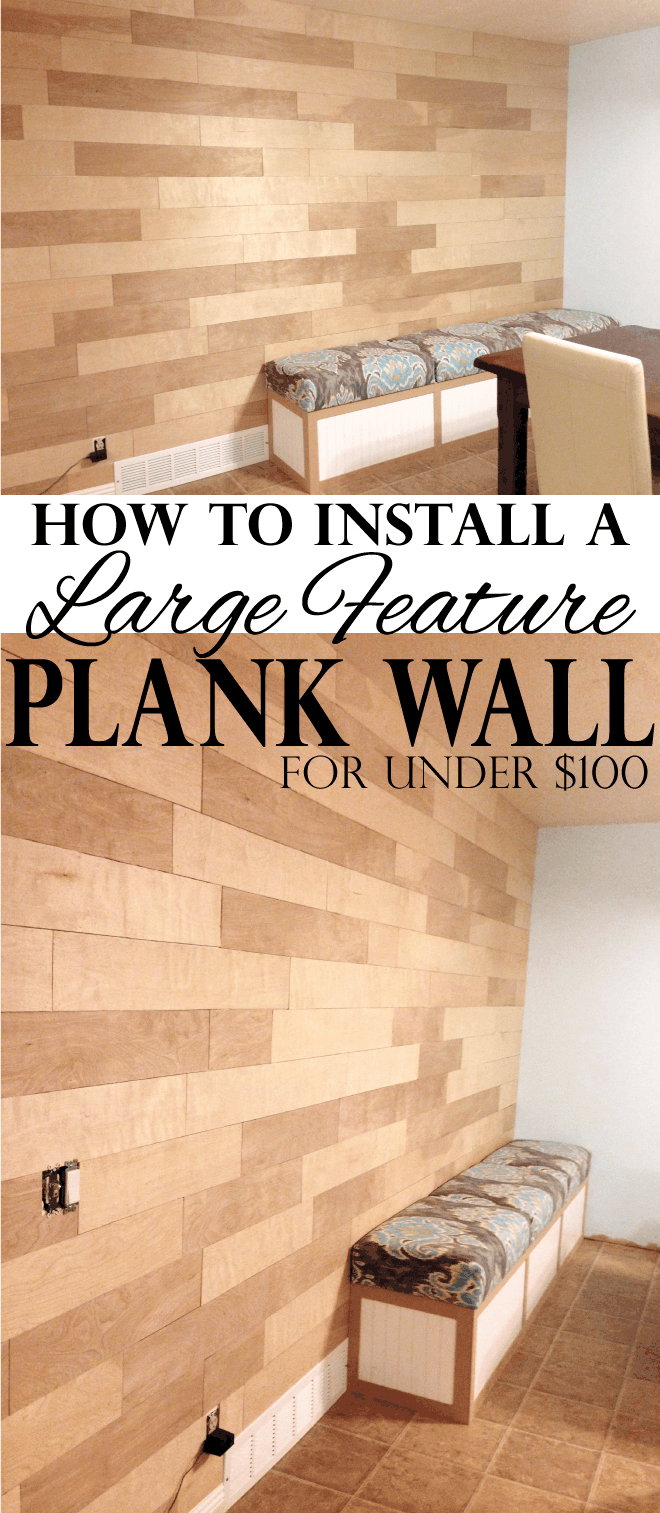
Create a feature wall with ver few tools and less than $100!
The dining room remodel is coming along. I can see the big picture even more as each projects is finished. And I swear that food tastes better when eaten in a beautiful space! Maybe not, but I’m definitely happier when I sit down to eat so that helps.
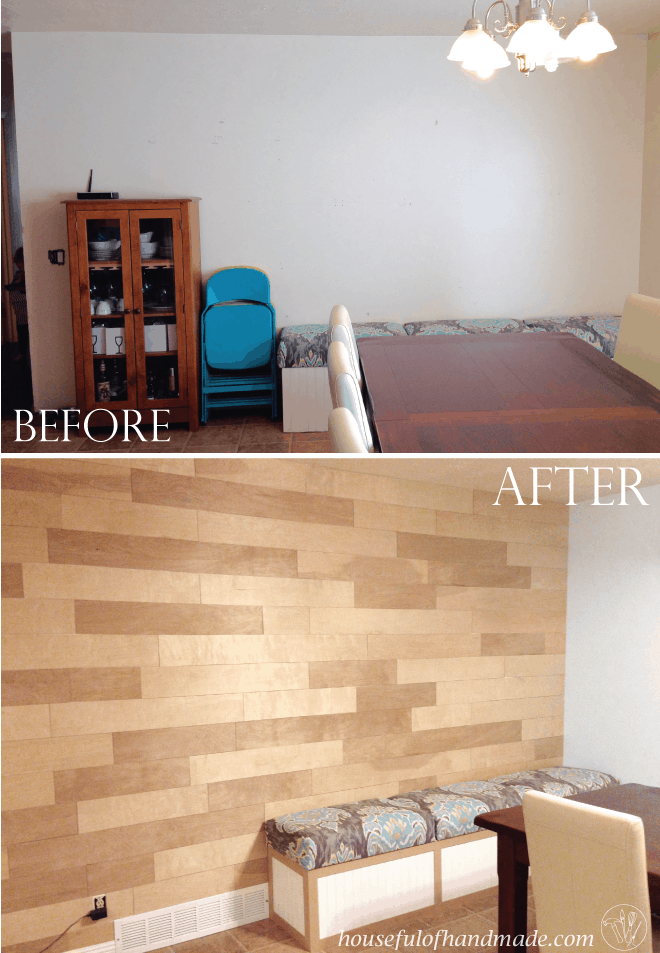
Wood Wall from Plywood
The plank wall was a pretty easy project, but a little mishap on my part made it take twice the time it should have. Hopefully you can learn from my mistakes because it should have taken me only 1 day to install.
This post may contain affiliate links. As an Amazon Associate I earn from qualifying purchases. Click here to read my full disclosure policy.
For a lot of plank walls, people use 1″ thick boards (actual thickness is ~3/4″) or pallets which are at least 1/2 inch thick. I had already installed the built in bench before I decided that I wanted to go with a plank wall so I didn’t have the space to spare or my removable bench cushions wouldn’t fit.
But I did have two 4’x8′ sheets of 1/4 inch birch plywood in my garage that I purchased a few years ago for another project that I never got around to. This seemed like the perfect solution to my plank wall and would free up space in my always too small garage!
Or if you want even more interest in your feature wall, you can create a wood tile accent wall with plywood also. This beautiful wall is also made with only 1/4″ plywood but looks like a million bucks!
How to Build a DIY Plank Wall
Tools:
- Miter saw
- I love this inexpensive miter saw and have used it for years.
- Table saw or circular saw with guide
- Nail gun
- Level
I pulled out the table saw and with my husbands help to hold the large sheets steady, we ripped the plywood down into 5 7/8″ boards lengthwise.
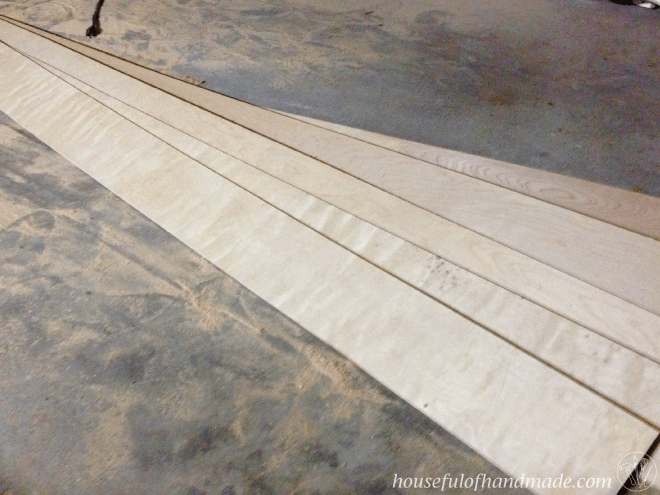
The boards were kind of a pain to rip down so 2 people is a must when working with full sheets. And a few of our cuts weren’t perfect, but I think it gives the wall character so I wasn’t too worried about it.
Then I decided to cut all the boards down into 2′, 3′ and 4′ lengths to stagger on the wall. For this I used my trusty miter saw. I wasn’t too worried about perfect 2′, 3′ or 4′ lengths so I just estimated it by holding the measuring tape on the board and lining it up with the laser (which I never reply on because it isn’t perfect).
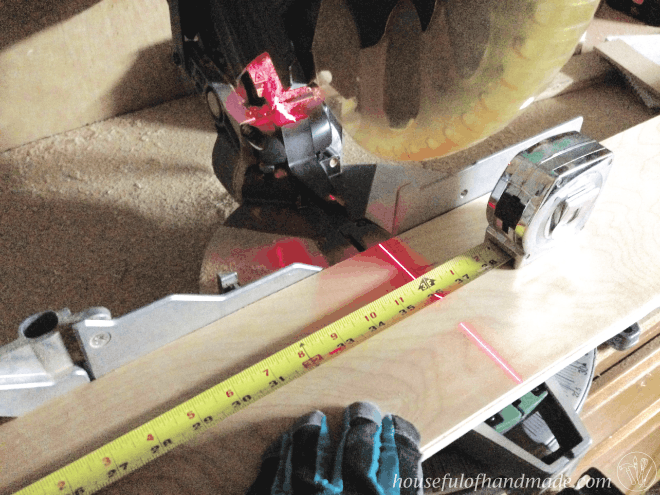
Also make sure to cut from the top to the bottom with the miter saw and go SLOW!!! Or else you will end up with boards that look like this…
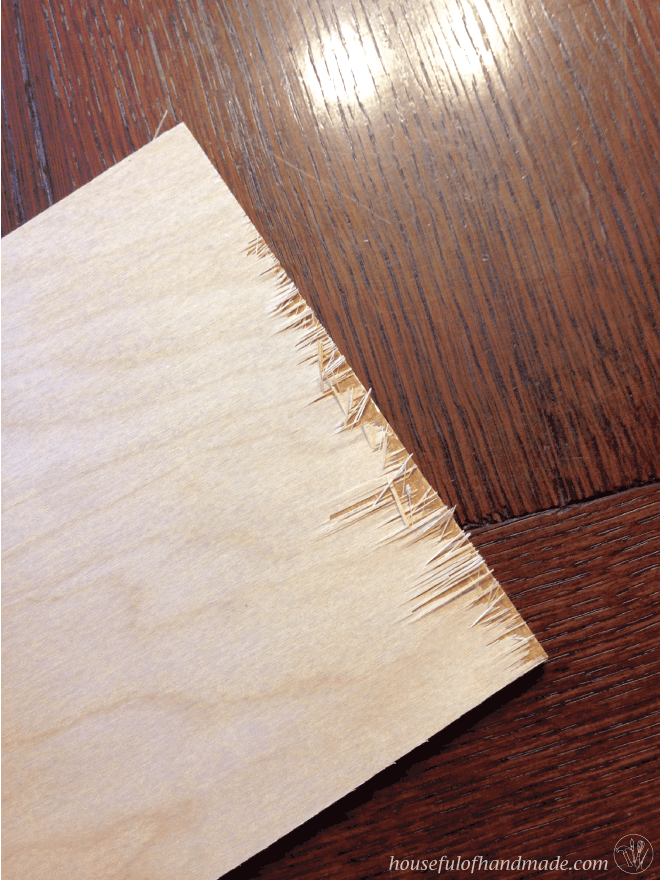
And make sure to wear gloves while working on this project, the plywood makes nasty little slivers that get lodged in your hands so quickly. So learn from my mistake and make sure to wear your gloves the whole time!
A couple minutes later, I had stacks of boards ready to go on the wall!
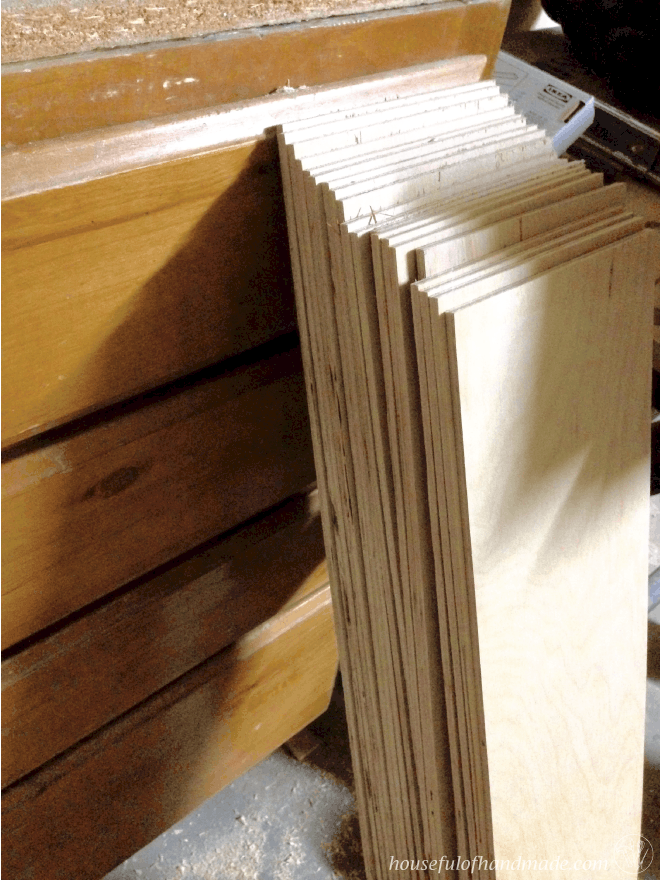
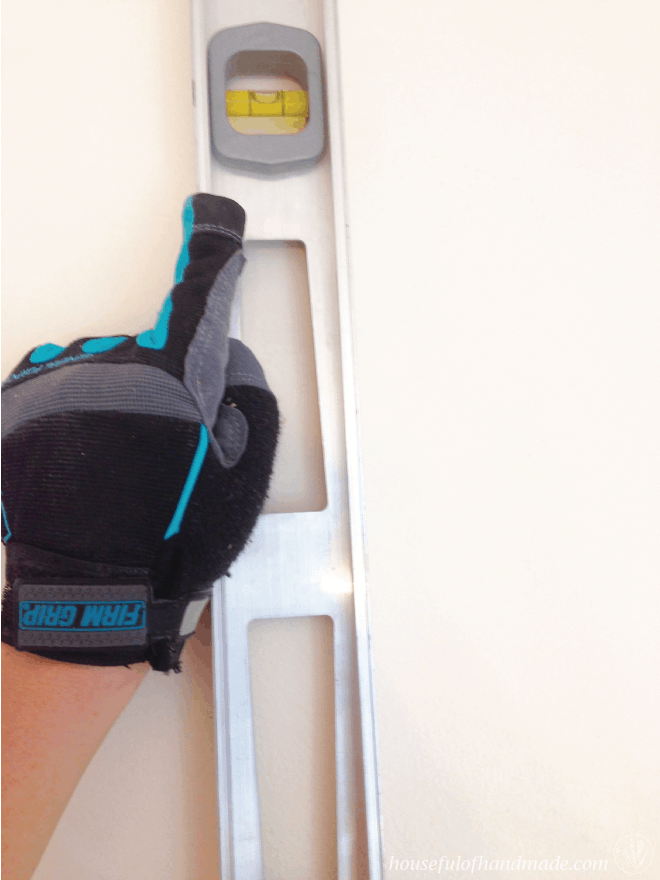
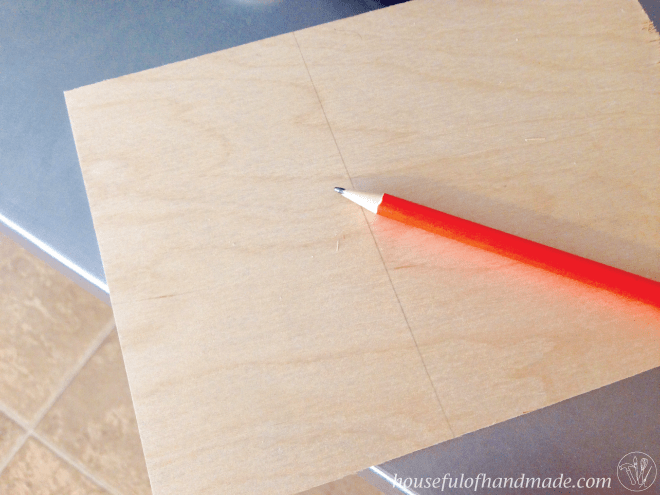
I prepped the wall first by finding my studs and then using the level, drew a pencil line from the floor to the ceiling along the stud line. This made it so much easier to find the studs to nail the boards into. Then you are ready to install the boards!
The first row was the hardest. I am guessing your house will be like mine (and all the other houses out there) and the ceiling line will not be perfectly straight. But if you take the time to scribe the top and corners, the rest of the project will be easy and straight!
So to find the shape of the walls/ceiling, I started by holding the board in the corner and leveling it from the bottom. Don’t worry about the gaps in the top, we will be fixing those.
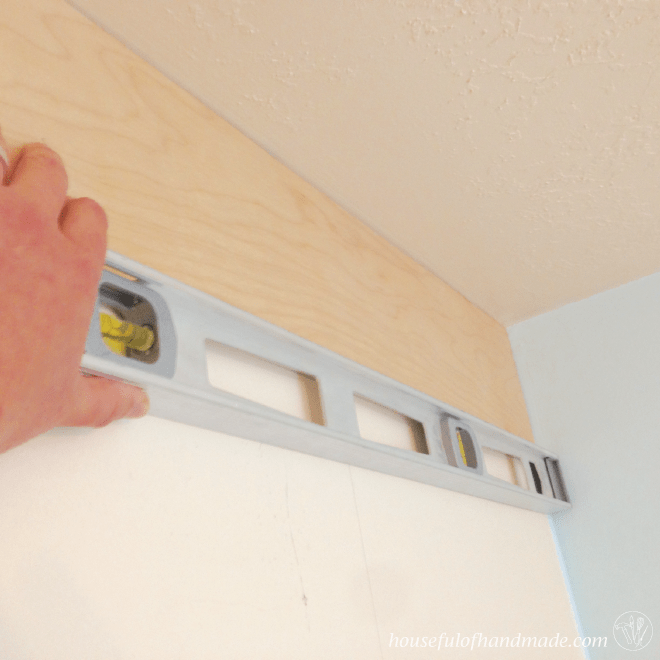
Once the board is level, use a pencil and lay the body of the pencil flat against the wall/ceiling and then while keeping the pencil flat against the wall/ceiling and the board level, draw a line along the wood until it runs off the edge. This will be the pieces that need to be cut off so that it fits into the corner.
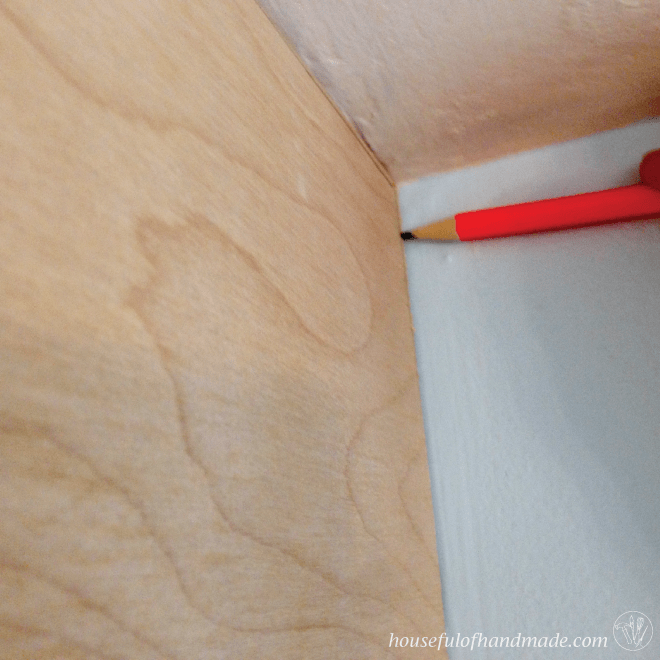
You can see here that I needed to trim a little bit on the top and side of my board to fit it into the corner.
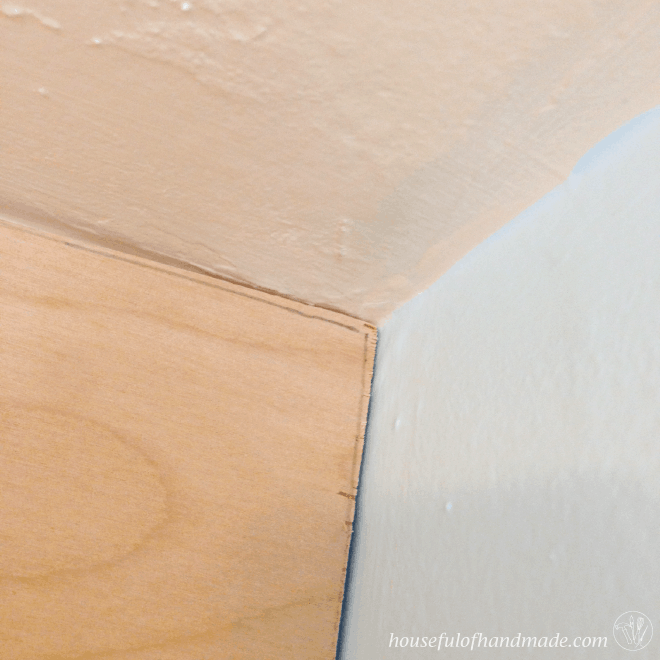
I learned the hard way that you cannot use a jig saw to cut this plywood, it just chewed it all up. So I used my miter saw to shave off the bits that I needed to. When the board is trimmed, put it back in the corner, double check for level and attach it to the studs using 1 1/4″ brad nails and a nail gun.
Then you will grab your next board, and repeat the scribing process. This time you only have to scribe the top since the side will be up against the previous board.
You will need to decide how far apart you want your boards before attaching the second board. I decided to just barely space them apart so I used pennies as spacers. Also, as you are going along, you will want to stagger sizes and colors in the wood.
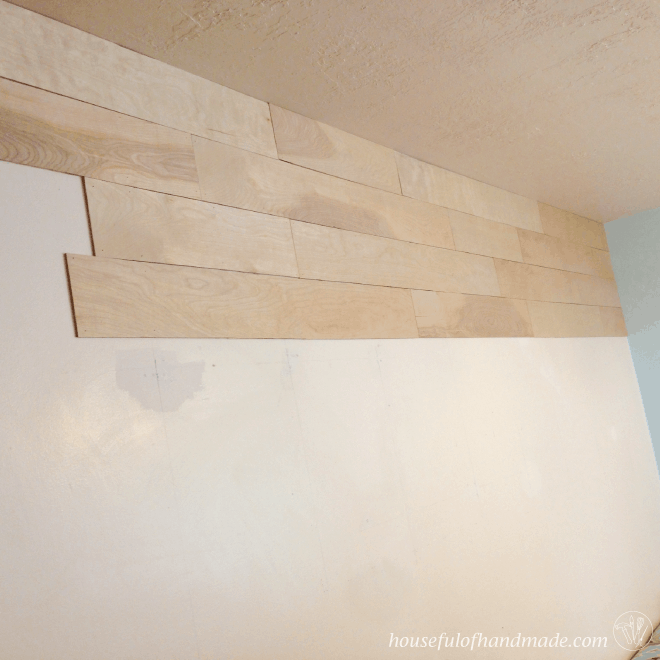
Once you get the top row all level, it is just like putting together a beautiful puzzle. Always try to hold the board up and look at the big picture before committing and nailing it in. When you get to the end of the wall, your boards will most likely not line up perfectly so you will have to cut them to fit.
My wall ends at the opening to the hallway so to measure the boards, I just flipped them over so the back was showing, then ran the pencil down the corner of the wall to draw a line on the front of the board.
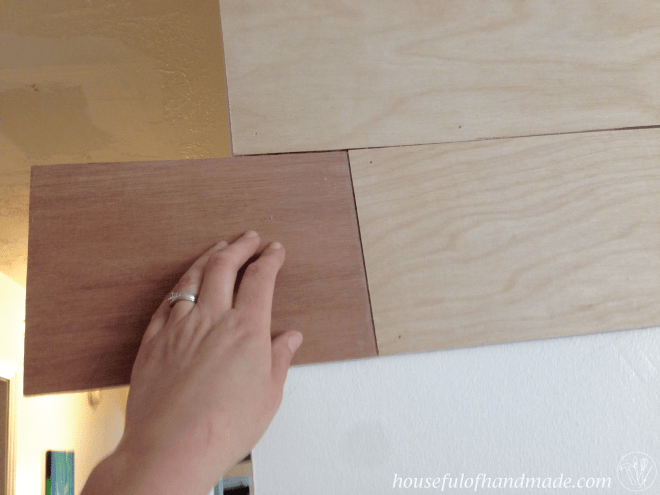
You need the line on the front of the boards so that when you cut it with the miter saw, you can cut from the top and avoid splitting the face of your board.
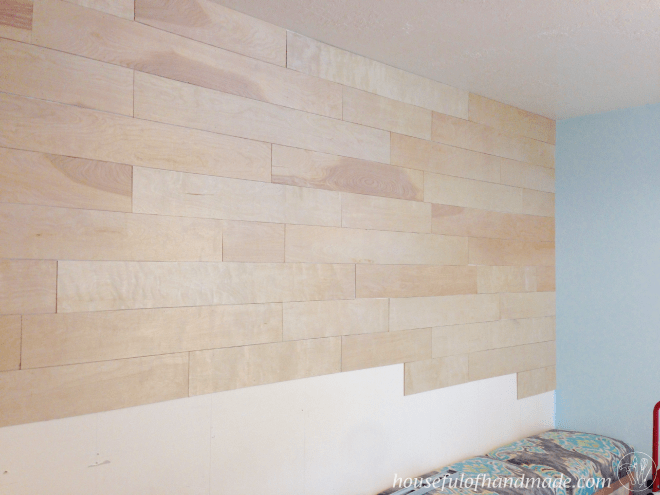
So after I worked on the wall for a couple hours it looked like this! So beautiful. I was very excited about how the project was coming along. But I had run out of wood. Which I had assumed I would because I was just using some wood that I had on hand and I knew it wouldn’t cover the whole wall, but I wasn’t sure how much more I would need so I decided to get what I had on the wall and then I could see how much more I needed.
It sounded like a good idea. I was able to figure out that I needed 1 more 4’x8′ sheet of plywood so I went and picked out a beautiful one. This time I had them cut it in half at the store so that I could get it home without the husbands help (he is super busy and I don’t always like to wait for him to do my heavy lifting).
So I got it home and found out that I could easily rip the 4’x4′ pieces of plywood on the table saw by myself so I quickly got them ready to go and eagerly took them into the dining room to finish the project… and then I discovered that the coloring was a little darker then the first two sheets of plywood!!!
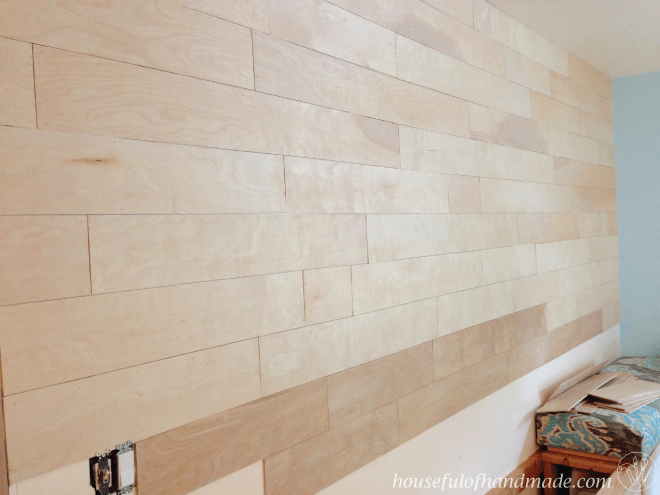
As you can see, it was pretty obvious where the wood changed. I hurried and sent my mom a picture and called the parents for advice. And they told me what I feared, that this was too noticeable and that it would still be very noticeable through stain and I needed to integrate it into the rest of the wall so that it blended. Ugh! Last thing I wanted to do was pull my pretty boards off the wall, but I knew it had to happen :(.
I carefully tried to pull a board off with a hammer, then a crowbar, but neither of these would get in between the boards without damage. I just happened to have a 6″ putty knife sitting in the room left over from when I fixed the drywall around the sliding door, so I tried it and found out that it was the perfect tool to remove the boards without damaging anything! Yeah.
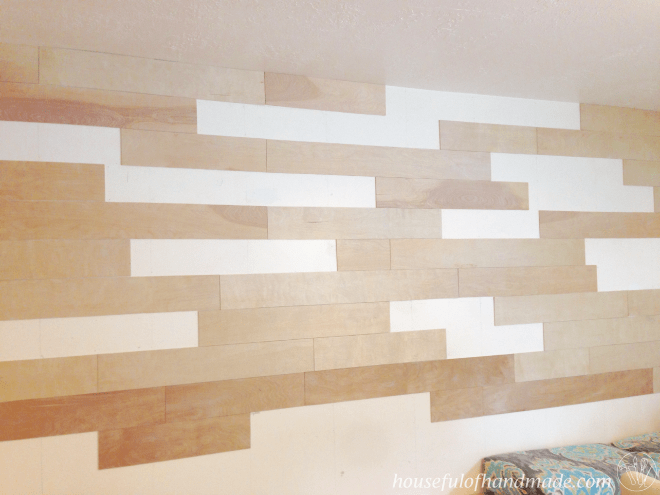
So I randomly pulled some boards out of the wall and fit the darker boards into the spaces (luckily most of them were 2′, 3′ and 4′ lengths so it was a relatively painless process).
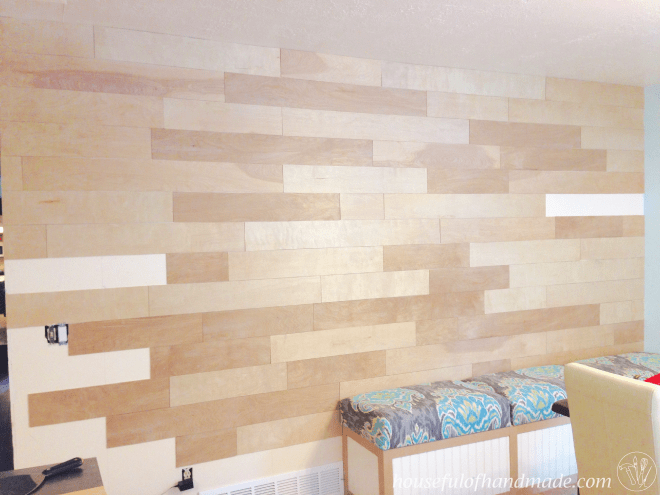
I continued to remove boards and add in boards, until I go a perfectly dispersed, but random, pattern.
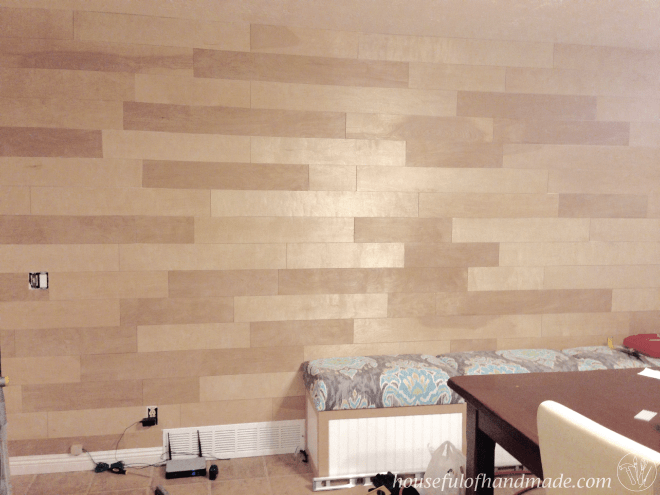
And even after the extra work, I am really glad I ended up with a few different shades of wood because it created this beautiful texture to the wall. And after I got it all done, we decided that we loved the natural color of the wood next to the beautiful blue paint color so much, that I am not going to be staining it gray.
The warmth it adds to the room is just to fantastic we are just going to leave it this color. I still need to apply a clear coat to protect the wood, but I couldn’t wait to share this beautiful project.
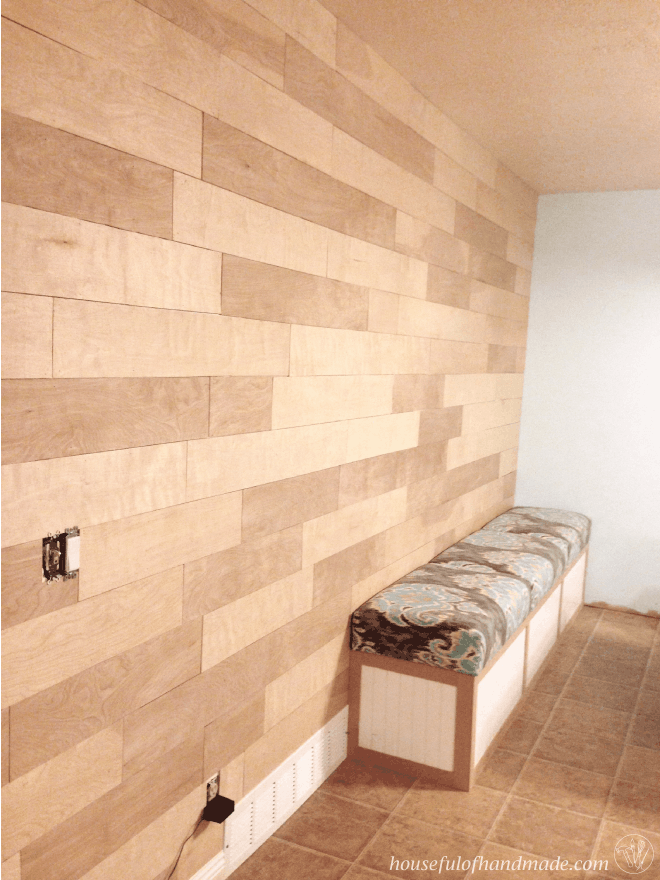
In the end, this project ended costing us just under $100 for the wood (3 sheets of plywood at $29.99 each and $6 for a package of nails). And I have this beautiful feature wall that is 14 feet wide. I’m really glad I decided to do this instead of just painting it because now I don’t have to try to fill up the large wall with decorations and can just enjoy the simplicity of the design.
What do you think of the plank wall? Worth the extra effort?

