Give your flooring an instant update with easy to install peel and stick vinyl tiles.
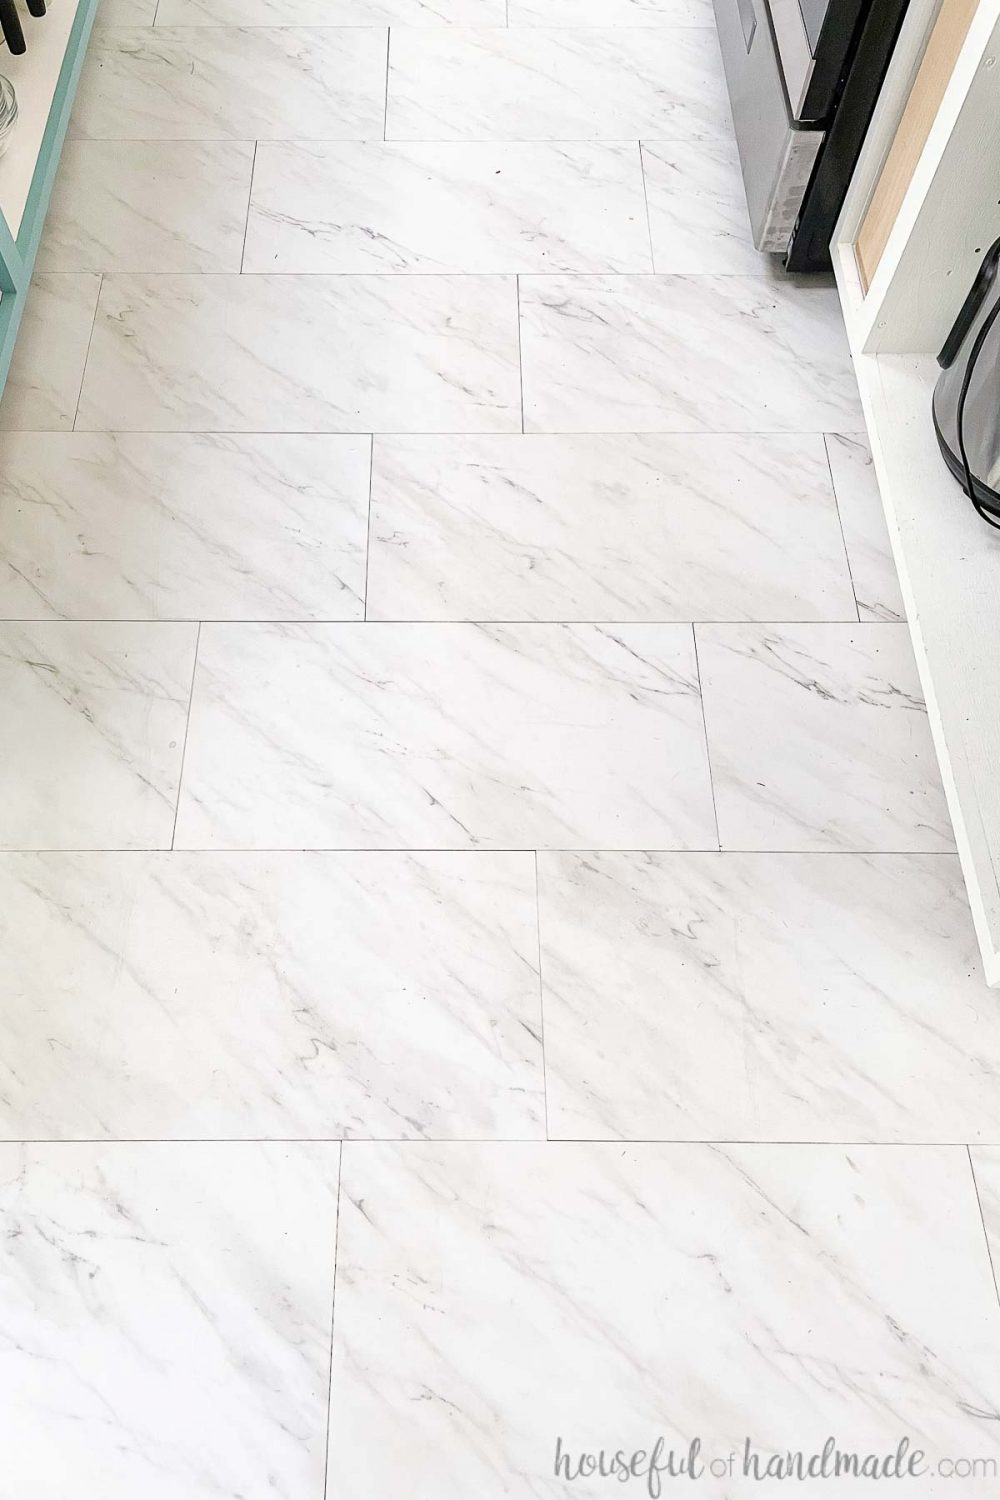
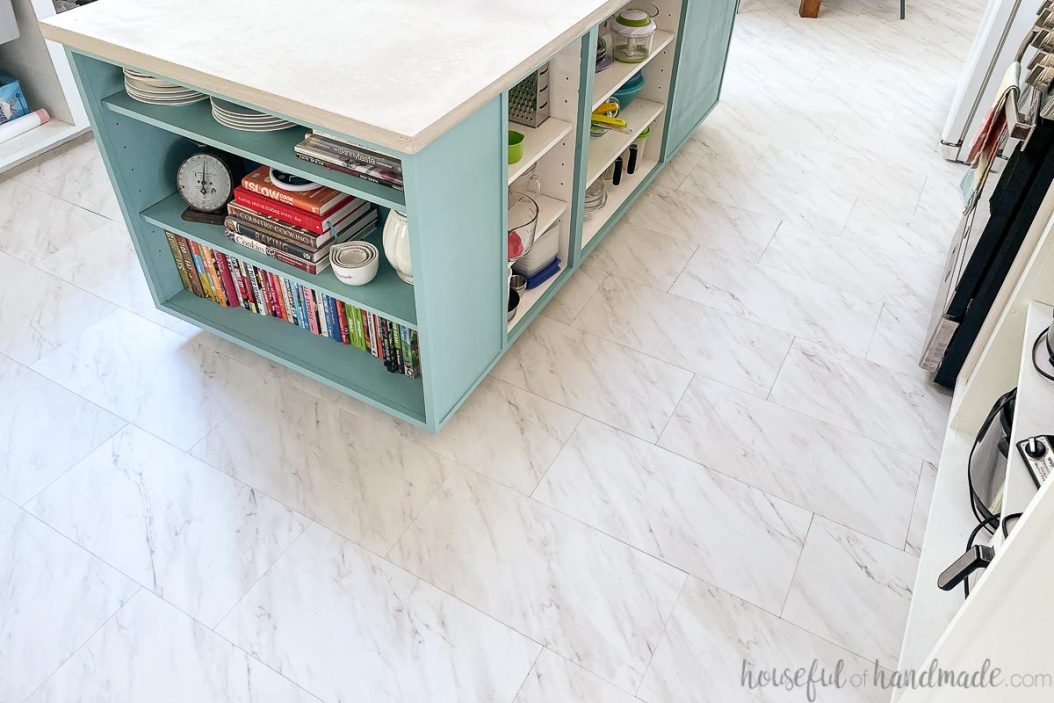
A big part of our budget kitchen remodel and bathroom makeover was replacing the flooring. To stay on budget we used inexpensive peel and stick vinyl tiles and couldn’t be happier with the end result!
Updating the old tile flooring, that was literally falling apart and no longer attached to the subfloor over much of the room, made a huge improvement in the feel of our house.
And with so many modern styles of peel and stick vinyl tiles, it can really update a space on a budget.
This post may contain affiliate links. As an Amazon Associate I earn from qualifying purchases. Click here to read my full disclosure policy.
We were able to replace the flooring in our 15′ x 22′ kitchen and dining room for only $575 (including new subfloor). That is 1/3 of the cost of the vinyl flooring we had installed in the kitchen and dining room in our last house.
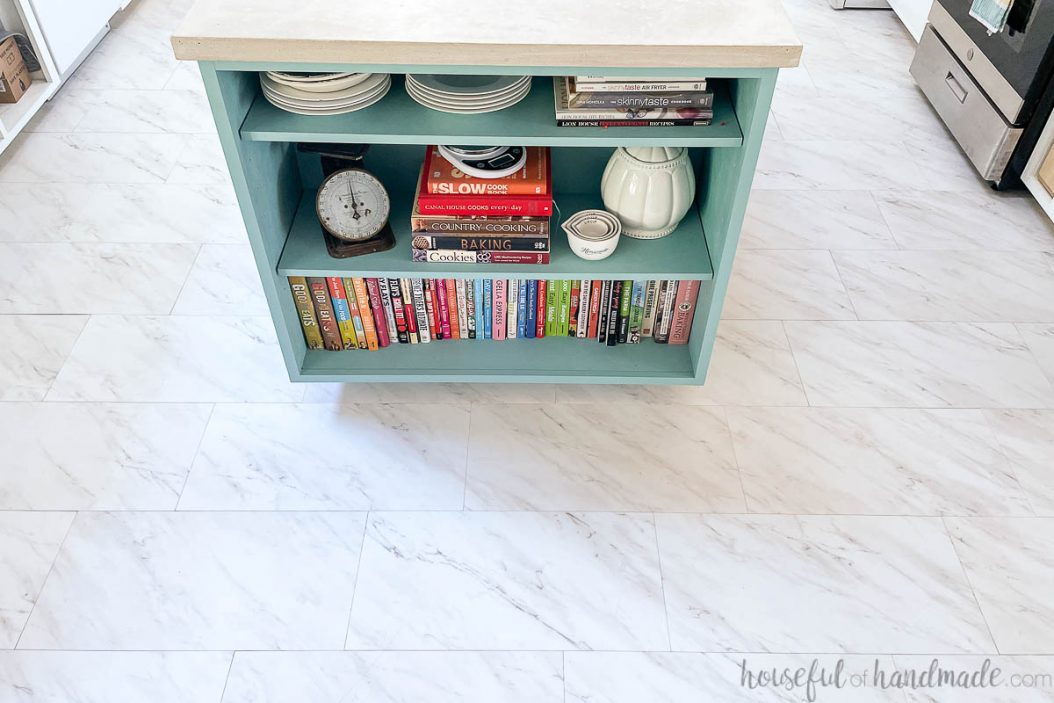
And for our bathroom makeover, we had enough left over tiles, subfloor and adhesive that we were able to replaced the bathroom floor for free!
Is vinyl tile easy to install?
Yes! Peel and stick vinyl tiles are the easiest floor I have ever laid. The tiles are easy to cut with just a utility knife and there is no interlocking sides that can be a challenge to connect perfectly.
But my favorite part of vinyl tiles is that you can easily replace just 1 damaged tile, in the middle of the room.
And if you already have an undamaged, flat floor, there is no prep needed. You can lay the peel and stick tile directly on it after cleaning.
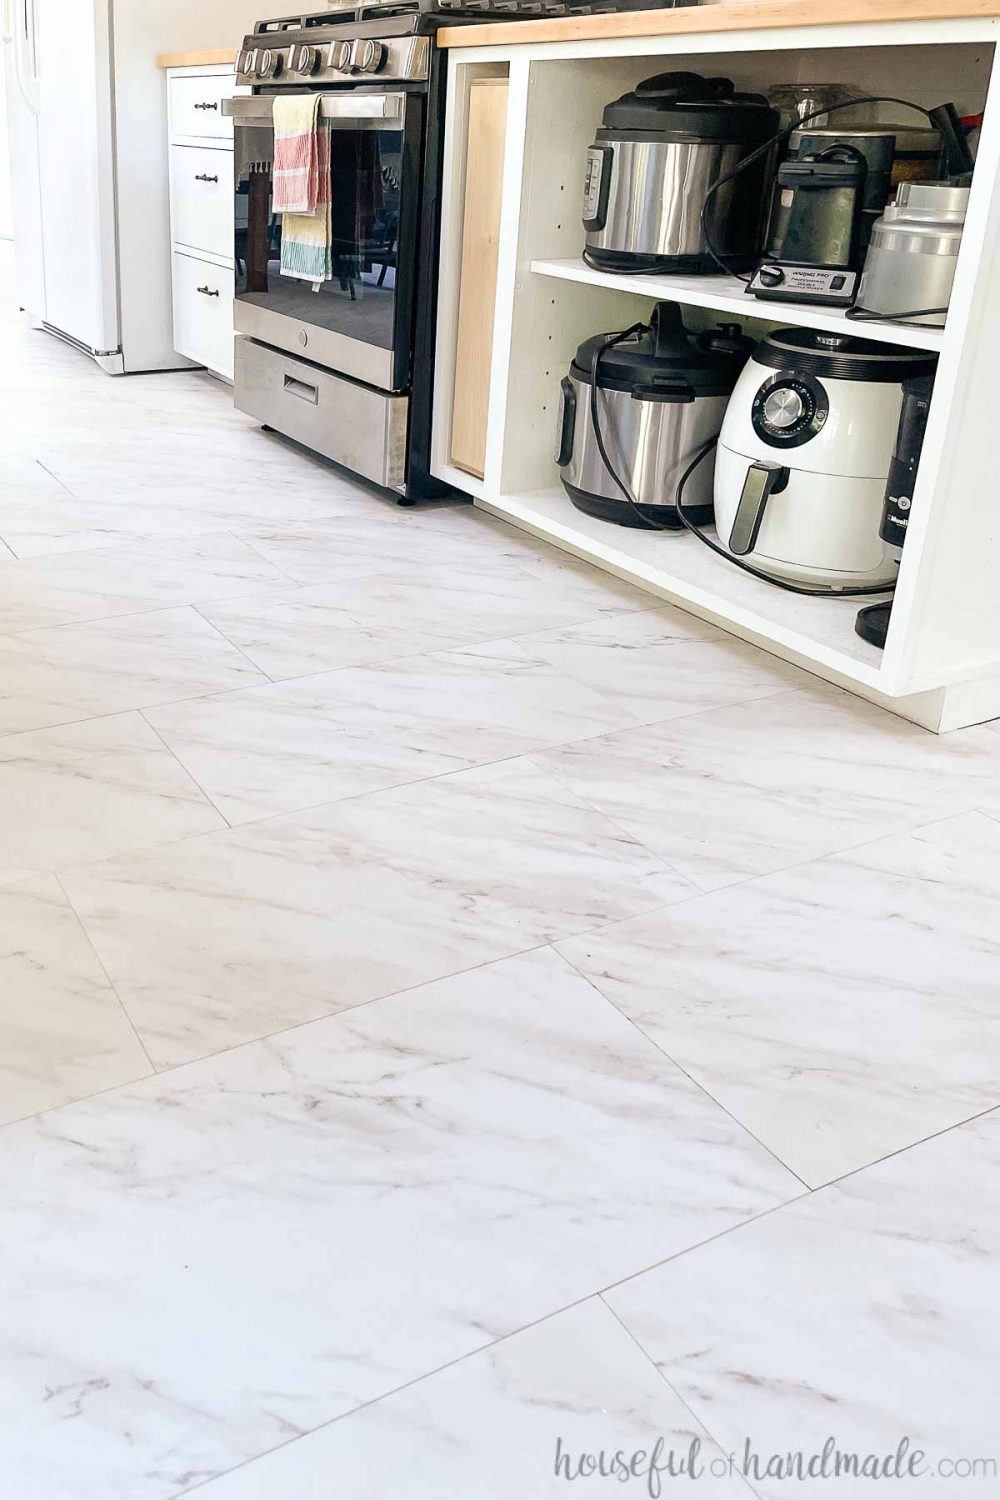
Figuring Out How Much Flooring to Buy
To determine how much tile you need to order, you want to measure the length and width of your room in feet. Then you multiply the two numbers together. This tells you the total square feet of your room.
Once you have the total square feet of your room, you want to multiply that by 10% and add that to the total square feet. The additional 10% is needed for cuts and mistakes. Plus it may leave you with a few left over to replace damaged tiles later, or you can return unused tiles.
The formula for figuring out your total material needed is:
Room Length x Room Width = Total SqFt
Total SqFt + (Total SqFt x .10) = How Much to Buy
For our bathroom, the floor is 6′ 2 1/2″ long x 5′ wide. I rounded the length to 6.25′ (which is 6′ 3″). Multiplied together I have 31.25 square feet. Then I multiply 31.25 by .10 (or 10%) and get 3.125. Add that to the total and I need 34.375 square feet, or round up to 35.
Since the tiles come in 2 square feet pieces, I needed 18 total tiles for our bathroom floor.
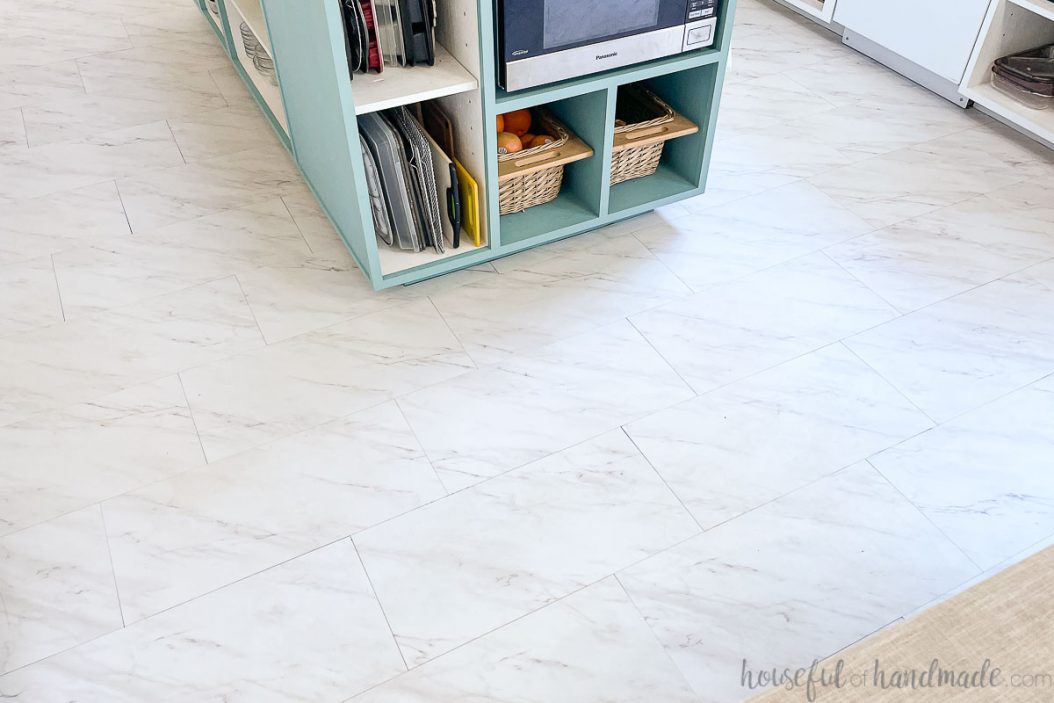
But what if your floor is not a perfect rectangle?
This was the case for our kitchen and dining room area. We have a kitchen area, with a large kitchen island in the middle. Then the dining room area that is wider than the kitchen.
So how do you figure that out? Don’t worry it’s not too hard!
For rooms that are not a perfect box, try to split the room into a bunch of rectangles. Then figure the total square footage of each rectangle area and add those together before adding your 10%.
For example, in our kitchen I separated the floor into 5 smaller rectangles: 1 in front of the kitchen island, 2 sides of the kitchen island, 1 in back of the kitchen island, 1 dining room.
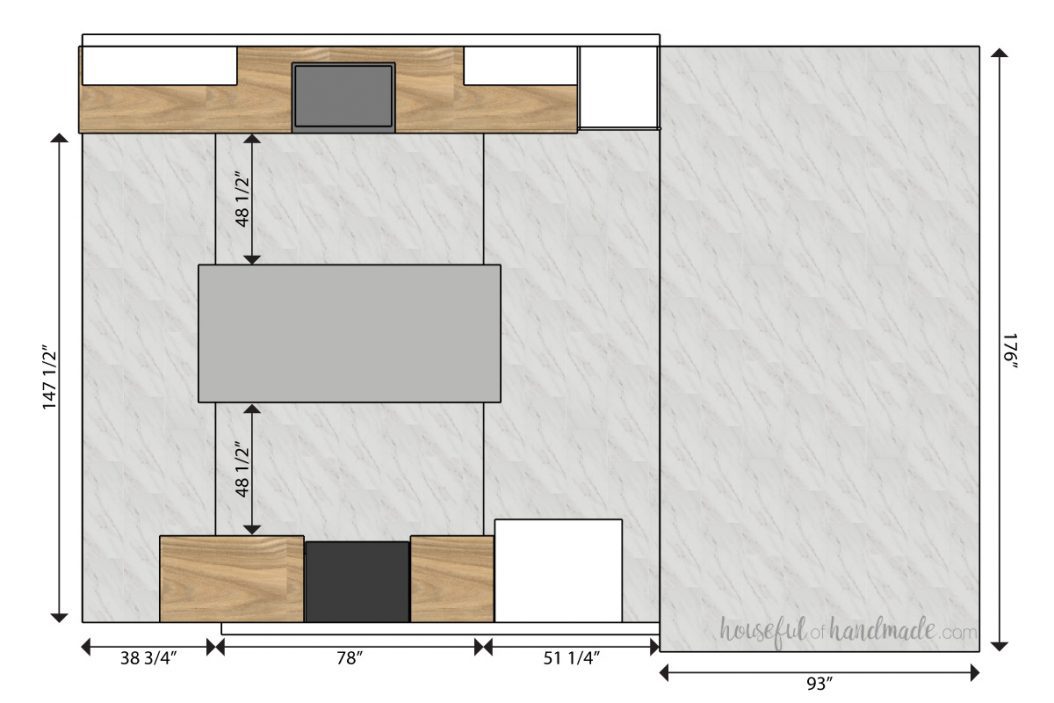
So now that you have the space split into rectangles with the length and width of each noted, you can figure out the total square footage by first multiplying together the length and width of each rectangle, then adding them all together.
Also for a kitchen, don’t forget to add the amount needed for flooring under the dishwasher, stove and refrigerator. These are all their own little rectangles.
All of my floor measurements were taken in inches, so first I convert them to feet by dividing them all by 12.
- In front of kitchen island: (147.5/12) x (38.75/12) = 39.5 SqFt
- Two sides of the kitchen island: (48.5/12) x (78/12) = 26 SqFt
- In back of the kitchen island: (147.5/12) x (51.25/12) = 52.5 SqFt
- Dining room: (176/12) x (93/12) = 113.75 SqFt
- Under appliances (in feet): (2.5 x 2) + (2 x 2) + (2.5 x 2.5) = 15.25 SqFt
Total square footage for the kitchen/dining room is 273. Ten percent of that is 27.3 (round up to 28). So total flooring needed to purchase is 301 or 151 tiles since each tile is 2 SqFt.
How do I prepare a floor for vinyl tile?
It depends on what kind of flooring you already have in your space and what condition it is in.
In order to lay vinyl floor tiles, you need a clean, flat, even surface. If you lay vinyl tiles on an uneven floor, it can cause the vinyl to cracks or blemishes that can appear over time.
Here is a quick guide to help you figure out how to prepare your floors for new peel and stick vinyl tiles:
- Vinyl or laminate floors: if in good condition, with no voids, lay peel and stick vinyl tiles directly on it. Voids can be patched with a floor leveler before laying tiles.
- Concrete flooring: if the concrete is clean, smooth and dry, you can install the vinyl tiles on it.
- Tile flooring: use a floor leveler to fill the grout lines so they are level with the tile. Or you can remove the tiles and thinset below, then apply a thin subfloor over it before applying your peel and stick vinyl tiles.
- Subfloor or plywood flooring: if the subfloor is clean and smooth, you can apply the adhesive tiles to it.
Should you use extra adhesive with peel and stick tile?
This really depends on the vinyl tiles you chose and the floor you are laying them on. Typically, the vinyl tile manufacturer figures out how much adhesive is needed and that is what is applied to the back of the tiles.
But after reading many reviews, I determined we wanted to give our budget vinyl tiles a little more holding power.
In our bedrooms we installed peel and stick vinyl plank flooring directly onto the OSB subfloor with only a primer to help seal the wood for better adhesion. It worked okay, but the tiles were still able to to pulled up with not much effort.
So in the kitchen/dining and bathrooms, I knew we wanted more strength. These are high traffic rooms that I didn’t want any possibility of loose tiles.
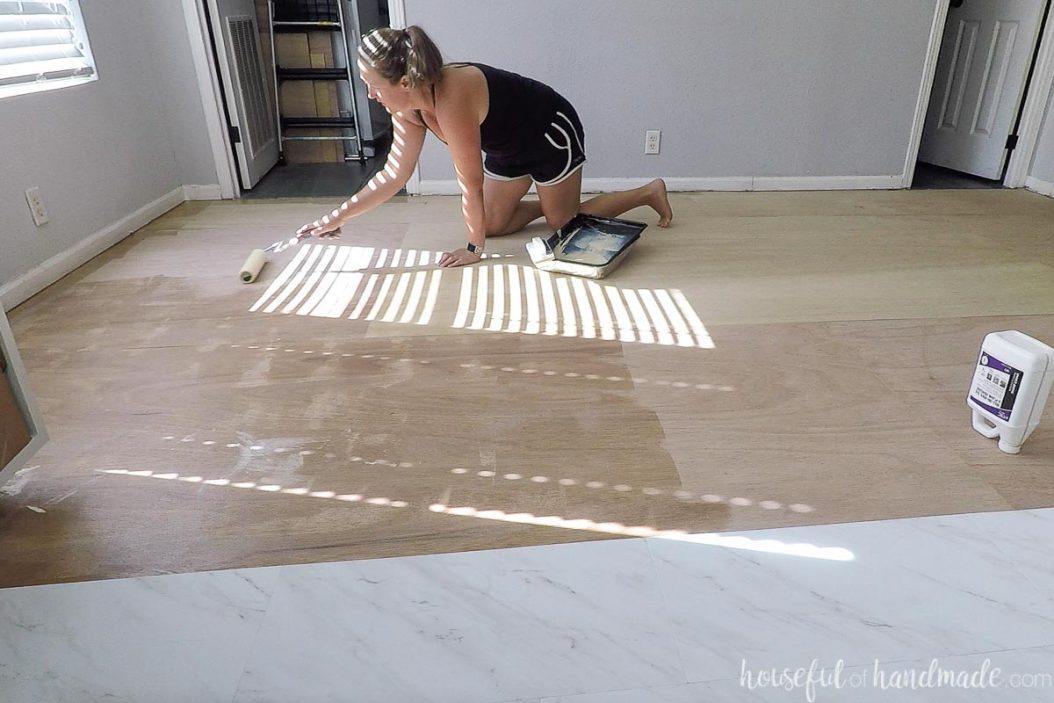
Instead of a primer that just sealed the wood, we used a roll on vinyl floor adhesive. It was easy to apply with just a paint roller and foam paint brush used to get close to the edges.
Once dried, the floor was tacky and ready to accept the vinyl tiles. The combination of the extra adhesive with the peel and stick tiles was intense. If you accidentally touched the tile down to the floor in the wrong spot, it took quite a bit of effort to remove it.
So additional adhesive will require more precision while laying the tiles since there is no wiggle room. And damaged tiles may be harder to replace later. But I am still glad I chose to use it in the high traffic kitchen and bathroom.
Should you grout vinyl tile?
Whether you grout vinyl tiles or not is a personal decision, but if you want to grout them, make sure you buy groutable vinyl tiles. You should not try to grout vinyl tiles that are not listed as groutable. Tiles listed as groutable can be installed with or without grout.
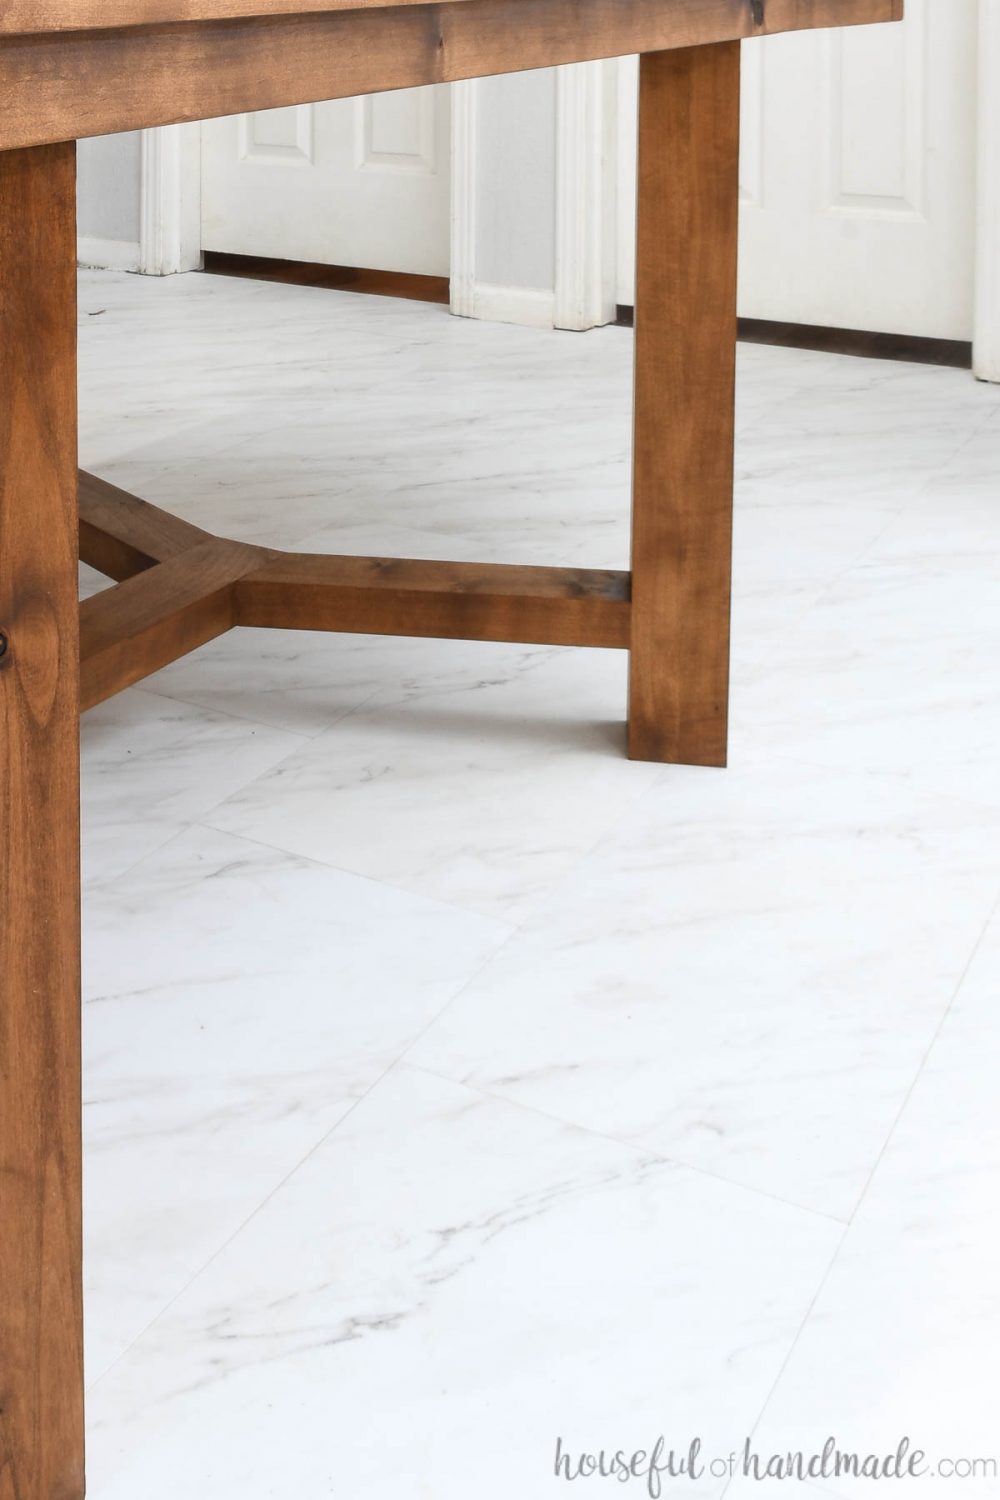
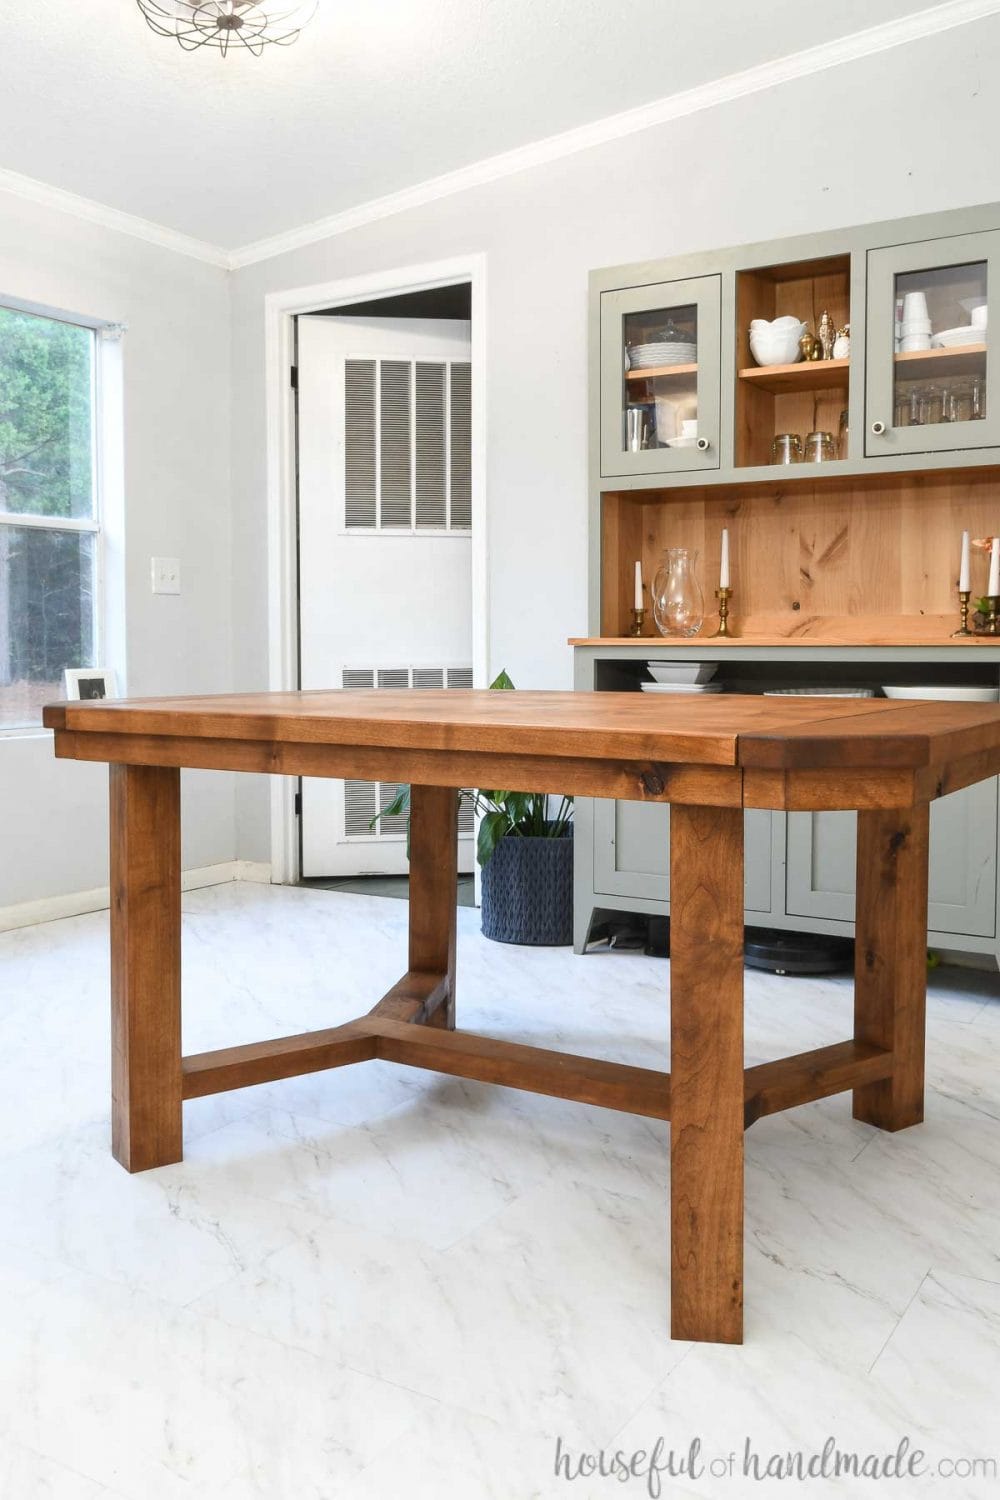
We used a groutable peel and stick vinyl tile, but chose not to grout it for a few reasons, mainly time and budget. But if I had to do it again, I would have taken the extra time to install the tiles with grout.
Grouting the vinyl tiles will make them look more like real tiles. In the case of the faux marble tiles we used, a soft gray grout would have given our kitchen and bathroom a very elegant look.
Also, in a room with lots of water (i.e., a bathroom or kitchen) there might be a possibility that water can leak through the tiny spaces between the tiles. A sealed grout will help prevent water damage under the peel and stick tiles.
But if you want the look without the time and expense of grout, you could also apply a sealant specially formulated for peel and stick vinyl tiles. This can seal that vulnerable space between the tiles from water.
How to Install Vinyl Tiles
Tools Needed:
- Utility knife
- Carpenter’s square
- Tape measure
- Chalk line
- Straight edge
Supplies:
- Peel and stick vinyl tiles
- Optional:
- 1/5″ plywood underlayment
- Surface primer
- Roll on vinyl adhesive
Prepare the floor
Bring the vinyl tiles into the room you are laying them at least 48 hours before you plan to install to acclimate them. If you skip this step, you may end up with large gaps or buckling as the tiles expand and contract to the room later.
Prepare the surface of your floor. It needs to be clean, flat, and dry. See above for tips on preparing different surfaces for laying peel and stick vinyl tiles.
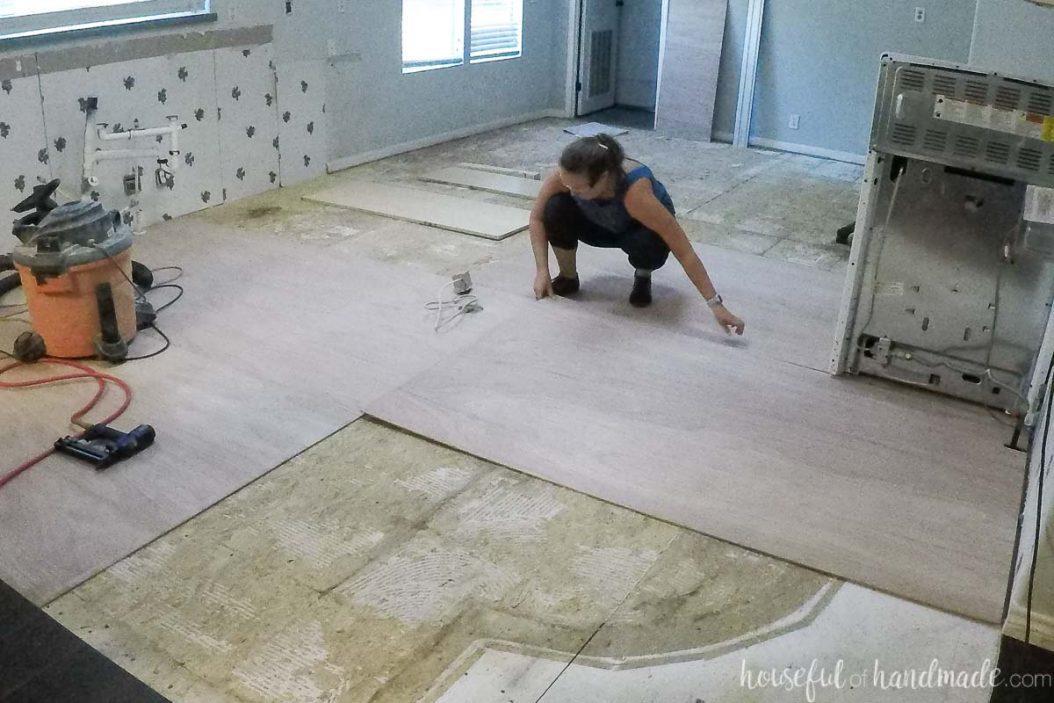
For our floor, we had to remove the old tile. It was breaking apart and at least 40% of the tiles were no longer adhered to the floor.
We removed the old tiles and then chipped away as much of the thinset as possible. It was important to remove all the bumps and ridges of the thinset. Then we laid this inexpensive 1/5″ thick plywood underlayment over the entire floor.
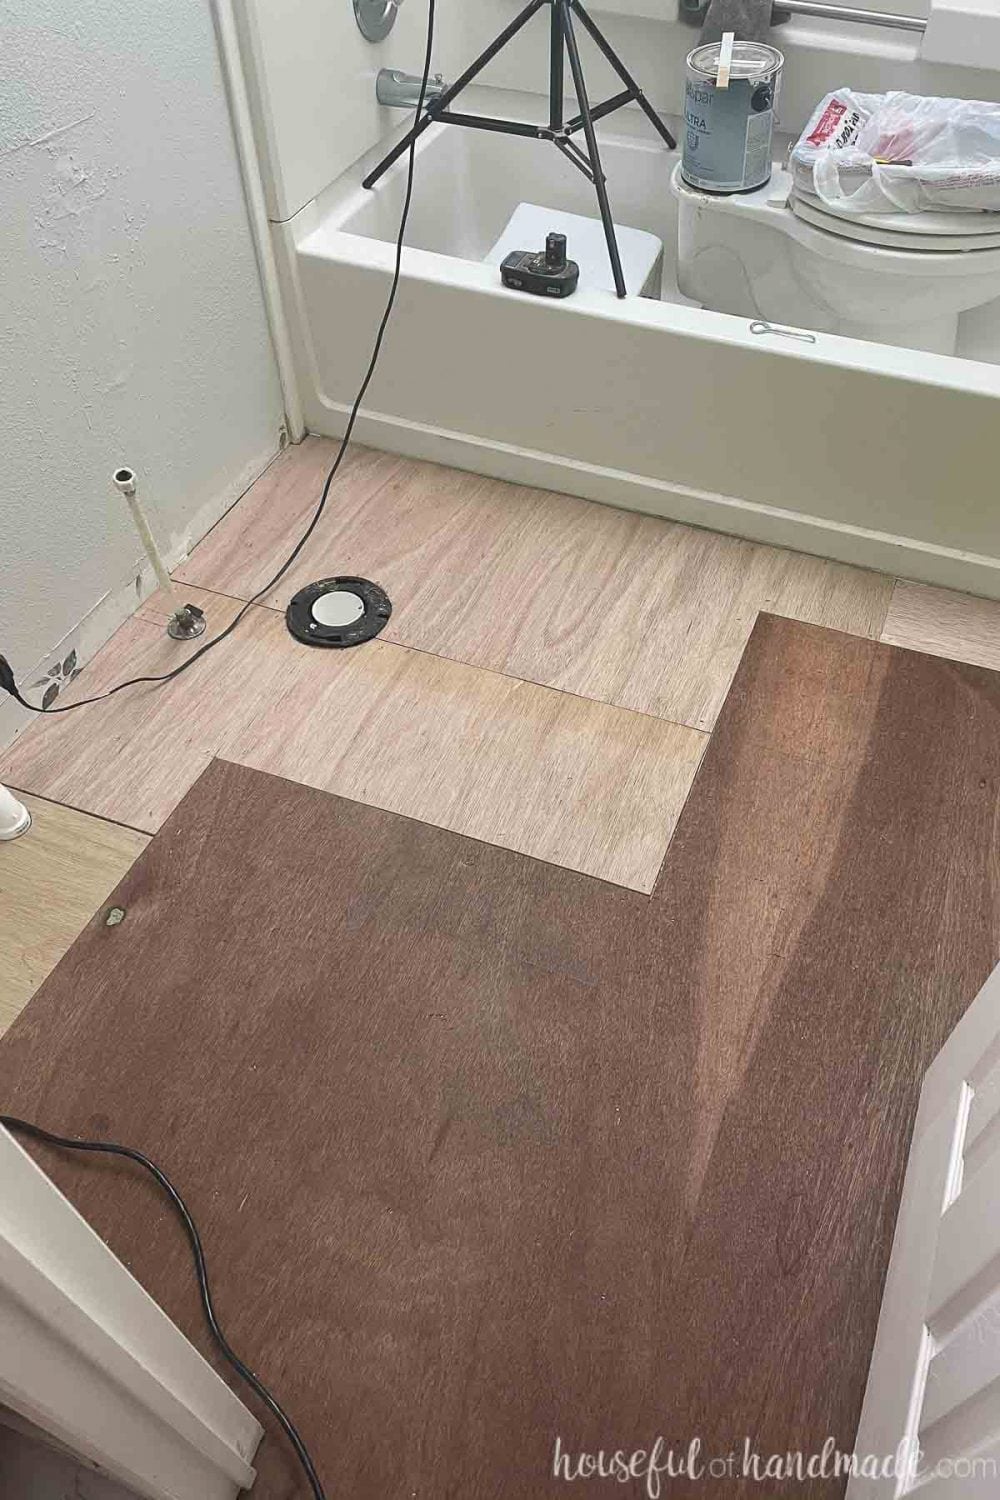
When laying an underlayment, it is important to stagger the seams. So lay the plywood sheets in a brick pattern.
Also, as I was laying the floor, I noticed the floor tiles were lining up directly with the seams of the plywood since the floor tiles were 12″ wide and the plywood was 4′ wide.
This caused some of the tiles to sit slightly up from the others since the seam was not perfectly level. It’s only a tiny raise and no one else notices it but me (since I laid the floor), but there might be possibility for water to get under the underlayment at this seam so I would not recommend it.
If I were to do it again, I would have cut 2″ off the first sheet of plywood so the seams on the tiles and plywood did not line up all the way down my kitchen/dining area. Happily, I was able to do this in the bathroom.
Also, you will want to remove the baseboards around the room. The vinyl tiles will be laid under the baseboard and the baseboards reapplied on top of them later to cover up the edges.
Plan the Tile Layout
This is the most important part of getting great results with your DIY vinyl floor. Taking the time to plan out how to start the floor will prevent you from having tiny pieces of tiles at the sides or end of the room.
Measure the total width of the space, then divide that by the width of the tiles. So for my space the total width was 147 1/2″. The total width of the tiles was 24″.
147.5 / 24 = 6.15
This meant that I needed 6.15 tiles to span the width of the floor. If I started the floor with a full tile on the one side, I would end up with 0.15 piece of tile on the other end which is only 3.5″ wide for the 24″ wide tile.
So instead of just starting on the one side with a full tile, I will take the extra 0.15 and add it to 1 tile. Then split this in half. Now this will be the measurement for the first tile.
1.15 x 24 = 27.6 / 2 = 13.8
So if I cut my first tile to 13.8″ wide (or let’s make it easy and cut it to 13.75″ which is 3/4″), the last tile will be larger (13.85″) instead of one very small one.
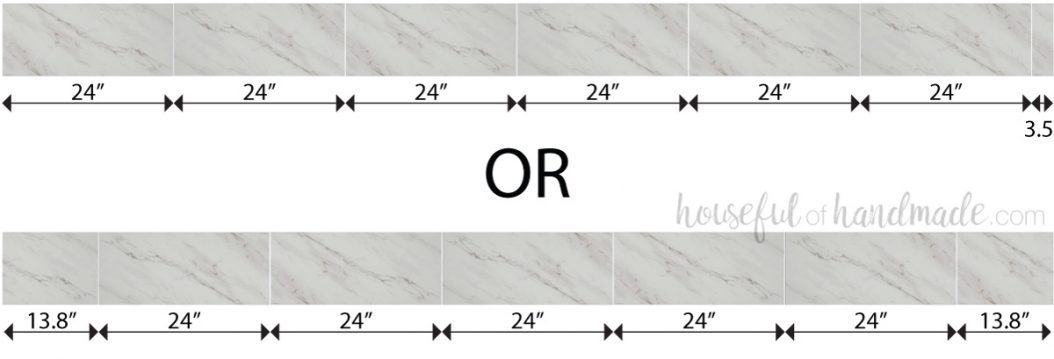
But this only works if you do not plan to stagger your tiles.
Planning for staggering tiles
If you plan to stagger your vinyl tiles, you need to figure it out for each of the staggers to find the best starting point to leave you with the least amount of tiny tiles.
I wanted a lay my 12″ x 24″ tiles in a 1/3 stagger. This means that ever three rows will start over again and each tile is offset from the first by 1/3rd of the the total width (or 8″).
So if my first tile is cut to 13.75″, the first tile on the second row will be 8″ bigger or 21.75″. If I subtract this from the 27.6 above (the 1.15 x 24″ tile width) we are left with a 5.85″ tile on the edge. This is still a large enough tile piece.
Now we figure the last row of my 3rd stagger. The first tile will need to be 21.75″ + 8″ = 29.75″, which is actually too big for my 24″ tiles. So now I subtract the 24″ tile from the total 29.75″ and my first tile is 5.75″. This is also a good size so my stagger pattern will work!
If the other staggers were too small, I could adjust them left or right an inch or two to make sure all my edge tiles were no smaller than 3-4″.

Now you do the same thing for the length of the floor, but this one is easier because there is no staggering patterns. The total length of the room is 261″. If I divide that by the length of the tile (12″) I get a total of 21.75 tiles.
This means the last tile will be 0.75 of the total 12″ tile or 9″. Which is a large enough tile so I can start the room at one end with a full tile. If the leftover tile was less than 5″, I would split the difference just like I did in the width example above.
Apply primer or Adhesive
If you are going to be using a tile primer or adhesive, you will want to apply it now, according to the directions.
We used an adhesive that was made to work with the peel and stick vinyl tiles. You need to be careful about only using adhesives that are made to work with the material you are using and follow the directions or else it can cause your tiles to buckle or warp.
Let the primer or adhesive dry according to the directions.
For our floor, we used a roll on vinyl tile adhesive. It made the subfloor floor tacky to the touch so the peel and stick tiles adhered nicely to it.
Start on a Straight Line
The second most important step in getting a professional vinyl tile installation is making sure you start on a straight line. You cannot just start your tiles against a wall because most walls are not straight.
If your tiles are not laid perfectly perpendicular, you will have gapping at the corners. So once the floor is all ready (and primed if using) measure and mark from the edge of the starting point the width of the first row on both sides of the room.
For me I was using a full tile so I measured and marked 12″ on one side of the room and 12″ on the other side.
Then using a chalk line, mark the straight line between these two points. Now when you lay your first row of tiles, you will work off this line, not the wall or edge of the room.
Lay the Peel and Stick Tiles
It’s finally time to start laying tiles!!!
Using you plan from above, cut the first tile to size. You will also want to make sure to leave the required spacing on the edge of the room required by your specific tiles.
Cutting Vinyl Tiles
To cut the tiles, measure and mark where the cuts will be on each tile.
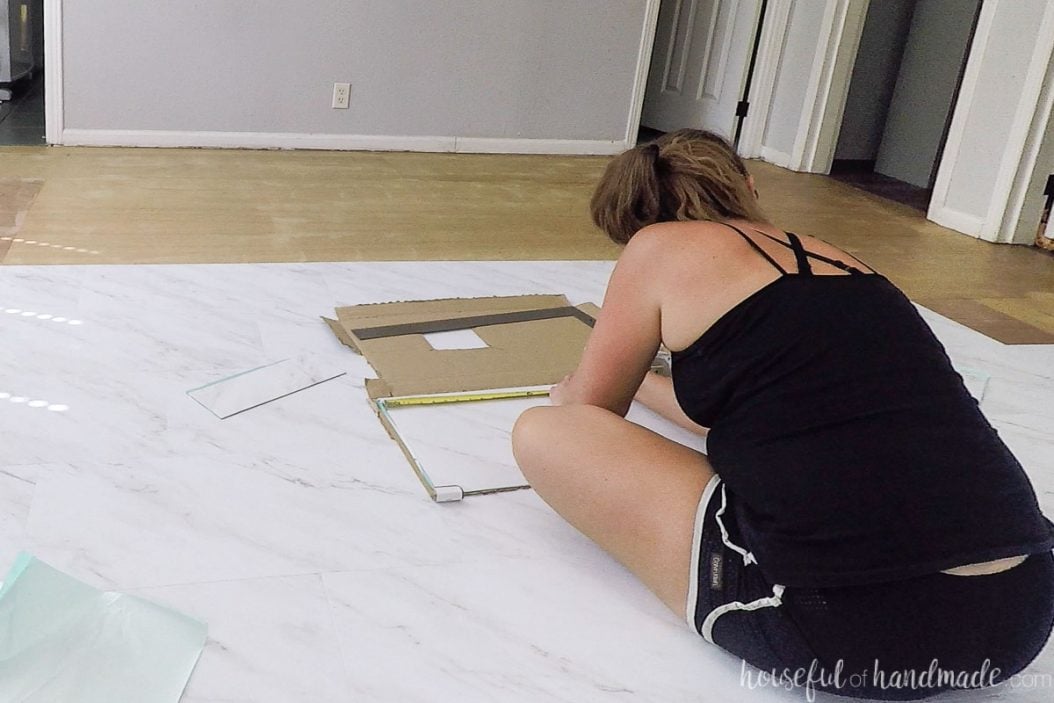
You always want the cuts to be at the edge of the room. The tiles will always butt up against each other on the factory edges. This is important to keeping tight seams.
So when making measurements, pay attention to what side of the tile will be needed to ensure the factory edge is always against the other tiles.
Hold a straight edge up against the marks and using a sharp utility knife (I replaced my blade often when cutting my floor tiles), score the vinyl tile along the straight edge.
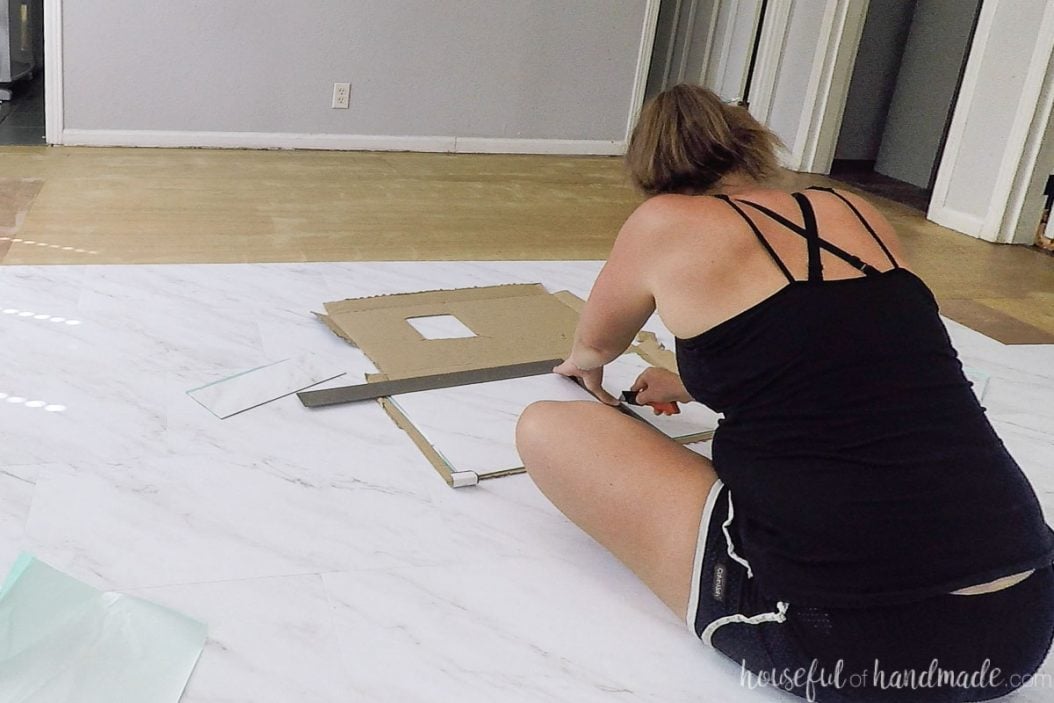
Score it 2-3 times to get a good deep score. Then flip the tile over and apply pressure to each side of the score to snap the tile along the line.
Use the knife to cut the backing along the line releasing the two pieces of tile. Save the cut off piece to possibly use later.
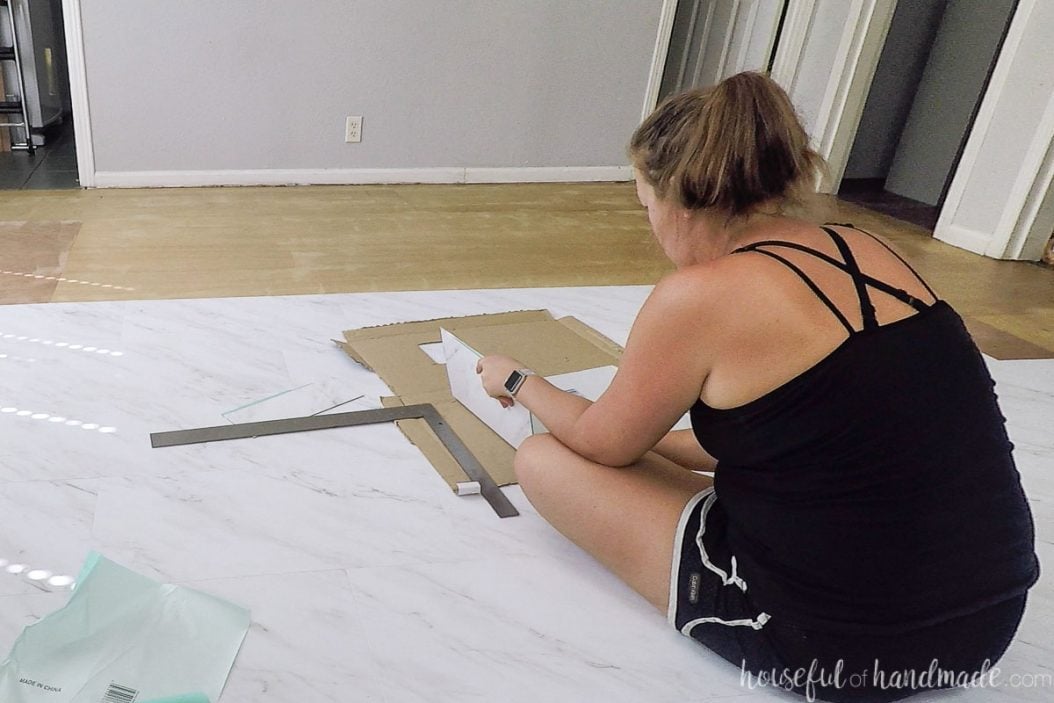
Laying the Vinyl Tiles
Peel the back off the piece you want to lay.
Now lay the cut tile so it’s along the chalk line you marked earlier. Do not worry if it is not perfectly flush to the outside of the room, this will be hidden under the baseboards or flooring transition strips.
Next you should have a full tile (unless you need to cut the width for proper layout on the first row). Remove the backing from the second piece and carefully line up the edge with the edge of the first tile and the other edge with the chalk line.
Keep the tiles pressing close to the first tile and perfectly lined up with the chalk line and lay the tile against the floor.
Continue across the entire first row, taking extra care to keep along that straight chalk line. Once you get to the edge of the first row, measure and cut the last tile.
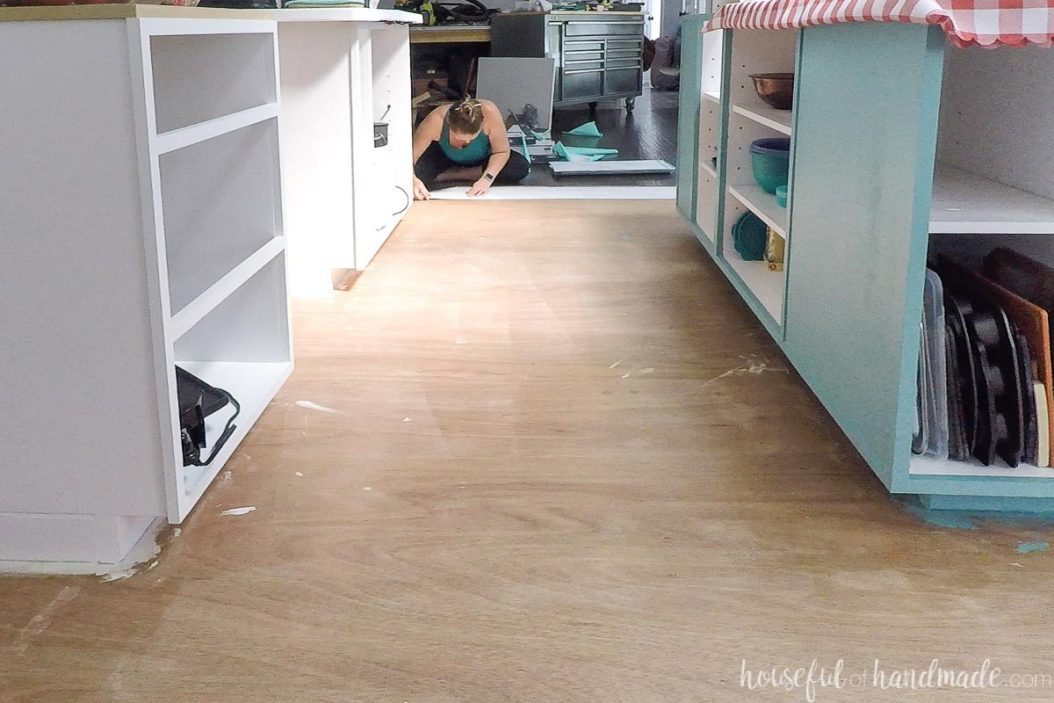
Now you have a solid first row to work off of. This will ensure the rest of the floor goes down smoothly!
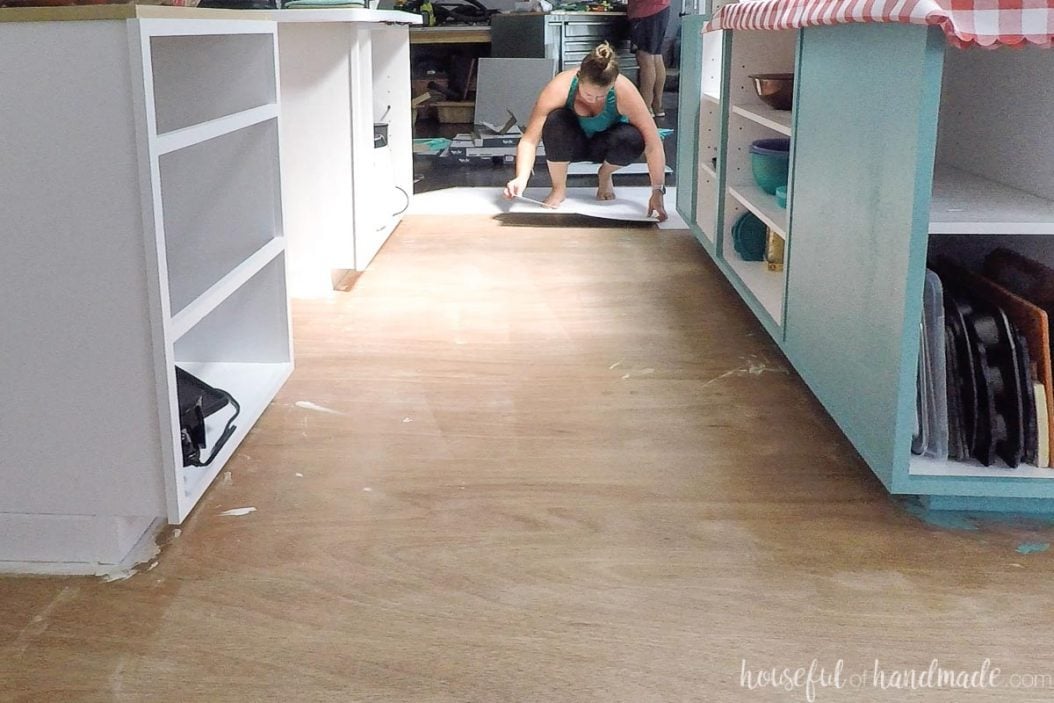
Measure and cut your first tile on the next row, and lay it down. Then you will be using mostly full tiles to fill in the room. This is where the easy of peel and stick vinyl tiles is amazing! You can cover the center of the room so quickly.
It may take a few tiles to get your rhythm, but after a few tiles you will really start to move.
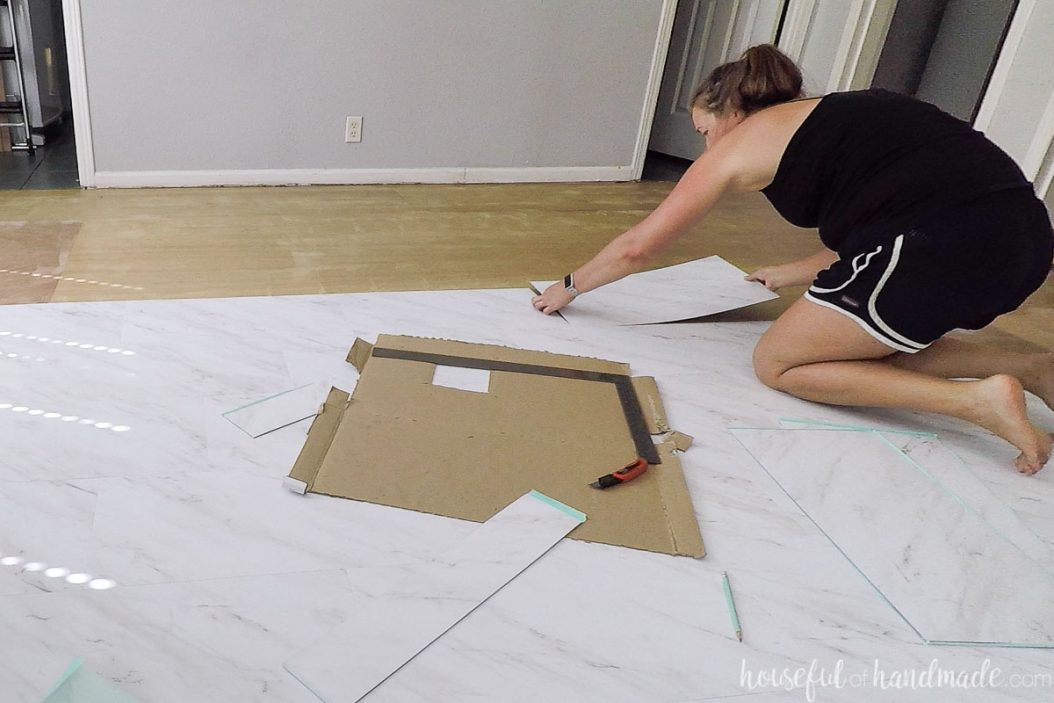
If you are laying tiles around an object in the room (like a kitchen island), be careful to keep the tiles on both sides the same tightness together so the tiles will meet up properly on the other side of the object.
Cutting around objects
If you are not doing a straight cut, but having to cut a corner or circle to go around something in the floor (like pipes), use deeper scores with your utility knife.
I also found it easier to use a template to make curved cuts. Bowls, plates, and cups make great curved templates in varying sizes.
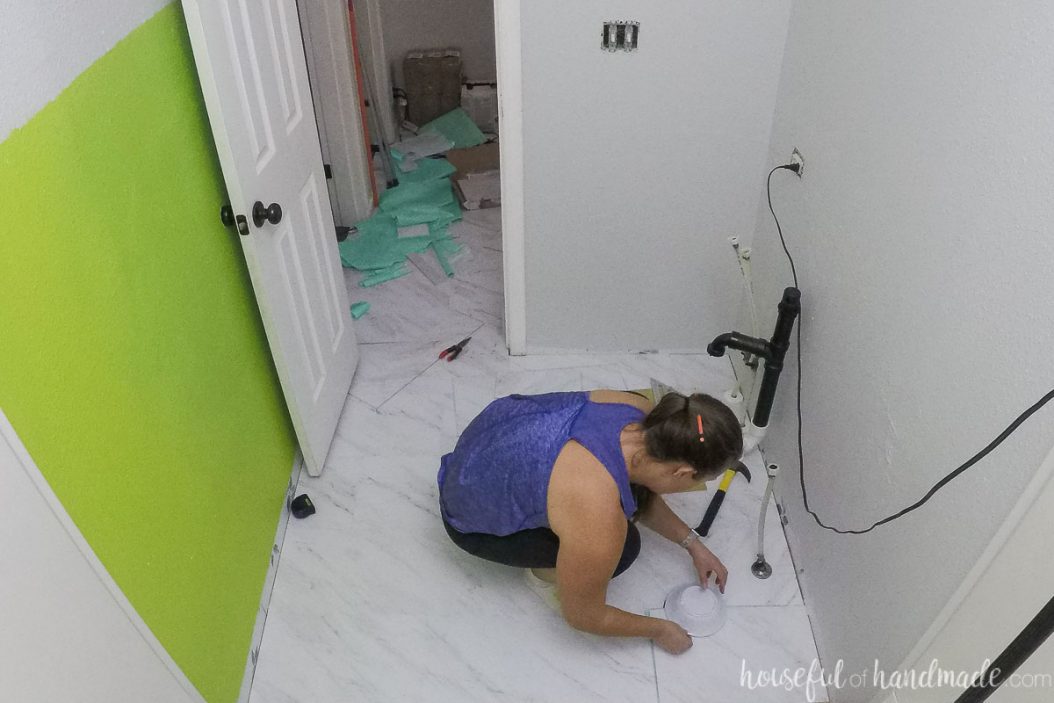
Take complicated cuts slowly and give yourself some grace if you mess up. That is why you purchase 10% extra when figuring out how much flooring you need.
Roll the Floor
Some peel and stick vinyl tiles require you to roll the floor with 100 lbs of pressure to activate the adhesive on the tiles. You can rent a roller to do this if necessary.
Make sure not to skip this step if the instructions require it or your tiles will not properly adhere.
And now your new floor is all done! You can reinstall your baseboards and add any transition strips needed between rooms and other flooring.
Then sit back and admire your work. I am sure you will love your new vinyl flooring as much as I do.
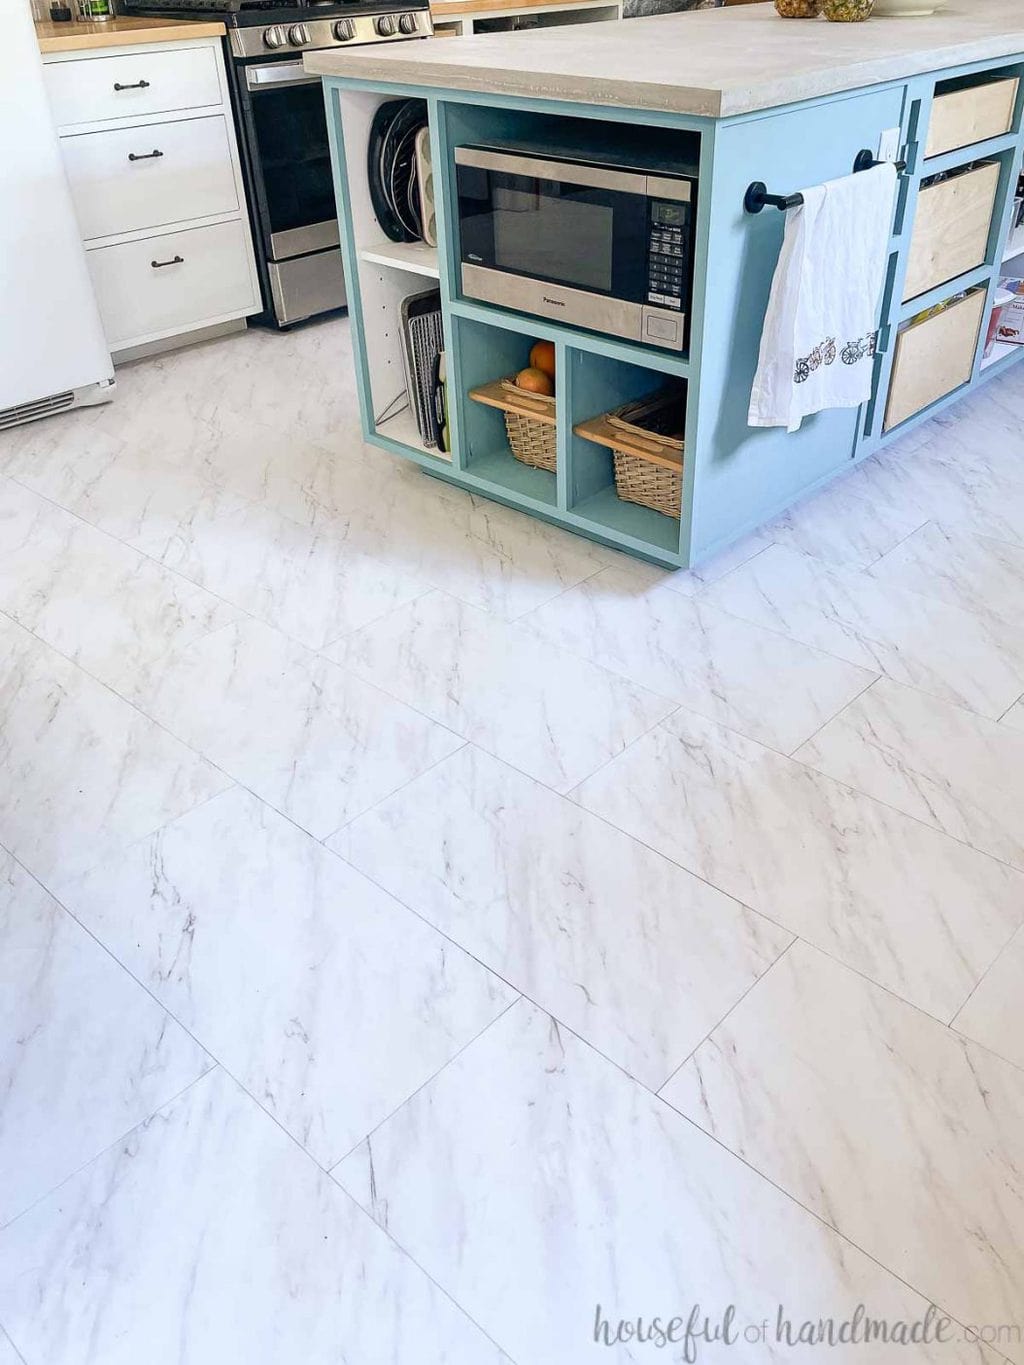
Happy tiling!


