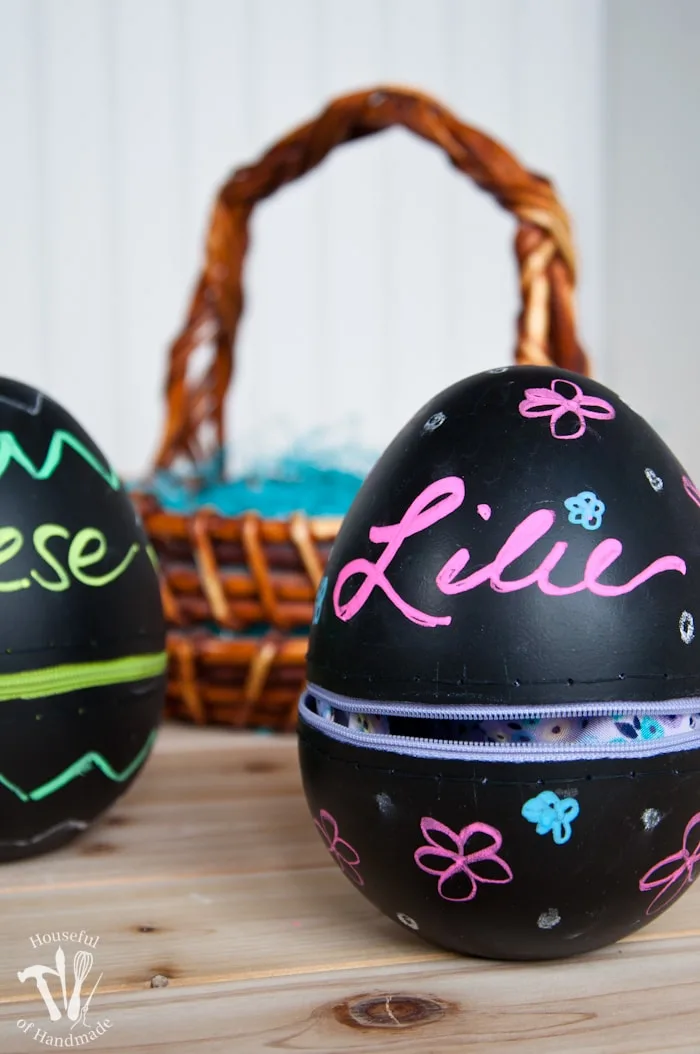
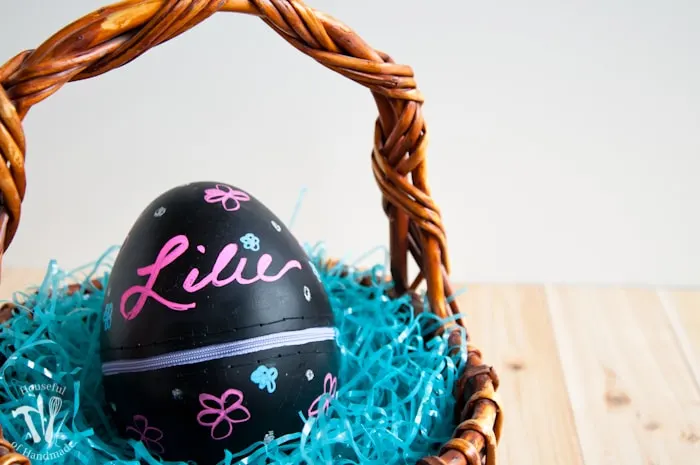
Turn decorative eggs into fillable eggs by adding a zipper!
I love filling my kids Easter baskets with non-candy items. I am not opposed to candy too, but I just can’t fathom spending $5 on a chocolate bunny that is made out of so-so chocolate when I can spend $5-10 on a cute spring shirt or fun game instead.
As I was finding some fun things to fill their baskets, I realized I wouldn’t have many “eggs” since I wasn’t going to be putting lots of candy in them. So I went looking for large plastic Easter eggs.
This post may contain affiliate links. As an Amazon Associate I earn from qualifying purchases. Click here to read my full disclosure policy.
I found some online, but for $20 a dozen (I didn’t want anywhere near a dozen) and not being able to tell how big they were, I decided against them.
Then I was shopping at my favorite place… Target. And I was in my favorite section… The Dollar Spot! Yeah, I’m a little obsessed, but for good reason because I found these jumbo decorative chalkboard eggs for $1 each. They are hollow, and they are not made to come apart, until I added a little DIY!
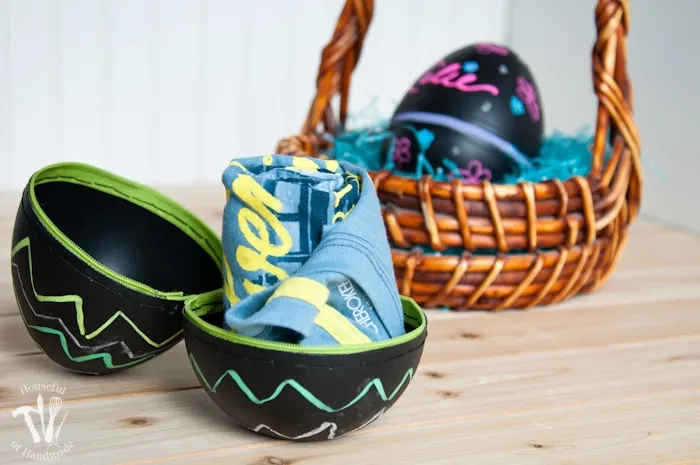
I decided the best way to make these jumbo chalkboard easter eggs able to open and close was a zipper. Super easy! I grabbed a couple brightly colored 14″ zippers and ran home excited to make my Easter dreams come true.
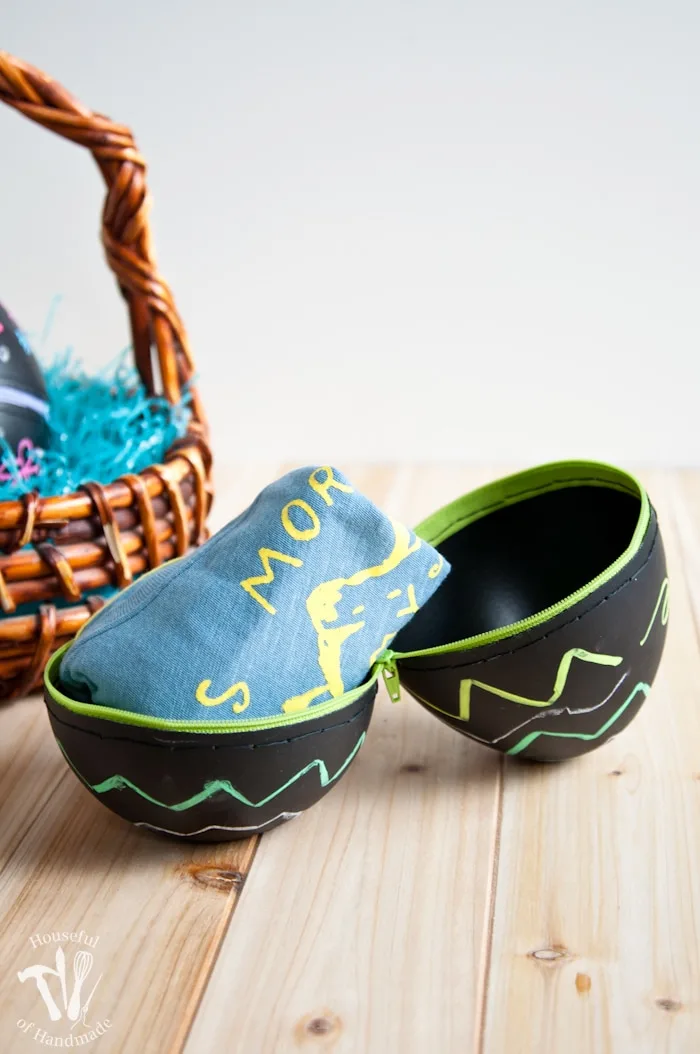
Things did not go as planned. I almost gave up, but luckily on the third try I finally figured it out and they are awesome!
Now I have the perfect place to put something fun in the kids Easter baskets. And while I was enjoying my 2 hours of free time with no kids at Target, I found the perfect spring shirts to fill them with.
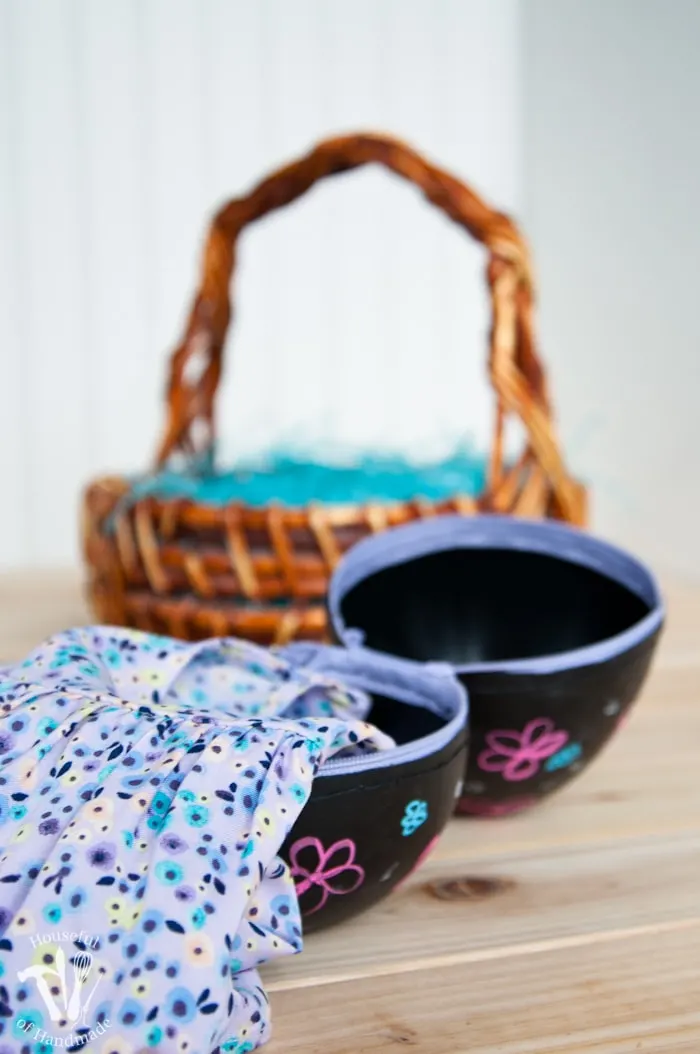
These jumbo zipper eggs would also be great as Easter decoration. You can set them up next to the cutest printable bunny art and have a fun vignette.
How to Make Jumbo Zipper Easter Eggs
To make these jumbo chalkboard zipper Easter eggs I had to start off by cutting the eggs in half.
I drew a line around the middle where I want it cut by holding a white pencil on top of a container that was the height I wanted the line, then twisted the egg around it so the line would be straight(ish).
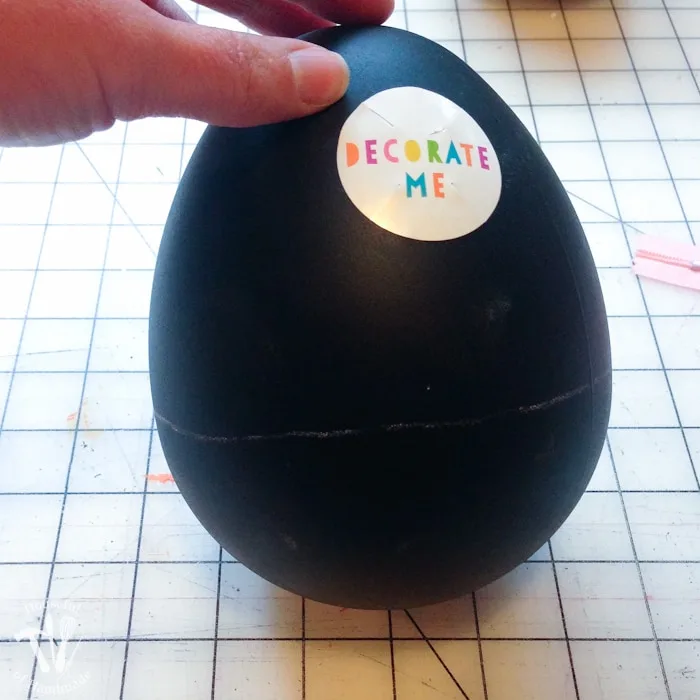
Then it was time to cut, I thought this would be easy to do with a hacksaw. I was wrong. I worked up a sweat sawing back and forth with barely a scratch on the surface.
I found the easiest way to cut the egg was with my serrated bread knife from my kitchen. It cut through it like butter! After I got a little hole started, I inserted the knife into the egg and sliced it all the way around.
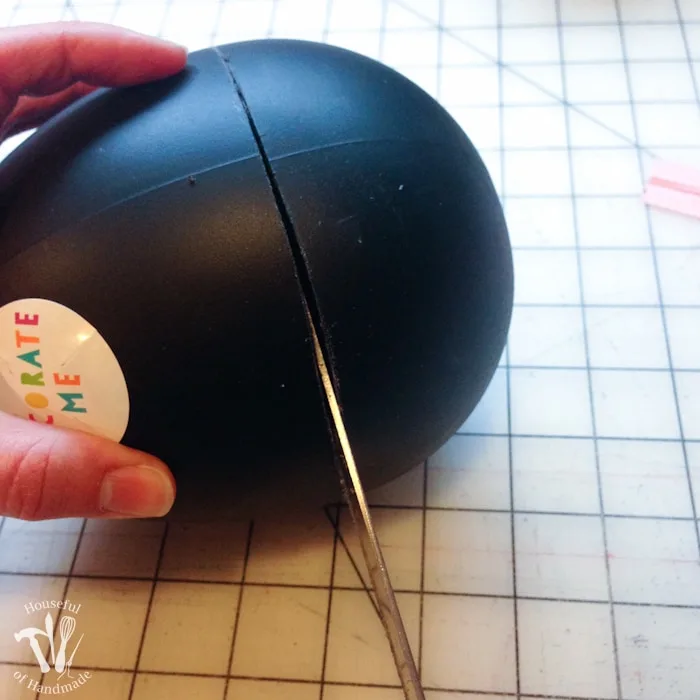
And then I cleaned up my less than perfect cutting job with a pair of scissors.
Once I finally got the eggs cut, I thought it would be super easy to glue the zipper onto the egg. Boy was I wrong! I learned that hot glue just pulls away from the plastic when you try to zip and unzip the zipper.
My next idea was to use super glue, but you have to clamp it tight for 30 minutes, with no way to clamp and I certainly didn’t want to hold each section for 30 minutes (there goes my night), I gave up on that before I completely glued my fingers together. And then I almost gave up…
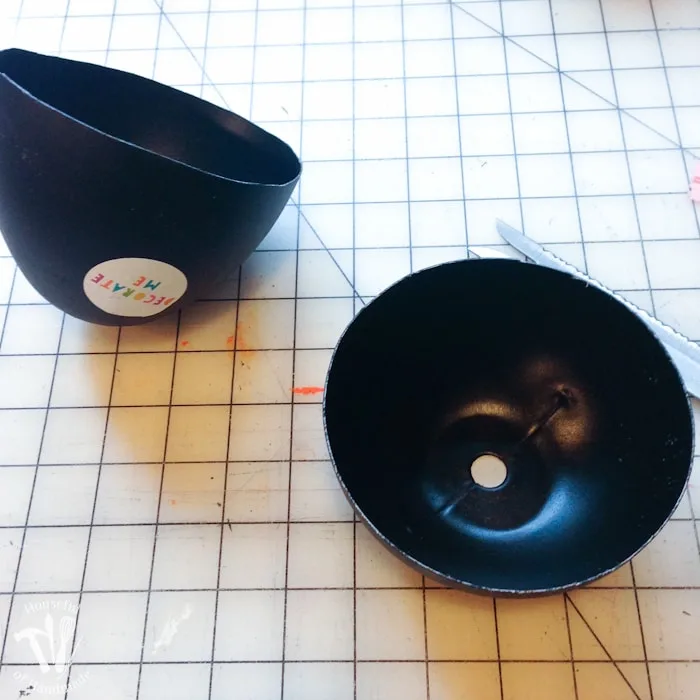
But as I was scraping the glue off my fingers I looked around my craft room and saw my sewing machine. Duh! Zippers are suppose to be sewn on so why not sew it onto the egg?
Obviously I was not going to use the sewing machine (although I did consider it). But a little simple hand sewing would work, all I needed was holes in the eggs. So I grabbed the smallest bit I had for my drill and added some holes about 1/4 inch from the cut line. I totally eyeballed it, no need to get too precise.
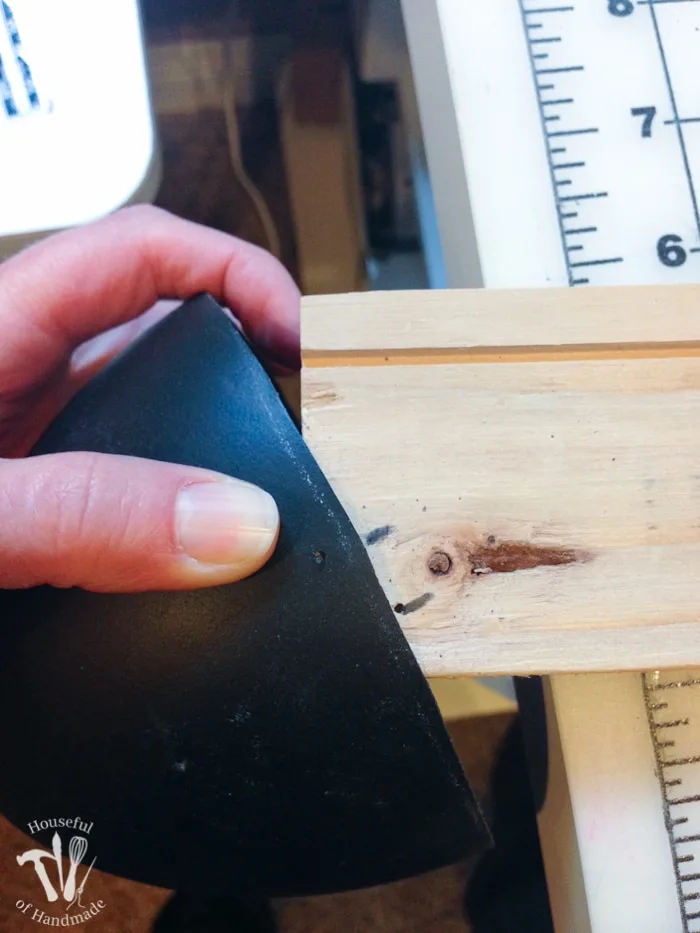
I decided to make the hole about 1/2 inch apart. Instead of measuring and marking it all around, I marked 2 lines on a piece of scrap wood 1/2 inch apart, then I drilled my first hole. Move the first hole to one of the marks and drill the second hole at the second mark.
Then it was as easy as rotating the piece of wood and lining the up the previous hole on the one mark and drilling on the other one. It took just a minute to drill little bitty holes all the way around the egg on each half.
Lastly, I needed to sew the zipper to the egg. I used a long piece of thread, doubled over, with a knot at the end and went in and out with a basic stitch.
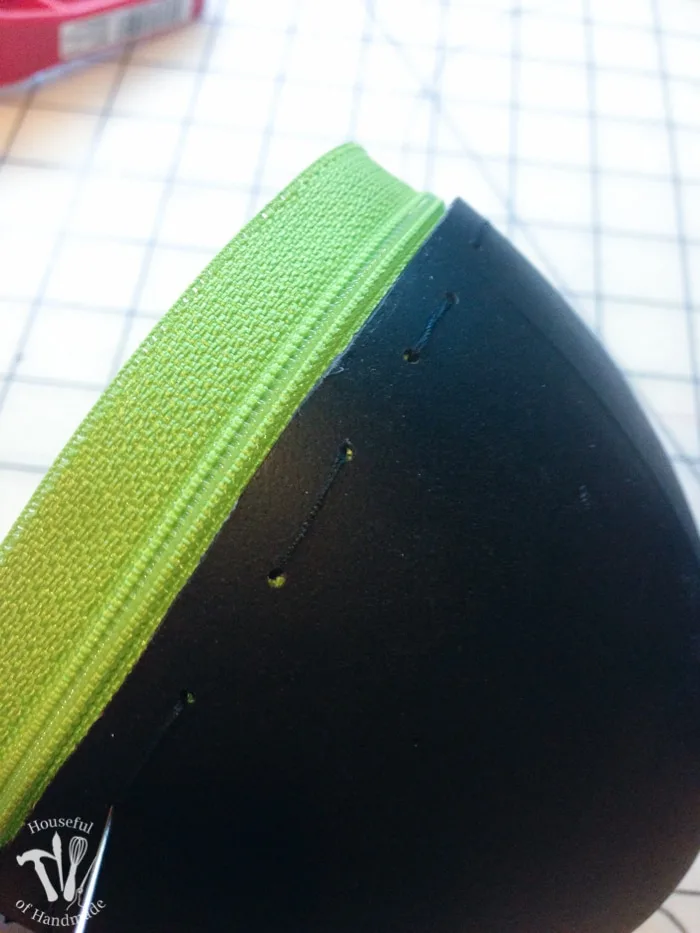
Make sure to keep the teeth of the zipper about 1/8 inch up from the edge of the egg so there is room for the zipper pull to move freely (and more of the color will show).
After I went around the entire egg, I did it again, but went out then in so that I filled the empty section showing on the outside of the egg. And the second go around really makes the zipper feel super secure and ready for the beating the little hands will probably give it.
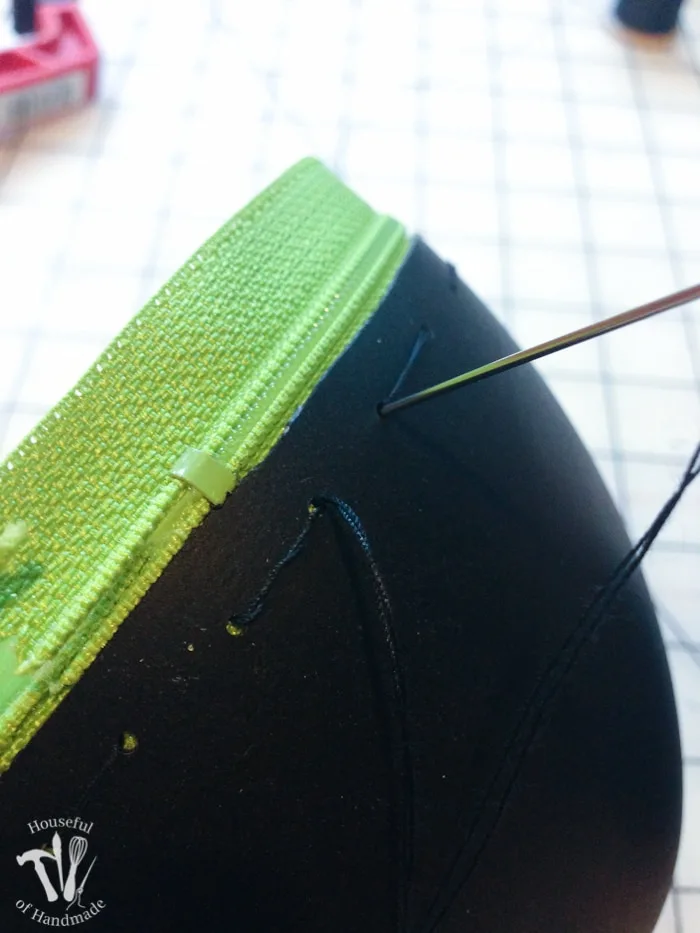
Next you have to do the same thing but on the other side of the zipper.
Line the halves of the egg up and then decide where the zipper needs to be sewn, then unzip the zipper and start sewing. I’m not going to lie, it gets a little tricky when you have to sew next to the open zipper pull because the two halves don’t want to hold still, but I found it easier when I was sitting on the floor balancing the eggs on my legs.
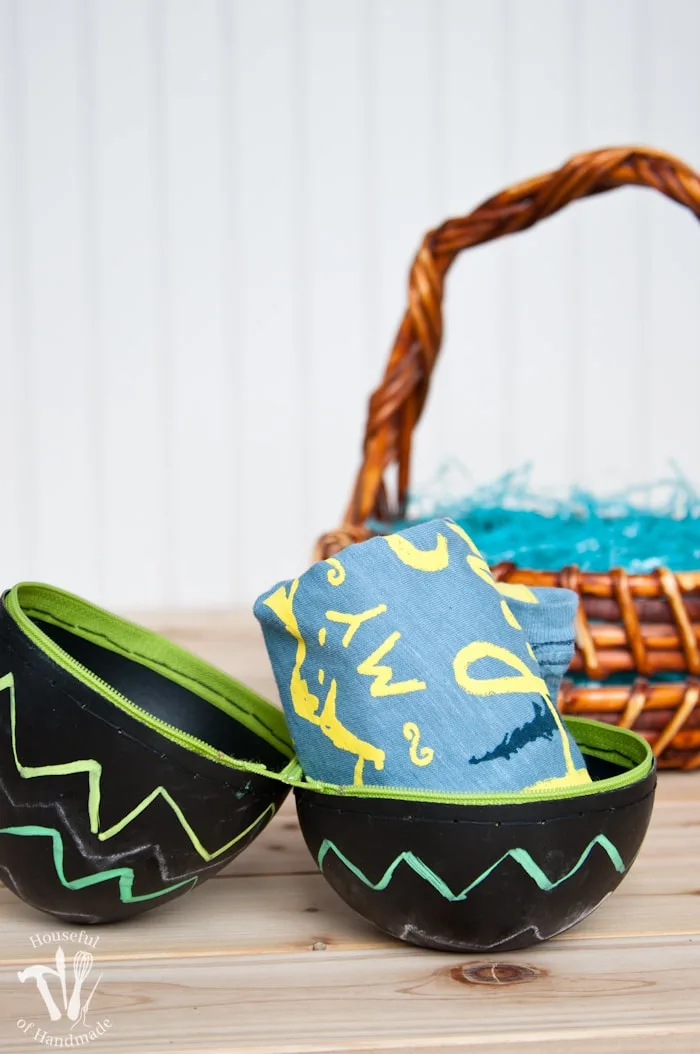
And with minimal headache, I managed to make these two jumbo chalkboard zipper Easter eggs for only a couple dollars.
These eggs are so big I can fill them with a couple shirts, a small stuffed animal, or anything else I might find as I wander the isles of Target 🙂 This year, it will be a spring shirt and hopefully the snow will melt so they can actually wear them!
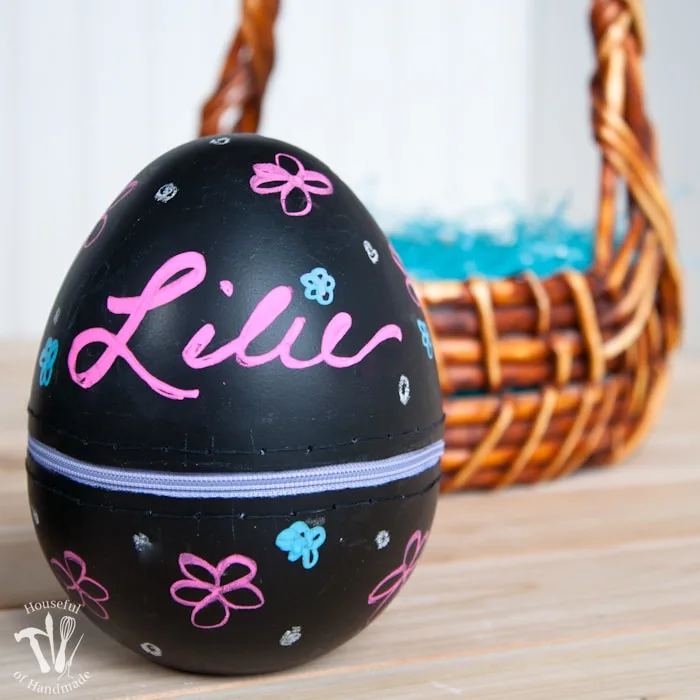
Before I called them completely done, I decided to decorate them! They are chalkboard eggs after all.
I found the regular chalk comes off way too easy and when zipping it open and closed get totally smudged, but the chalk markers (one of my new favorite obsessions) were perfect for bright fun colors on the black eggs.
I added their names so they can easily tell who’s Easter basket is who’s Easter morning. I hope they are as excited to open them as I am going to be filling them every year!
Happy Easter!

