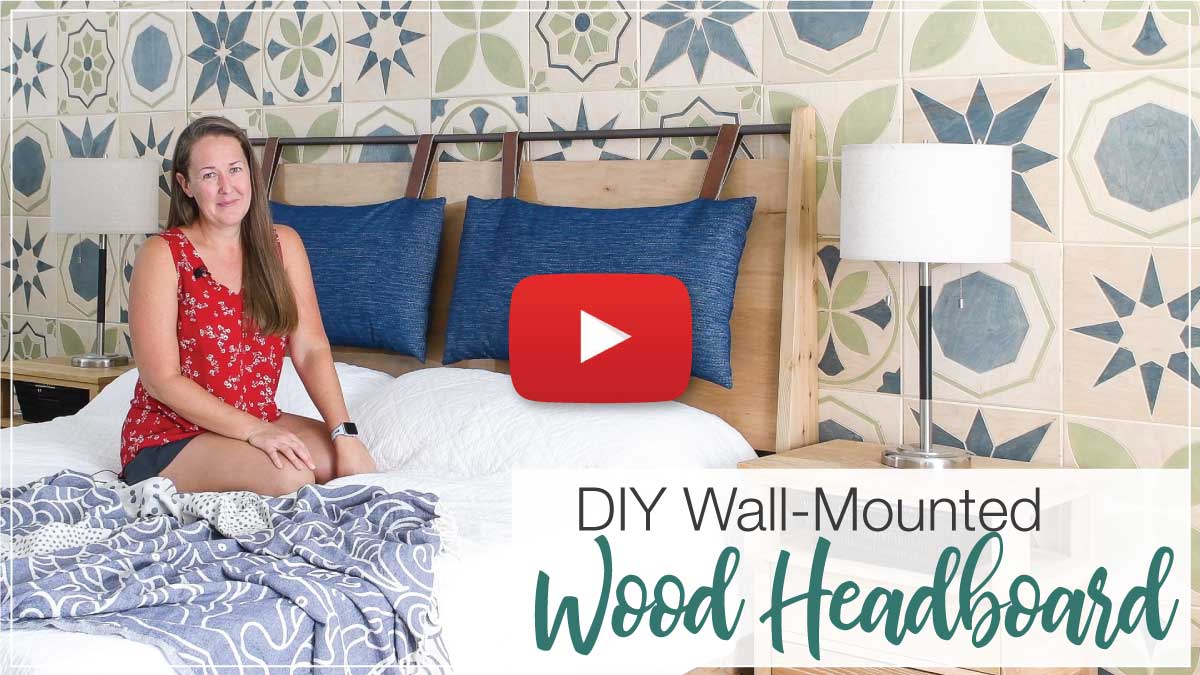
Turn your bedroom into the ultimate lounging space with a new headboard. This DIY headboard is easy to make but has all the style needed to create the ultimate bedroom oasis.
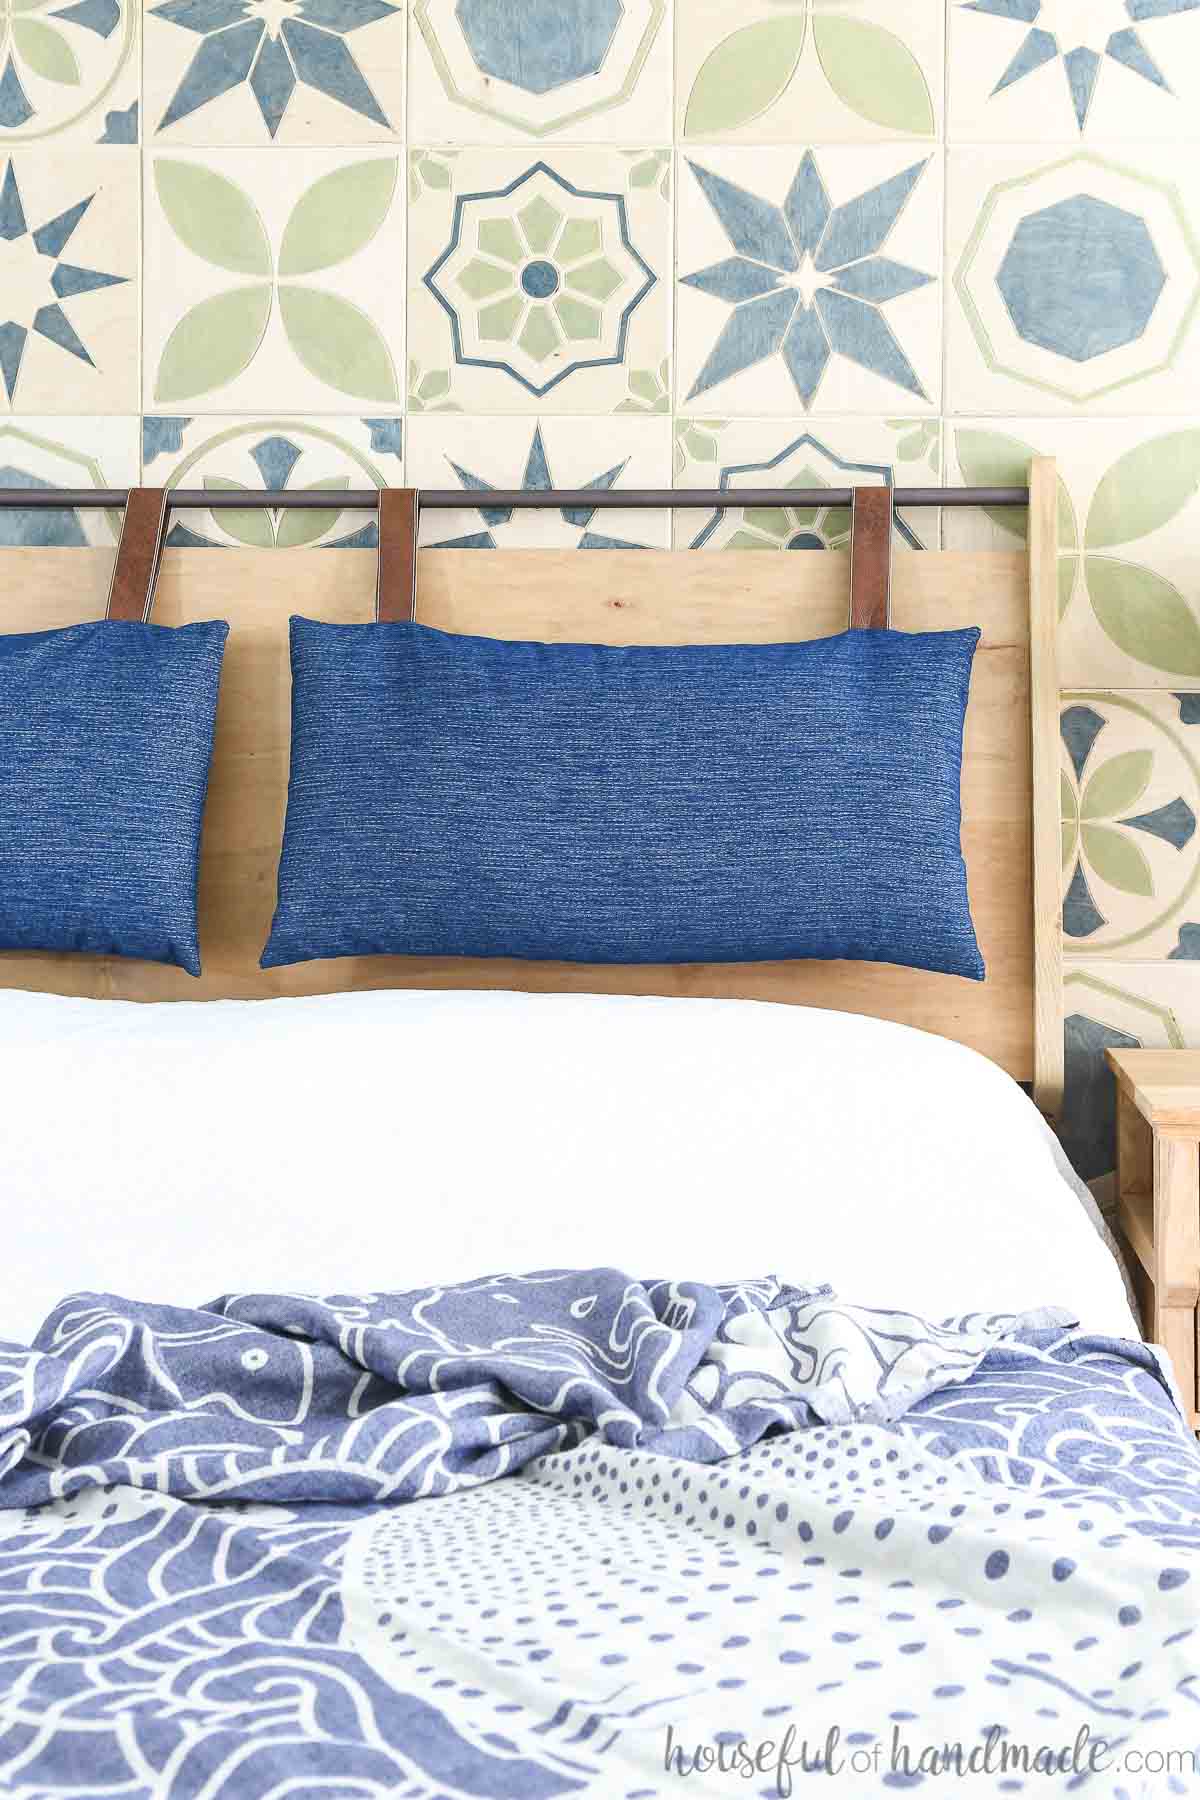
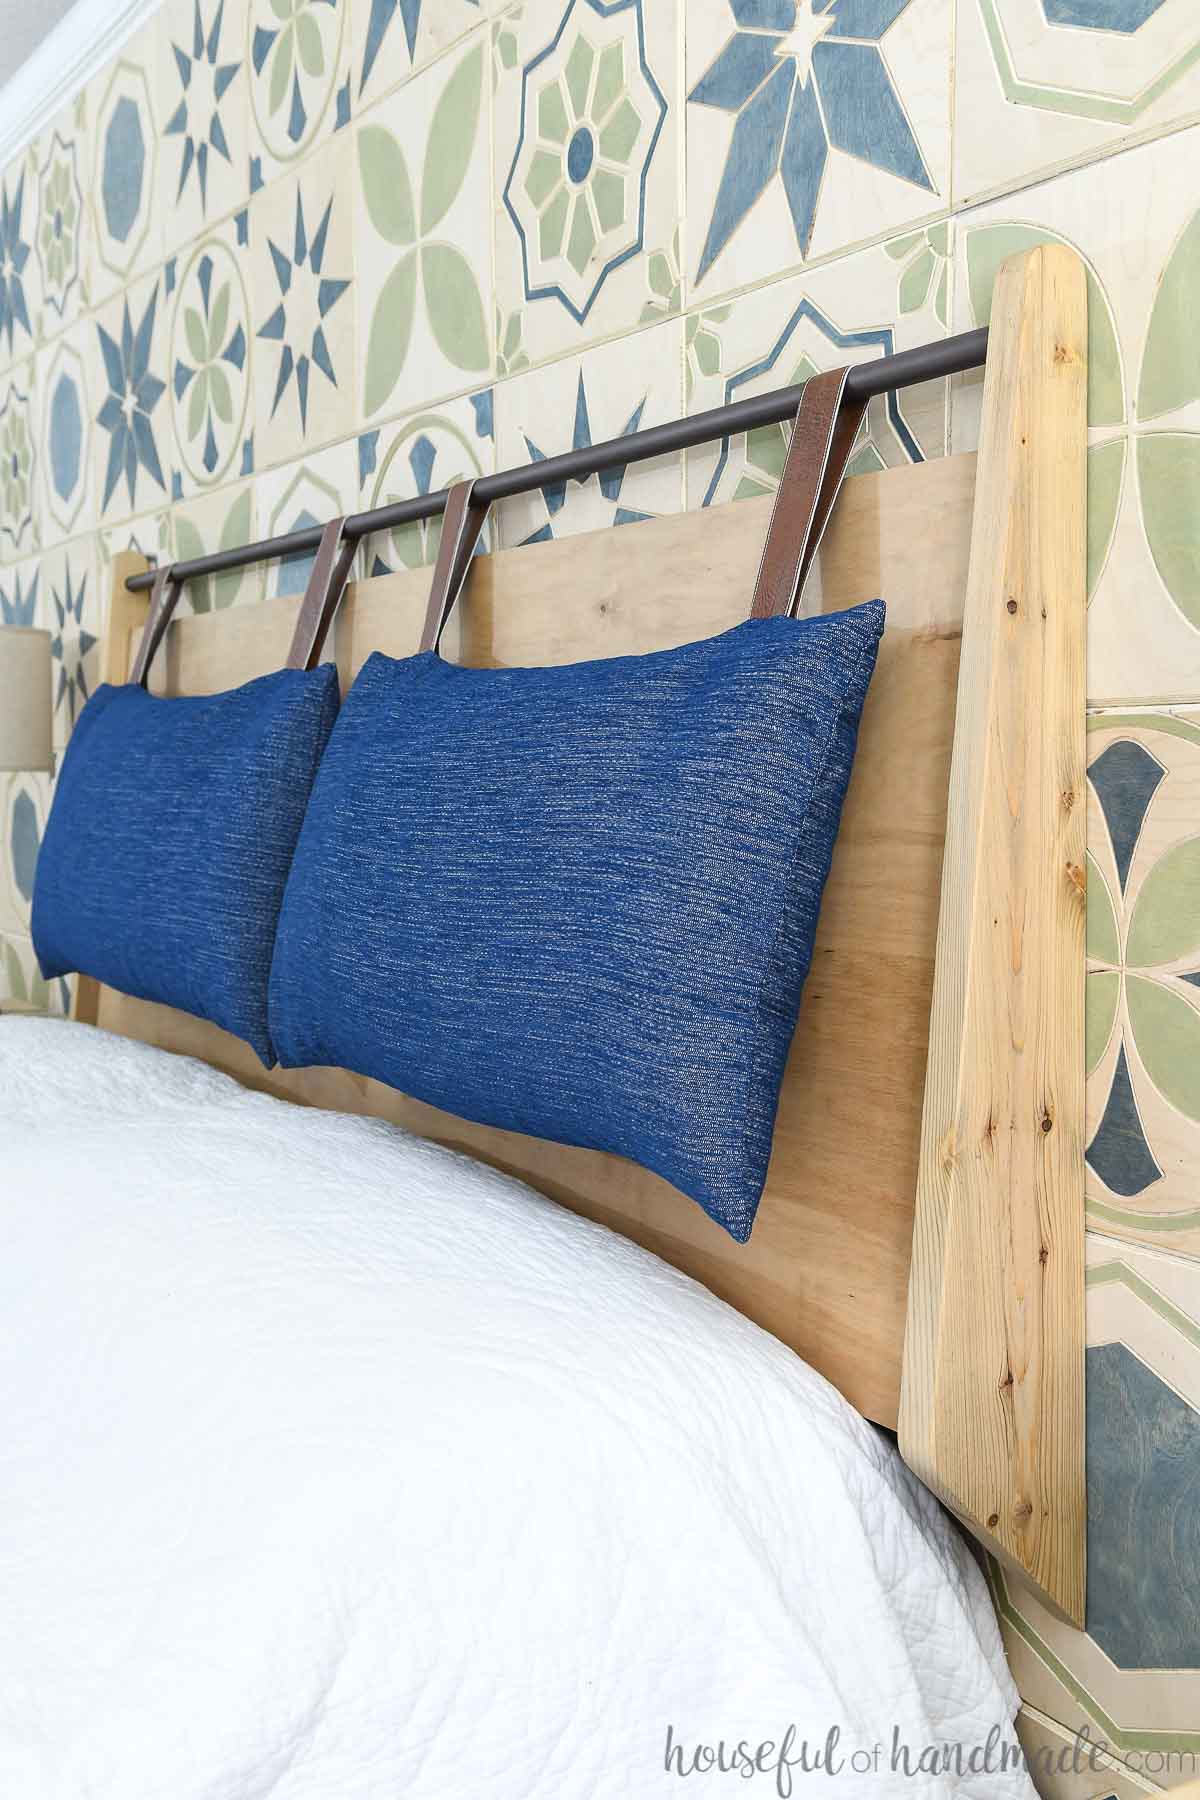
The wall-mounted headboard has a slight angle on the back to make lounging in bed more comfortable. Plus there is a bar on the top for hanging a headboard cushion to make your DIY headboard even more comfy.
And you are going to love how easy and inexpensive this homemade headboard is to build. I partnered with Kreg Tools to build the headboard with the Kreg 520Pro pocket hole jig. It makes creating pocket holes in large boards (like the back of the headboard) super hassle free!
This post may contain affiliate links. As an Amazon Associate I earn from qualifying purchases. Click here to read my full disclosure policy.
Plus you can use your pocket hole jig to make the matching DIY platform bed frame. Perfect for creating the ultimate bedroom set!
Unique Headboard Design
I love a lush comfy bed. Somewhere you can snuggle in for a long night of bing-watching.
But I hate dealing with all the pillows needed to create the comfort. You have to move them off the bed to sleep, then pile them back on every day when you make the bed.
So I knew I wanted to create a unique way to give me the extra cushions I want in bed, without the pillows…
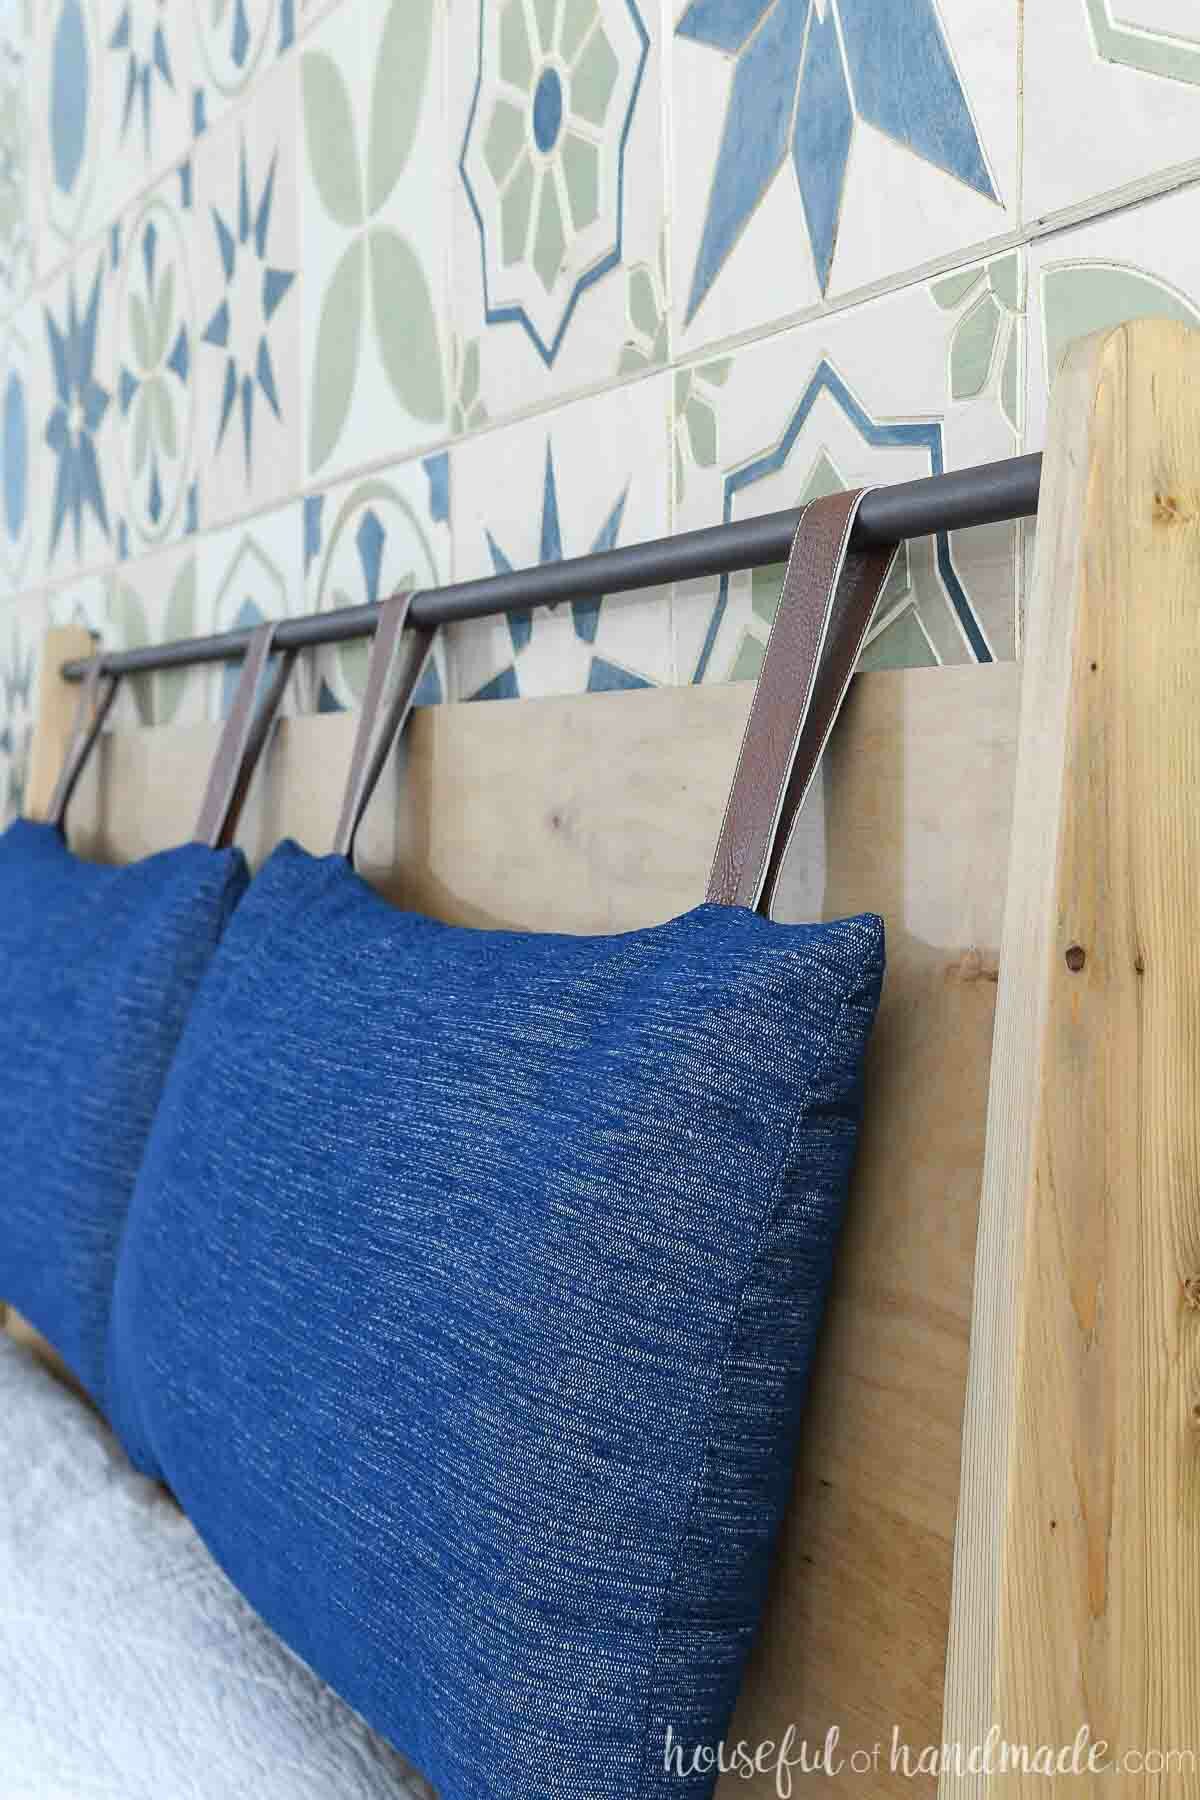
Instead of a pile of 4-6 pillows up against a headboard, this headboard has the cushion hanging on it. It is perfectly positioned to support your back in bed, but stays out of the way when sleeping.
There is also a slight angle to the back of the headboard. It is created with some simple angled cuts on the sides and back supports.
This makes leaning up against it way more comfortable than a straight back. Perfect for some late night TV watching, even if you want to use the headboard without the cushions!
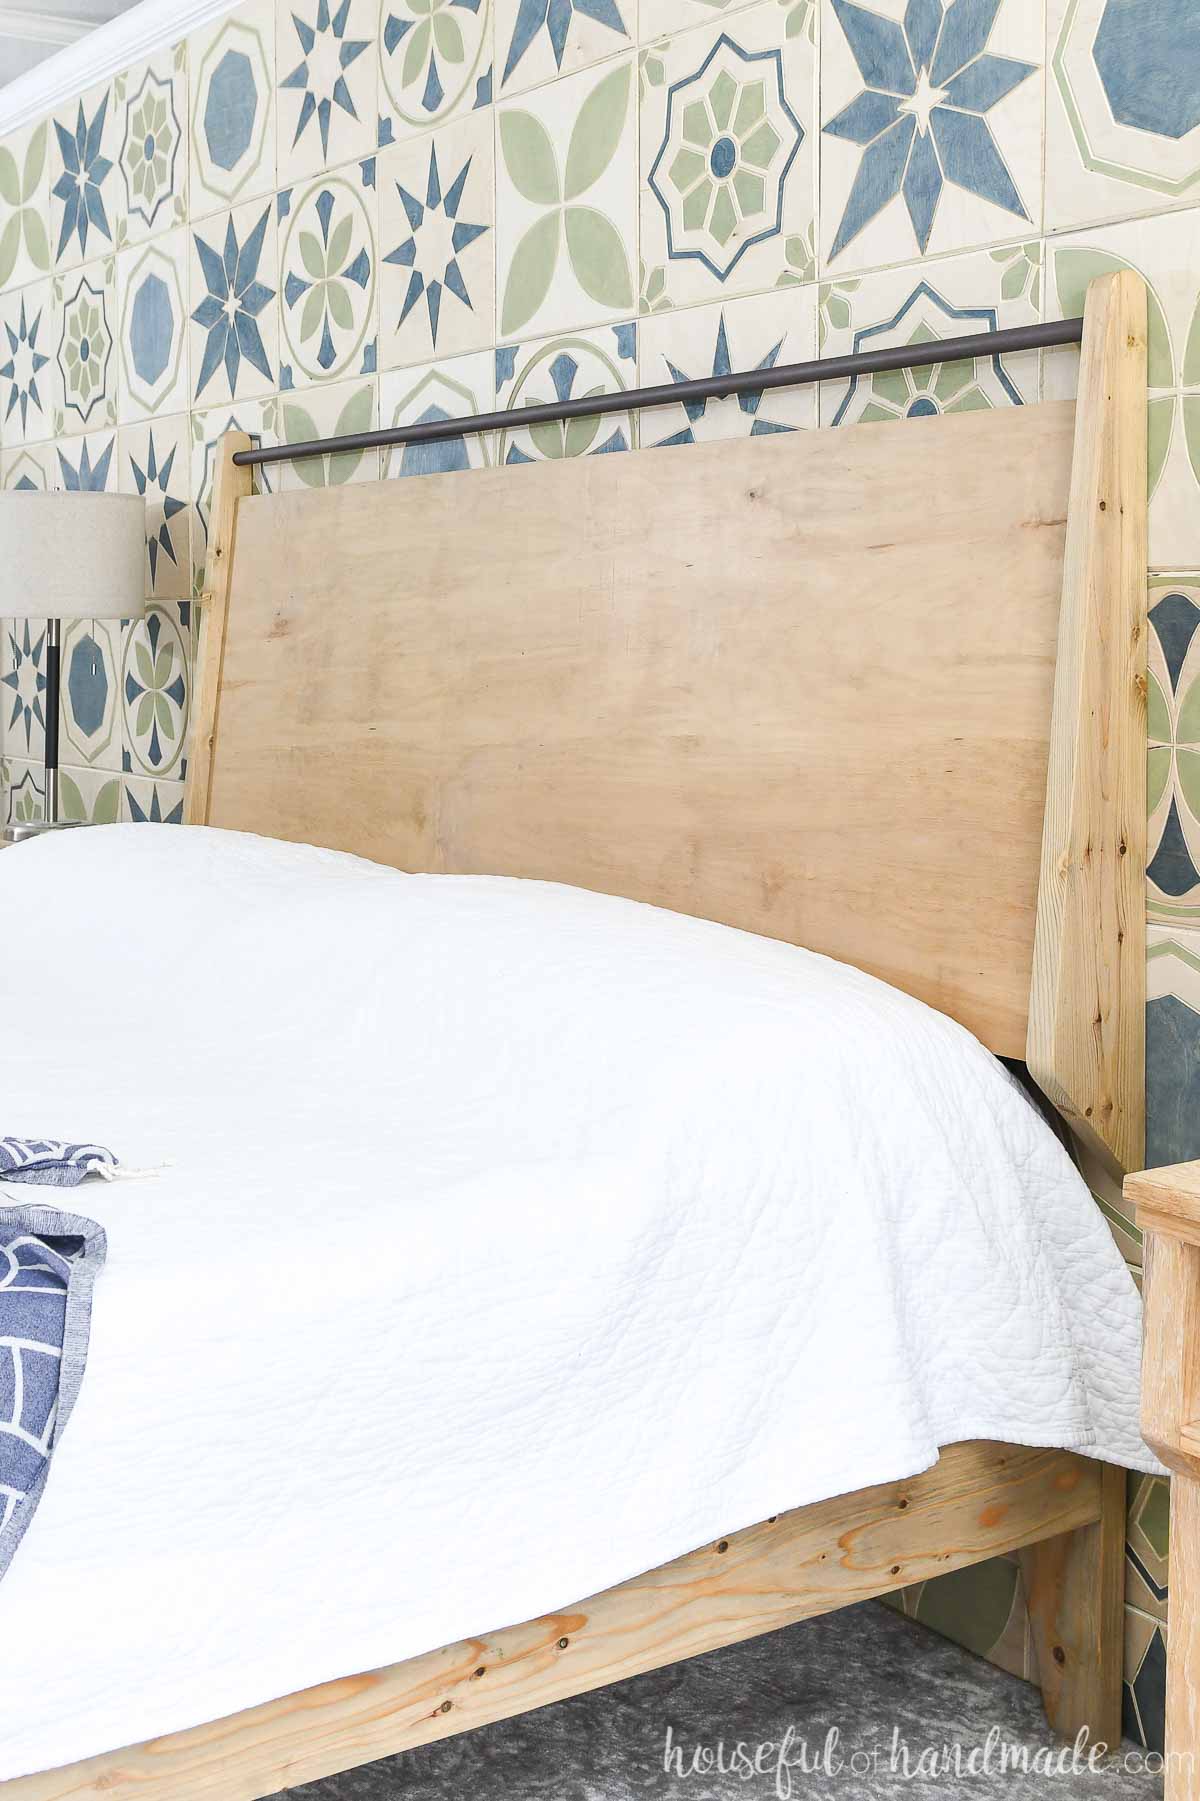
Wall-Mounted Headboard
Instead of building the headboard as part of the bed frame, I made them into 2 separate pieces. You can build the DIY bed frame that matches the headboard, use one you already have, or even use a metal bedframe.
Mounting your headboard on the wall is nice for a few reasons. It makes your headboard extremely sturdy since it is mounted to the wall. And it prevents noise from the headboard when the bed is jostled.
If your headboard is separate from your bed frame, you can easily move the bed frame around for cleaning. This is harder to do with a large headboard as part of the bed.
And if you ever have to move, having the headboard separate from the bed frame can make the process much easier.
Mounting the headboard to the wall it also way easier than you might think!
The headboard is built with a DIY french cleat on the back. To make the french cleat, you rip a 1×4 board in half at a 45 degree angle.
Then you attach one side to the headboard and the other side to the wall. When you slide the headboard onto the piece on the wall, it holds it nice and tight to the wall.
A french cleat can hold very heavy items securely for you. No worries about your DIY wood headboard ever falling down. How’s that for a good nights sleep?!
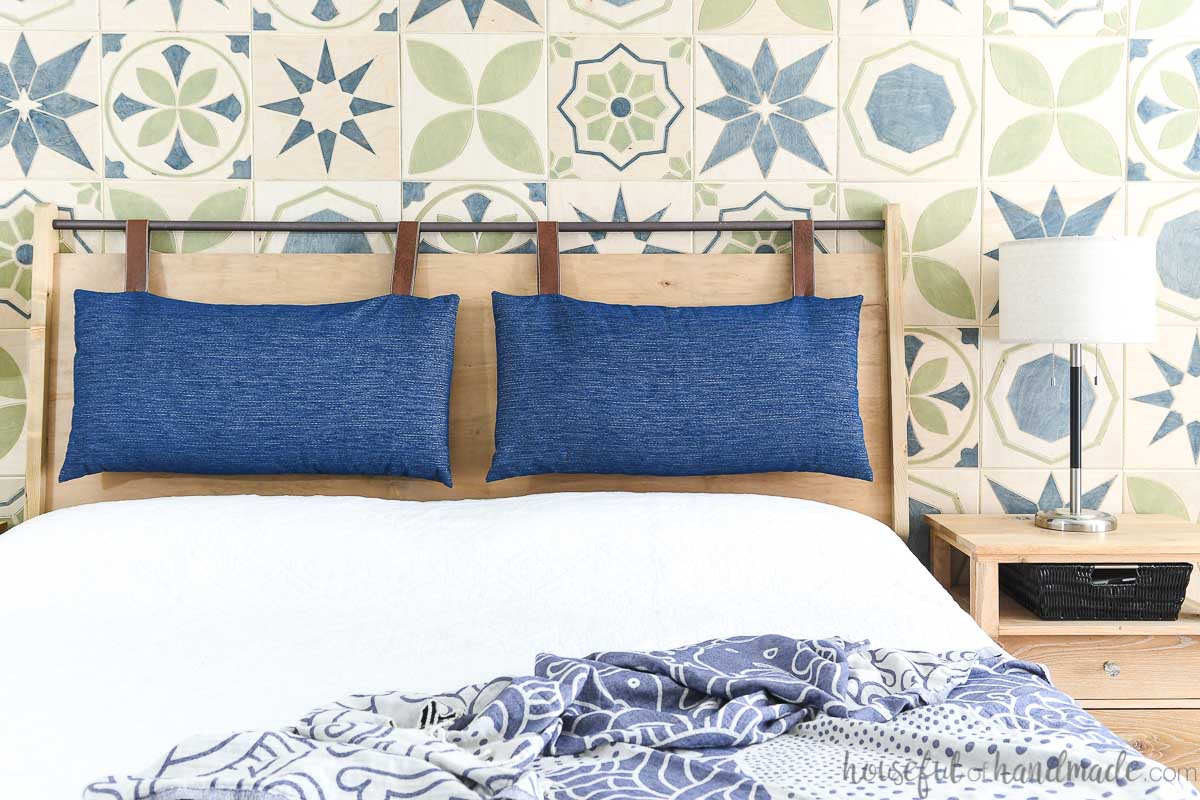
Easy to Sew Headboard Cushions
You can purchase headboard cushions to hang on your DIY headboard, but you can also easily DIY them too!
To make the headboard cushions for my headboard, I used king sized pillows (since I build a king sized headboard) and 2 yards of fabric.
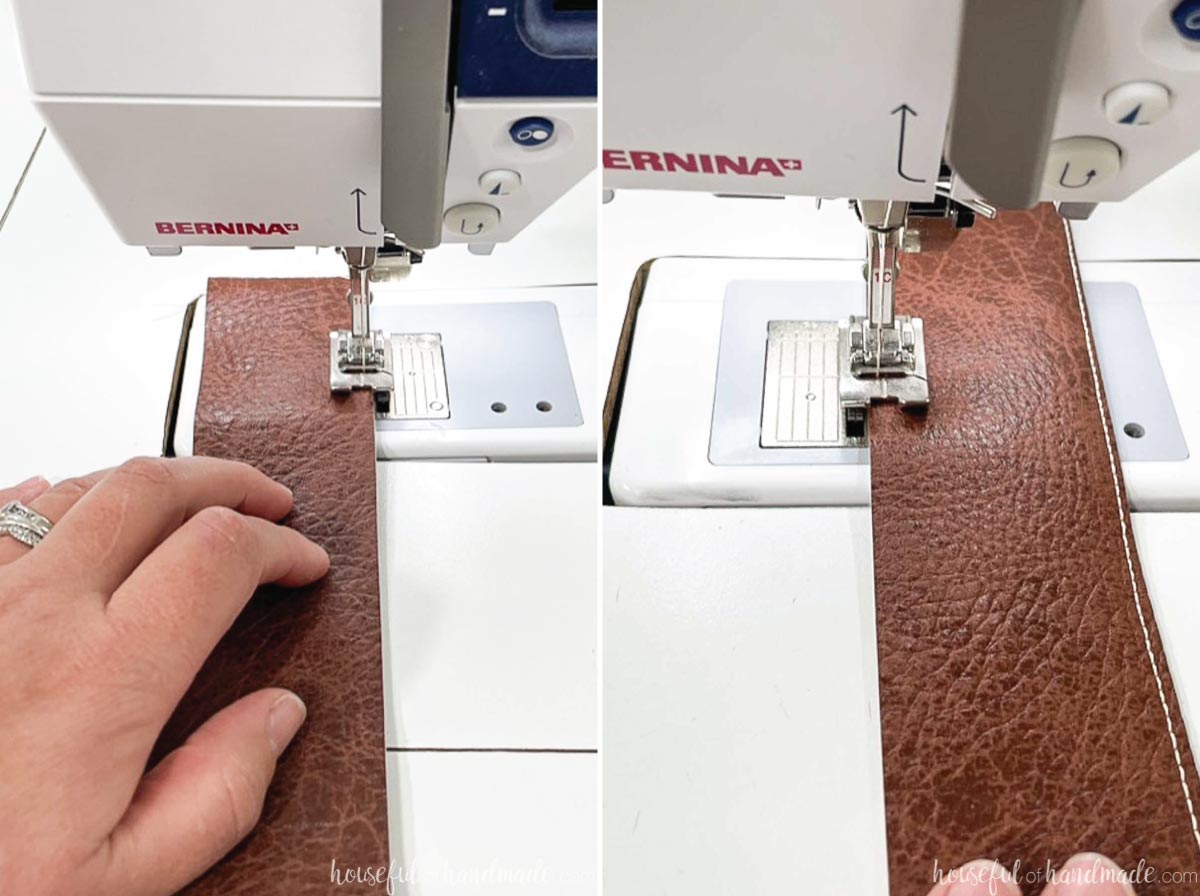
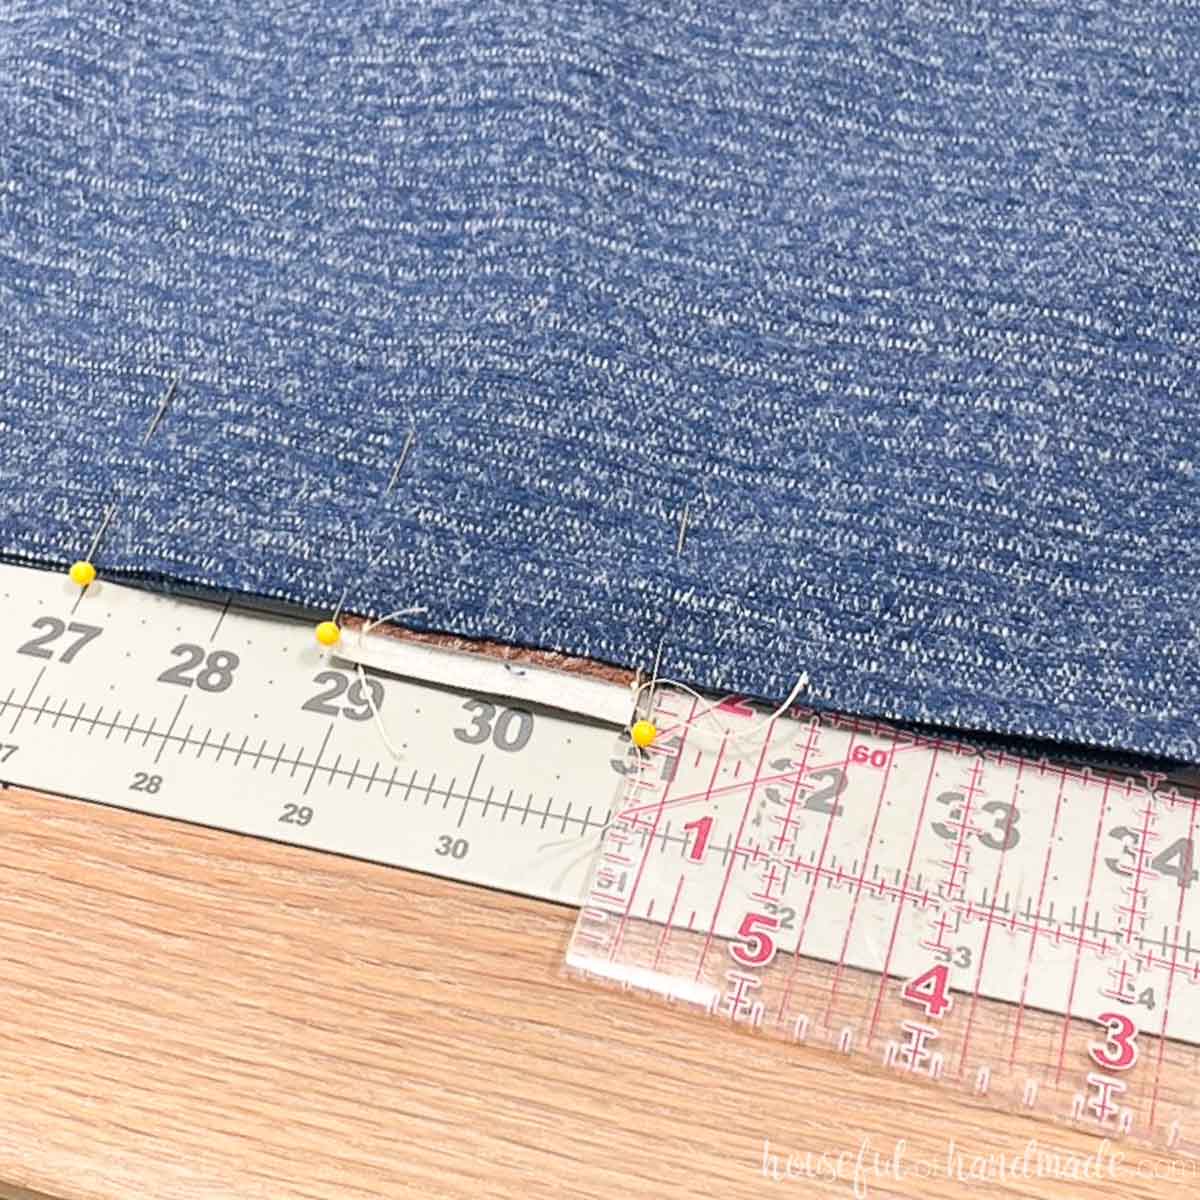
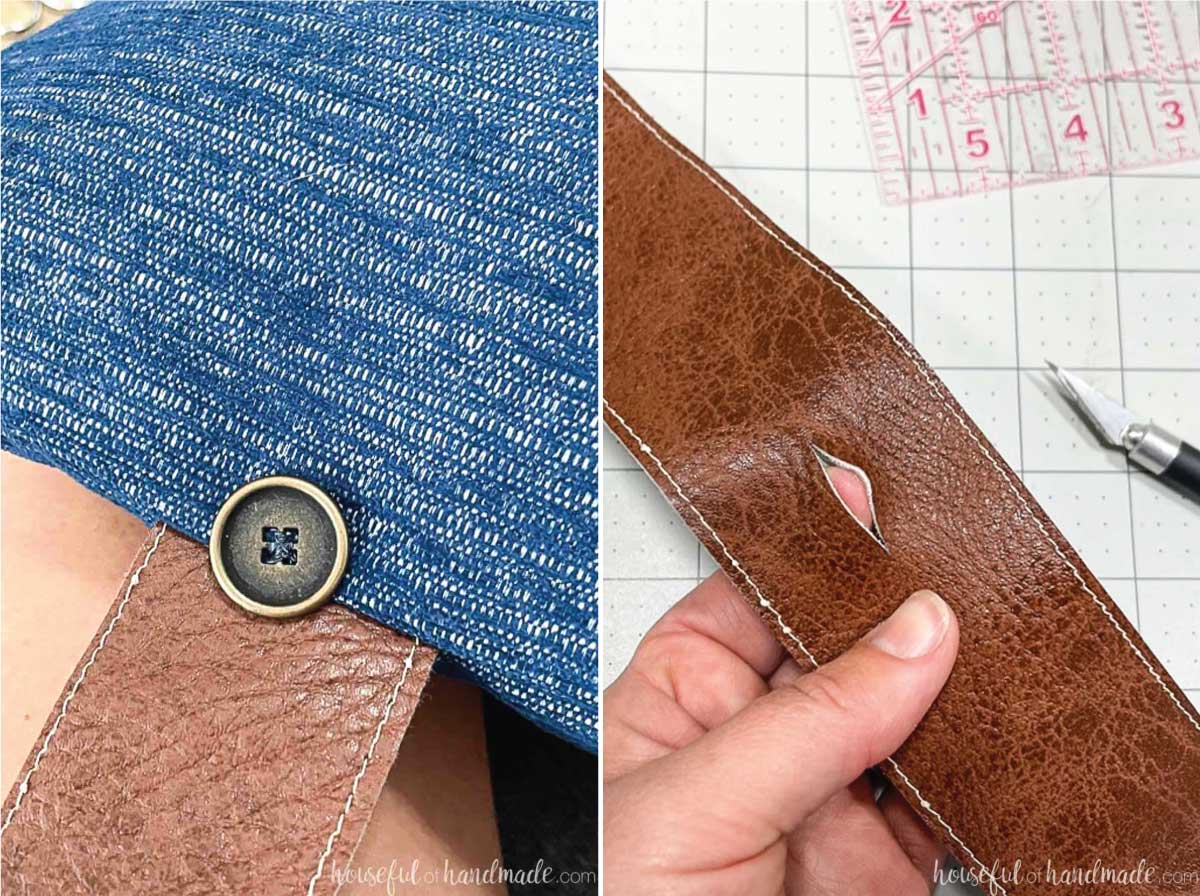
Before you can sew your cushions, you need to create a way to hang them. I used scraps of faux leather. You can also use fabric, strapping, or real leather.
Cut a 2″ piece 40″ long. Fold it in half and sew close to the edge on both sides. . This will create a strong strap that has the faux leather on both sides.
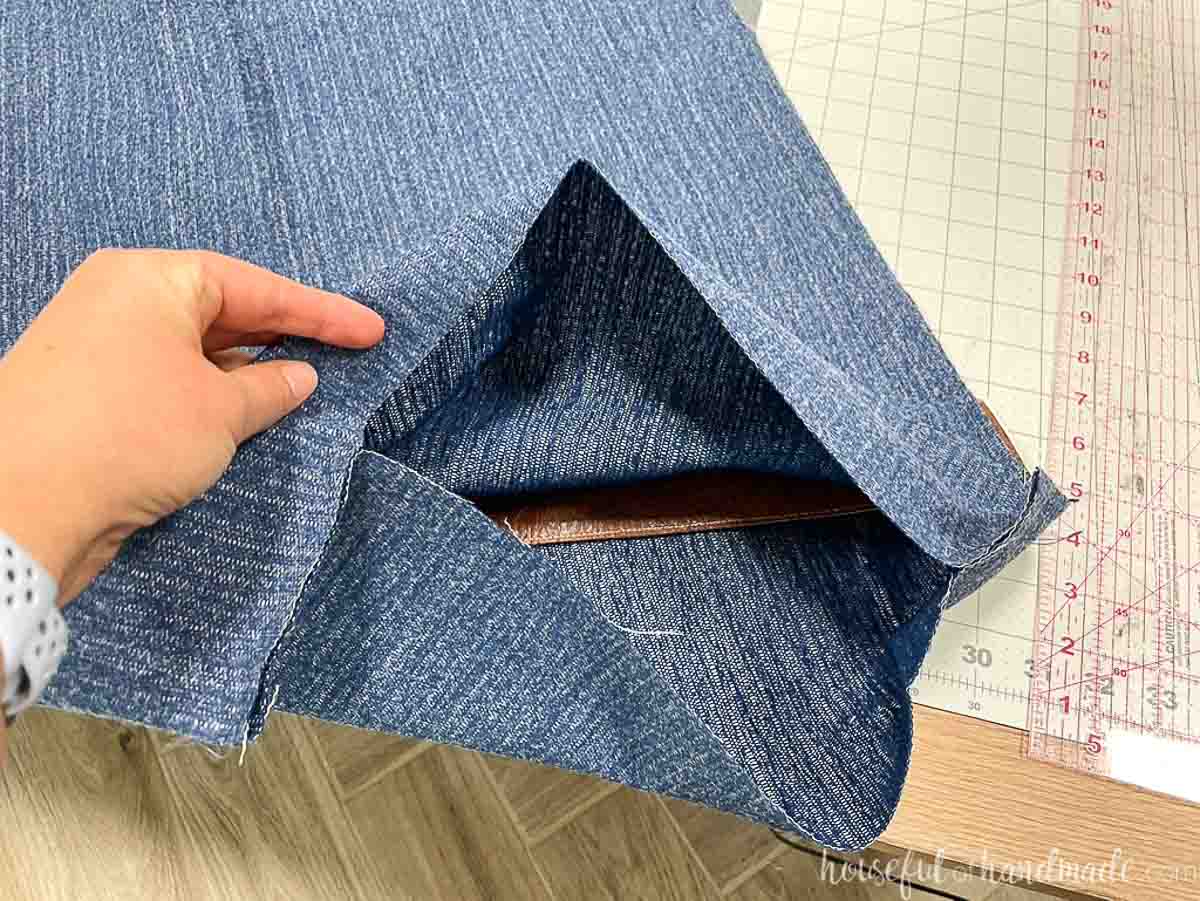
Cut the fabric the same width as the pillows and the same height x 2. This will make the sewed together piece slightly smaller than the pillow to help it fill out the cushion.
Fold it in half so the right sides are in. Pin the pieces together at the three edges (the fold is the 4th edge).
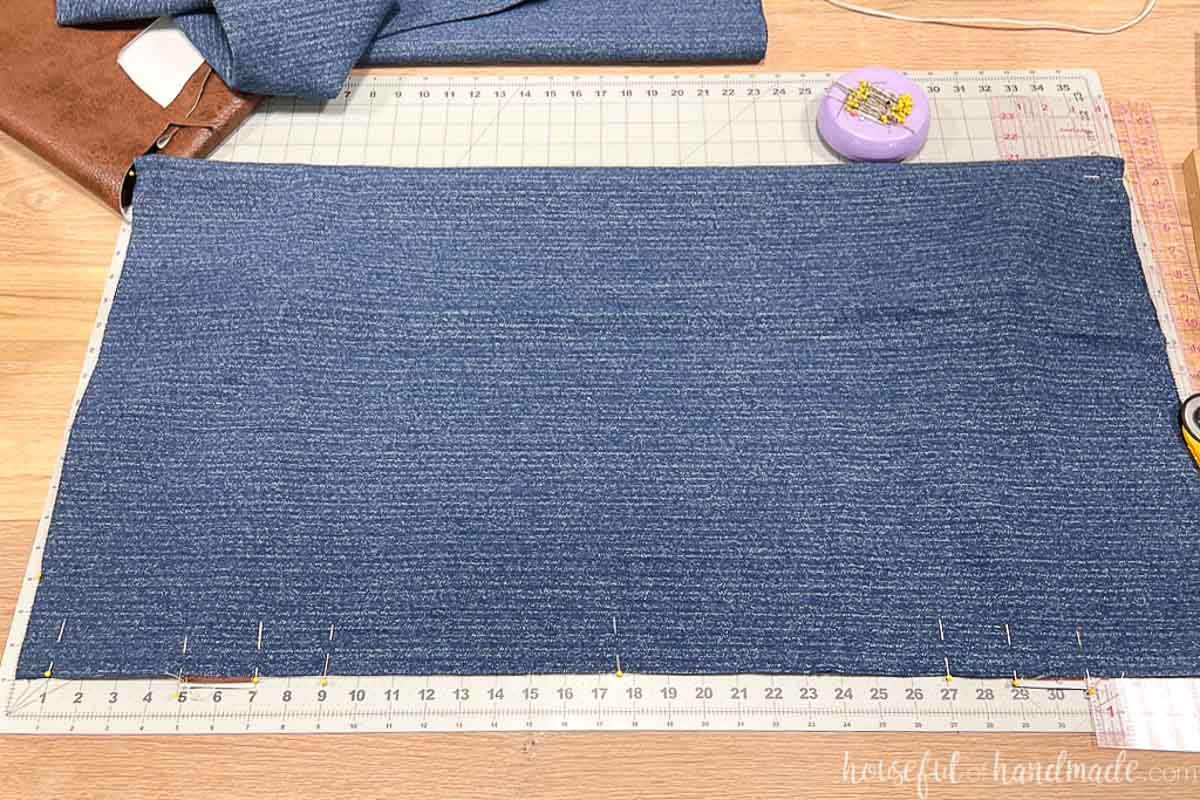
Tuck the straps inside the cushion form. Then let them stick out the long seam slightly.
Pin them evenly spaced from the sides.
I couldn’t pin through the leather because it was too thick, so I pinned right next to the edge on both sides squeezing it tight to hold.
Sew with a 1/2″ seam allowance the entire long side and one short side.
On the other short side, only sew 2-3″ on each corner to leave an opening for turning and inserting the pillow.
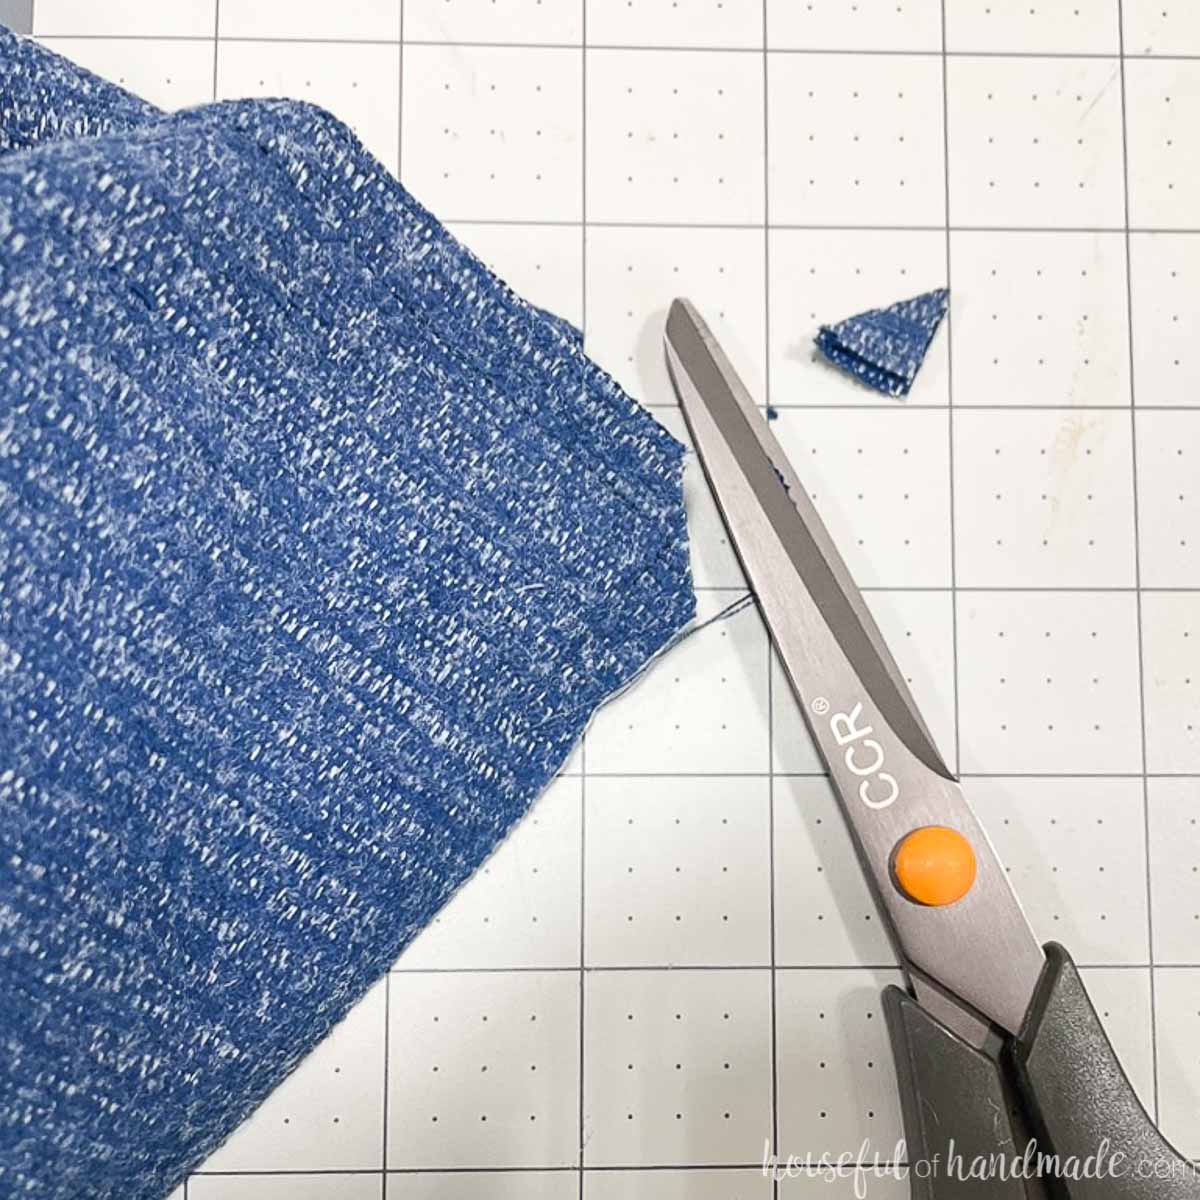
Clip the corners close to, but not over, the seam.
This removes the extra bulk in the corners so they will look nicer.
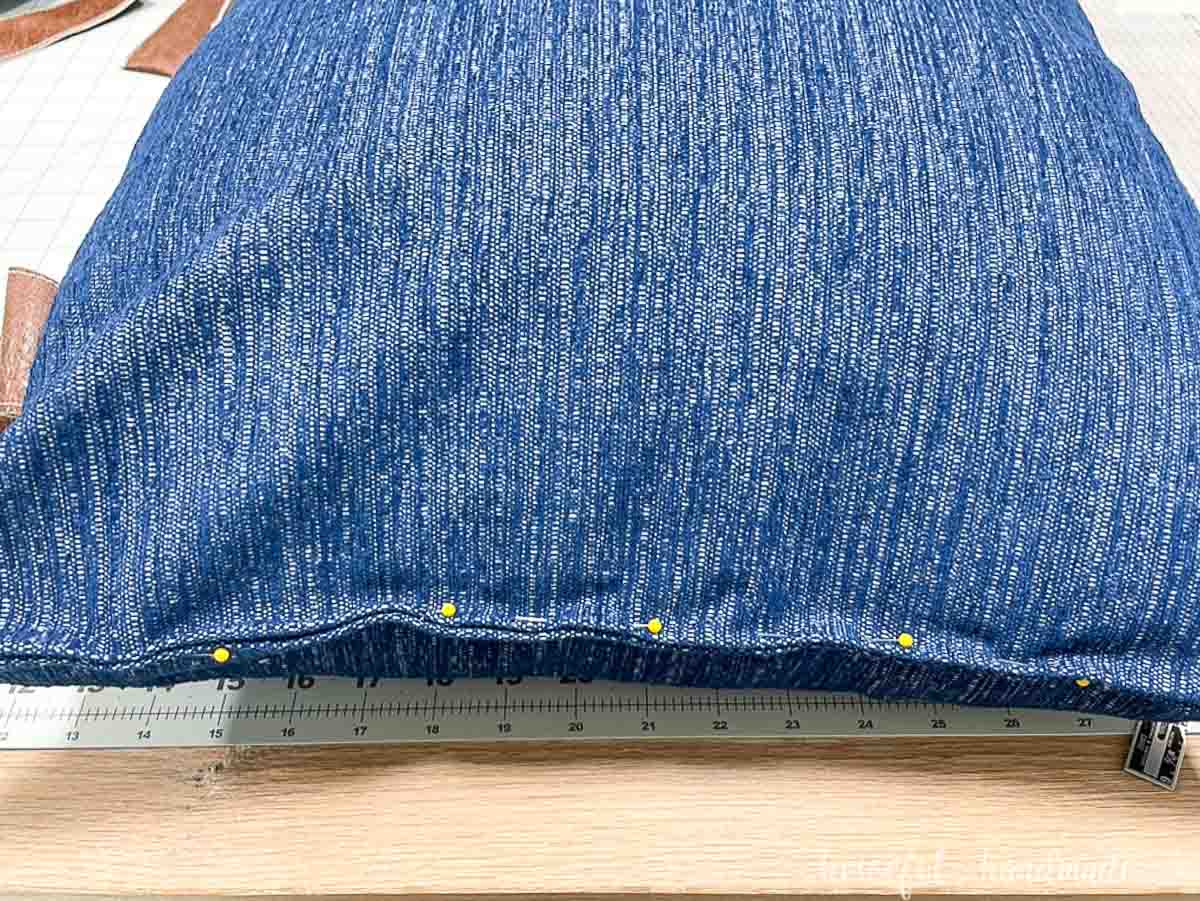
Insert the pillow into the cushion and make sure it goes into all the corners. Pin the seam closed.
Hand stitch the seam to close it up.
To hang the headboard cushions, sew a button on the fabric right below the strap.
Then determine how far down on the headboard you want your cushion to go. I looped the strap over the bar and held it into place while testing where the pillow fell.
Then cut a slit in the strap where you want it create button hole.
Now all you have to do is hang your new headboard cushions on your headboard!
Prefer to watch? Check out the full YouTube Video here:
Happy Building!

Thank you to Kreg Tools for sponsoring this post. I only recommend products that I use and love and all opinions are 100% my own. Click here to read my full disclosure policy.