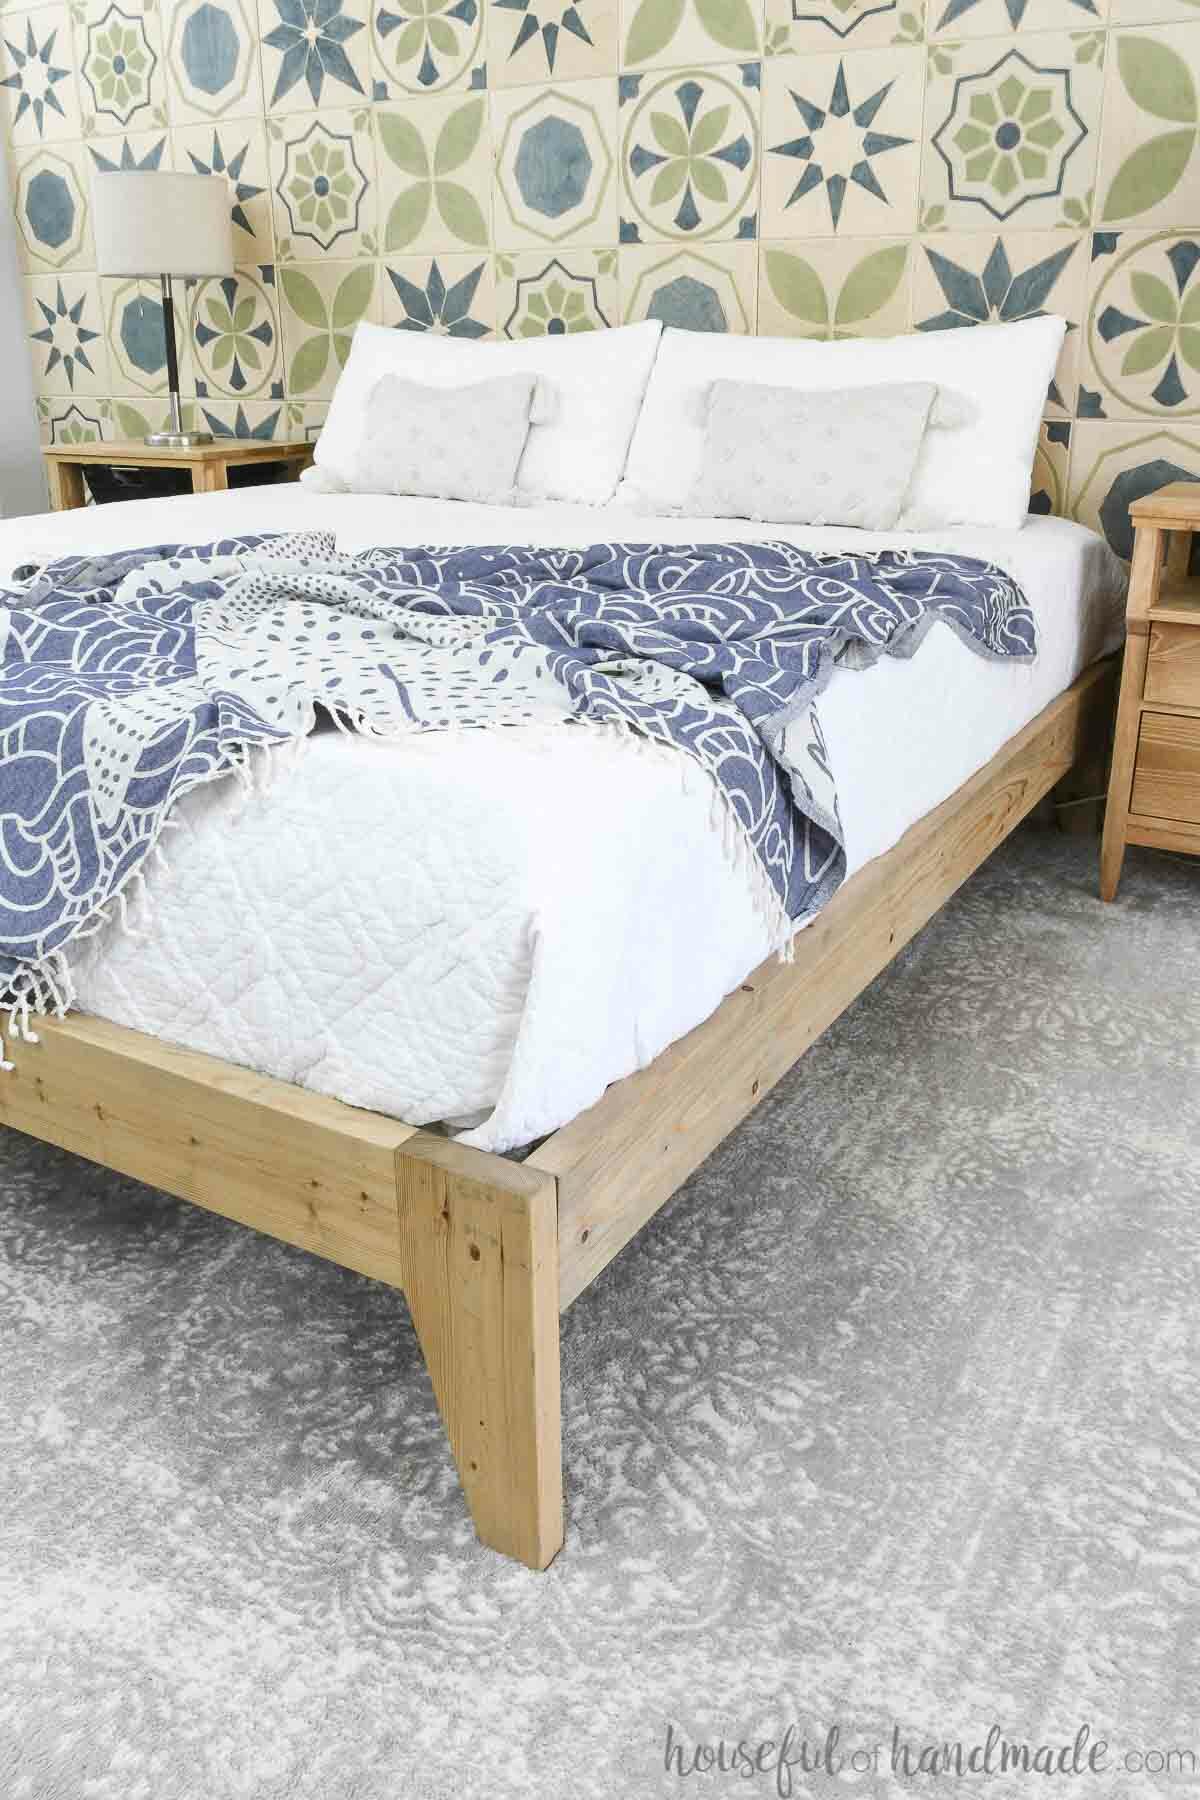
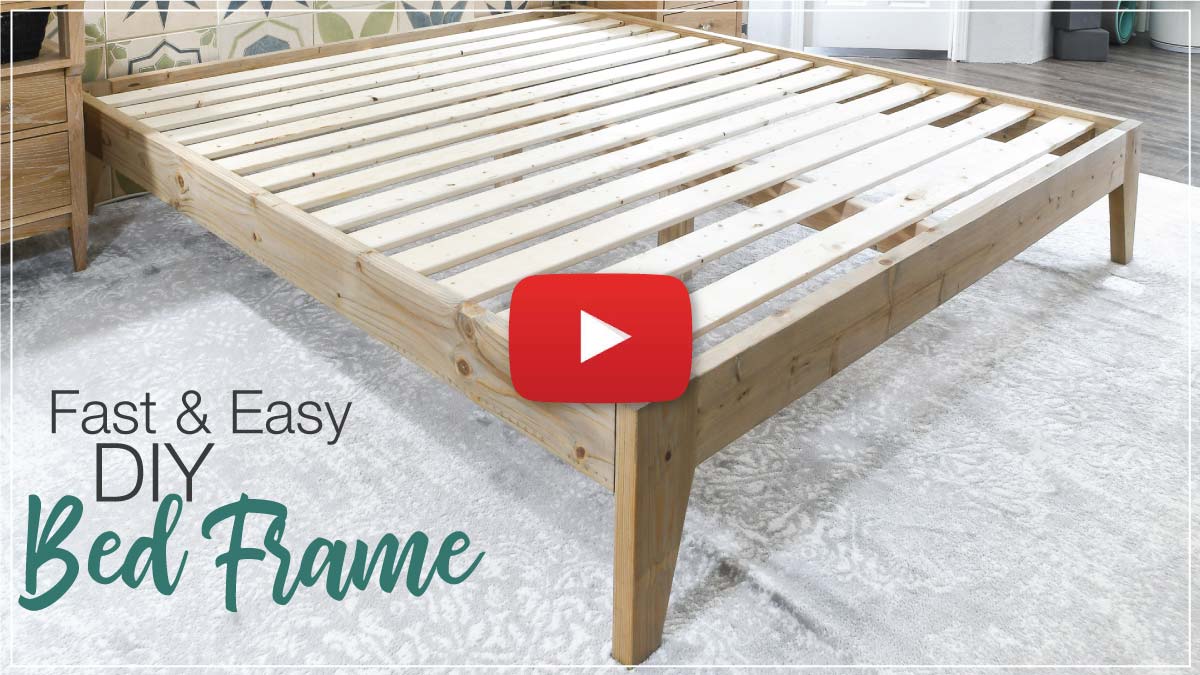
Say goodbye to boring metal bed frames that need box springs! A platform bed frame is so much better.
This DIY wood bed frame is easy to build. I partnered with Kreg Tools to make this bed frame come together quickly using the Kreg 520Pro pocket hole jig. It is the perfect mobile jig for small spaces or when adding pocket holes to long boards (like for a bed frame).
You can build all the pieces for a new platform bed in just an afternoon! And it is made to work with modern foam or latex mattresses instead of box springs.
This post may contain affiliate links. As an Amazon Associate I earn from qualifying purchases. Click here to read my full disclosure policy.
Building a bed frame may seem like a big job. But it isn’t!
You do need to have some room to manage larger boards. If you can set up your workspace in an empty garage or outside, you will have plenty of space to even build a king bed frame.
The bed frame I built is a king size and the longest board you have to manage is 80 1/2″.

How to Make a Budget Bed Frame
I get it… you just spent all your money on a mattress, but still need something to put your mattress on.
This simple platform bed frame looks high end, but can built built on a budget using 2×4 and 2×6 construction lumber. Even with the higher prices in lumber right now, all my boards cost less than $100 (and that includes the slats).
If you want to save even more money, you can build the bed frame fully assembled with pocket hole screws instead of buying bed rail brackets. This makes the frame harder to take apart and put back together.
For a smaller bed frame (like a twin or full) that is easier to move through doors, that is a great option! For a queen or king bed frame, the rails make assembling the bed in your room super fast.

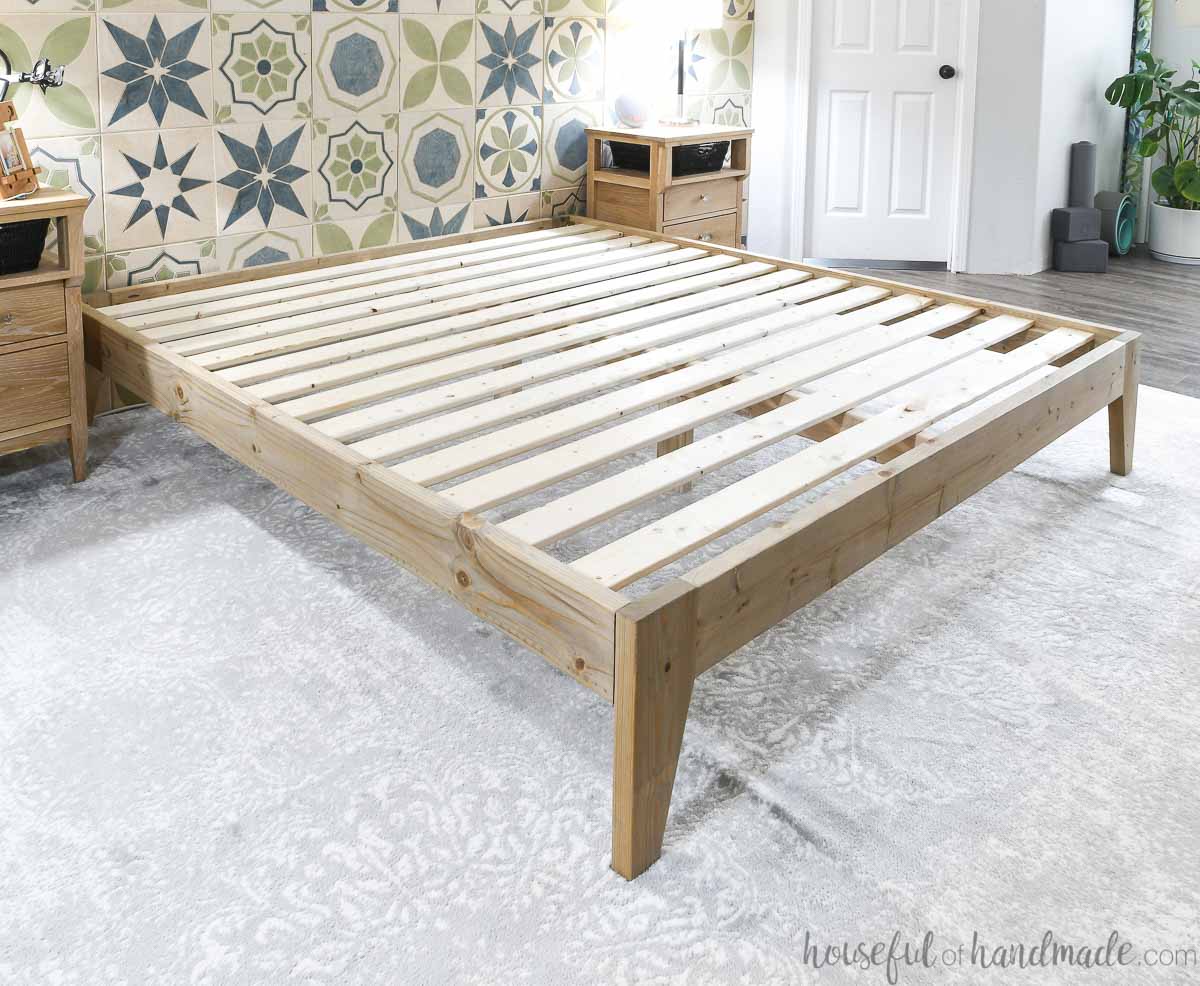
Bed Slats or Plywood?
After you build your bed frame you will need to add something to the base for your mattress to sit on. Modern foam or latex mattresses require a sturdy base or plywood or slats close together.
This platform bed frame is not designed to be used with a box spring. It is set up higher off the floor so adding a box spring would make your bed very high.
Whether you choose slats or plywood is up to you and the requirements of your particular mattress.
Slats can be made from 1×4 furring strips, which are inexpensive, and are a great budget friendly option. I put slats only 2″ apart to accommodate my latex mattress and was still able to purchase all the wood needed for less than $50.
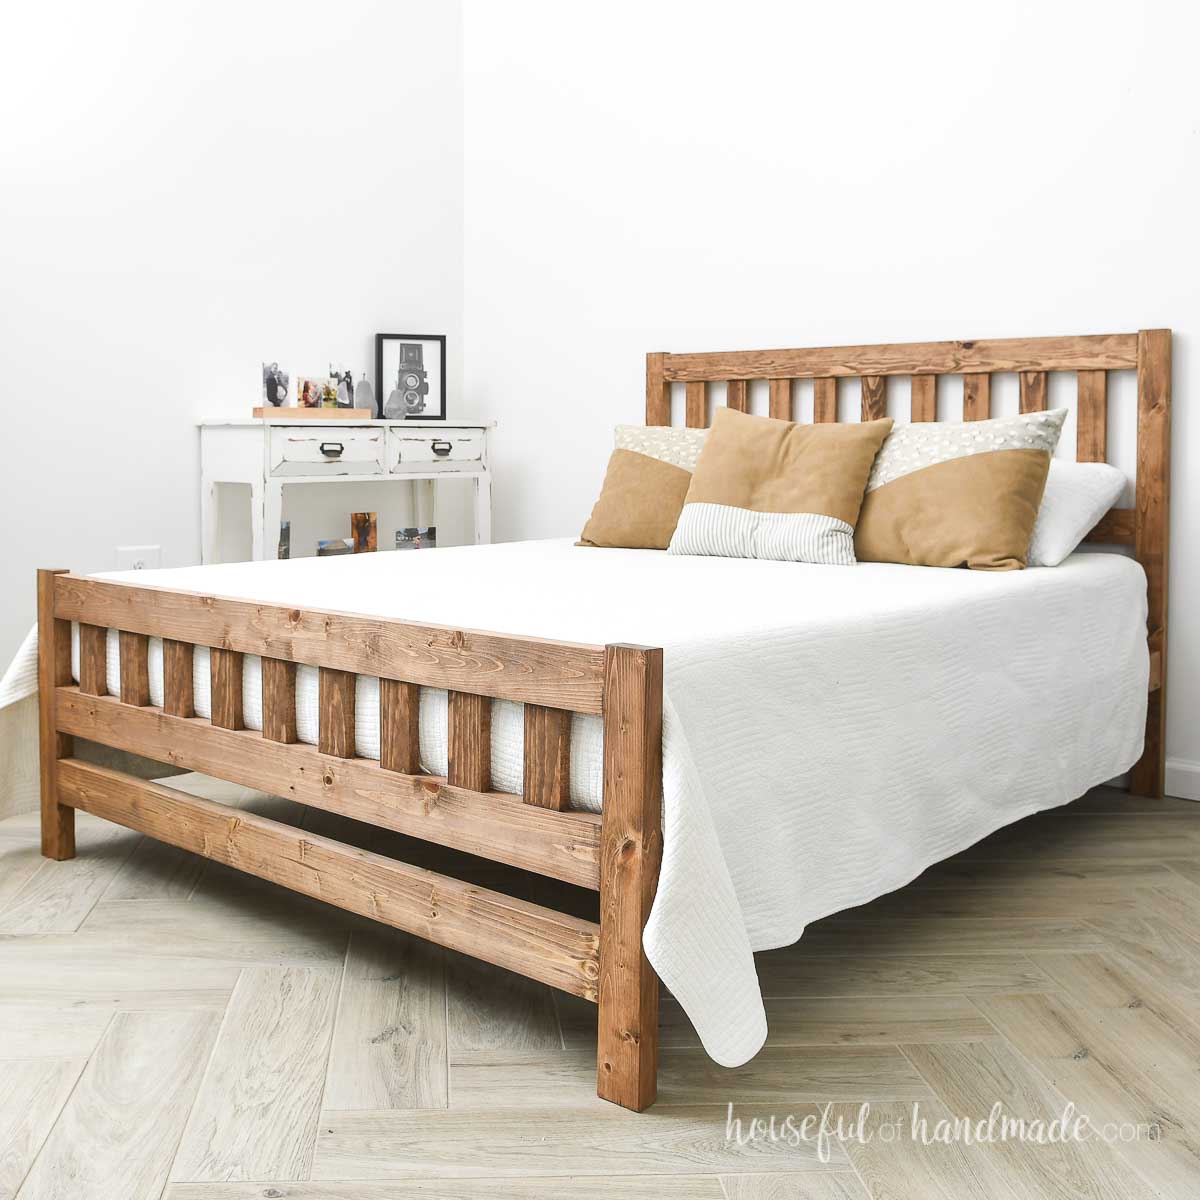
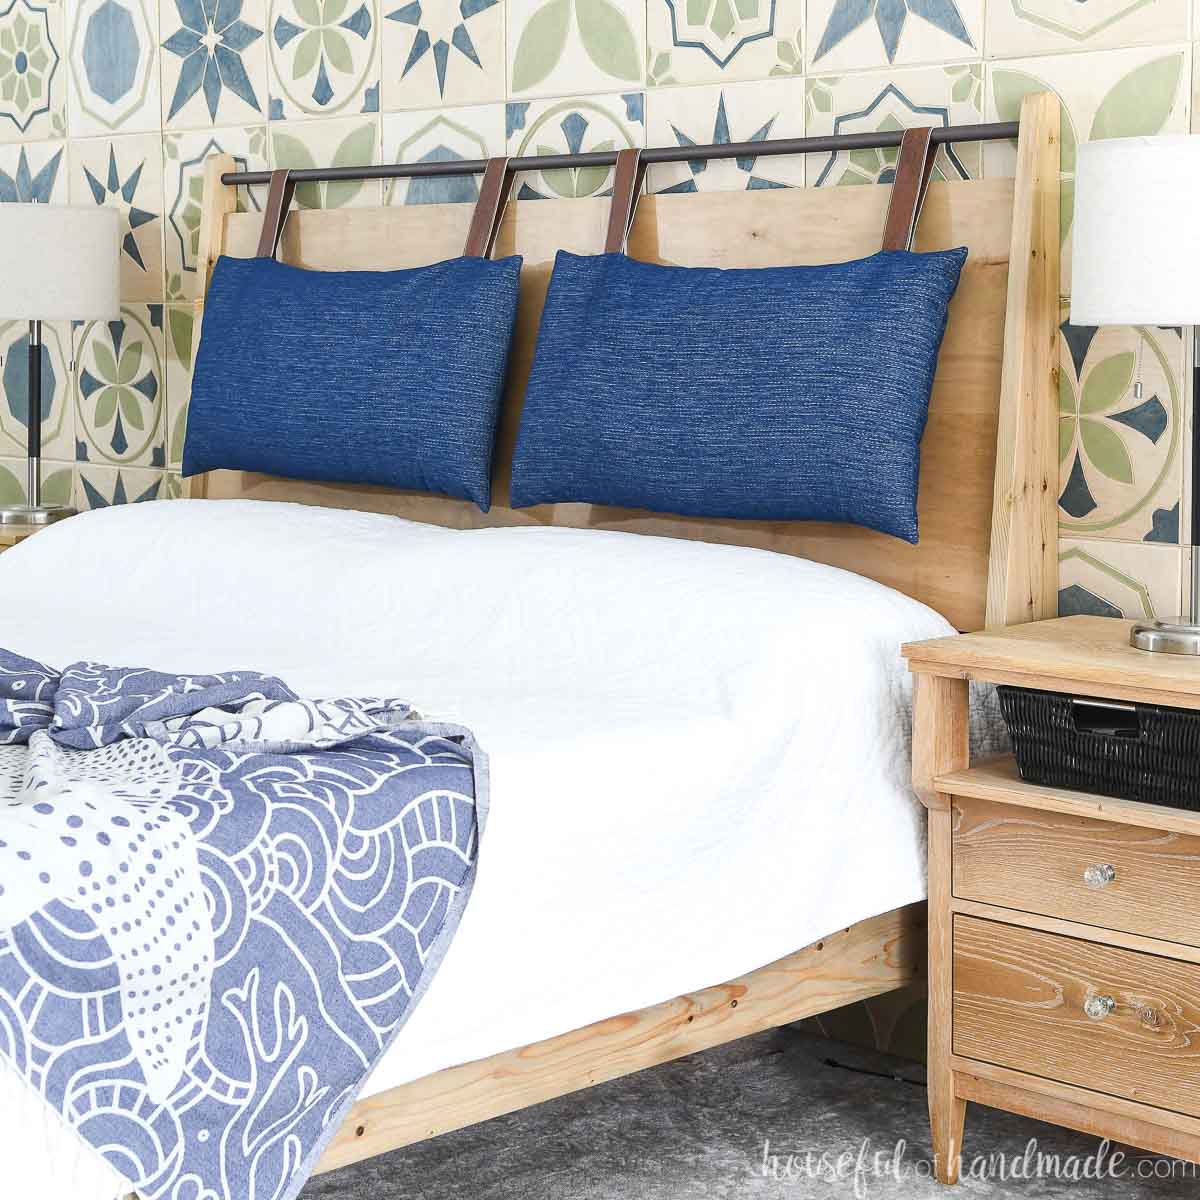
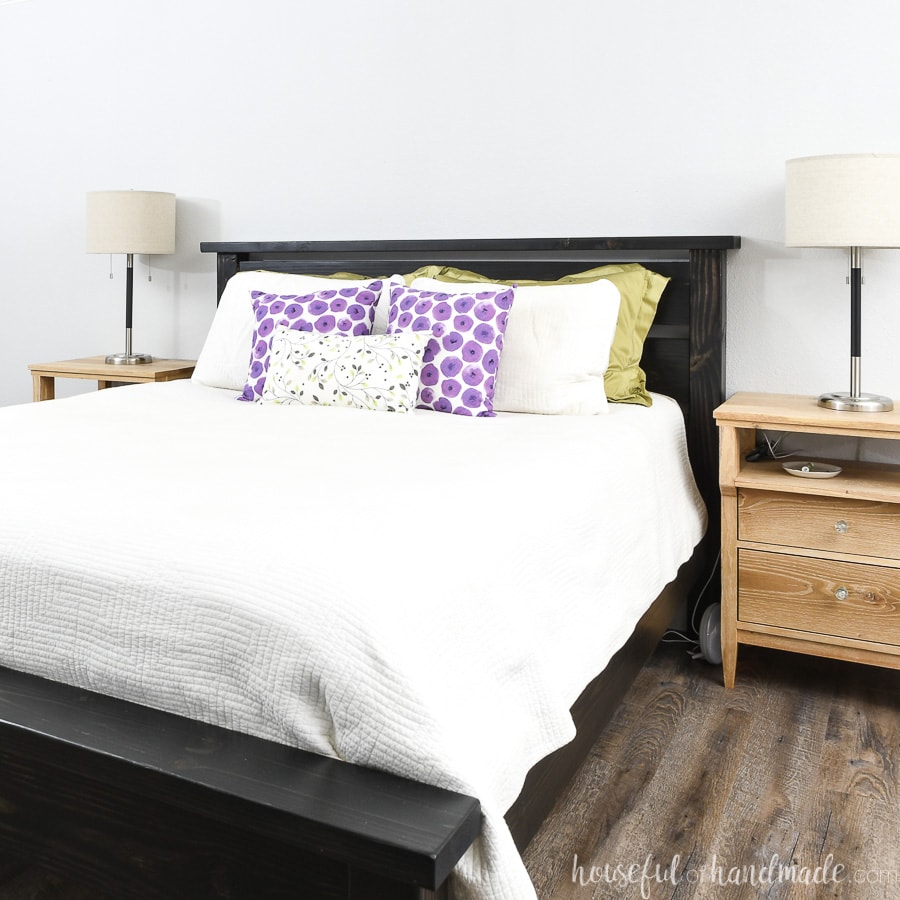
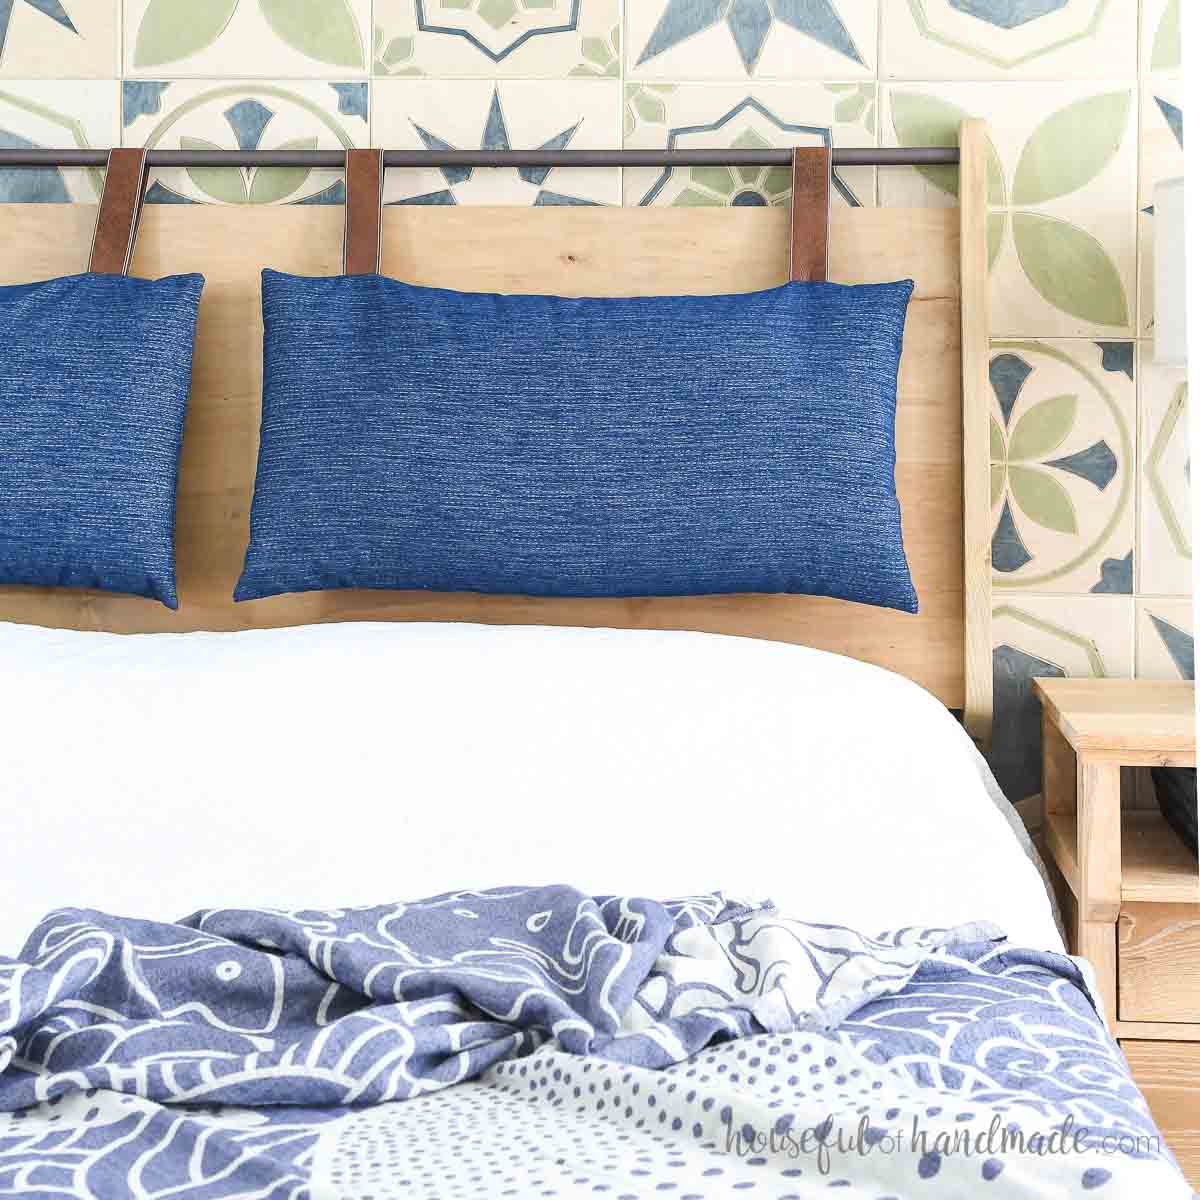
More DIY Bed Ideas
Want more than a bed frame? Check out these other amazing DIY beds and headboards.
How to Build a Platform Bed Frame
Tools & Materials
Recommended Tools:
- Kreg pocket hole jig
- I used the 520Pro jig for this build. It is very mobile and make drilling pocket holes on long boards easy! See which Kreg Jig is best for you here.
- Miter saw
- I recently upgraded to this larger sliding miter saw (watch for it to go on sale), but all my projects before were built with this inexpensive miter saw that I loved.
- Circular saw with guide track or table saw with taper jig
- Drill
- Impact driver (optional, but I love not having to switch bits with the drill)
- Finish nail gun
- Kreg Quick-Flip
- Kreg Automaxx face clamp
- Sander
Supplies:
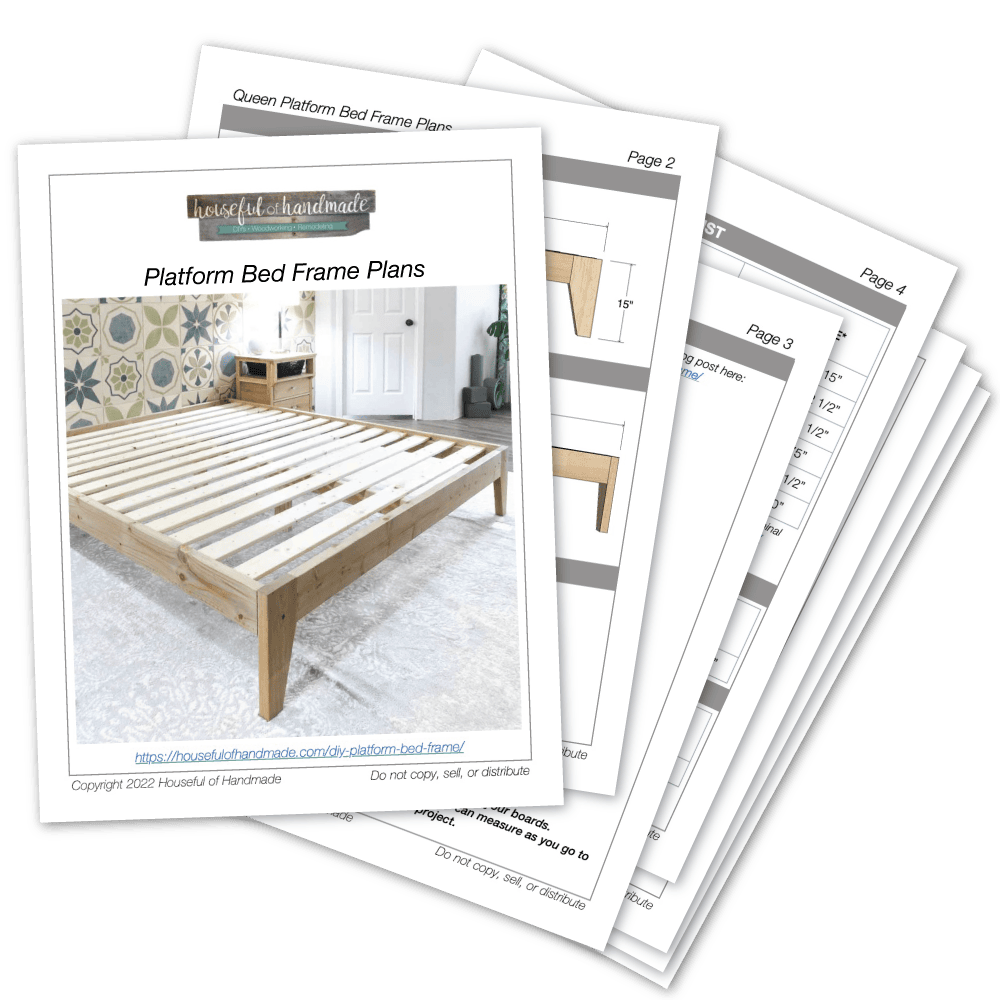
- Premium PDF build plans
- Wood products
- (3-4) 8′ long 2×6 boards
- (2-3) 8′ long 2×4 boards
- (14-15) 8′ long 1×4 boards or (2) 3/4″ thick 4×8 plywood sheets
- 2 1/2″ Kreg pocket hole screws
- 1 1/4″ Kreg pocket hole screws
- 2″ finishing nails
- (3 pair) Bed rail brackets
- Wood glue
- Sandpaper
Cut List
Specific measurements for each size (including number of boards needed) can be found in the detailed PDF build plans for the platform bed frames in the following sizes:
- Twin- 38 1/2″ x 75 1/2″ platform for a 38″ x 75″ mattress
- Full- 54 1/2″ x 75 1/2″ platform for a 54″ x 75″ mattress
- Queen- 60 1/2″ x 80 1/2″ platform for a 60″ x 80″ mattress
- King- 76 1/2″ x 80 1/2″ platform for a 76″ x 80″ mattress or two 38″ x 80″ mattresses (twin XL)
- California King – 72 1/2″ x 84 1/2″ platform for a 72″ x 84″ mattress
STEP 1- Cut Legs
If your 2×6 board has a round-over on the edge, you might want to rip 1/4” off the side that will be attached to the Front/Back piece so that it is flat. That is what I did.
If you rip the edge off the leg, you do not need to adjust the measurements below for the tapered cut. But you will need to add 1/2” to the piece that goes between the legs before cutting.
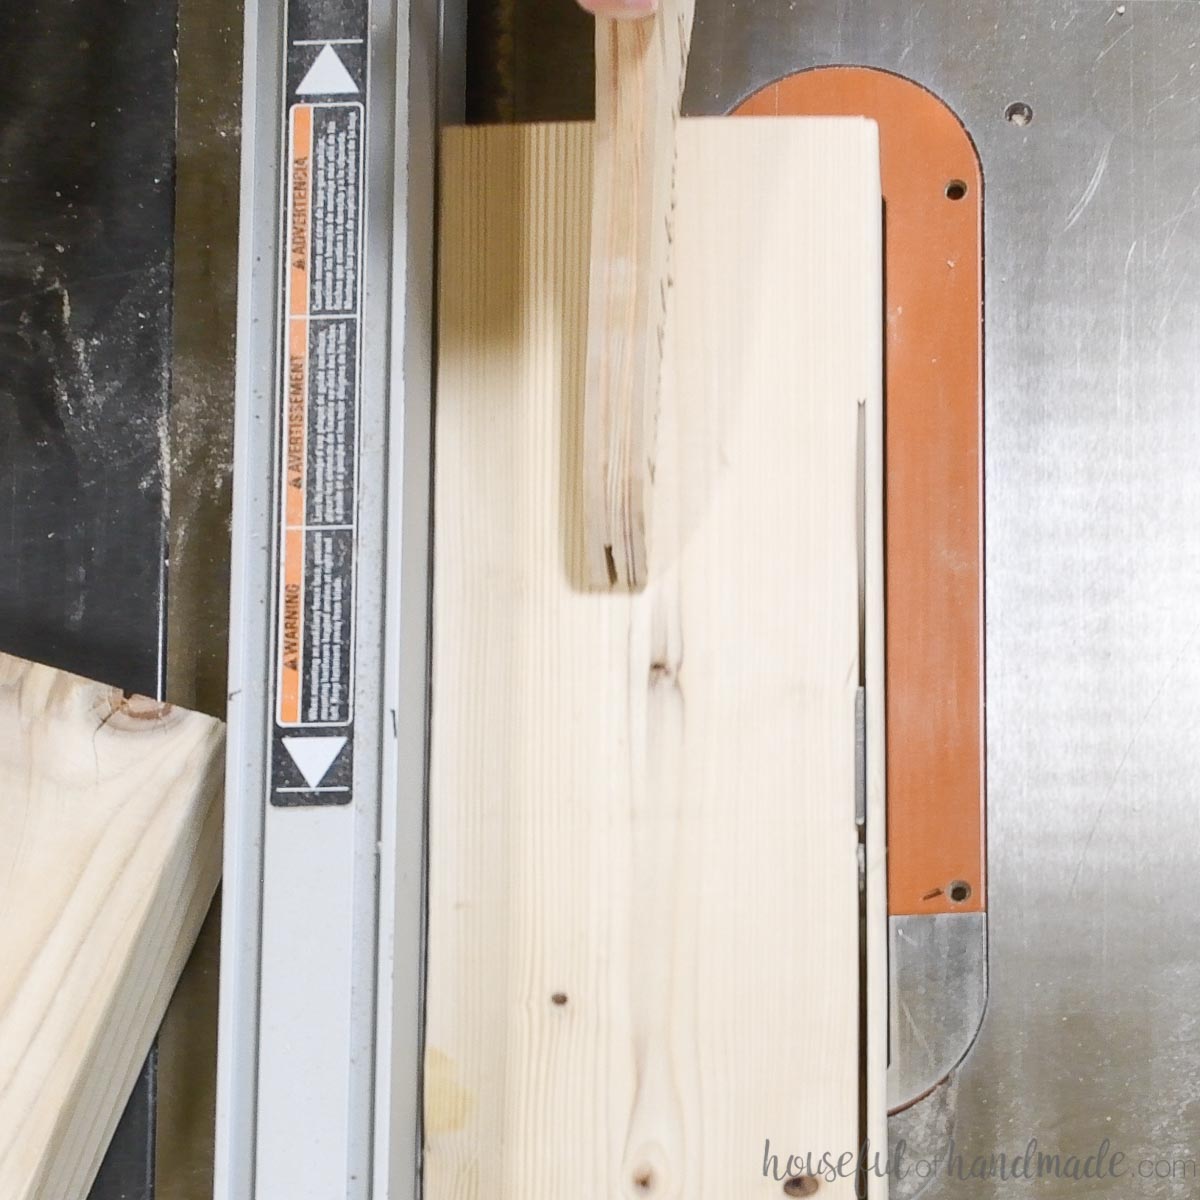
Cut the four leg pieces according to the cut list in the build plans. On each leg piece, measure in from the bottom 2 1/2” and down from the top 5 1/2”. Draw a line.
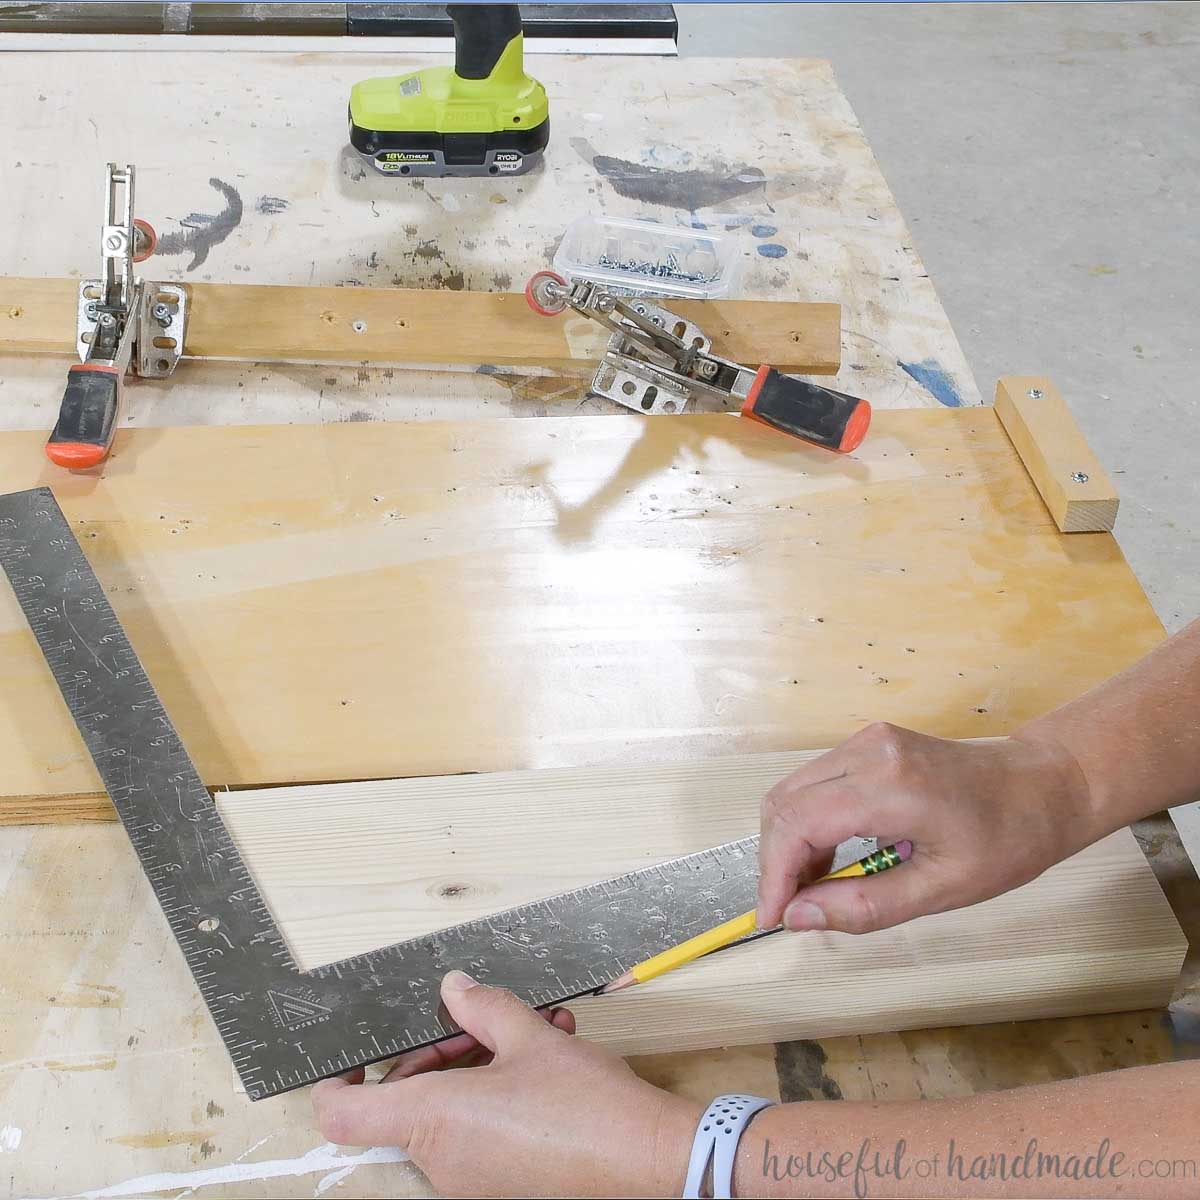
Cut along this line to create a tapered leg.
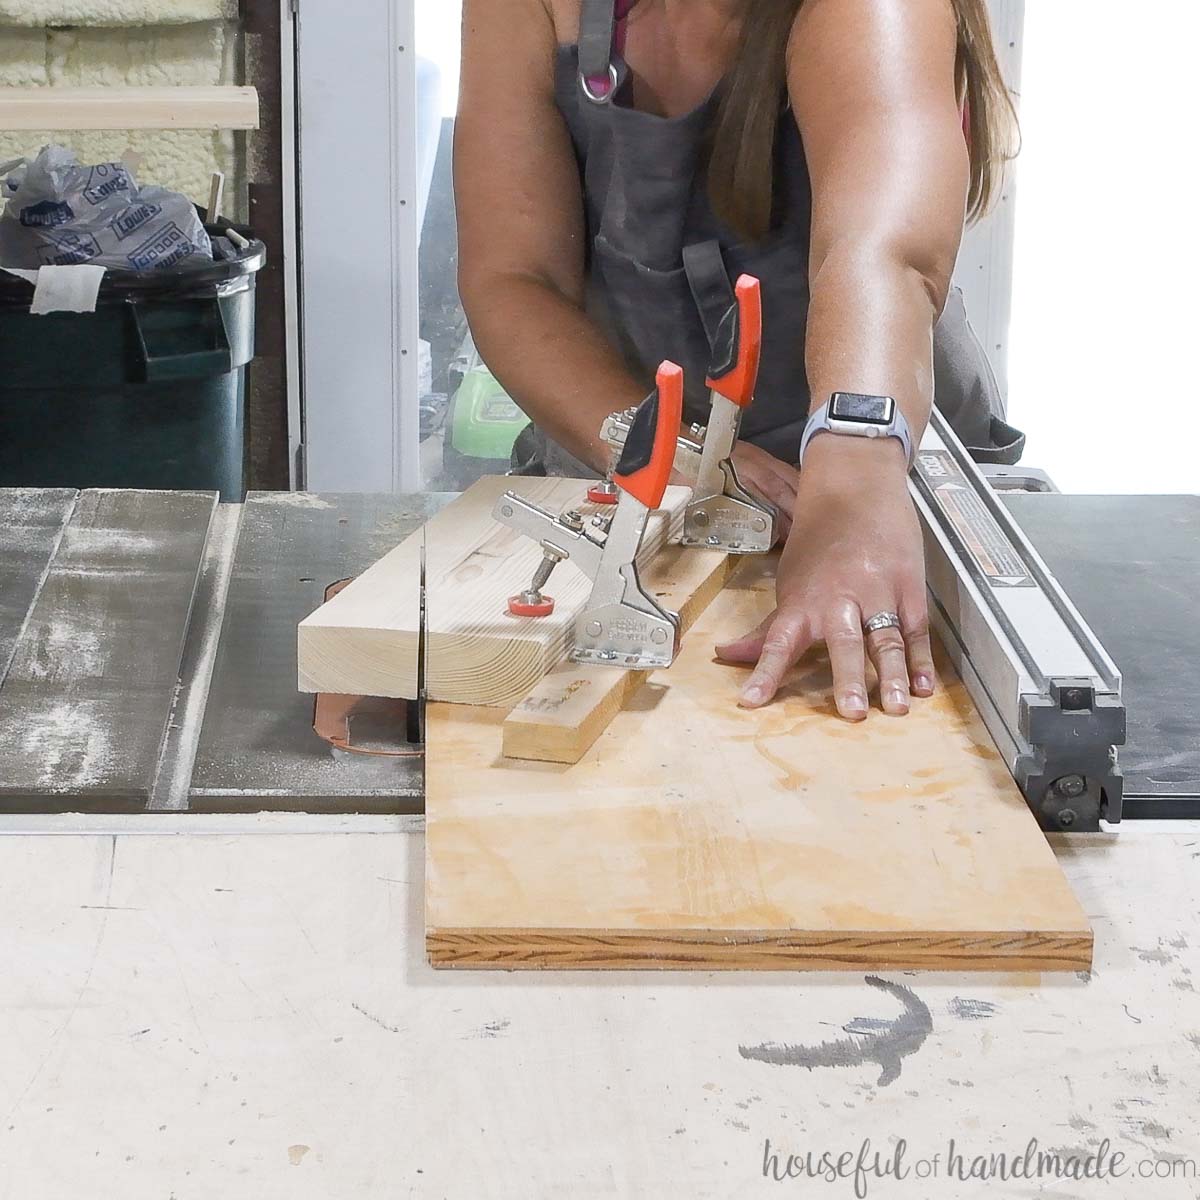
You can cut the taper with a circular saw (use a straight edge or guide), jig saw, bandsaw or table saw with a tapered leg jig. See how I created a simple tapered leg jig here.
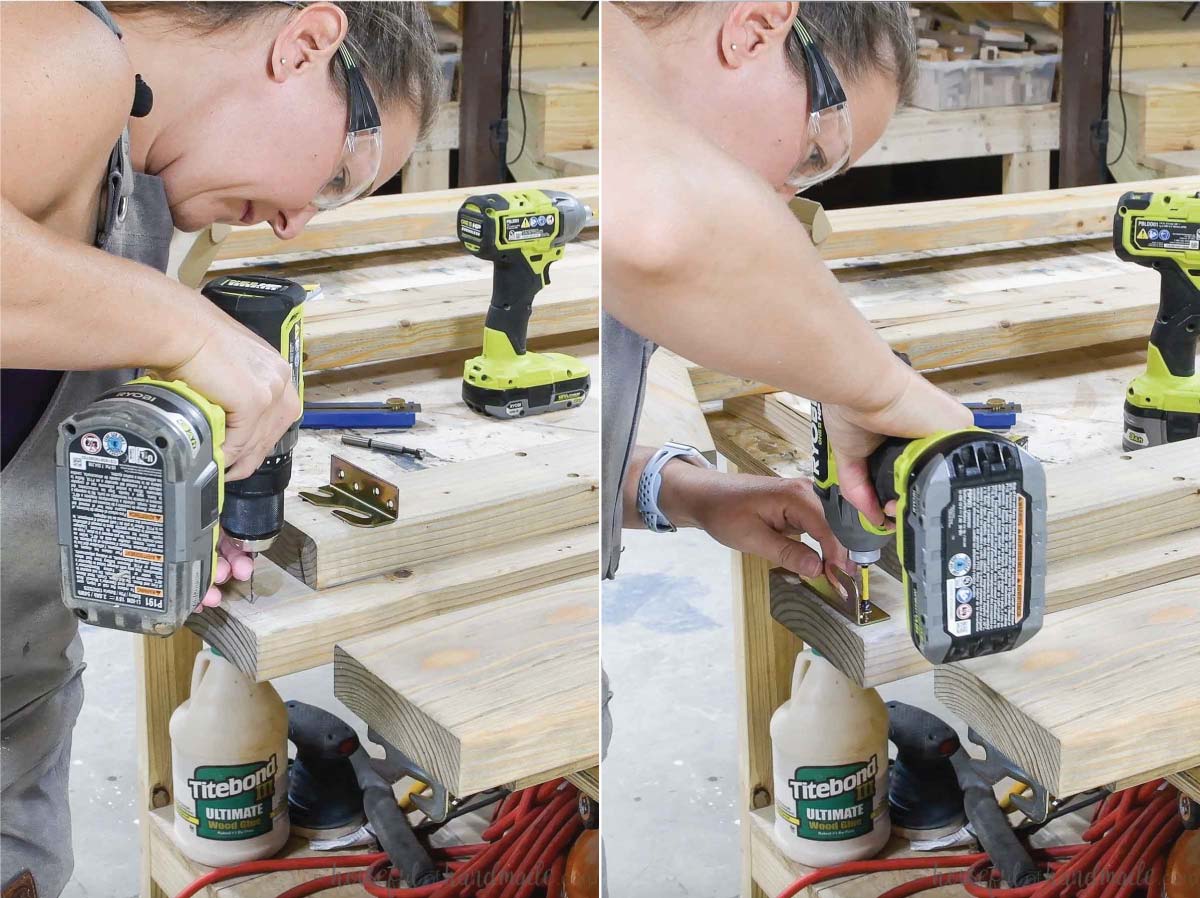
STEP 2- Build Headboard/Footboard
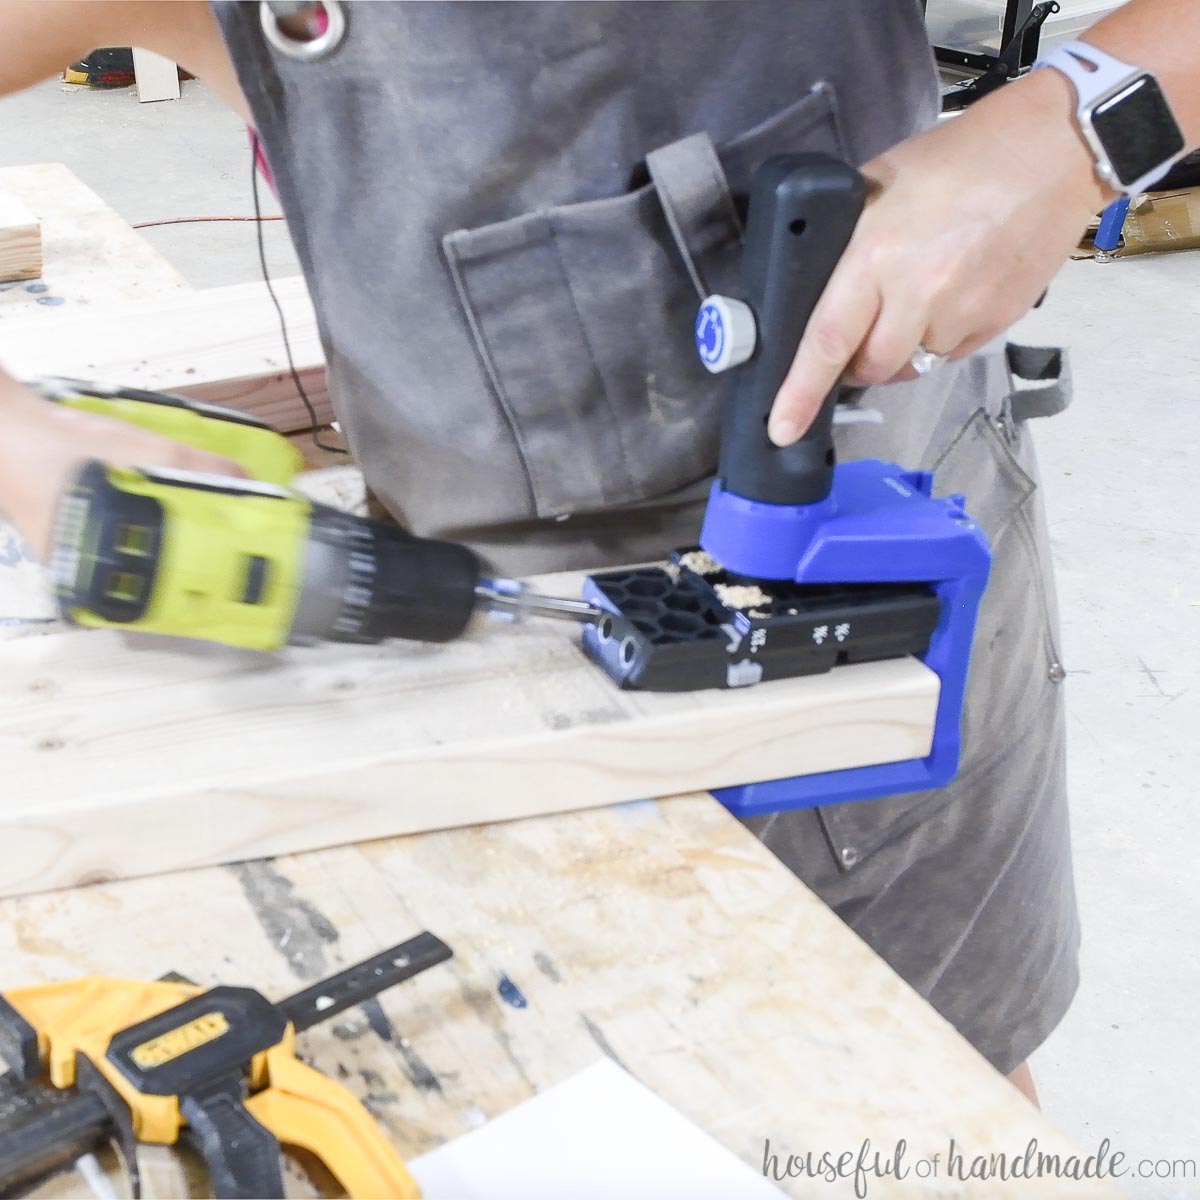
Set your pocket hole jig to drill holes in 1 1/2” thick material.
I love the Kreg 520Pro for building large projects since it is super mobile. I can leave the large boards on my workbench and clamp the jig directly to them
Not sure what pocket hole jig to buy? Check out this Kreg Pocket hole jig comparison to find the best jig for you.
Cut the front/back pieces for the size of bed frame as detailed in the PDF plans. These are the pieces that go between the legs, so if you ripped the round-over off your legs, make sure to add 1/2″.
EXPERT TIP:
Take a moment to find the prettiest side and edge of your boards. The top of one edge and the front are highly visible on a platform bed frame.
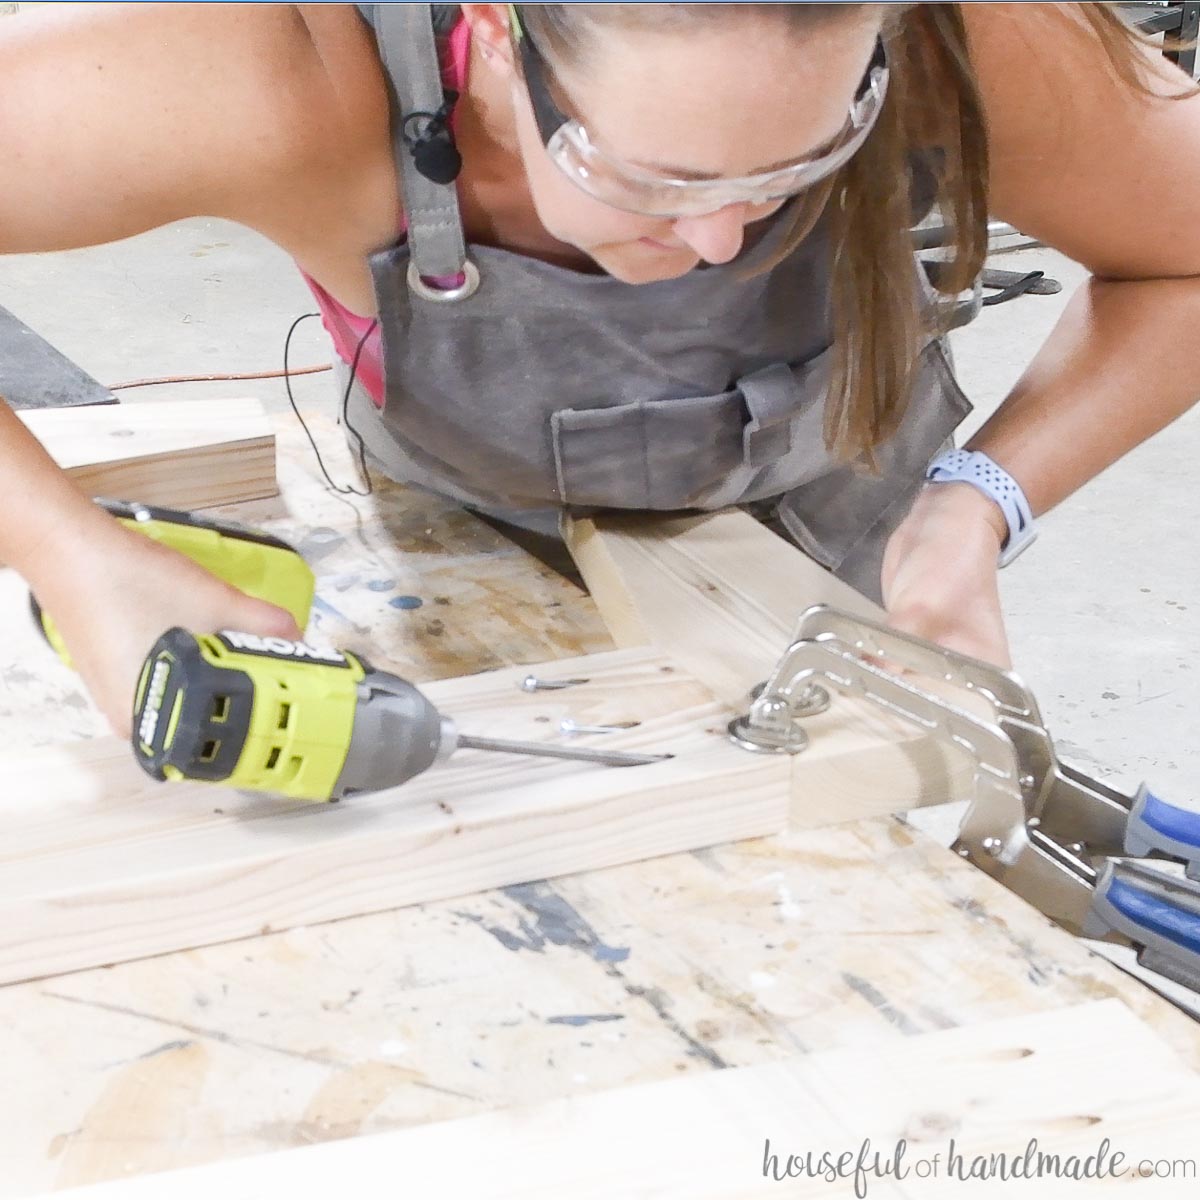
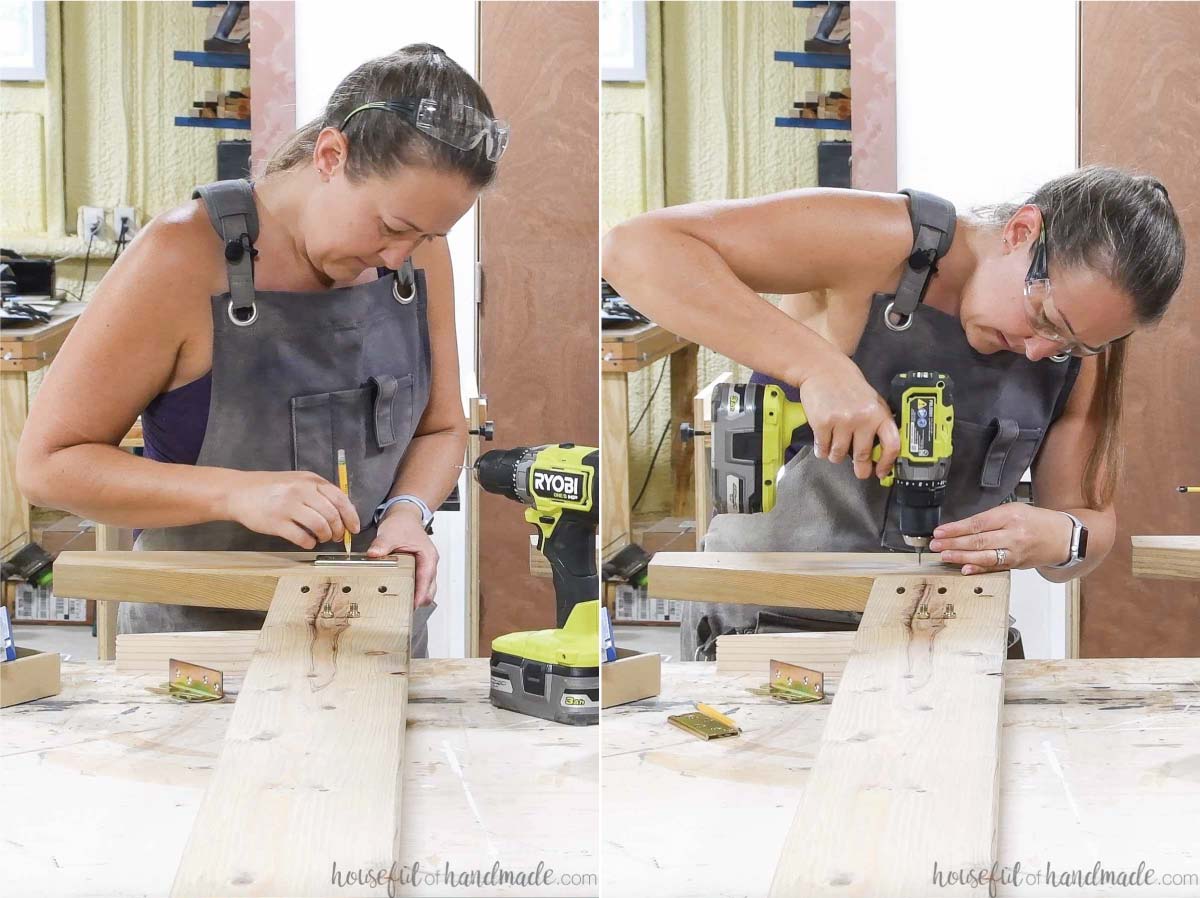
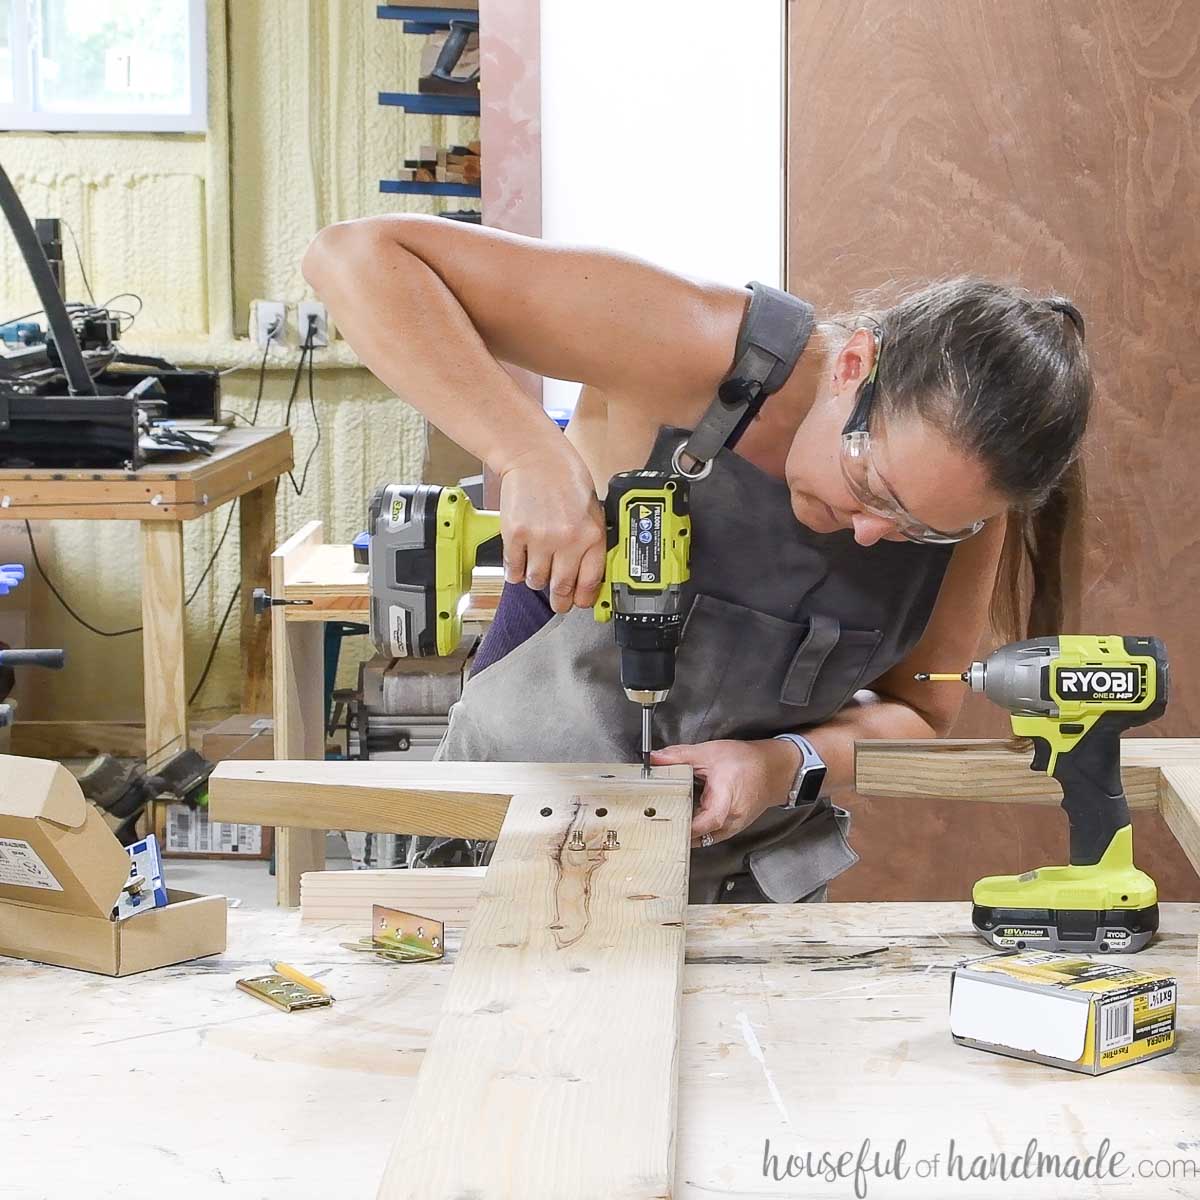
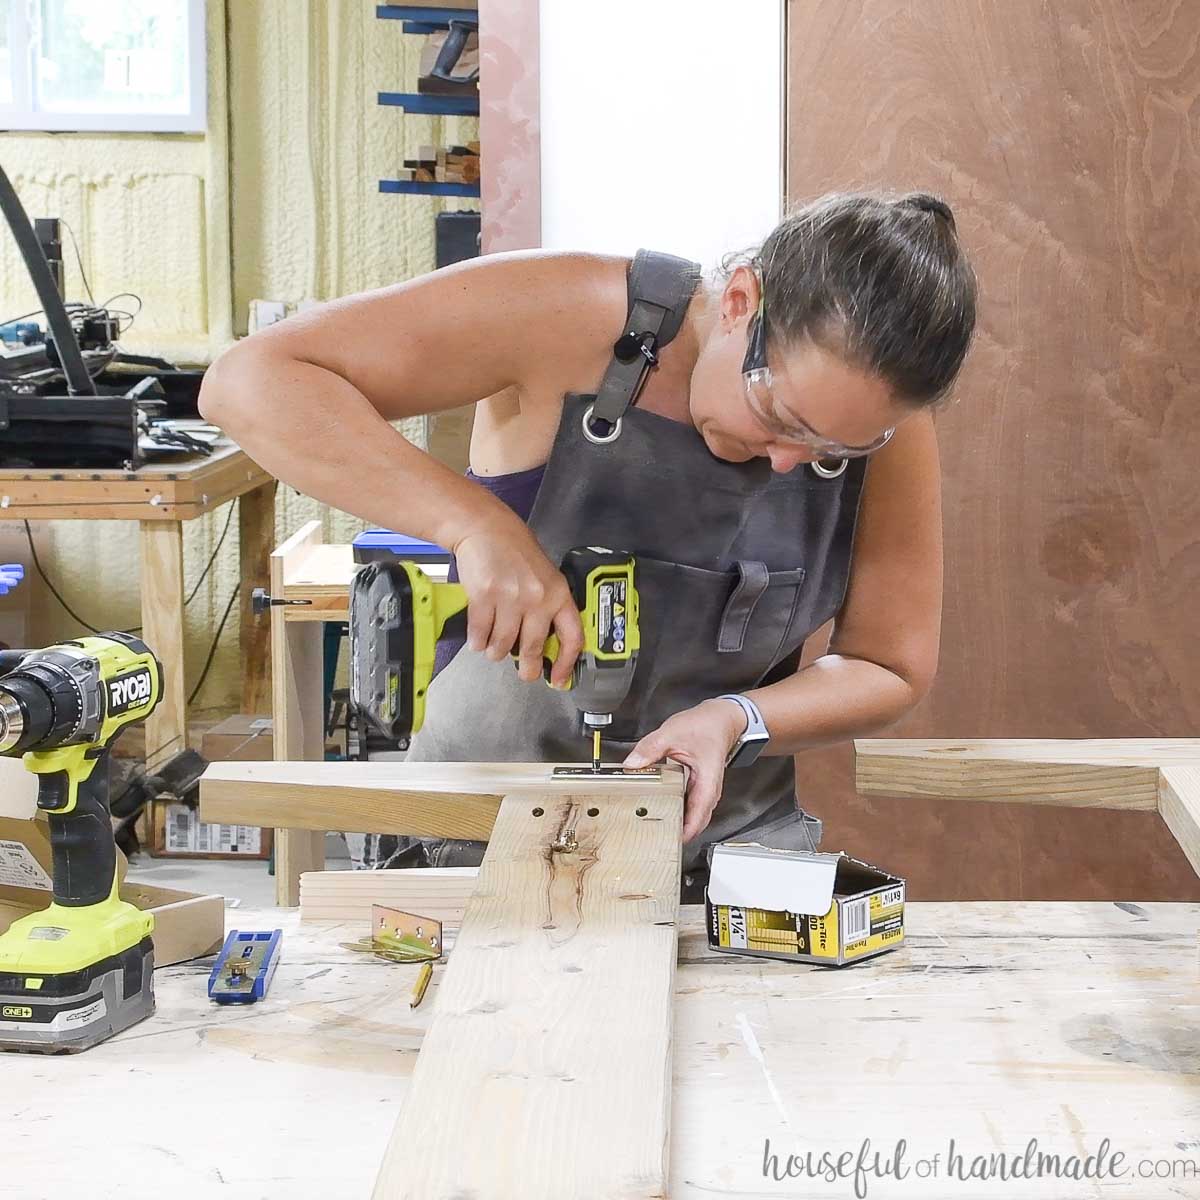
Drill 3 pocket holes in each end of the back of the front/back pieces.
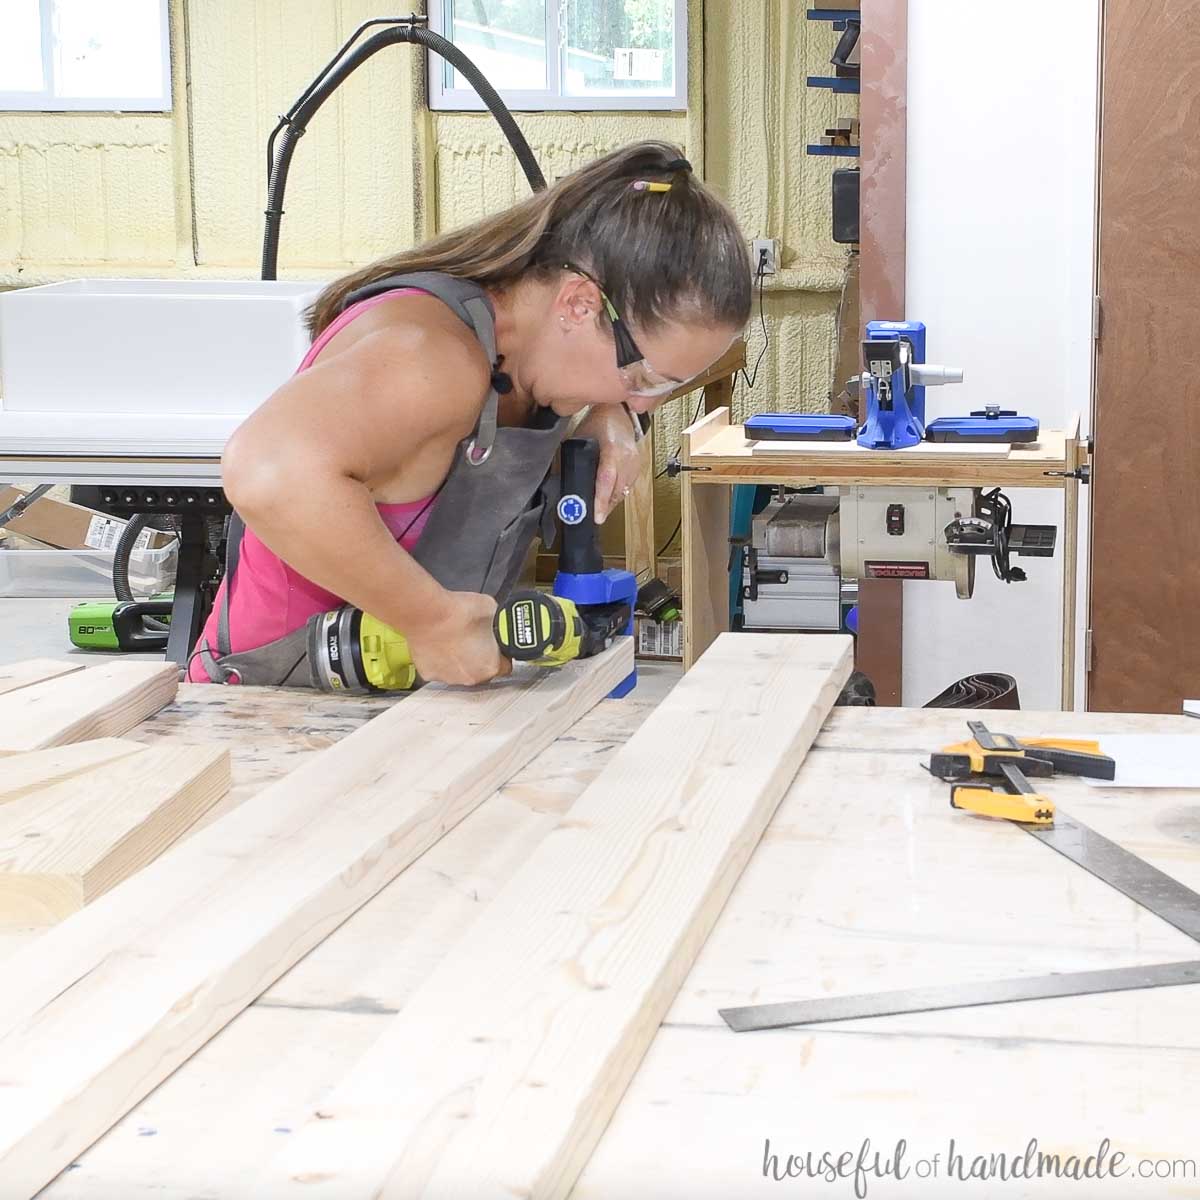
Using wood glue and 2 1/2” pocket hole screws, attach one leg piece to each end of the front/back boards.
Use face clamps to keep the front of the headboard/footboard nice and flush while securing.
Repeat so you have 1 for the headboard and one for the footboard.
STEP 3- Build Side Rails
Cut side rails from 2×6 boards and support pieces from 2x4s. Cut them according to the premium plans here.
The rail support should be centered horizontally (set in 2 3/4” from each end) and 1 1/2” down from the top edge. This will leave a 3/4” lip on the top of the platform bed for the mattress to sit into.
EXPERT TIP:
If you want a deeper lip on your platform bed frame, lower the Rail Support piece down 1/2” (2” from the top) so it is flush with the bottom. If you want no lip, raise the support piece up 3/4” so the support piece is 3/4” down from the top edge. Make sure to also increase or decrease the measurement on the center leg to match.
Add wood glue to the back of the rail support and position it on the side rail. Secure it with a few 2” finishing nails to hold it in place.
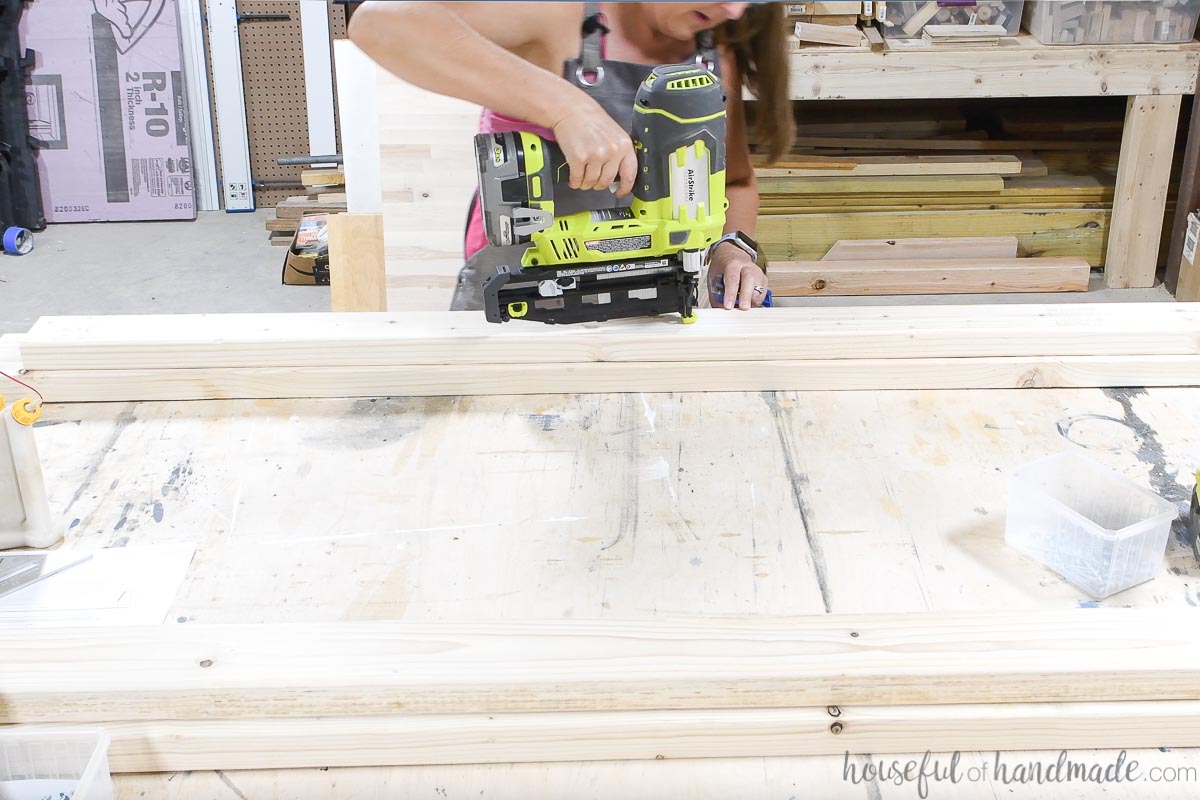
Then predrill 2 countersunk holes in each end and spaced about every 8-10” along the board. Secure the Rail Support pieces with a 2 1/2” screws.
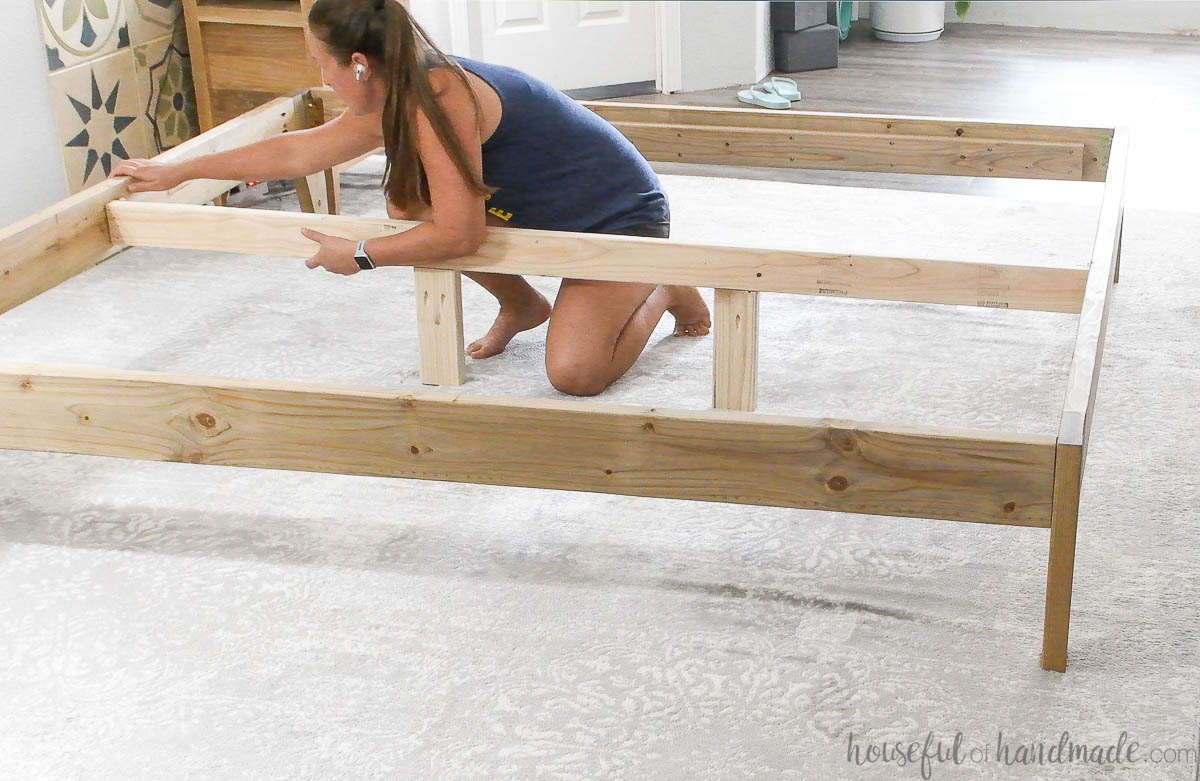
STEP 4- Build Center Rail
The center rail is added to all the bed frame sizes except a twin. This will prevent your slats and mattress from sagging in the center.
Cut the center rail and center leg pieces from a 2×4. Make sure to adjust the leg measurement if you adjusted the height of the rail support pieces.
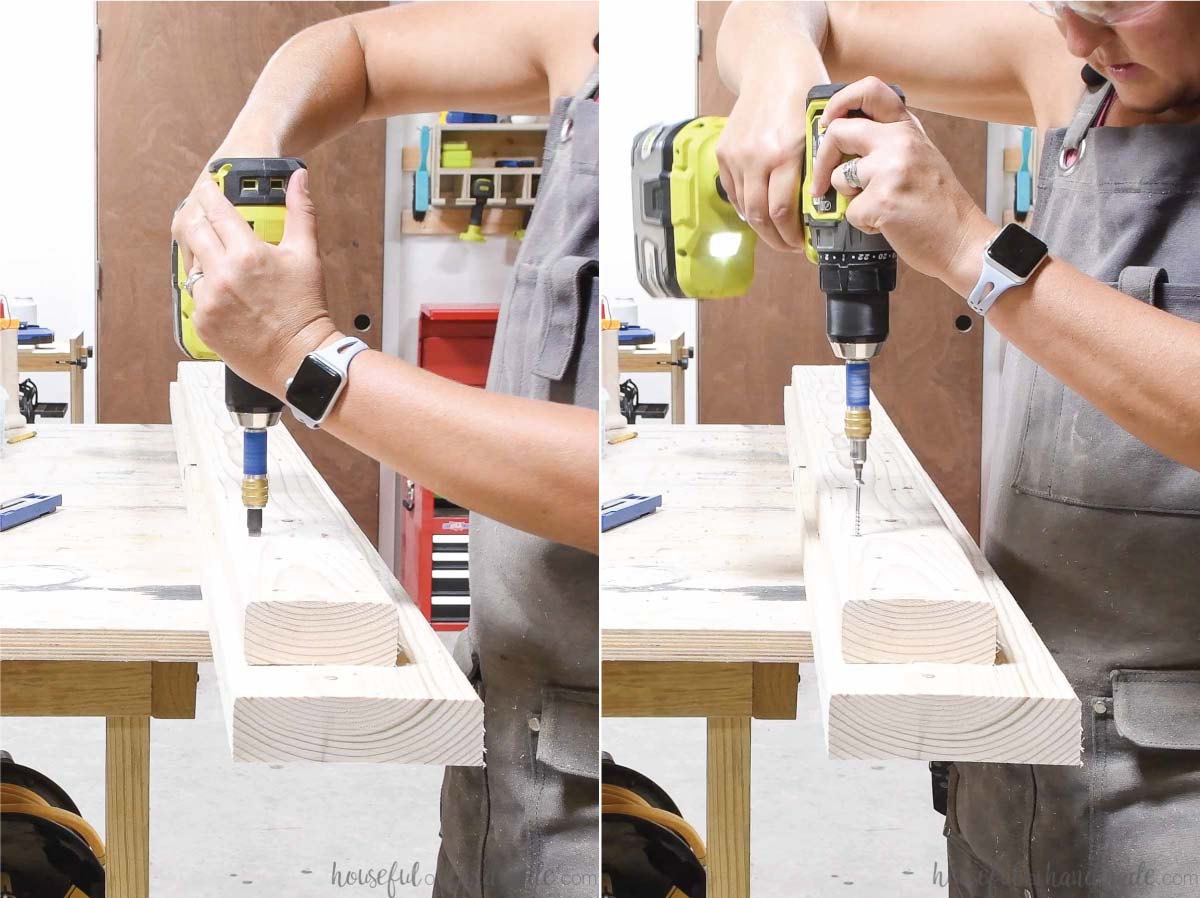
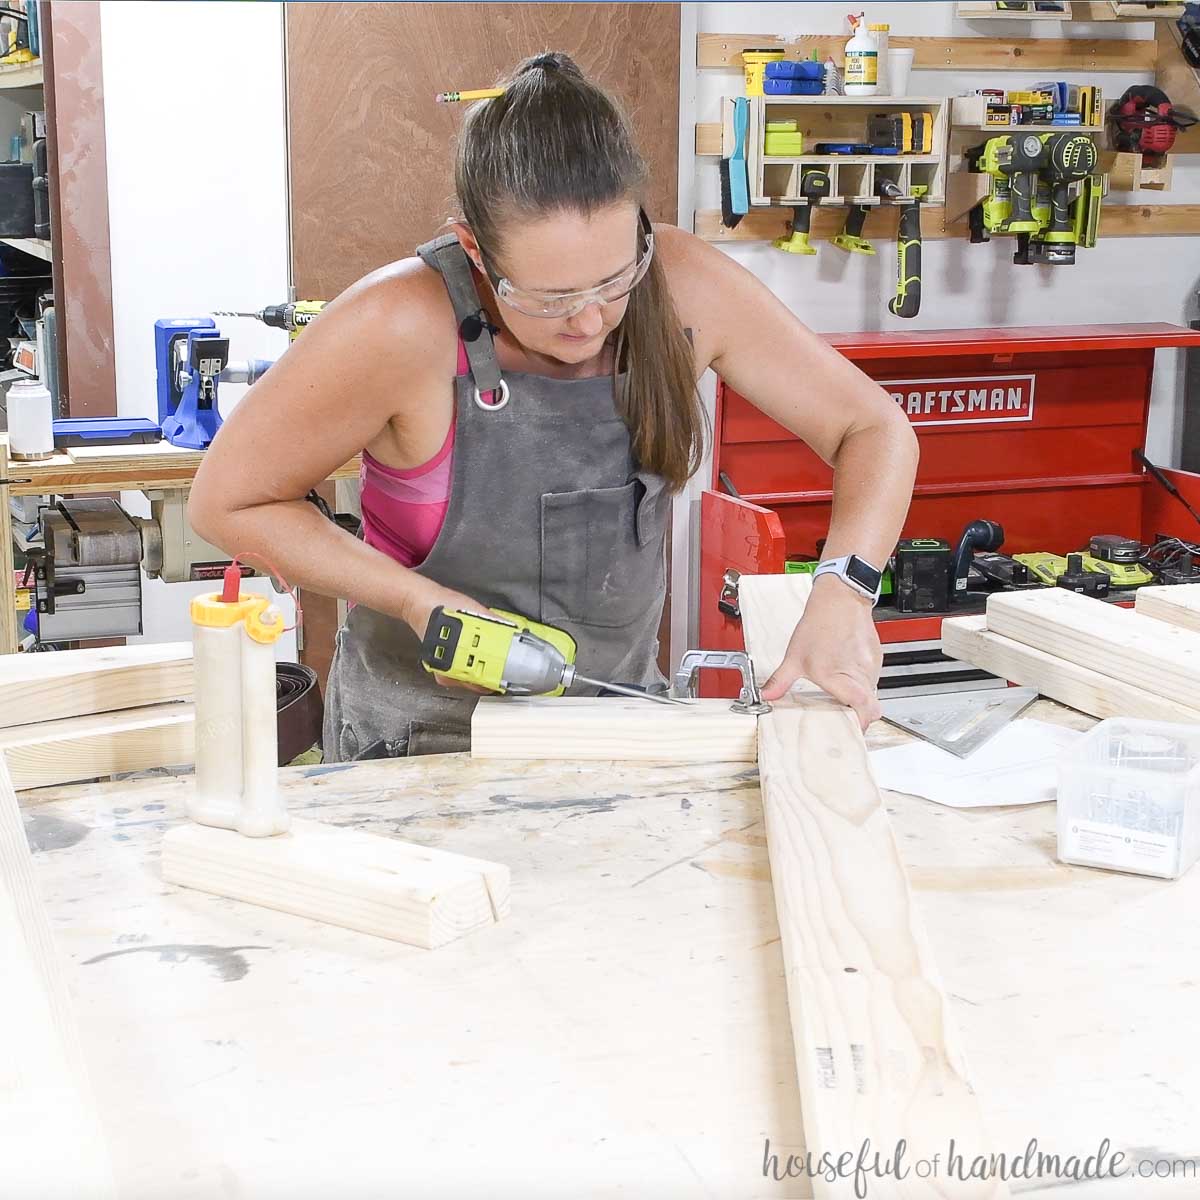
With your pocket hole jig still set for 1 1/2” thick material, drill 3 pocket holes in the top of each leg.
Drill 2 on one side and 1 in the center on the other. This will give the leg extra strength if the bed gets shifted side to side.
Attach the legs to the bottom of the Center Rail piece with wood glue and 2 1/2” pocket hole screws. Position the legs evenly along the board.
STEP 5- Sand & Finish
Sand all the assembled pieces. Then stain or paint them as desired before adding your bed rail brackets.
Prefer to Watch? Check out the Video Below
STEP 6- Attach Bed Rail Brackets
I purchased 2 sets of bed rail brackets (each set had 2 pair). One pair is needed for each bed rail and one is used for the center support.
You can choose any type of bed rail brackets you prefer. If you pick different ones from me, you will need to follow the instructions for how to attach your specific brackets.
For the headboard/footboard:
Measure and mark where the brackets (flat piece with the bolts on it) will go on the headboard/footboard. Set it down 3/4” from the top and 1 1/2” (the thickness of the side boards) in from the side.
Lay the bracket on the board and mark where the screws will be. Predrill holes for the screws. Attach the bracket to the headboard with the screws provided.
I noticed on the bed rail brackets I bought that the adjustable bolt is too long tighten fully so it leaves a gap which means your bed rails are slightly loose.
To fix this you can add a washer to the bolt or drill out a 1/8” deep hole in the headboard/footboard behind where the screw is.
Reposition the brackets and secure with screws. My brackets came with screws, but they were only 3/4″ and 1″ long.
I purchased 1 1/4″ screws to secure my brackets since the bed frame was built with 1 1/2″ thick lumber. My assembled bed is very sturdy!
For the side rails:
Measure and mark where the brackets will go on the side rails (the L shaped pieces). Set it down 3/4” from the top and in from the front/back the same thickness as the bracket attached to the headboard/footboard.
EXPERT TIP:
Make sure the brackets are mirrored on ends of the rails. Always keep an eye on what side is the top of your rails when installing brackets.
Lay the bracket on the rails and mark where the screws will be. Predrill holes for the screws.
Attach the bracket to the rails with the screws provided or longer screws if desired.
For the center rail:
Both brackets will be attached to the same side of the center rail (it does not matter which one).
Make sure to set the entire center rail down 1 1/2” from the top so it is flush with the rail support on the side rails.
Attach them in the same manner as the other brackets.
STEP 7- Assemble Bed Frame
To assemble your new bed frame, slide the brackets on the side rails over the bolts on the headboard/footboard brackets till they are flush at the top.
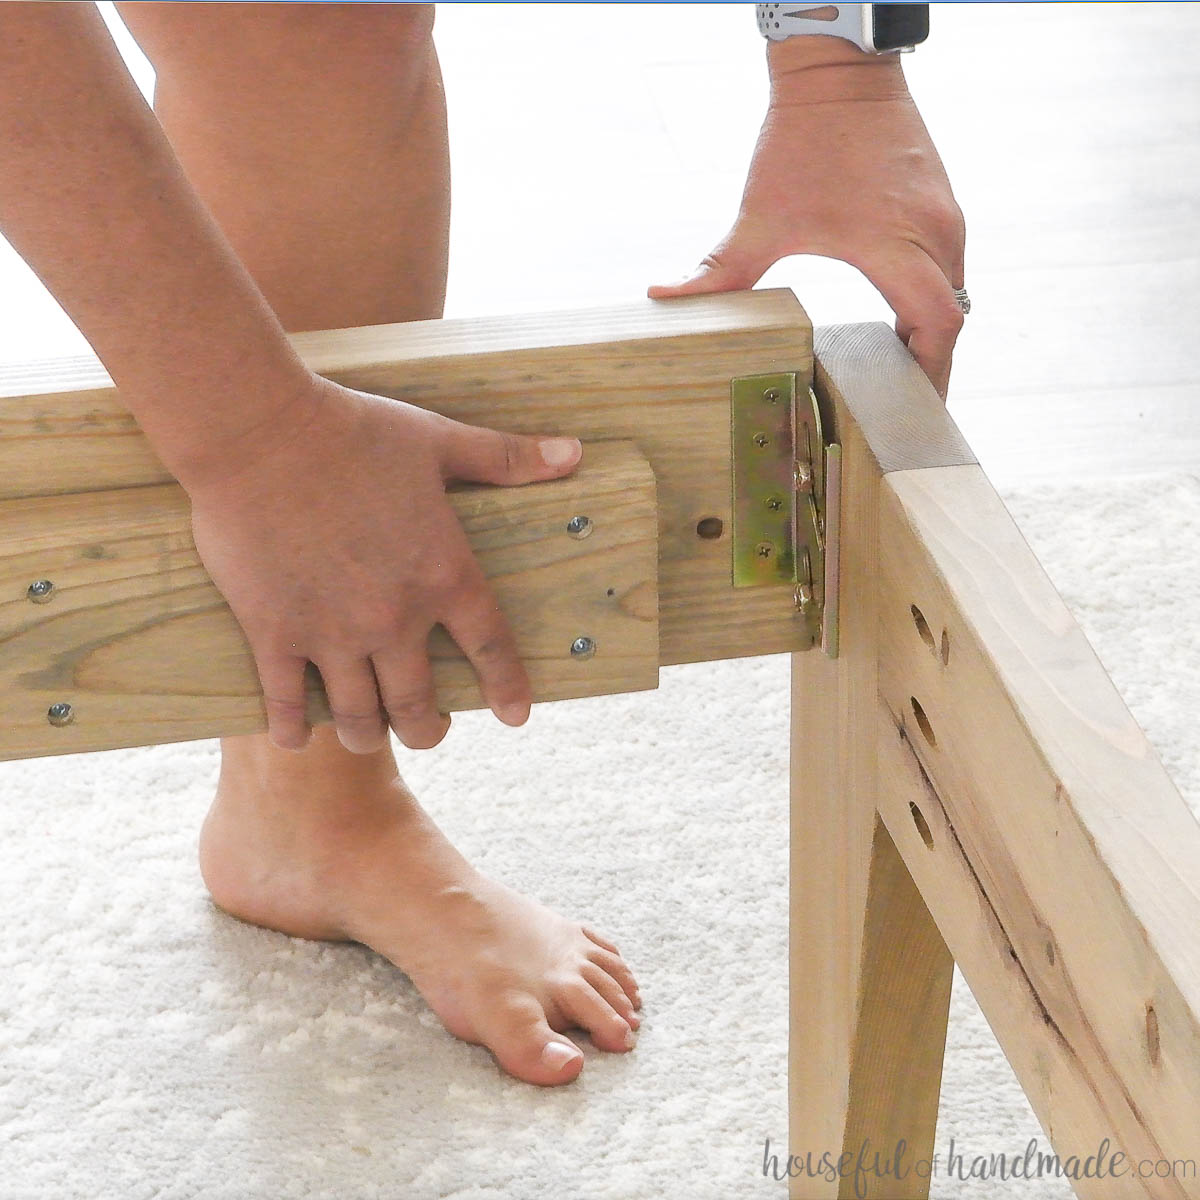
Tighten the bolts to hold them snug. Repeat for the center rail.
Check for square by measuring from opposite corners across the entire bed frame. If the measurements are the same, the frame is square.
If not, adjust till the diagonal measurements are the same.
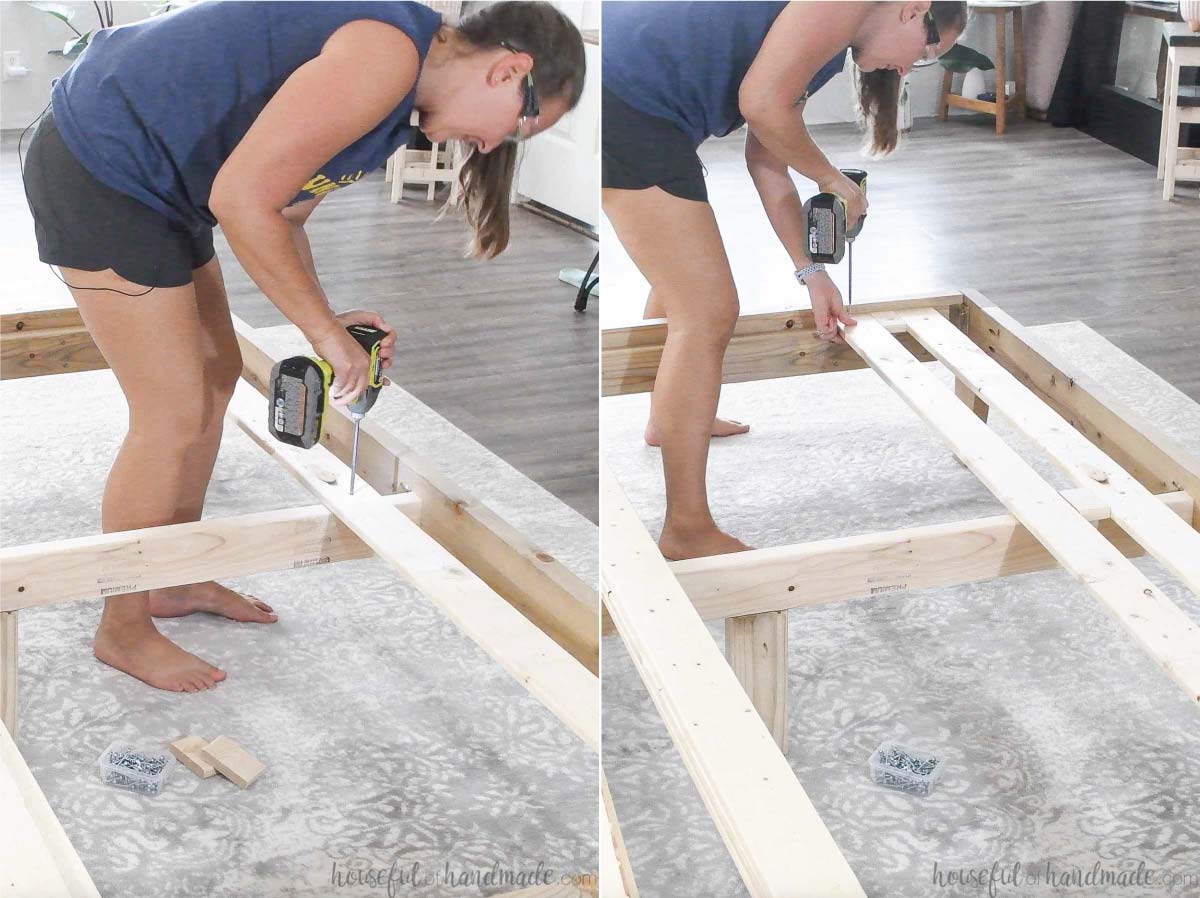
Install Slats or Plywood
You can use bed slats or a plywood base in your bed frame. Make sure to use the right support for your exact mattress.
Cut the slats or plywood so it is 1/8″ to 1/4″ smaller than the bed frame opening so it sits inside it easily.
My mattress required slats be close together, so I use (14) 1x4s that were 2” apart. If your mattress does not require them that close, you can use less slats.
Predrill a countersunk hole in each end and the center of each slat. Attach the slats to the Rail Support pieces and Center Rail with a 1 1/4” screw. Attach slats all along the Side Rail supports.
For a plywood base, cut the base in two pieces and lay them horizontally so they lay across all three supports. No need to secure the plywood.
Now place your mattress on your bed frame and enjoy a good nights rest.
Premium plans include:
- Recommended Tools
- Shopping list
- Easy to read cut list table
- Cut diagrams
- Step-by-step instructions with 3D renderings
- Helpful resources
- BONUS: 3D SketchUp file
I love the way the simple taper on the legs really elevates the look. Those are some really pretty 2x boards!
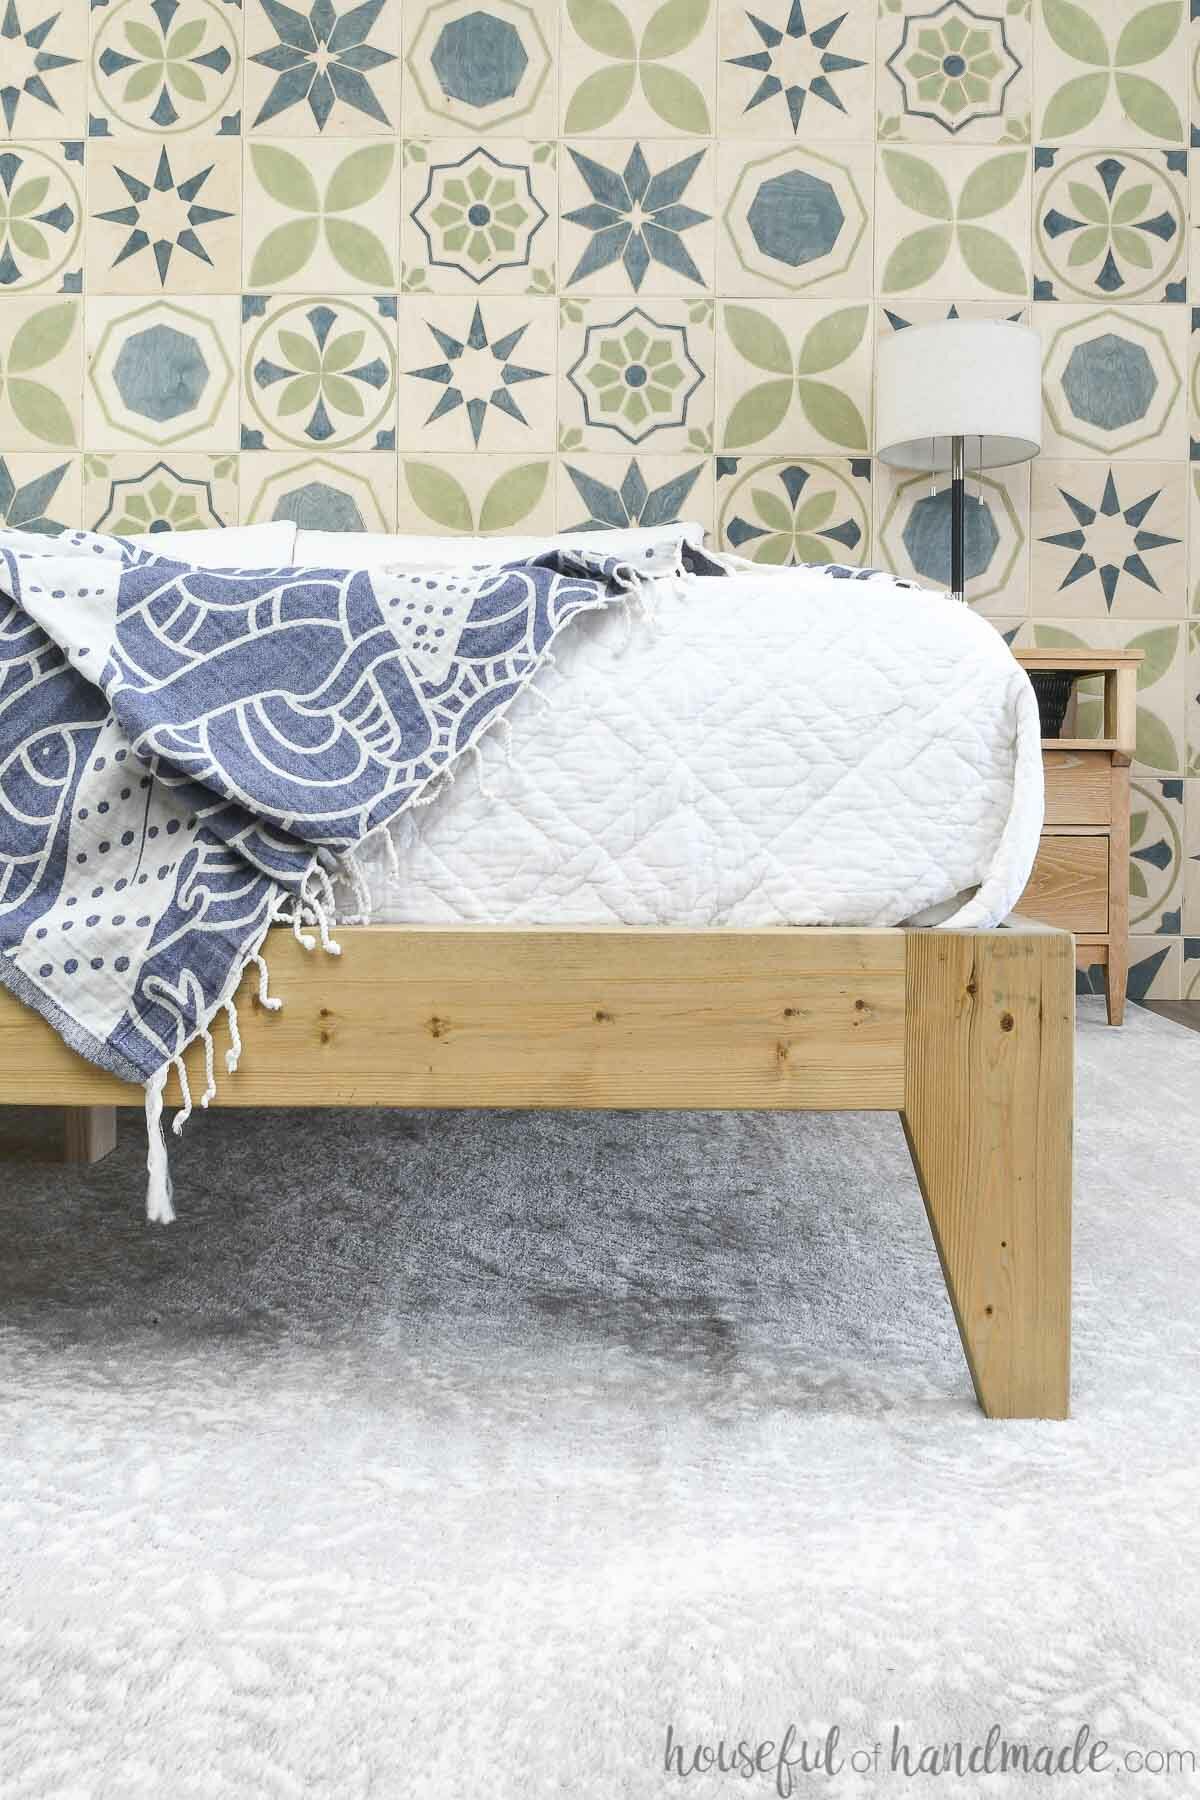
I am excited to enjoy my new King bed!
Happy building,

Thank you to Kreg Tools for sponsoring this post. I only recommend products that I use and love and all opinions are 100% my own. Click here to read my full disclosure policy.