Learn to patch and texture ceiling drywall with these simple steps.
I do not have a remodel update for you today. With two long weekends in a row out of town, there just hasn’t been any time to to work on the remodel. I still have to paint the stairway and sand/seal the new rustic railings before we can get the new carpet in the living room.
I also need to set aside a couple days to build the vanity in our master bathroom, but there will be plenty of time to do that after we enjoy our summer so I am not stressing too much yet. But as I was going through pictures of my projects, I realized I took pictures to share how to patch and texture ceiling drywall and I never got around to it.
This post may contain affiliate links. As an Amazon Associate I earn from qualifying purchases. Click here to read my full disclosure policy.
So I thought I would take this week’s remodel update to show you how easy it is.
I really hate mudding drywall. It took me way too long to finally get around to it in the master bathroom. Sadly the room sat with the drywall up but not finished for about 6 months, that’s how much I hate it.
But luckily, patching ceilings is so much easier. The reason I don’t mind doing ceilings, they are textured so you don’t have to stress out about super smooth seams. But I was intimidated by the texture at first because I figured it was hard to do, luckily I was wrong.
Because we decided to expand our bathroom into our closet so we could have a reasonably sized bathroom instead of a tiny little closet sized one. But that meant I had to patch a hole in the ceiling where the wall was. I started by filling the gap with a piece of drywall. Then added some drywall tape with drywall mud to the edges so they were closed up.
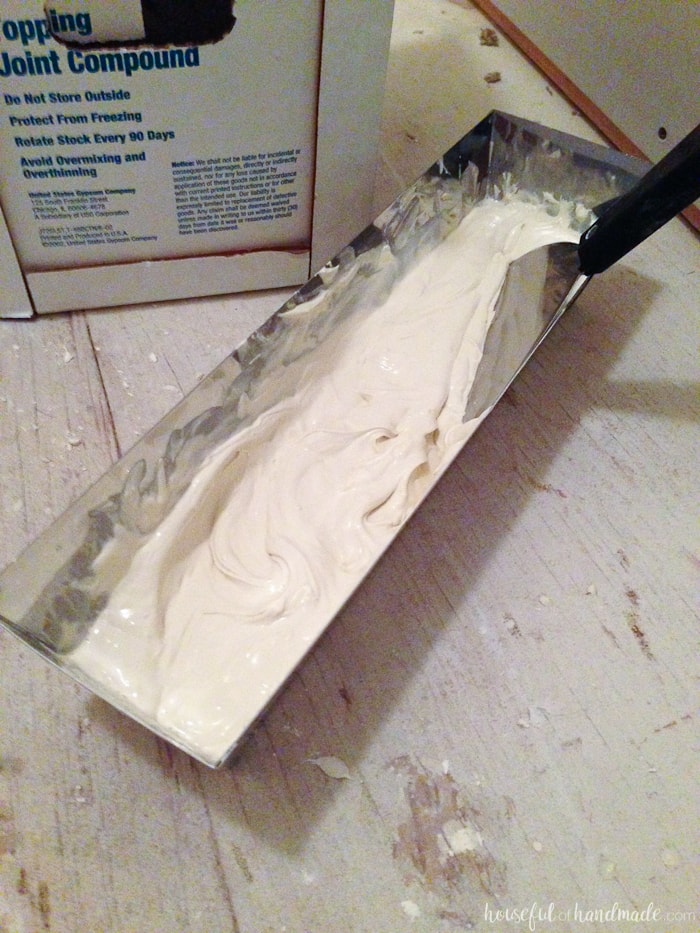
After that was dry I did one more coat of drywall mud to smooth things out a little bit. When I do my final layer of drywall mud I have found it easier to add a little bit of water to the drywall mud to thin it out. The slightly thinner mud is easier to make a smooth finish for a novice drywaller like me.
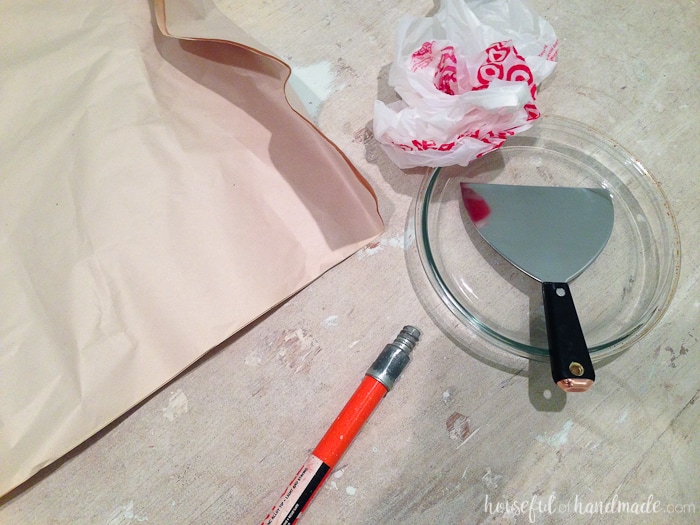
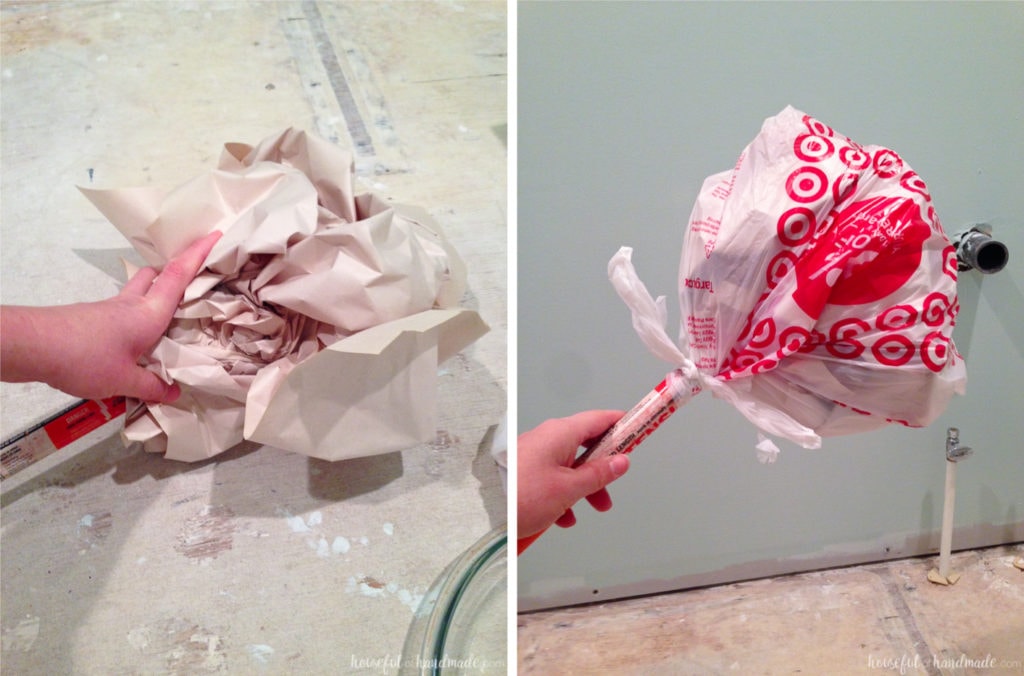
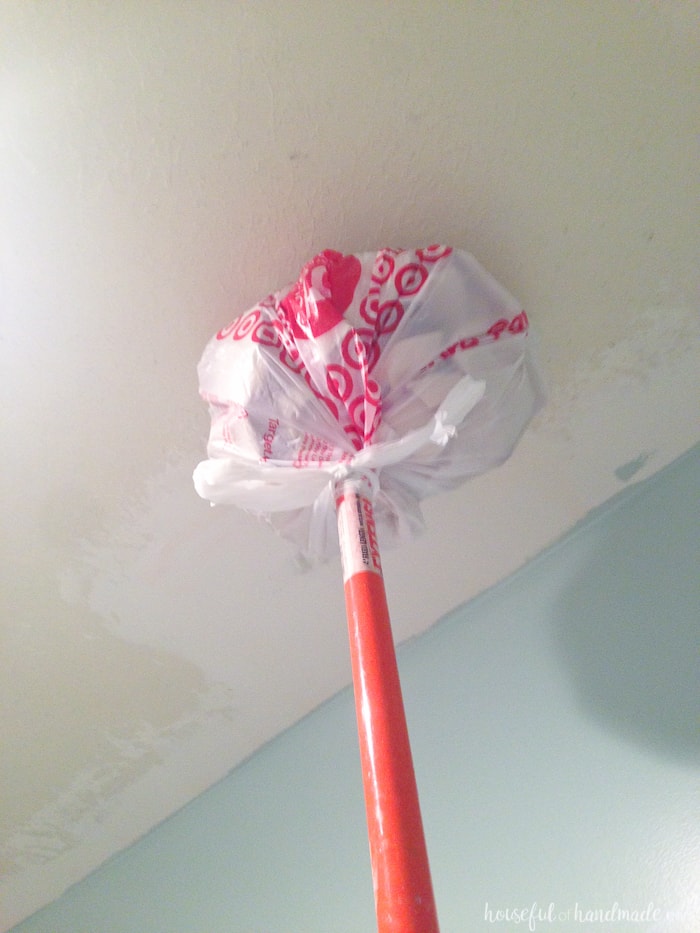
Once the patch was relatively smooth, it was time for the texture. This is the fun part! You need to build a little rig to put the texture on the ceiling, it is a super fancy ball of newspaper on the top of a stick covered in a plastic shopping bag.
I used my paint roller extender stick. Then I crumbled up lots of newspaper. Since I don’t actually pay for the paper, I used all the junk mail they send weekly in the mail. Then I surrounded it with a Target shopping bag and taped the bag onto the stick so it was secure.
Then you need some sort of container to hold the drywall mud in that your rig will fit into. I used a glass pie panned filled it with some drywall mud.
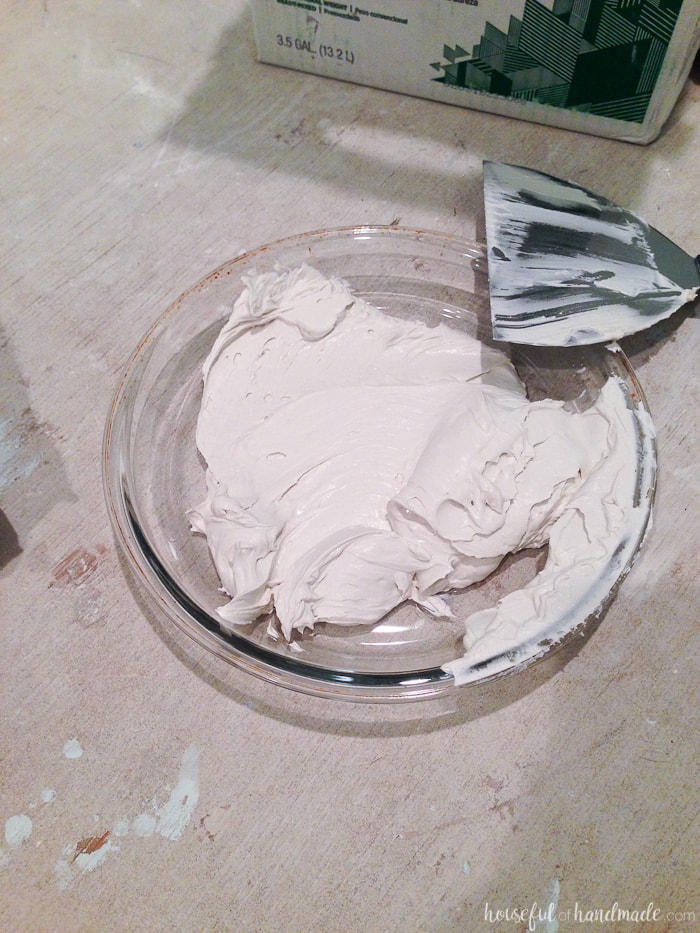
Now take your stick with the ball of newspaper on the end and stick it into the pan of drywall mud. Then stipple it onto the ceiling. You can do a couple spots before you have to load up the rig with more drywall mud.
Then take your drywall knife and scrape off the tip of the drywall mud hanging from the ceiling. Don’t remove it all you want about 1/8 inch of the drywall still on the ceiling. Just smooth the stippled on drywall mud to a flat’ish’ surface.
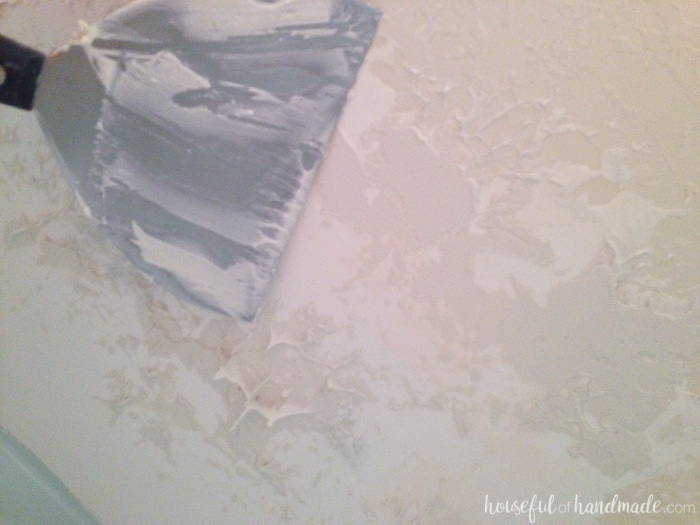
Now all you need to do is let it dry and you are done! See I told you it was easy.
Once you paint your newly patched ceiling, you can’t even see the patch. You’ve gotta love a little bit of texture. It makes it super easy to hide patch work. And I need all the help I can get because I am not a professional drywaller.
I hope you enjoy this easy how to. I promise, after a few more weeks of summer fun I will have time to finally get after finishing the master bathroom and living room remodels. Lot of pretty pictures to come 😉
I hope you are having a great summer too!

