Make this super simple reclaimed wood and steel Christmas sign with just a few straight cuts.
You know when you have a brilliant idea, and you just want to make it sooooo bad, but you need something that you just can’t buy in the store and can’t seem to get ahold of. Well, this was that project for me.
The design of this reclaimed wood and steel Christmas sign was inspired by the reclaimed wood that I have been pillaging from my parents old fence. I love the look of the 30 year old weathered wood.
My mom brought me a handful of boards a while back and I used a few, but then I had the idea for this reclaimed wood and steel Christmas sign but discovered I needed a few more boards.
This post may contain affiliate links. As an Amazon Associate I earn from qualifying purchases. Click here to read my full disclosure policy.
I asked my mom to bring me a few more (she lives a couple hours away but has visited a lot in the last couple months) and she kept forgetting. I have been bugging her to bring me more boards since before Halloween, and last weekend I finally got them.
So I rushed to make my sign before Christmas was over 🙂
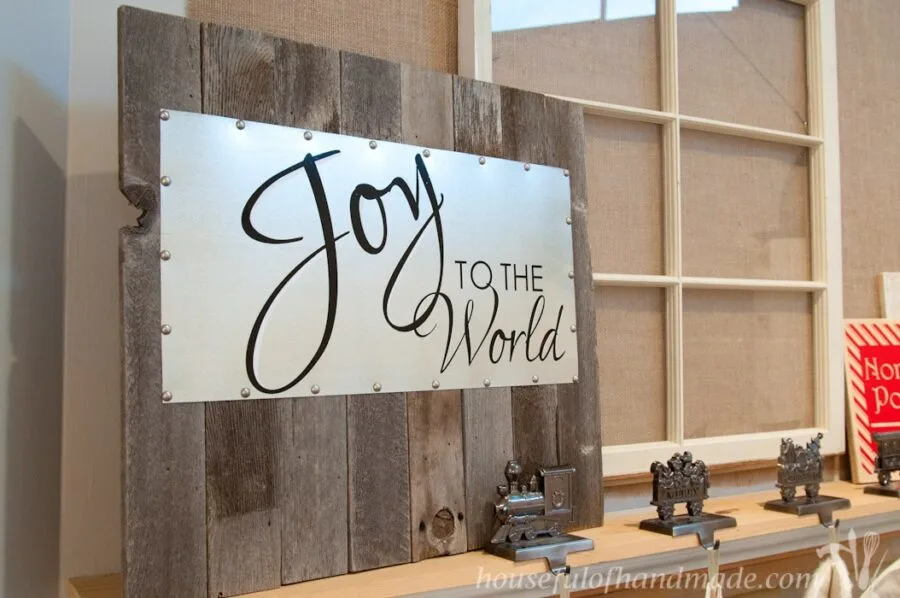
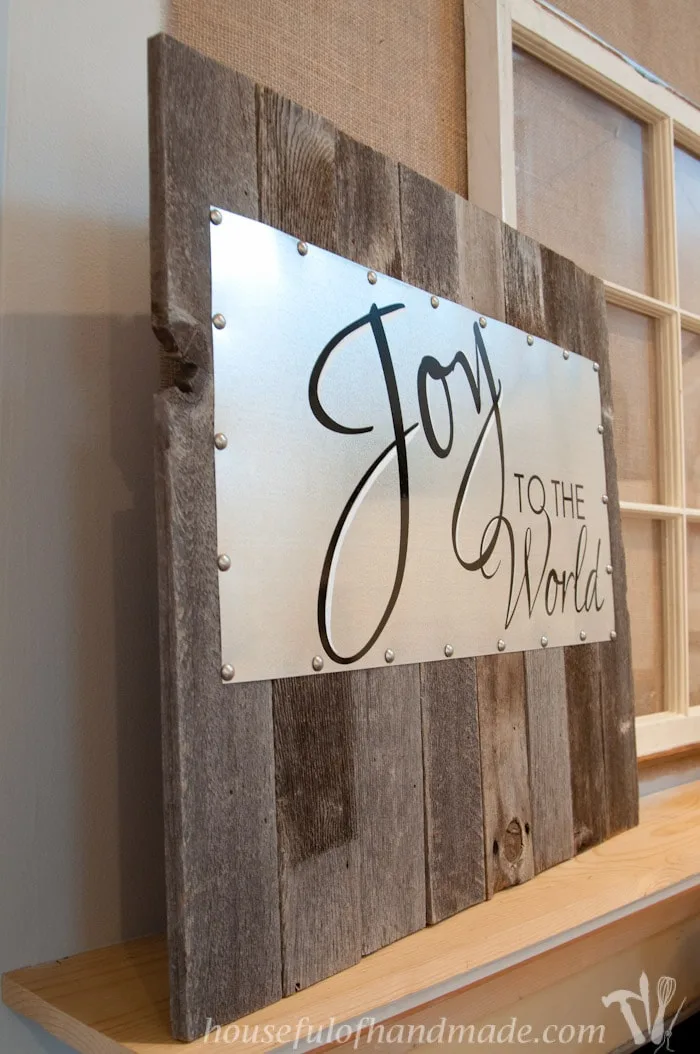
You can use any reclaimed wood to make this sign. Old palettes would be pretty. You could even use new wood, then stain it or distress it to look just how you want it. But I love the rustic gray of the wood from my parents old fence and I wanted that wood, also it was free.
The texture of the old wood and the beautiful gray would work perfect in my house, I just had to be patient. I was worried I would have to be patient until Spring cause my mom kept saying it was too cold to go pull down fence boards.
Luckily, my sister was able to convince daddy to get some.
I had the idea for this sign after I made my wood and steel serving tray. I love that you can write on the tray. I decided it would be fun to make a sign with the steel on it that could be written on.
The reclaimed wood is merely just the oversized frame to a canvas that you can write any message (or draw) on. So while I made mine into a Christmas sign to start, you really can make it into any sign you want!
I’m thinking fireworks for the 4th of July or snowflakes for January.
The build for this sign is super easy! It only requires making straight cuts and nails. I used my miter saw to make the cuts and my nail gun for the nails, but if you do not have these tools, you can cut the wood however you like and use a good ol’ hammer for the nails, it may just take a little longer.
Materials:
- 50″ of 1×3 board
- 16′ of 3 1/2″ wide reclaimed wood (or 1×4 boards)
- 12″ x 24″ 28 gauge galvanized metal sheet
- wood glue
- nails
- decorative tacks
Tools:
- miter saw (or some way to make straight cuts in your boards)
- nail gun (or hammer)
- hammer
- needle nose pliers
- measuring tape
I used new 1×3 boards on the back of my sign for the supports. I wanted the strength of the new wood instead of the crumbly reclaimed stuff. Cut 2 25″ pieces of the 1×3 boards. Then cut your reclaimed wood into 8 24″ pieces.
Line your reclaimed wood up to make a 30″ x 24″ square. Figure out where you want each board to be. I like to evenly distribute the knots and cracks and place anything I want hidden in the center where the metal sheet will cover it up.
I marked the center of each of my 1×3 boards and then clamped them to my little work table to keep myself from bumping them while I added the reclaimed boards. This was helpful but not necessary.
If you are working on a large work table, it is probably less likely that you will bump them, but I have a very small work area in my overfilled storage room… I mean garage.
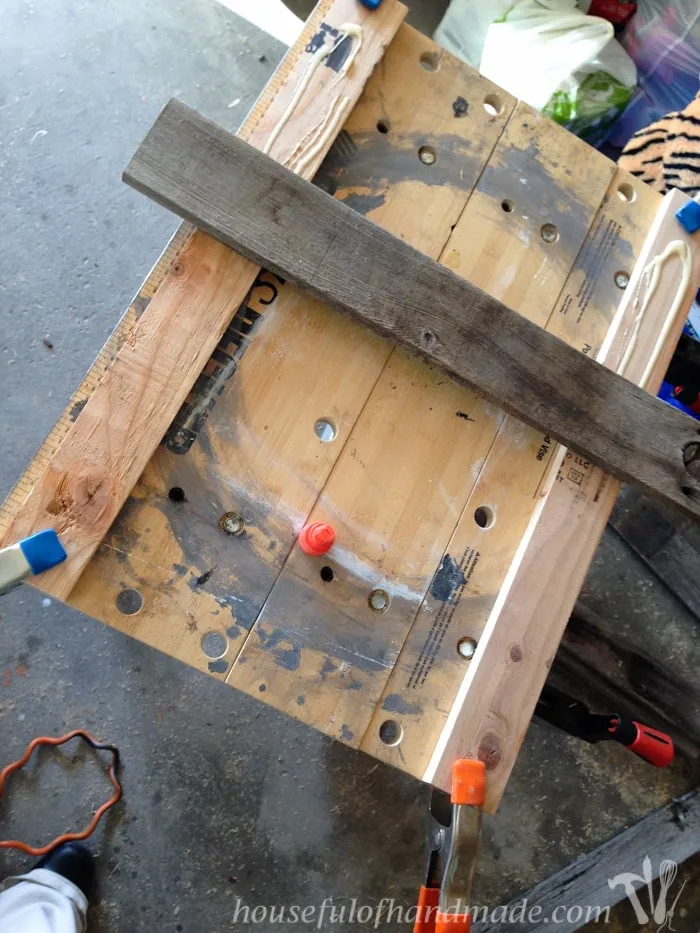
Then I added glue to one half of the 1×3 boards and lined the reclaimed boards up, making sure to keep them in order, on the one side. Secure with 4 nails per boards (two in each brace). Because I clamped my boards, I was able to put 3 boards on each side of the center line, then I removed the clamps and added the final boards on each side.
The braces are only 25″ wide and the final sign will be around 30″ depending on the exact measurements of your boards. I didn’t want the new wood to show on the sides so I made sure to bring it in a couple inches from the edge.
That is why it is best to start in the middle and move out to the outside.
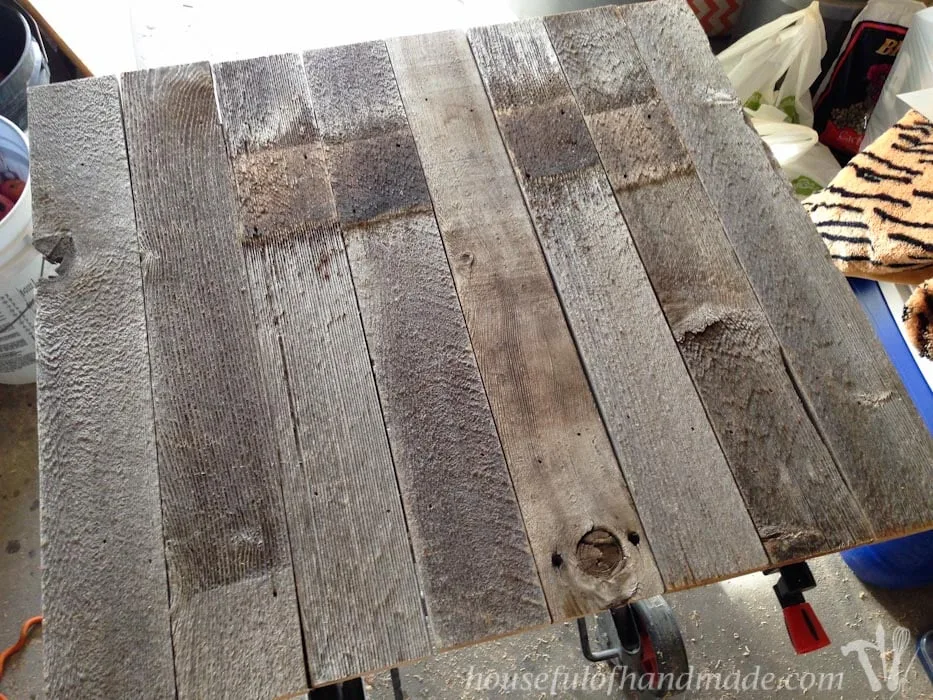
Next I put the metal sheet on the sign. I wanted it centered left-to-right but I wanted it to be closer to the top than the bottom. I placed it 4″ below the top of the wood. Then I secured it to the boards with the decorative tacks.
I found these tacks in the upholstery section of Hobby Lobby and they match the metal perfectly.
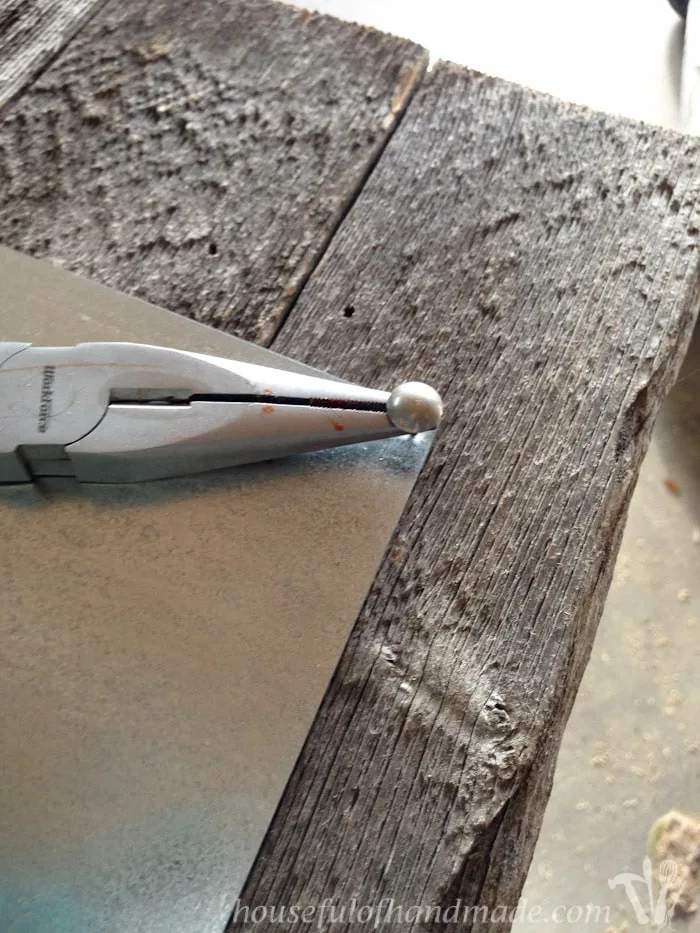
It was really hard to hold the tiny tacks while trying to not hammer my freezing cold fingers. I found a pair of pliers worked perfectly to hold them while I got them hammered down. I started by securing the 4 corners.
Make sure to double check your metal is still even after you put in the first tack, it moved quite a bit while I hammered in the first tack. After the 4 corners were done, I added tacks around the outside.
For the top and bottom I put a tack in the center of each board and on the sides I spaced them 3″ apart.
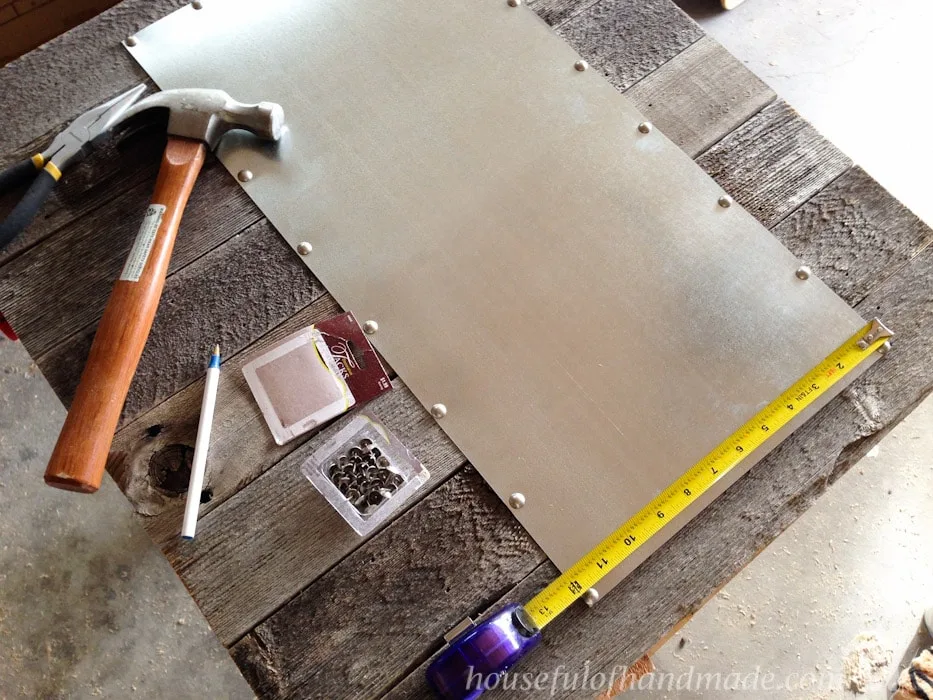
Now it was time to take the sign inside and warm up my fingers. Good thing this was a fast build or I would have been a Kati-cicle. Then I was ready to add my Christmas message.
I started by using chalkboard markers to make a cute sign, but hand lettering has never been my strong point (even though I want it to be so badly). So after spending over an hour drawing, erasing, and redrawing many times.
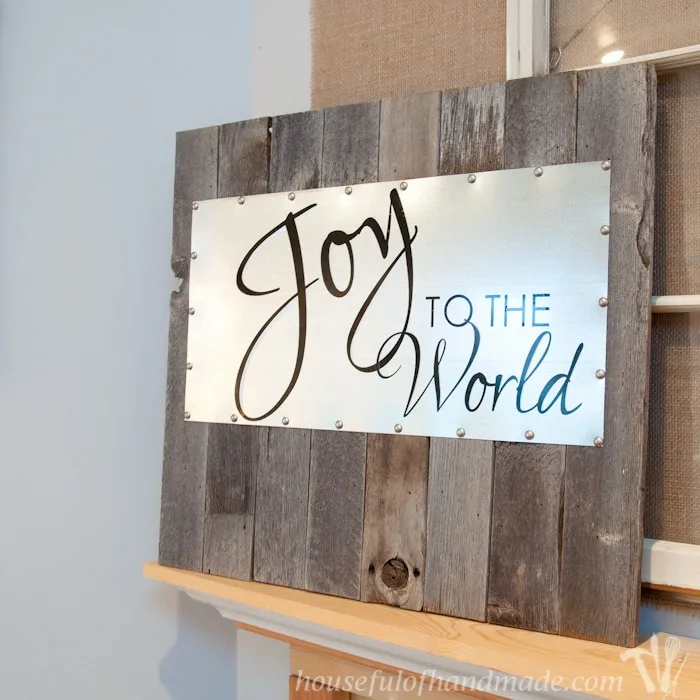
I decided to just use my Silhouette to cut some vinyl and put it on the metal. It will still be easy to switch out, and maybe I’ll take a class to learn how to do pretty lettering so I can hand draw the next message.
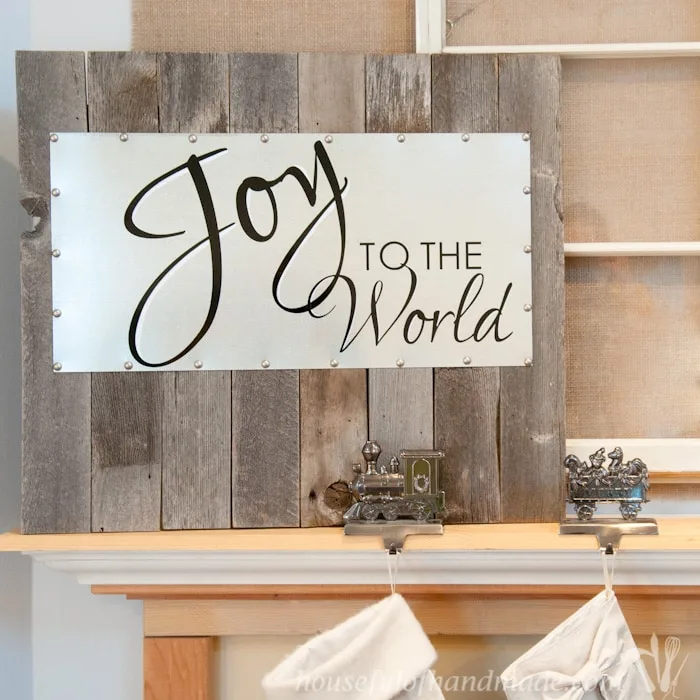
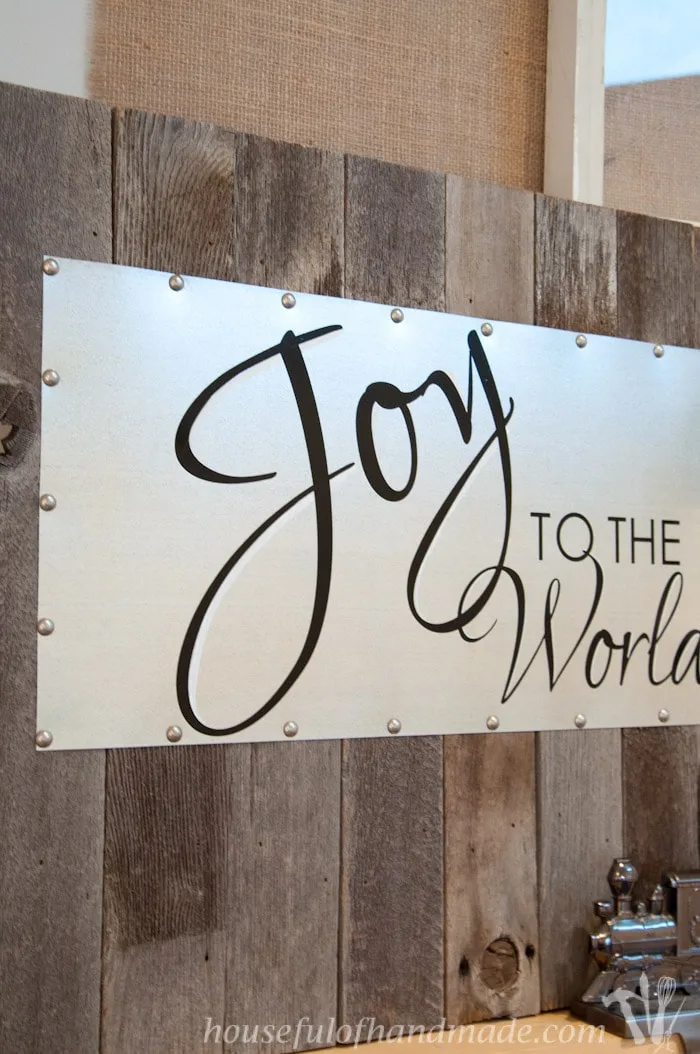
I did use a white chalkboard marker to add some dimension to the letters. It is a little hard to see in the pictures because the metal is slightly reflective. But in real life it looks really cool and makes the black vinyl really pop on the sign.
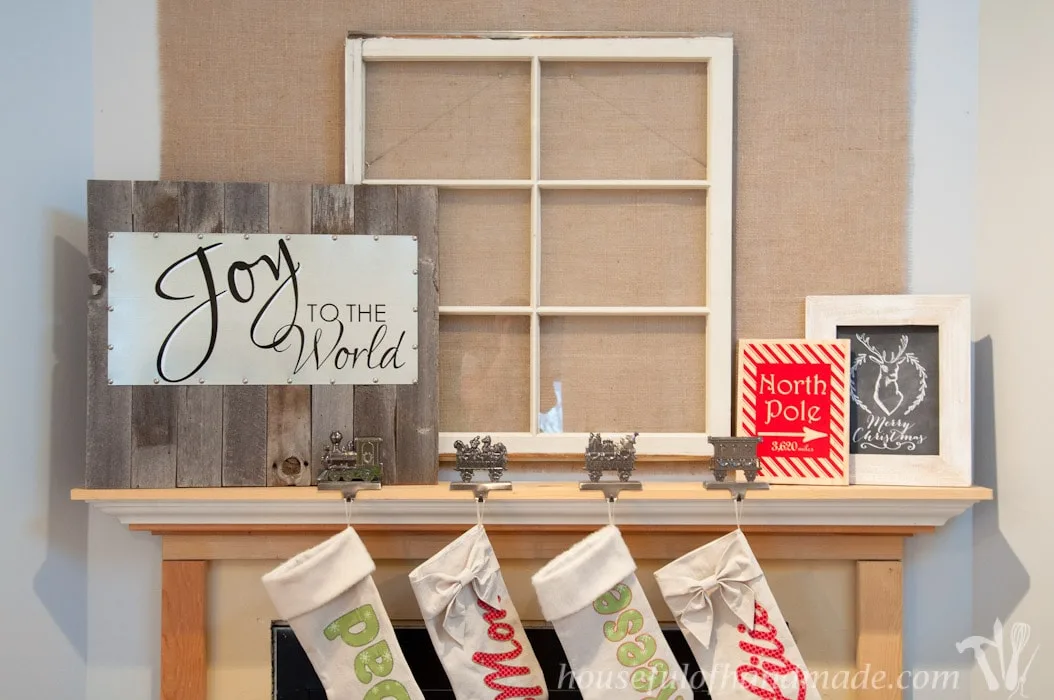
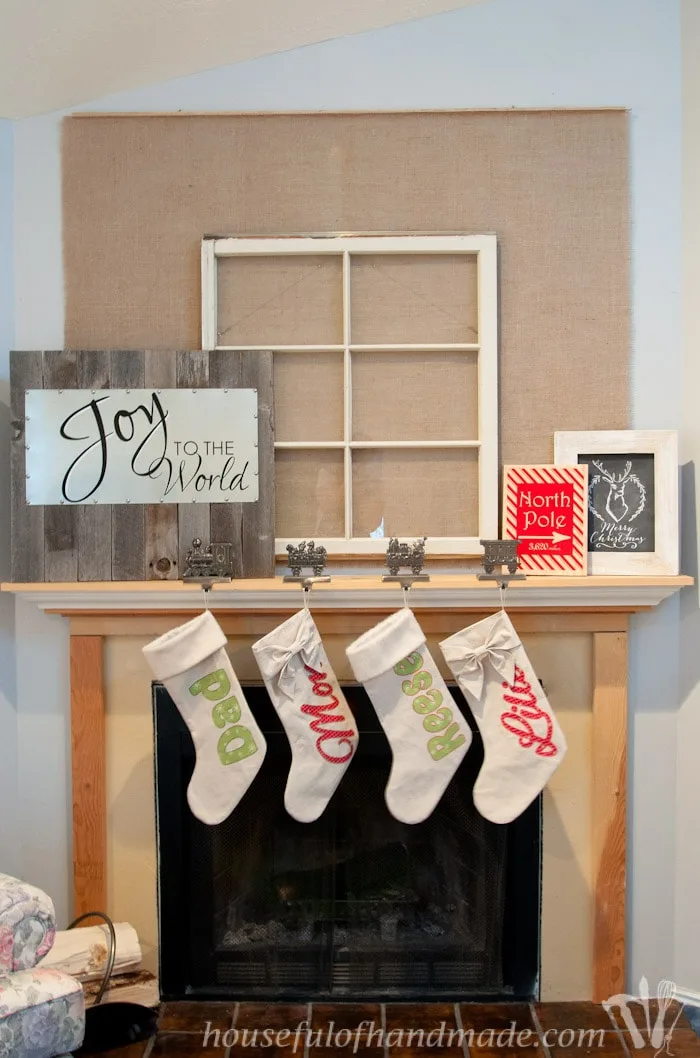
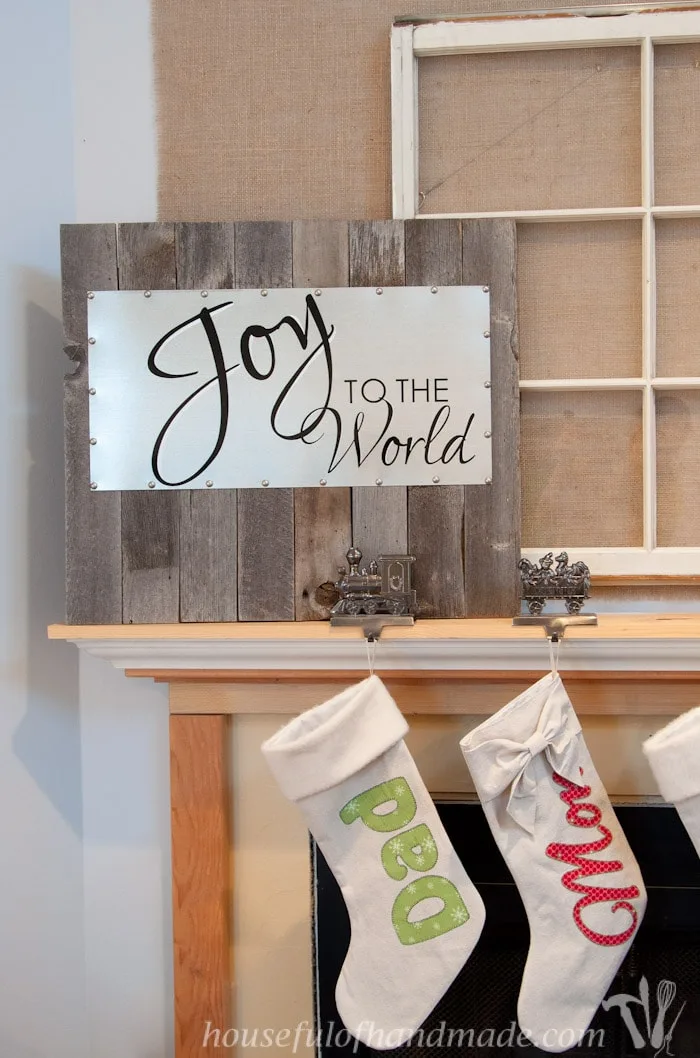
I kept the saying very simple, a little Joy to the World is all we really need this time of the year right? And my mantle is starting to look a lot like Christmas!
Don’t forget to check out the more Christmas decor tutorials! Nothing beats a DIY Christmas.
I hope you are enjoying the season and having a lot of joy!
This DIY reclaimed wood and steel Christmas sign is super easy to make and can be made with any reclaimed wood. 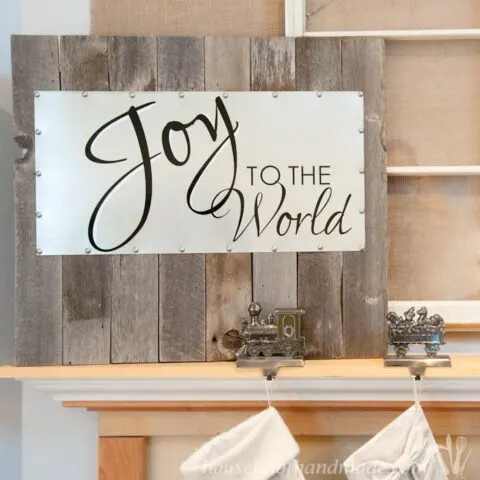
Reclaimed Wood and Steel Christmas Sign
Materials
Tools
Instructions


Tonny
Monday 23rd of May 2016
I have my own idea after visiting your blog. A helpful tip. Thanks Kati!
Kati Farrer
Thursday 26th of May 2016
Awesome! I am glad I could help spark some creativity :)
Jennifer M. Nix
Wednesday 4th of May 2016
Thank you so much for your excellent blogs. It's maybe helpful and educating for woodworkers. Thanks again.
Patricia J. Lytle
Monday 28th of March 2016
A great idea to combine rustic wood and metal. I will try to implement it
Kati Farrer
Tuesday 29th of March 2016
Thank you Patricia! I love the look of the rustic wood with the metal.
CD Loken
Wednesday 16th of December 2015
Oh my goodness, Kati! I absolutely LOVE your sign! I have some wood from an old corn crib left over from another project. Guess what I'm going to be making!! Thank you so much for sharing at The Wonderful Wednesday Blog Hop! PINNING!
Kati Farrer
Friday 18th of December 2015
I'm so happy to hear you have the perfect wood to make the sign. I'd love to see pictures when you make it :)
Sonja @ SustainMyCraftHabit
Wednesday 16th of December 2015
Love the versatility in the sign. Ad your mantle with it's mix of new and rustic is gorgeous!
Kati Farrer
Friday 18th of December 2015
Thanks so much Sonja! The versatility of the sign is going to make decorating every season easier.