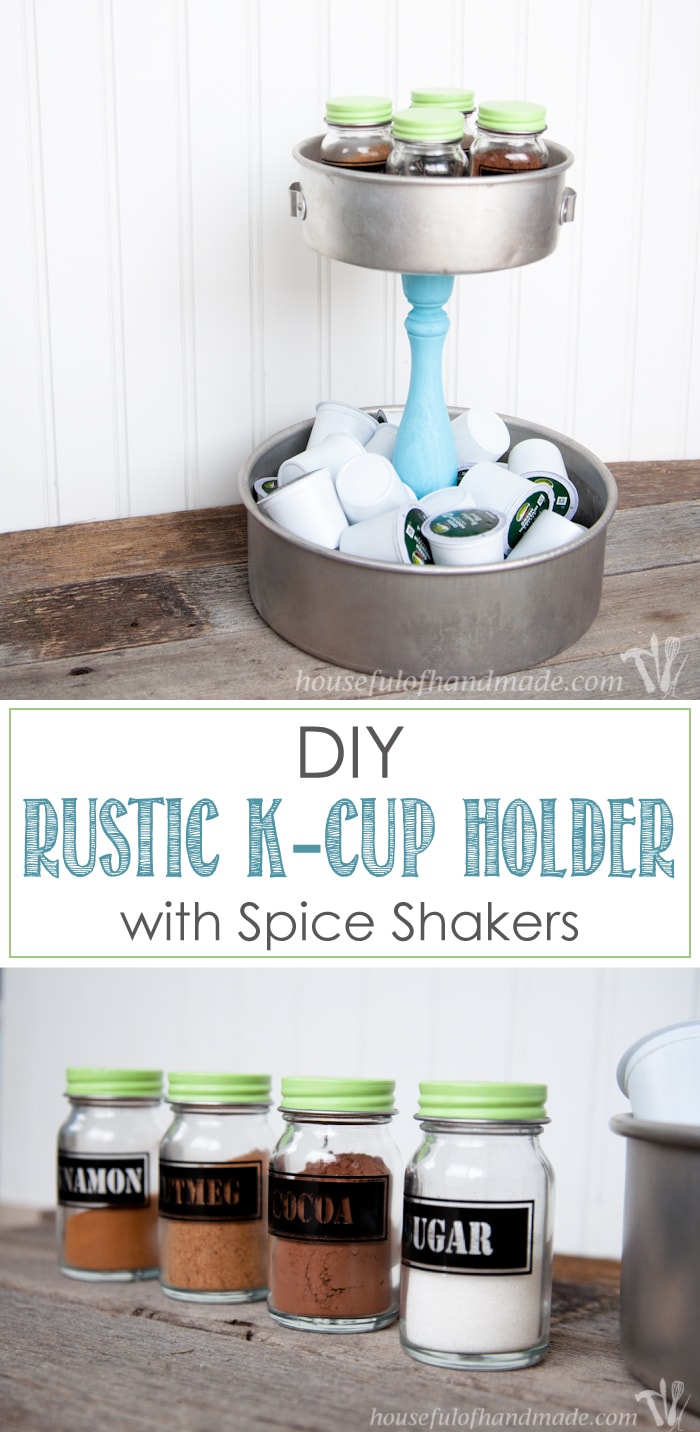
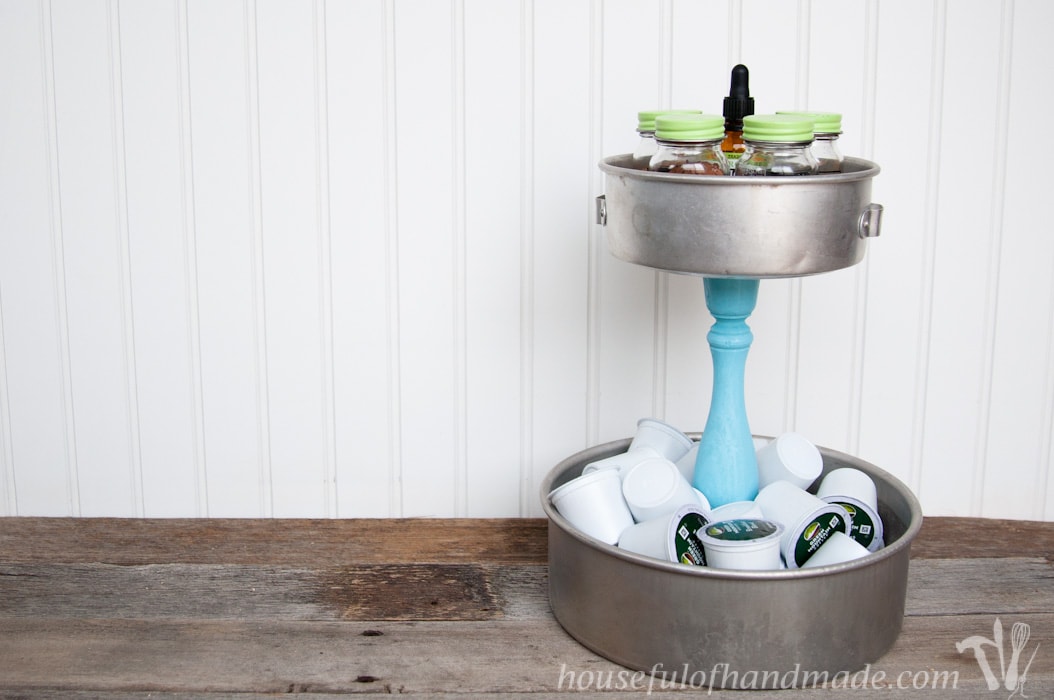
Learn how to make a DIY rustic K-cup holder using spice shakers and pans.
I am so excited to finally be sharing all the bits and pieces that make up one of my favorite places in our home: the coffee station! This week I have been working hard to finish up all the last minute projects this week so I can share it with you! I decided to start by sharing this super simple, DIY rustic K-cup holder with spice shakers. I love how our K-cup holder turned out and couldn’t live without it.
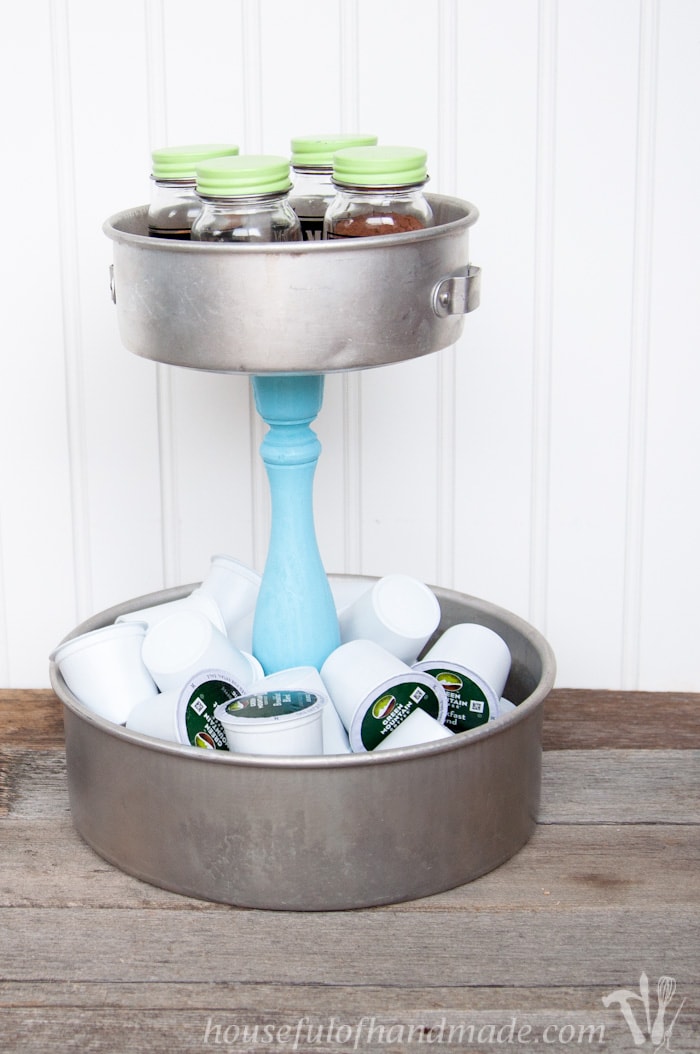
We are loving our new coffee station, it is serving all our needs. We like to call it our recharge station because we have an outlet right next to it that can hold 2 USB chargers so we refuel our electronics while refueling ourselves with caffeine.
This post may contain affiliate links. As an Amazon Associate I earn from qualifying purchases. Click here to read my full disclosure policy.
Yeah, I live on caffeine. It is my one vice (okay, one of two if you include chocolate). I know how unhealthy it is, but will probably never give it up 🙂 I just love the comfort of a hot cup of coffee on a cold day, or first thing in the morning, or because I want a treat, or…
Even though I love coffee, I only drink one cup at a time. And because my husband is a morning person and I like to start my day an hour (or 3) later then him, we cannot share a pot or I would always end up with old coffee.
Yuck! Luckily we were gifted a Keurig for Christmas a few years ago, and I love it! But with a Keurig comes lots of little K-cups and we needed a way to store them.
I started by putting them in a trifle bowl, it looked really pretty, but I had to dump them out whenever I wanted to actually use the bowl. I don’t make trifles too much so it wasn’t too inconvenient. But when I stumbled upon this rustic tailgating treat stand I knew it could work perfectly for the coffee station.
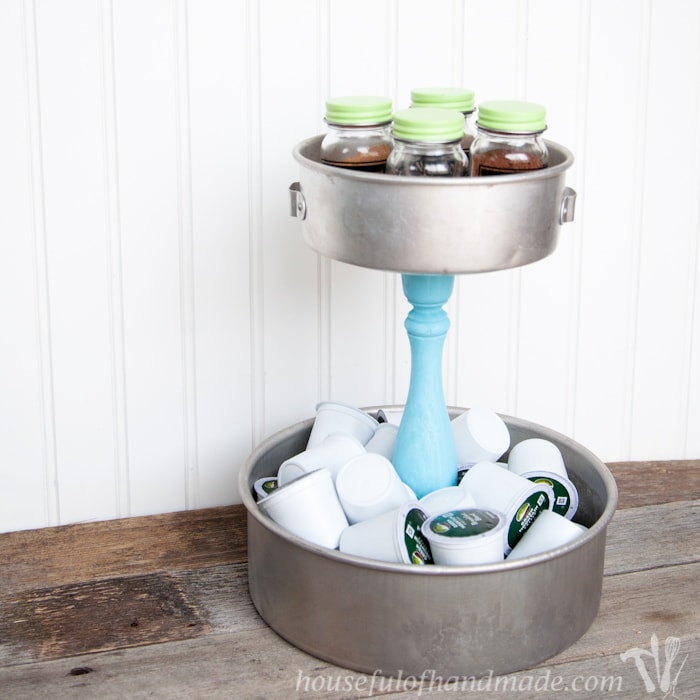
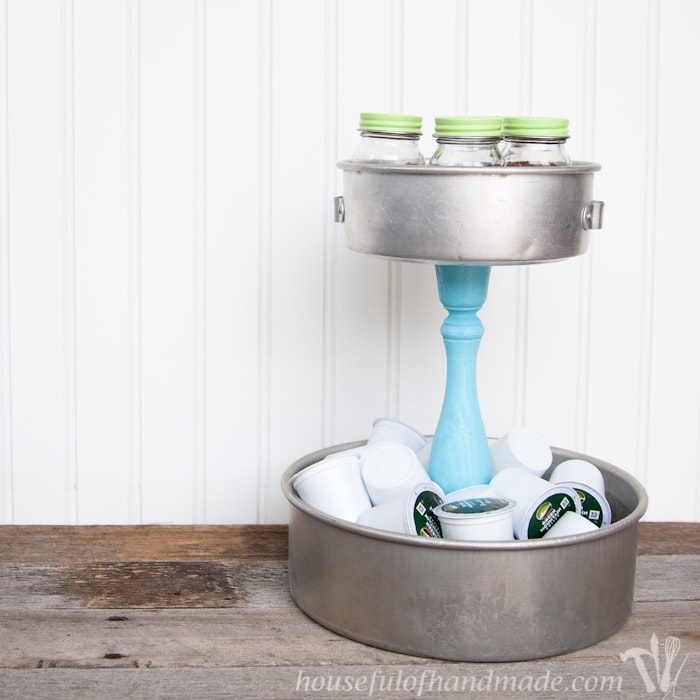
I found a smaller cake pan (about 6 1/2 inches in diameter) for the top pan. And both my pans are for deeper cakes (about 3 inches deep). The top pan works perfectly for holding our spice shakers to really jazz up our coffee station. Now we can have a fun cup of coffee quickly whenever we want one.
If you want to make your own DIY rustic K-cup holder with spice shakers you will need to find 2 aluminum cake pans. I found the smaller one at a thrift store for $0.75 and happened to have the larger one on hand because my sister had duplicates that she didn’t need anymore.
Yeah for being a craft horder! I did have to buy a wooden candlestick (no love at the thrift stores). I found this one at Michael’s in their unfinished wood stuff and it cost less than $5 with a 40% off coupon.
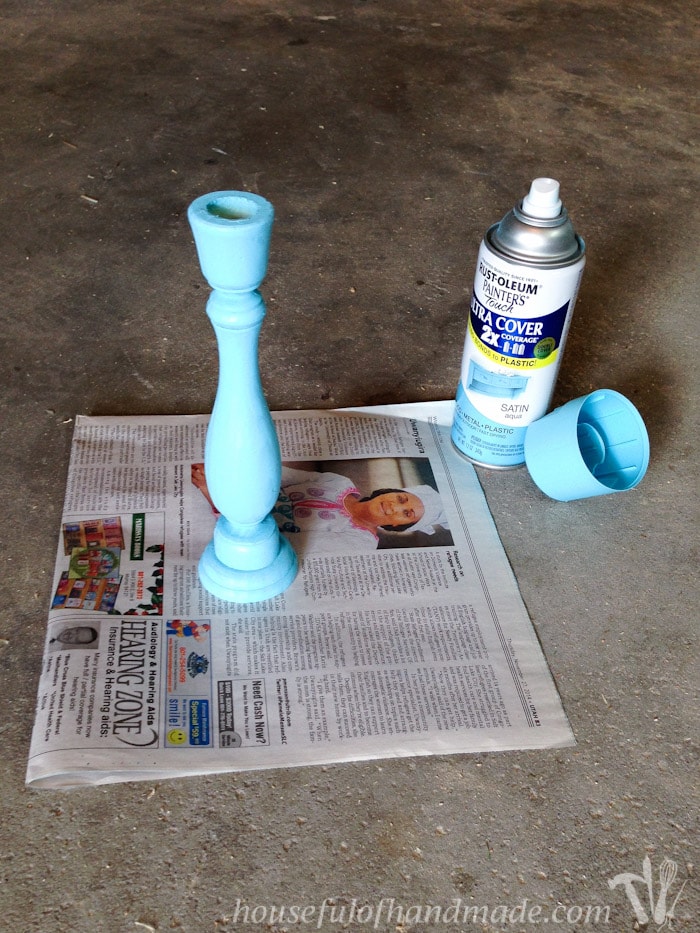
A coat of bright blue spray paint on the wooden candlestick added a pop of color.
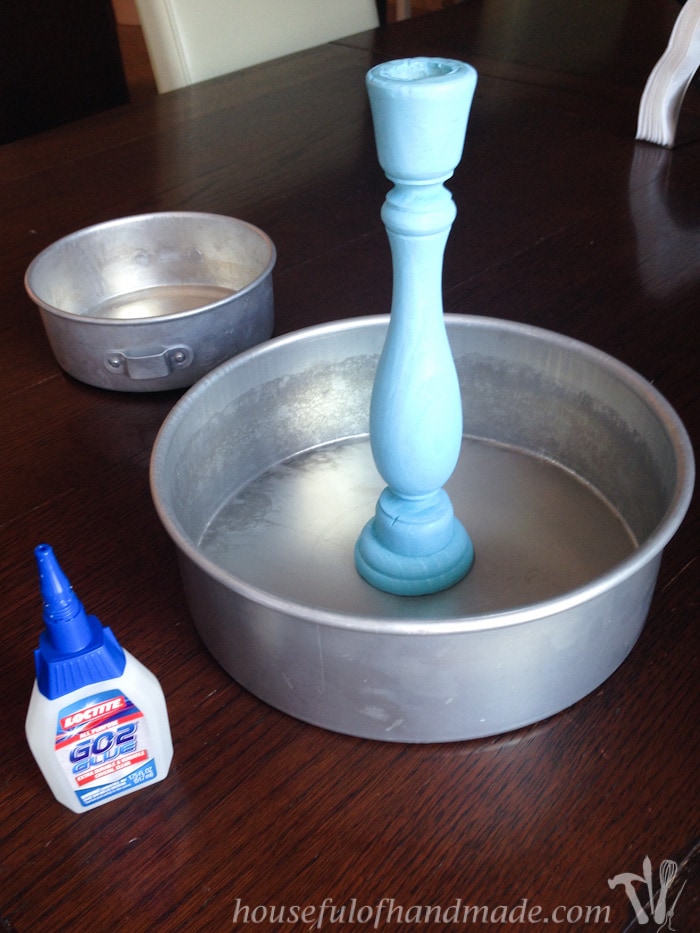
To attach the candlestick, I used a heavy duty glue and glued the bottom of the candlestick in the center of the larger pan.
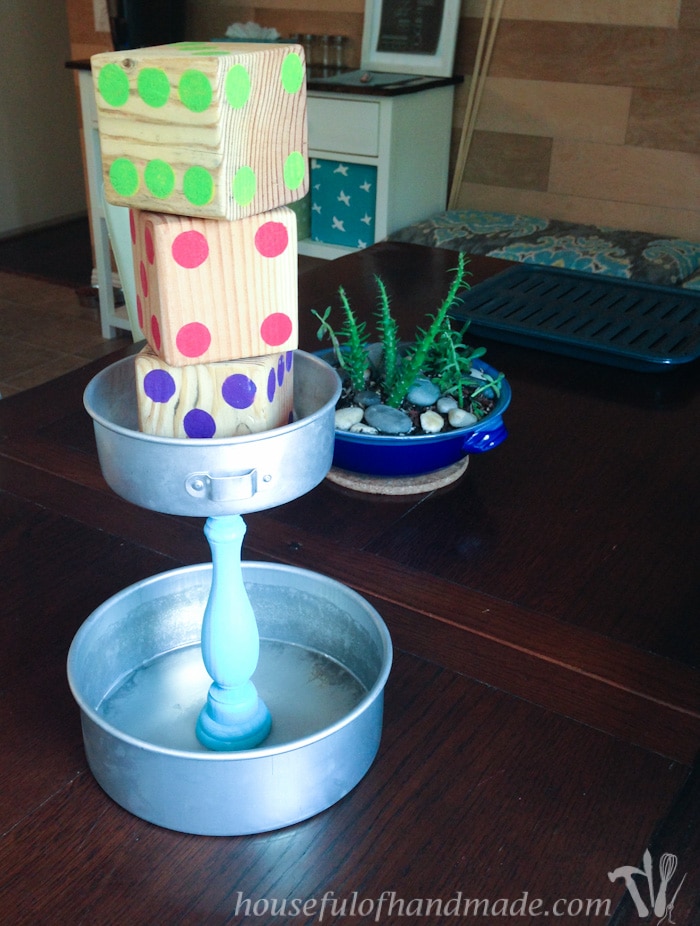
Then add glue to the top of the candlestick and center the smaller pan on top. You will need to put some weight in the smaller pan until the glue has some time to cure and dry. My colorful yard dice came in very handy for this 🙂
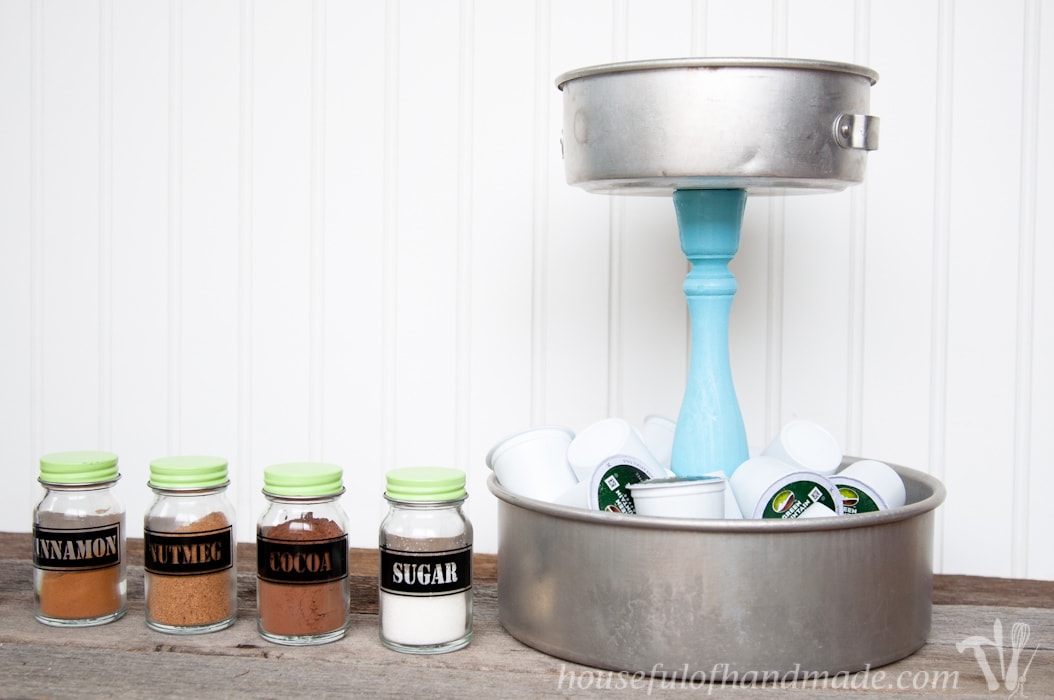
While these were drying, I decided I needed to add some color to the spice shakers. I found these basic glass shakers at World Market for a couple dollars each. I wanted something cuter, but couldn’t find anything that wasn’t too expensive. Luckily, a little paint can work wonders.
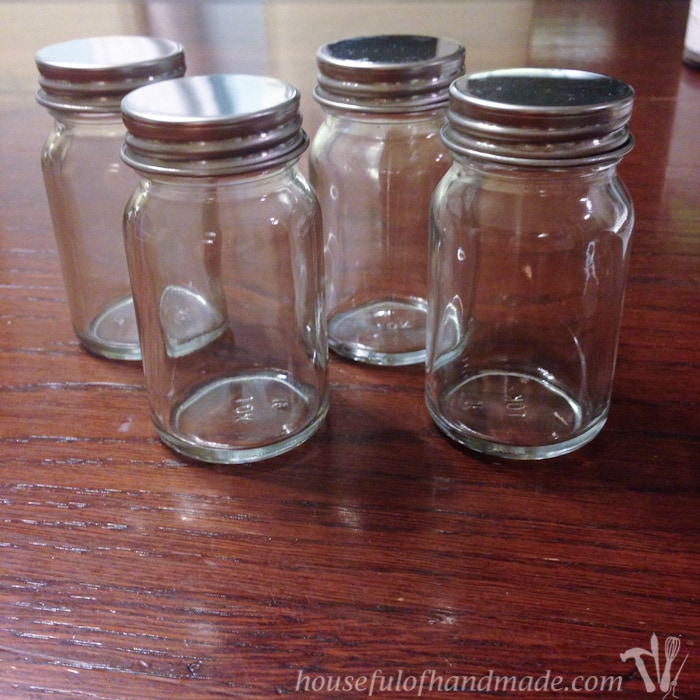
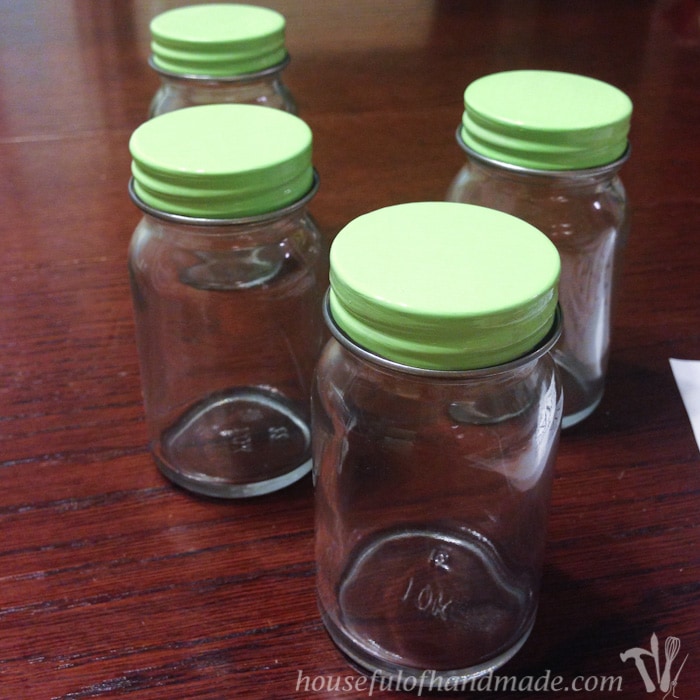
I used paint that was leftover from painting our front door. It took 3 coats to get good coverage, but the paint dried really fast so it only took me about an hour to complete.
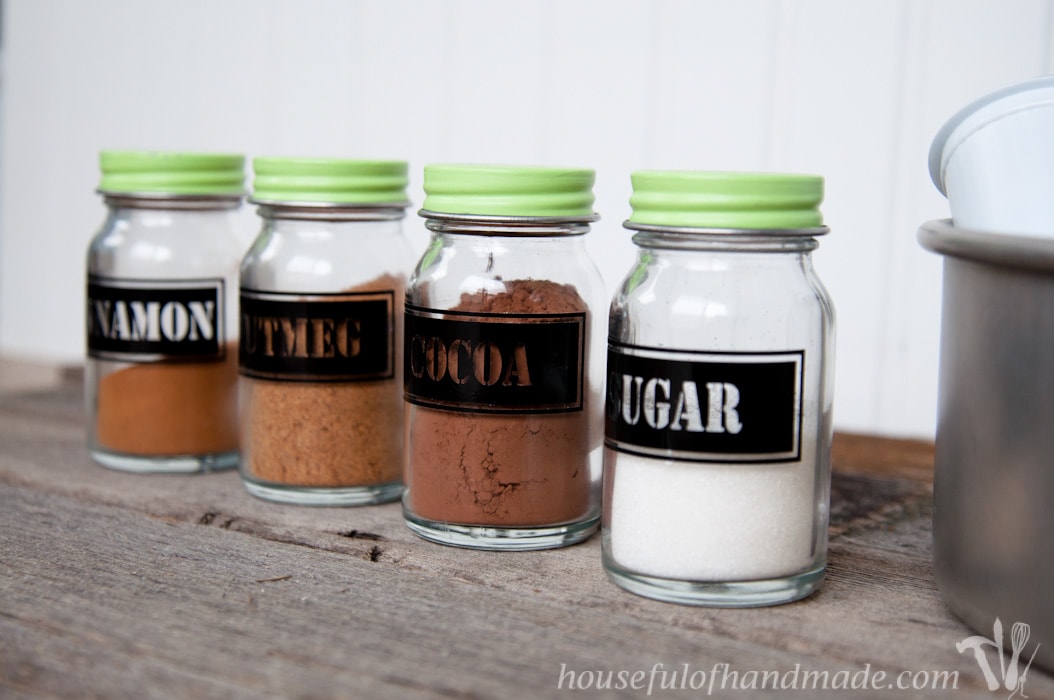
Then I added some vinyl labels that I cut out using my trusty Silhouette cutting machine. We filled them up with ground cinnamon, ground nutmeg, cocoa powder and sugar.
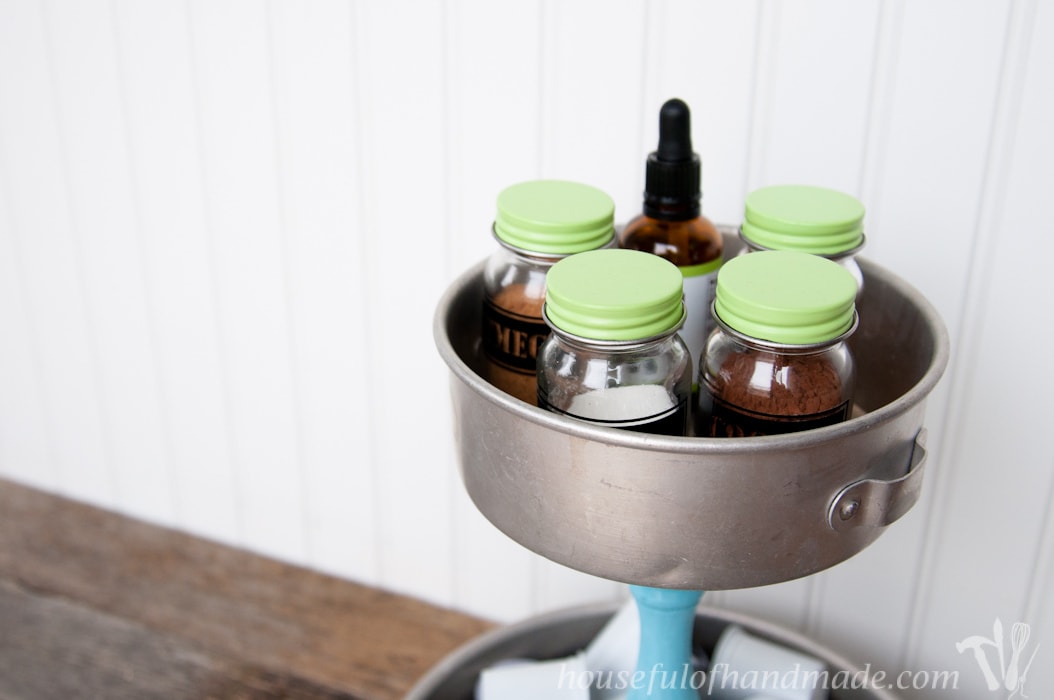
We have room in the top of the K-cup holder to store all the spice shakers and the stevia drops that we use in our coffee. Perfect for dressing up a cup whenever I need something a little fancier!
Don’t you just love how it turned out, and that it can keep all those K-cups right next to the Keurig? Convienence is key when you are in need of a caffeine boost.
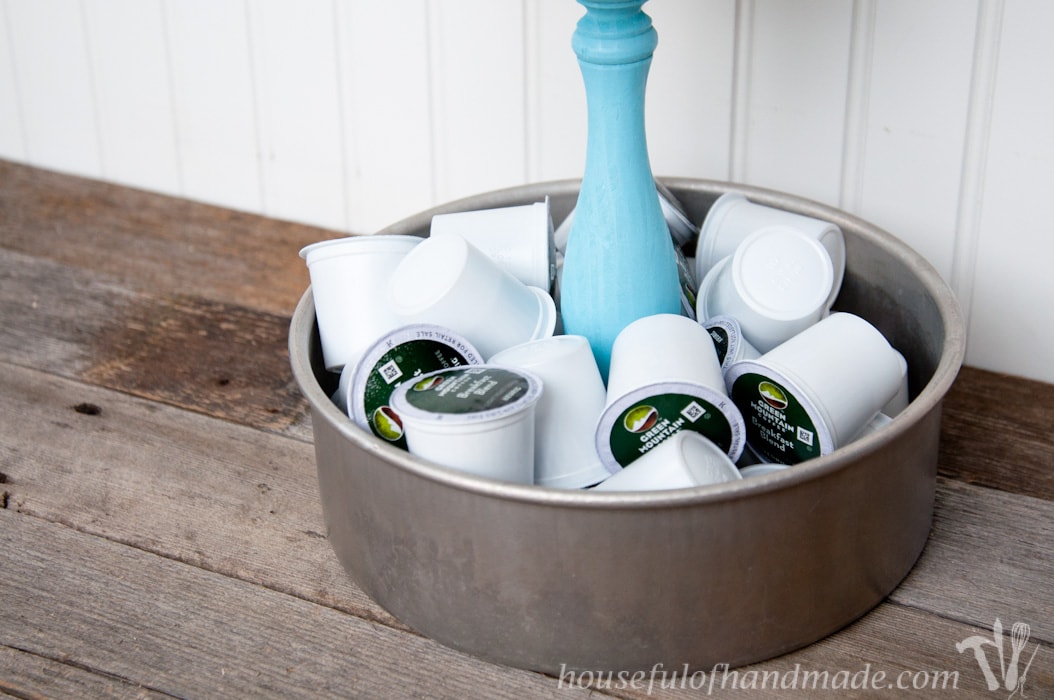
Who’s ready for a cup of coffee?
Don’t forget to subscribe to our weekly newsletter so you don’t miss out on the rest of coffee station projects!


