House shaped decor is very popular right now. If you love the house decor trend you will love this super simple wooden house shelf!
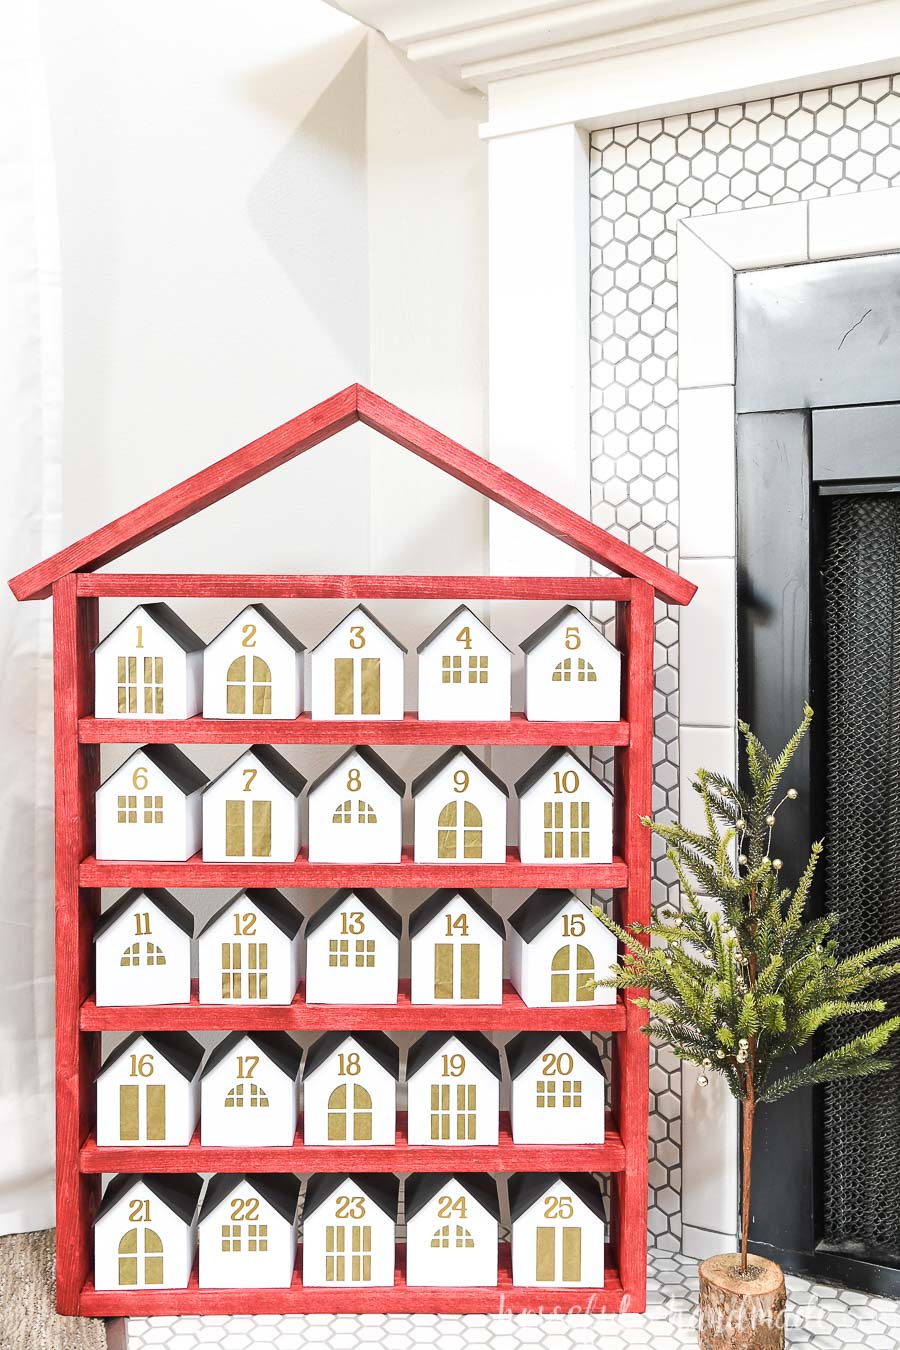
The house shaped shelf is so cute and could be used for displaying toys in a little boys room, as a playhouse for small dolls for girls, as a plant shelf. Or how I used it, as a shelf for a DIY advent calendar.
However you use it, you will love how quick and easy this shelf is to build! I made it in just an hour and was ready to stain and decorate.
This post may contain affiliate links. As an Amazon Associate I earn from qualifying purchases. Click here to read my full disclosure policy.
Easy to Build Shelf
This easy to build shelf is made with just two 1×4 boards.
Plus all you need to make it are a measuring tape, miter saw and nail gun. And you are going to love how fast the shelf goes together!
Or if you do not have a miter saw, you could cut the boards easily with a jig saw, circular saw, or even a hand saw. Use what you have to make yourself this amazing shelf!
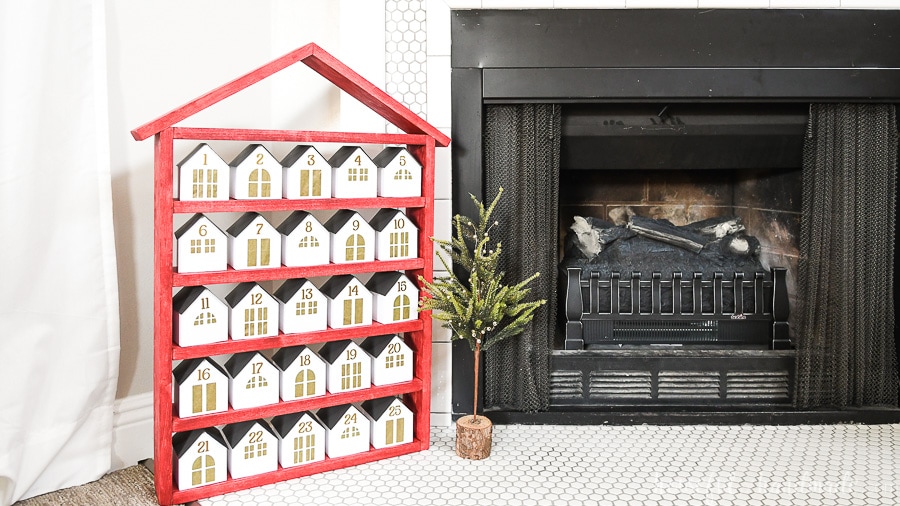
You can stain the wood shelf any color you want. Since I am using it for my advent calendar I went with red. And because this year’s Christmas decor has a classic red theme with simplistic Scandinavian influences.
So for our house shelf, I used up some of the leftover red stain from the wooden toy barn build earlier this month. This wood stain is the perfect vibrant red for Christmas.
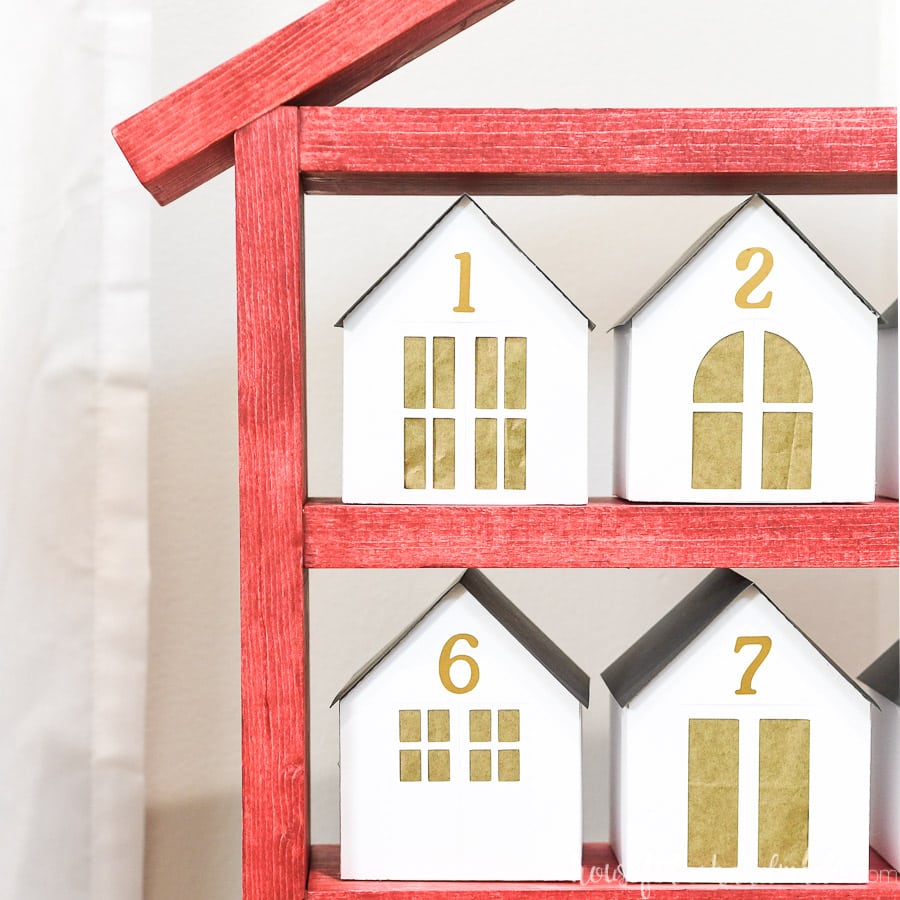
If you want to use your house as an advent calendar like I did, the tutorial for the paper Christmas houses is located on my other blog, Craftingmyhome.com.
How to Make a House Shaped Shelf
Tools & Materials
Recommended Tools:
- Miter saw
- I recently upgraded to this sliding miter saw (watch for it to go on sale), but previously used this inexpensive miter saw that I love.
- Finish nailer
- Measuring tape
- Speed square
Supplies:
- Wood products
- (2) 1×4 boards, 8′ long
- 1 1/4″ long finish nails
- Wood glue
- Sandpaper
- Wood putty
- Wood stain
- I used this red wood stain.
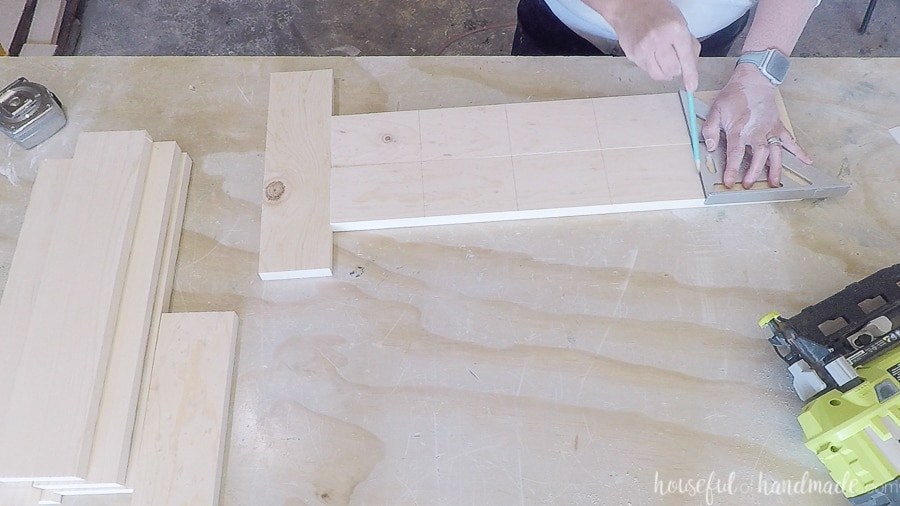
STEP 1- Cut the Boards
From the 1×4 boards, cut the following:
- (6) pieces at 18″ long
- This will give you 5 shelves, if you want more space between them, cut less shelves.
- (2) pieces at 24 1/2″ long
- (2) pieces at 13″ long with one end cut at a 30 degree angle
On the 24 1/2″ long pieces, cut the top at a 30 degree angle just so the top 1/4″ of the board is gone. This will give you a flat surface to attach the roof to.
I recommend sanding all the boards now, it’s way easier than trying to get in between the narrow shelves later.
Mark where the shelves will go on the 24 1/2″ pieces. Make sure to mark the boards on the inside (the nipped corner is the outside).
There should be 4″ between all the shelves and the top and bottom will be flush with the top and bottom of the boards if you want to use it for the paper house advent calendar. If not, position your shelves wherever you want!
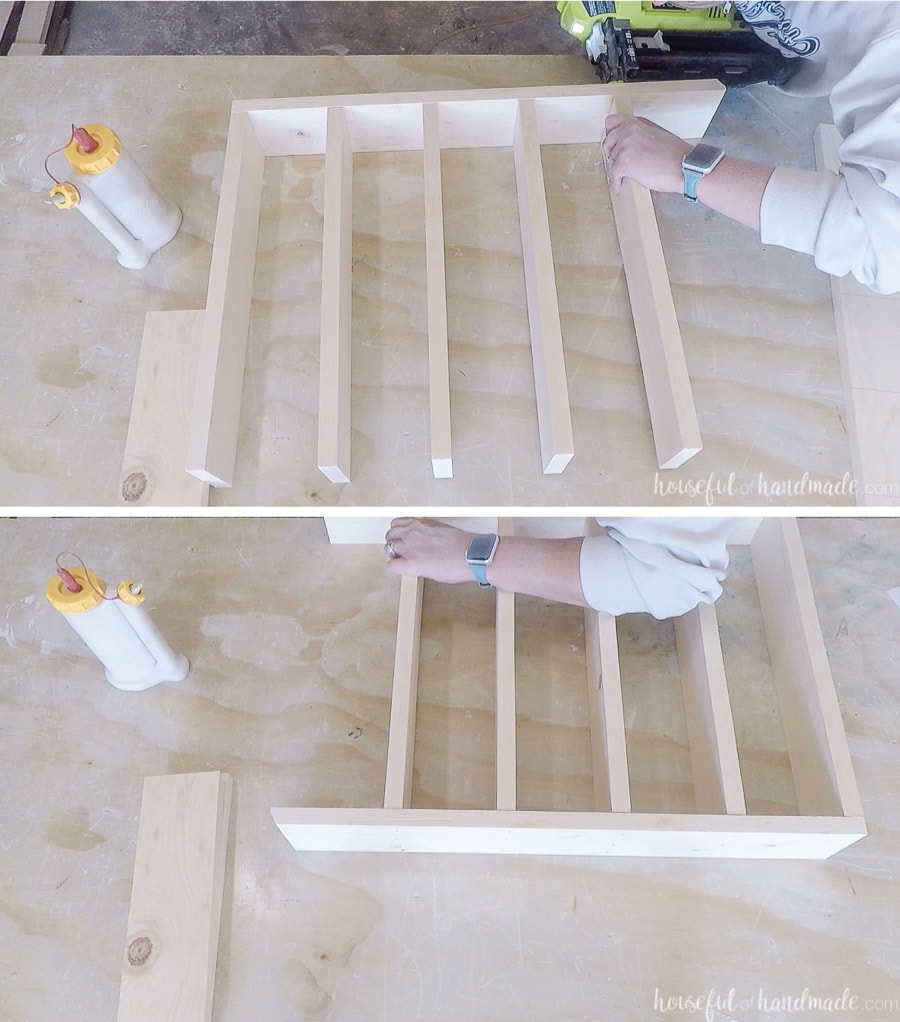
STEP 2- Assemble the Shelf
Add glue to the end of one of the 18″ boards, line it up on the mark you made on the side pieces. Secure it with some finishing nails. Repeat for the rest of the 18″ boards.
Next add wood glue to the exposed edge of all the 18″ boards. Line the other side board up and secure all the shelves with finish nails.
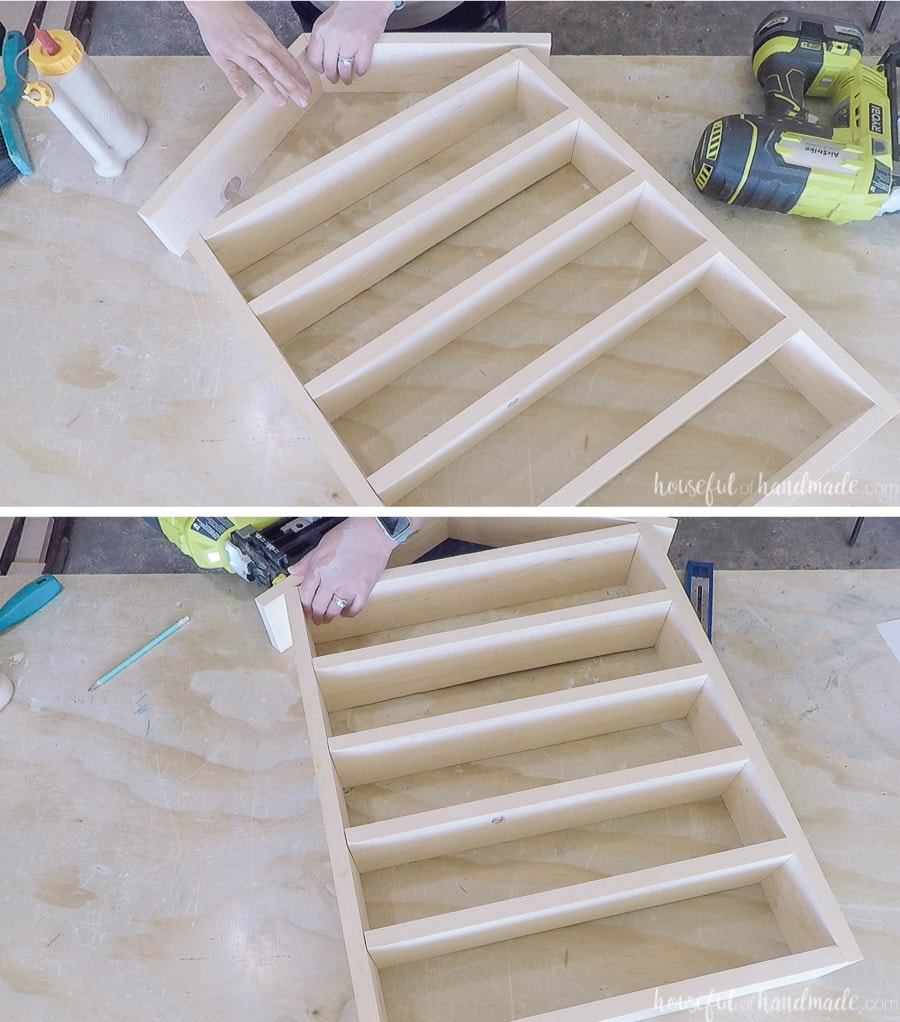
Use wood glue and finish nails to secure the top peak of the roof pieces (the angled edges are the top peak).
Center the roof on top of the shelves so the edges lay on the notched corners. Secure the roof to the shelves with wood glue and finish nails.
STEP 3- Finish the Shelves
Fill all the nail holes with wood putty. Make sure to use stainable filler if you are staining your shelves. Then sand and finish however you want.
To hang your shelf on the wall, I recommend you use a D-ring hanger on each side of the shelf. This will keep your shelf from tipping because it will be attached on each side board.
I cannot wait to see my kids opening the houses come December. Then I can use the cute shelf anywhere I need more display.
Happy Building!
