I wanted to make something fun and unique for teacher and neighbor gifts this year.
As much as I love making days and days worth of cookies and candies, sometimes a non-food neighbor gift is nice.
So I put away the sugar and instead made the easiest DIY wood signs ever!
This post may contain affiliate links. As an Amazon Associate I earn from qualifying purchases. Click here to read my full disclosure policy.
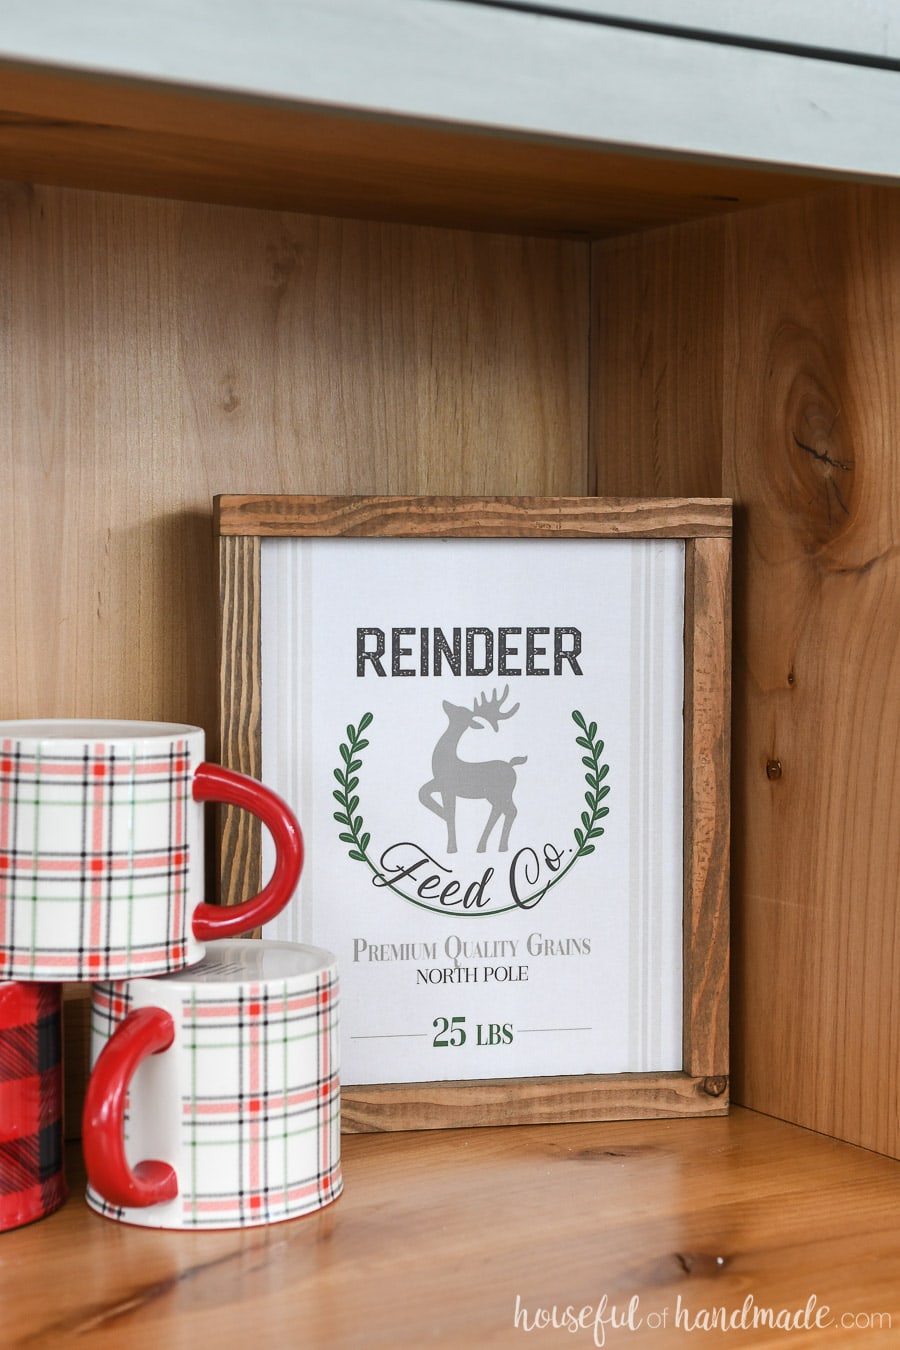
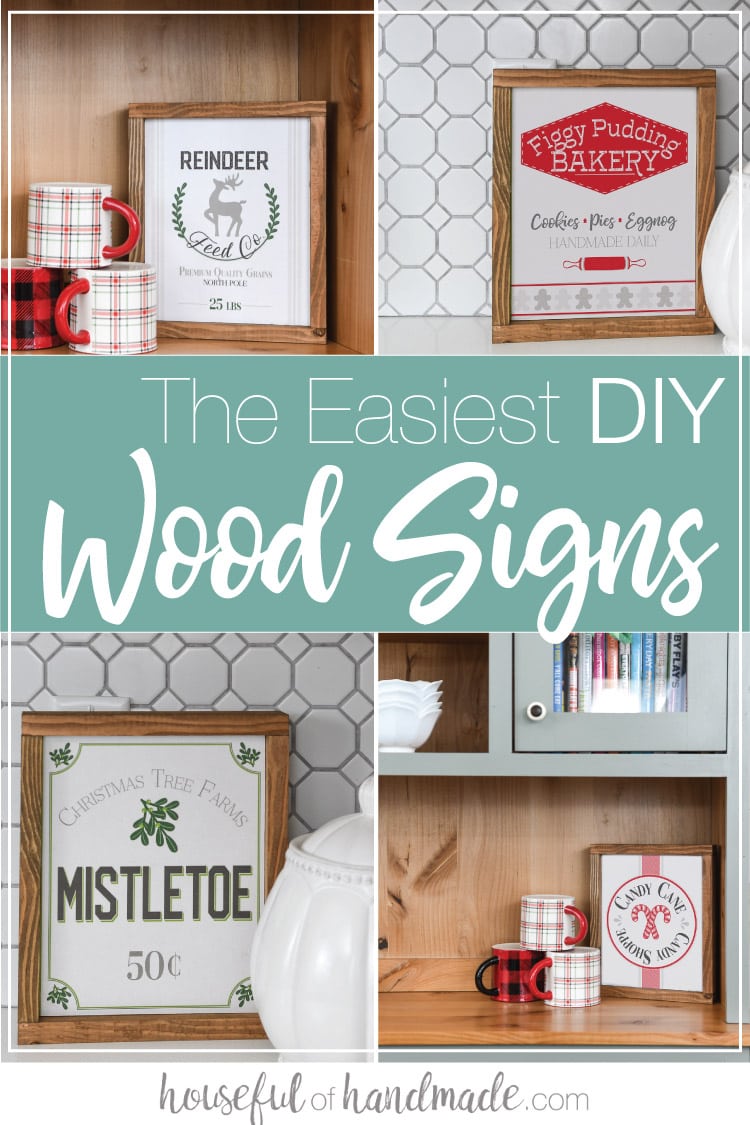
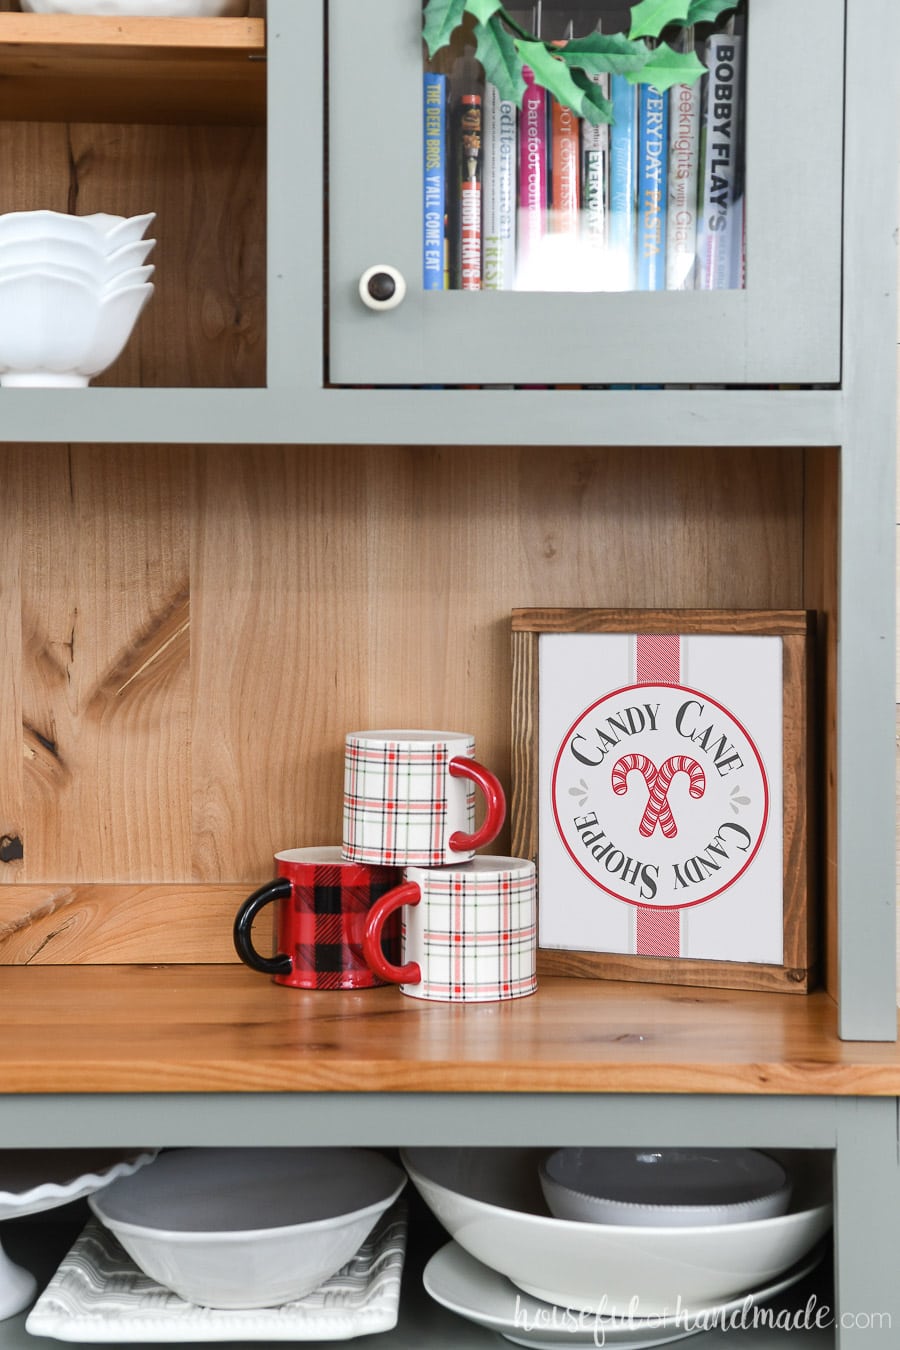
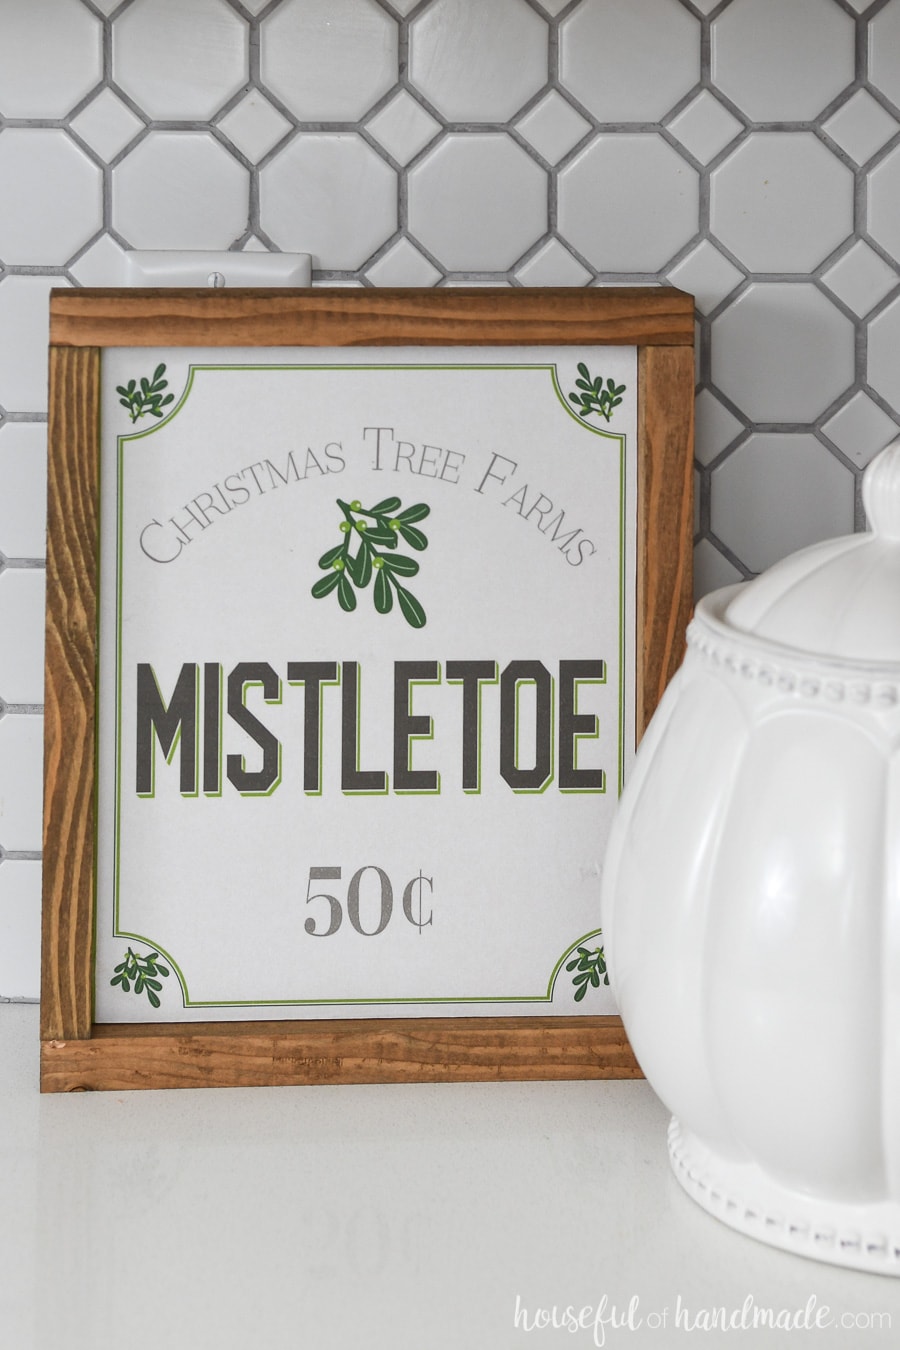
Because these were Christmas gifts, I decided to make Christmas DIY wood signs.
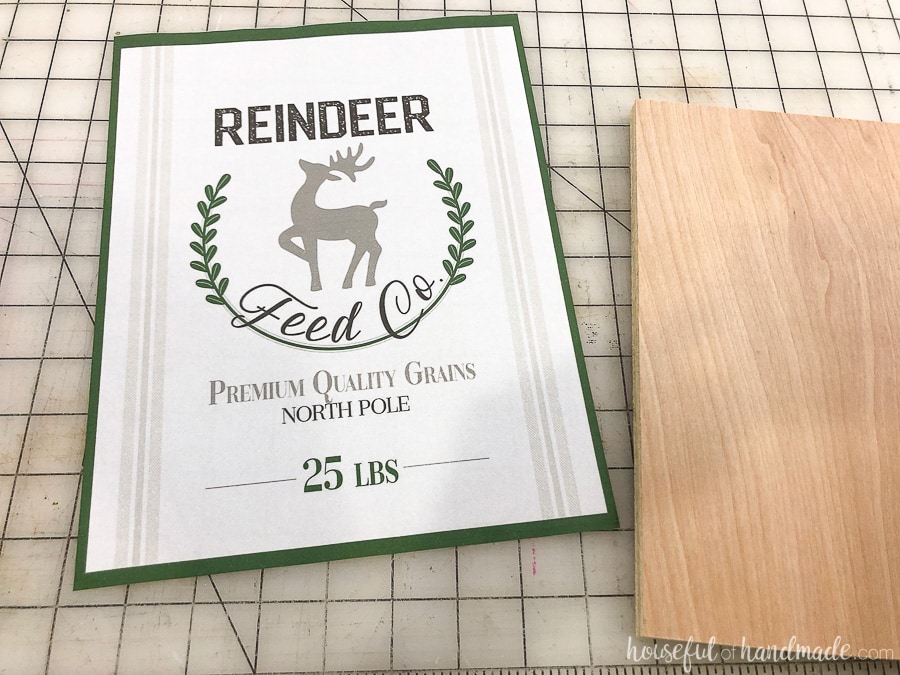
My friends and neighbors can use them year after as part of their Christmas decor, and I was able to use these printable Christmas signs I am obsessed with this year!
But you can make these easy DIY wood signs for any time of year with any beautiful printed sign.

Budget Friendly Wood Signs
Since I made my decorative sigsn for Christmas gifts, I thought it would be great to give you a cost breakdown.
- If you buy a 2’x4′ piece of 1/2″ sanded plywood at your local home improvement store, it will cost about $20. You can get (12) 8×10 signs from that 24″x48″ piece.
- You will need some 1x2s for the frame. I use 1×2 furring strips which cost about $1.25 each. You need 40″ per sign so for all 12 signs you need 5 boards. For a total of $6.25.
- Then you will need Mod Podge to attach the printed signs. You can do 12 signs with this $7 bottle.
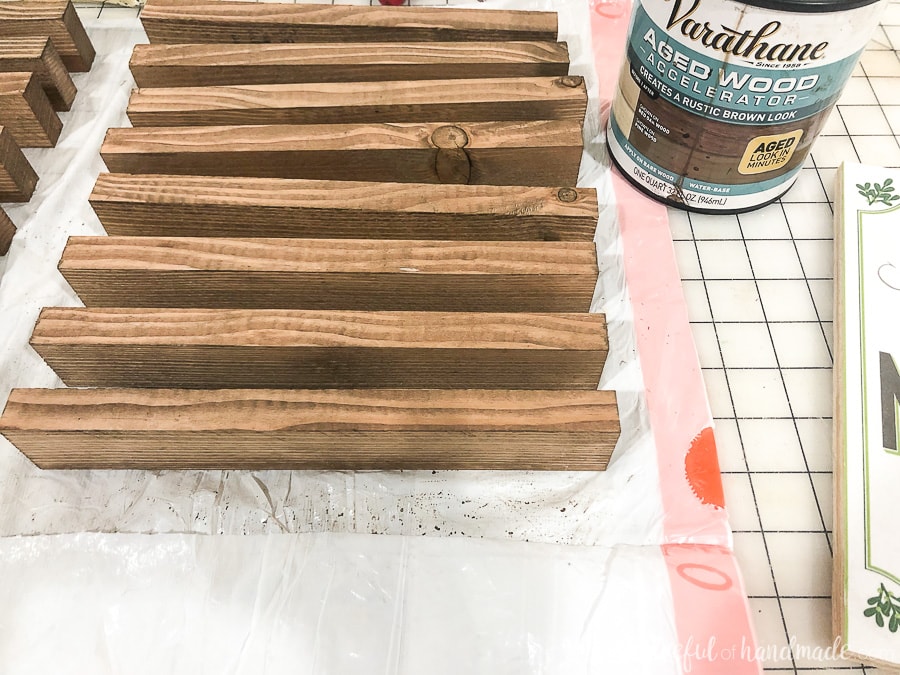
- If you do not have stain already, you can buy a 1/2 pint which is plenty for under $10. Or use an aged wood accelerator which is just over $10 but will last for many, many projects.
- Also you need some nails and wood glue, together these will cost less than $5.
So the total for 12 signs is $48.25 if you have to buy all the supplies.
Which equals $4 each sign! That is a a great price for a non-food neighbor or teacher gift.
And these super easy DIY wood signs are quicker to make than the batches and batches of sweets. I was able to cut out all the wood quickly (or you can have the home improvement store or your hubby do that!).
It probably took me about 15 minutes to cut it all out because once you set the saw you can just repeat the cut over and over.
Then I Mod Podged the signs and stained the frames in less time than it took to watch 1 Christmas movie. After letting them dry overnight, my nail gun helped me make quick work of assembly.
Now I have the perfect gifts for teachers, neighbors and friends that will not add to their waistline this Christmas season!
How to make Wood Signs… the Easy Way
Tools & Materials
Recommended Tools:
- Miter saw
- I recently upgraded to this sliding miter saw (watch for it to go on sale), but previously used this inexpensive miter saw that I love.
- Circular saw with guide track
- Brad nailer
- Sander
Supplies:
- Wood products
- 1/2″ plywood the size of your printable
- 1×2 boards
- 1 1/4″ brad nails
- Wood glue
- Wood stain
- Printable art
- Mod Podge
STEP 1- Add art to plywood
Print out your printable art.
Since the Christmas printables I used had a colored boarder around them that I didn’t want to use on the wood sign, I printed them at 108% size to make the center a little bigger.
Then I cut them down to the 8×10 size I wanted (which is also the size of my plywood).
You do not need to print this on cardstock. Just regular copy paper.
I also didn’t do a high quality print because that will be too much ink for the regular printer paper.
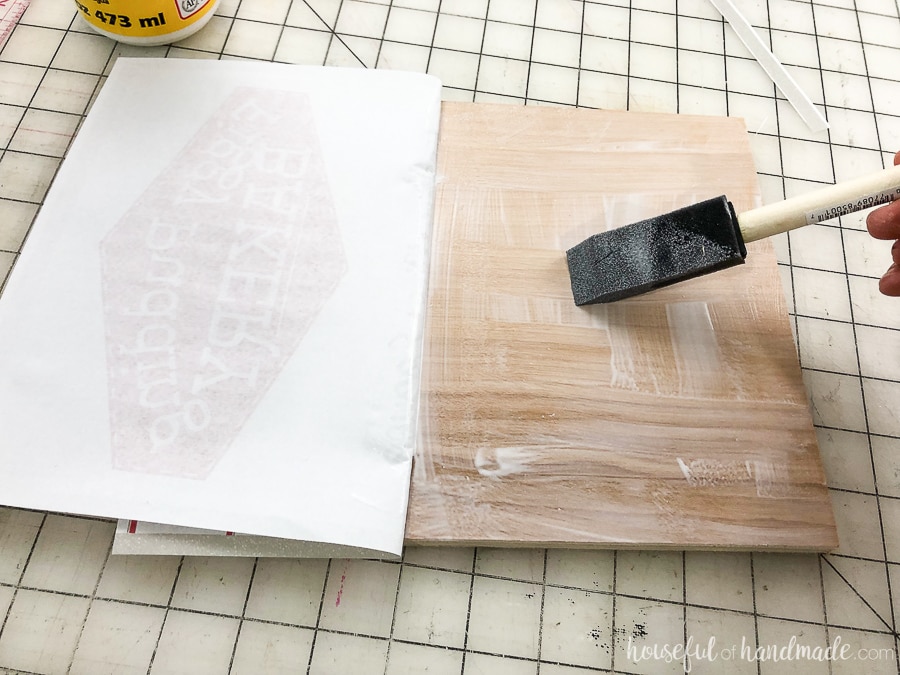
To Mod Podge the sign to the board, you will want to make sure there is plenty of Mod Podge on the boards that there are no dry spots.
These dry spots will cause bubbles when you put the sealing coat of Mod Podge on the top (which will look awful!).
So add a thick coat of Mod Podge to half of the board, then line up the sign and press it down.
Fold back the part that doesn’t have glue and add a thick coat of Mod Podge to that section, then smooth the paper over it.
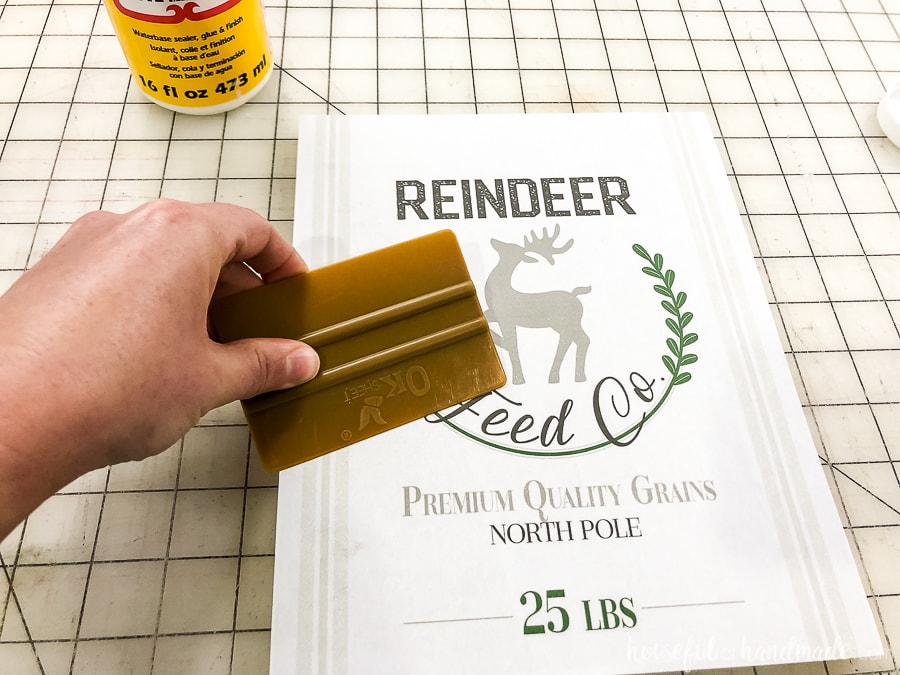
Use a flat plastic piece to smooth the paper onto the wood. I used a vinyl scraper, but a credit card also works.
Start in the center and lightly press toward the outside. This will make sure there are no bubbles and puss out excess Mod Podge.
Wipe the excess off the edges with a rag.
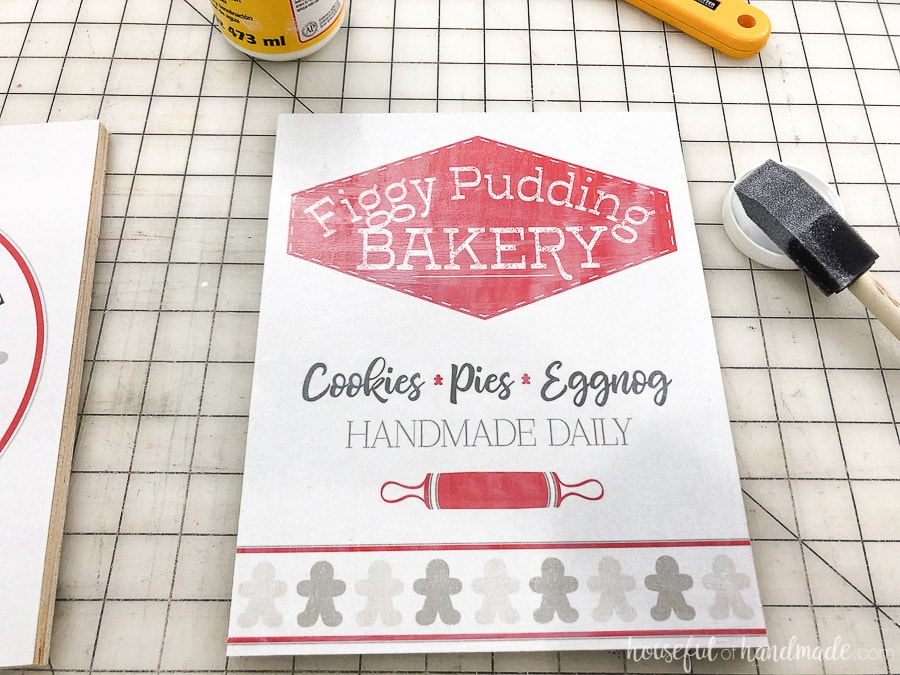
Let the paper dry a little before adding the Mod Podge sealing coat to the top.
I made it assembly line style and attached the paper first, then came back and added the top coat. That was the perfect amount to dry time for me!
Be aware of the brush strokes in the top coat because they will be slightly visible. It gives the front of your easy DIY wood signs a textured look which is great.
STEP 2- Cut & stain frame pieces
For the frame, you will want to cut 2 pieces of wood the height of the plywood and 2 pieces the width of the plywood + 1 1/2″ (to account for the width of the 3/4″ wood frame on each side).
My plywood is 8×10 so I cut 2 boards 10″ and 2 boards 9 1/2″.
Stain the frame boards and let them dry.
I like to just grab a rag and using gloves rub all sides of the frame boards down quickly.
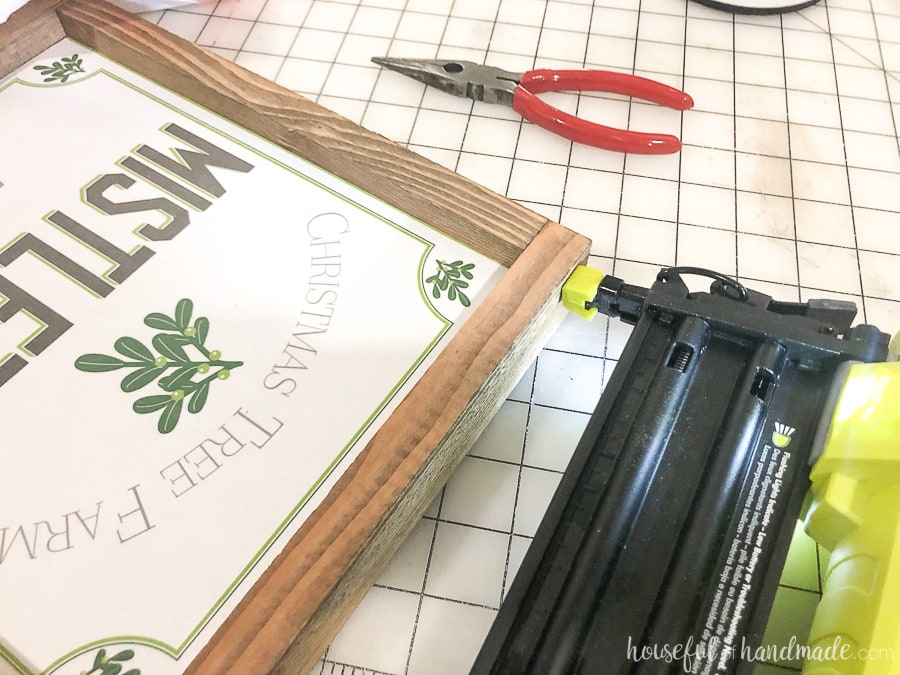
STEP 3- Assemble sign
Once everything is dry, it is time to put it all together!
I highly recommend using wood glue when assembling the DIY wood signs. It makes them stronger. But be careful not to use too much glue or it will squeeze out on the front of your sign.
I used a scrap of the 1/2″ plywood to hold the center of the DIY wood sign up to make it in the center of the 1×2 frame.
Add wood glue to the plywood and then line the frame piece up so it is flush with the top and bottom of the center panel. Attach with the nails.
If you do not have a nail gun, you could clamp the two sides and let dry then attach the top and bottom the same. No nails, just glue.
But I am impatient and a couple nails will wold everything together while the glue dries.

After the sides are on, attach the top and bottom frame pieces with wood glue and nails.
I only used nails in the top and bottom frame pieces into the side frame pieces.
No need to nail it into the plywood as well. The nails are really only there to hold things till the glue dries.
And now your DIY wood signs are all done! So easy.
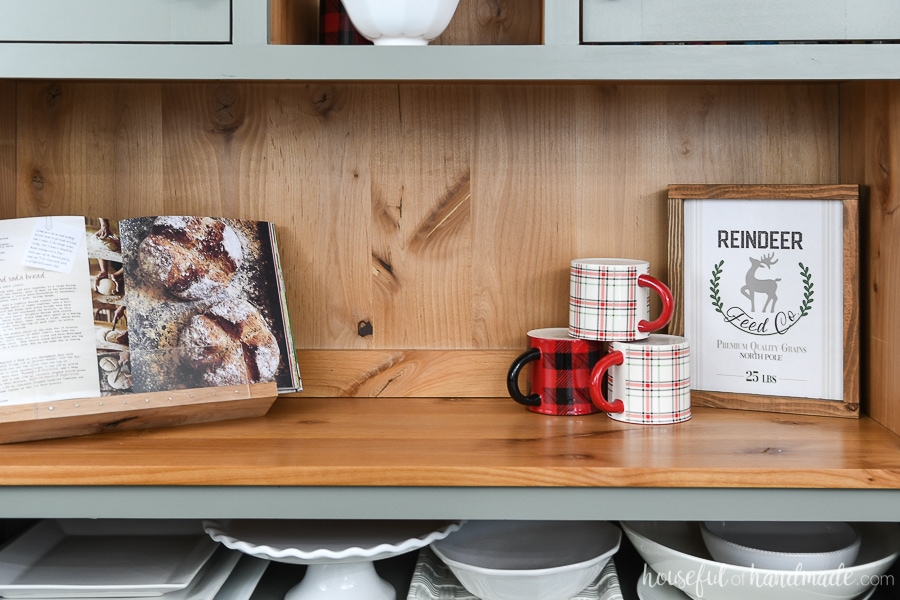
They are the perfect gifts for anytime of the year. But these festive ones are perfect for neighbor and teacher gifts for Christmas.
Plus you can easily add a treat or something to go with the fun wood sign if you want to spend some extra time in the kitchen this year 😉
So now we are off to deliver our super fun Christmas gifts.
Merry Christmas!