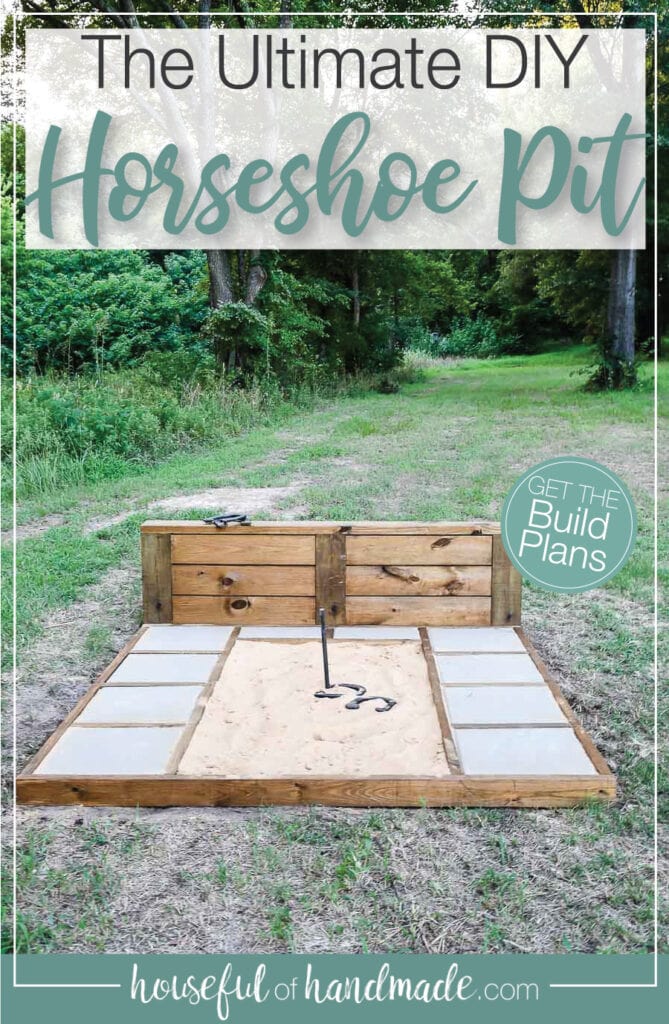
Build your own very Horseshoe pit for loads backyard fun!
When we move to Texas, my father-in-law gifted us with a simple horseshoe game kit. It had 2 posts and 4 shoes. He didn’t have room to set up a horseshoe pit in his own yard, but we did!
So I partnered with Kreg Tools and their project plan site, BuildSomething.com, to make the ultimate DIY horseshoe pit. Our kids have already had so much fun playing with it.
Playing horseshoes always reminds me of my husband’s grandparent’s house. They had the most beautiful little home nestled into a rocky hill in the Unita Valley. And his grandfather had a simple horseshoe pit designed into their landscape.
This post may contain affiliate links. As an Amazon Associate I earn from qualifying purchases. Click here to read my full disclosure policy.
Every time we visited we made sure to get in a game. I am by no means good at horseshoes, but I am hoping with our own horseshoe pit that I might be able to change that.
Sturdy Horseshoe Pit Design
A couple years ago my brother-in-law also built a horseshoe pit for his backyard. But after a few uses, he realized he didn’t like the design.
So when designing our pit, I called and grilled him about everything he didn’t like about it. What it came down to was it needed to be more sturdy.
This DIY horseshoe pit is definitely sturdy! You will need 2 people to move around the pieces. And once the two pieces are attached, it will be pretty hard to move.
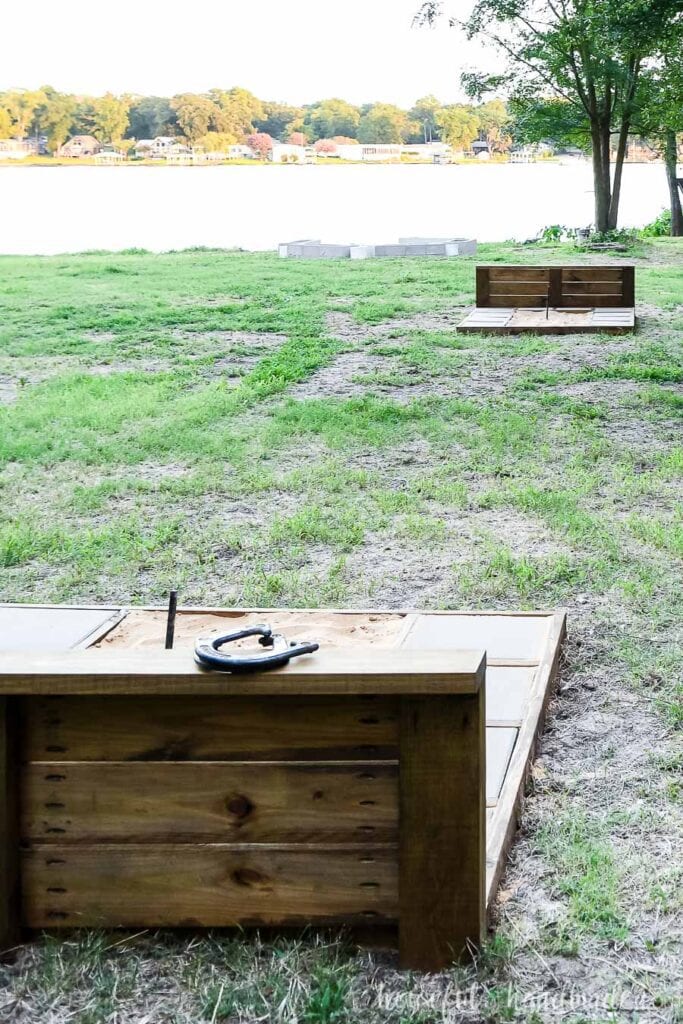
The backstop is built to withstand more than a couple horseshoes being tossed at it. But of course I still wanted it to look great. I think the balance of function and beauty worked so well.
Plus it’s the perfect height to rest your drink when it’s your turn to toss some horseshoes.
Simple to Build Frame
I also kept the design of the horseshoe pit nice and simple. The bottom frame is made completely from 2x4s held together with Kreg blue-kote pocket hole screws.
It’s easy to assemble the frame, you just need to have a level space large enough to assemble them. Unfortunately for me that meant crawling around on the ground using the concrete as a workbench.

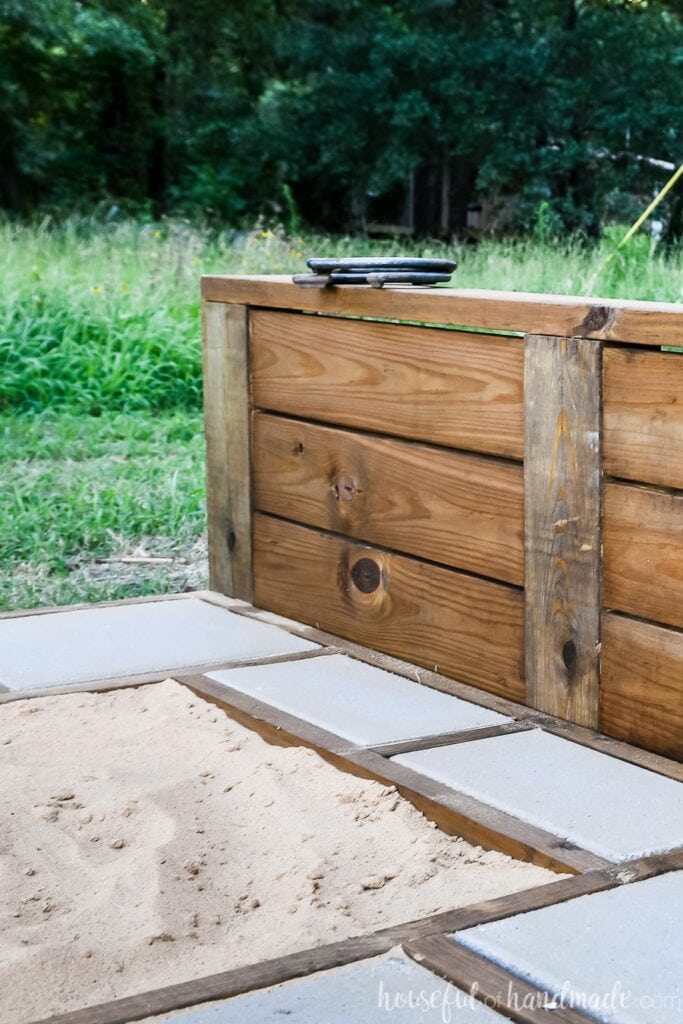
We used treated lumber for our base to help it last for many, many years. I also gave the treated wood a quick coat of an outdoor sealer in Walnut. It gave the wood a beautiful look and will help it last even longer.
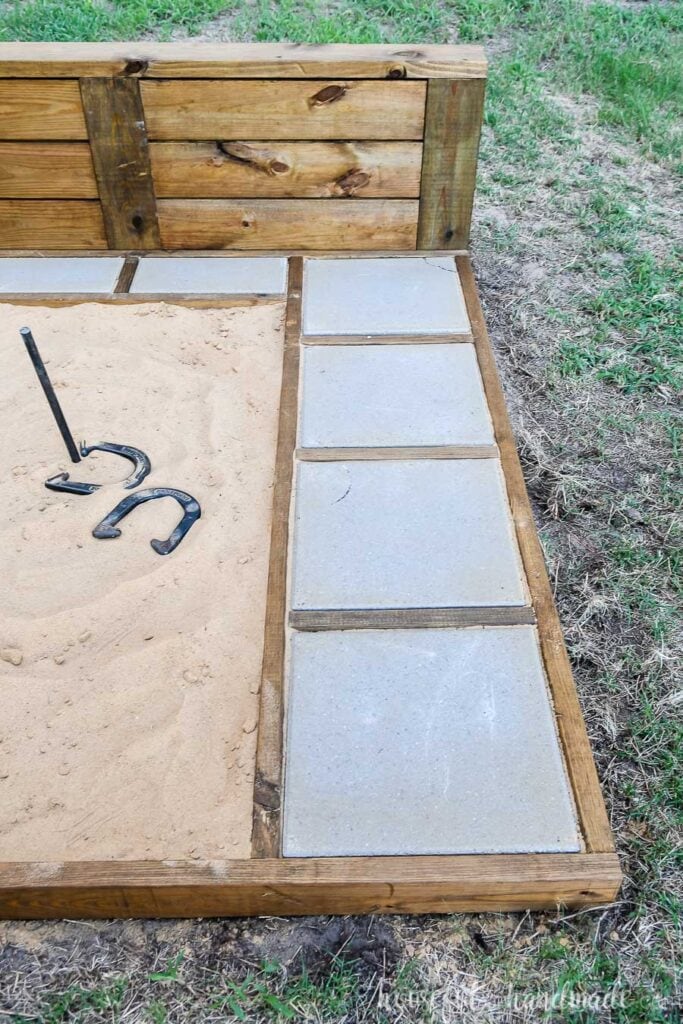
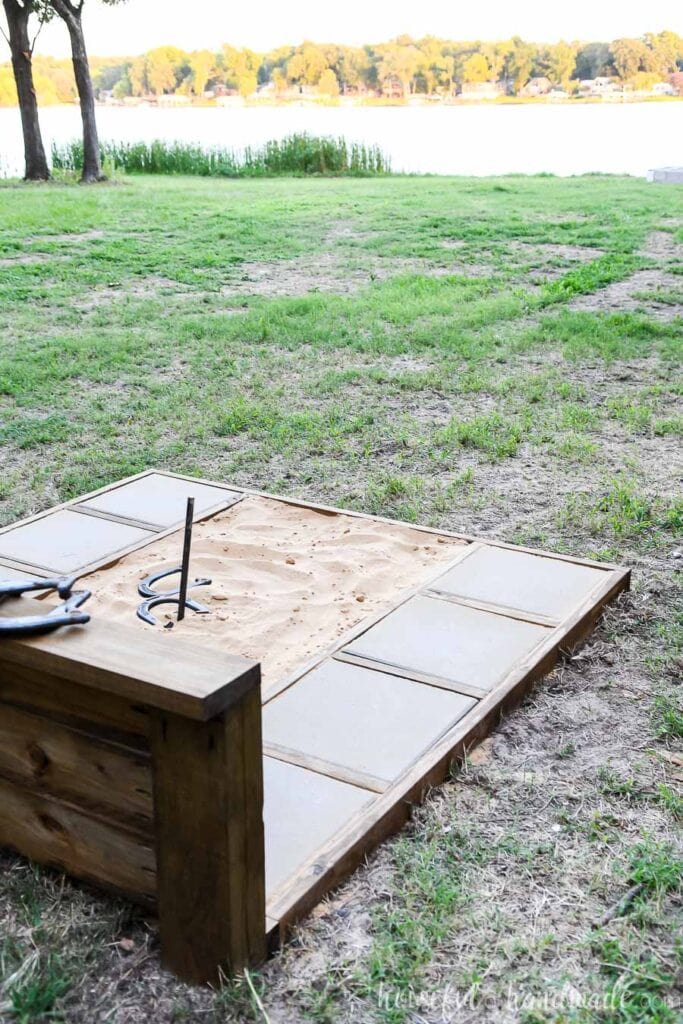
The frame design is made to hold large concrete pavers around the pit area. Not only does this help to minimize the amount of sand that will be bounced into the surrounding landscape, but it makes up my favorite part of the design.
Throwing Platforms
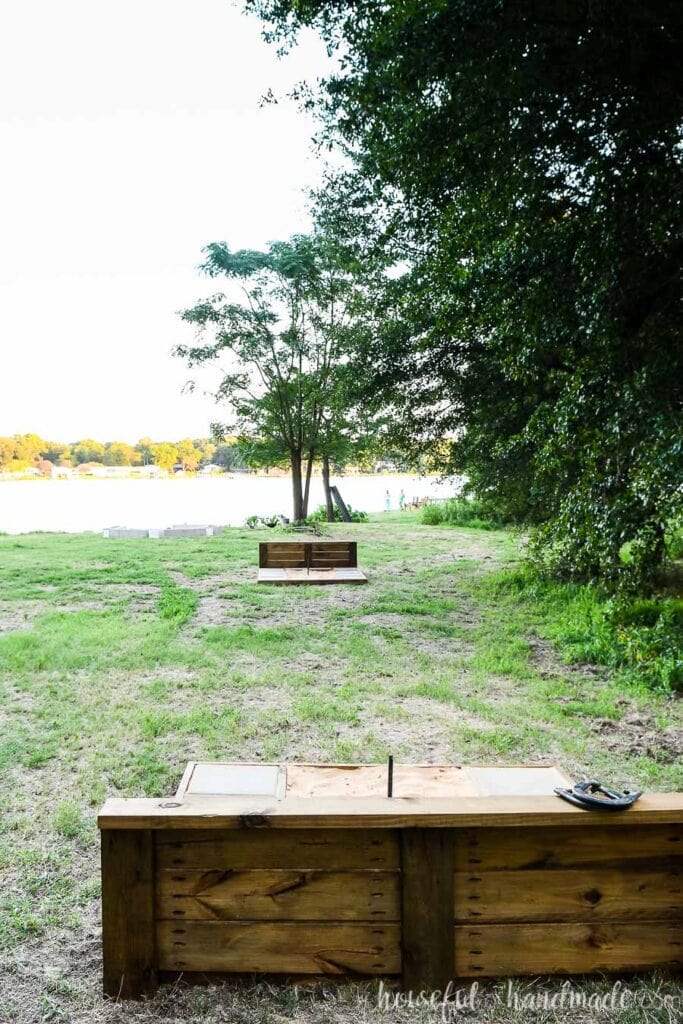
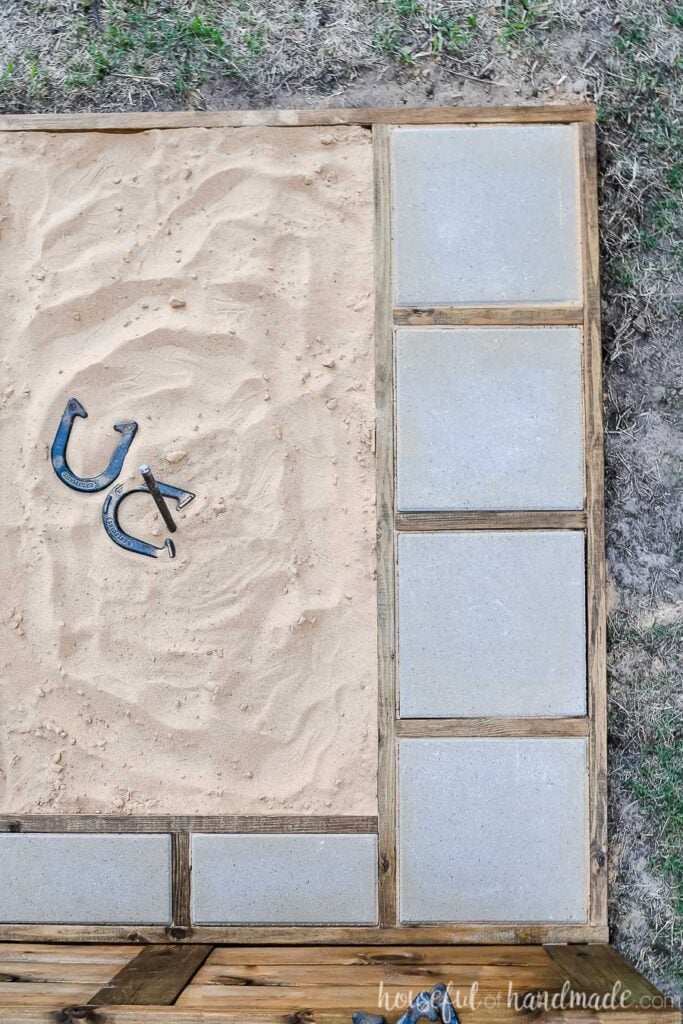
The concrete pavers around the horseshoe pit create the perfect throwing platform. It creates a perfectly level area that you can play from, and the front of the pavers (and pit) are the foul line.
Now you can easily make sure no one cheats by stepping too far in front of the pit while playing. However, the foul line for youth and women is much closer to the other pit, I may have to add a second line 😉
I even consulted the official horseshoe rules for specs while designing our horseshoe pits. They are well within the regulation guidelines in case we start getting good and want to take our new talent to the pros!
Horseshoe Pit Build Plans
If you want to build your own DIY horseshoe pit, I am sharing the plans with you for free over on BuildSomething.com.
Click here for the complete build plans.
Happy Building!

Thank you to Kreg Tools for sponsoring this post. I only recommend products that I use and love and all opinions are 100% my own. Click here to read my full disclosure policy.