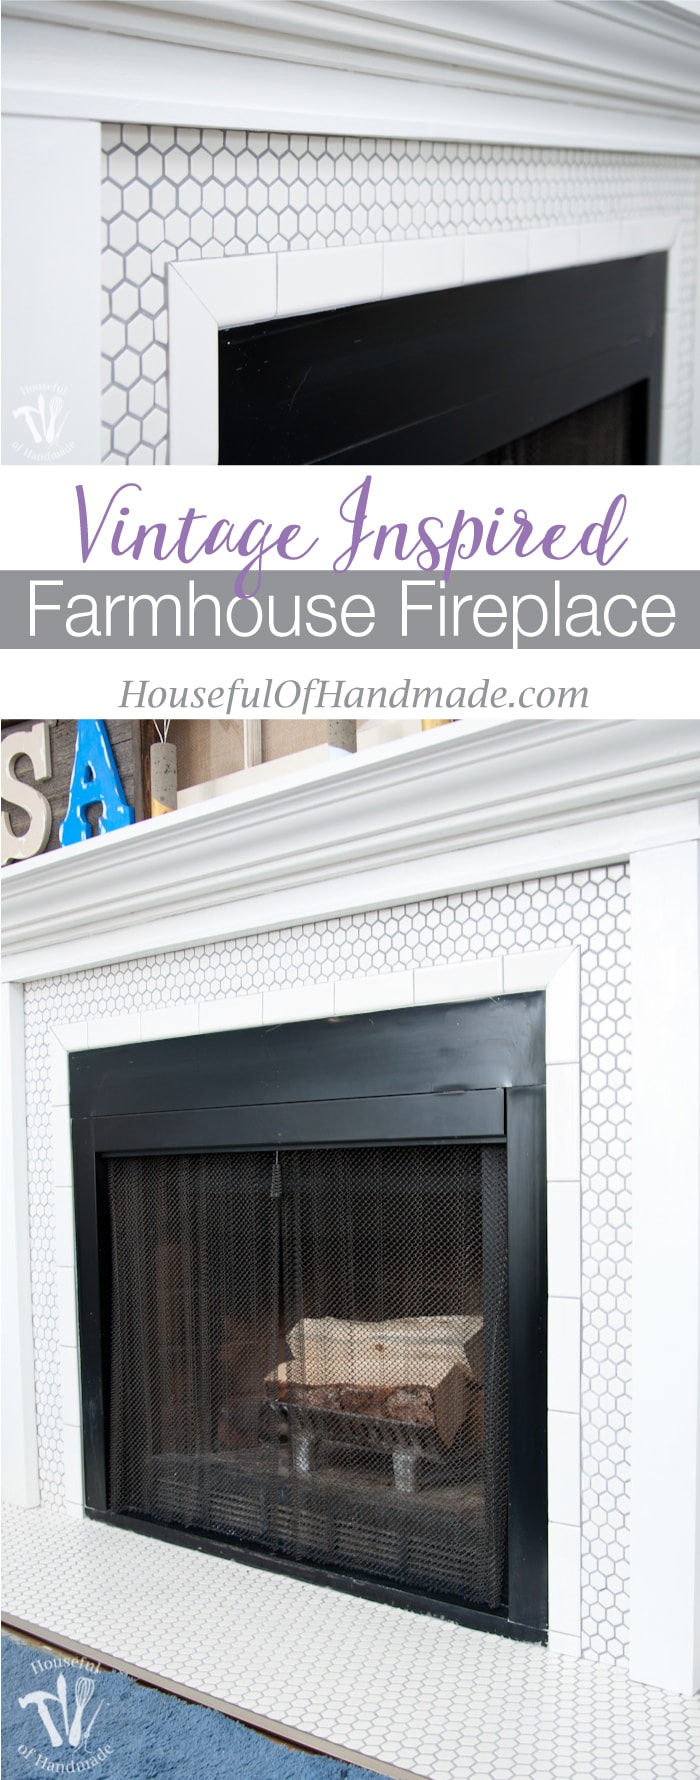
It’s done! It’s done! I can’t believe it’s done. When we moved into our house 10 years ago, our fireplace was surrounded by wood paneling. Unfortunately all our before pictures were lost on an old hard drive, so I can’t show you how truly awful it was. But trust me, it was awful. Our house was built in the late 70s so you can only imagine what a wood paneling fireplace with no mantle looked like. Over the years I have made baby step improvements, but now it is completely done! I am so excited to finally share our vintage inspired farmhouse fireplace reveal.
This post may contain affiliate links. As an Amazon Associate I earn from qualifying purchases. Click here to read my full disclosure policy.
The first matter of business in getting a beautiful fireplace was to get rid of the paneling. When I first painted our living room, I ripped it off the wall and just painted the drywall. So for years we had a fireplace surrounded by nothing but drywall, but it was better than the paneling! Then I decided I desperately wanted to have a mantle to decorate and to hang our stockings on at Christmas time, so a few years back I tackled a wood fireplace surround.
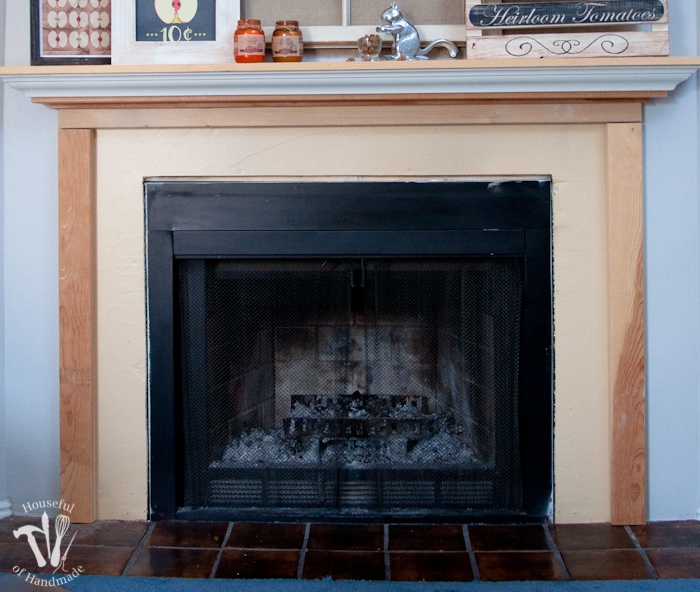
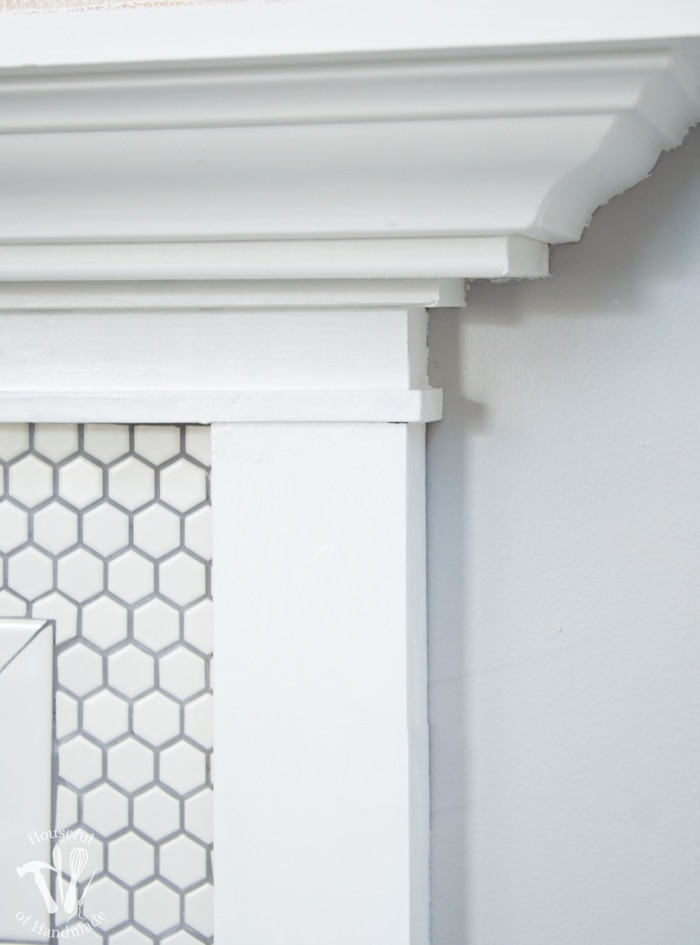
I made the fireplace mantle super simple. I secured a 2×6 to the wall into the studs with some big ol’ screws. Then I added a 1×8 on top of it and trimmed it out with some crown molding. To really finish off the look, I added 2×4 posts on either side to frame out the whole fireplace. And then I started decorating! I didn’t even bother to paint the wood (and some of the molding was white so it had a two-toned effect). Hey I didn’t really care, I had my mantle and you didn’t notice too much because the blue carpet is way more noticeable.
When my husband said it was finally time to get new carpet (hallelujah), I knew I needed to tackle the fireplace first so we could install the carpet the right way. The first thing I did was give everything two coats of white paint. Nothing too fancy, just your basic ultra-pure white. It was crazy how big of a difference just that made!
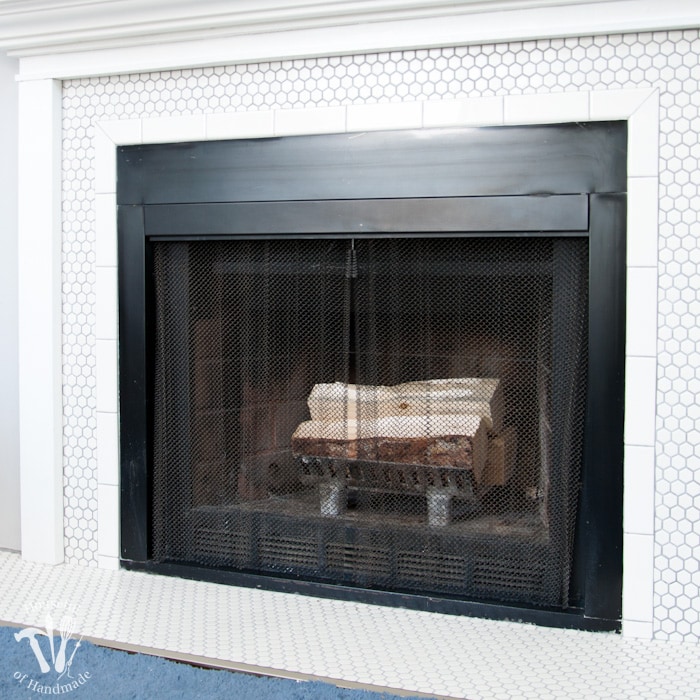
Then it was time for tile! I have decided I don’t really mind laying tile. In the last couple months I have tackled the master bathroom floor with my husband and then the master bathroom shower alone. They both turned out great (minus a slight grouting disaster) and I knew I was ready to tackle the fireplace.
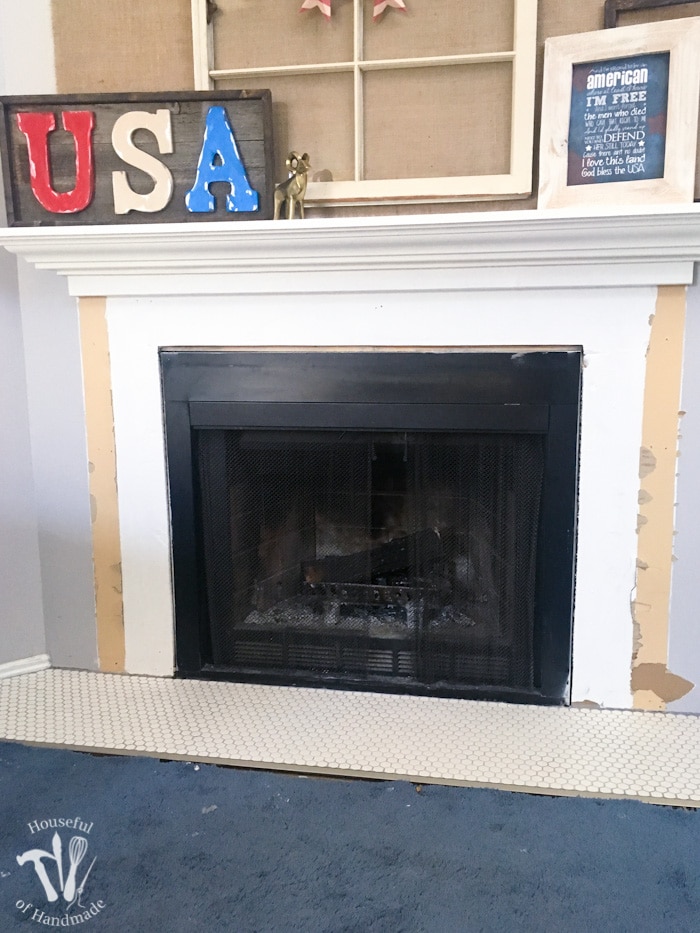
First up was the fireplace hearth. You can see in the before picture, the original tile were bulky brown squares with the largest grout lines possible. Seriously I think they just made the grout lines super huge so they could save on tile. The tiles were installed on top of a second piece of subfloor on top of the normal subfloor to bring ti more level with the carpet. Ripping it out was almost too easy. If I would have realized how easy it was going to be, I would have done it years ago. All I had to do was pry the piece of subfloor up and the tile, grout and thin set came with it. Yeah!
Ten minutes later the old tile was history.
I used some left over cement board from the bathroom to lay a new foundation for the new tile. I wanted it to be level with the new carpet too. I talked all about tiling the hearth in this remodel update post.
When it was time to tile the remainder of the fireplace, I needed to first put the posts that were on the sides of the fireplace back. Now as I was doing it I realized I should have put these in before the hearth and tiled around them, but honestly, I didn’t even think about that. And since they are decorative only, and the mantle is completely supported by the 2×6 secured to the wall, I am not too worried about them being installed on top of the new hearth. But then came another problem. The new hearth was not at the exact same height as the original (remember the bulky brown tiles).
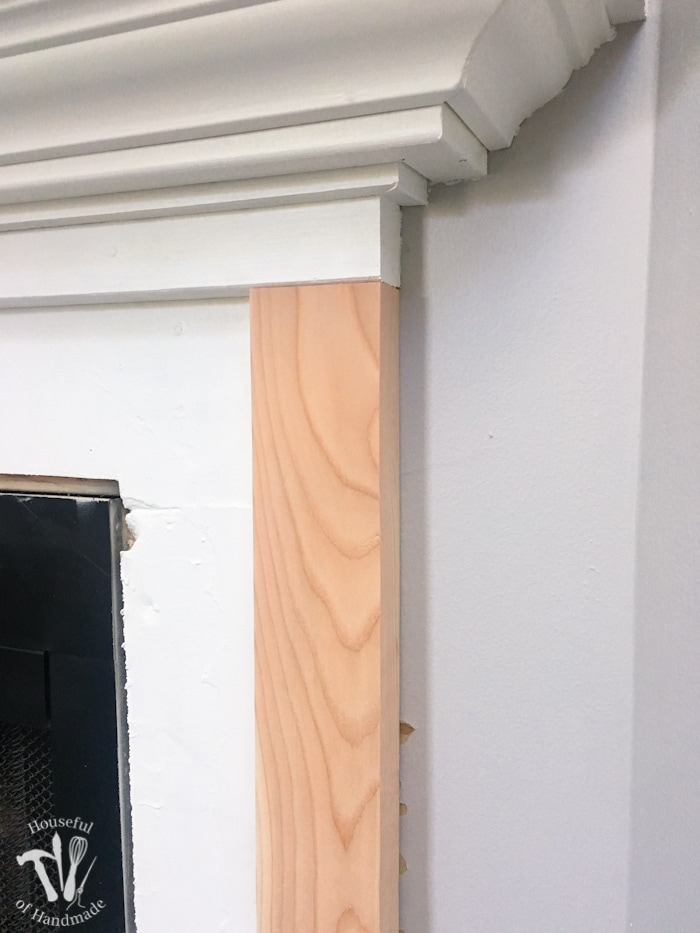
Instead of just cutting some new 2x4s to fit the new height I decided I wanted boards that did not curve on the outer edges. The little curved edges on the inside next to the tile I liked, but the outside curves just looked funny. So instead I bought a 2×6 and used my table saw to rip the board to 3 1/2 inches wide, that way the one side had the original curves and the other side was totally straight. I cut the 2×6 to the exact heights I needed and secured them to the wall. It was looking so good!
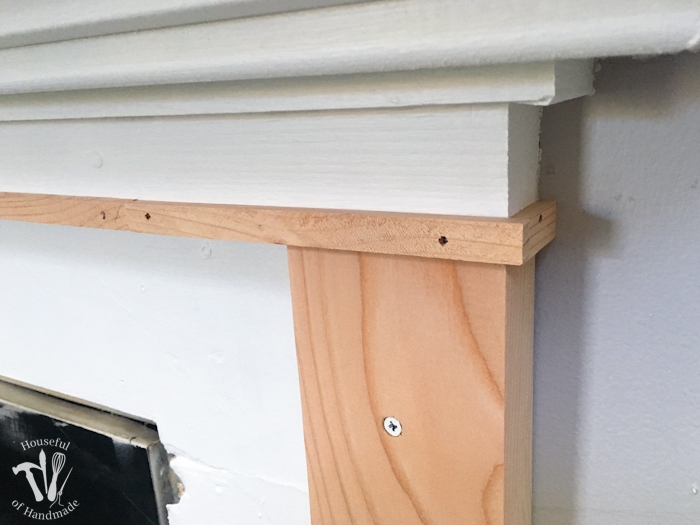
But I noticed the side posts were not sitting flush with the original mantle. It looked like they were an afterthought. So I went back to my trusty table saw (silly to think I was afraid to use it just a couple years ago and now I use it all the time) and ripped the left over piece of 2×6 into a tiny strip about 1/2″ x 1/4″. Then I used this piece to add a little dimension to the mantle right at the top of the posts, and it totally hides the fact that everything doesn’t line up like a professional carpenter did it. Big win for DIY!
Now I gave all the new wood a couple coats of paint so it would be ready for tile. This time I decided to try tiling in the morning, while my husband was home to help with the kids, so I could really focus on what I was doing. It was a good idea because there was a lot of cutting involved in the fireplace surround. I would guess about 25% of the tiles I put in had to be cut in half. It was tedious work, but I turned on some Netflix and bing watched The West Wing while I was working.
I started by prepping the fireplace. The tiles on the top of the fireplace need something to rest on until the thin set dries so they don’t use slide down the front of your fireplace. I’ve seen people use boards that were nailed on either side of the fireplace, but I didn’t want to have to do the top then wait for it to set up before removing boards to do the sides. So I used another small piece of wood and secured it to the face of the fireplace with… Command Strips! Holy cow, it worked so easy and then removed so easy.
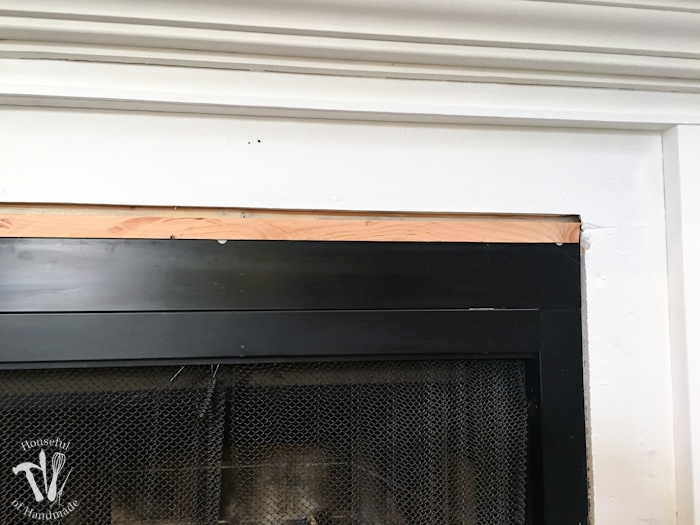
Nest I spend a good deal of time laying things out. I measured and cut and measured some more to make sure my tiles were going to look how I wanted when all done. This took a good hour to plan out the top center and sides so that I didn’t end up with full tiles on one side and tiny pieces on the other. But it payed off cause the fireplace looks beautiful.
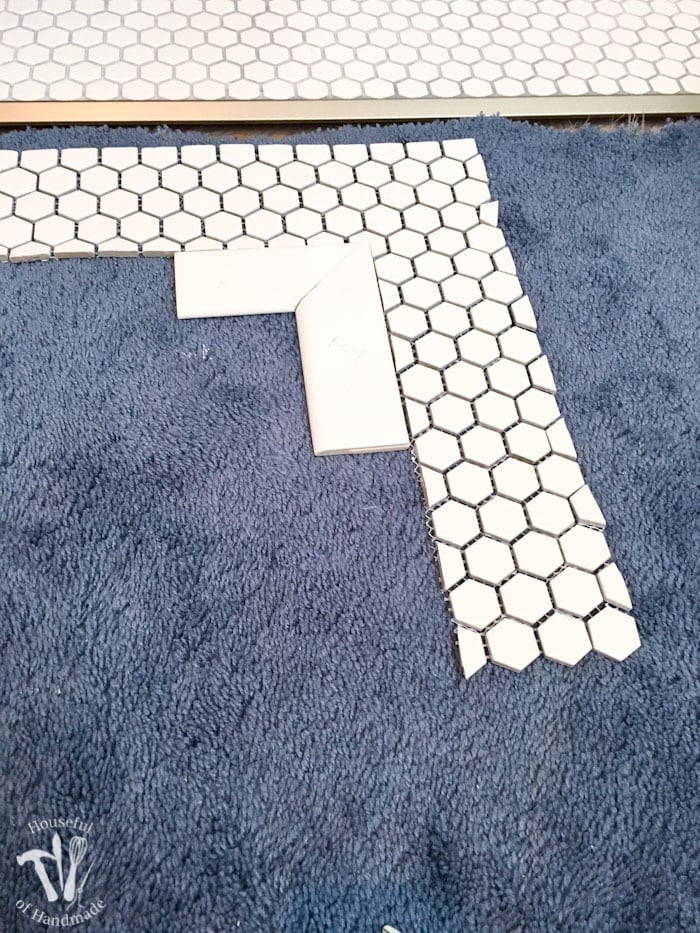
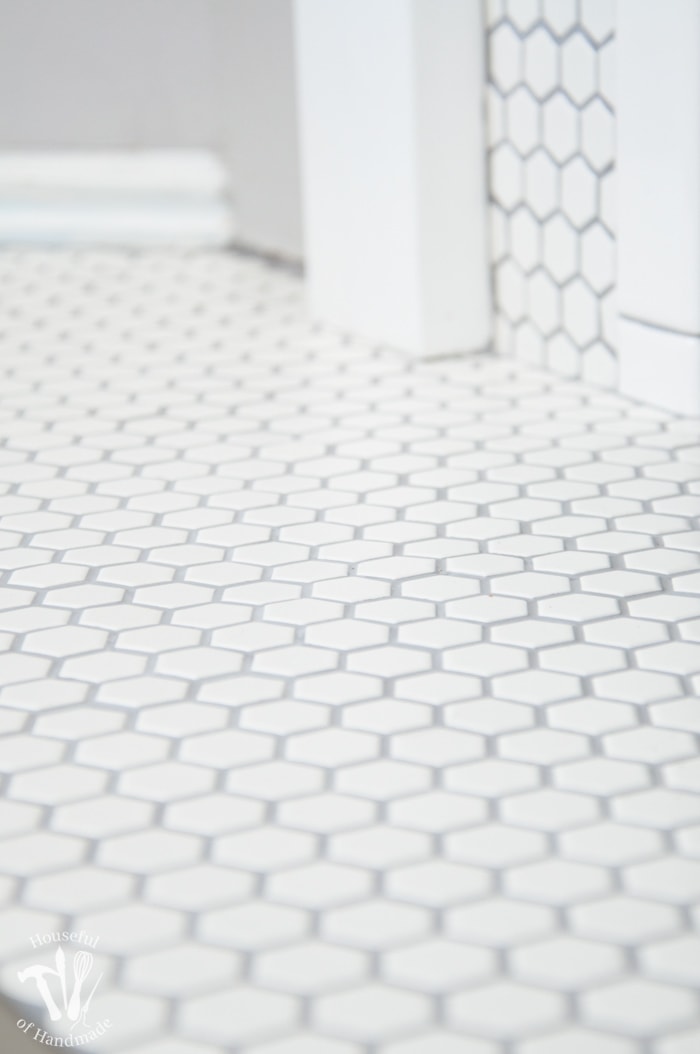
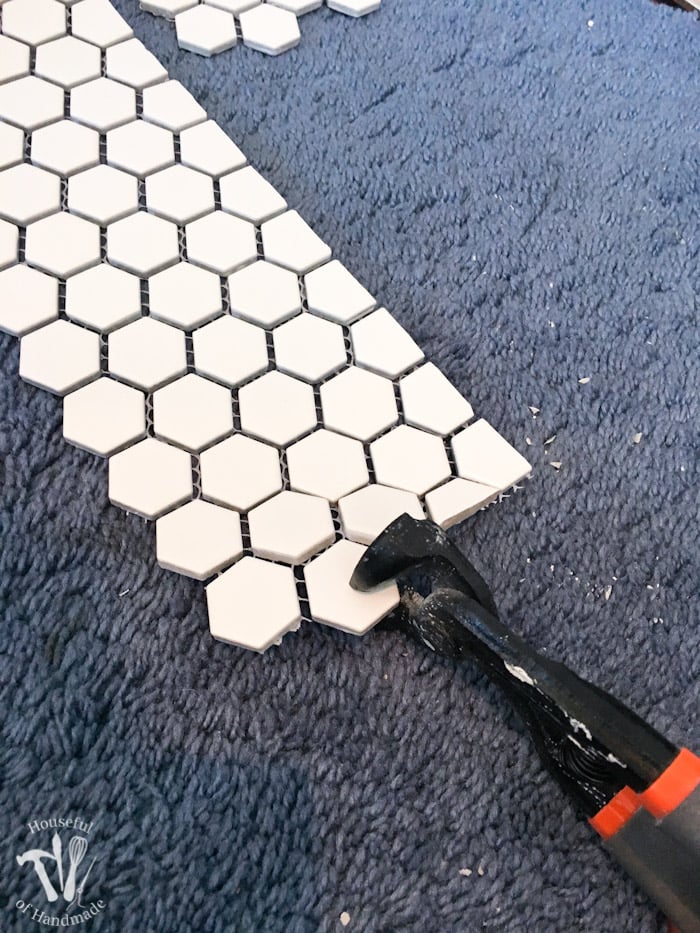
The 1 inch hexagon tiles were impossible to cut on the tile saw. They are just too tiny. I found the easiest way to cut them was to use a pair of tile snips and they would just snap in half beautifully 90% of the time. The other 10% they wouldn’t cut straight, but I only waisted about 10 1 inch tiles so I felt okay about those odds.
I used a lot more tile spacers than I had to on the hearth, but after about 3 hours of work, I was all done! I stepped back and was so excited. Done… it was finally done!
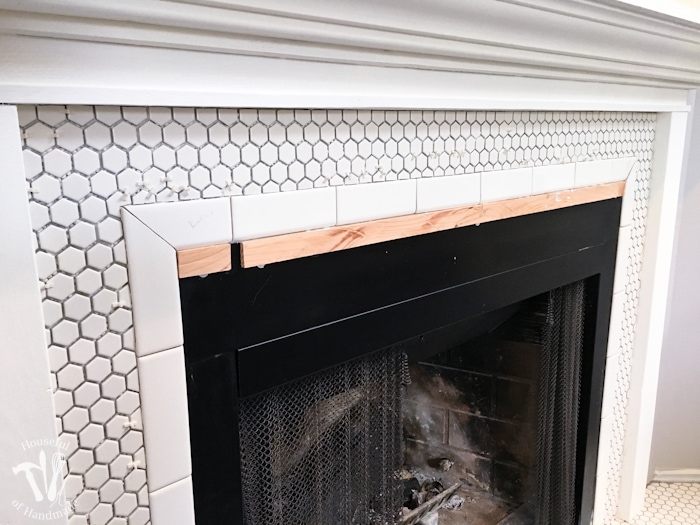
Okay, I might be jumping the gun a little bit because it still needed grout. But I knew grouting this space wouldn’t be too big of a project so I was still feeling pretty happy.
The next night, after the rest of the family went to bed, I was able to get the grouting done. It took me about an hour from the very start of mixing the grout, to the very end of cleaning off the excess grout. I was so terrified that the grout would dry too fast like it did in the master bathroom shower that I worked really fast!
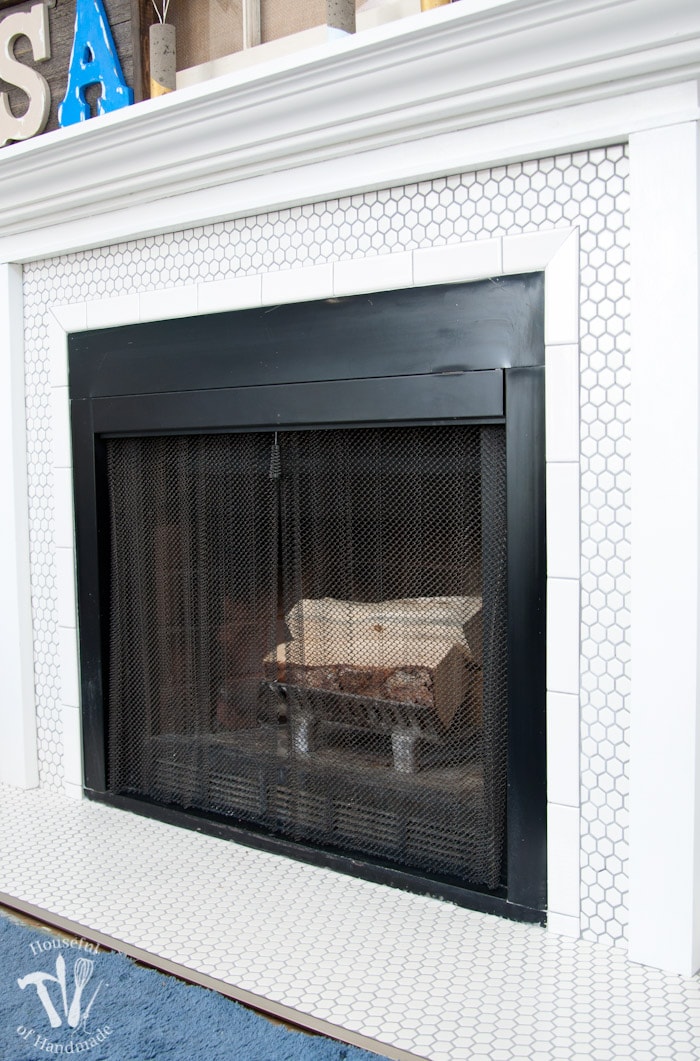
Removing the excess grout was easy though and even where the grout was on the painted wood of the fireplace or the metal fireplace insert, it came off with just a little elbow grease and a grout sponge.
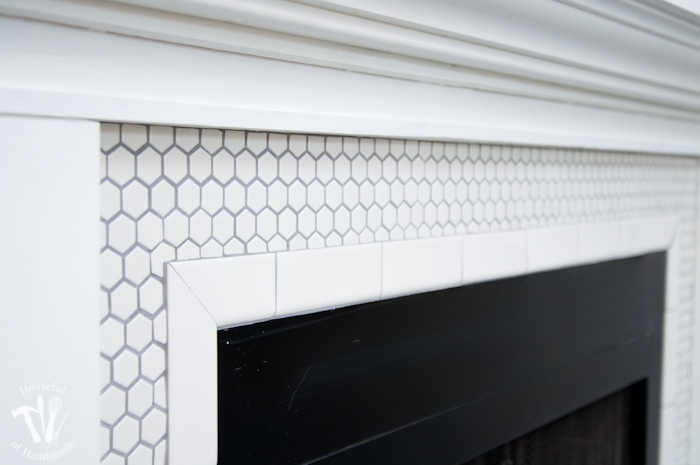
I have decided there is something really awesome about waking up to a completed project. I was so excited to wake up and check out the dried grout and the fireplace completely done, and I am usually never excited to wake up! I am so not a morning person.
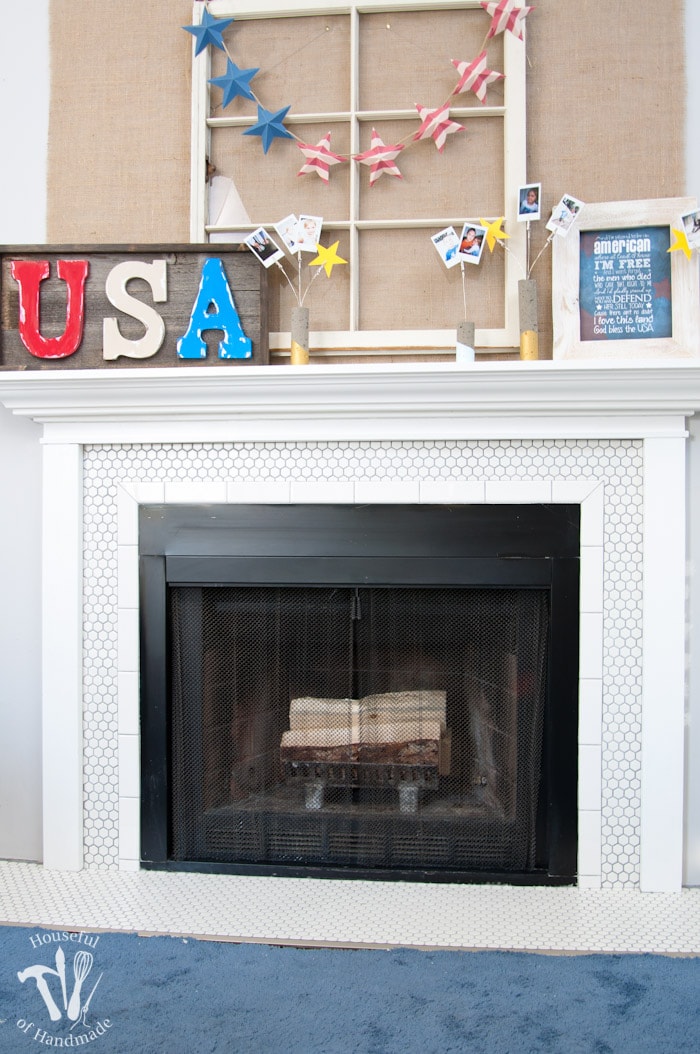
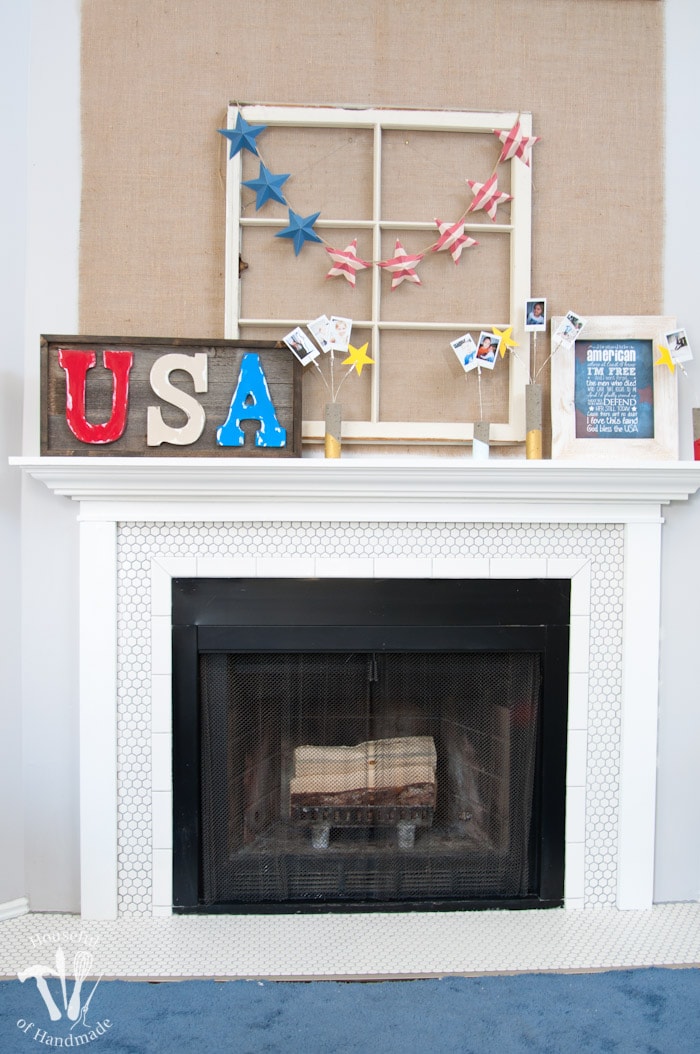
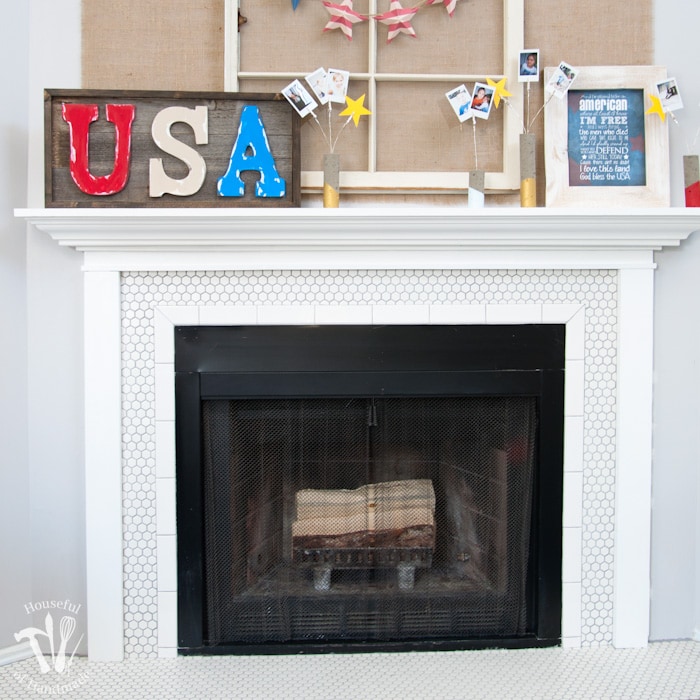
And now I get to just enjoy it. It’s too hot to build a fire for a few months, but at least I can decorate it to my hearts content and then be excited to share the pictures with you. As you can see the July 4th mantle is all done and proudly displayed on our finished vintage inspired farmhouse fireplace. Now I get to work on some other summer decor to put on the mantle after Independence day. Now that the fireplace is complete, I know I will be even more excited to decorate it up each season!
And here are a bunch of pictures for you to enjoy 🙂
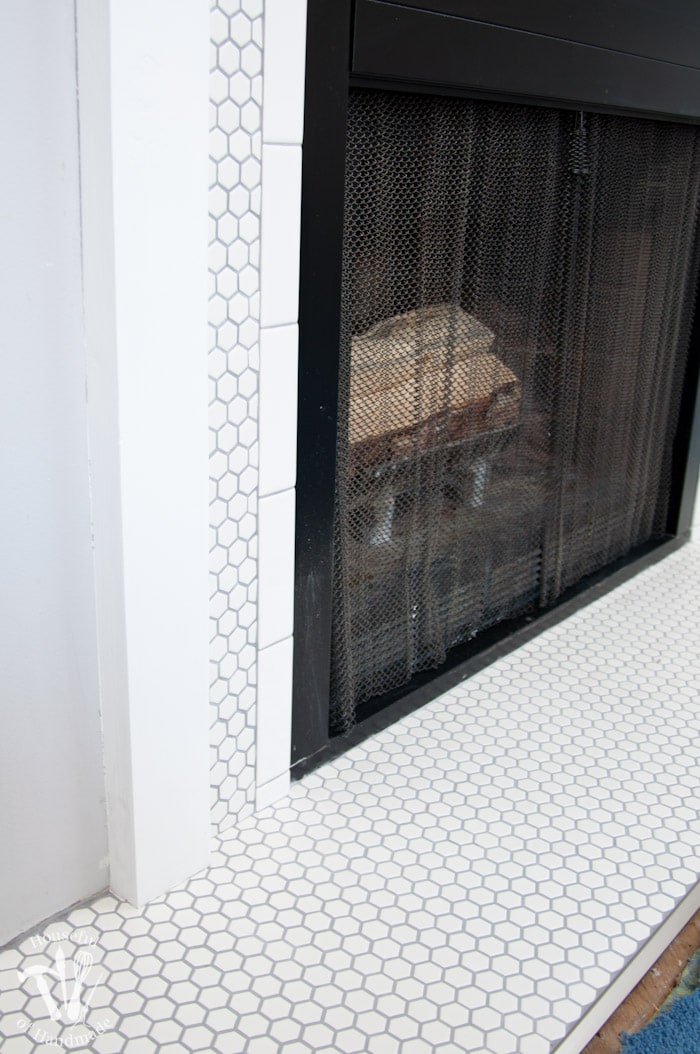
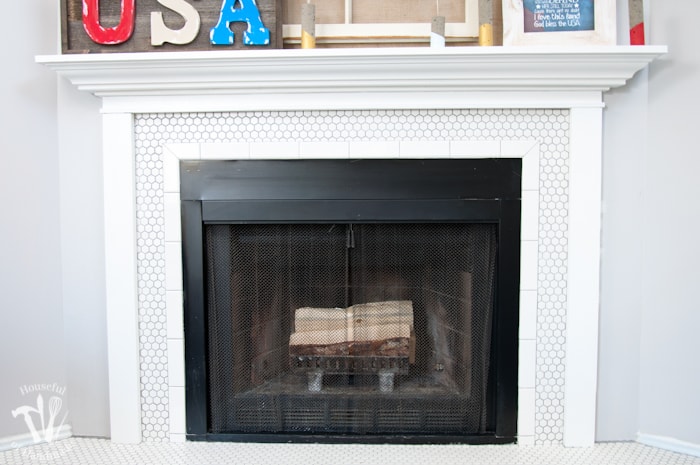
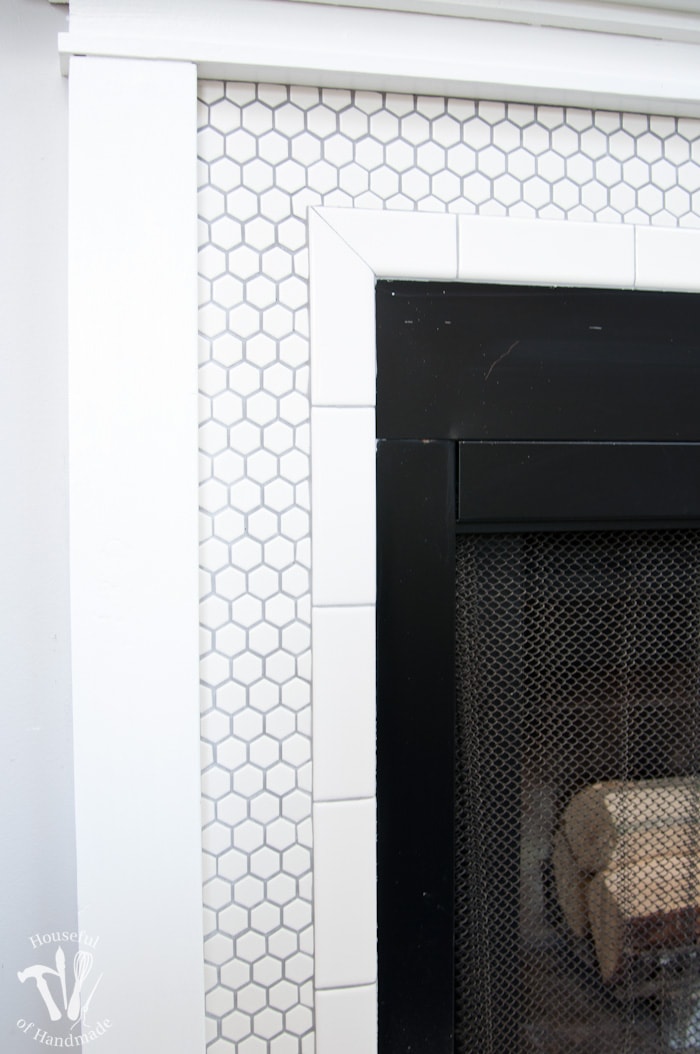
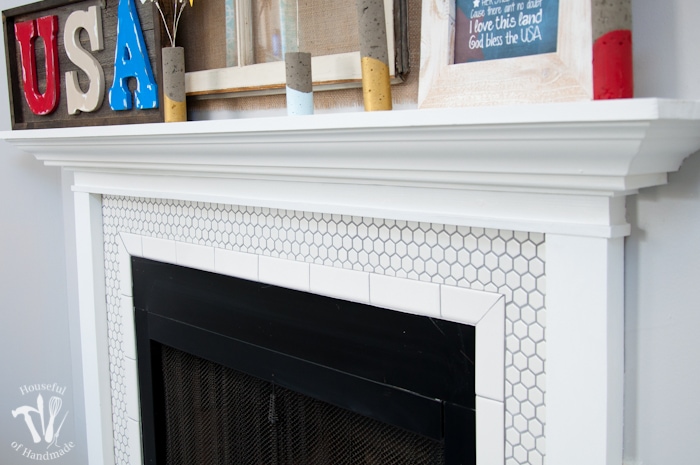
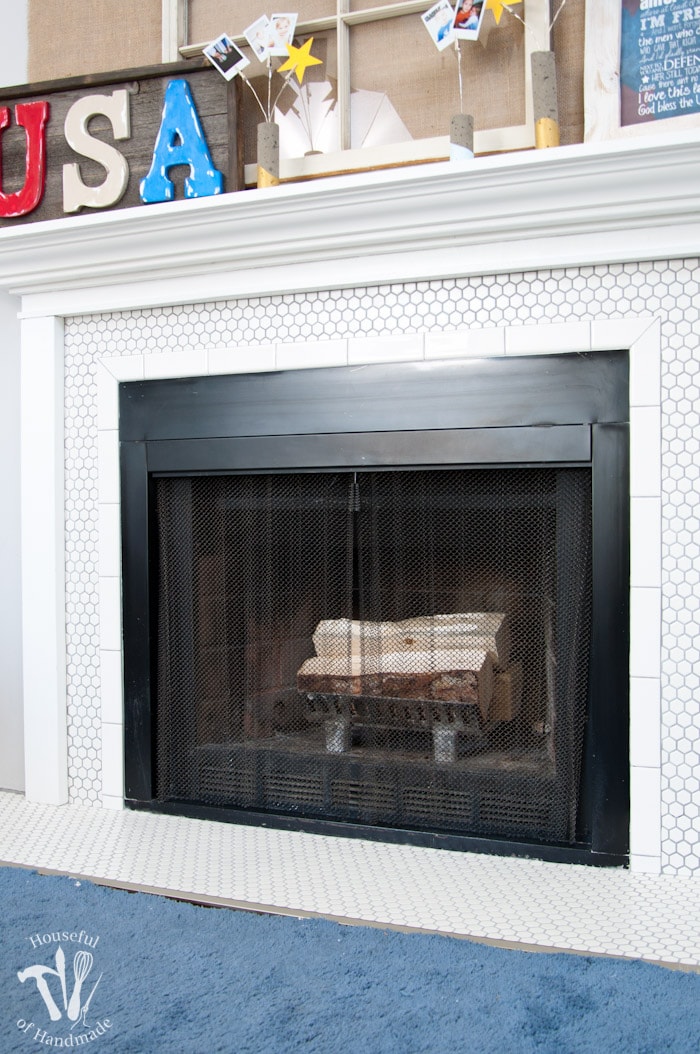
After tiling the hearth and the surround with the 1″ hexagon tiles, do you think I ever want to use them again? Absolutely! They are gorgeous, inexpensive, and really not too hard to install unless you have crazy angles or lots of edges. But for a kitchen backsplash or accents in a bathroom, I would definitely recommend these, even for a beginner. And since I have a couple sheets left over, I am thinking of another little project I can to use them in.
Until next time…

