Build a window frame wreath for a fun & unique wreath for your door.
You may have noticed how much I love unique wreaths for my front door. I’ve done all kinds of different things from giant paper Christmas ornaments, to a hot air balloon wreath, a wreath made from tree branches to a wreath made from reclaimed wood.
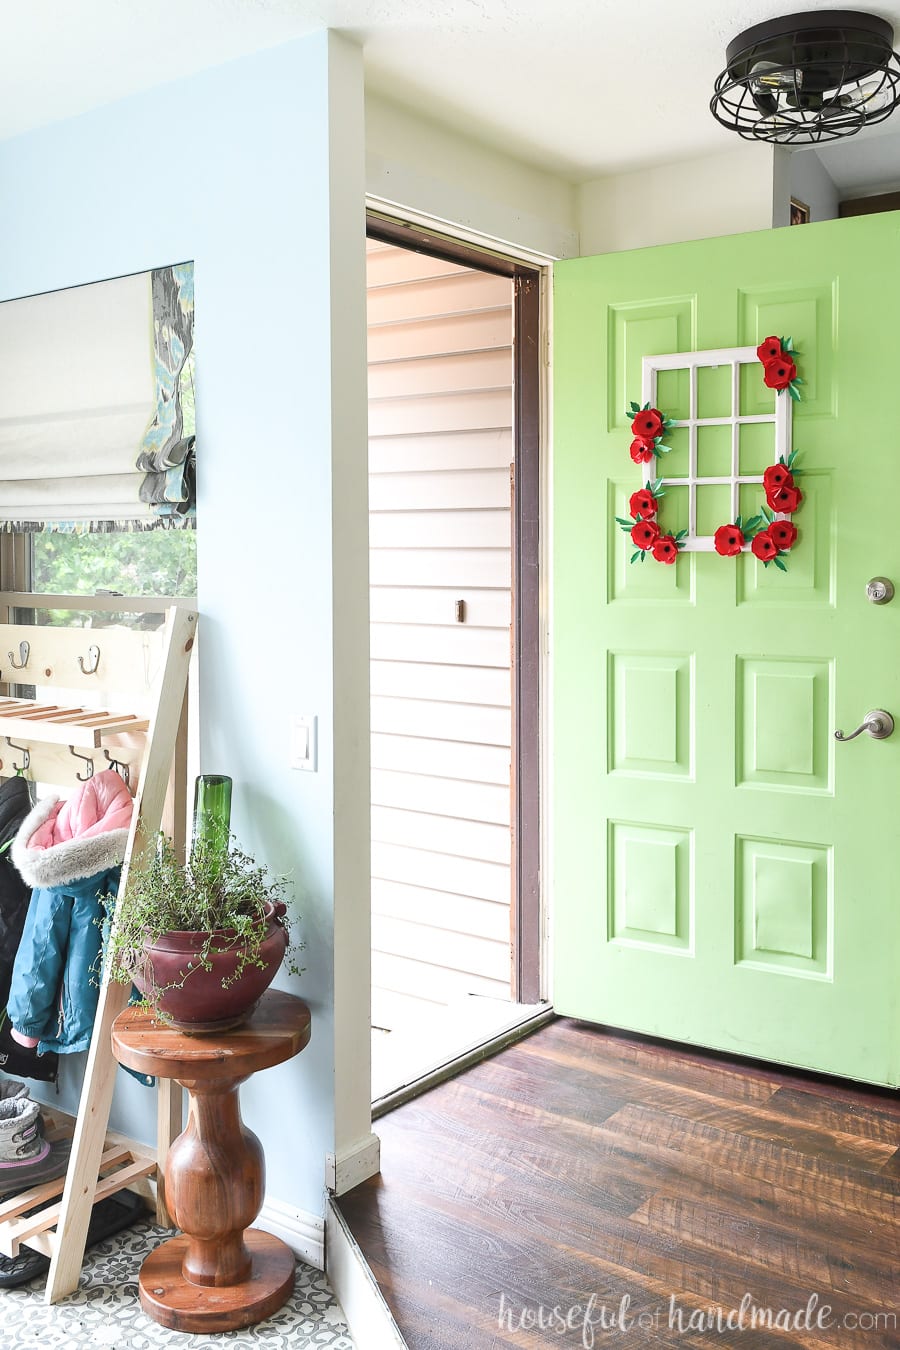
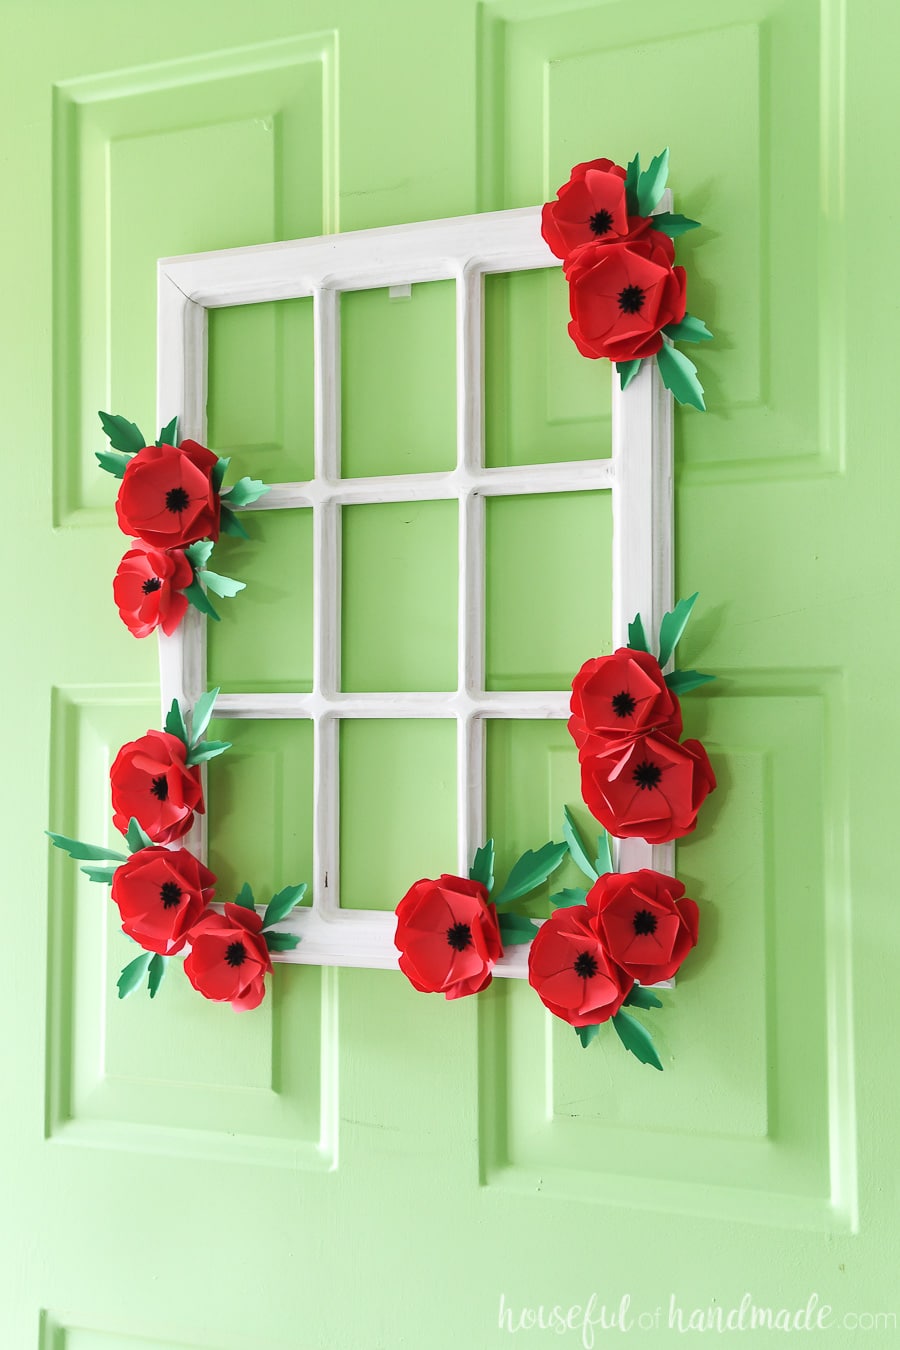
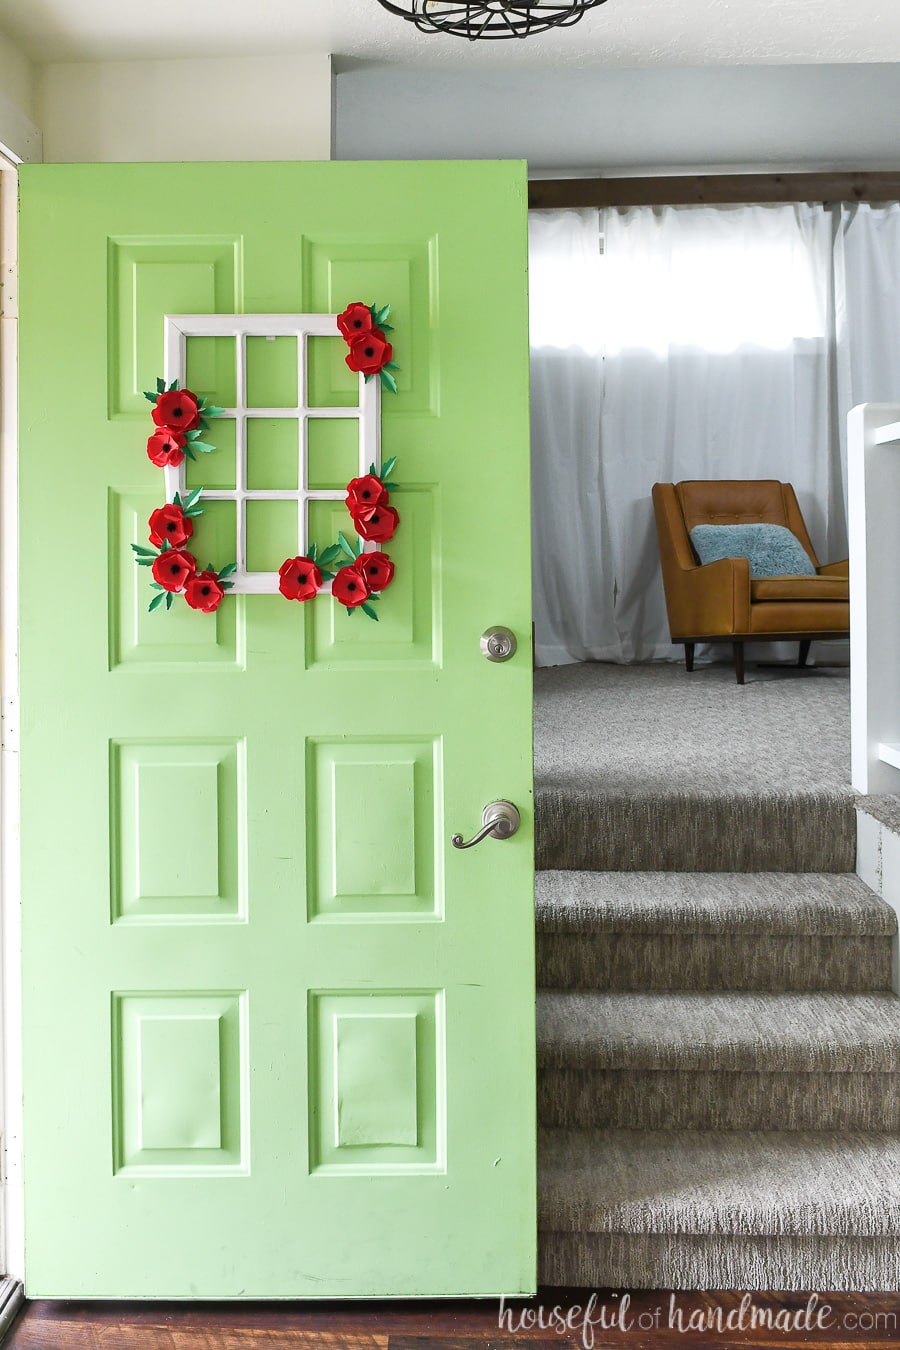
So when it was time (finally) to make a new wreath for our door this spring, I decided to do something unique again. I made a window frame wreath from scraps of wood!
Oh man, I am loving how this window frame wreath turned out. The build was a simple one, but I made it look just like an old window by using my new Ryobi palm router.
This post may contain affiliate links. As an Amazon Associate I earn from qualifying purchases. Click here to read my full disclosure policy.
Also, to make the window come together without any visible screws or nails, I decided to test out the new Rockler dowling jig I bought.
This was a great build for my first dowling project because it was just decorative. Now I am ready to make something else with it! A bench maybe???
Using old windows for decor is something I have always been a big fan of.
I have a large vintage window hanging above our sofa as wall decor. And I have fun decorating it with different things like this DIY windmill. So it just made sense to use a window for a fun wreath for our door!
You could go out and buy an old window, or even a decorative window like this one. Then paint and decorate to make the perfect window frame wreath.
But I love to build, and wanted to use up some of the scraps in my shop. And this was the perfect scrap wood project!
How to Build a Decorative Window Frame
Tools Needed:
- Rockler complete dowling kit
- You could also assemble the window frame with pocket holes
- Miter saw
- Drill with 1/4″ drill bit
- Clamps
- Router with decorative edge router bit
- I used a Roman Ogee router bit, it was a little big for the size of my window frame, I would recommend a smaller one for the thin 1×1 boards.
- Sander
Supplies:
- Wood
- 6′ of 1×2 boards
- 5′ of 1×1 boards
- 1/4″ dowel pins
- Wood glue
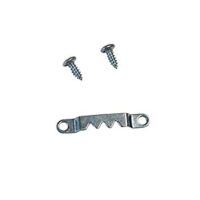
- Picture frame hanger
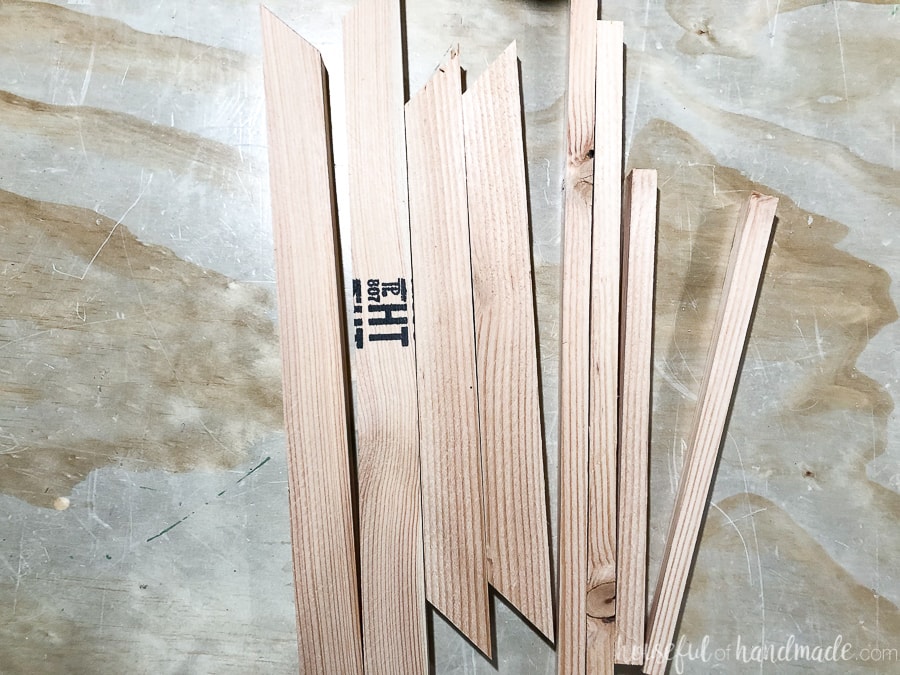
Cut 2 pieces of 1×2 to 19″ long with a 45 degree miter on each end and 2 pieces to 15″ long with a 45 degree miter on each end. Cut 2 pieces of 1×1 at 12″ (the same width of the inside dimension of the 15″ long pieces) and 6 pieces of 1×1 at 5″.
I used 1×2 furring strip scraps for my decorative window frame wreath. And then I ripped down the 1×2 to 3/4″ wide strips to make my 1×1 boards.
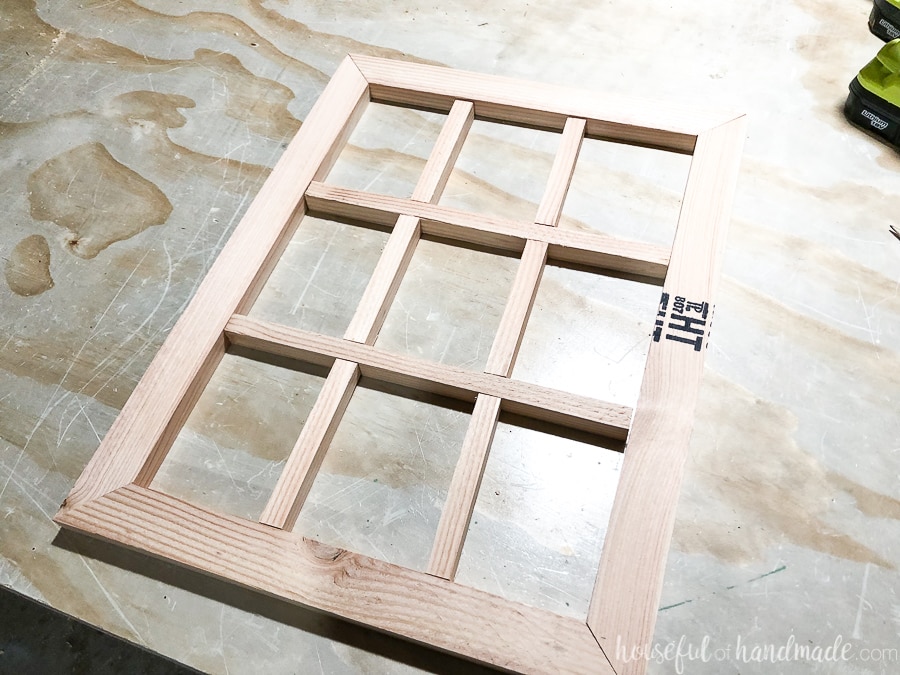
Lay out all the cut pieces of the window frame wreath to dry fit and check to make sure things line up right. Adjust your cuts as needed. I had to shave about 1/16th off the side frames after assembling the center later because they were clamped tighter together.
Move the vertical pieces to the side and clamp together the horizontal pieces. Make sure the 12″ 1x1s line up with the inside of the miters on the 1×2 pieces.
Measure and mark the center of where each vertical slat in the window frame will be so you can drill for the dowel pins.
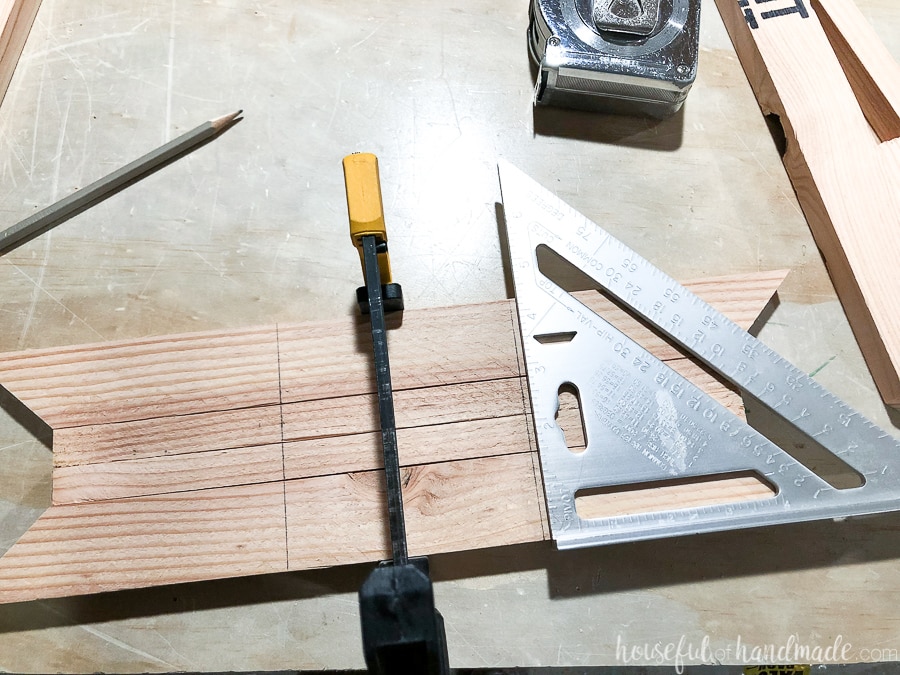
I measured the height of the dowling jig and then added that to the depth I needed for my doweling pin holes. To make sure the holes were drilled the proper depth every time, I marked this height on my drill bit with a piece of painters tape.
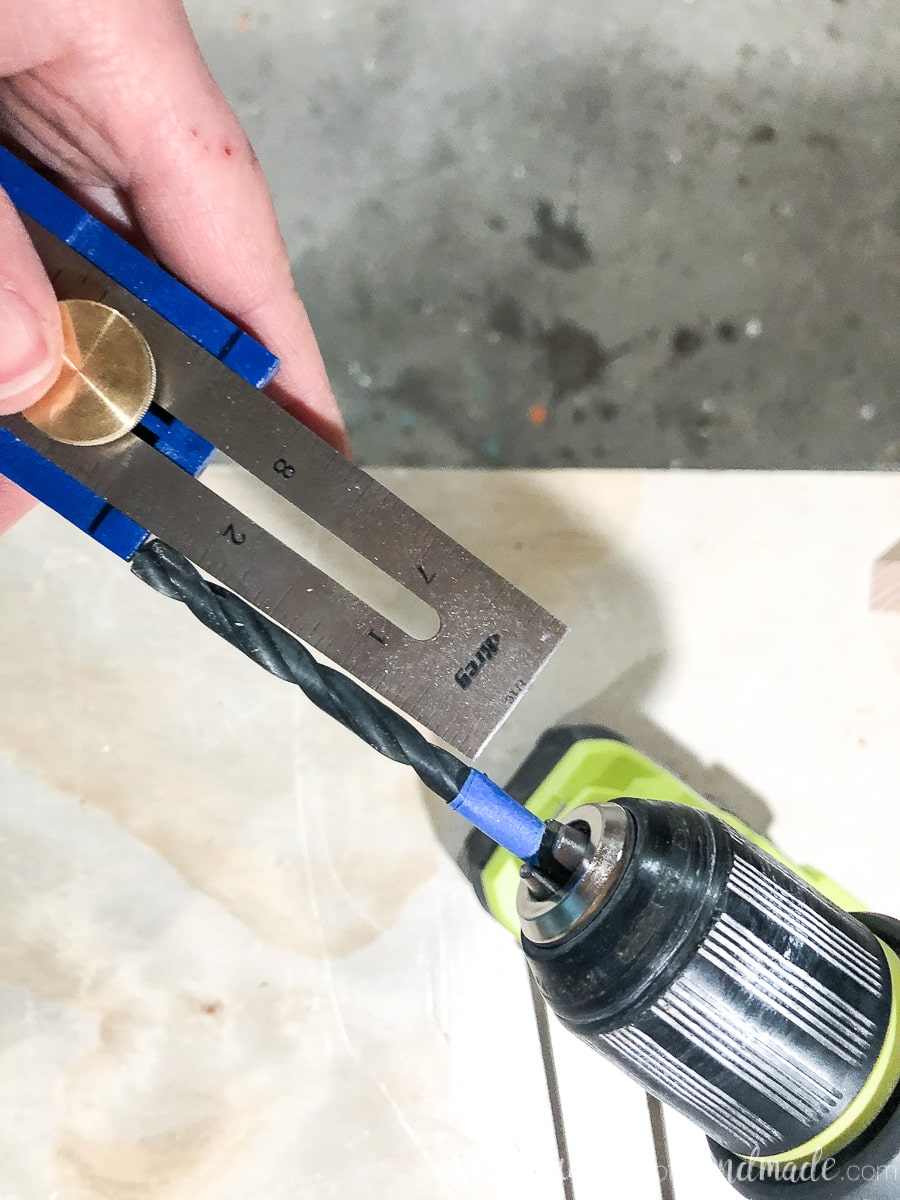
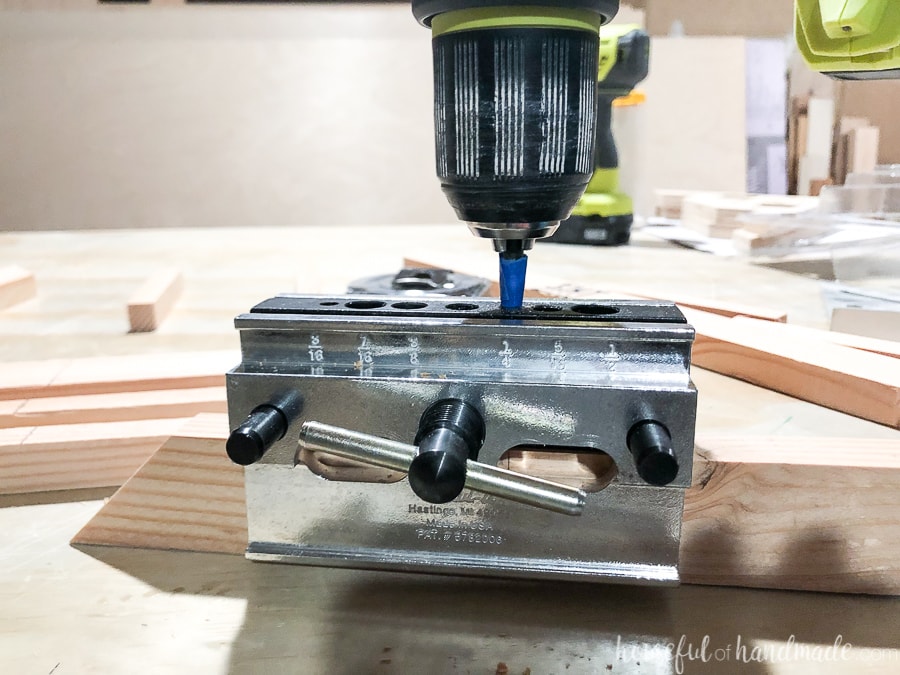
Now it is time to drill lots of holes. Line the mark on the inside of the jig for the 1/4″ hole to the line you made on the board. Twist to center the jig and clamp it to the board and drill the hole.
Stop the bit when you get to the painters tape. Repeat for all the horizontal frame pieces.
Since the center horizontal pieces are only 3/4″ thick, I just drilled my pin hole all the way through and then use 1 pin centered in that hole to hold the vertical pieces.
Also, you will need to mark the center of the 5″ vertical pieces and drill the hole for the pins into each side of them.

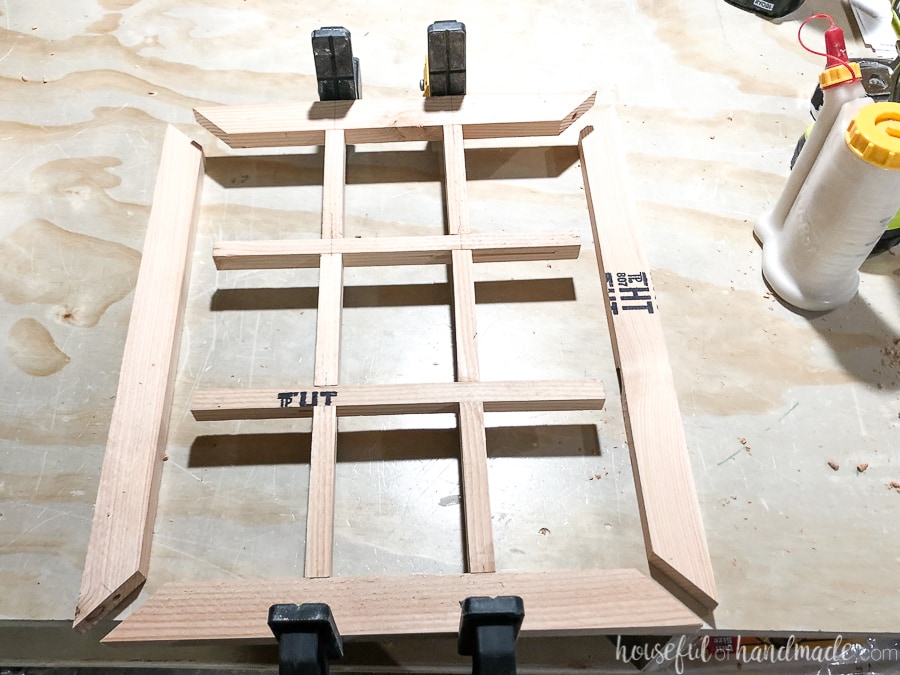
Once all the holes are drilled it’s time for assembly! Use the wood glue and dowel pins to attach the pieces as shown in the photo. Don’t worry about the outside vertical pieces just yet.
After the dowel pins are all glued in, clamp the window frame together and let it dry. I had to go take kids to piano lessons so it was the perfect breaking point anyway.
When the center is dry, mark the placement for the dowels on the side pieces. Drill holes for these the same as above with the doweling jig.
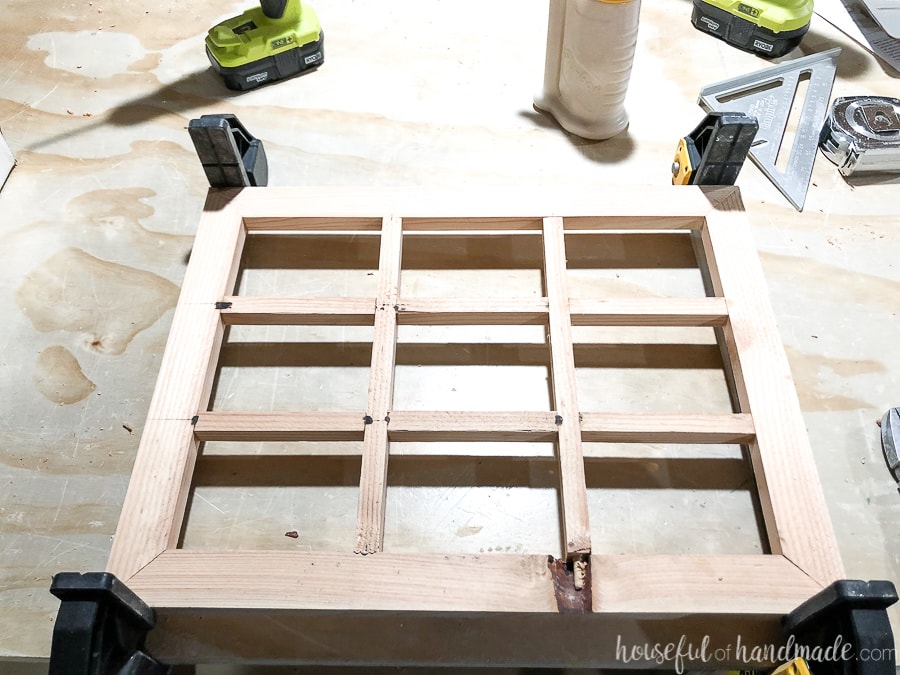
I discovered that the pins would not work for the outside miters because I couldn’t get them to line up to tap together while having the center pieces lined up too. So I just added dowel pins to the center horizontal pieces into the side frame, and then glued and clamped the mitered corners together without dowel pins.
It worked perfectly and is held together just fine for a decorative window frame.
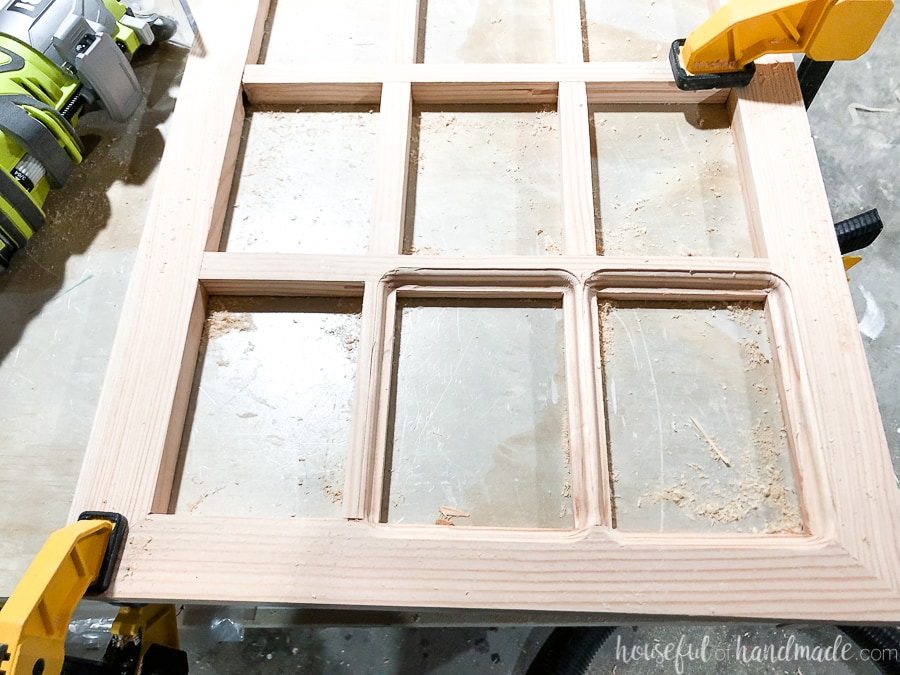
After all the wood glue is dry, you can sand and paint as is… or you can make it look like an old window by adding some decorative edge detail to the panes.
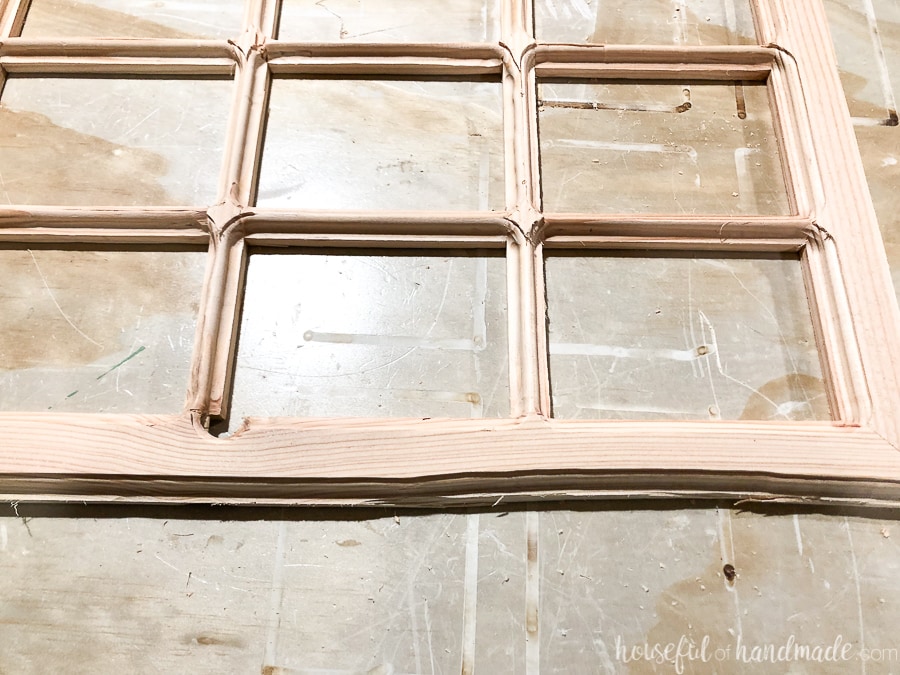
I used a Roman Ogee bit, but it was a little large for the size of my frame. It completely rounded over the small center pieces. Which actually turned out really great, but for my new one, I will probably use a smaller bit.
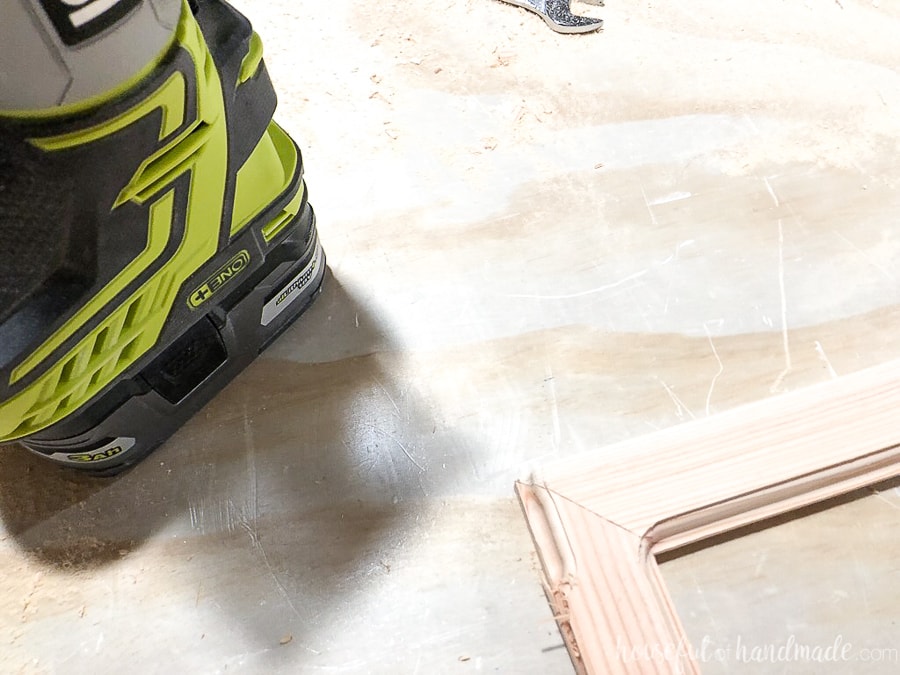
Use a palm router to quickly add a decorative edge to the inside of all the window panes.
When routing the outside of the window frame, you want to be careful of tear out on the corners. To help prevent this, do a quick router on the start of each corner, then go back and route the rest of the edge.
I had a few problems with this soft wood and my large router bit. First, there was a knot in the wood that popped out when I was drilling dowel holes. This meant no wood for the bearing to ride on and created a huge hole in one of the panes.
Second, on one of the outside edges, the wood split bad and caused the router to take a big chunk out of the side. I knew I could hide these with the 3D paper flowers so it didn’t bother me too much, but a smaller router bit would definitely have helped.
Now it’s time to sand the entire wreath. I used a random orbital sander to sand down the top and sides. It was great to remove the funny triangles left from the larger router bit.
To smooth out the decorative edge I used a sanding block and sanded it by hand.
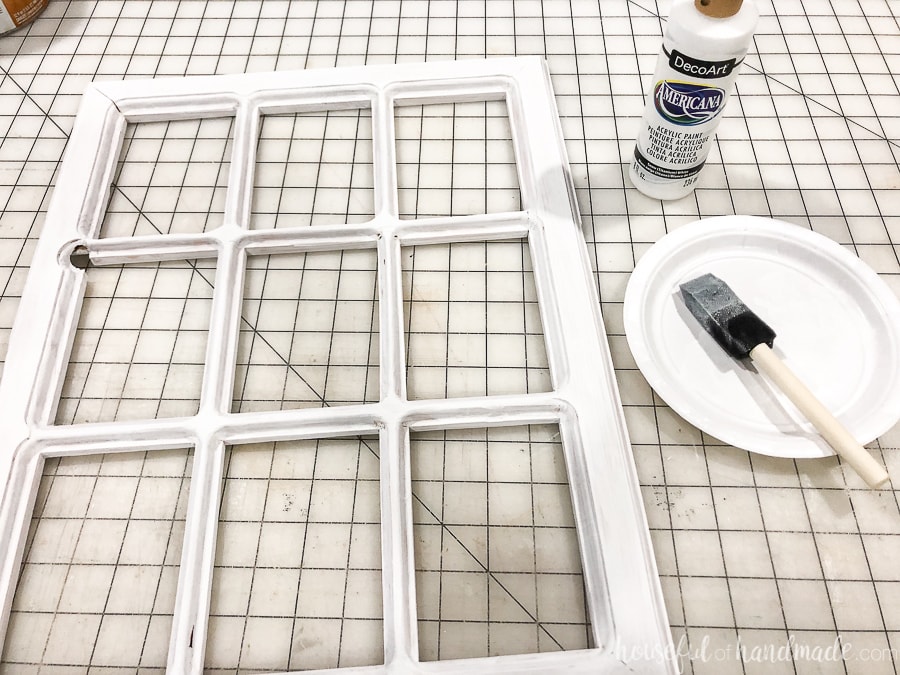
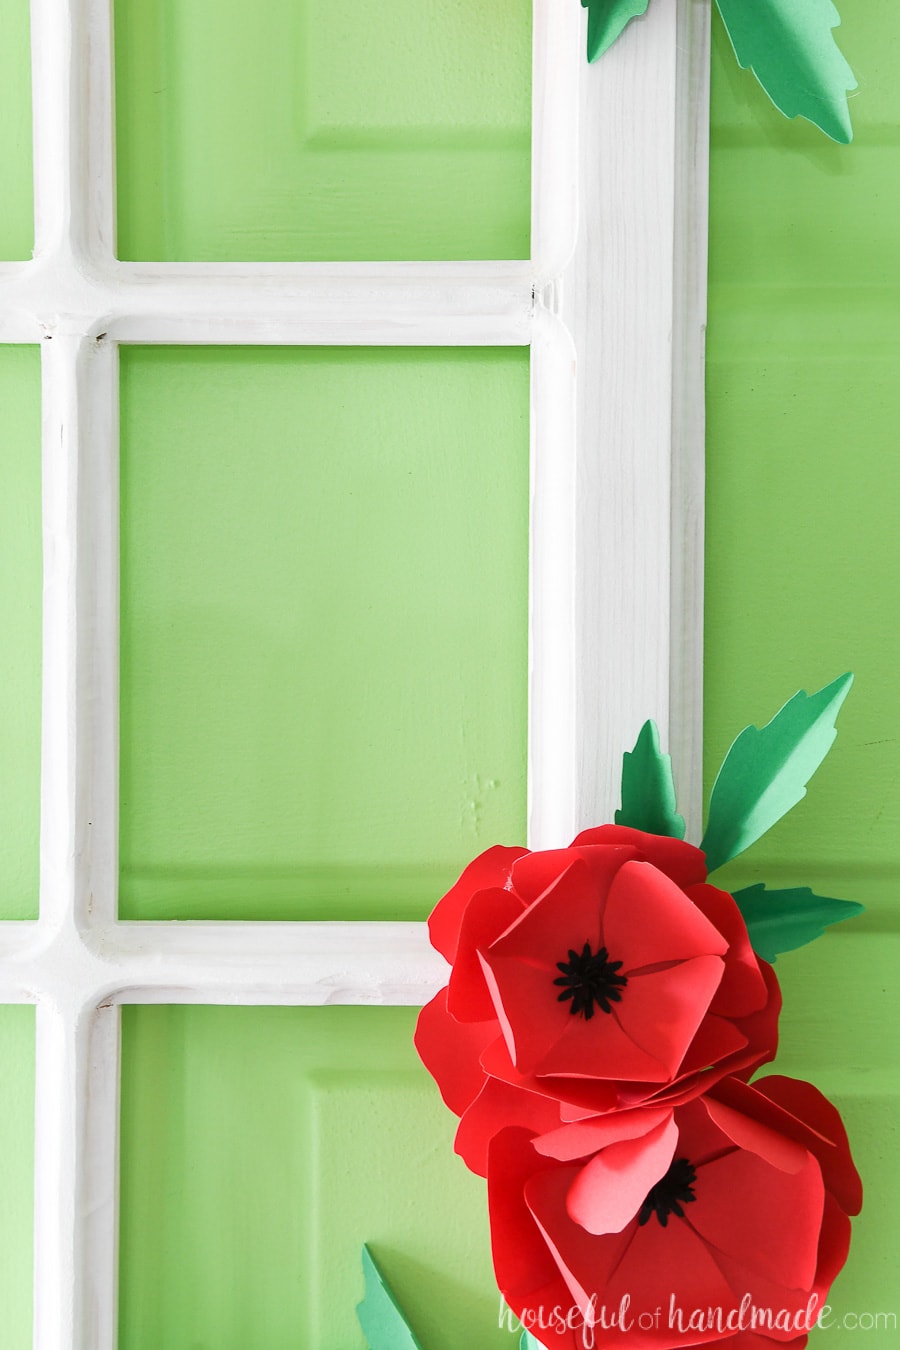
I painted my window frame wreath white with some acrylic craft paint. To let the grain of the wood show through a little bit, I just did one light coat. It almost looks like a white wash finish.
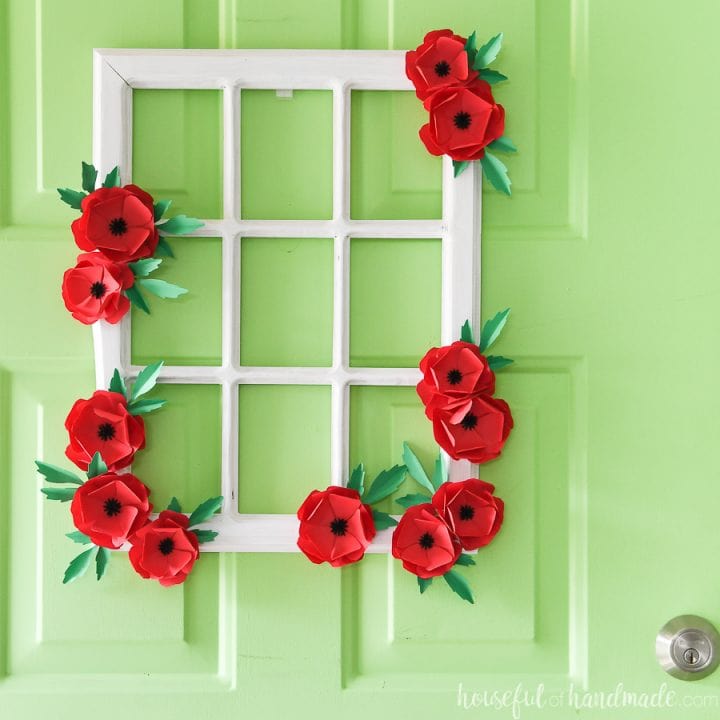
Make sure to add a picture hanger to the center back before you start decorating your window frame. I forgot and it was a little tricky to add it without damaging all the flowers.
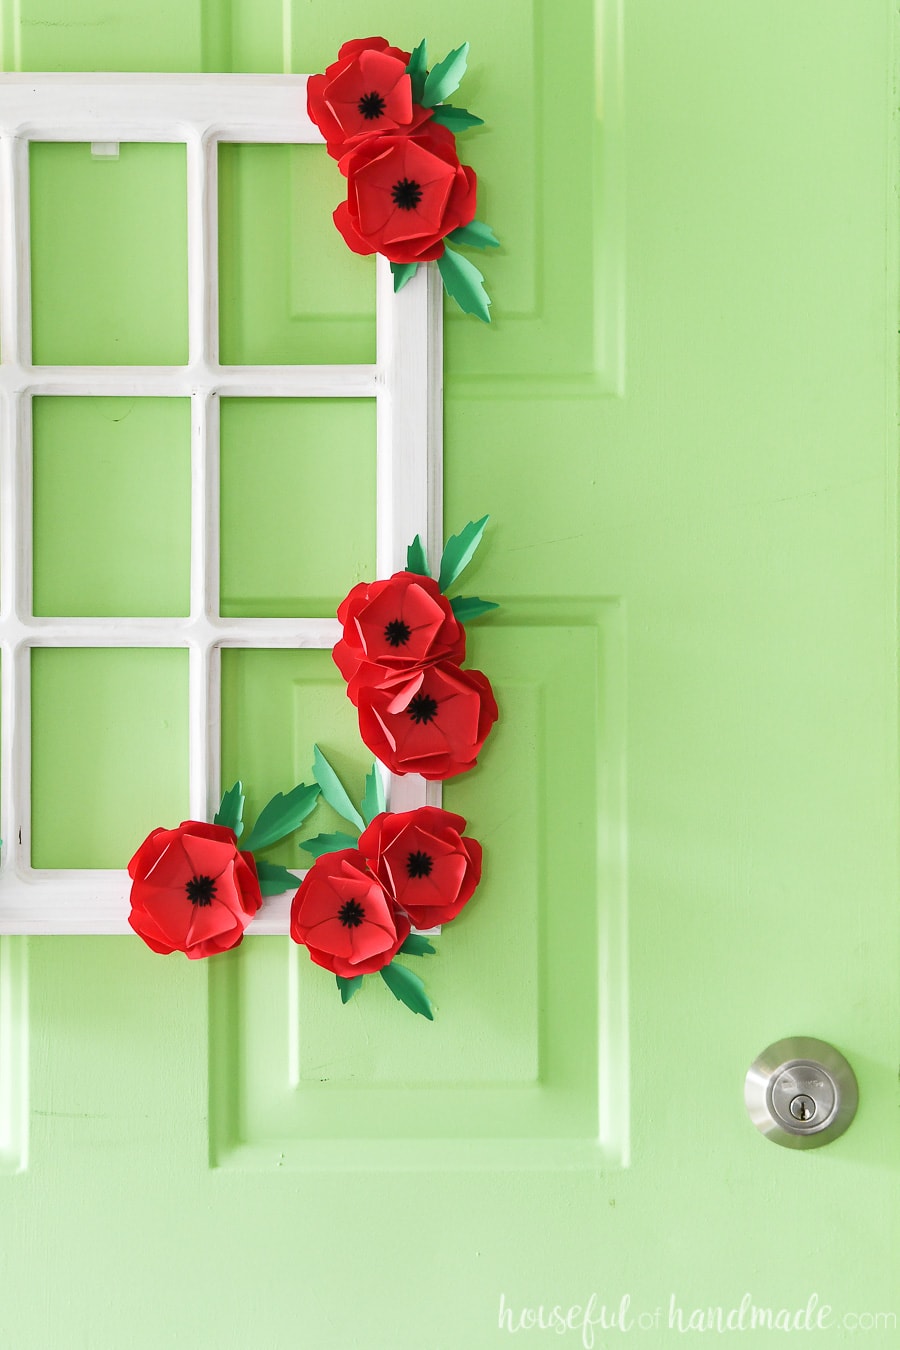
I decorated my frame with 3D paper poppies I made with my Silhouette Cameo. They were fun to cut out and assemble. But you can decorate your new window frame any way you want!

The possibilities are endless…
Window Frame Wreath
Learn how to make a beautiful DIY window frame wreath with this easy tutorial.
Materials
- Wood
- 6′ of 1×2 boards
- 5′ of 1×1 boards
- 1/4″ dowel pins
- Wood glue
- Picture frame hanger
Tools
- Rockler complete dowling kit
- Miter saw
- Drill with 1/4″ drill bit
- Clamps
- Router with decorative edge router bit
- Sander
Instructions
- Cut 2 pieces of 1×2 to 19″ long with a 45 degree miter on each end.
- Cut 2 pieces to 15″ long with a 45 degree miter on each end.
- Cut 2 pieces of 1×1 at 12″ and 6 pieces of 1×1 at 5″.
- Use 1×2 furring strip scraps for the decorative window frame wreath.
- Rip down the 1×2 to 3/4″ wide strips to make 1×1 boards.
- Lay out all the cut pieces of the window frame wreath and check to make sure things line up right.
- Move the vertical pieces to the side and clamp together the horizontal pieces.
- Measure and mark the center of where each vertical slat in the window frame will be.
- Line the mark on the inside of the jig for the 1/4″ hole to the line you made on the board. Twist to center the jig and clamp it to the board and drill the hole.
- Repeat for all the horizontal frame pieces.
- Use the wood glue and dowel pins to attach the pieces.
- After the dowel pins are all glued in, clamp the window frame together and let it dry.
- Stain the window frame, or paint it.
- Add a picture hanger to the back of the wreath.
- Decorate your window frame any way you like. I used paper poppies.
Recommended Products
As an Amazon Associate and member of other affiliate programs, I earn from qualifying purchases.