Build a wooden toy barn for your favorite little cowboy or cowgirl.
With Christmas around the corner, it’s time to start thinking about fun DIY gifts. And what kids doesn’t love a dollhouse? So I partnered with Kreg Tools and their project plan build site, BuildSomething.com, to make a fun DIY dollhouse.
But this isn’t just any dollhouse… it’s a realistic toy barn dollhouse for your toy horses!
If your kids loves to play with horses, or any other farm animals, they will get endless hours of play with this beautiful wooden toy barn.
This post may contain affiliate links. As an Amazon Associate I earn from qualifying purchases. Click here to read my full disclosure policy.
The design of this barn dollhouse was done under the careful scrutiny of a real cowboy. All the details were carefully planned to give a realistic place to play, but with a little bit of fun and whimsy.
Features of the Toy Barn
The Inside:
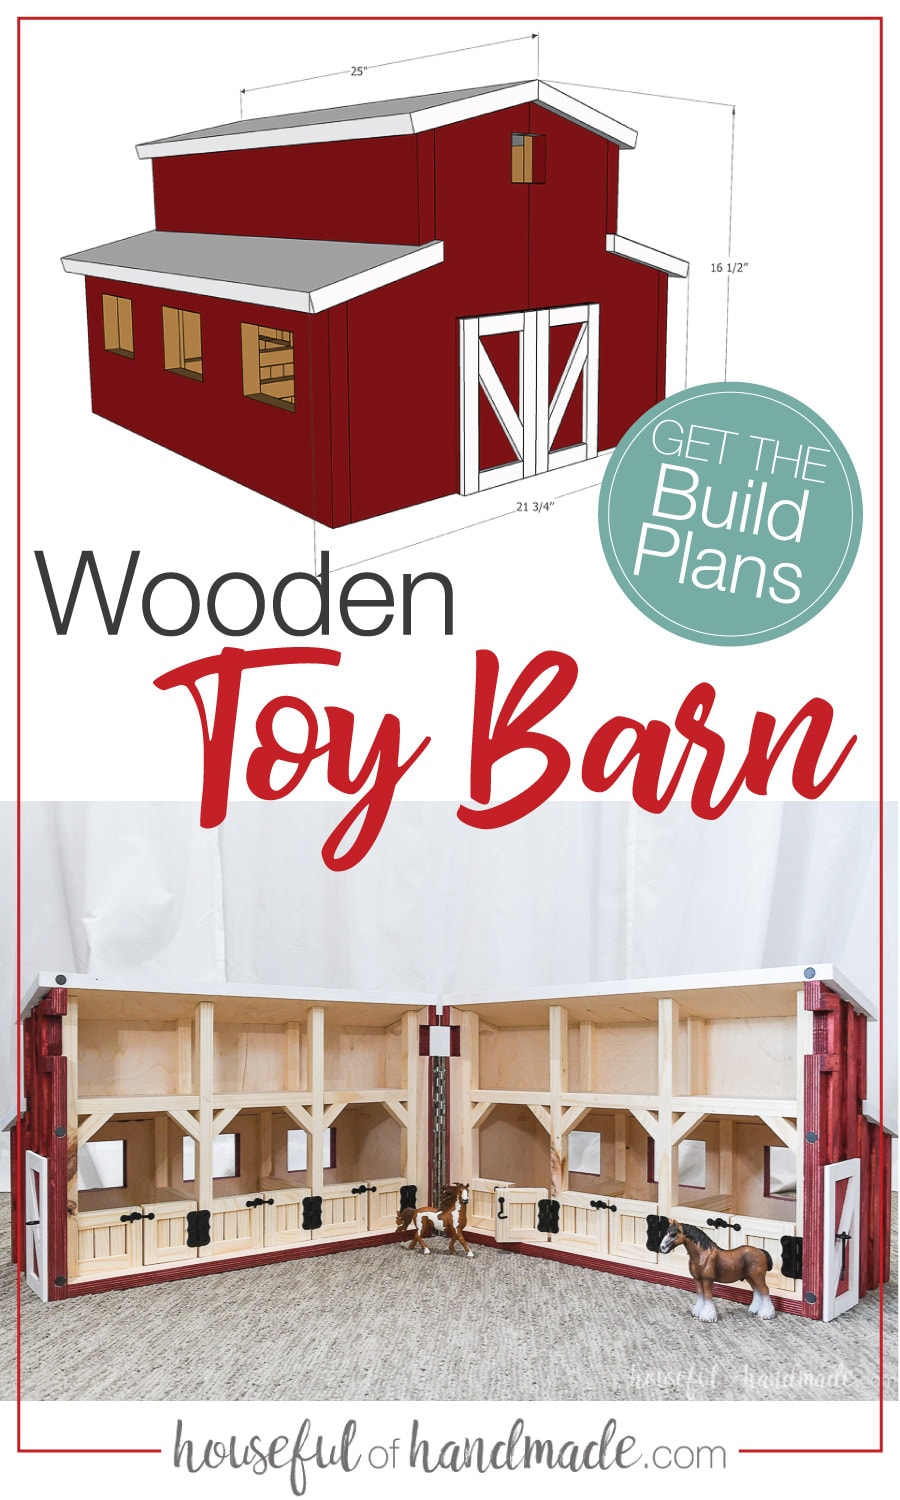
This wooden barn was designed for Schleich® 4 1/2″ tall horse figurines (my cowboy source’s favorite horse toys). But with large 7″ x 7″ stalls and an 8 1/4″ tall ceiling, you can use it with any of your favorite horse toys.
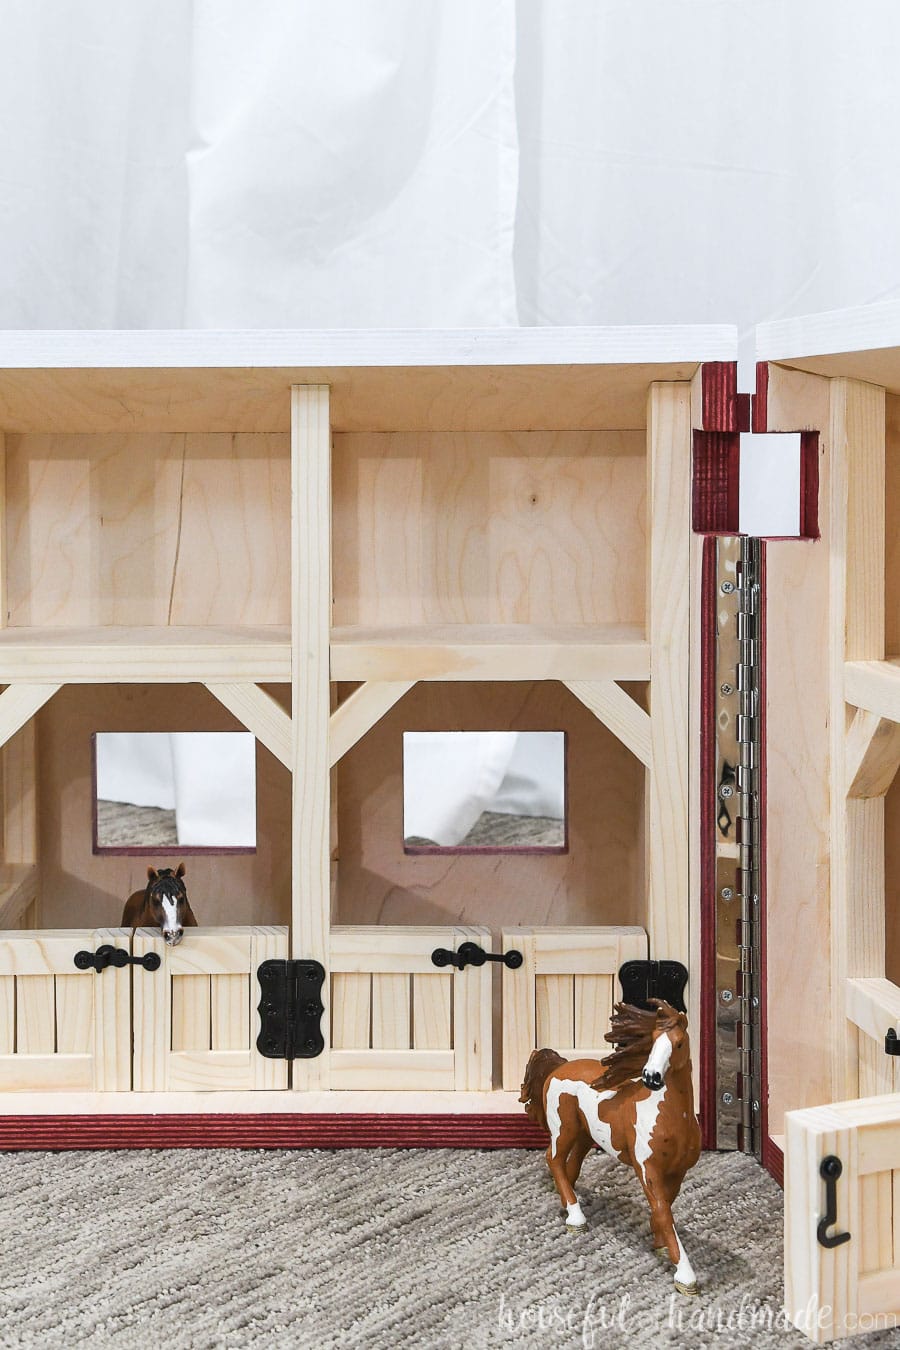
Each stall has a gate with hook and staple closure. Easy enough for the youngest hangs to operate. And the realistic opening gates will make more fun to play with their horses.
Above the stalls is a loft space. Perfect for your small barn animals to live, or a wonderful place to store your horse tack. I know there are lots of saddles, reins and more needed to play farm.
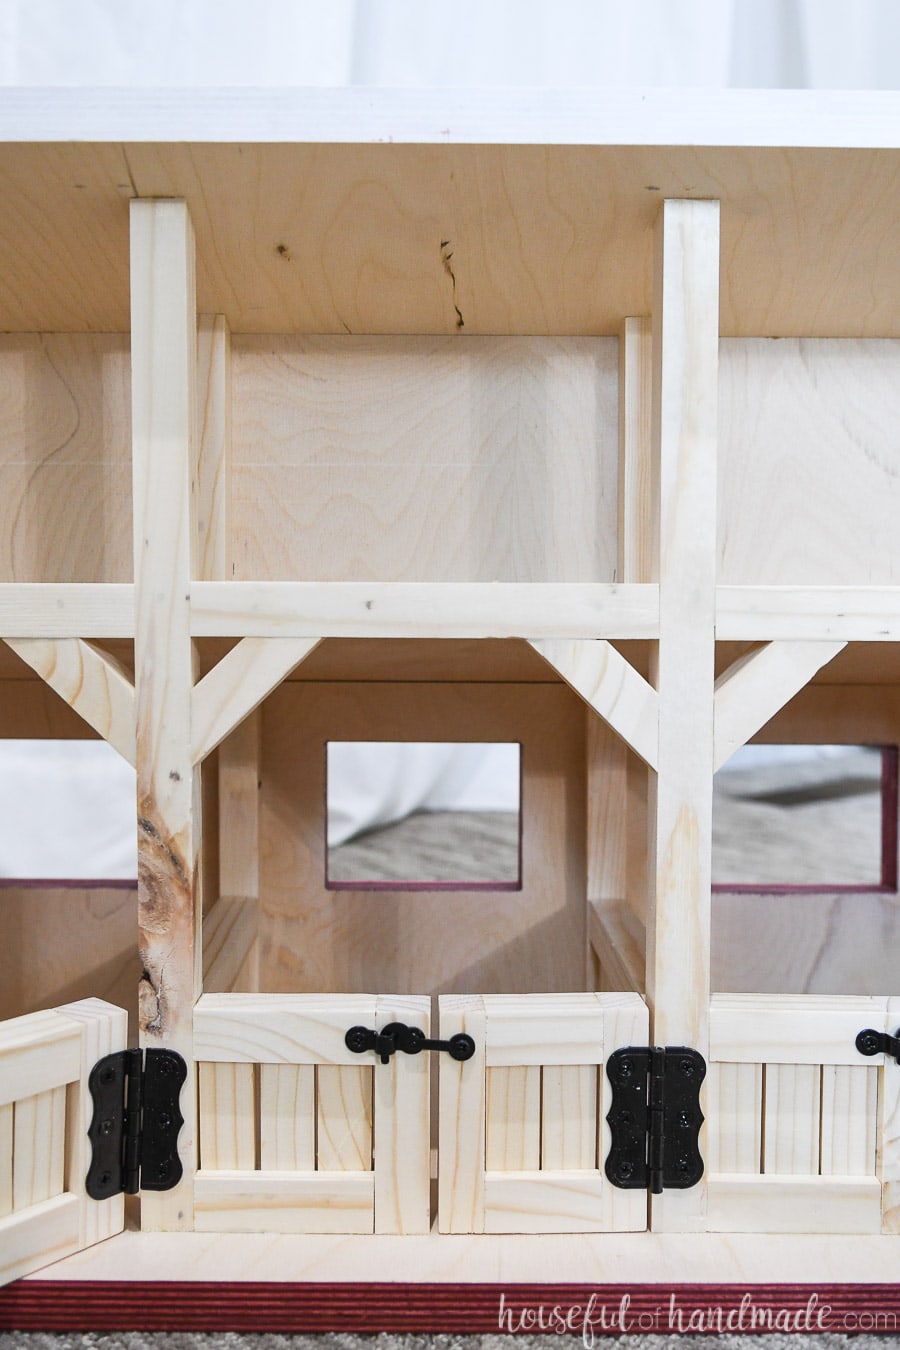
The barn is double sided with 3 horse stalls on each side. The wooden toy barn hinges down the back so you can easily open it for play, then close it up to store all your horse toys and tack.
The Outside:
And to close up the barn, the front is held together with a hook and eye closure and some hidden magnets for extra support. This is helpful if you need to move around the barn dollhouse.
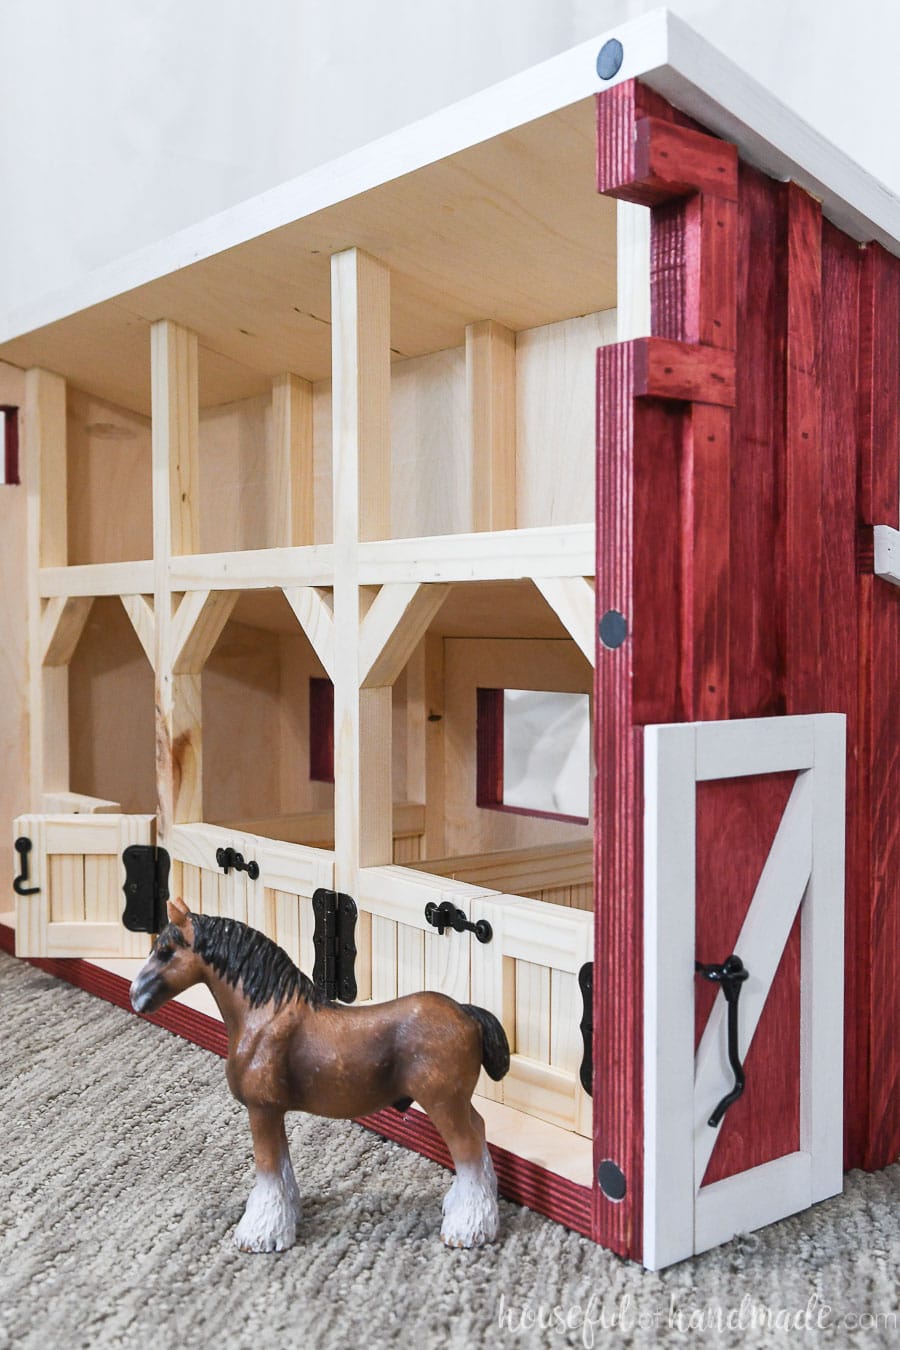
But this dollhouse is not made to move, it it built to last for years out if 3/4″ birch plywood. Set it up in the corner of the playroom and add a fence for hours of creative play!
The barn also has the quintessential loft window, giving your barn a classic looks. But it also has 6 large side windows making it easier for kids to play in and around the barn.
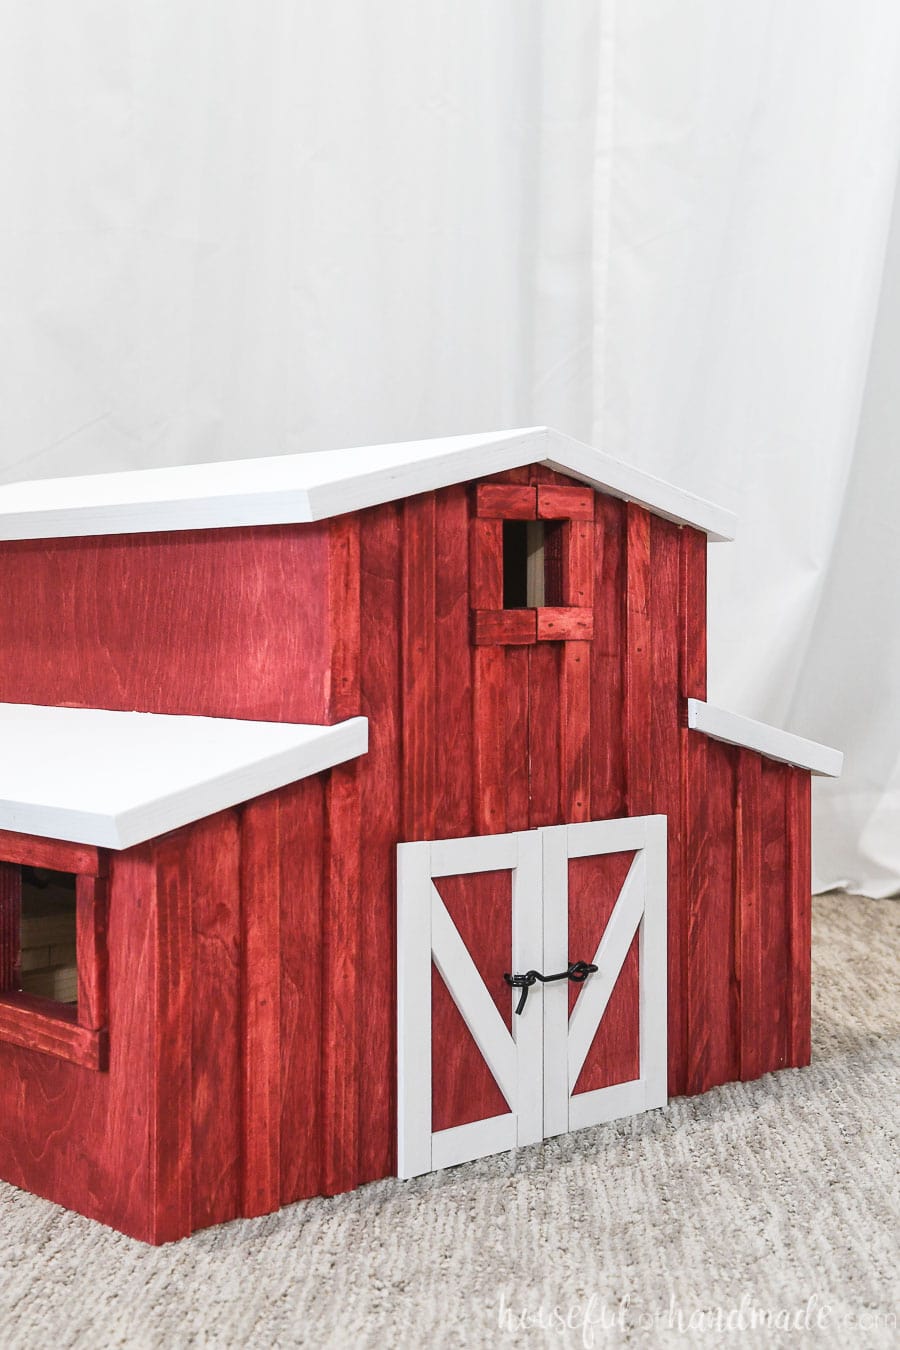
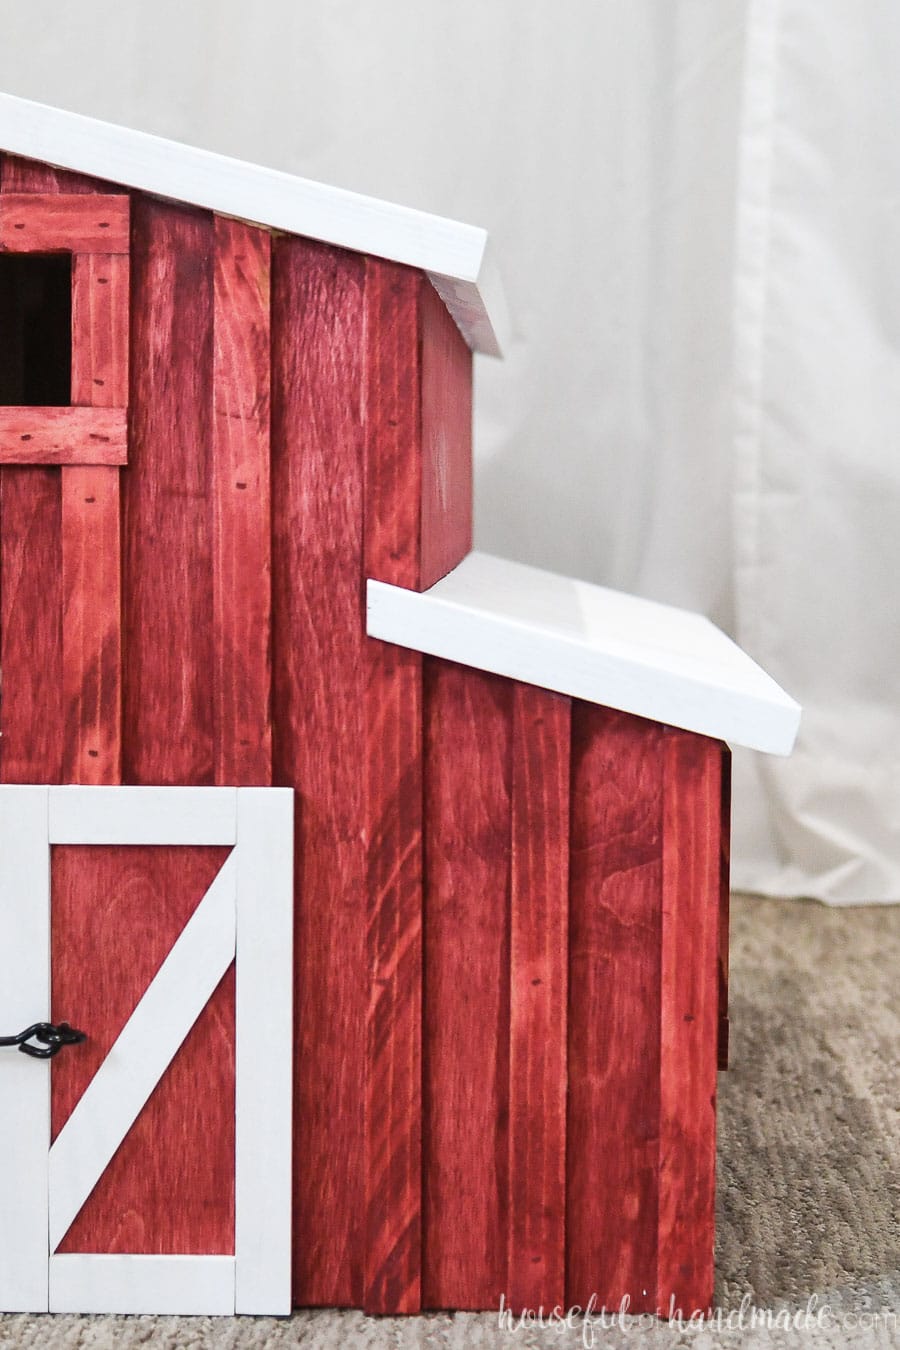
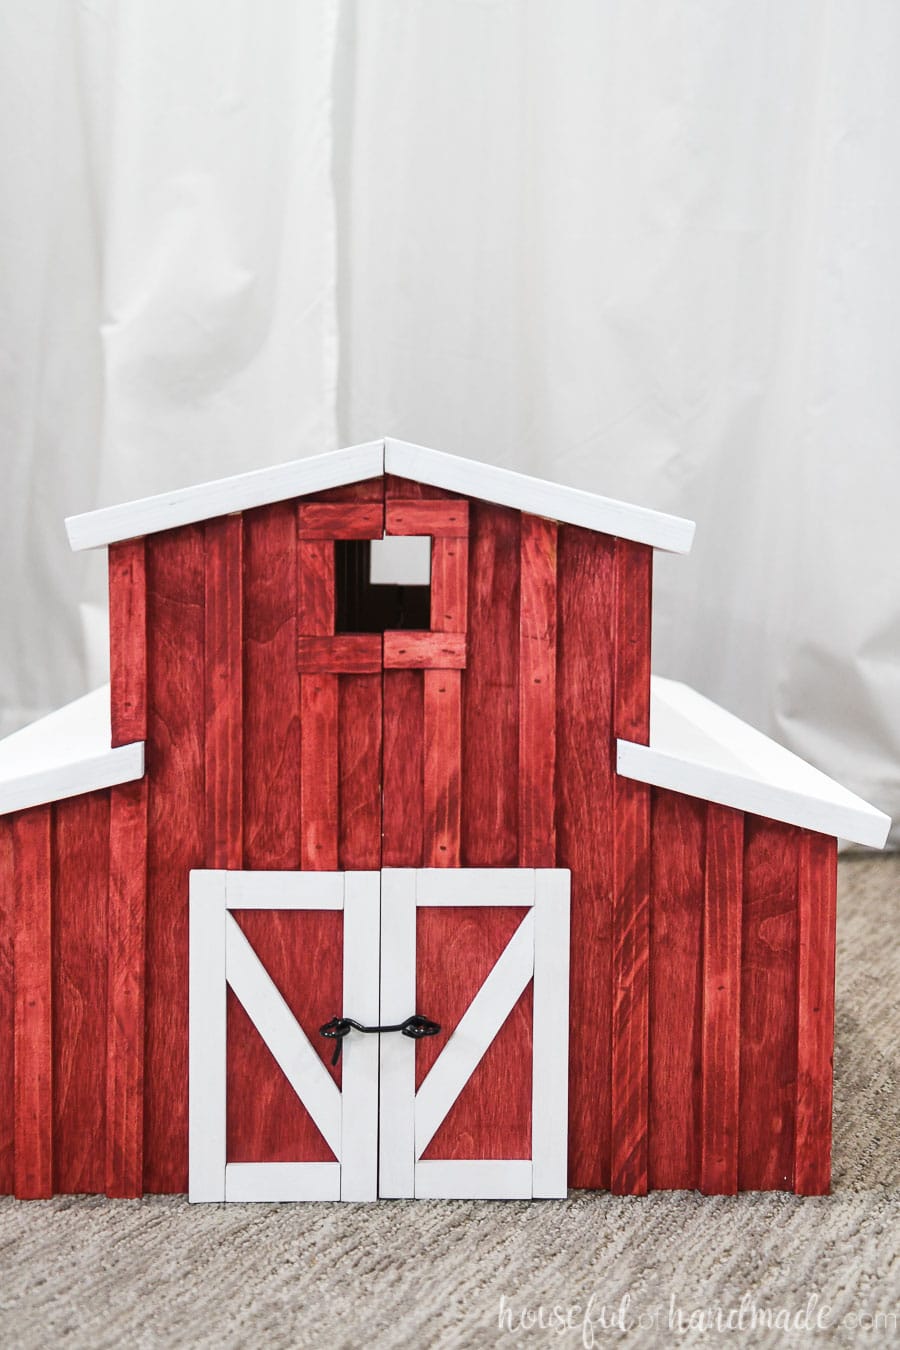
And the outside of the barn is finished with loads of details. The windows are framed out and additional texture is added to the front of the barn with strips of 1/4″ board. The entire barn is stained red with the perfect stain called Barn Red by Varathane.
Then the two large barn doors are also trimmed out with coordinating white trim to match the white roof. To doors do not open, but give the front of the barn so much character!
How Big is the Barn Dollhouse?
The total dimensions for the barn dollhouse are 16 1/2″ tall, 21 3/4″ wide and 25″ long when close up. When opened up, the dollhouse can span 50″ long.

If you are adding a fence to the toy barn (a perfect idea for a Christmas present), you will want to make sure you have enough fence for the open barn.
How to Build a Wooden Toy Barn
This wooden barn dollhouse is an intermediate build. The plywood pieces are cut at angles to give the barn is classic design.
But once the plywood pieces are cut, they go together easily with the help of the Kreg Jig.The strong joints of the Kreg jig will help this toy last for years. Your kids will be able to hand it down to their kids as an heirloom piece.
The inside details do require a bit of time because everything is multiplied by 6 for the 6 stalls. You can have so much fun with design and change things up as needed to work for your kids favorite toys.
To make the 1×1 and 1/4″ thick boards that are needed for all the inside and outside details, I used a table saw to rip down the wood. All the details were done with inexpensive pine wood. And I was able to use up all those small scraps to make all those small details.
What Wood to Use?
Since there are exposed edges of plywood, I would recommend using baltic birch plywood. The Baltic birch plywood has less voids in it making it super strong and leaving smooth edges.
For the details and stalls, you can use any wood you want. A hard wood will last through lots of play, but softer (and less expensive) pine will get some character front little dings. Do whatever you want for your own budget.
Build Plans for Toy Barn
If you are ready to build your own wooden toy barn, I am sharing the free plans on BuildSomething.com. Click here for the complete plans.
Happy building!

Thank you to Kreg Tools for sponsoring this post. I only recommend products that I use and love and all opinions are 100% my own. Click here to read my full disclosure policy.
