Today I sent my son off on his first day of school. He was so excited to be starting the second grade and is starting to act like he doesn’t need his mommy anymore. Of course, I walked him to the door on his first day even though he told me he didn’t need me to.
I am not a sentimental mom, I have actually been looking forward to school starting so I can have some time to get things crossed off my list, but come on buddy, I still get to walk you to your class on the first day.
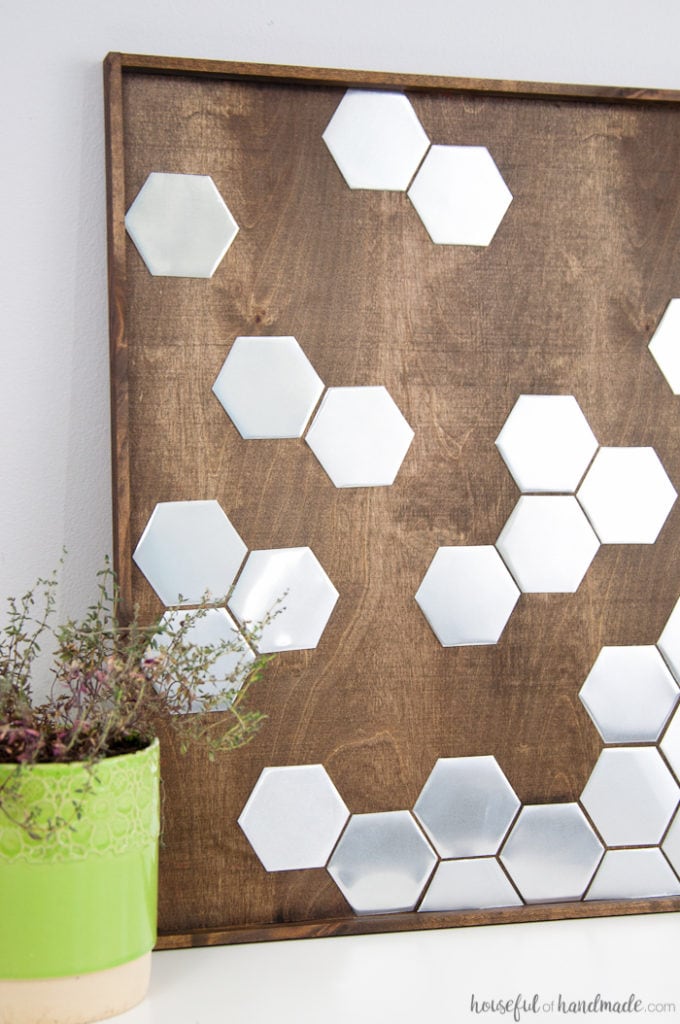
After we dropped him off, my daughter and I rewarded ourselves for getting up so early with our favorite Chick-Fil-A breakfast, then it was time to get some work done! And first on my list was to finally finish this DIY metal hexagon wall art so I could finally share it with you.
This post may contain affiliate links. As an Amazon Associate I earn from qualifying purchases. Click here to read my full disclosure policy.
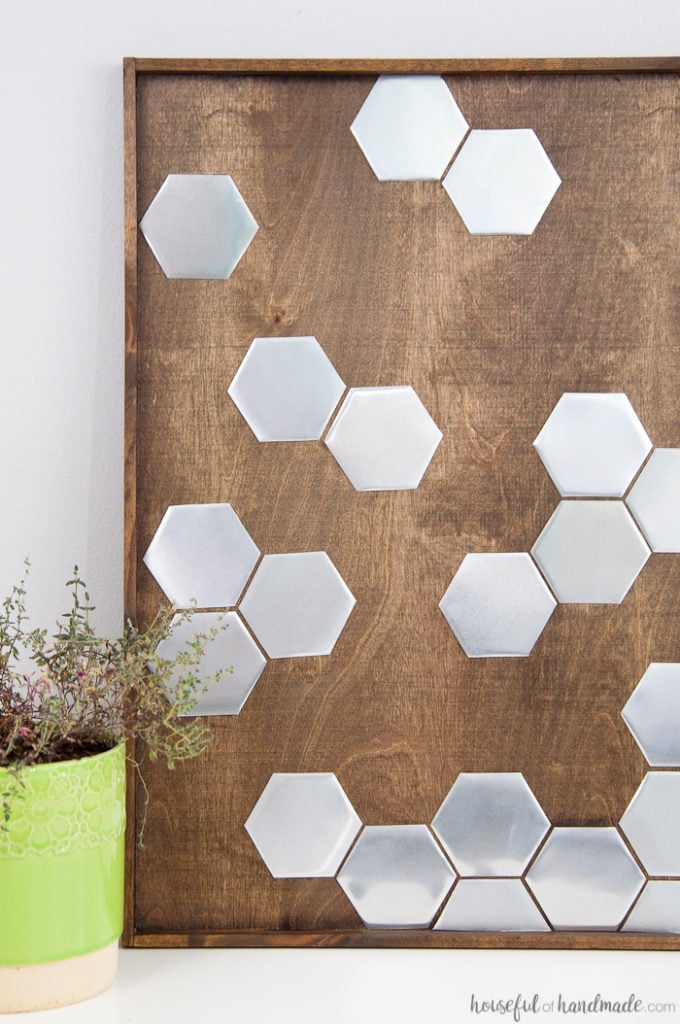
I love looking at beautifully decorated photos of peoples homes and seeing ways to add a little more design to my home. I know my house will never look like a magazine because I am always working on some project, changing things up, and my kids can destroy anything in 9 seconds flat, but I can always hope and dream.
One of the things I am trying to do is to add more art to our home. Not just photos of our family (because I feel like we may be getting close to maximum capacity for our current wall space), but actual art.
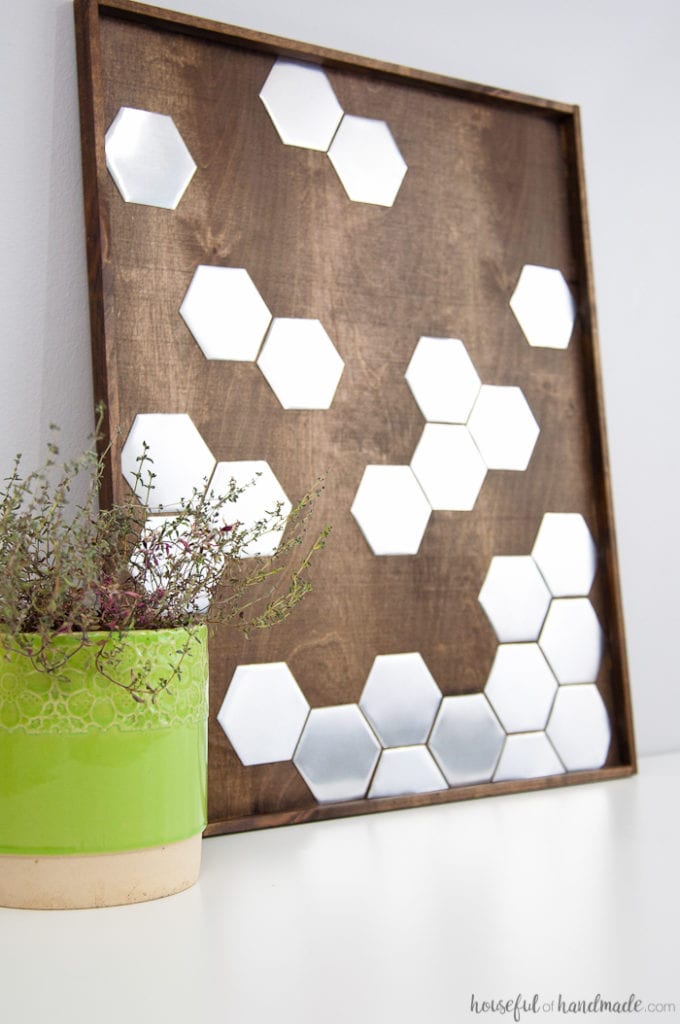
I have been slowing adding art pieces to our home, like my very first woven wall hanging, the chalkboard herb drying rack that is art and function in one, and these fun adventure wall art pieces for my son’s room. After using the Spellbinders die cut machine to make the art for my son’s room, I decided to use it to make some more art.
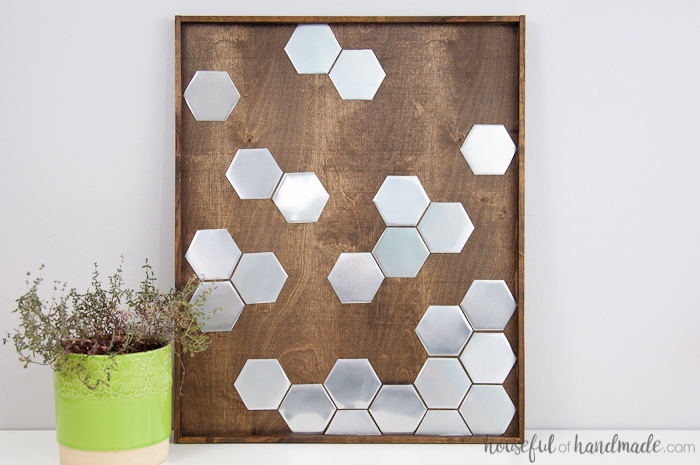
When I first got my Spellbinders Platinum 6 die cut machine, I was so excited to test its limits. I was most excited about its ability to cut the thicker materials like metal. I purchased some thin aluminum sheets at Home Depot, crossed my fingers, and ran it through the machine with the steel rule dies.
I am happy to report, it cut the aluminum like a knife through butter (okay, it required a little more elbow grease than that but it cut beautifully). And as soon as I had that beautiful metal hexagon in my hands, I knew it would make the perfect wall art for my wanna-be magazine perfect home.
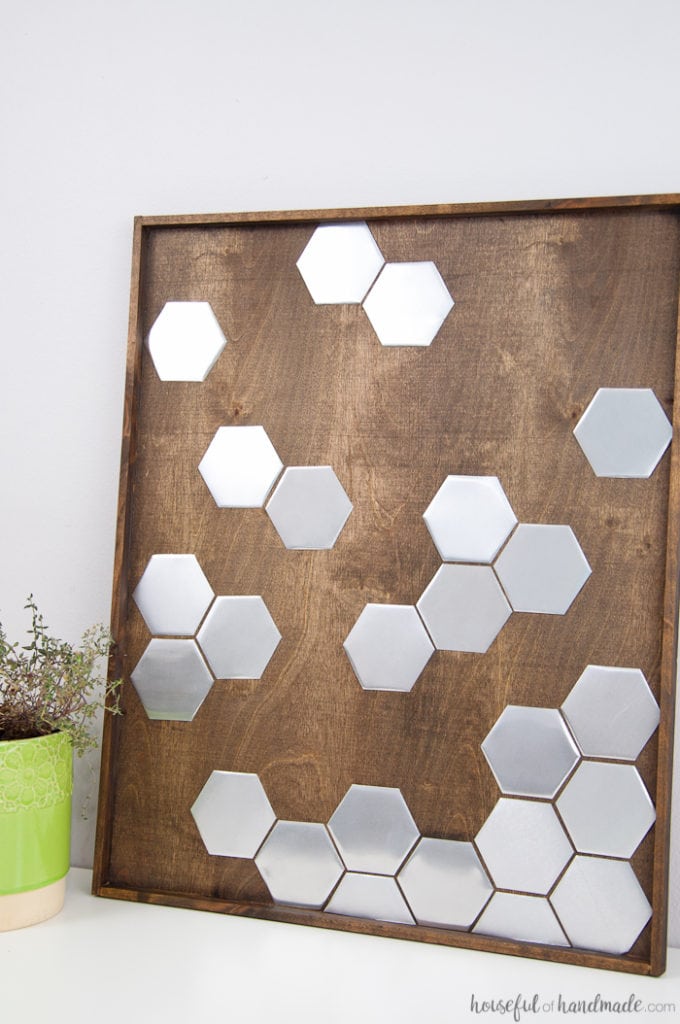
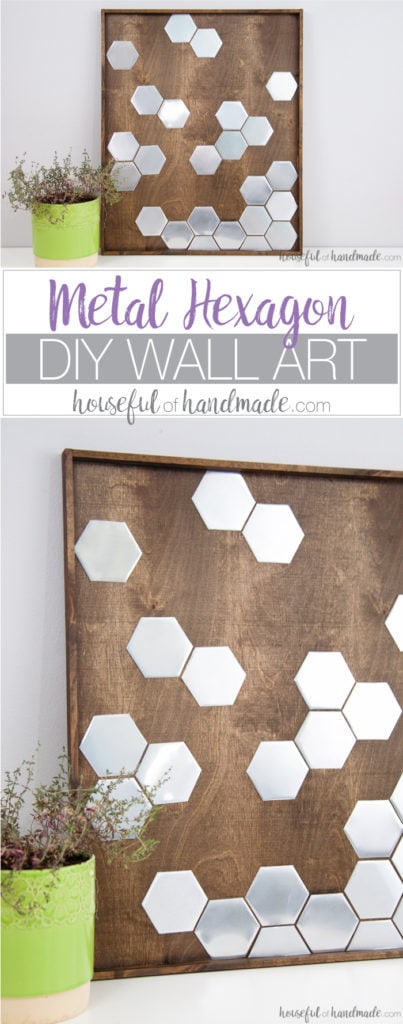
So while I was in the garage building our master bathroom vanity, I took a minute to make a frame for my metal hexagons and today after dropping my son off, I made some art! I couldn’t be happier with the fun mix of metal and wood, and it’s already getting compliments from my guests. Yeah!
I received free product from Spellbinders in exchange for this post. All opinions are my own. This post contains some affiliate links for your convenience. Click here to read my full disclosure policy.
How to make your own DIY Metal Hexagon Wall Art
Supplies:
- 1’x2’aluminum sheet or thinner craft metal (not galvanized metal sheets)
- Spellbinders Platinum 6 machine
- ‘Hexie and Friends’ steel rule die
- Hot glue gun and glue sticks
- 16″x20″ piece of 1/2″ plywood
- 6 1/2′ of 3/4″x1/4″ wood
- I used my table saw to rip down wood to the thinner size, if you cannot find thinner boards or do not have a way to rip it down, you can use 1×1 boards (which are 3/4″x3/4″) and you will just have a slightly thicker frame than mine.
- Miter saw
- Nail gun
- Wood glue
- Sandpaper
- Wood stain
- I used a layer of Minwax Classic Grey and Jacobean
Start by making your wood frame and background. If you need to, cut your plywood to 16″x20″ (or whatever size you want). Sand any rough edges.
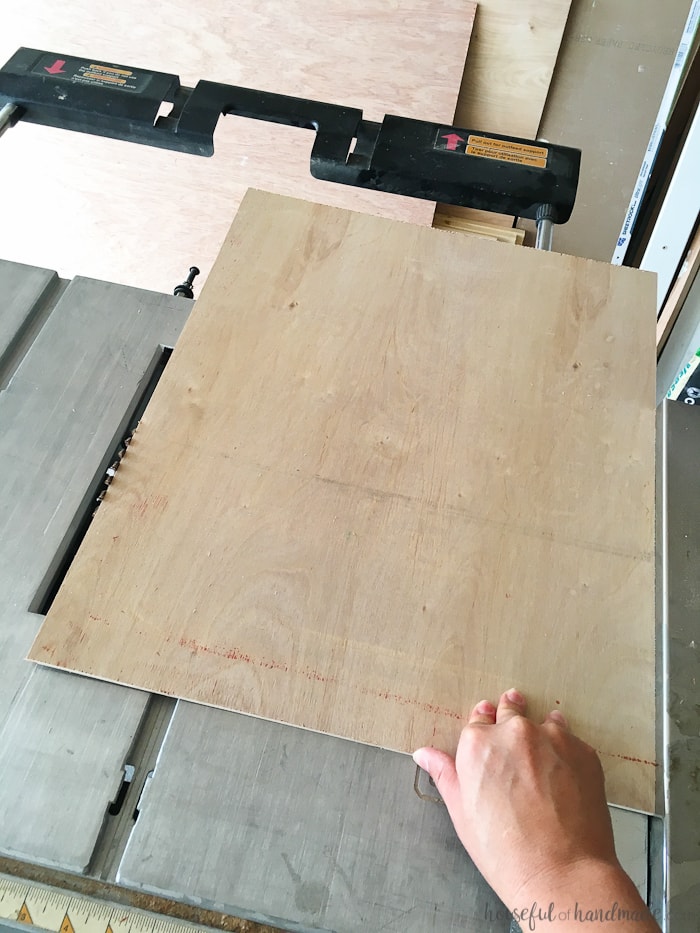
To frame your plywood, start by cutting two pieces of the 3/4″x1/4″ wood to 16″ long. Add a bit of wood glue on the edges of the plywood and add your 16″ piece, making it level with the back of the plywood.
Use your nail gun to carefully tack the frame piece onto the plywood. I used 1/4″ plywood and 1/2″x1/4″ wood and it was a huge pain to nail together (not a lot of surface area to fit a nail through). I would not recommend using this small of wood for that reason, but I was using what I had on hand instead of buying more wood (my garage is too full).
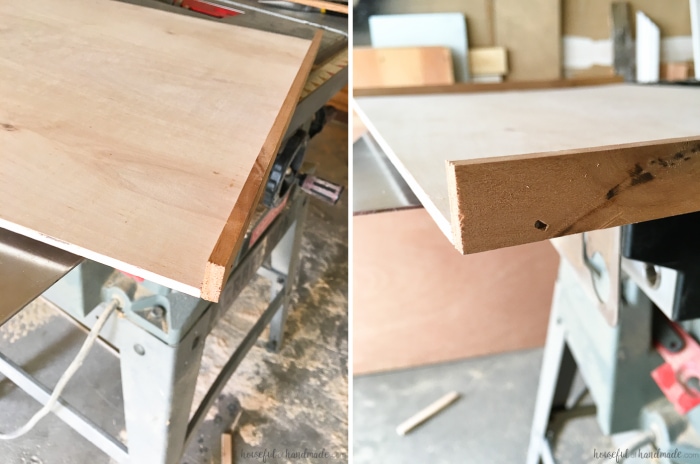
Then measure the full piece (with the frame) and cut your 3/4″x1/4″ wood to that length. Attach to the sides of the board in the same way as the top/bottom. Sand any rough spots or leave it a little rustic.
Add a coat of wood stain. I started with the Minwax Classic Grey but didn’t like the way it looked and I wanted more contrast with the metal, so I added a coat of Minwax Jacobean on top of it. It gives the dark wood a grey undertone and gives me the contrast I wanted.
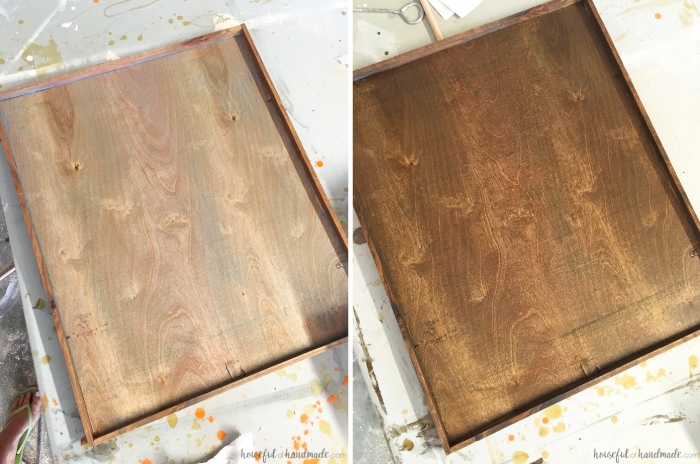
While the stain is drying it is time to cut some metal!
Since you will only be cutting the hexagon shape on the die that has 4 shapes, start by cutting 3″ strips of the aluminum sheets. You can use a strong pair of scissors (like kitchen shears) or I used a pair of tin snips.
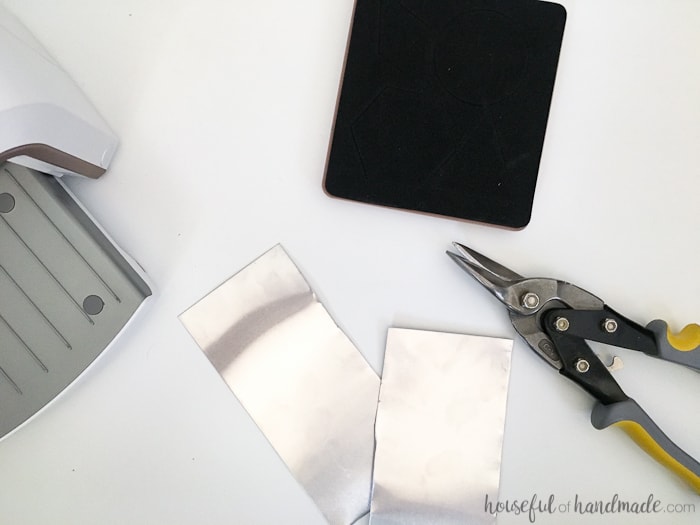
Build your cutting sandwich by placing the cutting plate, the steel rule die on top with the cut side facing up, place the aluminum strip over the hexagon shape of the die, then top with a second cutting plate.
Run the cutting sandwich through the machine and watch the magic happen.
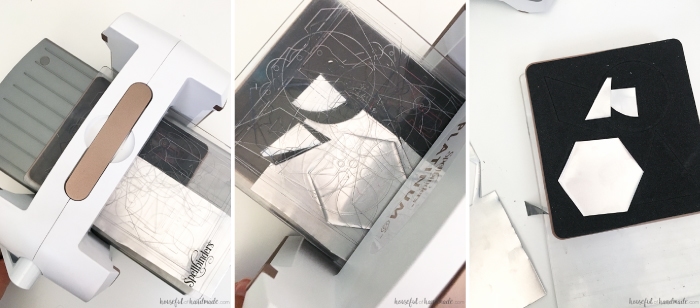
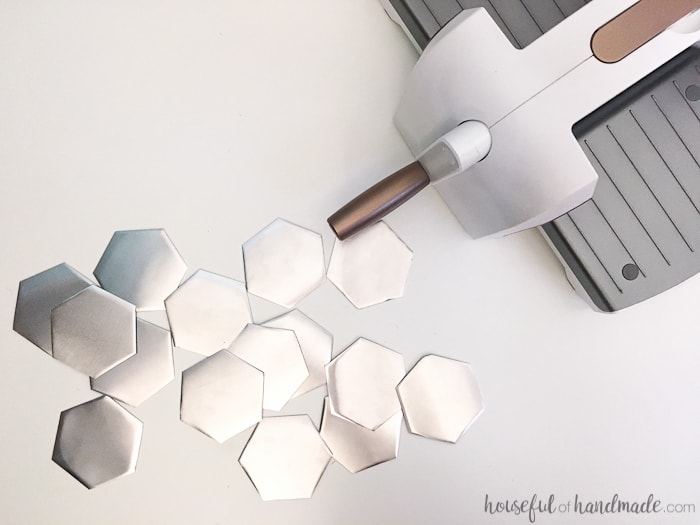
Repeat the above process until you have a lot of hexagons. I used 23 total for my design, but feel free to use more or less for your own design.
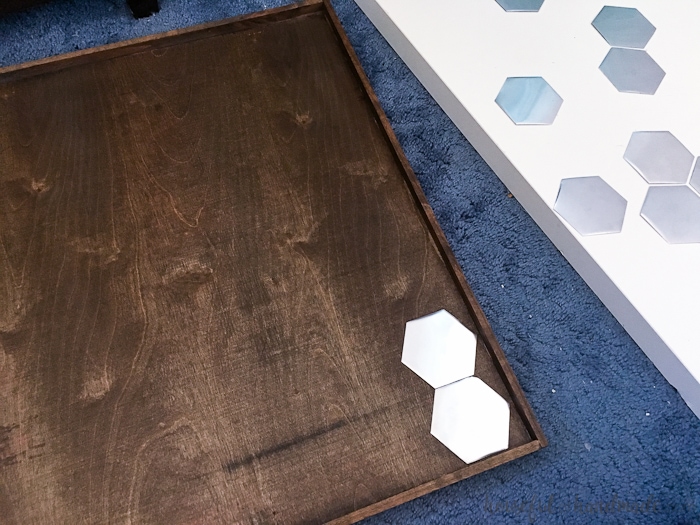
Once the wood stain is dry, start lining up hexagons on your wood to get an idea of the design you want (please ignore my blue carpet, it will be replaced someday).
Once you have a plan for your design, it’s time to start glueing the hexagons down. I wanted a thick glue that would dry quickly to make the process quick and painless, so of course I reached for my hot glue gun. But be careful, hot glue on metal makes for very hot metal. Hold the hexagons around the edges, place the glue all around the shape, then carefully press it onto the plywood board.
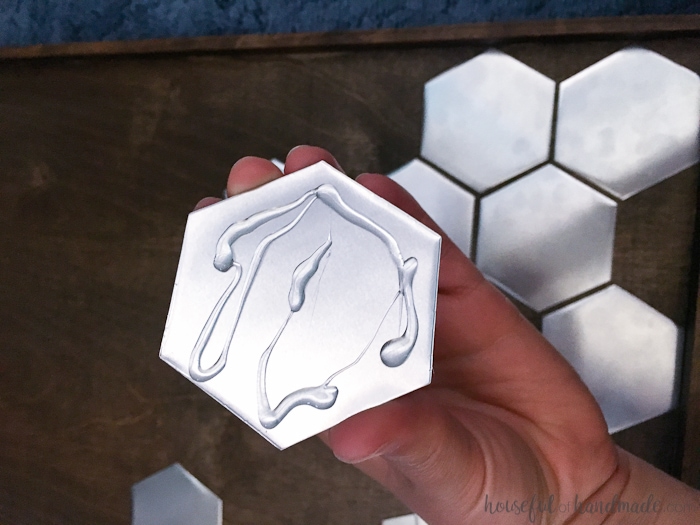
Continue glueing down the hexagons until you are happy with your design. I chose to leave a small space between the hexagons as I glued them down. I like the look of the wood peeking between the metal.
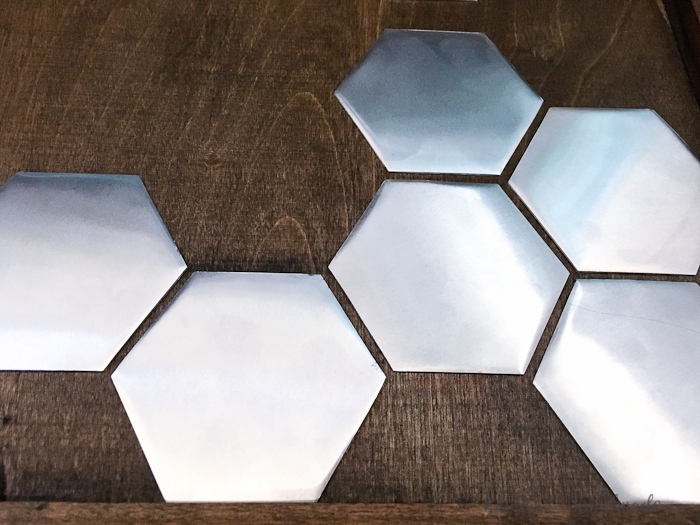
All that is left is to buff off all your fingerprints from the metal pieces. I used a microfiber cloth and it took all the fingerprints off and left a beautiful shine.
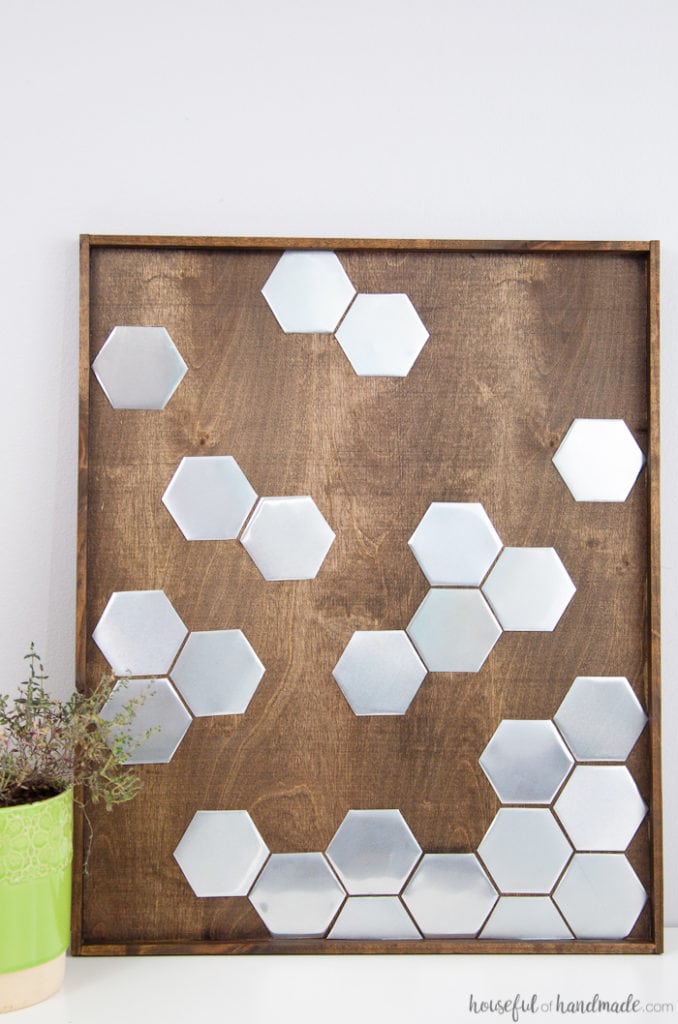
Now go display your new wall art and wait for the complements to start rolling in. The mix of metal and wood is so fun everyone is going to want one.
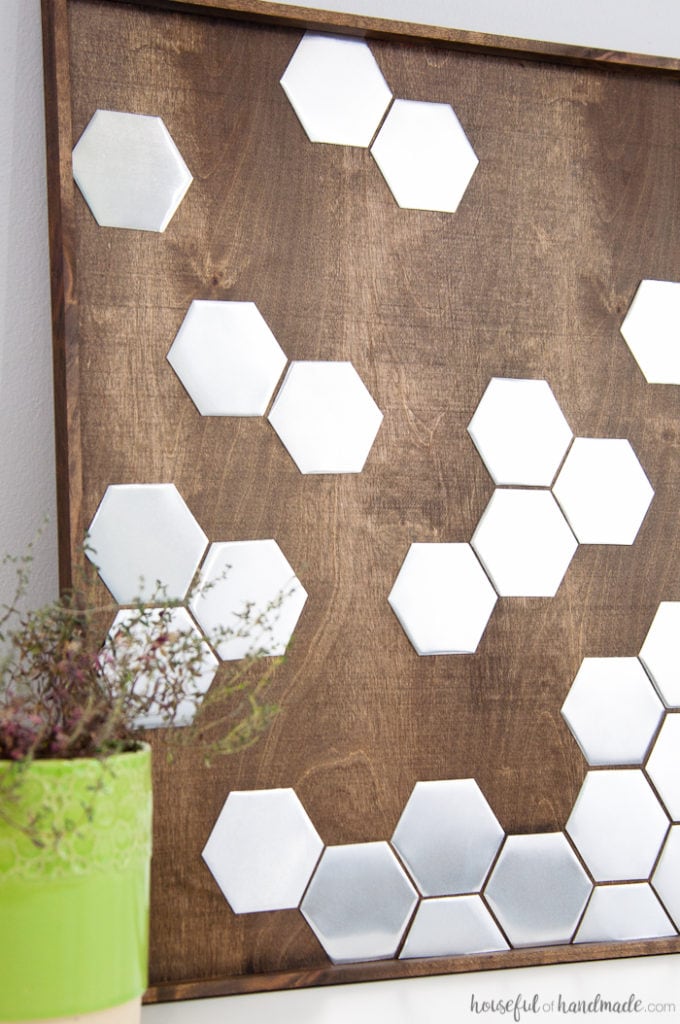
Now I need to get back to finishing that vanity!


Good Morning, Kat!! This piece is absolutely fabulous!!! I so enjoyed what you had to say as you walked us through your process!! Thank you so much for sharing your hard work and inspiration with all of us!!!
Carole from Chicago
Thanks so much Carole. I love my art and so glad you enjoyed the tutorial.
That’s beautiful art. I had no idea that a die cut machine could cut metal. I love how the metal looks with the wood. And I’m with you on trying to decorate with small kids around. Some projects don’t even look the same 5 minutes after I take pictures of them.
Thanks Rebecca! I was so excited to cut the metal because I love the look. Now I have too many ideas of other ways to use it.
Absolutely in love with your diy art! I’m currently in the process of decorating our home and this has given me some ideas 🙂
I love that! I would love to see your projects when you are done.
This is so cool! Metal & wood make such a great pair. I love that you chose a hexagon shape, too – it adds so much interest to your finished piece. Thanks for linking up with Merry Monday this week.
Thanks Emily! I think I might have gotten myself addicted to the metal and wood because I am working on more metal and wood projects 🙂
This would be so chic for a wedding as a seating chart plan! I can see the possibilities. SO creative!
That would be fun for a seating chart! I love your ideas 🙂
I’m totally in love with this! I’m a sucker for anything with a mix of wood and metal. I didn’t know there was a machine that could cut metal so cleanly. I’m adding it to my wish list!
I love metal and wood too! When I first heard about the things the platinum 6 could cut, the first thing I wanted to try was metal. I have so many fun ideas to use it with now. Definitely check it out 🙂