Trivets are like fancy hot pads. While you cannot use them to remove hot items from the oven, they are perfect for setting them on.
Wood trivets are much prettier to look at then my slightly stained (and much used) pot holders. And they are a simple DIY that you can have some fun with.
Plus, these wood trivets would make an amazing DIY gift for anyone who loves to cook. That is why I am sharing them for Day 3 of DIY Gift Week.
This post may contain affiliate links. As an Amazon Associate I earn from qualifying purchases. Click here to read my full disclosure policy.
After you finish making some fun trivets, make sure to check out the other scrap wood gift ideas below.
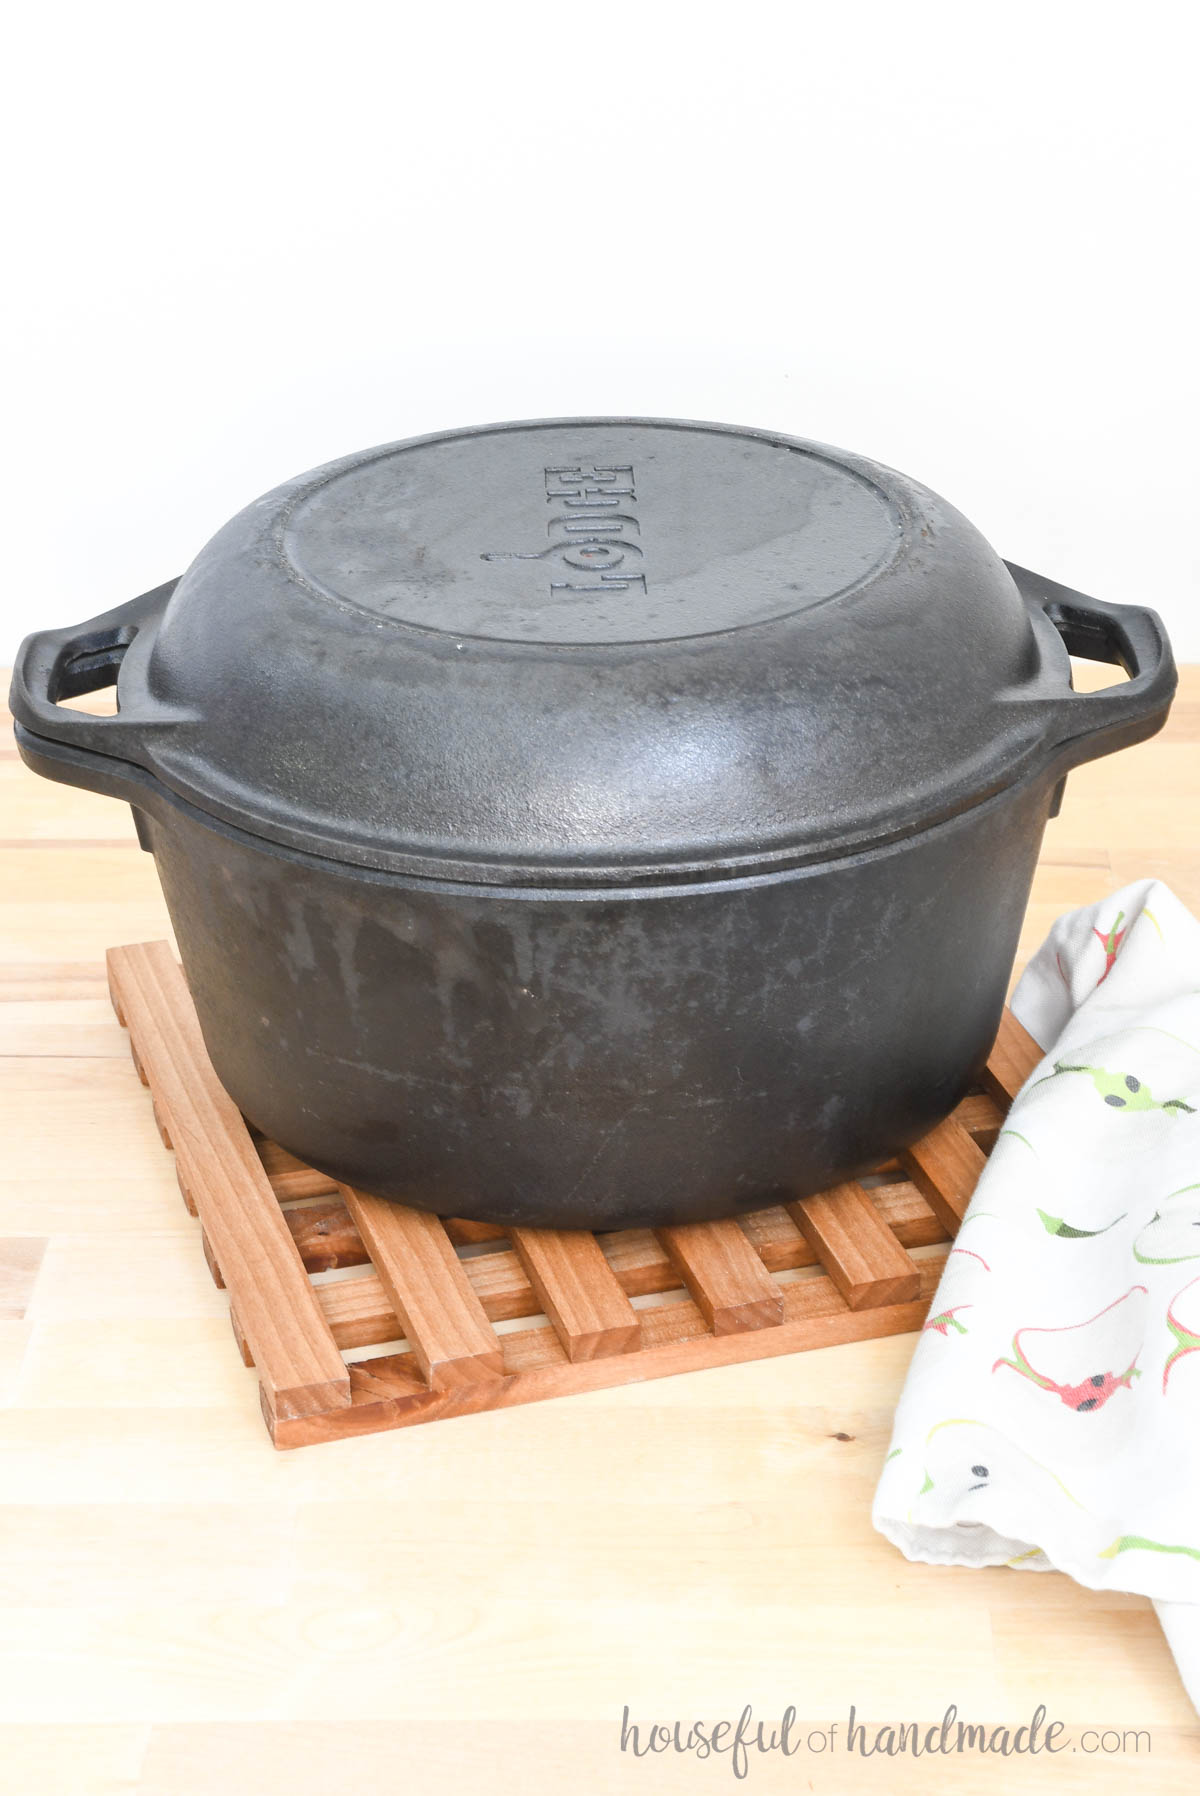
Scrap Wood Trivets
All three of these trivets were built completely from scraps and offcuts. The designs even make it easy to mix different wood species.
For the modern block trivet, I used a tiny scrap of maple as spacers and a odd shaped cut-off of white oak.
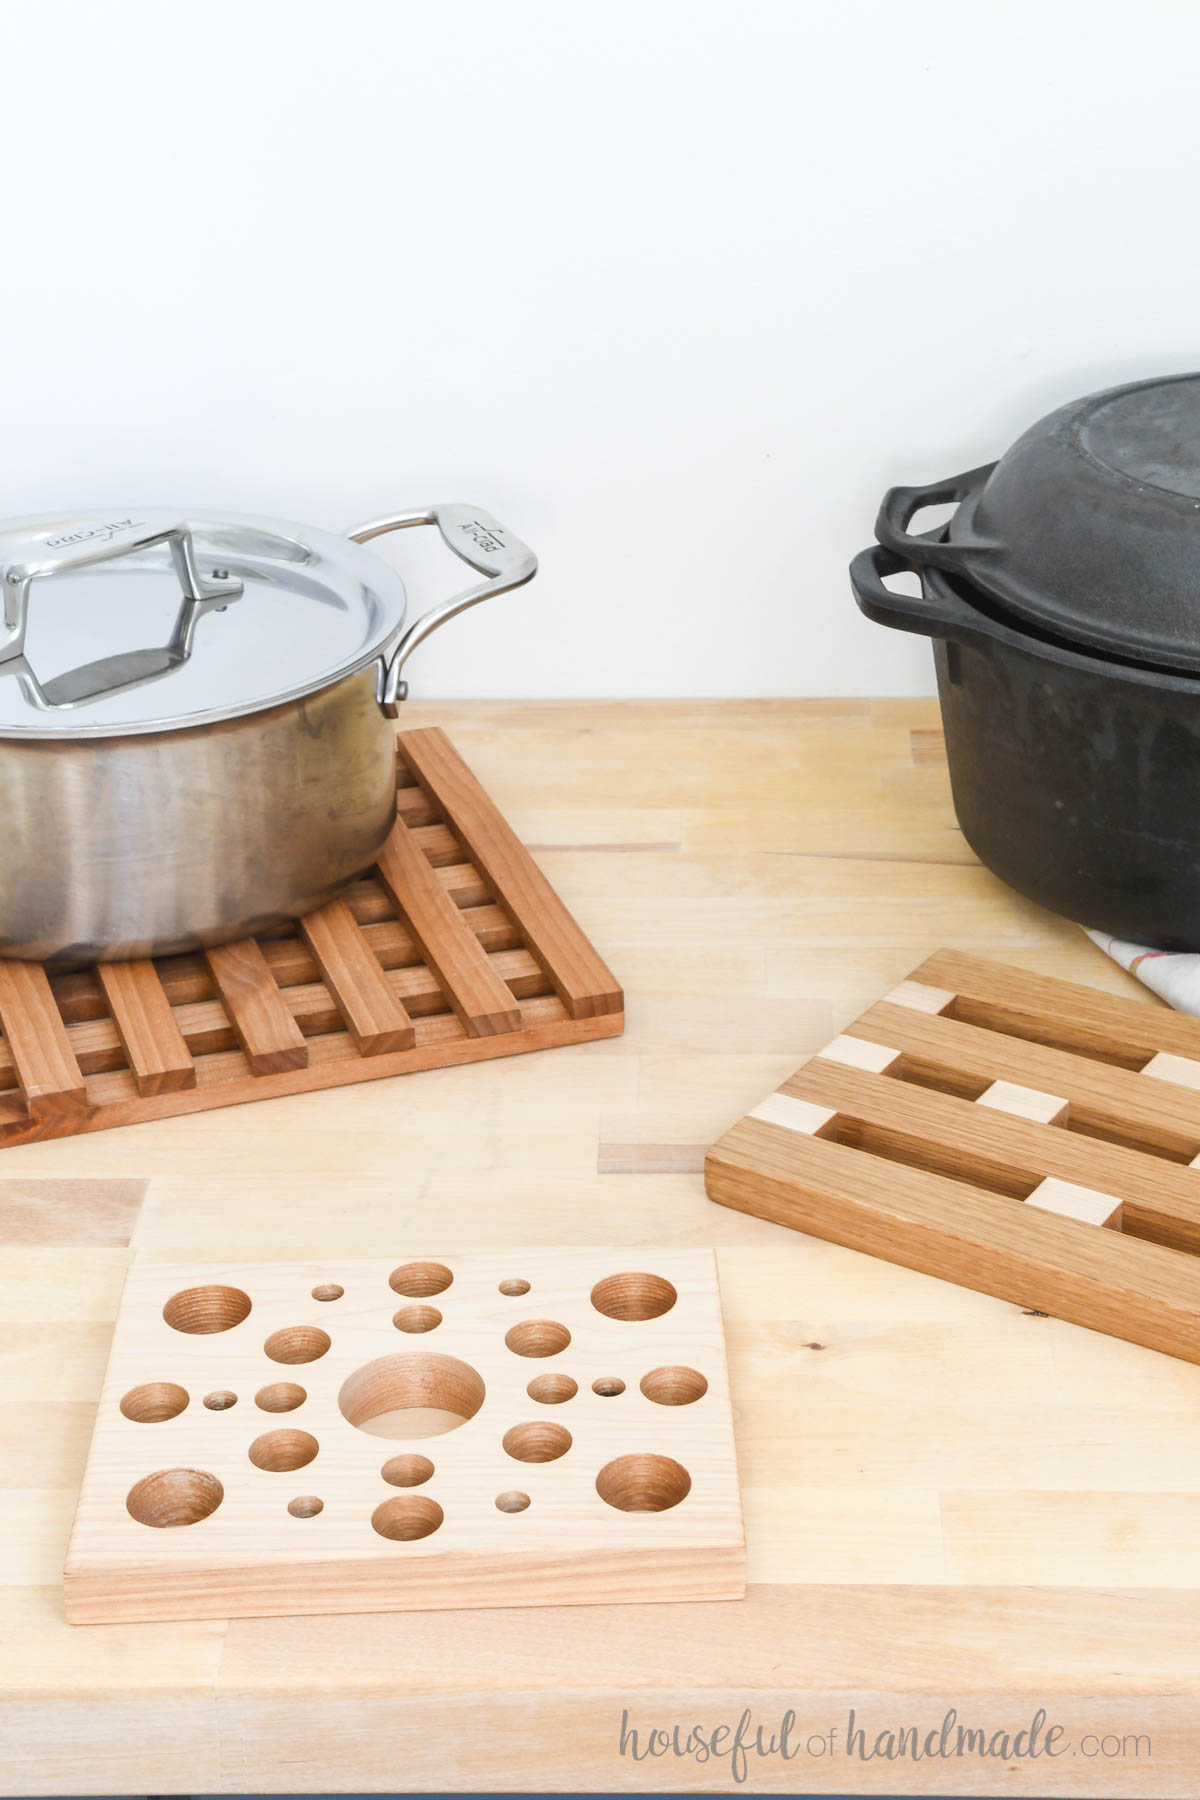
A lonely 7″ cut off of ash was perfect for the simple circles trivet. And two 10″ alder 1x3s were trimmed down to create the lattice.
These boards would have eventually ended up in the trash if not for a fun scrappy project like this.
Now they get to live on as something very useful and beautiful.
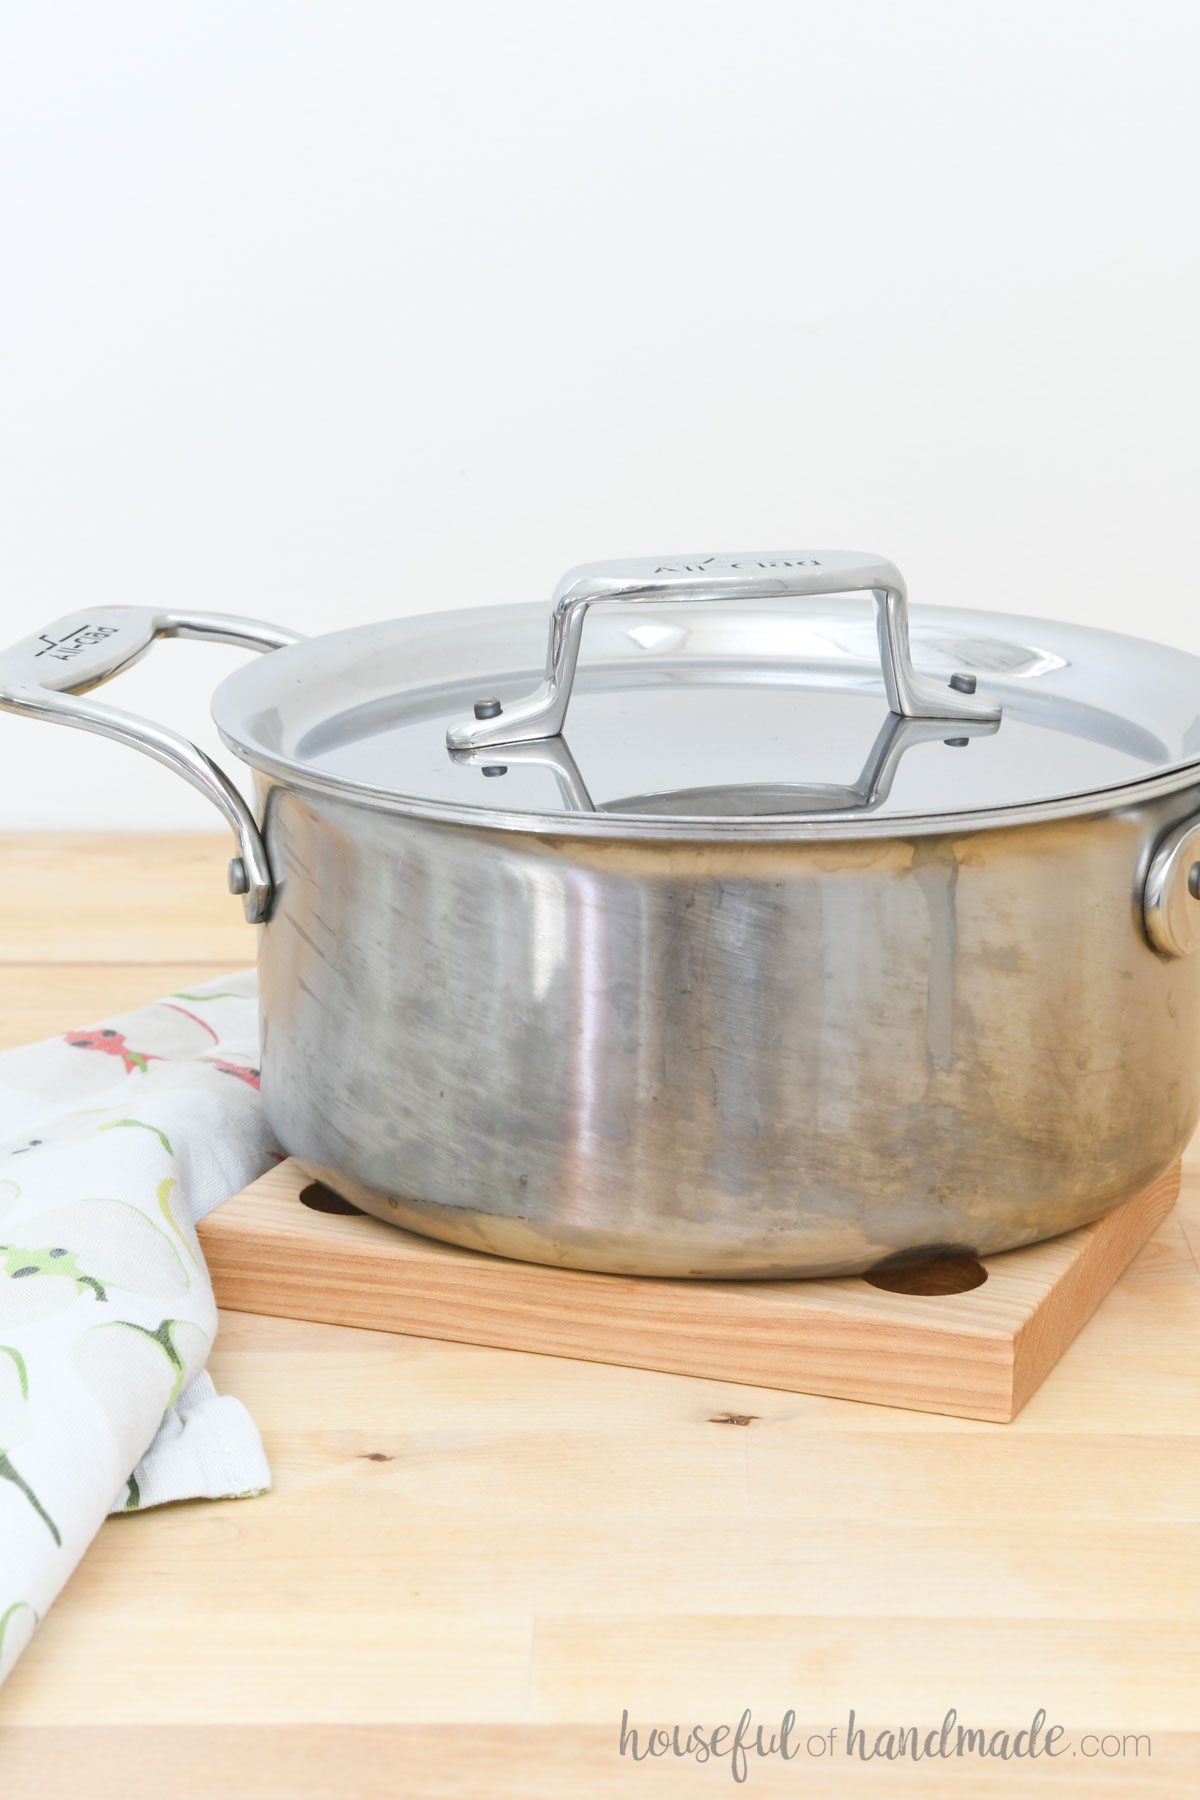
More DIY Gifts from Wood Scraps
Everyday this week I am sharing a new easy DIY gift you can build, along with my friends from WoodShop Diaries and Anika’s DIY Life (that’s 15 total ideas this week).
Nothing is better than creating something from scraps of wood, even better when you can use those little scraps to make the perfect present.
How to Build a Wood Trivets from Scraps
Tools & Materials
Recommended Tools:
- Miter saw
- I recently upgraded to this larger sliding miter saw (watch for it to go on sale), but all my projects before were built with this inexpensive miter saw that I loved.
- Drill press or Drill
- Square
- Multi-mark measuring tool
- Parallel clamps
- Sander
- Optional: Table saw
Supplies:
- Wood products
- Hardwood scraps
- Wood glue
- Super glue gel
- Food safe wood sealer
TRIVET NO. 1: Modern Blocks
STEP 1- Cut boards
Cut pieces of 1×1 or 1×2 board to the length you want you finished trivet. Mine were 8″ long.
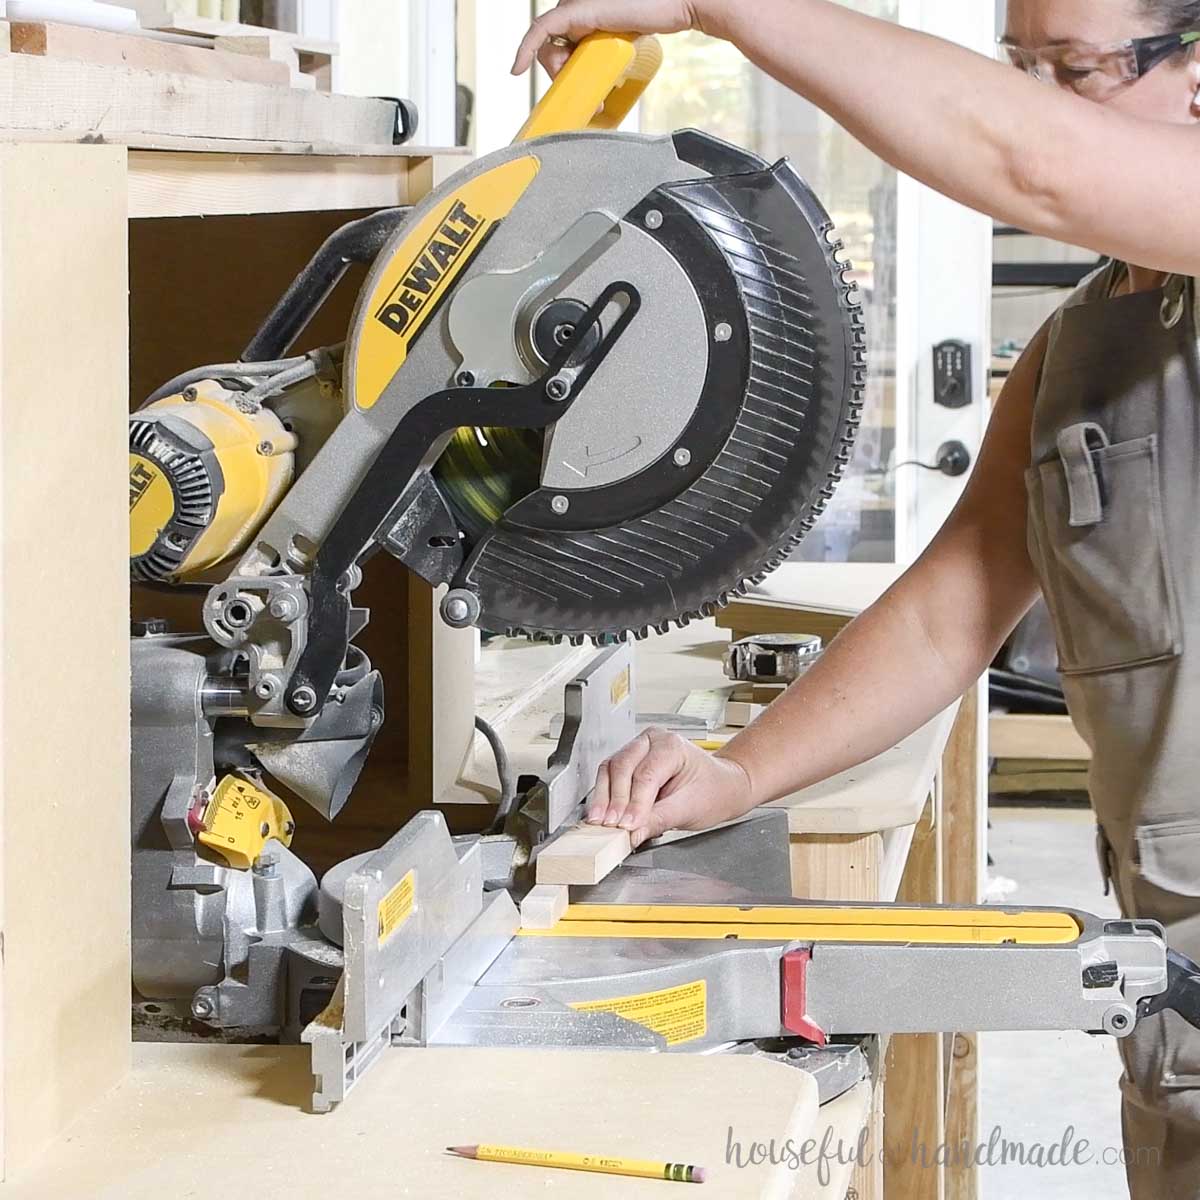
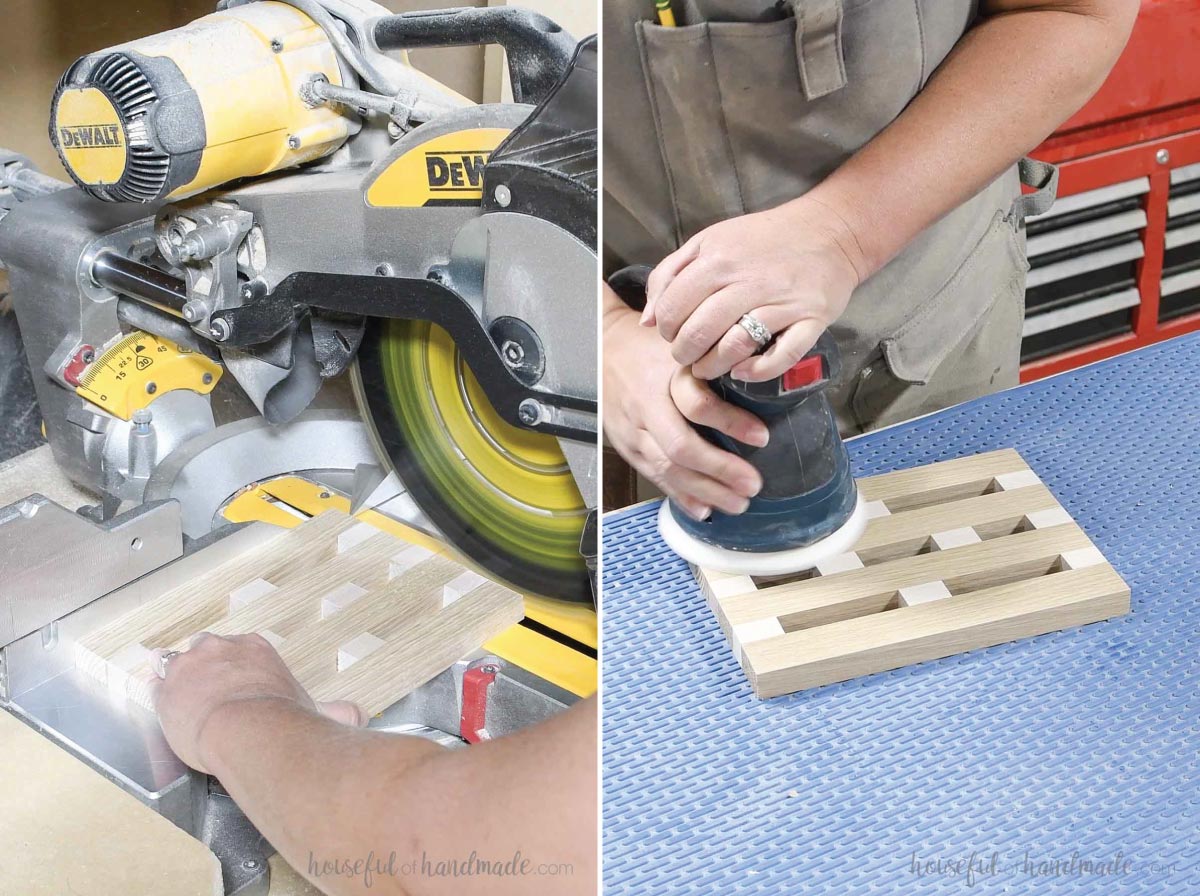
Then cut 1″ long spacers of a contrasting board to go between them. When cutting small scraps on my miter saw, I like to use another scrap to hold the piece so I can keep my fingers far from the blade.
The amount of boards needed will be determined by how wide you want your trivet and your design.
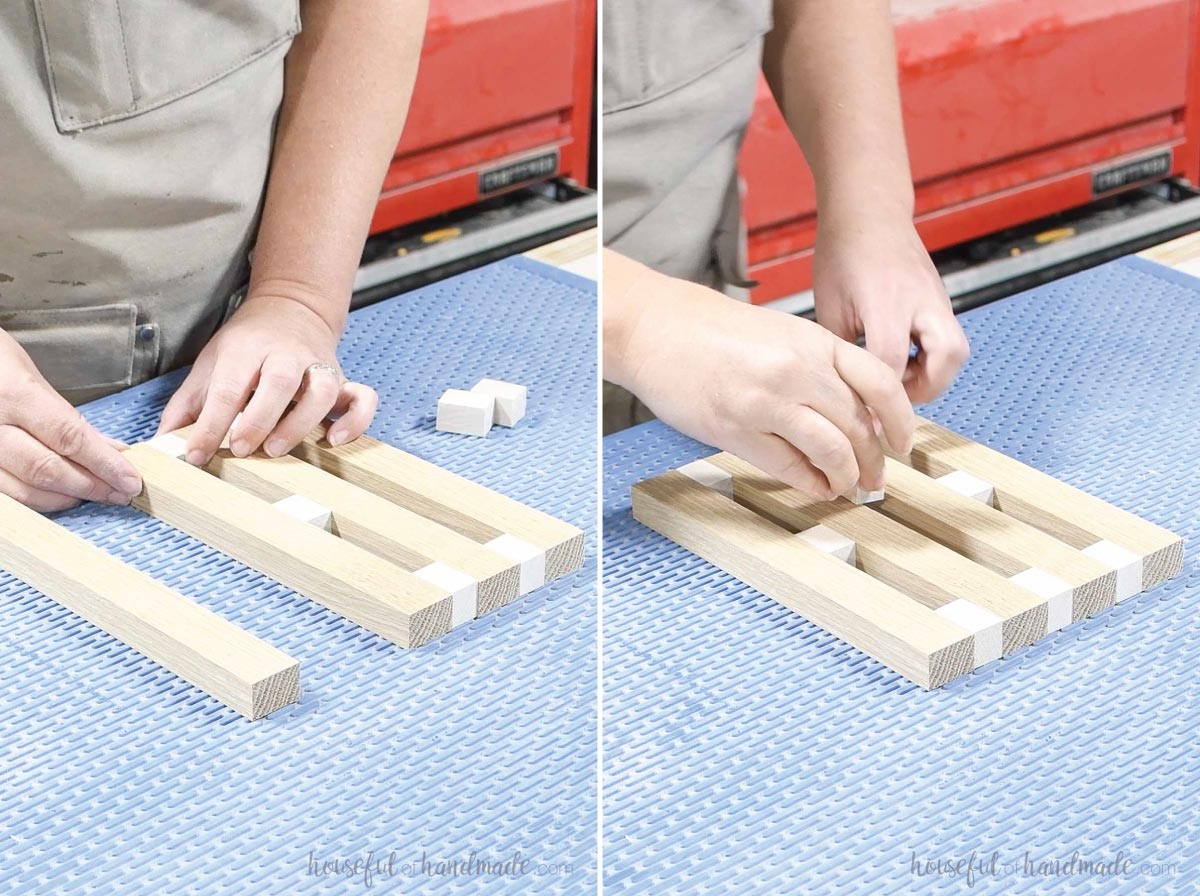
Lay out your pieces and plan out your design.
You will want to have a spacer at or really close to the ends of all the boards. Then space the remaining spacers out how you them in the middle.
Cut more spacers as needed until you have a design you like.
STEP 2- Glue together
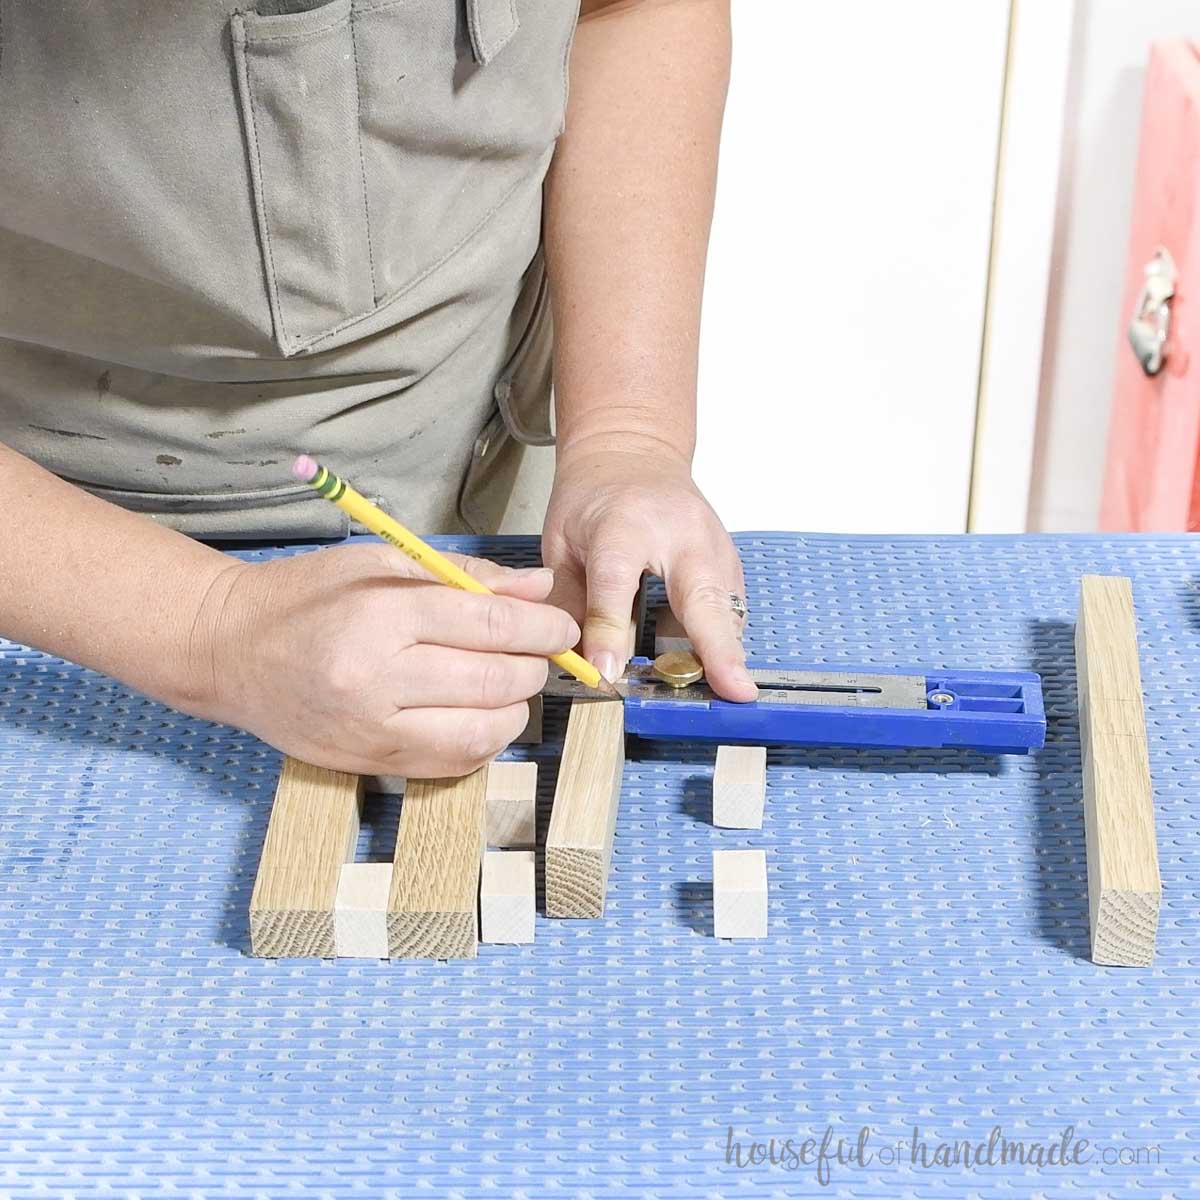
Draw lines on the edges of the long boards where you want your spacers glued.
Make sure to mark on both sides of each board in the center. And keep the boards in order so you can put the design back together easily.
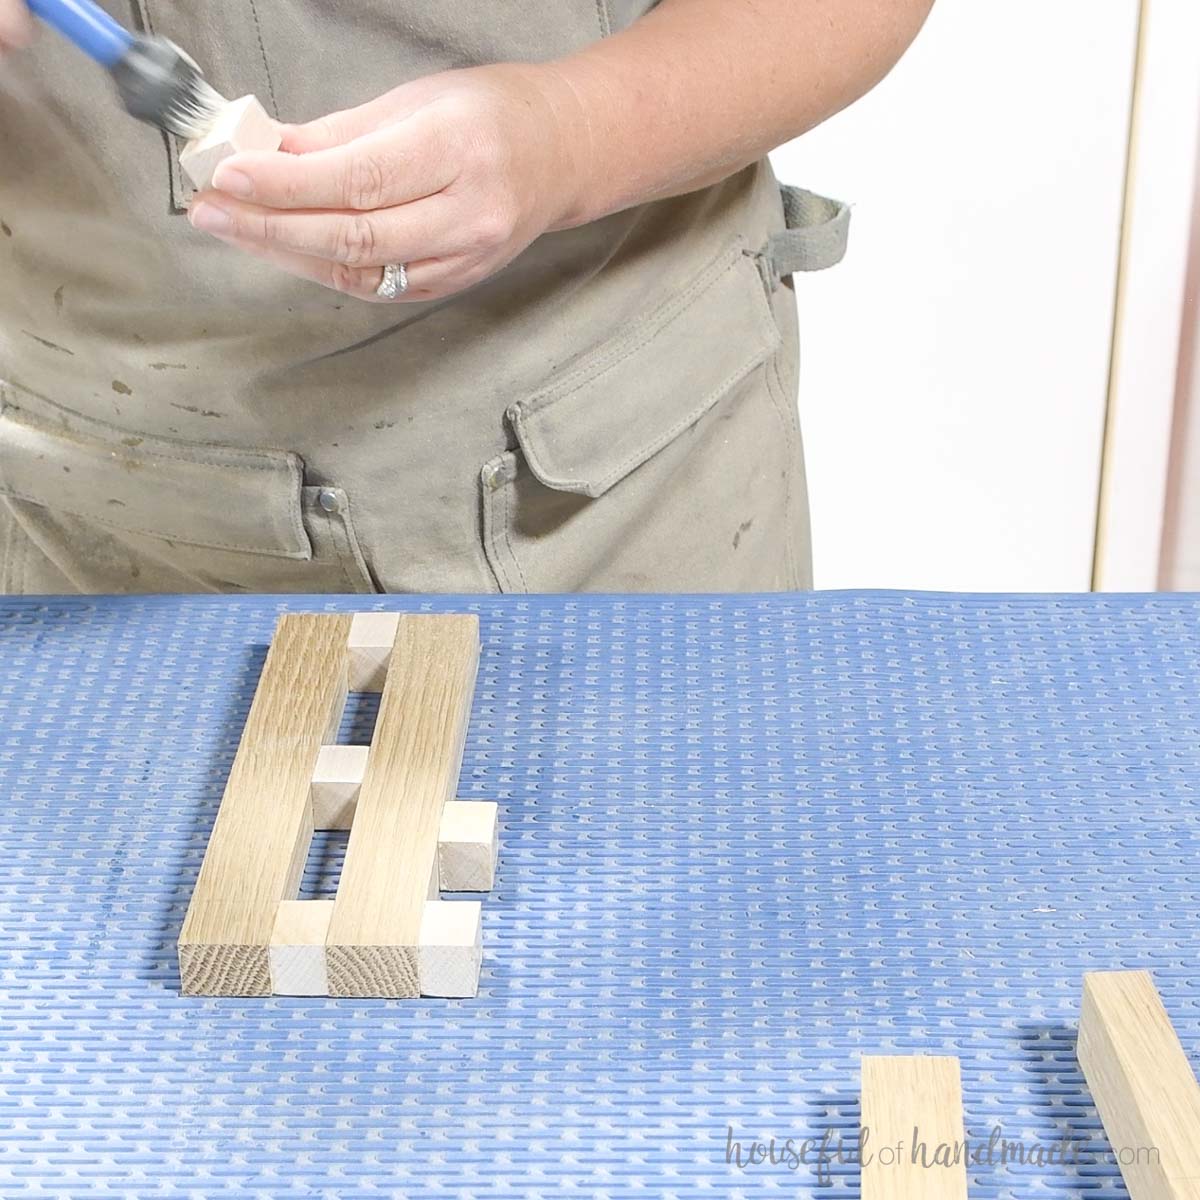
Add glue to both sides of the space boards.
Starting at one side, place the blocks between the marks then add the next long board. Continue all the way until the last board.
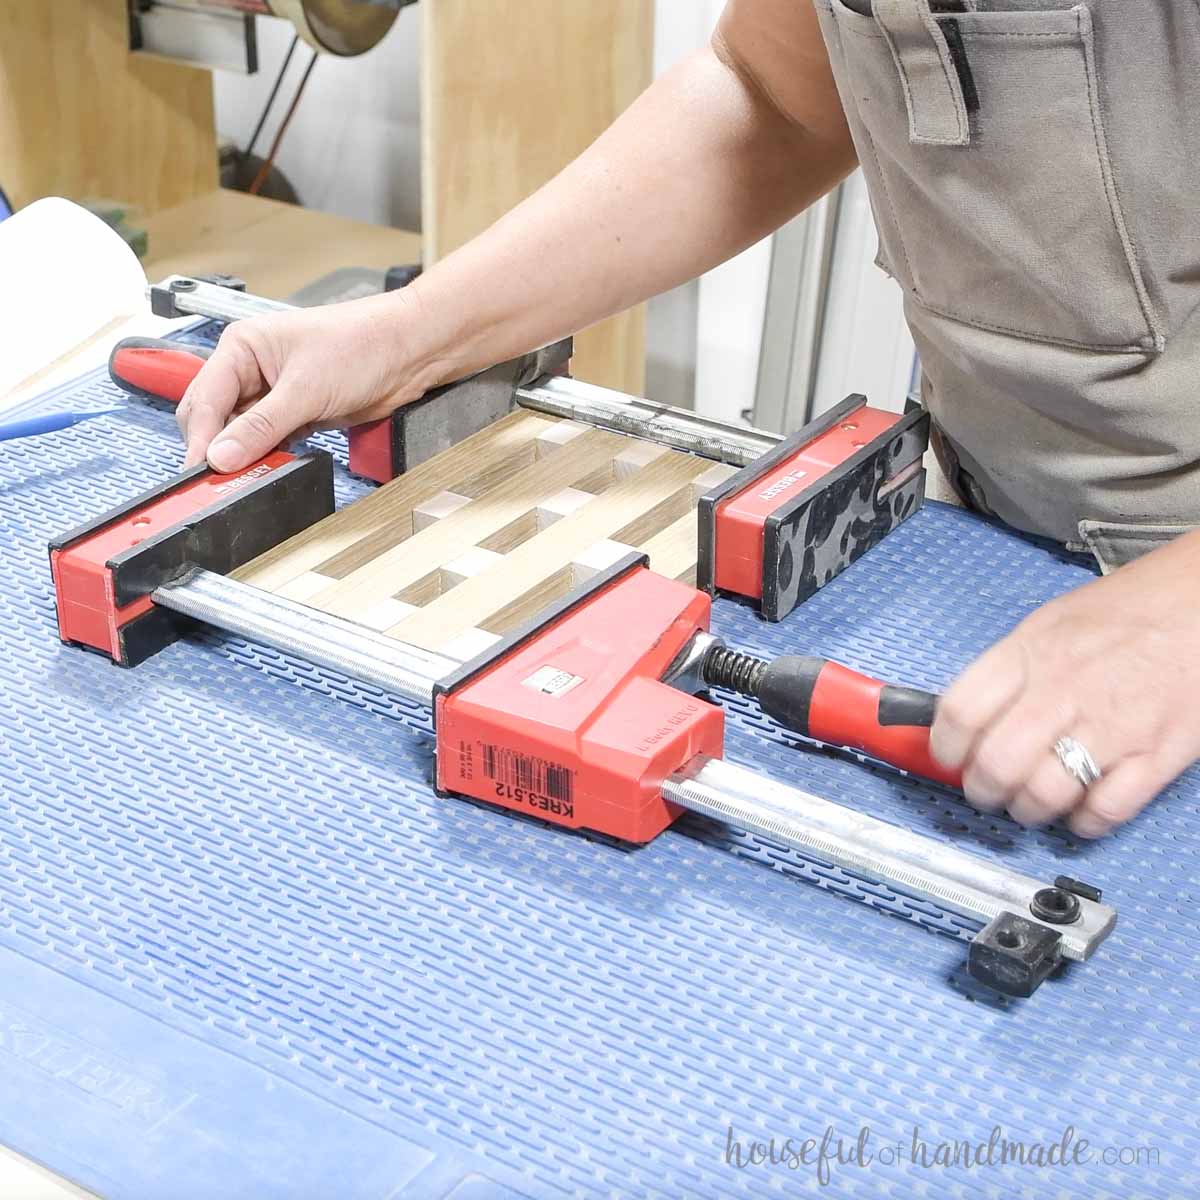
Carefully clamp the boards together.
Take it slow and try to keep all the pieces lined up as best as you can. Watch the top of the spacers to make sure they don’t sit proud.
STEP 3- Trim and sand
Once the glue is dry, remove the clamps.
If the edge of your trivet is not flush (which would be nearly impossible to achieve), trim the edge slightly to make it flush.
Then sand the top and bottom of the trivet until it is smooth.
If the boards are not super flush, use a coarse sandpaper to start then step it down until you get to 220 grit.
If you have a planer or jointer, you could use it to take a very small amount off the top and bottom to get all the boards flush but be very careful.
Only use this method if the grain of all your pieces is running the same direction or it will tear it up.
TRIVET NO. 2: Simple Circles
STEP 1- Plan your design
Cut a piece of hardwood the size you want your trivet. This is a great place to use up a pretty scrap you’ve been hanging onto.
I used a 5 1/2″ x 7″ ash board. It’ll be a good size trivet for saucepans and smaller casserole dishes.
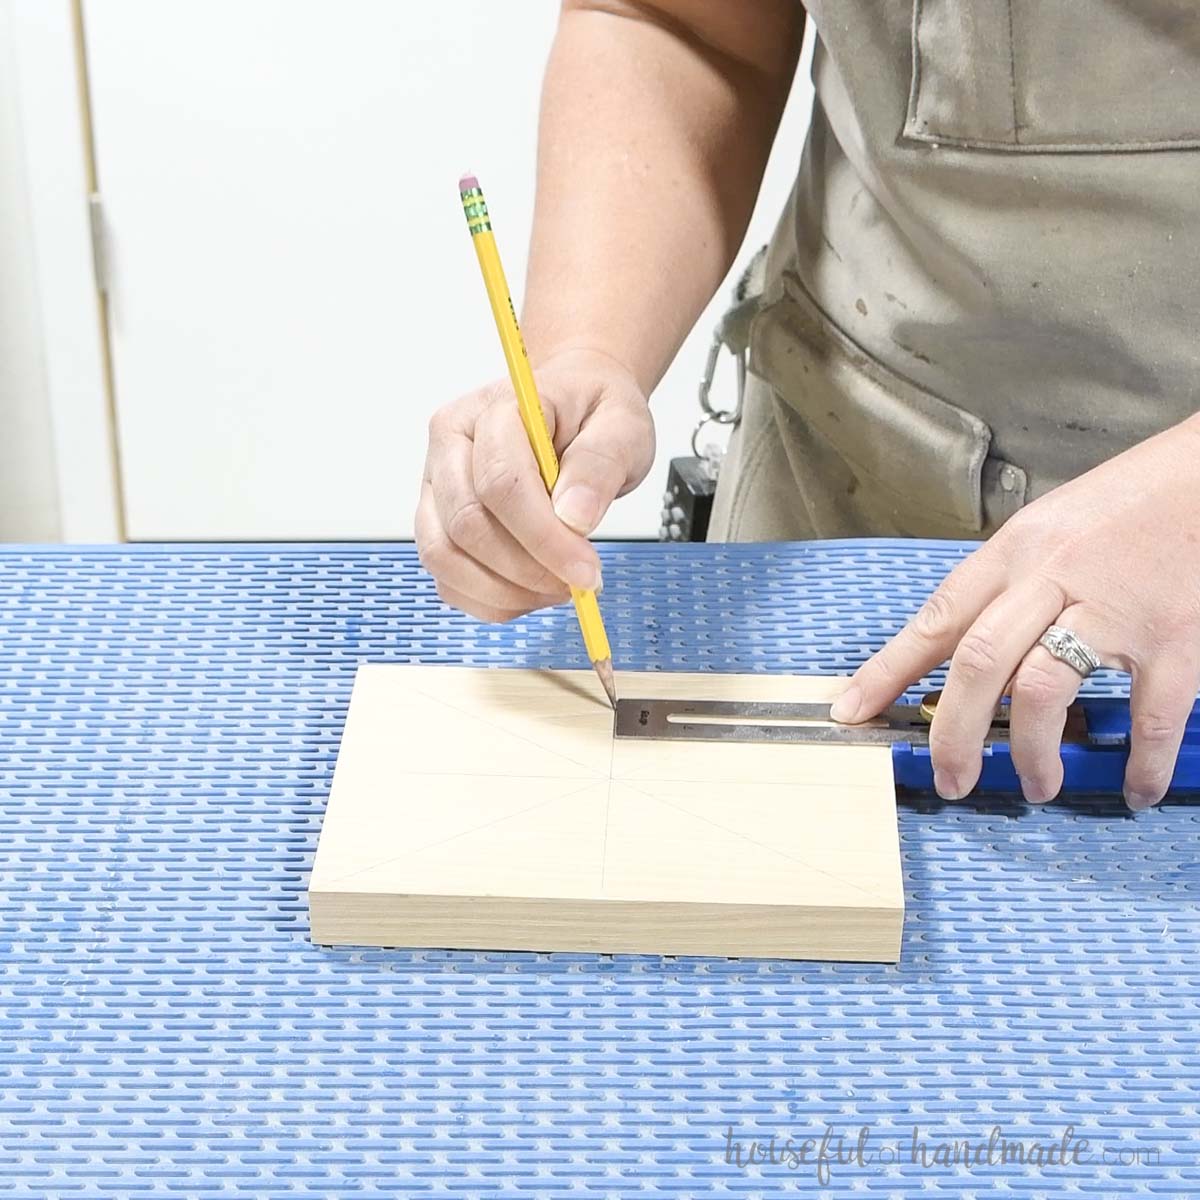
Draw some lines to divide up the piece and help you layout your design. I drew a line down the middle both ways and from corner to corner.
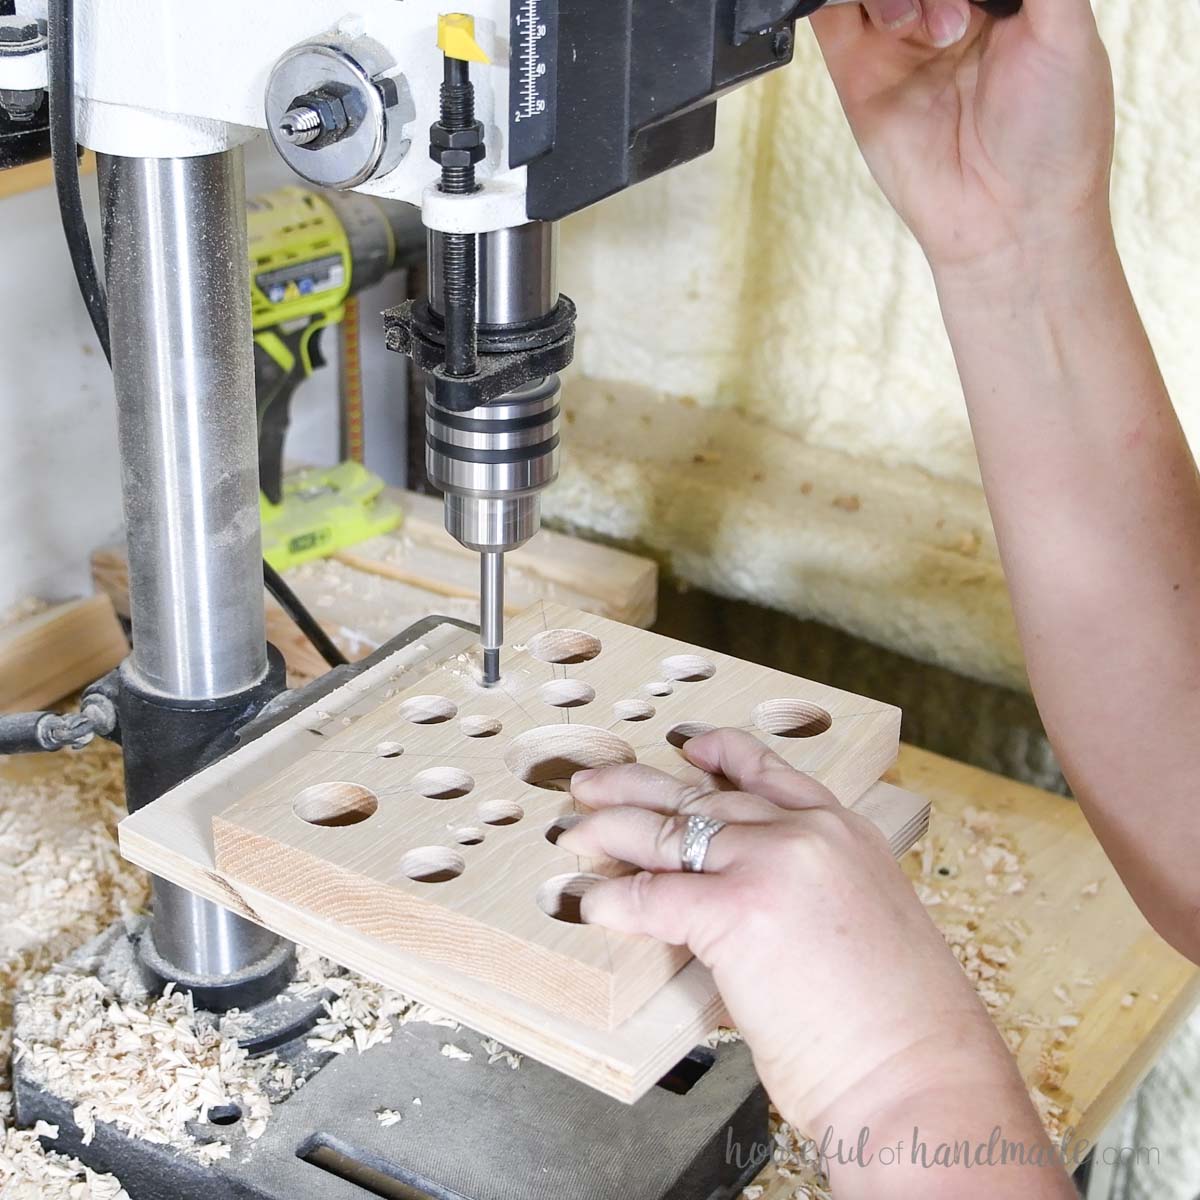
STEP 2- Drill holes
Now it’s time to drill some circles. Measure and mark off the lines you drew to keep things symmetrical if that is what you are going for.
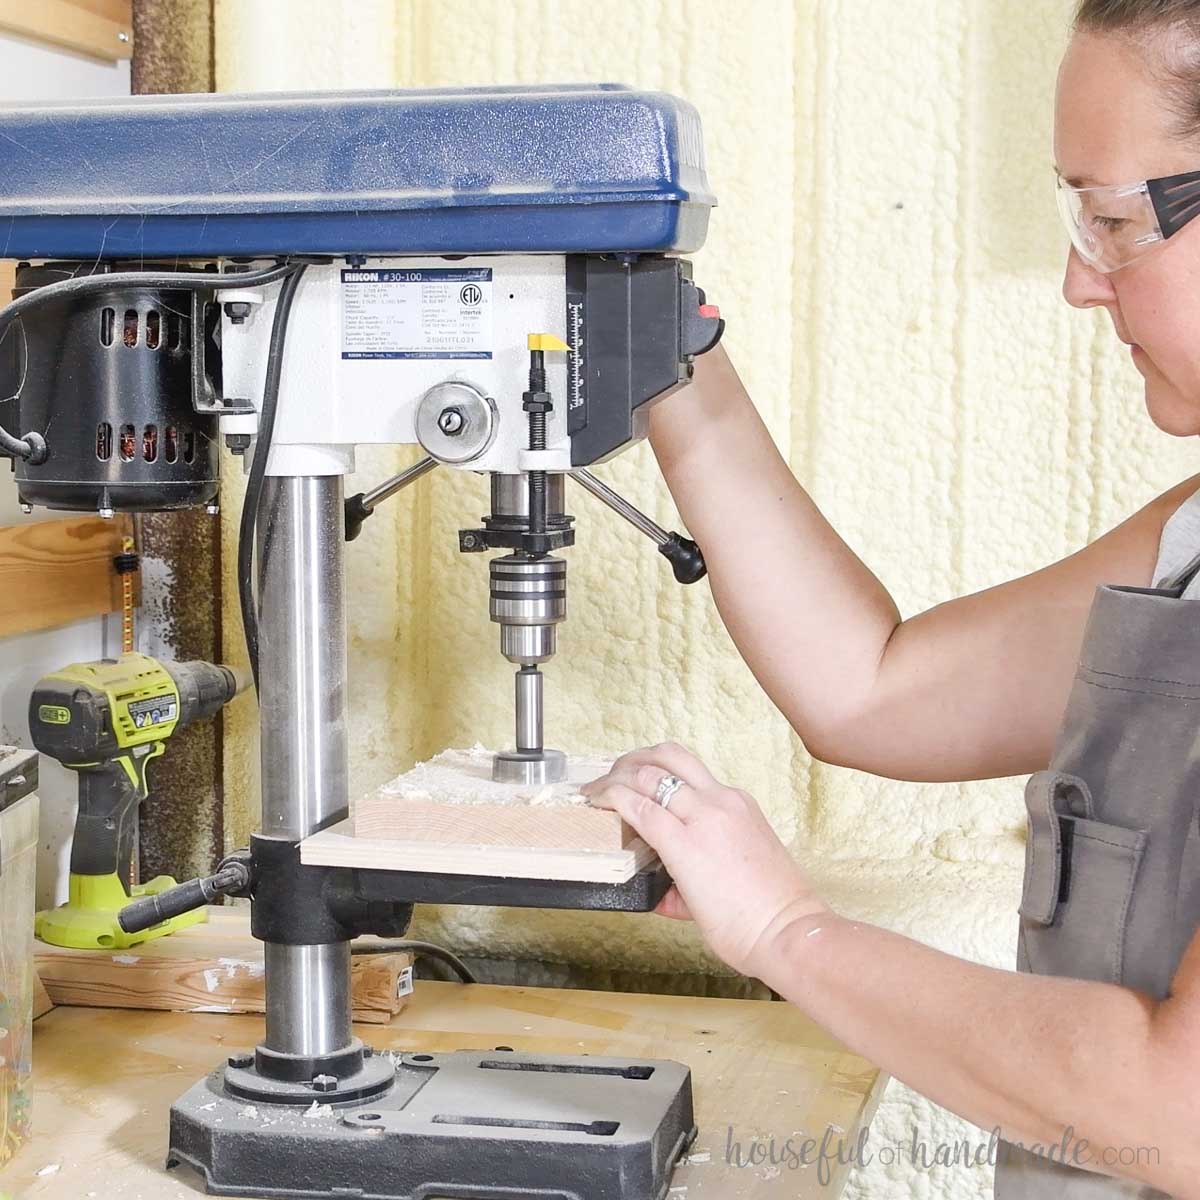
I started with a largest hole in the middle using a 1 1/2″ drill bit.
EXPERT TIP:
Place a scrap of wood under your board as you drill to prevent tear out when the bit breaks through the back of the board.
Next I added some smaller circles in the four corners of the board.
I measured and marked the center of my hole along the drawn on lines. Then used a 1″ drill bit to create the holes.
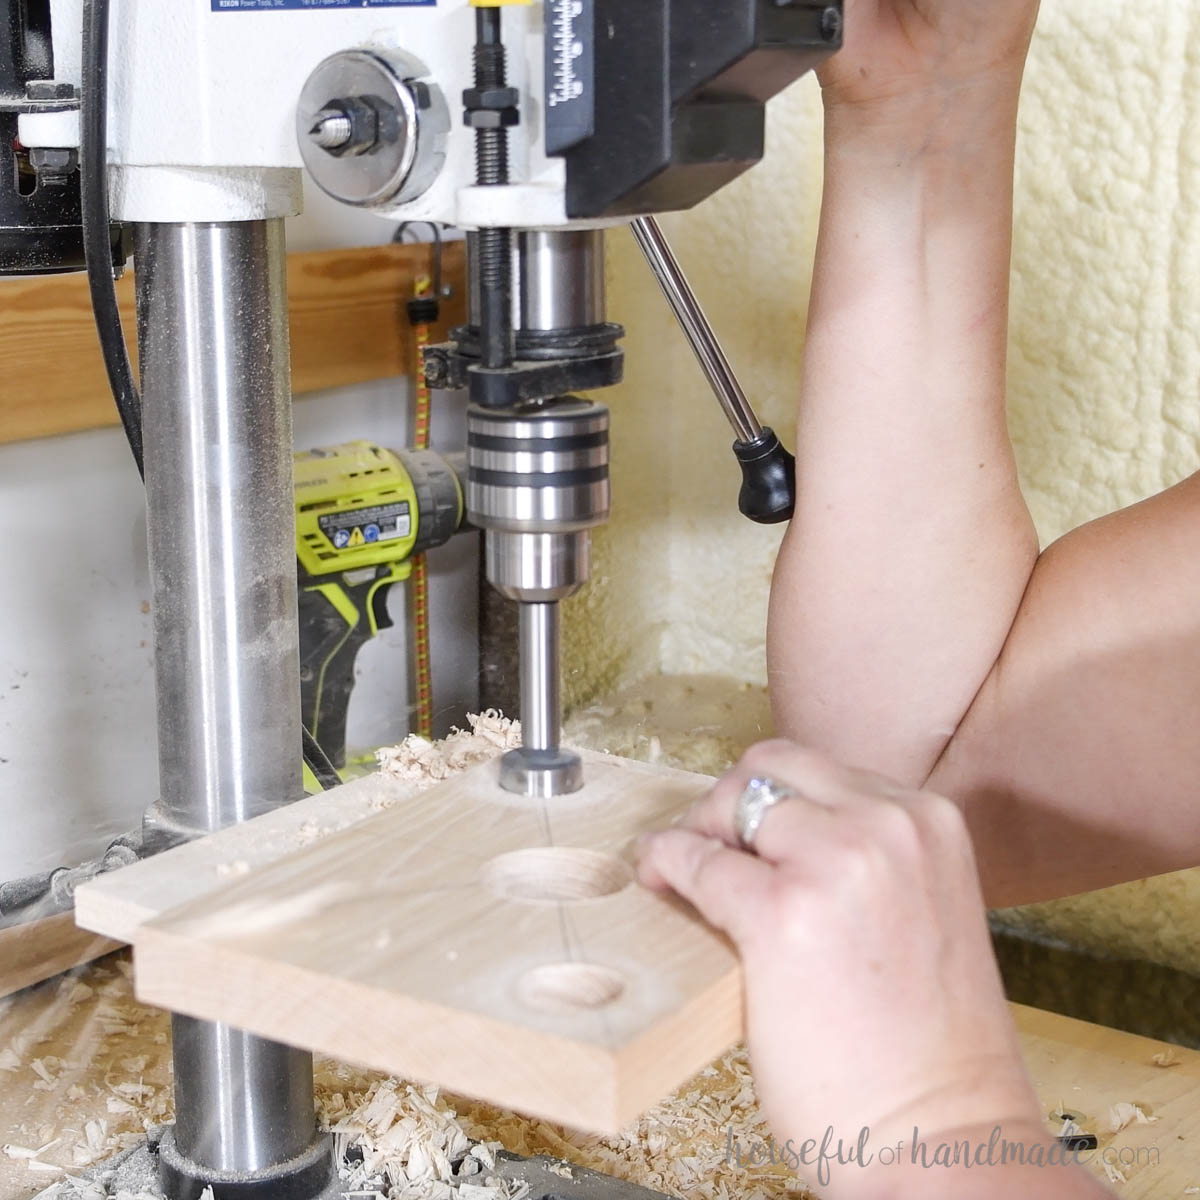
I stepped down in size again and added holes on the middle lines of the design.
Then finished it off with tiny holes throughout until I was happy with the look.
I gave the entire thing a nice sanding so it was smooth, I even rounded the edges of the board slightly.
TRIVET NO. 3: Lattice
STEP 1- Cut strips
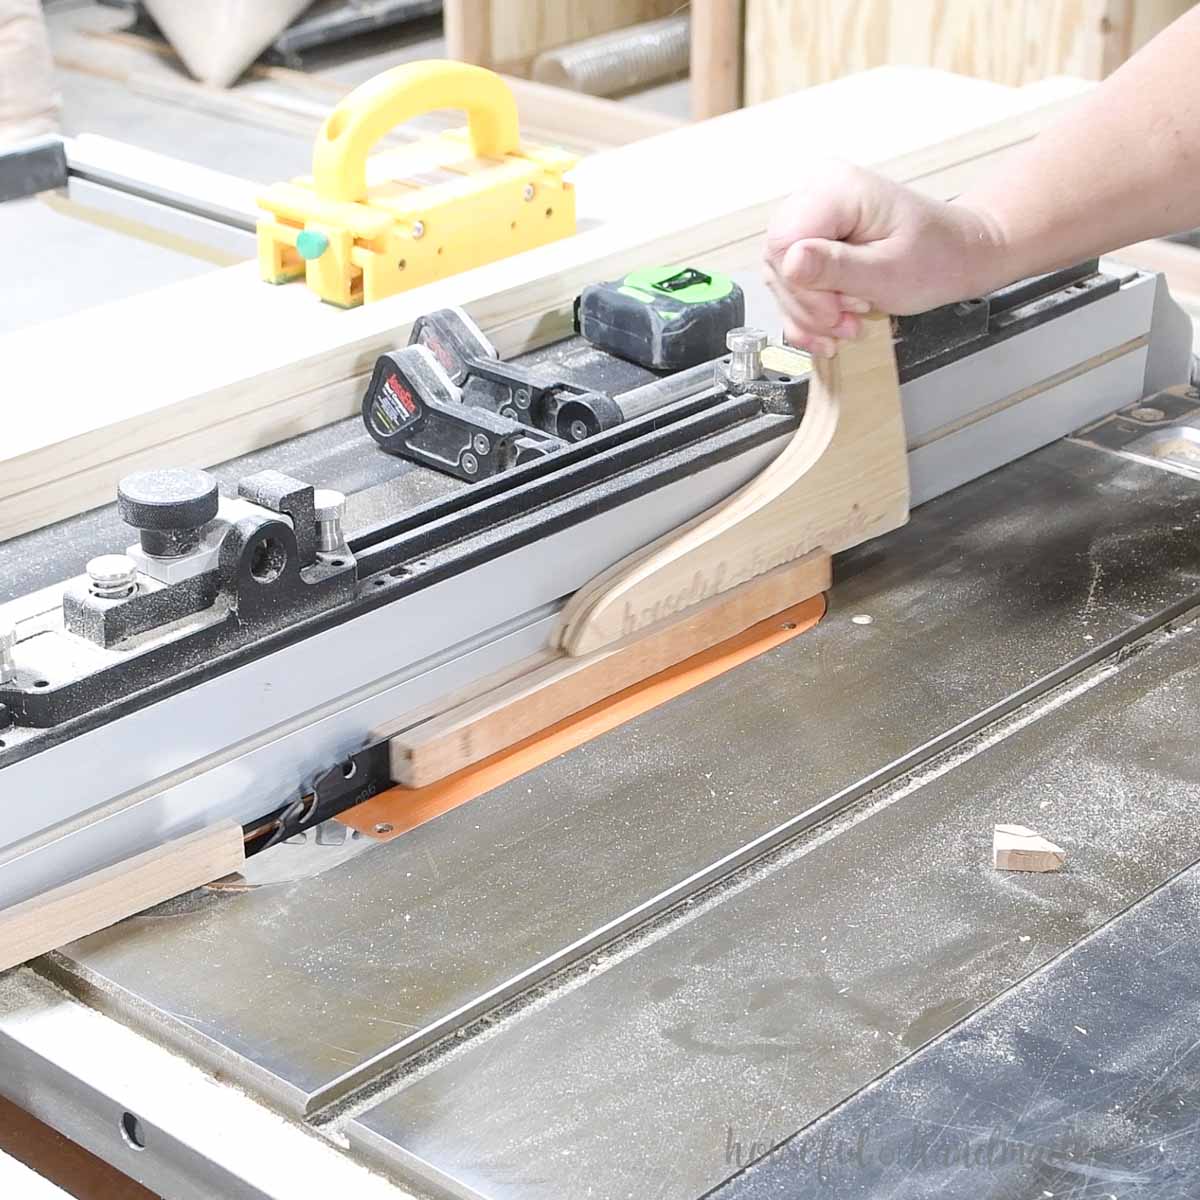
The lattice is made up of a bunch of 1/4″ to 3/8″ thick boards.
You can buy thin project boards at some hardware stores. But if you have a table saw, you can quickly cut thin strips from a scrap board instead (and for cheaper).
The length of your boards should be equal to the width of your board multiplied by an odd number. The odd number will determine the amount of boards needed. Divide it by 2, then round up.
My boards were 3/4″ wide and I multiplied that by 13 to get 9 3/4″ long. This leaves me with 7 boards each direction (13/2 = 6.5).
STEP 2- Glue top edges
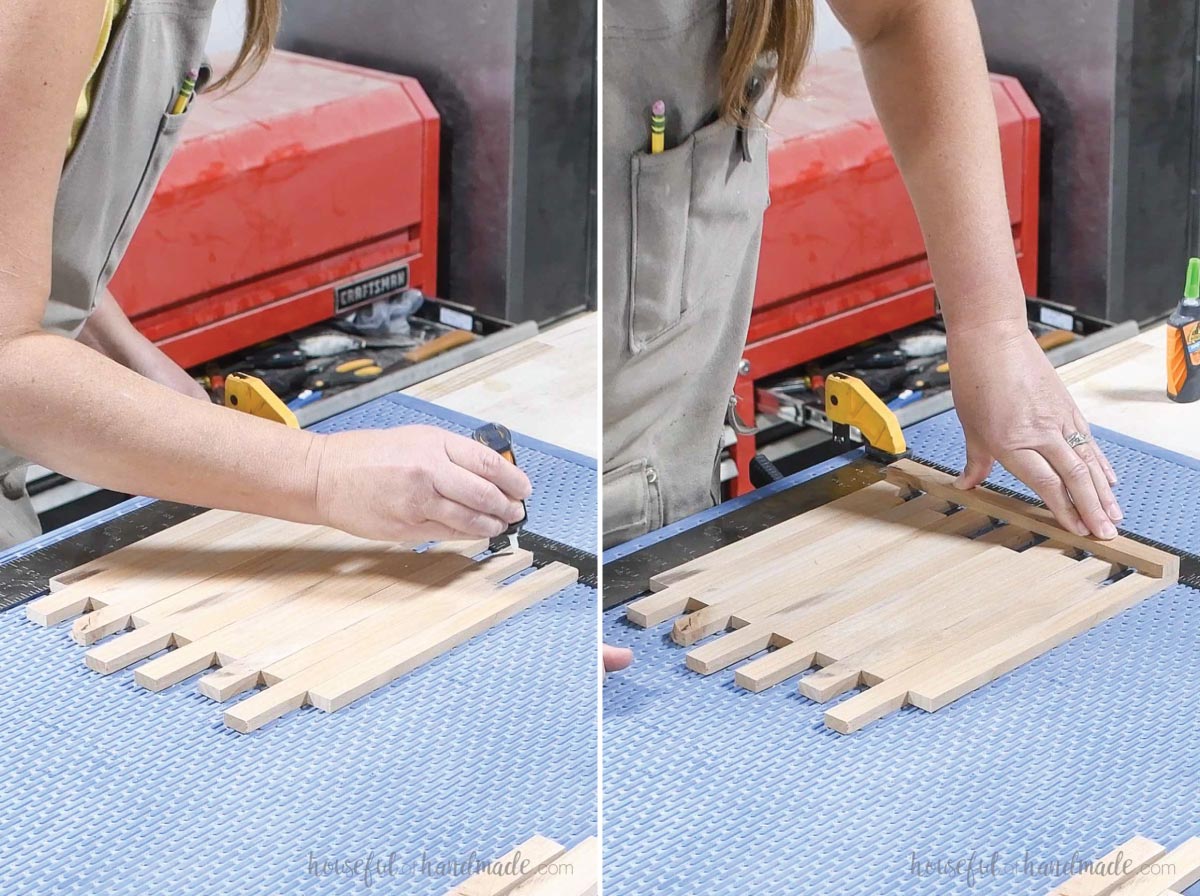
Once all the boards are cut to length, I laid out 13 of them in a line. I offset every other board, but not the first and last one.
EXPERT TIP:
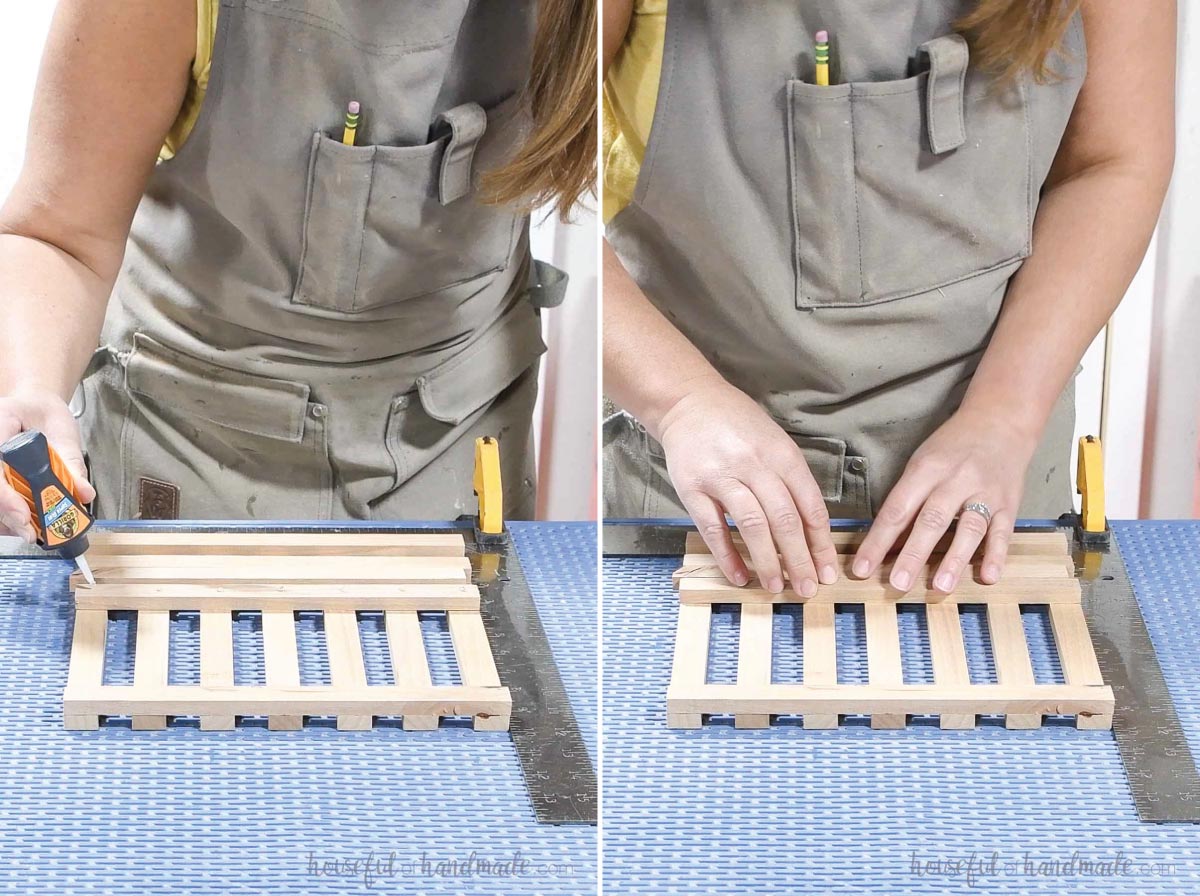
Line up the boards inside a square to ensure the trivet stays square while glueing it together.
Then I added a drop of super glue gel to all the boards on the far end and placed another board on top. Hold till the glue sticks.
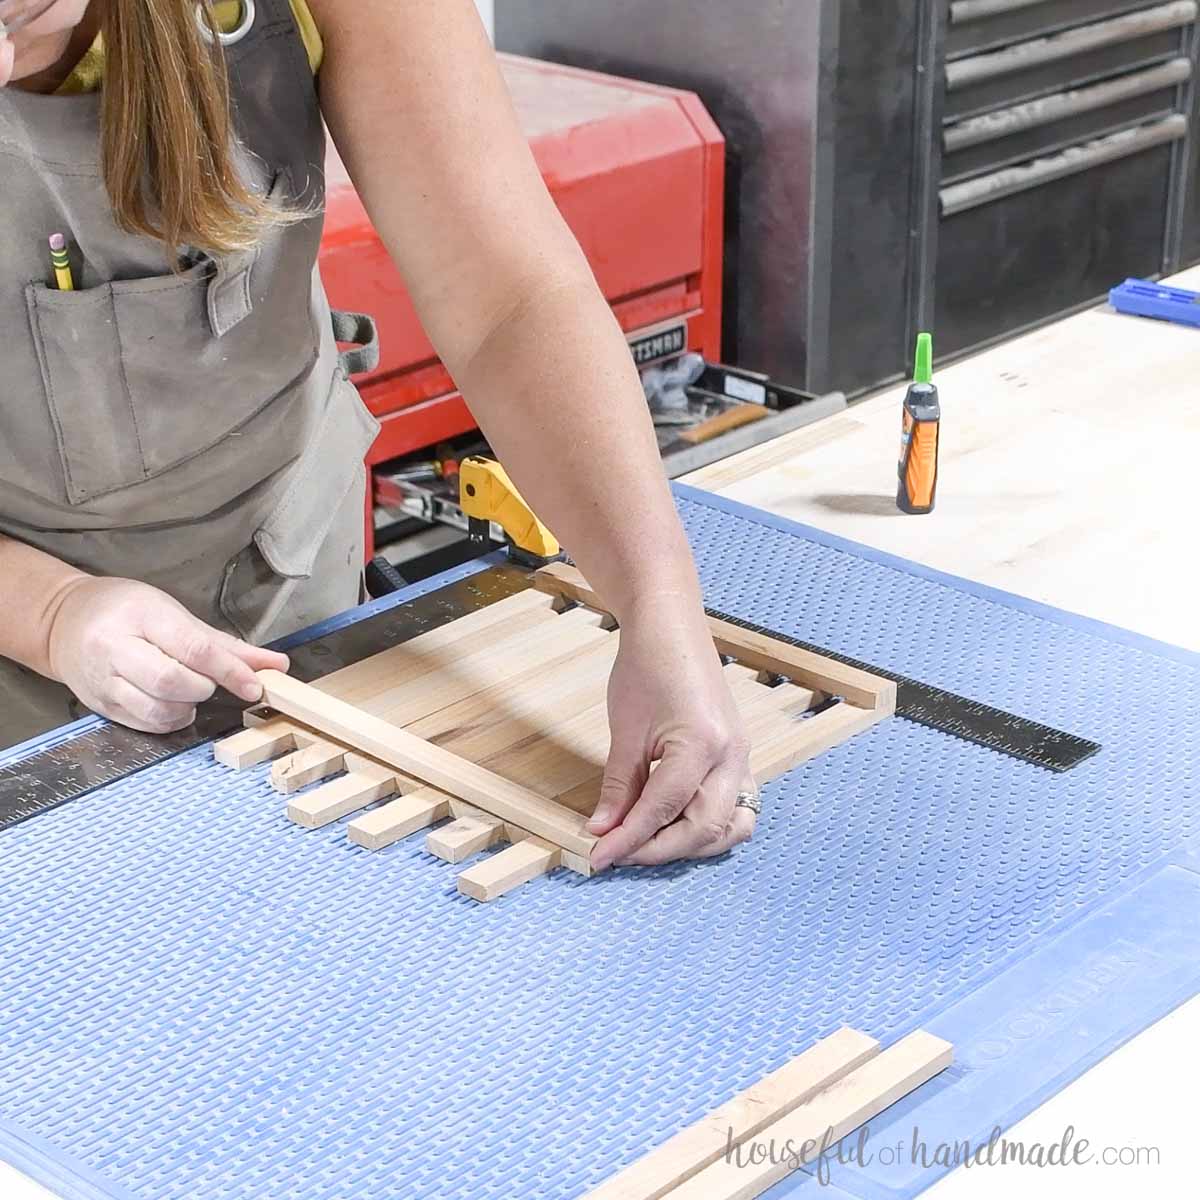
Then, before moving the spacer boards, I glued the board to the other side.
Make sure you only put the glue on the first/last and every other board in between, not the spacers. They will be the same boards glued to the other side.
STEP 3- Glue the remaining boards
Once both ends of the top boards were secure, it was time to fill it in to create the lattice.
I used an extra board as a spacer and then glued a board next to it. I repeated all the way to the other side until all pieces were attached.
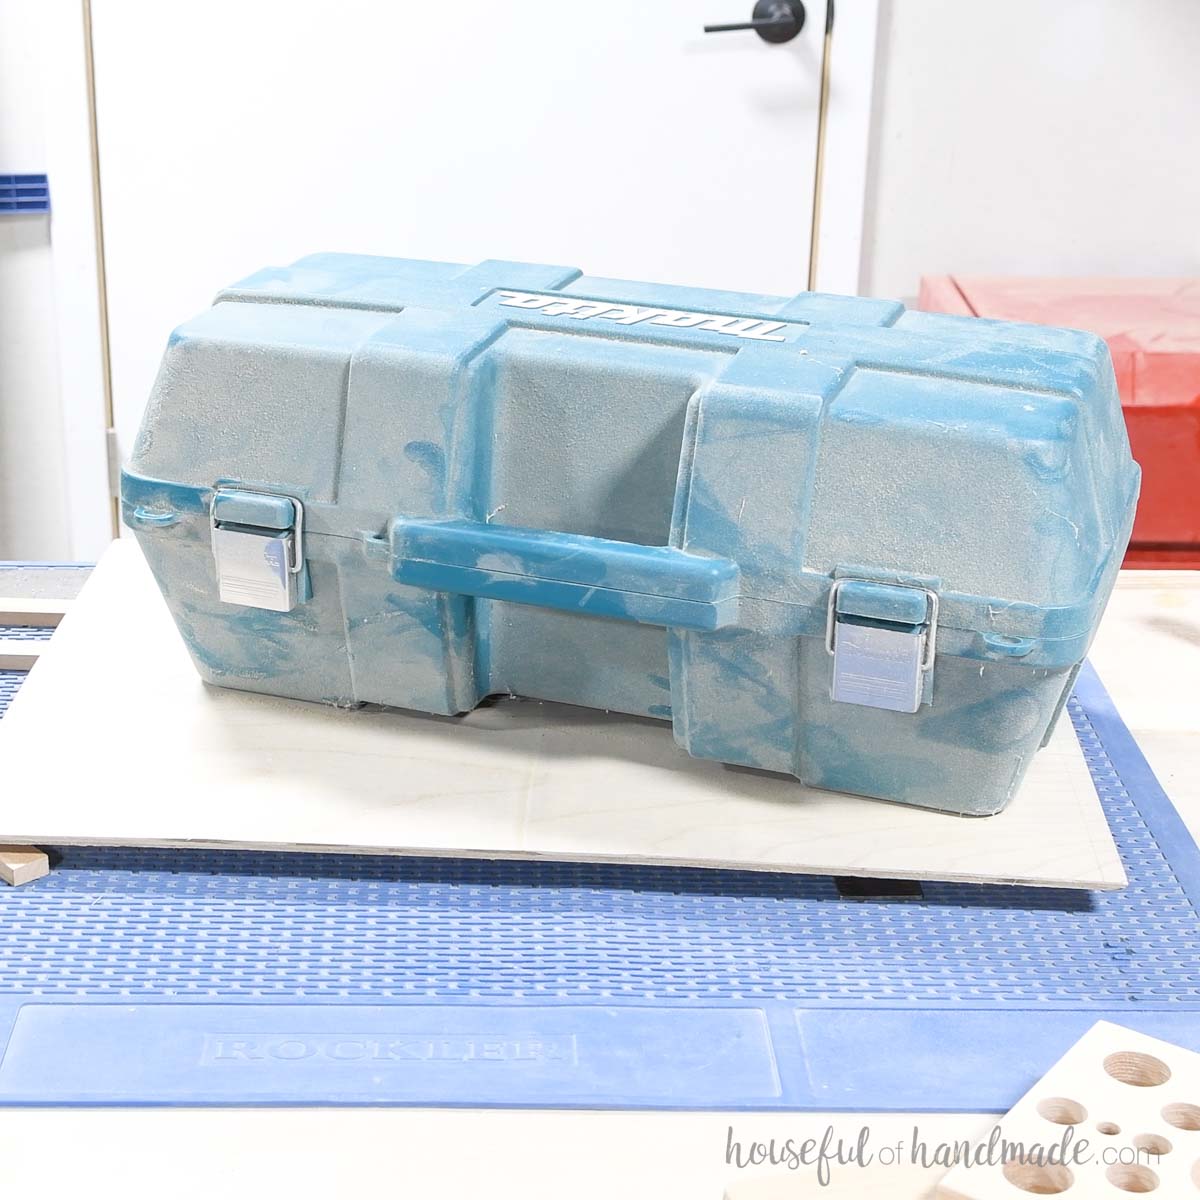
Then I placed a scrap of plywood and a heavy tool on top for 24 hours to let the glue fully cure.
Then i sanded off any visible and glue and made sure the finished trivet was nice and smooth.
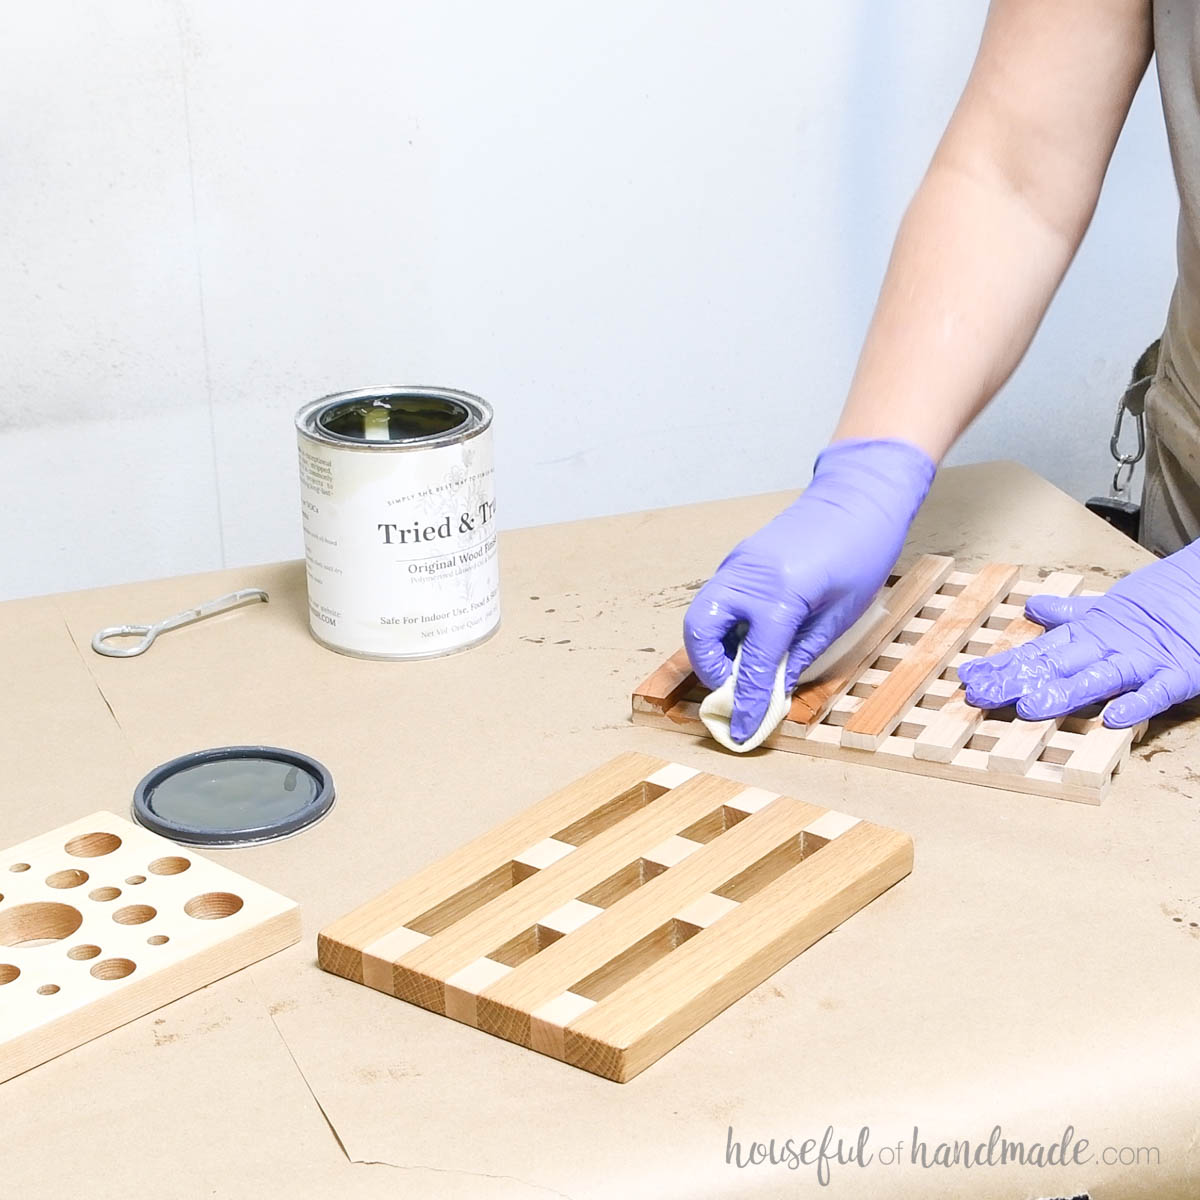
And once all 3 of my wood trivets were finished, I sealed them using a food safe oil.
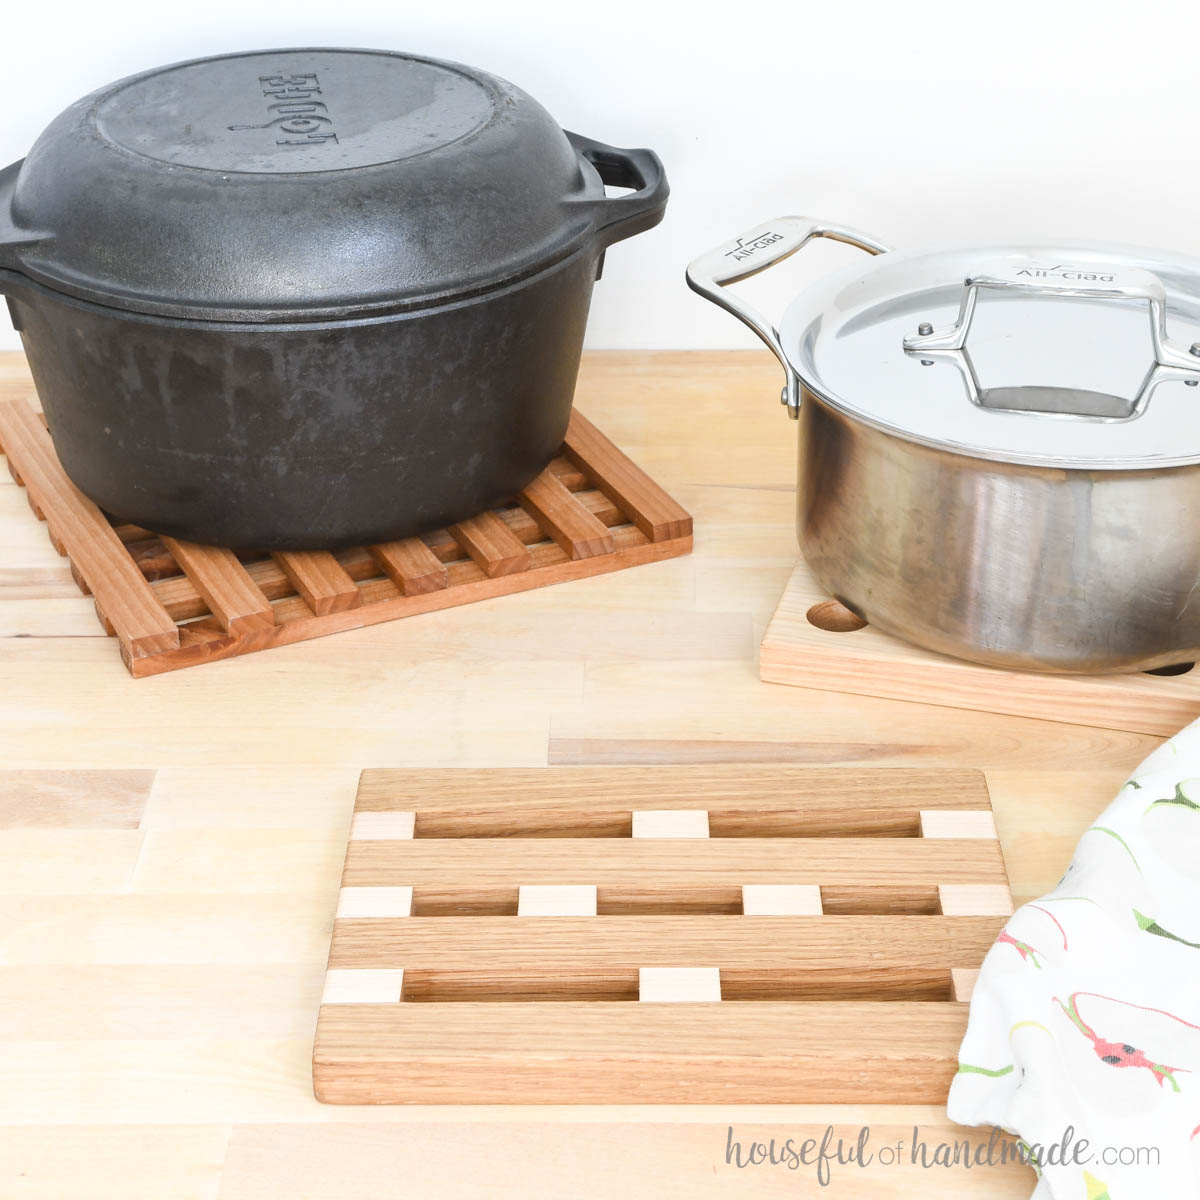
And they are all done!
Have fun making them your own. Then enjoy how they protect your countertops and table!
Happy building!


