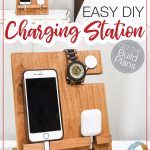
Today is Day 2 of easy to make DIY gifts! In case you missed it, this week I am partnering with Kreg Tools to share 3 easy DIY wood gifts you can make in just an hour!
I have already shared a DIY sliding letter board and today is this cool nightstand valet.
You may want to go ahead and make at least two, you’ll probably want to keep the first one!
This post may contain affiliate links. As an Amazon Associate I earn from qualifying purchases. Click here to read my full disclosure policy.
What is a Nightstand Valet?
A valet is a way to collect all the things that you carry on you.
Just think of all the things you empty on your nightstand at the end of the day. The wood valet is there to keep them from being a mess.
If someone you know (*wink wink* your husband) has a pile of cords on their bedside, they need a valet.
Instead of cords getting tangled trying to charge all the things on their nightstand, they will be out of the way and organized. And it looks much prettier.
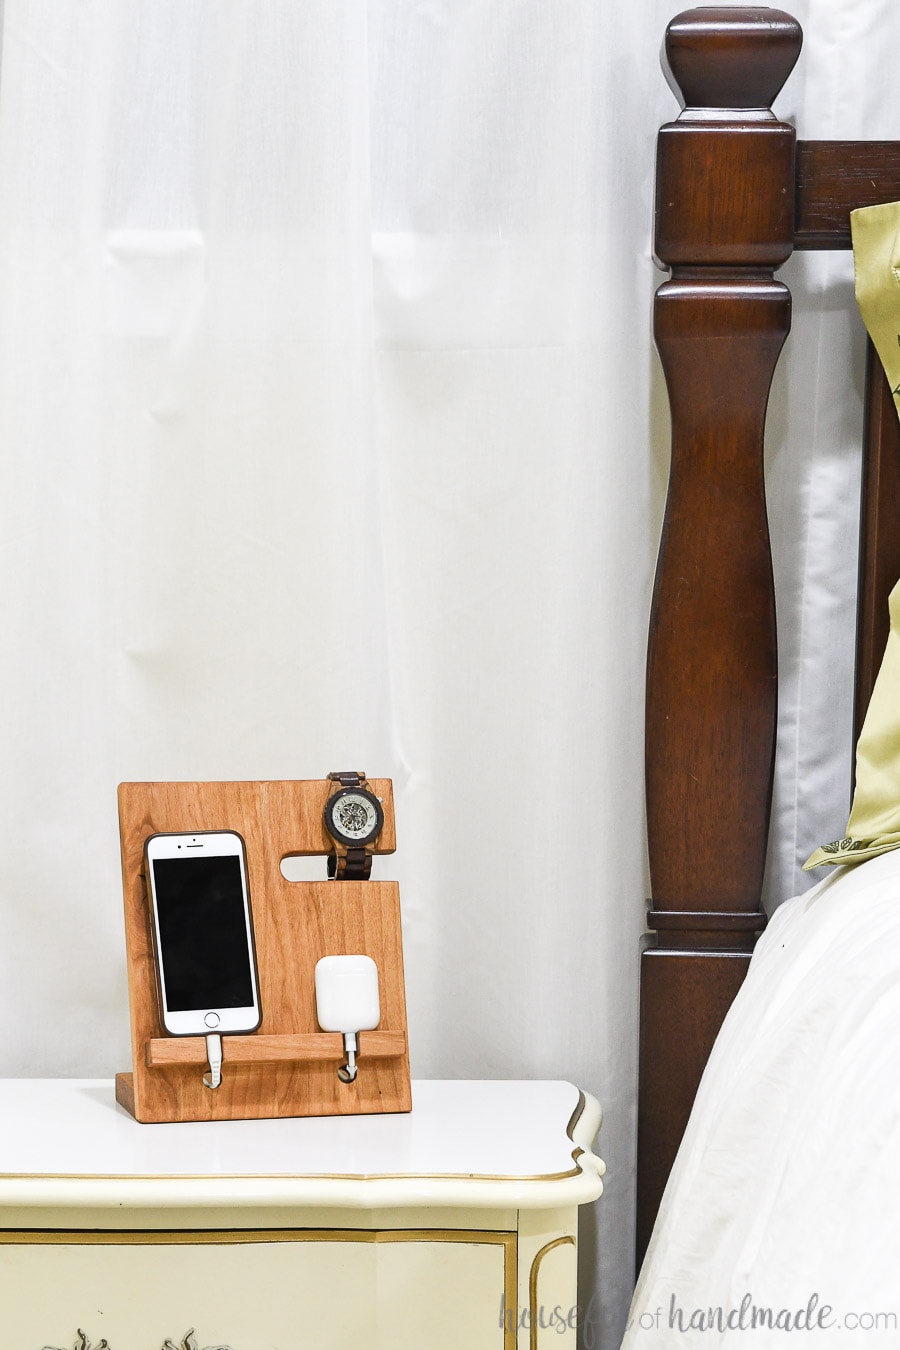
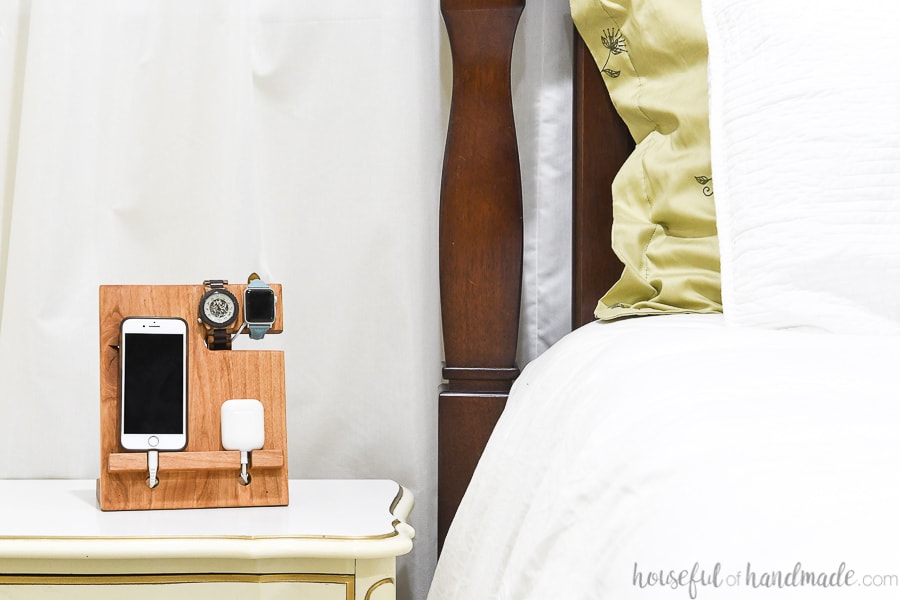
I planned on giving this DIY docking station to my husband, but between my phone, Apple Watch, and bluetooth earbuds, my nightstand is a mess of cords too.
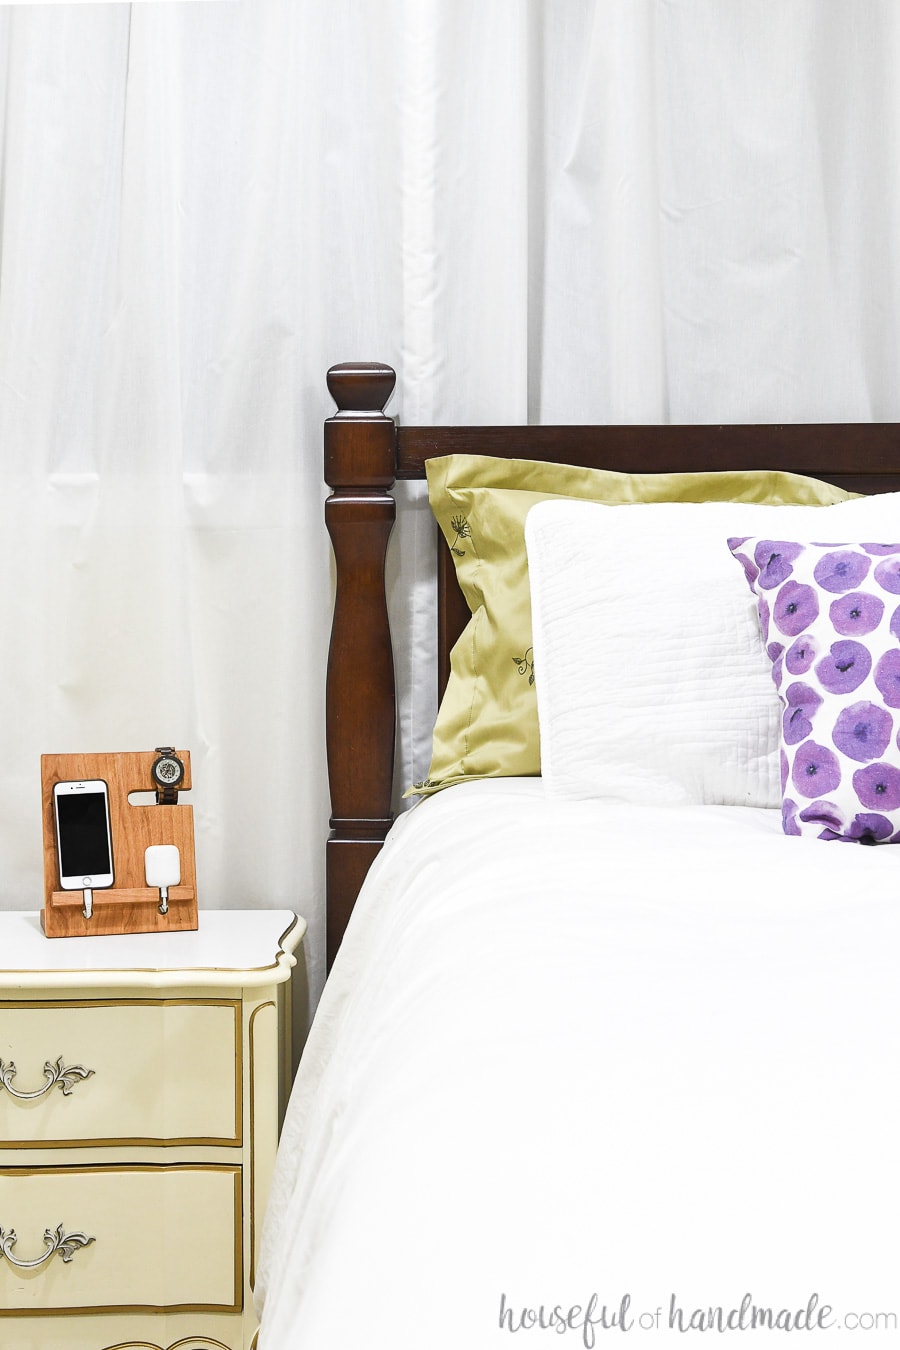
And I really love how organized my nightstand looks now.
I guess I will be making another nightstand organizer for him as well. Good thing this one was so fun and easy to put together.
It was built completely out of 1×4 & 1×1 scraps. And the build was so quick and fun!
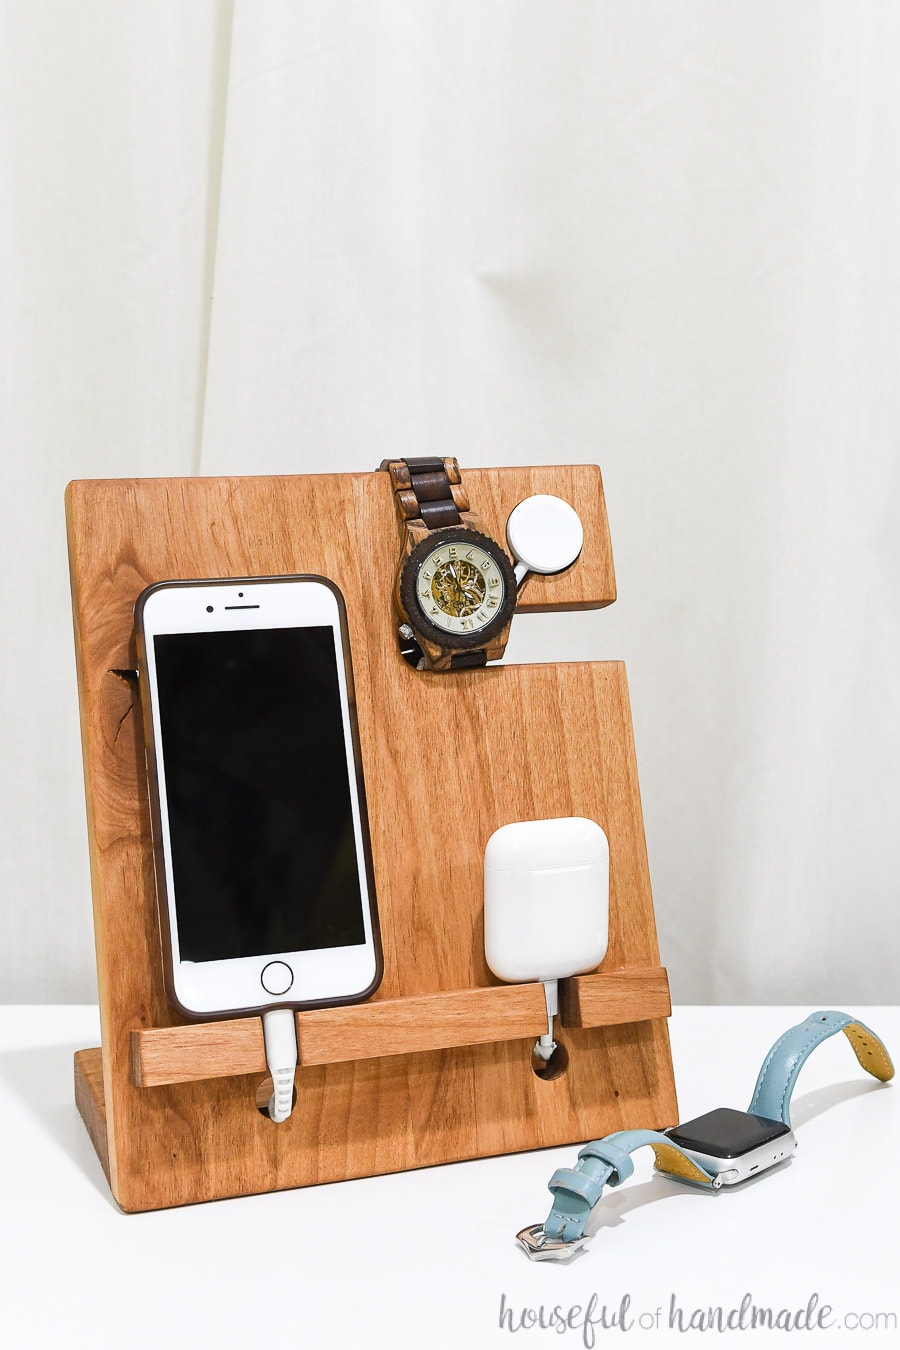
You can customize your own nightstand valet anyway you want.
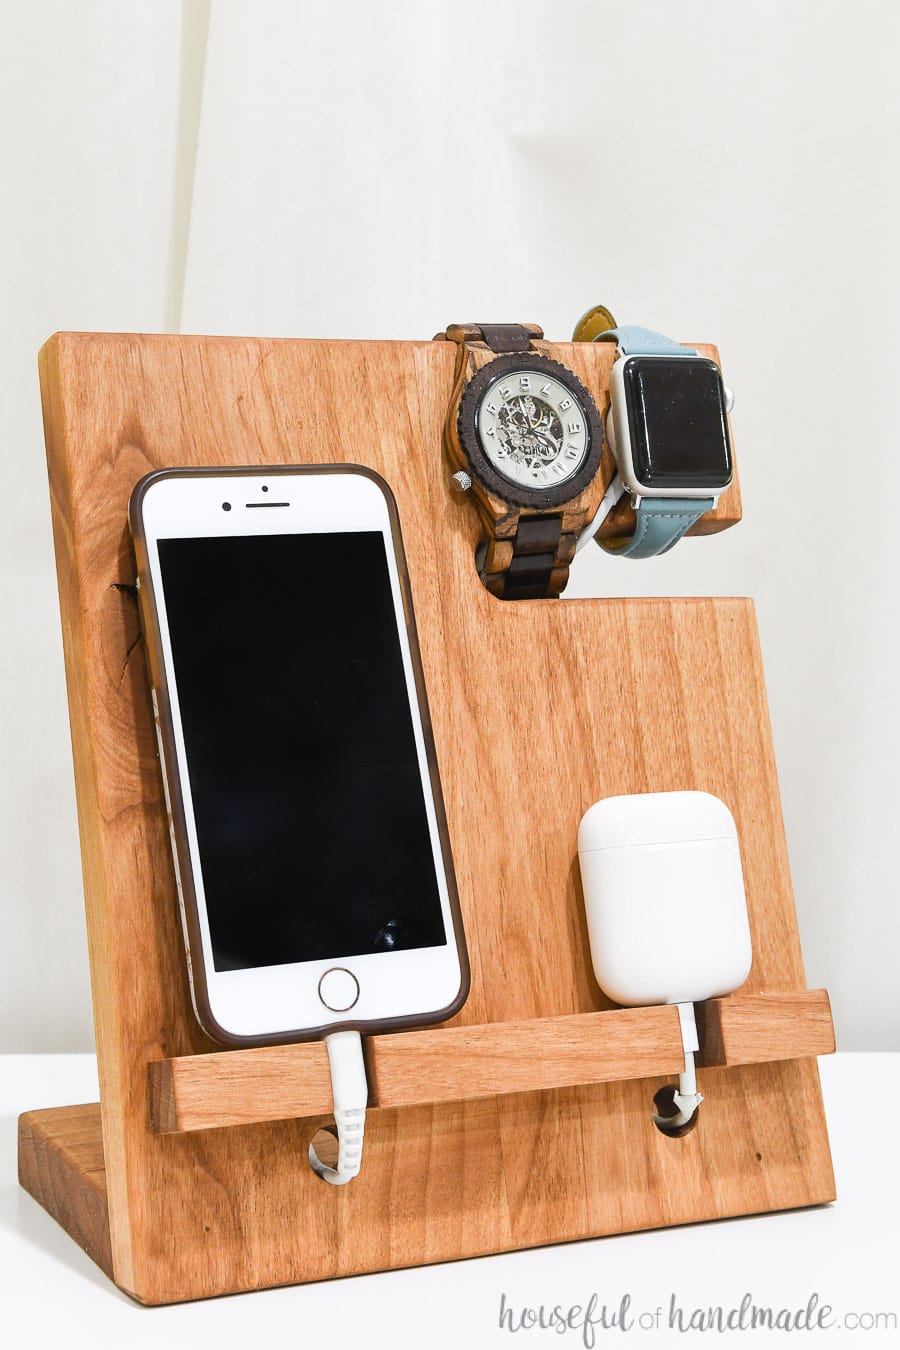
The one I made holds a normal sized phone (it you have a really big one you will want to adjust), 2 watches (1 with a charger), and bluetooth headphones (or other small electronic).
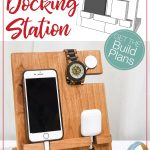
How to Make a Nightstand Charging Station
Tools & Materials
Recommended Tools:
- Miter saw
- I recently upgraded to this larger sliding miter saw (watch for it to go on sale), but all my projects before were built with this inexpensive miter saw that I loved.
- Jig saw
- Pocket hole jig
- Drill
- Impact driver (optional, but I love not having to switch bits with the drill)
- Right angle clamp
- Face clamps
- Measuring tape
- Square
- Chisel or knife
Supplies:
- (1) 28″ long 1×4 board
- (1) 7″ long 1×1 board
- (6) 1 1/4” Kreg pocket hole screws
- Wood glue
- Sandpaper
- Stain or paint
Cut List
Cut out the pieces according to the easy-to-read cut table in the PDF plans.

STEP 1- Build the Front
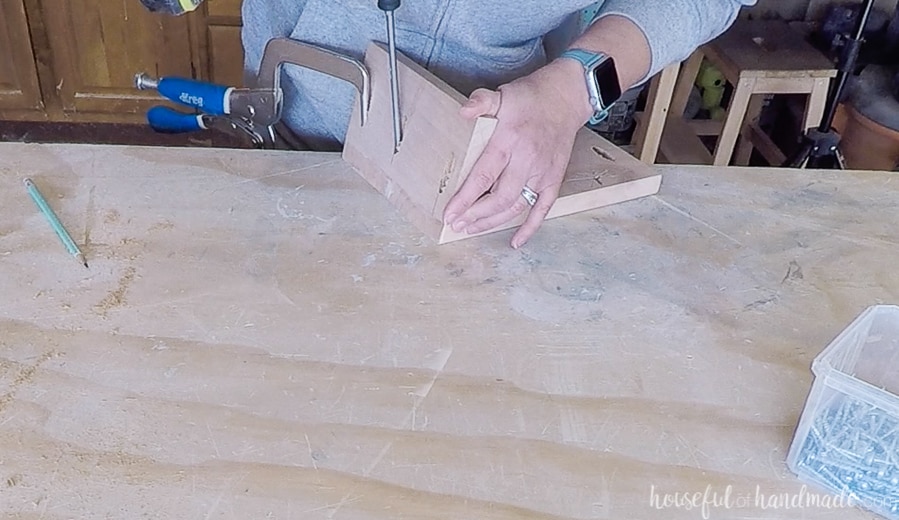
Cut the front boards from the 1×4 so they are 9″ long with a 15 degree angle on one of the ends.
The front of the boards is the long side and the top is the non-angled side.
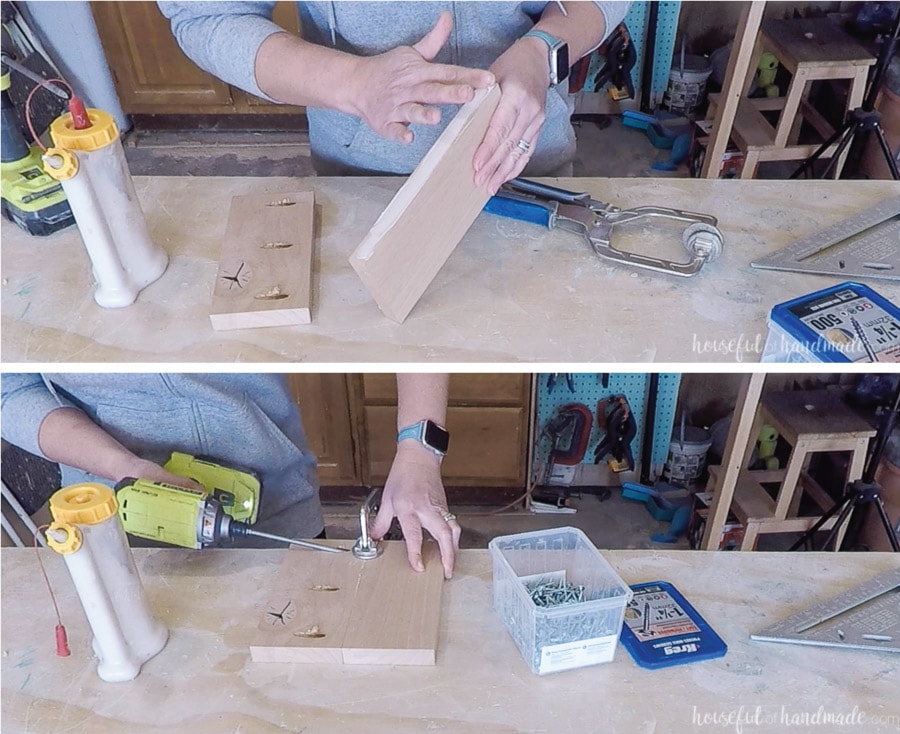
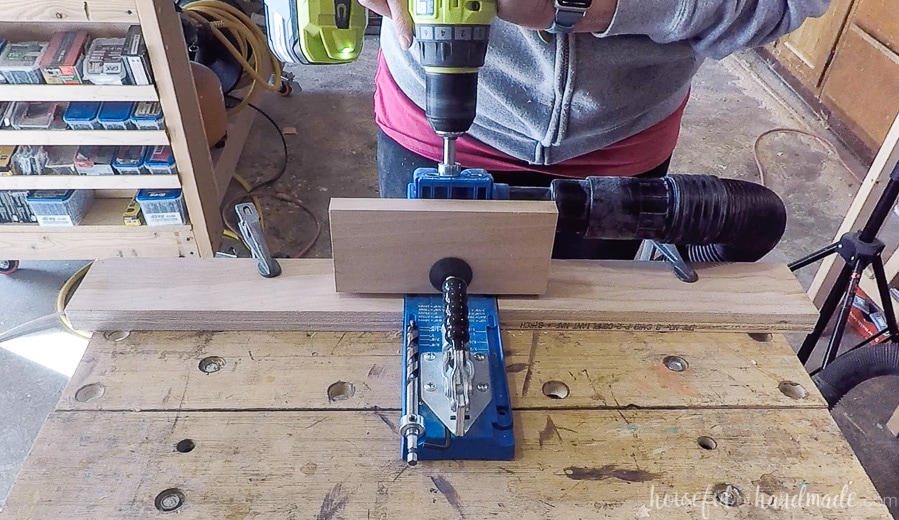
Set your Kreg pocket hole jig to drill pocket holes for 3/4″ thick material. Drill pocket holes in the back of one of the front boards so you can attach it to the other front board along the side.
For the top pocket hole, make sure it is 1″ down from the top so that it does not get in the way of the cutout for the watch holder.

Add wood glue to the inside edge of one of the front boards. Clamp it next to the other board with the face clamp.
Make sure that the angled edge lines up along the bottom of both boards. Secure with 1 1/4″ pocket hole screws.
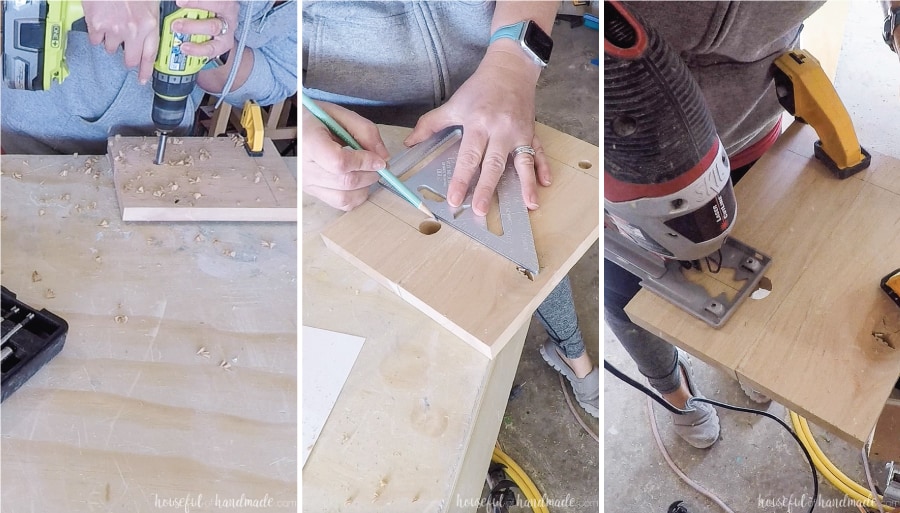
STEP 2- Create Charging Areas on the Front
Measure and mark the center points for the holes according to the diagram in the plans. Remember the bottom is the angled cut.
The top hole will be the end of the watch opening. If you want to make your nightstand valet only hold 1 watch, you can make it shallower and that will allow more room for a larger phone.
The points on the bottom will be where the charging cords come through. If you have a larger phone you may want to move these to be centered under it better.
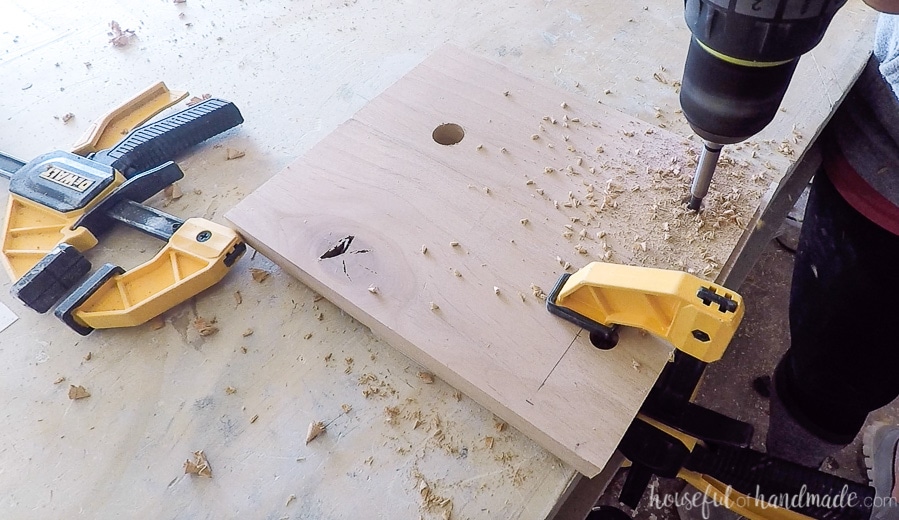
Drill a 3/4″ hole in the top hole with the mark at the center.
To finish off the area to hole your watch, draw a line from the top and bottom of the 3/4″ hole to the side of the charging station. Cut along the lines with a jigsaw.
Drill 1/2″ holes at the bottom marks. This size worked great for larger charging cords made for Apple products.
It’s probably a good idea to double check that your charging cord is not bigger than 1/2″. Adjust if necessary.
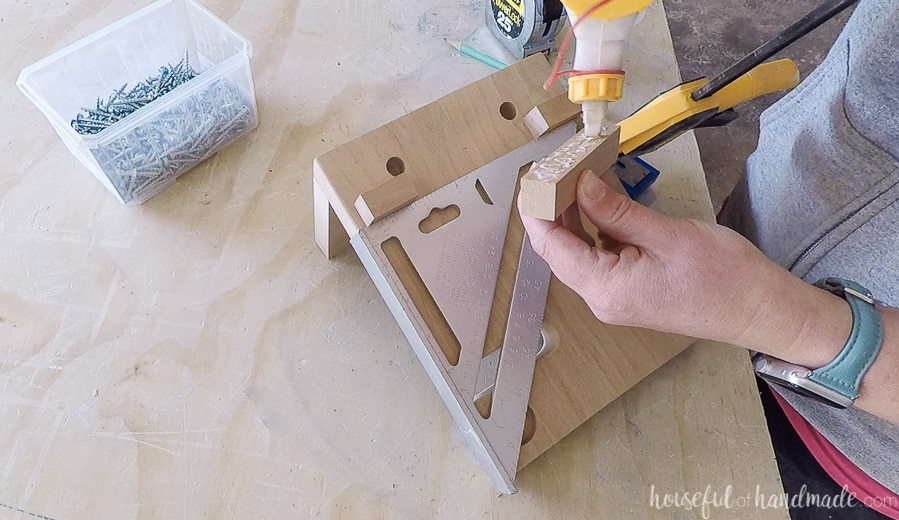
If you want to add a watch charging cord to the valet, drill a hole in the center of the watch area. For the Apple Watch charging cable I used a 1 1/8″ Forestner bit.
Make the hole deep enough to hold the charger, but make sure to leave it a little bit proud. Otherwise the watch will not be able to make contact with the charging pad.
Use a chisel or knife to dig out a channel for the cord to sit. You want the cord going into the opening toward the center of the valet, that way it will not be in the way when you want to slide your watches on the stand.

STEP 3- Attach the Base
Sand the front of the charging station now to make it easier. After you add the other elements it will be harder to get in between them all.
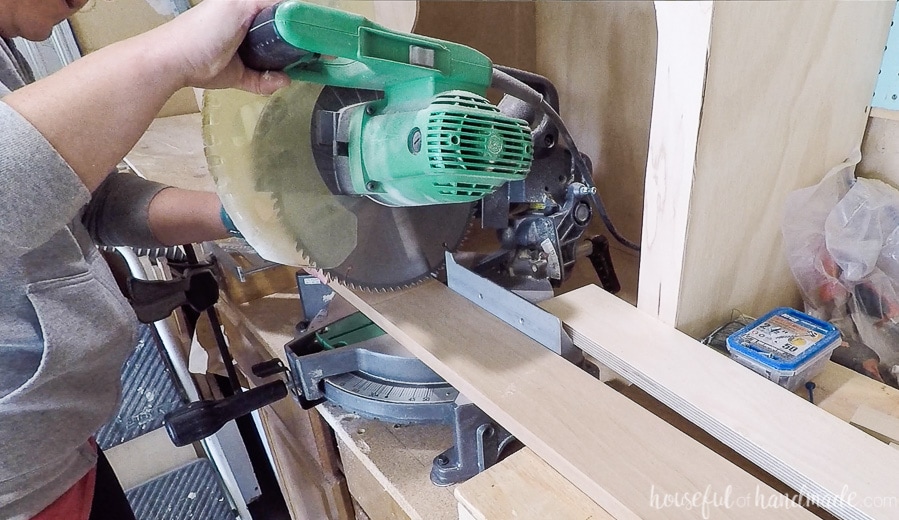
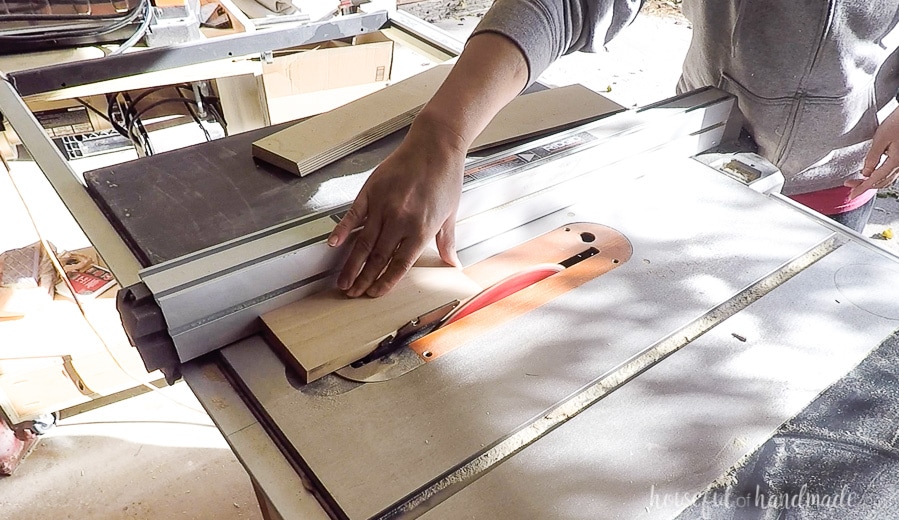
Cut the base of the valet from a 1×4. Cut it 7″ long and then cut one side off at a 15 degree angle.
You can easily cut this on a sliding miter saw or a table saw. But if you do not have either, you could also cut (2) 1x4s to 3 1/2″ long with a 15 degree angle on one end. Then connect the two boards with a pocket hole or two (just like you did for the front of the valet).
Drill pocket holes in the bottom of the base piece. The bottom is the longer edge.
Line the angled edge of the base up with the bottom. Since the bottom of the valet front is also angled, it should line up nicely creating a flat bottom.
Attach with wood glue and 1 1/4″ pocket hole screws.
STEP 4- Attach Phone Ledge
From the 1×1 board, cut 1 piece that is 1 1/2″ long, 1 at 1 1/4″ long and 1 at 2 3/4″ long. This will allow 1/2″ room for the charging cord, adjust if needed.
The 1 1/4″ piece is for the side with the watch holder and the 2 3/4″ piece is the center.
Glue the boards to the front of the valet just above the holes for the charging cords. Space them so they are 1/4″ in from the sides and 1/2″ between the boards.
Finish off your new valet charging station with another lights sanding. Then seal or paint it with your favorite finish.
To attach the Apple Watch charging pad, make sure the paint/stain is dry than attach with glue.
I tried a command strip, but it would not stick to the wood (my finish might not have been dry enough). I may try glueing the command strip inside first to make it so the charger can be removed if needed.
To further contain your cords, add a couple cord clips on the back of the valet.
You did it!
PDF mini plans include:
- Recommended Tools
- Shopping list
- Easy to read cut list table
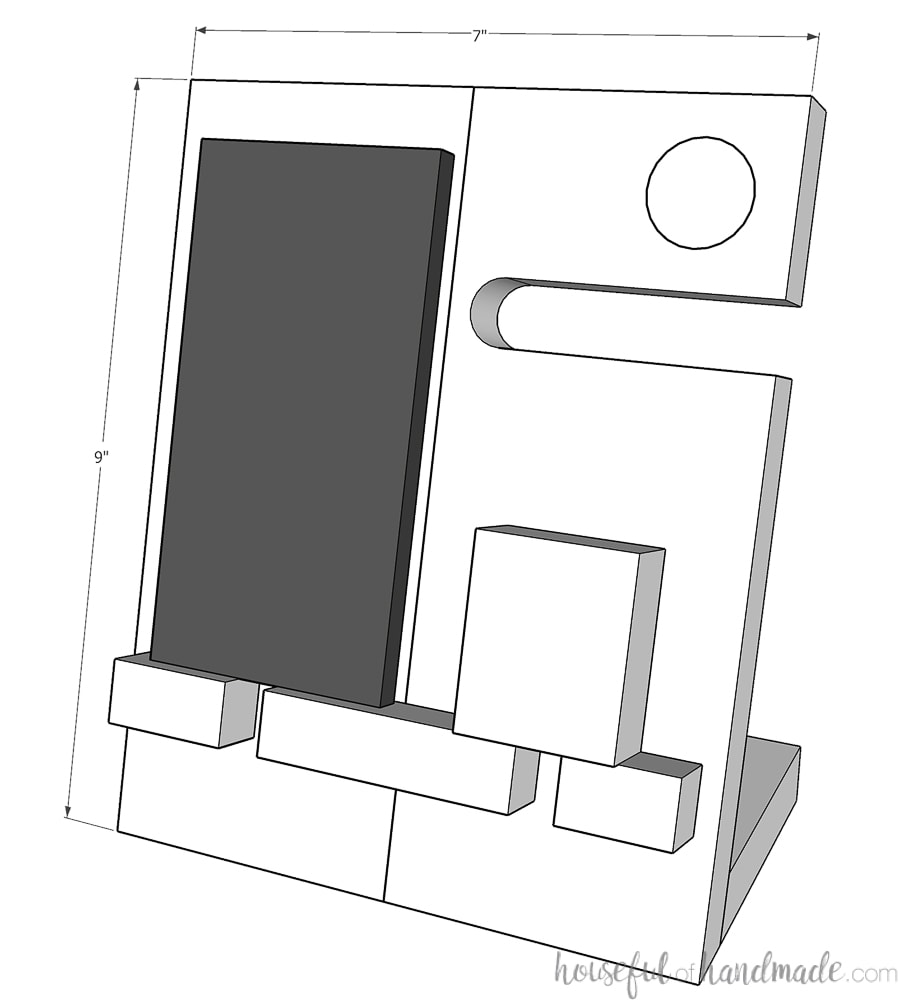
- X-ray view with measurements
- Step-by-step instructions
- BONUS: 3D SketchUp file
Now your new nightstand charging station is ready to be wrapped up for Christmas, unless you plan to give it to yourself like I am 😉
Wouldn't you agree it looks pretty awesome on my nightstand?
And now I am off to make one more easy DIY gift for you!
Come back on Friday for more DIY Christmas gifts you can build.

Thank you to Kreg Tools for sponsoring this post. I only recommend products that I use and love and all opinions are 100% my own. Click here to read my full disclosure policy.