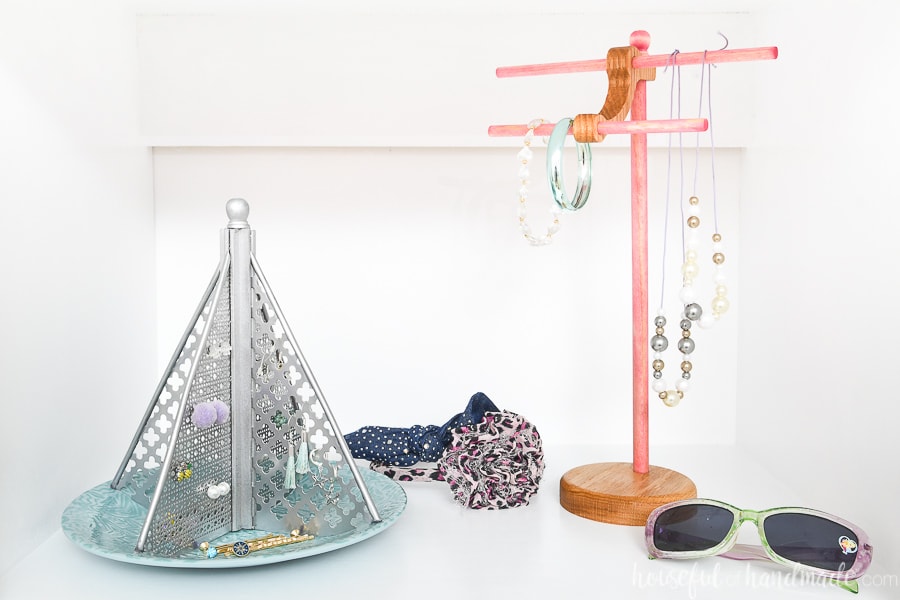
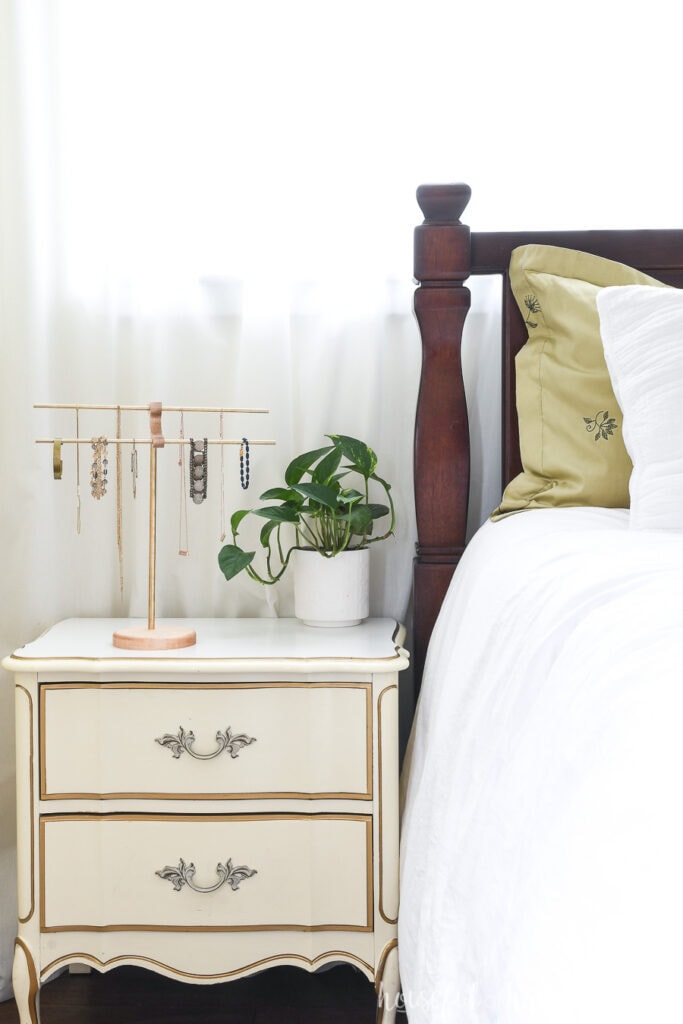
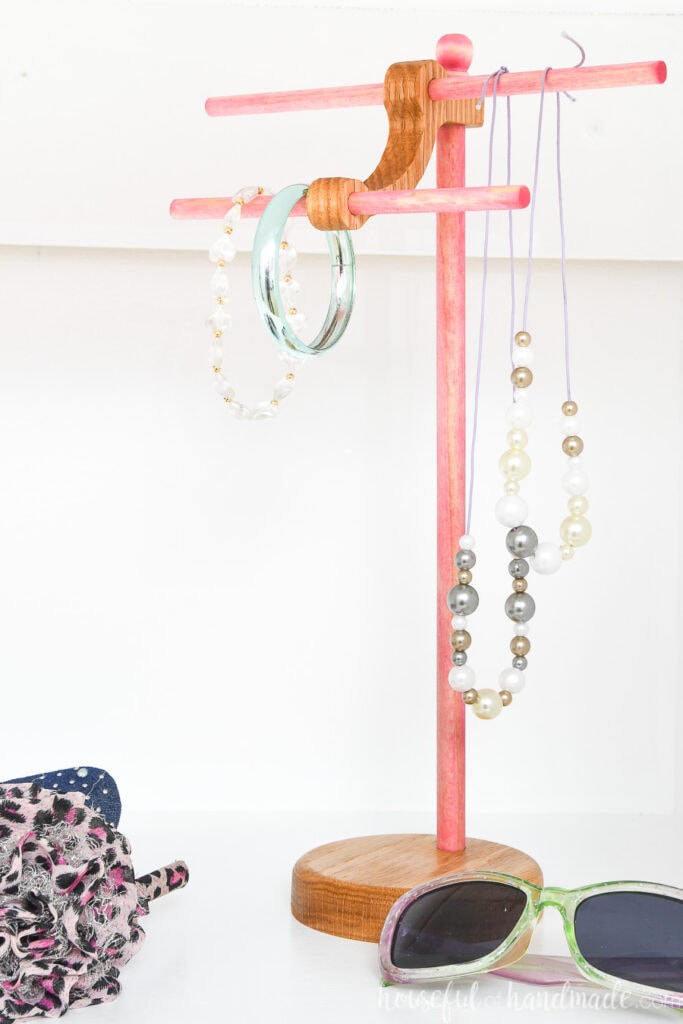
I designed this fun DIY necklace holder for my daughter’s closet makeover. We needed a way to organize all her cute little girly things. But I wanted it to work as she grows.
When I finished her neckless stand, I immediately thought… I want one!
So of course I set to it!
This post may contain affiliate links. As an Amazon Associate I earn from qualifying purchases. Click here to read my full disclosure policy.

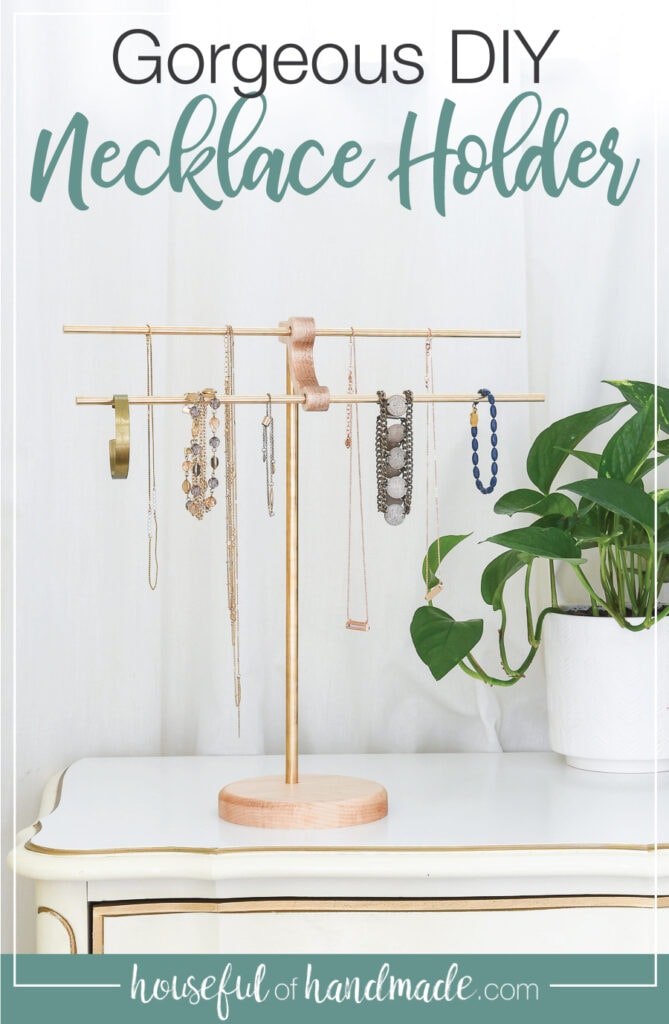
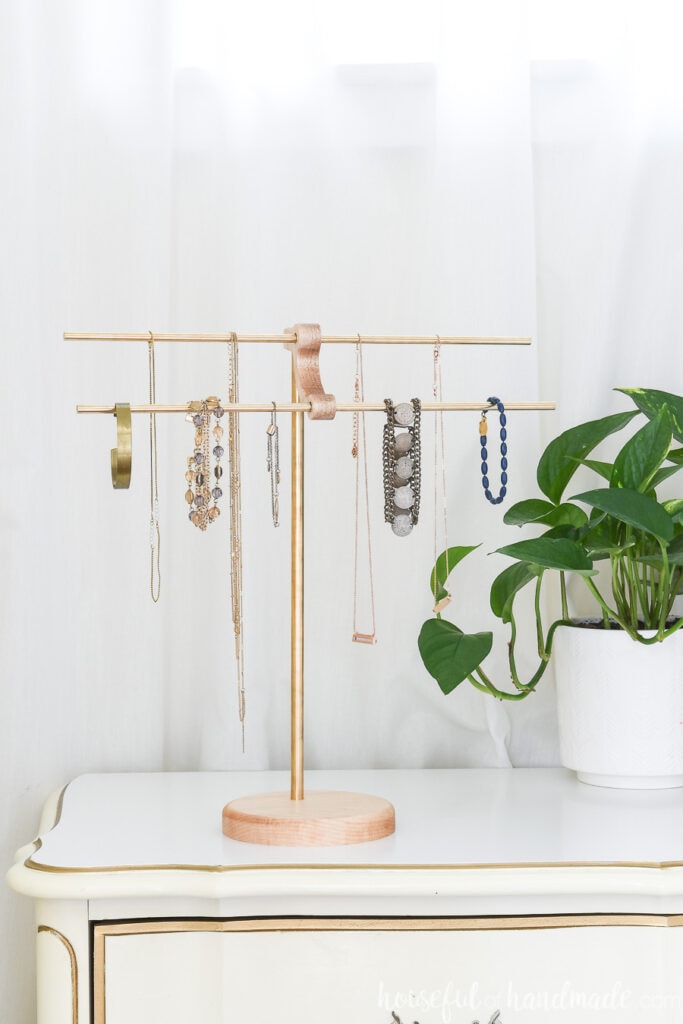
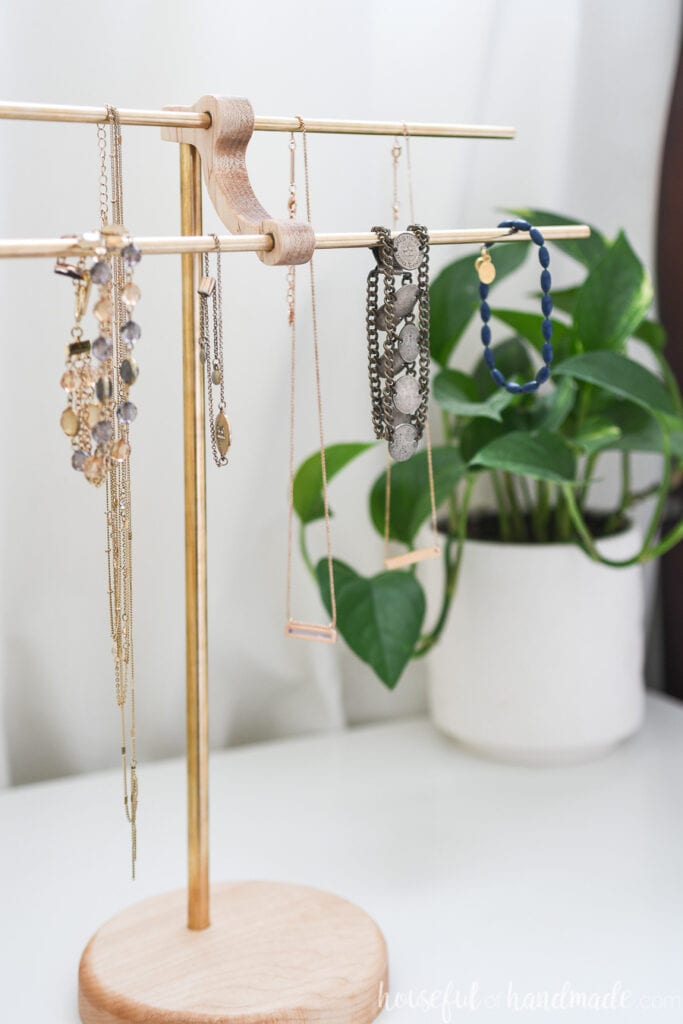
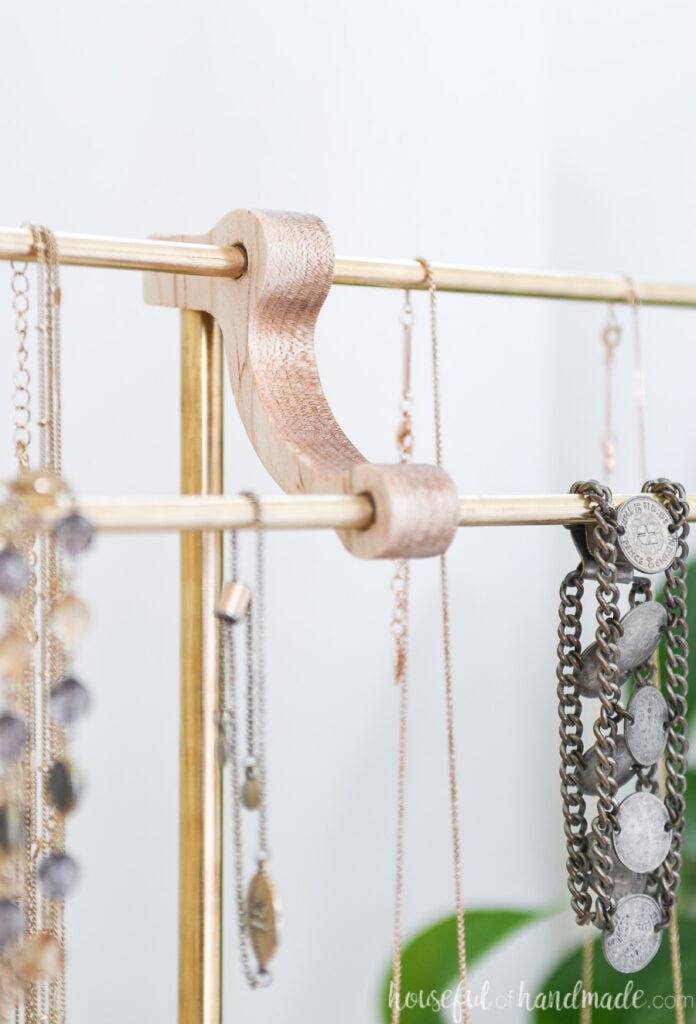
But for my necklace holder, I decided to elevate it a bit. Instead of using wood dowels, I used brass rods.
Wow! As much as I loved the cute jewelry stand for my daughter, I am obsessed with the beautiful brass option even more.
Using up Wood Scraps
This necklace holder is quick and easy to make. And it really uses just a few small scraps of wood.
For my daughter’s DIY necklace stand, the pieces were cut from scraps left over from my wood light project.
The circle base is actually the center of one of the circles cut for the light.
For my brass version, I wanted to use walnut. But I didn’t have a scrap ready for use.
So I dug through my scrap bin and found some beautiful pieces of maple to use instead.
I love that this project uses up those smaller scraps. The ones I am too sad to toss, but are too small for most projects!
For the smaller version, the base is only 3 3/4″ diameter.
But for the brass one I made it bigger since the brass rods are much longer. It’s base is a 5″ circle.
More Things to Build from Scraps
Use up all those scraps and build something fun & useful!
How to Make a DIY Necklace Stand
Tools & Materials
Recommended Tools:
Supplies:
- Scraps of wood
- Dowels or brass rods
- You want thinner ones for the top and a thicker one to hold up the top. I used these thin brass rods and this thick brass rod.
- Wood glue or super glue gel
- Stain/paint/sealer
Cut List
Cut out the pieces according to the cut table in the PDF plans.
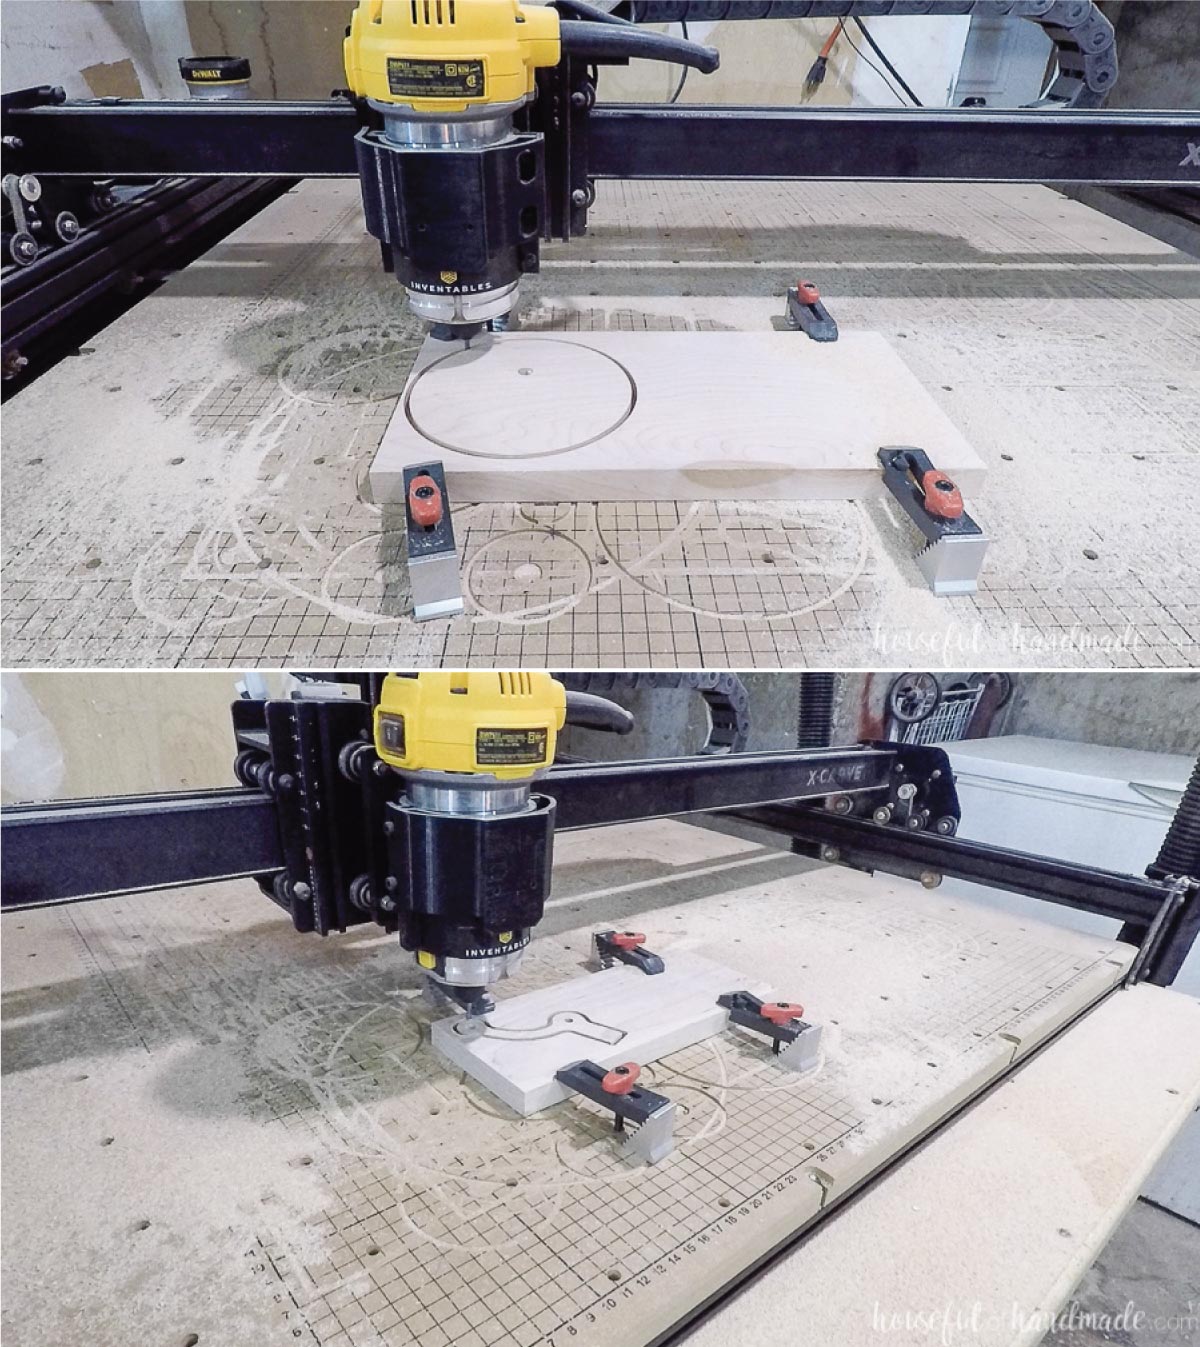
The pieces can be cut with a scroll saw or CNC machine. Templates and and SVG file are included in the printable plans.

If you want longer dowels or rods on the top, go for a larger circle for the base.
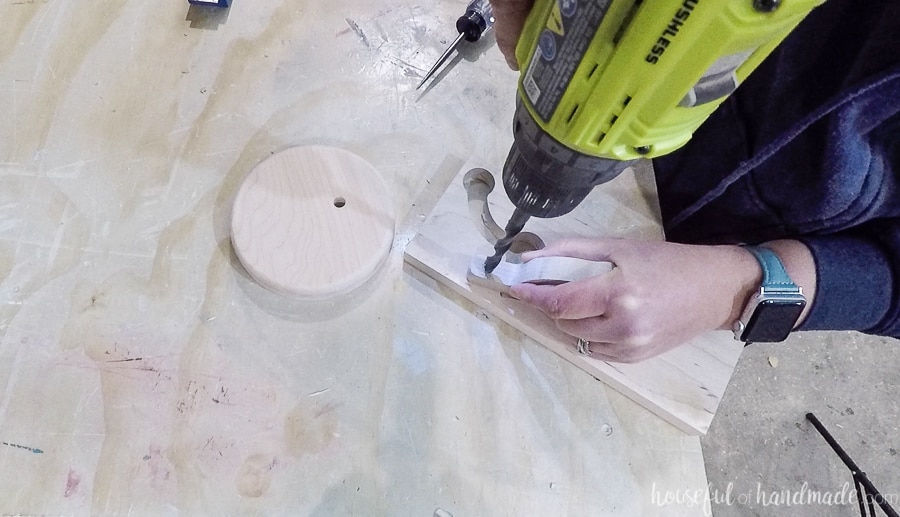
If using a scroll saw, make sure to mark the holes on the template and drill them into the pieces.
You want to use a drill bit the same diameter as the dowel so you have a tight fit.
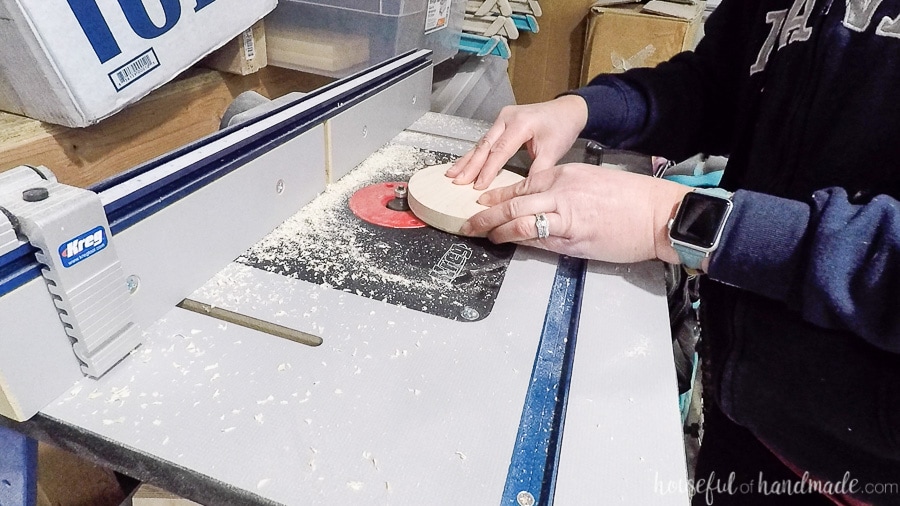
STEP 1- Round over edges
This step is optional, but gives the necklace stand a softer look. If you do not have a router, you can softer the edges with a sander instead.
Router the edges of the back part of the top piece with a round-over bit.

Also use the round over bit to curve the top of the circle base.
STEP 2- Finish the wood pieces
On the underside of the flat part of the top, measure the center about 1″ back from the edge.
Drill a hole to match the larger dowel/rod. Do not go all the way through.
I struggled with the fit of my brass rods and ended up going up 1/16 of an inch on the hole. But they were too loose so I had to use more super glue to secure them. So have a light touch with the drill bits.
Cut dowels (if necessary) according to PDF build plans.
Sand and stain/paint the pieces before assembling if you want them to be contrasting. For the brass rods, you definitely want to finish the wood pieces before assembling.
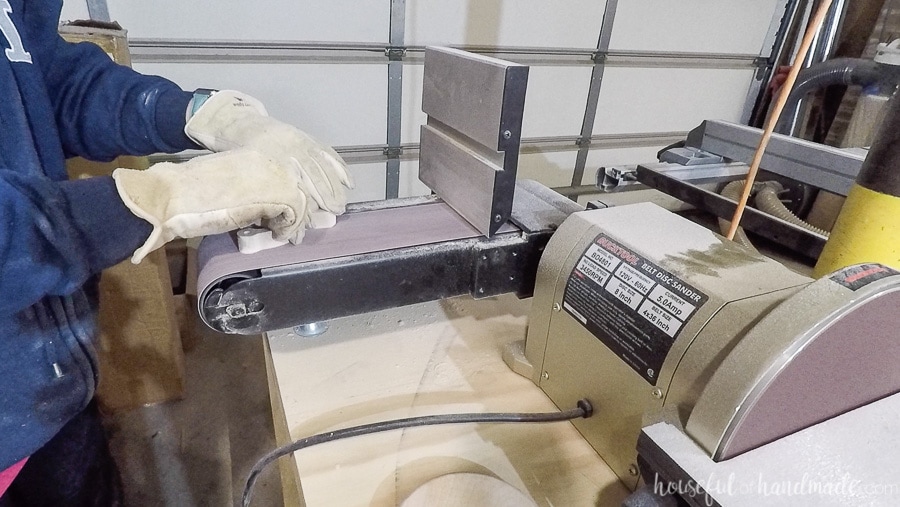
If using a belt sander to sand your small pieces (like me), make sure to use leather or thick gloves to protect the tips of your fingers.
I did not at first… and now I am missing the skin on two fingers. Please learn from my mistakes!
STEP 3- Assemble the Necklace Stand
Start assembling the base of the jewelry stand by placing glue in the hole on the bottom circle. Then press the dowel/rod into the hole.
Next glue the top piece to the top of the dowel. Add glue into the hole on the top piece and press them together.
Slide the dowels/rods into the holes on the top of the necklace holder and center them.
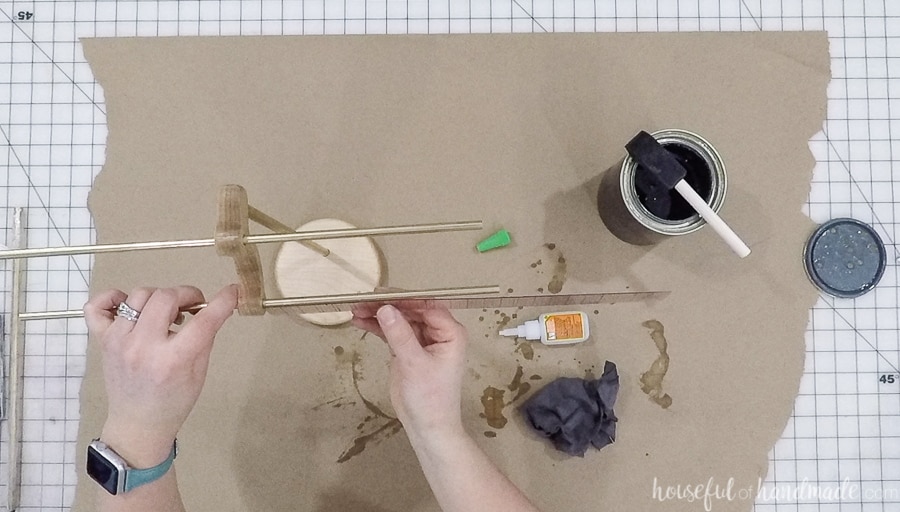
For the dowel necklace holder, I didn’t have to glue the dowels in. They were snug enough without it and took some muscles to get them centered.
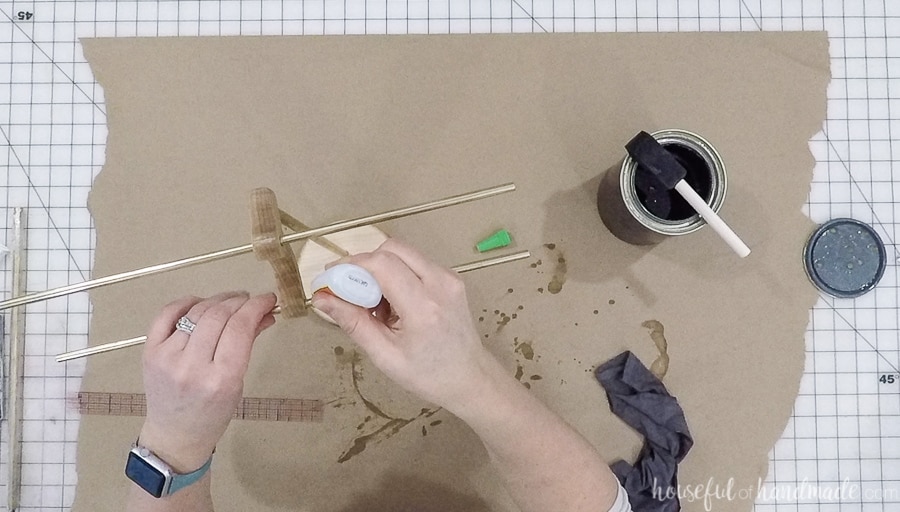
For the brass rods, I had more room so I glued the rods into the holes. This eliminated any wiggling and made them straight in the holes.
Once the rods are centered, slide them out a little bit and add the glue to the center. Then slide the rod back in and quickly re-center. Remember super glue dries fast!
And you are done!
PDF mini plans include:
- Recommended Tools
- Shopping list
- Easy to read cut list table
- X-ray view with measurements
- Step-by-step instructions
- BONUS: 3D SketchUp file
/*<![CDATA[*/ (function () { var scriptURL = 'https://sdks.shopifycdn.com/buy-button/latest/buy-button-storefront.min.js'; if (window.ShopifyBuy) { if (window.ShopifyBuy.UI) { ShopifyBuyInit(); } else { loadScript(); } } else { loadScript(); } function loadScript() { var script = document.createElement('script'); script.async = true; script.src = scriptURL; (document.getElementsByTagName('head')[0] || document.getElementsByTagName('body')[0]).appendChild(script); script.onload = ShopifyBuyInit; } function ShopifyBuyInit() { var client = ShopifyBuy.buildClient({ domain: 'houseful-of-handmade.myshopify.com', storefrontAccessToken: '67be1252d864e69b28d4cd5343206ccd', }); ShopifyBuy.UI.onReady(client).then(function (ui) { ui.createComponent('product', { id: '8110808629436', node: document.getElementById('product-component-1739467986350'), moneyFormat: '%24%7B%7Bamount%7D%7D', options: { "product": { "styles": { "product": { "@media (min-width: 601px)": { "max-width": "calc(25% – 20px)", "margin-left": "20px", "margin-bottom": "50px" } }, "title": { "color": "#ffffff" }, "button": { "font-size": "16px", "padding-top": "16px", "padding-bottom": "16px", ":hover": { "background-color": "#326963" }, "background-color": "#37756e", ":focus": { "background-color": "#326963" }, "border-radius": "15px", "padding-left": "80px", "padding-right": "80px" }, "quantityInput": { "font-size": "16px", "padding-top": "16px", "padding-bottom": "16px" }, "price": { "font-size": "16px", "color": "#ffffff" }, "compareAt": { "font-size": "13.6px", "color": "#ffffff" }, "unitPrice": { "font-size": "13.6px", "color": "#ffffff" } }, "text": { "button": "Add to cart" } }, "productSet": { "styles": { "products": { "@media (min-width: 601px)": { "margin-left": "-20px" } } } }, "modalProduct": { "contents": { "img": false, "imgWithCarousel": true, "button": false, "buttonWithQuantity": true }, "styles": { "product": { "@media (min-width: 601px)": { "max-width": "100%", "margin-left": "0px", "margin-bottom": "0px" } }, "button": { "font-size": "16px", "padding-top": "16px", "padding-bottom": "16px", ":hover": { "background-color": "#326963" }, "background-color": "#37756e", ":focus": { "background-color": "#326963" }, "border-radius": "15px", "padding-left": "80px", "padding-right": "80px" }, "quantityInput": { "font-size": "16px", "padding-top": "16px", "padding-bottom": "16px" }, "title": { "font-family": "Helvetica Neue, sans-serif", "font-weight": "bold", "font-size": "26px", "color": "#4c4c4c" }, "price": { "font-family": "Helvetica Neue, sans-serif", "font-weight": "normal", "font-size": "18px", "color": "#4c4c4c" }, "compareAt": { "font-family": "Helvetica Neue, sans-serif", "font-weight": "normal", "font-size": "15.299999999999999px", "color": "#4c4c4c" }, "unitPrice": { "font-family": "Helvetica Neue, sans-serif", "font-weight": "normal", "font-size": "15.299999999999999px", "color": "#4c4c4c" } }, "text": { "button": "Add to cart" } }, "option": {}, "cart": { "styles": { "button": { "font-size": "16px", "padding-top": "16px", "padding-bottom": "16px", ":hover": { "background-color": "#326963" }, "background-color": "#37756e", ":focus": { "background-color": "#326963" }, "border-radius": "15px" }, "title": { "color": "#121212" }, "header": { "color": "#121212" }, "lineItems": { "color": "#121212" }, "subtotalText": { "color": "#121212" }, "subtotal": { "color": "#121212" }, "notice": { "color": "#121212" }, "currency": { "color": "#121212" }, "close": { "color": "#121212", ":hover": { "color": "#121212" } }, "empty": { "color": "#121212" }, "noteDescription": { "color": "#121212" }, "discountText": { "color": "#121212" }, "discountIcon": { "fill": "#121212" }, "discountAmount": { "color": "#121212" }, "cart": { "background-color": "#f4f4f4" }, "footer": { "background-color": "#f4f4f4" } }, "text": { "total": "Subtotal", "button": "Checkout" } }, "toggle": { "styles": { "toggle": { "background-color": "#37756e", ":hover": { "background-color": "#326963" }, ":focus": { "background-color": "#326963" } }, "count": { "font-size": "16px" } } }, "lineItem": { "styles": { "variantTitle": { "color": "#121212" }, "title": { "color": "#121212" }, "price": { "color": "#121212" }, "fullPrice": { "color": "#121212" }, "discount": { "color": "#121212" }, "discountIcon": { "fill": "#121212" }, "quantity": { "color": "#121212" }, "quantityIncrement": { "color": "#121212", "border-color": "#121212" }, "quantityDecrement": { "color": "#121212", "border-color": "#121212" }, "quantityInput": { "color": "#121212", "border-color": "#121212" } } } }, }); }); } })(); /*]]>*/
Now you are all done and ready to load up your new DIY necklace stand!
Whether you made the brass or dowel necklace holder, you are going to love this fun DIY!
And you will love how beautiful your jewelry looks displayed on it’s new stand.
Happy building!