I love having lots of devices, but hate having cords all over the house to try keep them charged.
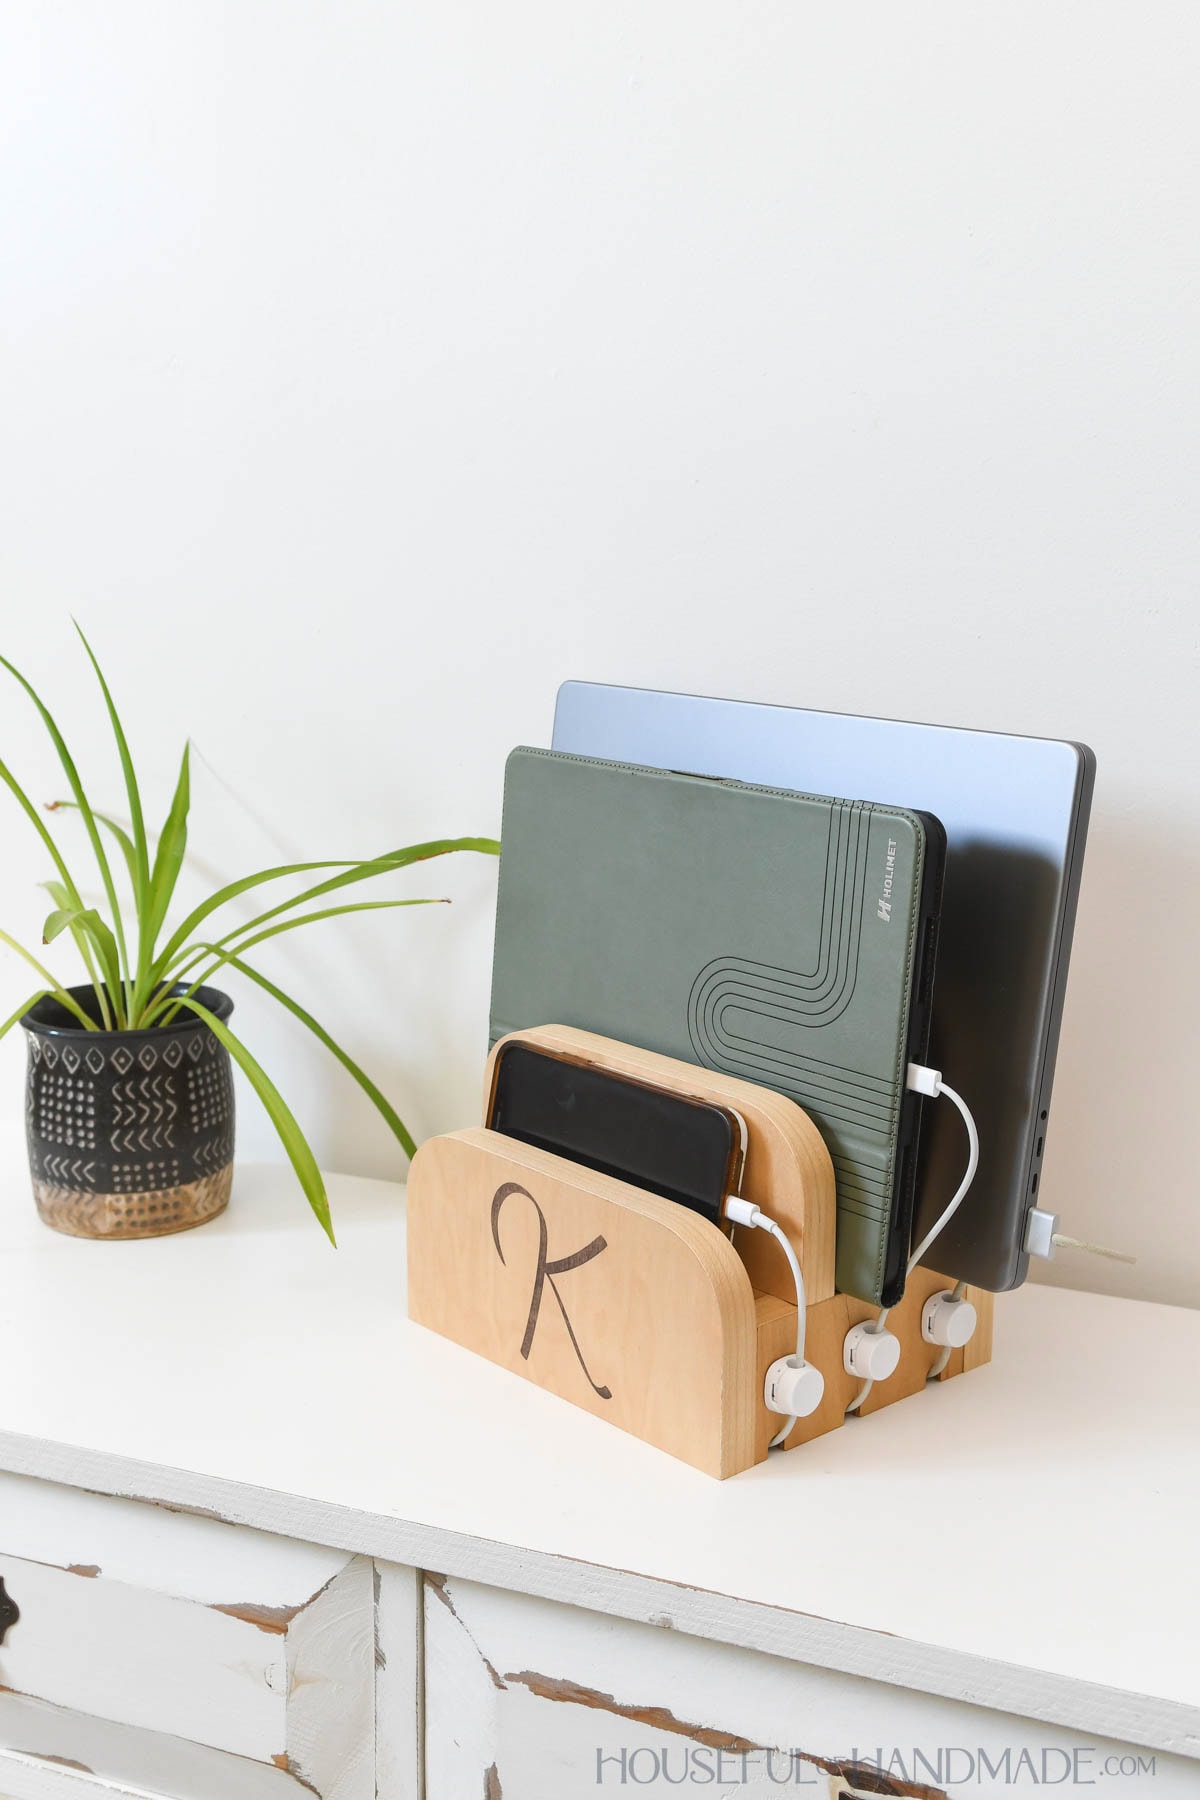
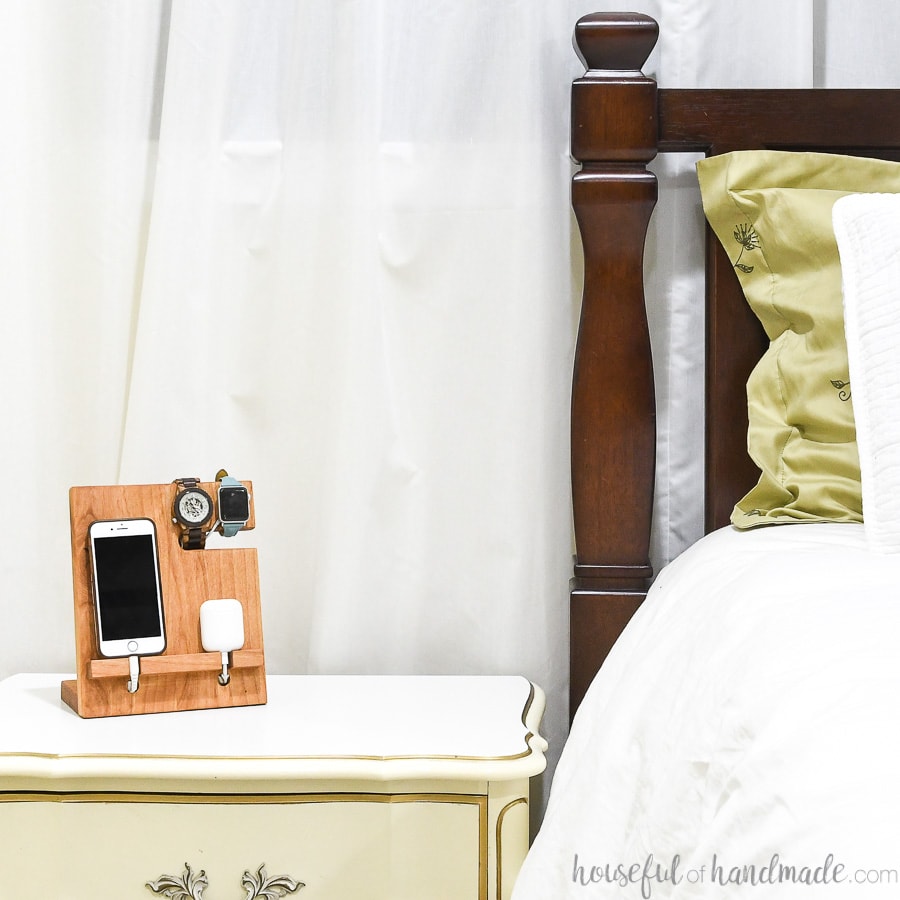
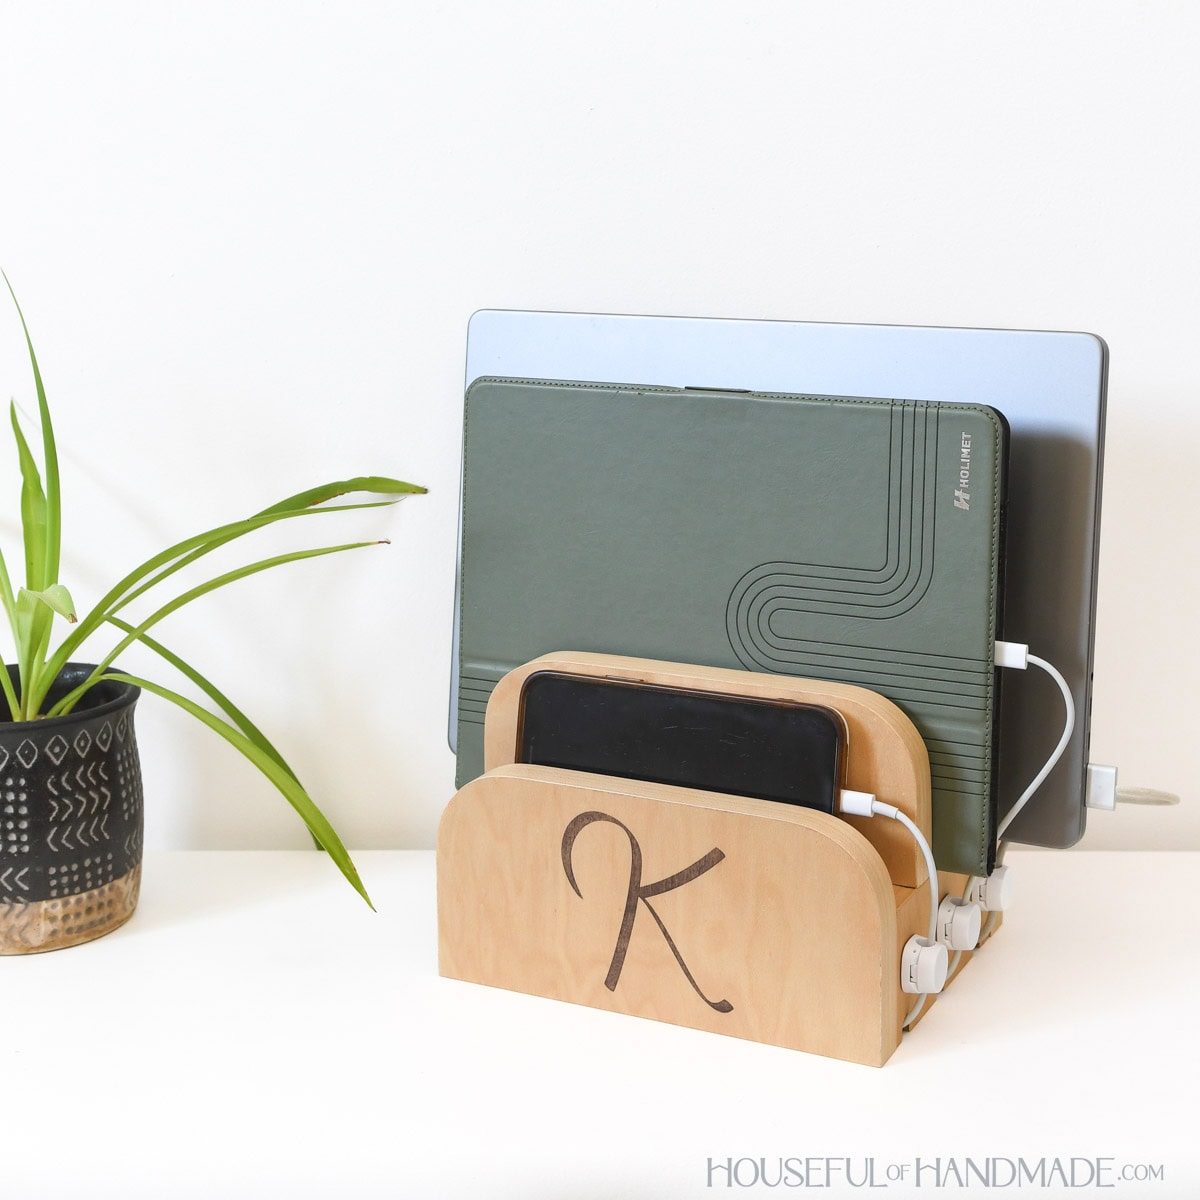
So I designed the perfect tabletop charging station. It holds my laptop, tablet and phone while they charge. And keeps the cords organized and hidden away.
Now there is no more searching for where my laptop was plugged in or where the charger for the tablet has gone.
This post may contain affiliate links. As an Amazon Associate I earn from qualifying purchases. Click here to read my full disclosure policy.
I am sharing this project for Day 2 of DIY Gift week, where I am sharing 5 new easy DIY gifts ideas along with my friends at Woodshop Diaries and Anika’s DIY Life.
Make sure to check out their gift ideas below.
Scrap Wood Charging Hub
If you build anything with plywood, you will have lots of plywood scraps. This it the perfect project to help use them up!
You can build the charging station from a 14″ x 20″ piece of plywood. Or grab those really small pieces and use them up instead.
I used up some left-over edge banding to finish the edges of the plywood, but you could also paint the edges to cover them up.
And if you have someone in your life who is always searching for their charging cord, why not build this fun scrap wood project as a gift for them?
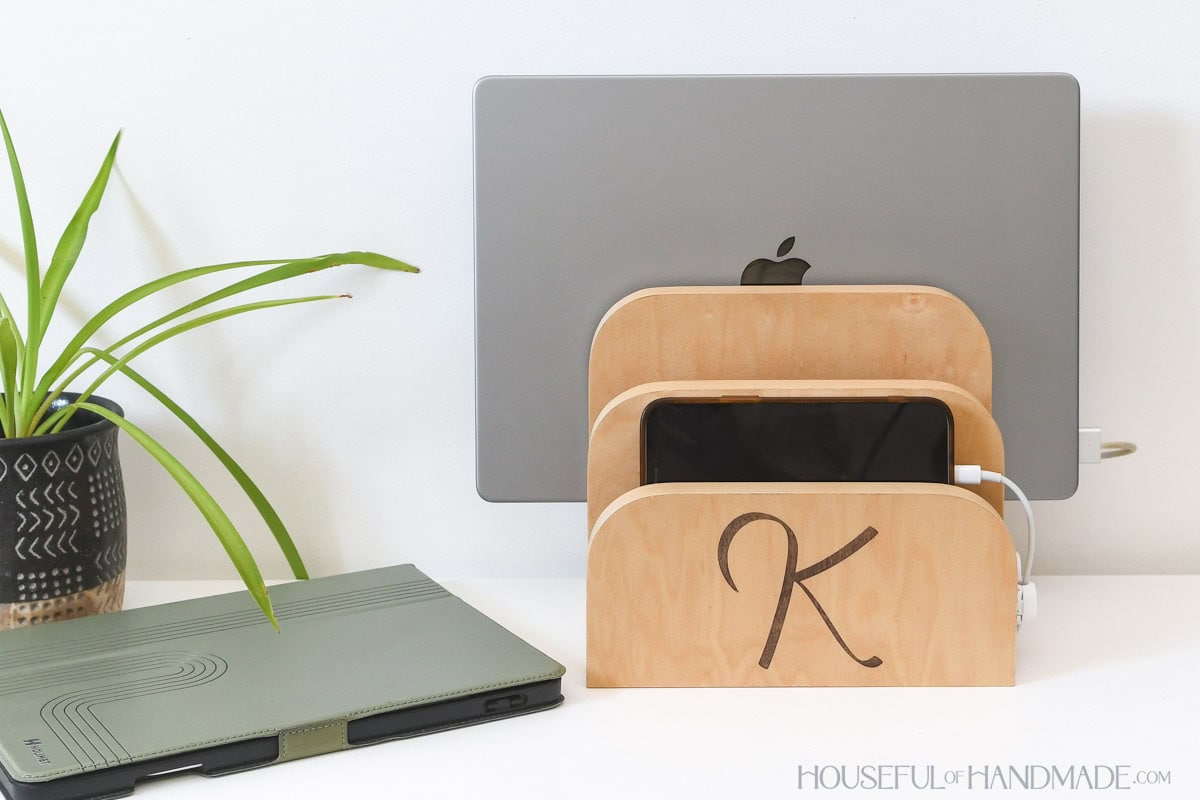
You can personalize the charging station with a monogram or initial on the front.
They will love the gift of not spending all their time trying to find a charging cord!
More DIY Gift Ideas
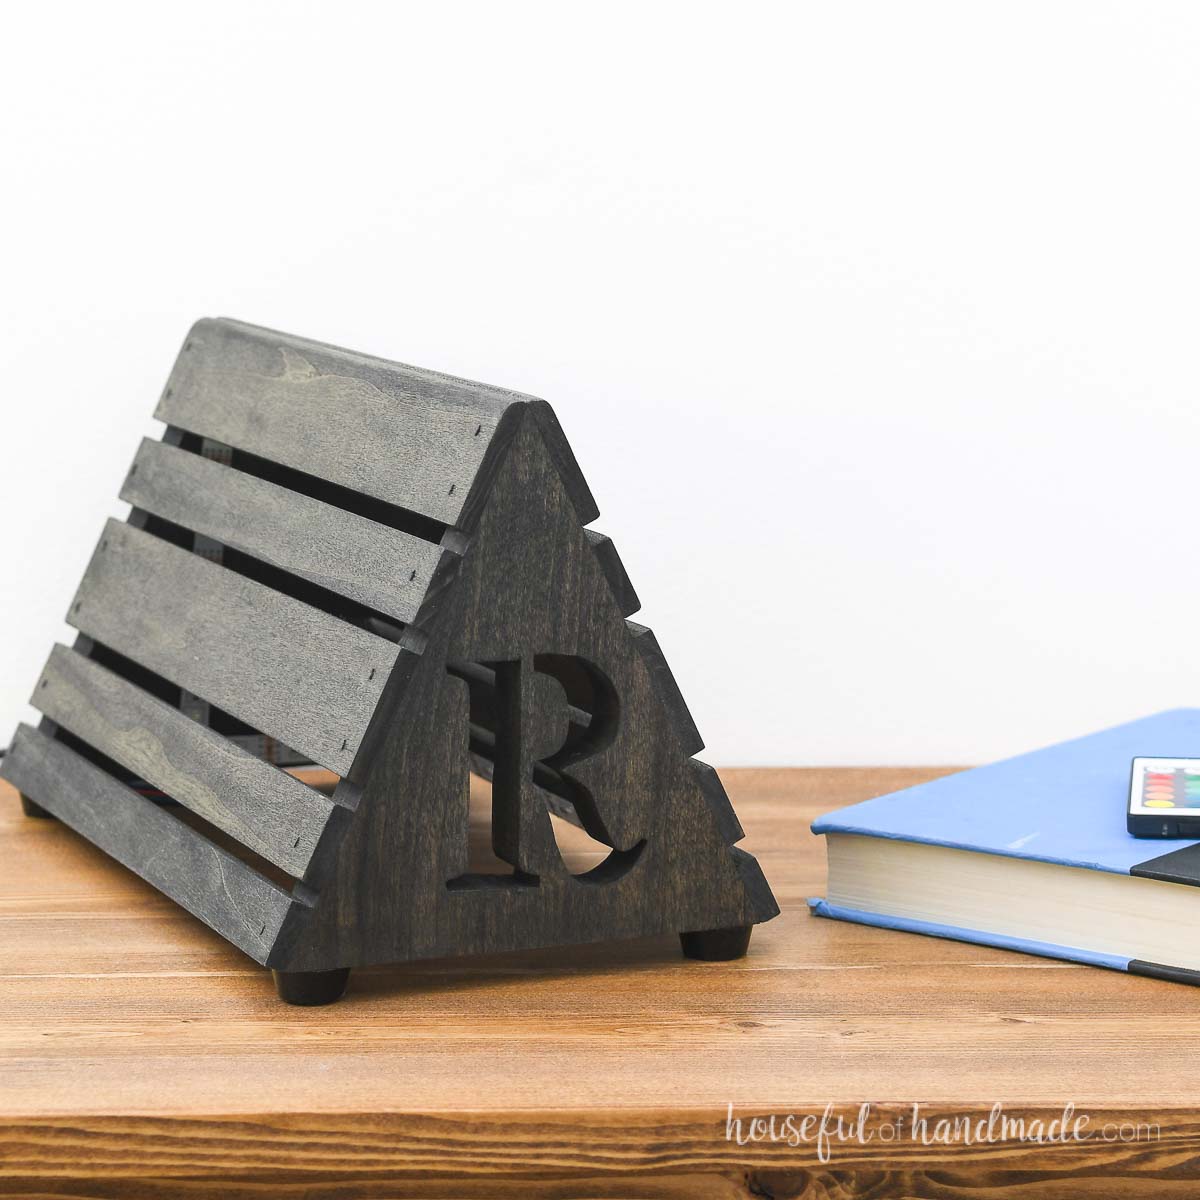
For DIY Gift week this week, I am sharing 5 new DIY gift ideas along with my friends from WoodShop Diaries and Anika’s DIY Life.
Check out their DIY gift ideas for today below along with a couple more ideas from me.


How to Build a Simple Charging Station
Tools & Materials
Recommended Tools:
- Circular saw or Table saw
- Jig saw
- Pocket hole jig
- Drill
- Impact driver (optional, but I love not having to switch bits with the drill)
- 90 degree drill adapter
- Multi-mark measuring tool
- Iron
- Sander
Supplies:
- Wood products
- (1) 3/4 plywood, 14” x 20” piece
- (7’) iron-on edge banding
- 1 1/4” pocket hole screws
- Wood glue
- (3) Cord clips
Overall Dimensions
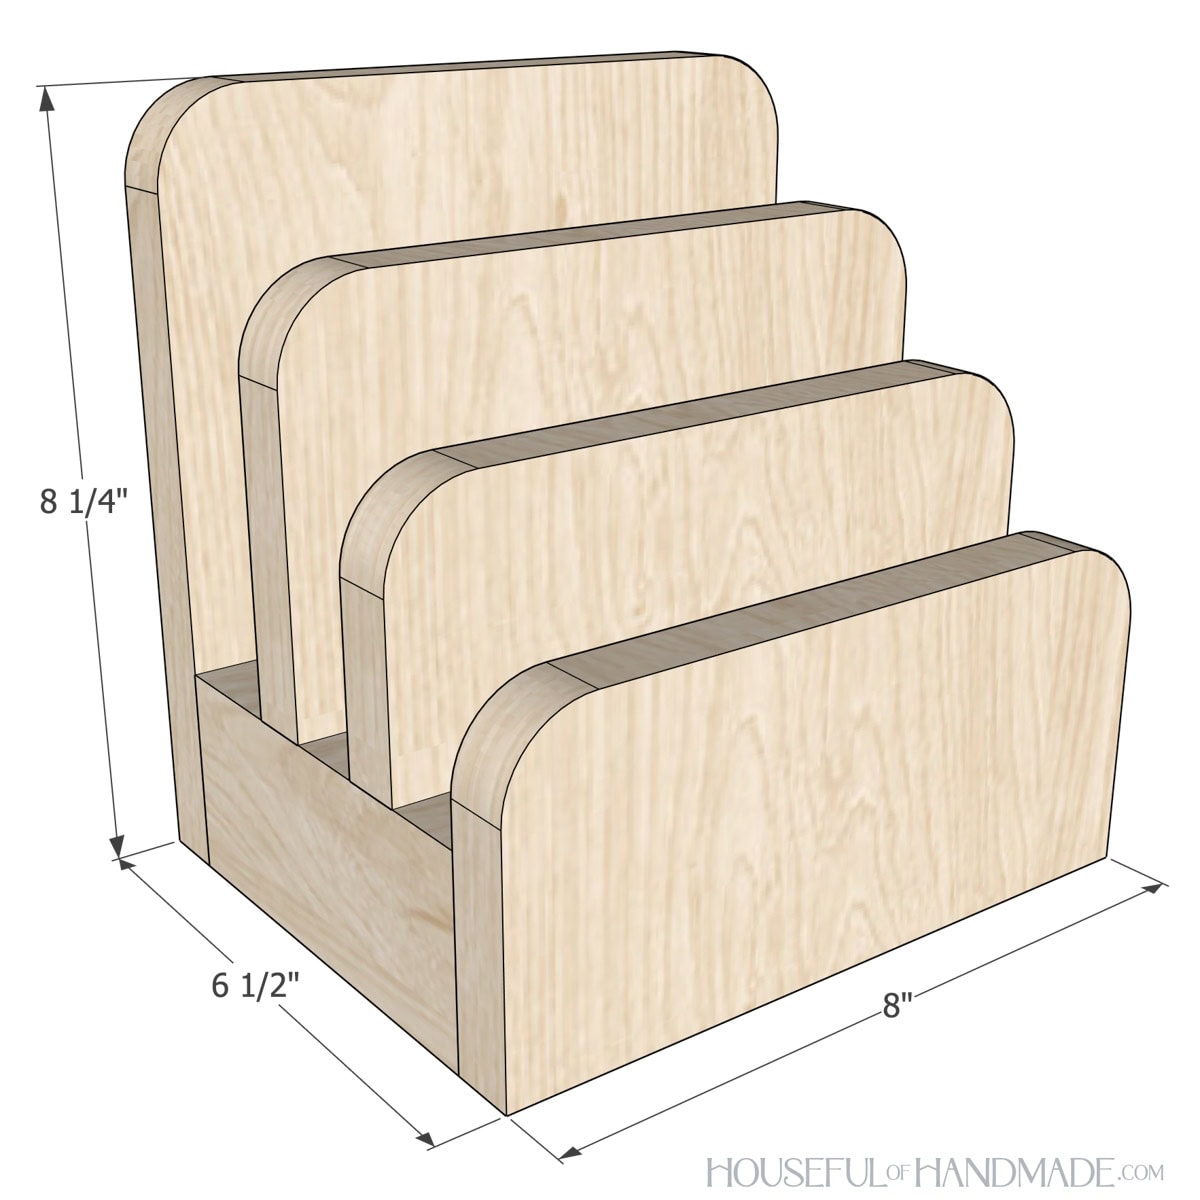
The finished tabletop charging station is 8″ wide by 6 1/2″ deep and 8 1/4″ tall. It will hold 3 devices, like a phone, tablet and laptop.
Cut List
Cut out the pieces according to the easy-to-read table in the PDF plans.

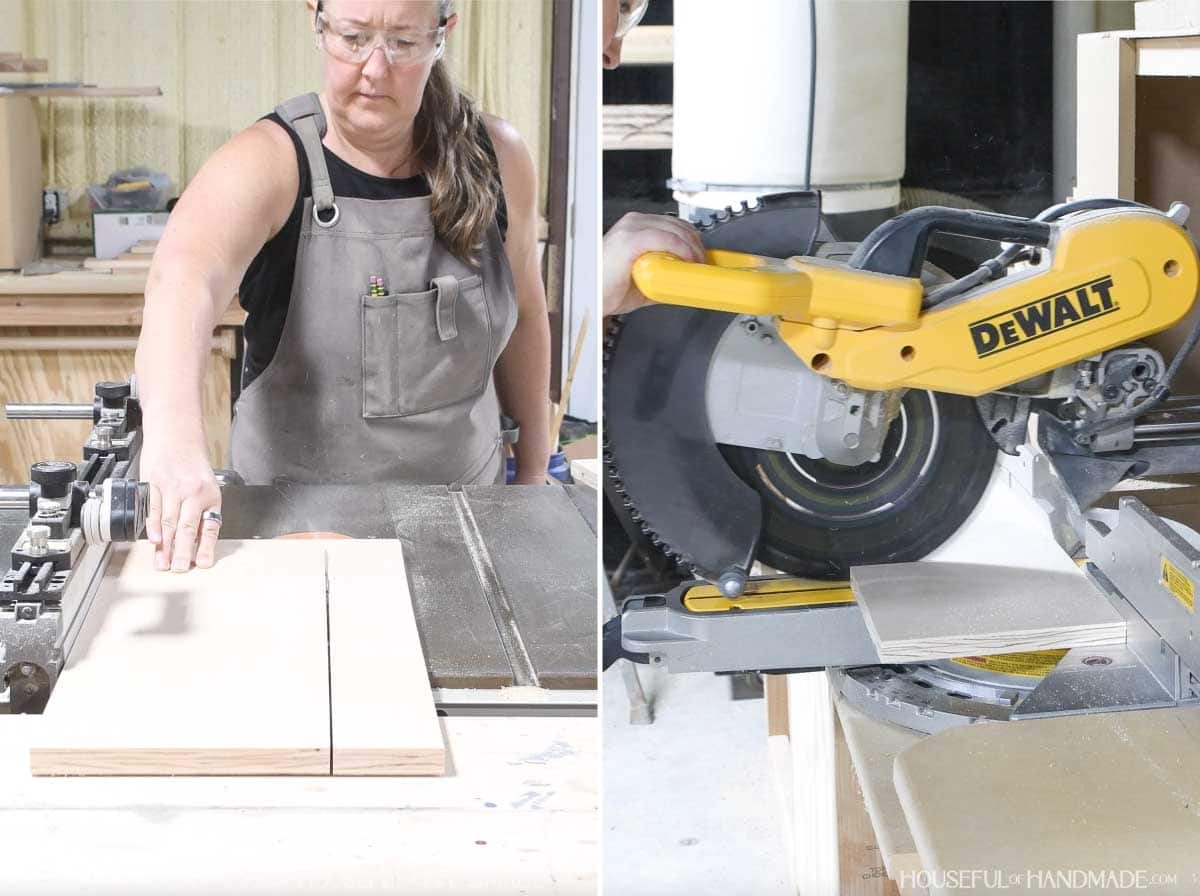
I ripped my plywood scraps into strips on the table saw, then cross-cut them to size on my miter saw.
You can also cut the boards to size with a circular saw.
STEP 1- Shape the dividers
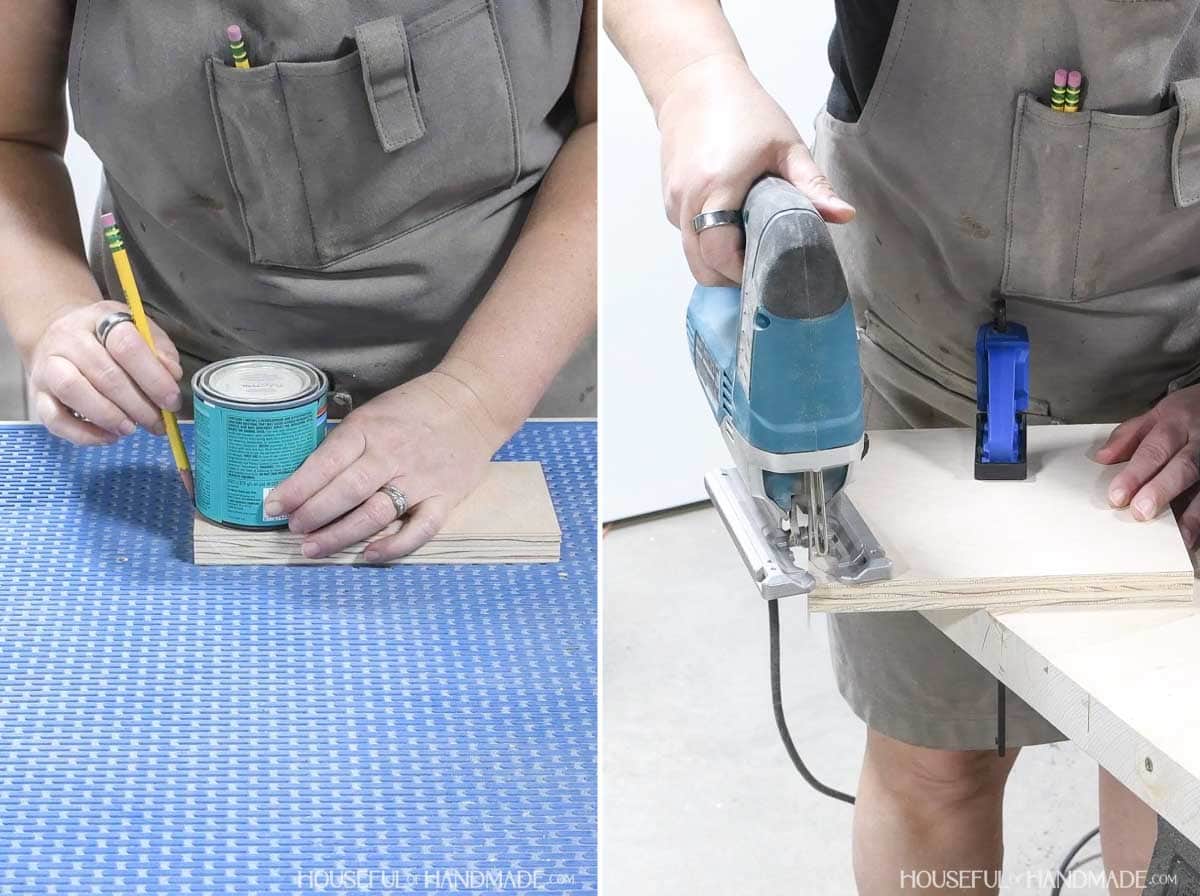
Add a curve to the top two corners of the front, back and divider boards. I used a small can of stain as a template for my curves.
Cut the curve out with a jig saw.
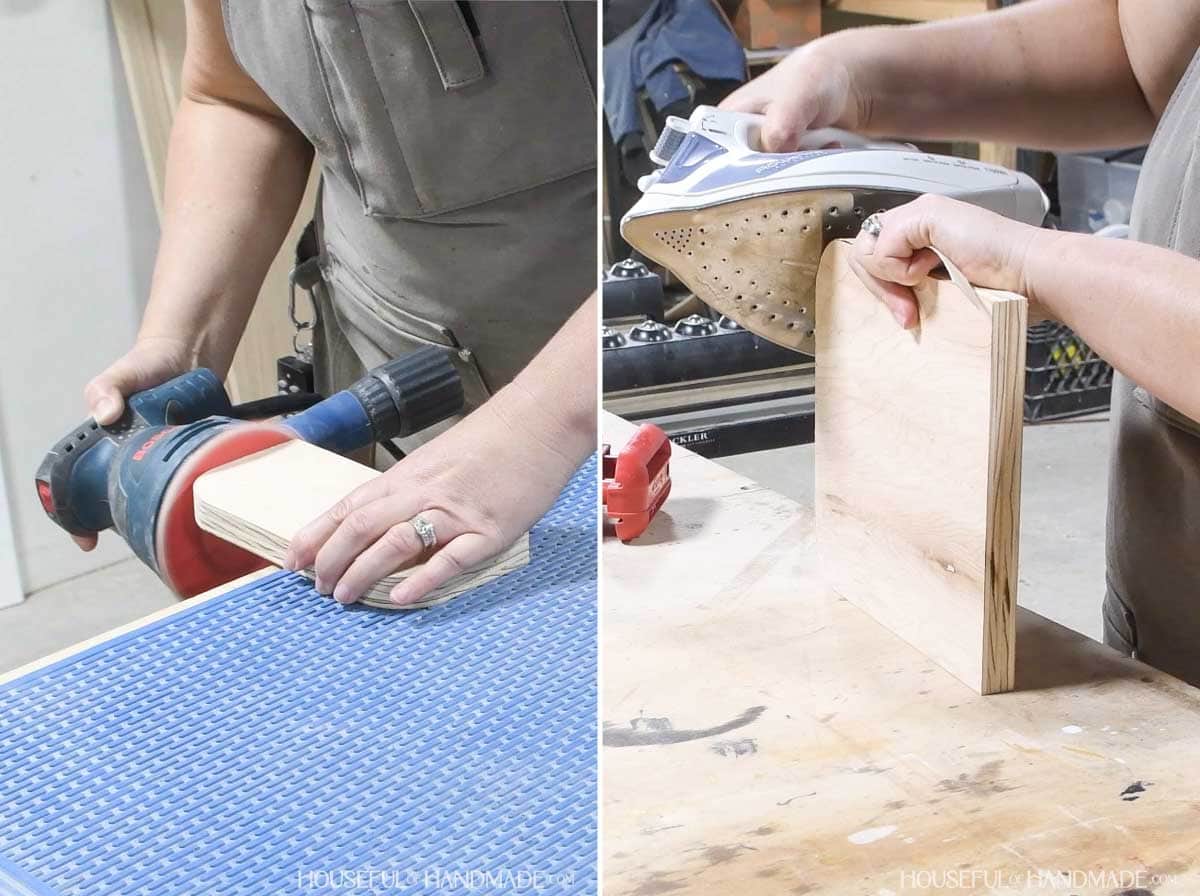
Sand the corners smooth. Then iron on edge banding on the sides and top of the boards if desired.
I found it challenging to add edge banding to the curves that were not perpendicular to the top/bottom of the pieces. So I ended up using my disk sander to sand the curves while keeping the back flat.
If you do not have one, you can skip the edge banding. Try painting the edges to give them a finished look instead.
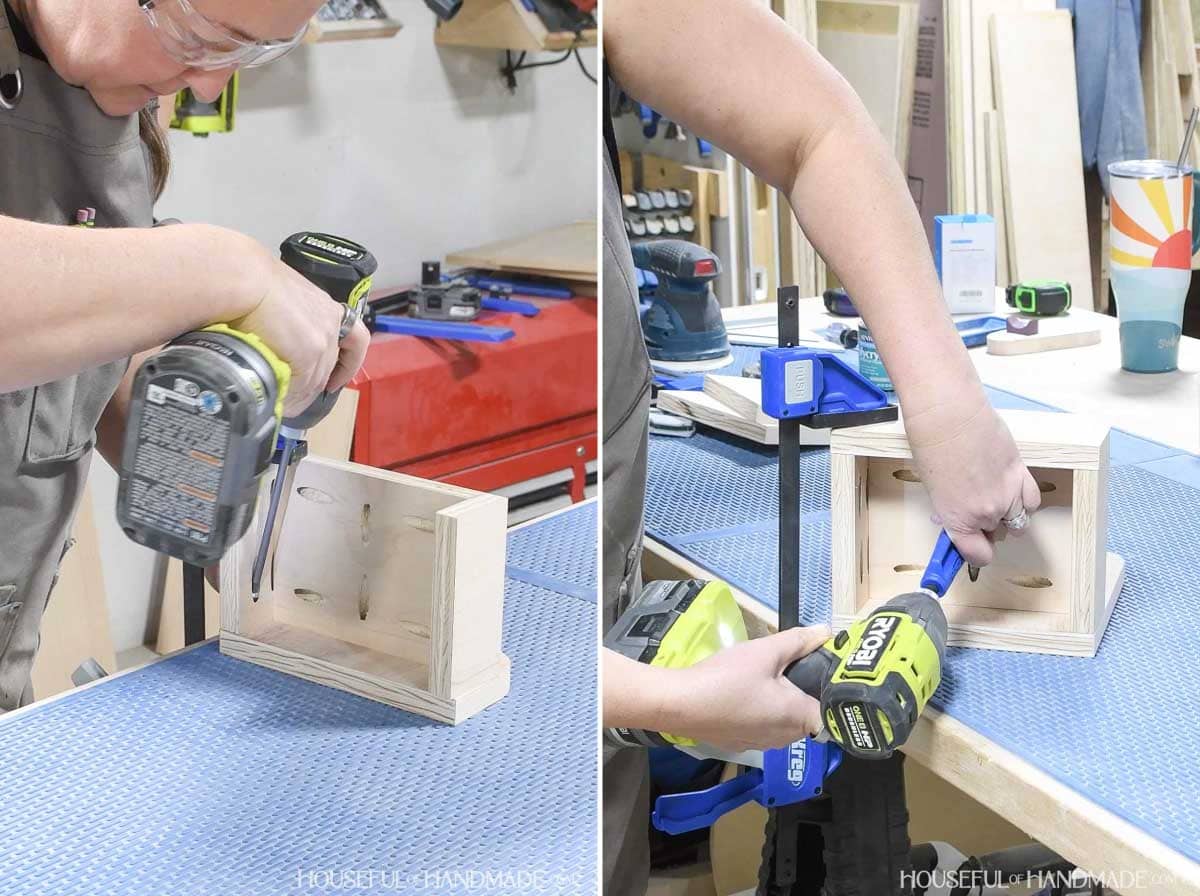
STEP 2- Build the base
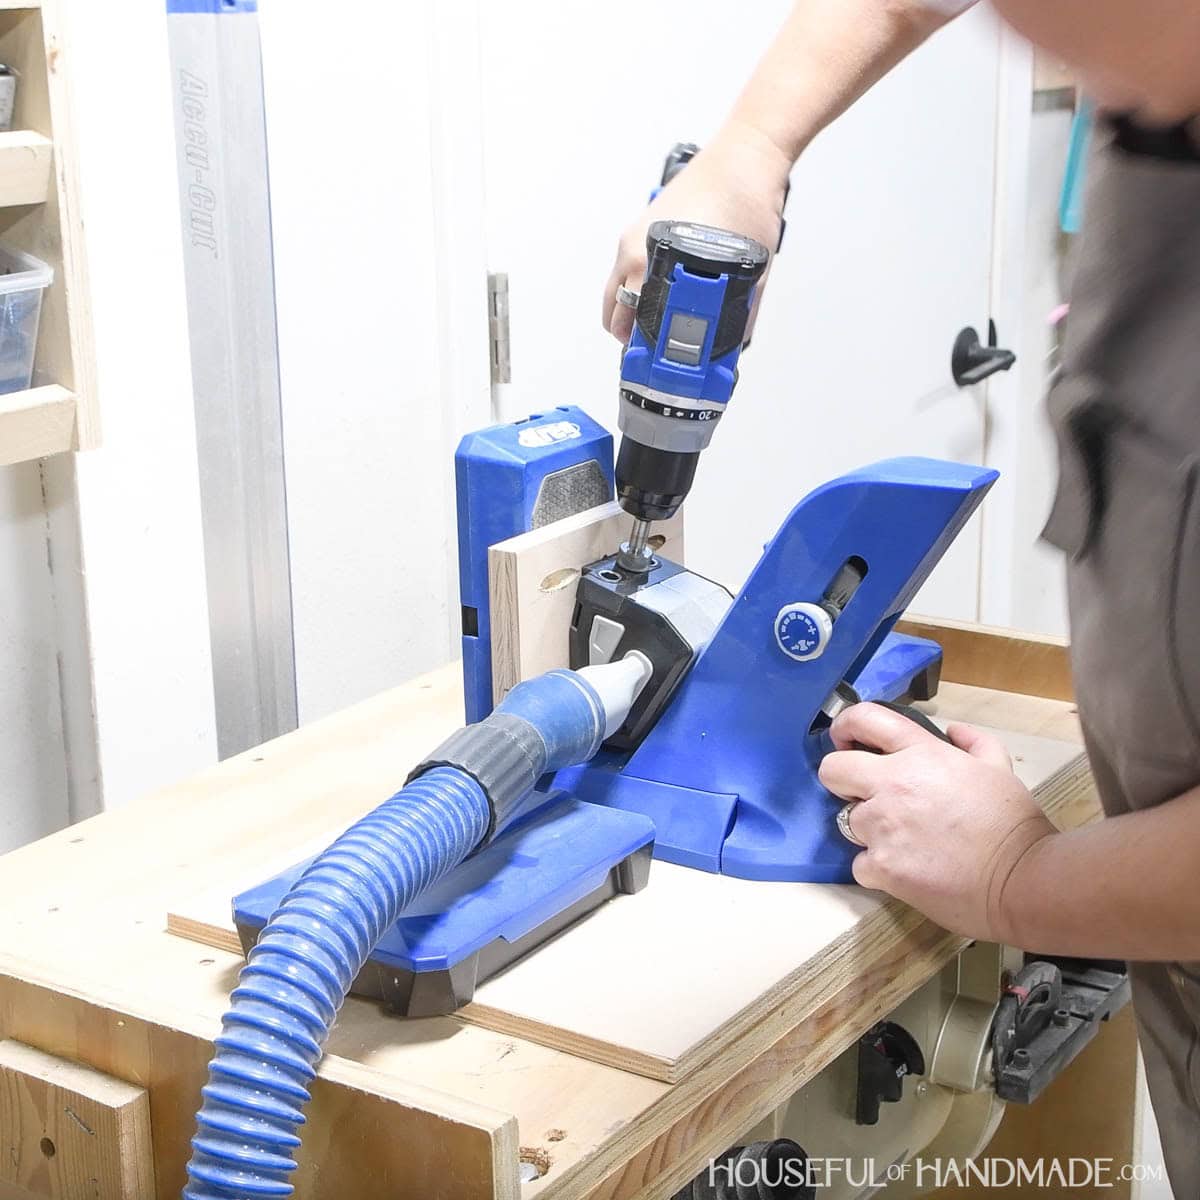
Set your pocket hole jig to drill holes in 3/4” thick material.
Drill two pocket holes in both ends of the base piece. Also add one pocket hole in the middle sides if it.
Drill one pocket hole in both ends of the side pieces. Make sure the hole is not too high that you cannot access it when the base is attached.
If desired, add edge banding to the top edge of the side pieces.
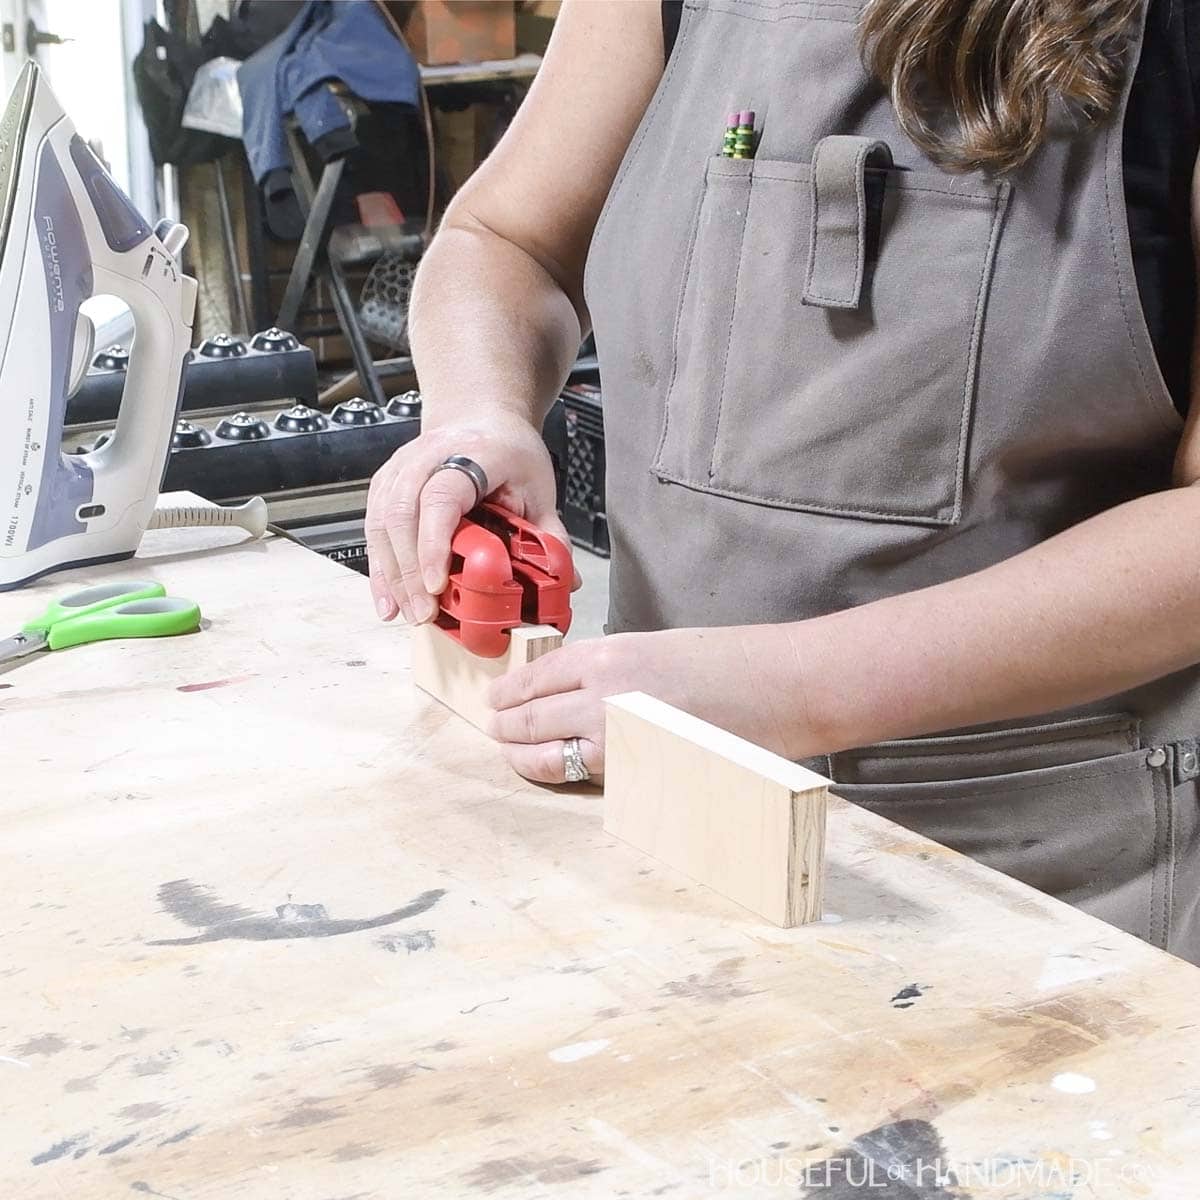
Then attach the two side pieces to either edge of the base so the top is flush.
Secure with glue and 1 1/4” pocket hole screws. You will need a 90 degree adapter for your drill bit to get into the tight space.
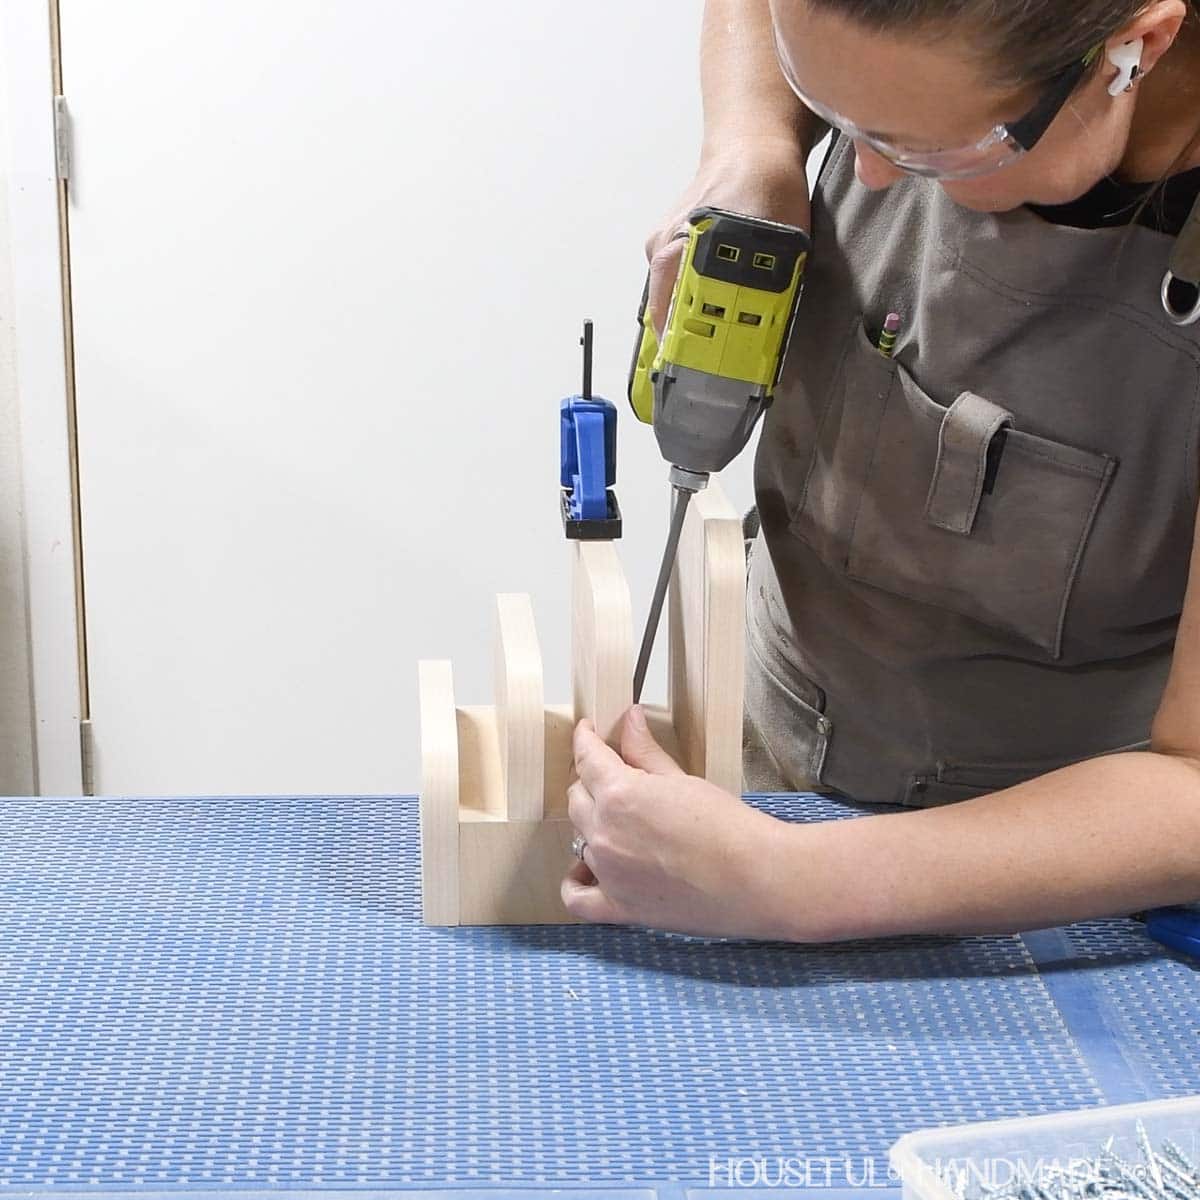
STEP 3- Attach the dividers
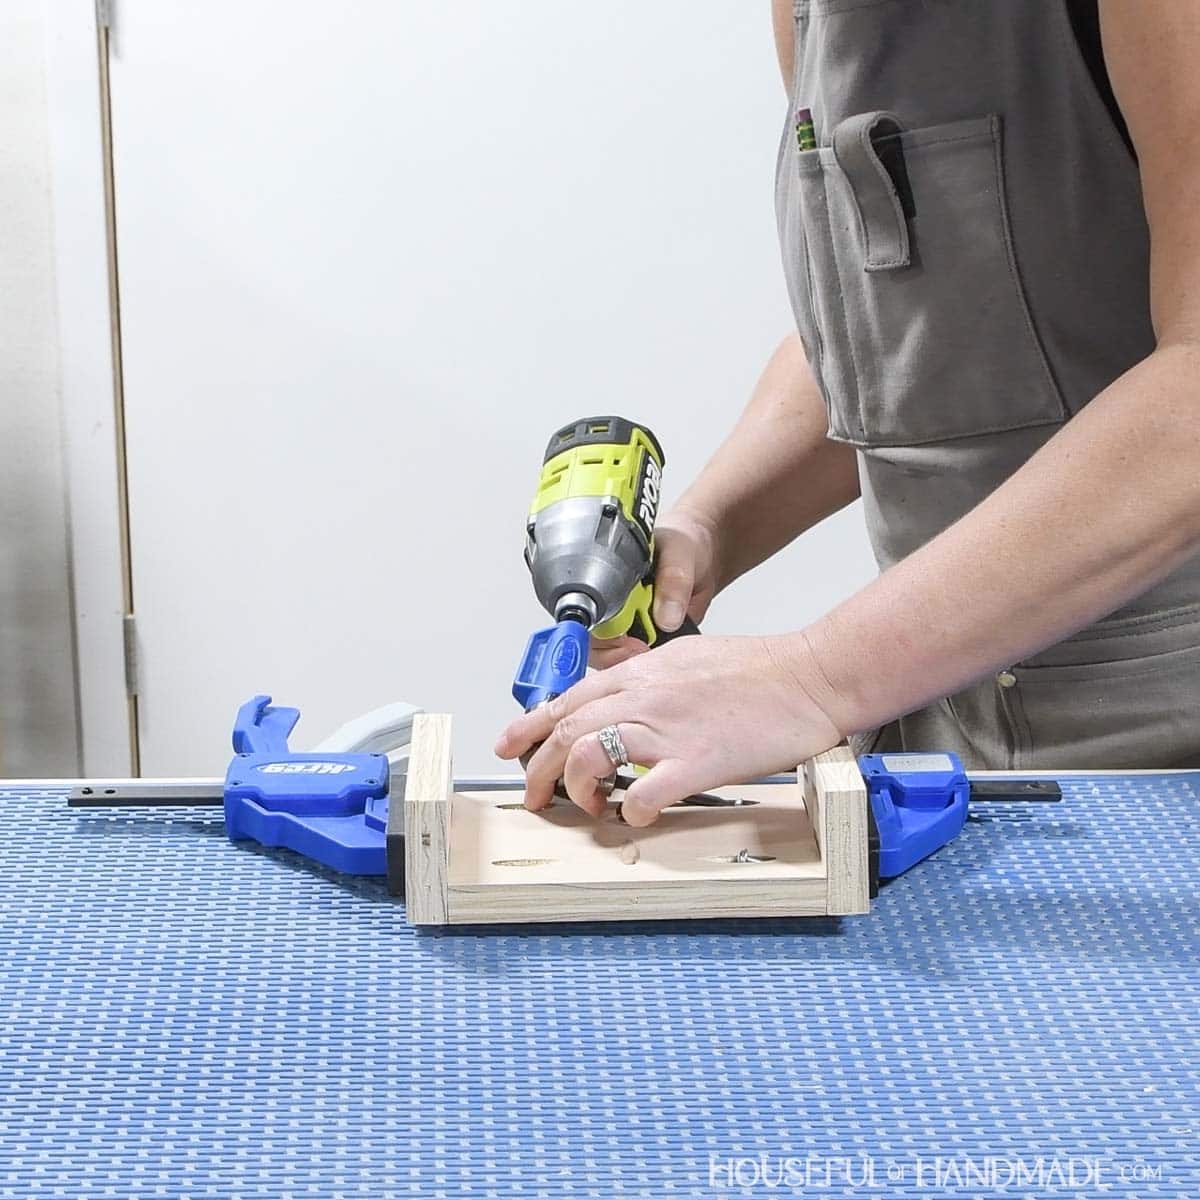
Attach the front and back pieces to the base so they are flush to the sides and bottom.
Secure with glue and 1 1/4” pocket hole screws through the holes in the back of the base and sides.
You will need a 90 degree adapter for your drill bit to get into the tight space.
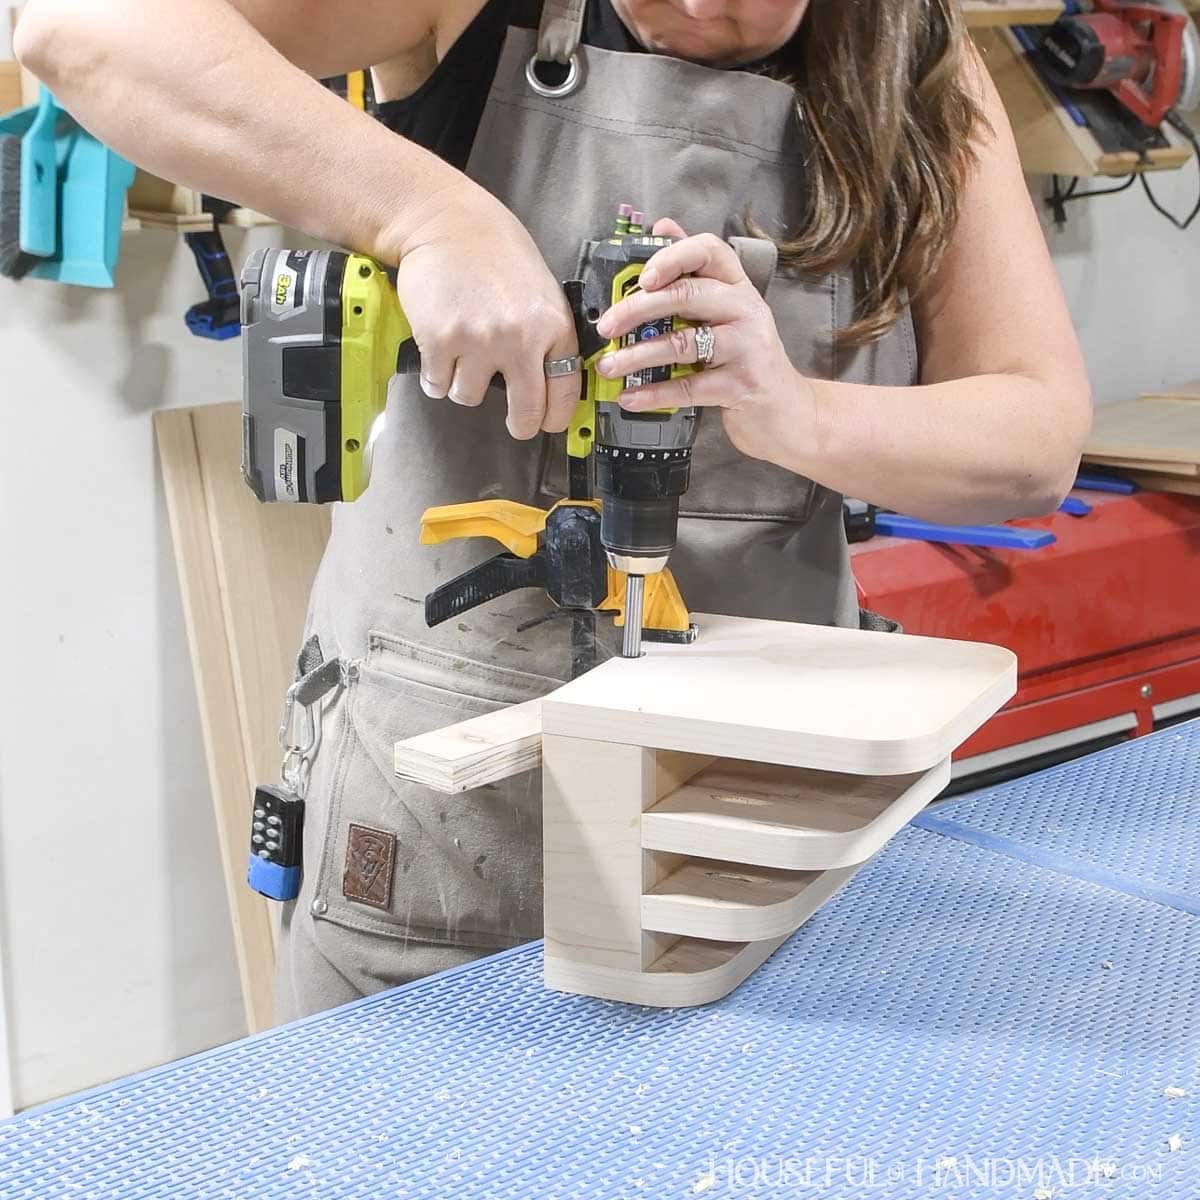
Drill 2 pocket holes in the bottom of the large and small divider pieces on the back.
Position the two middle dividers according to the diagram in the plans.
Secure the dividers to the base with glue and 1 1/4” pocket hole screws.
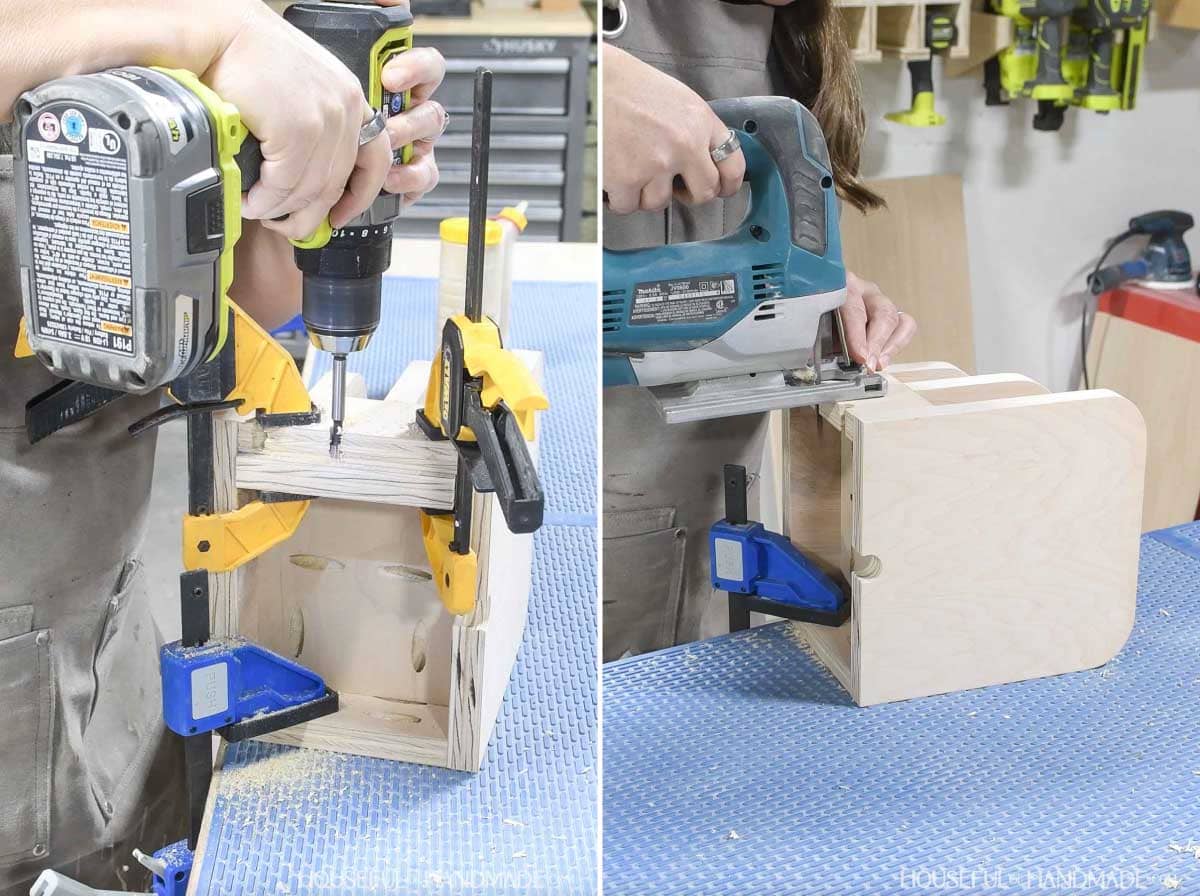
STEP 4- Finish
On the back, drill a 5/8” hole in the center bottom. Then use a jig saw to cut away the sides to create a U shaped hole.
EXPERT TIP:
Clamp a scrap piece of wood under the hole to prevent the board from splitting in the back.
On one side, drill three 3/8” holes in the bottom of the board. Then cut away the sides to create a U shape.
Center the holes on the side under the space between the dividers.
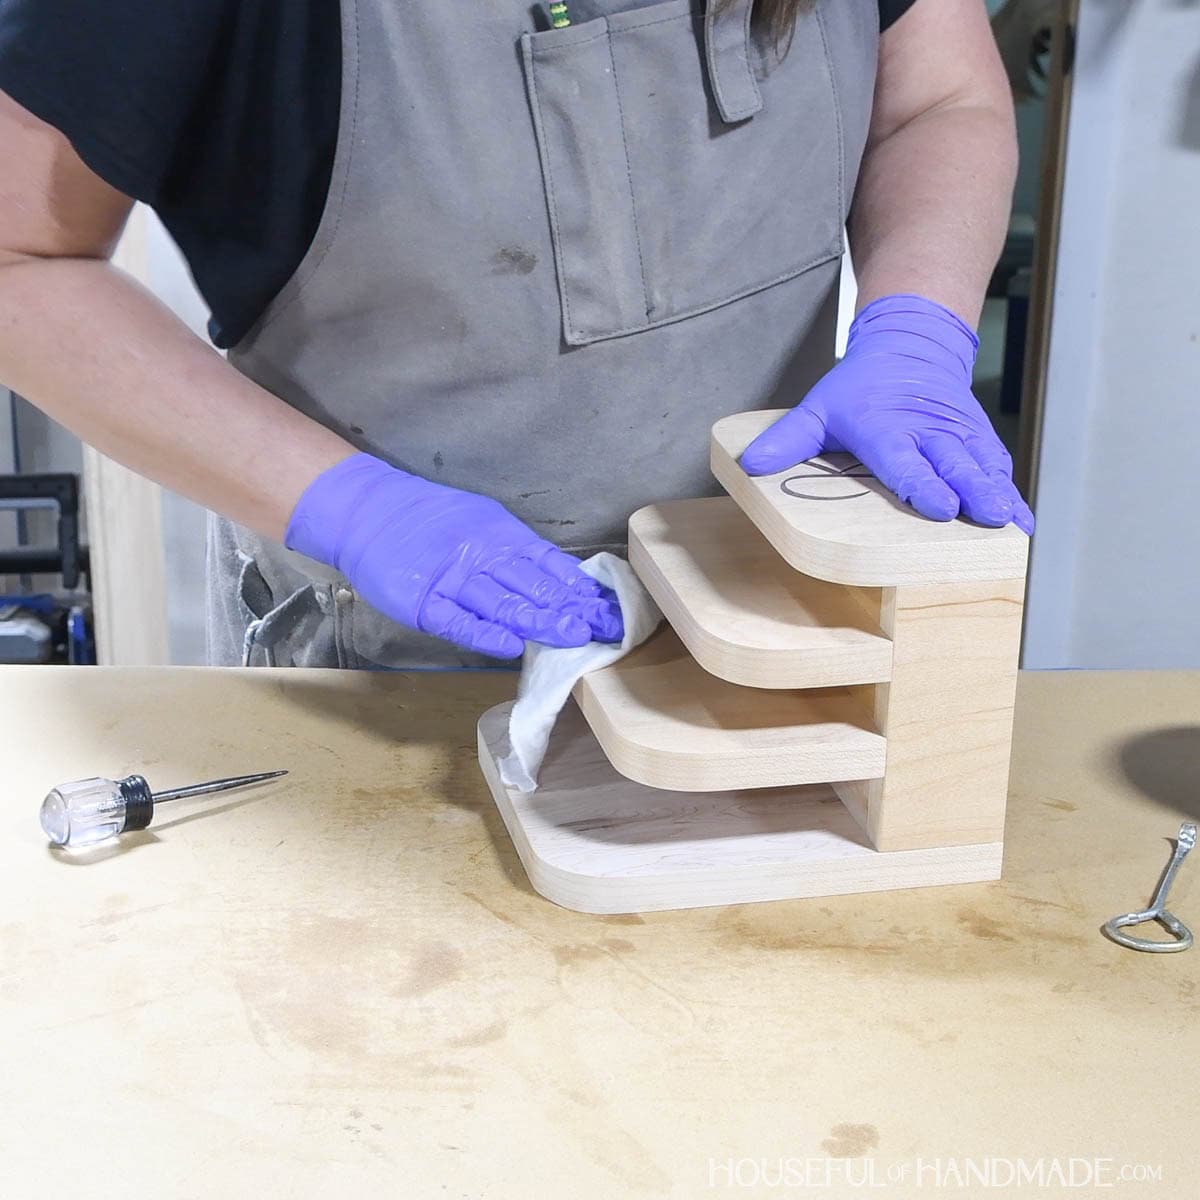
Sand and finish the charging station.
I added a faux laser engraved monogram to the front of the charging station. This way everyone knows who’s devices are.
Learn how to fake laser engraving on wood here.
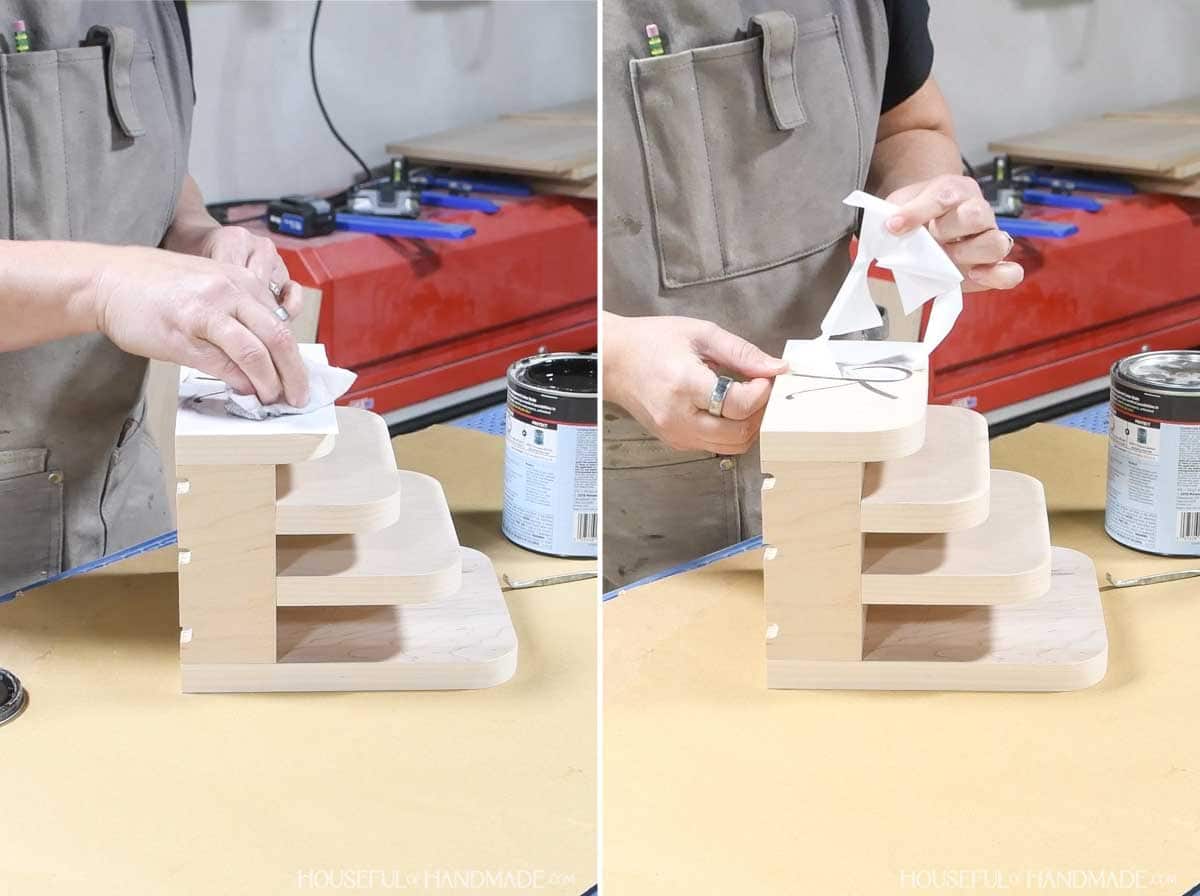
Then I sealed the charging hub to protect it.
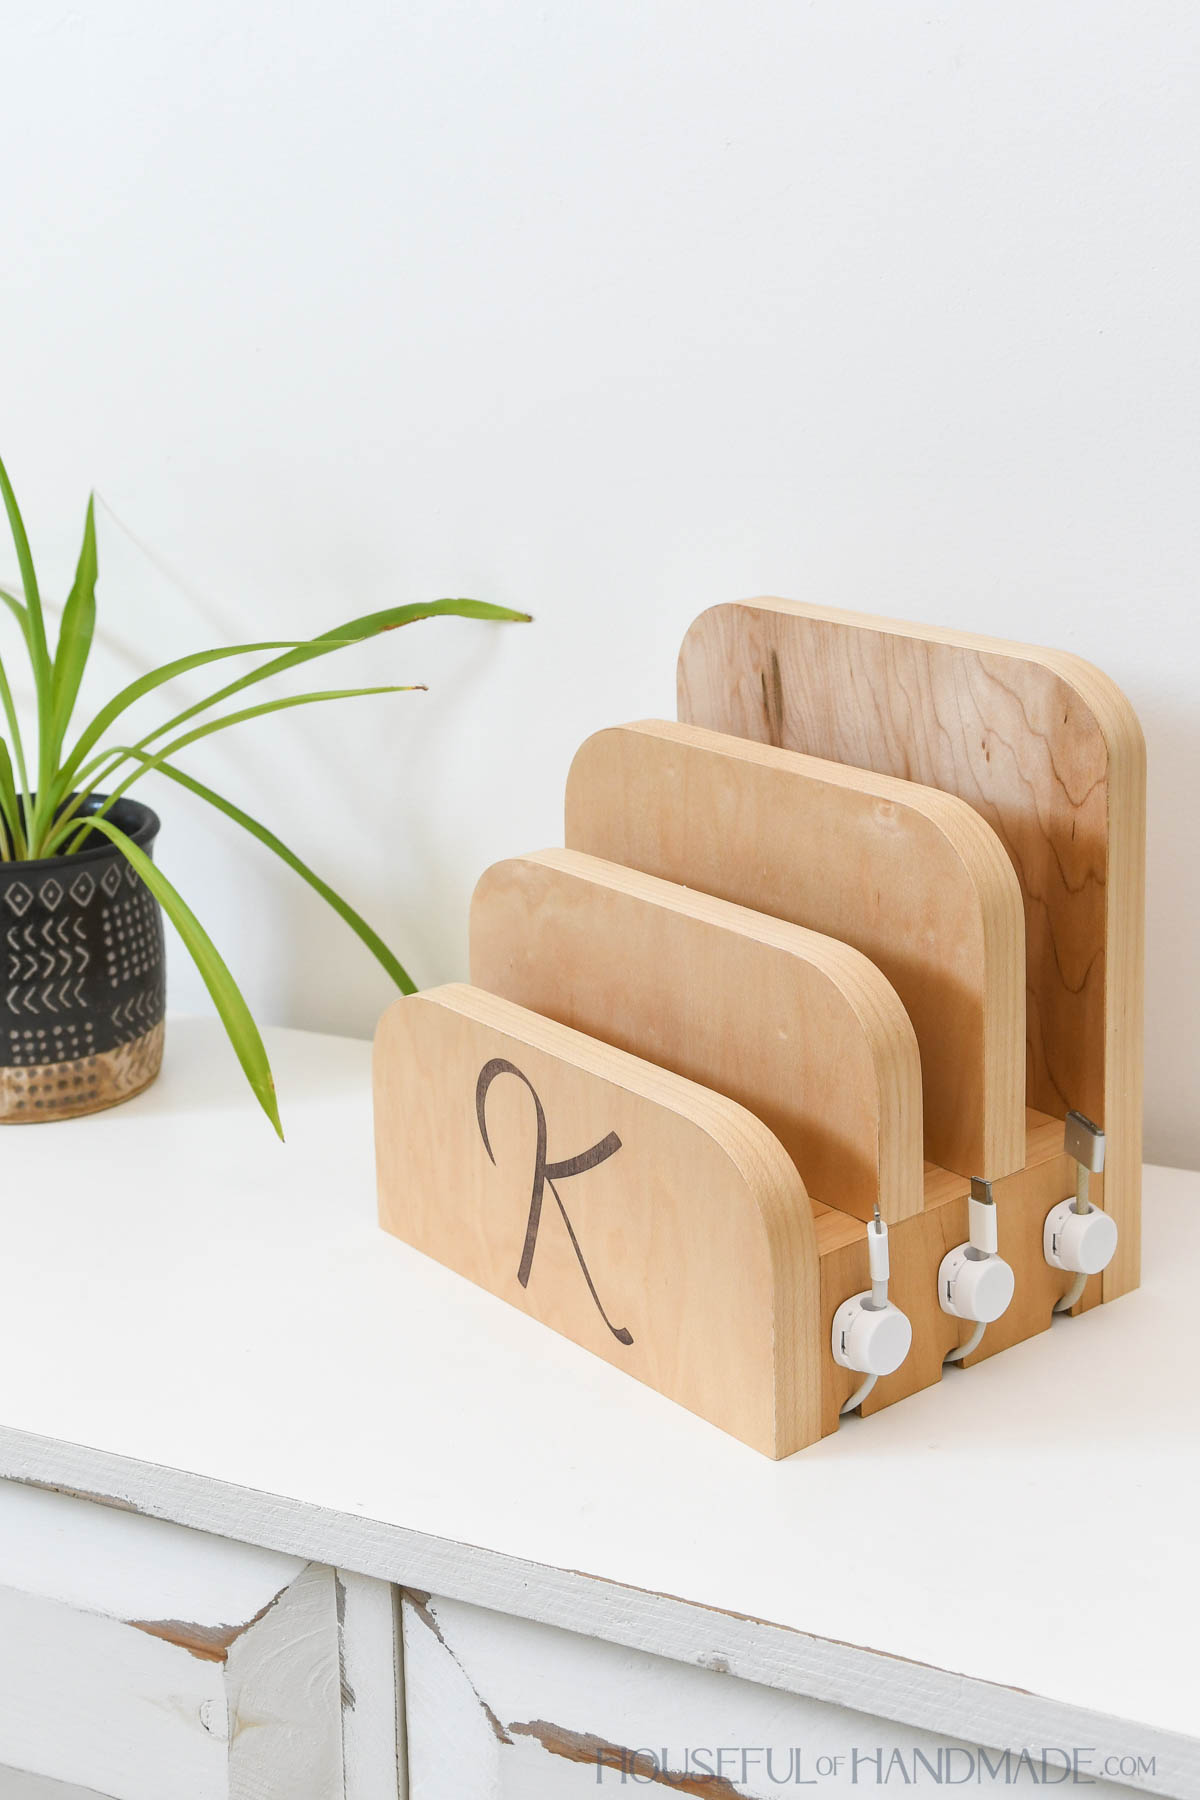
Add cord clips the side above the holes if desired. These will prevent the cords from falling and going back under the base.
Premium plans include:
- Recommended Tools
- Shopping list
- Easy to read cut list table
- Cut diagrams
- Step-by-step instructions with 3D renderings
- Helpful resources
- BONUS: 3D SketchUp file
You did it!
Now you can place all your charging cords inside the base and thread the charging ends through the small holes.
Enjoy not ever having to look for your charger again.
Happy building!
