To say my son is a reader is an understatement. He devours books. Any books.
But he cannot ever find a bookmark when it is time to put them down. Paper bookmarks get lost too easy, so I built a wood book rest instead!
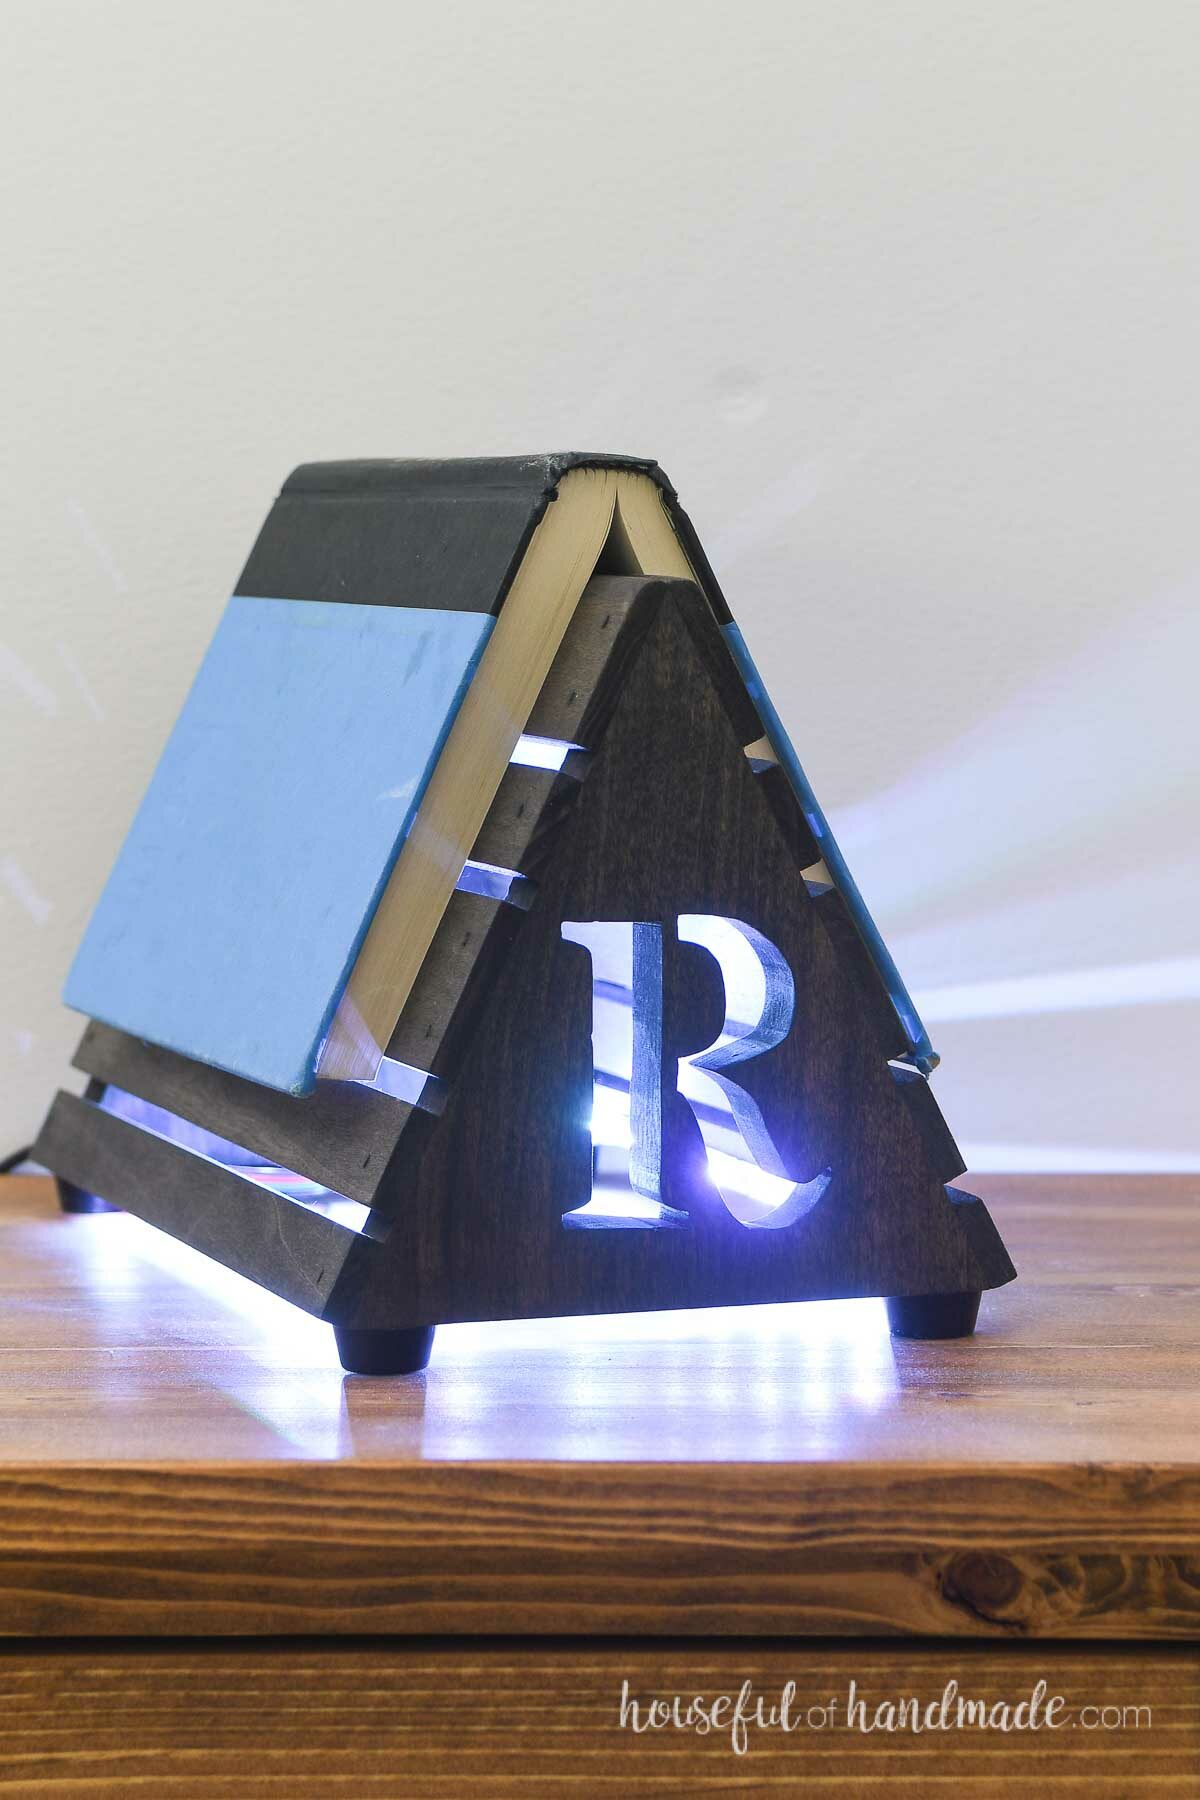
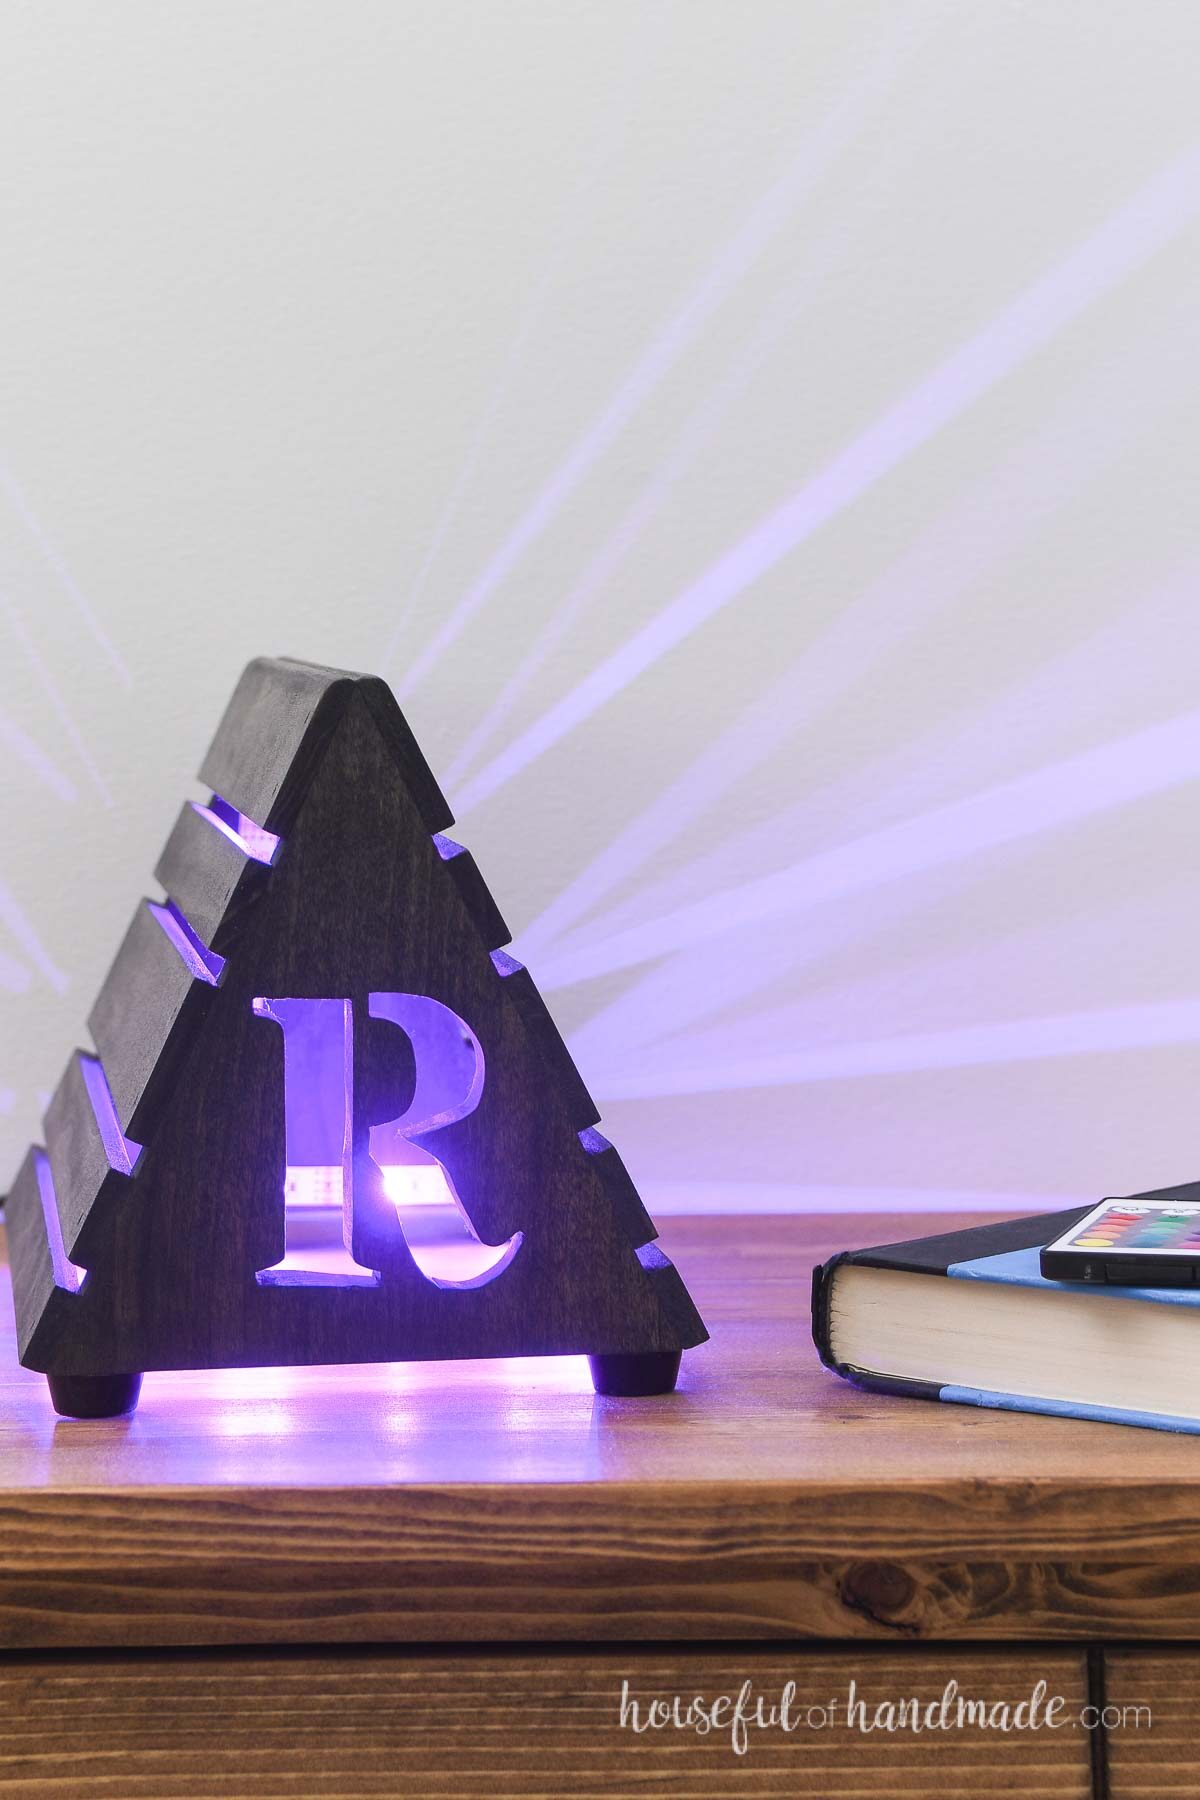
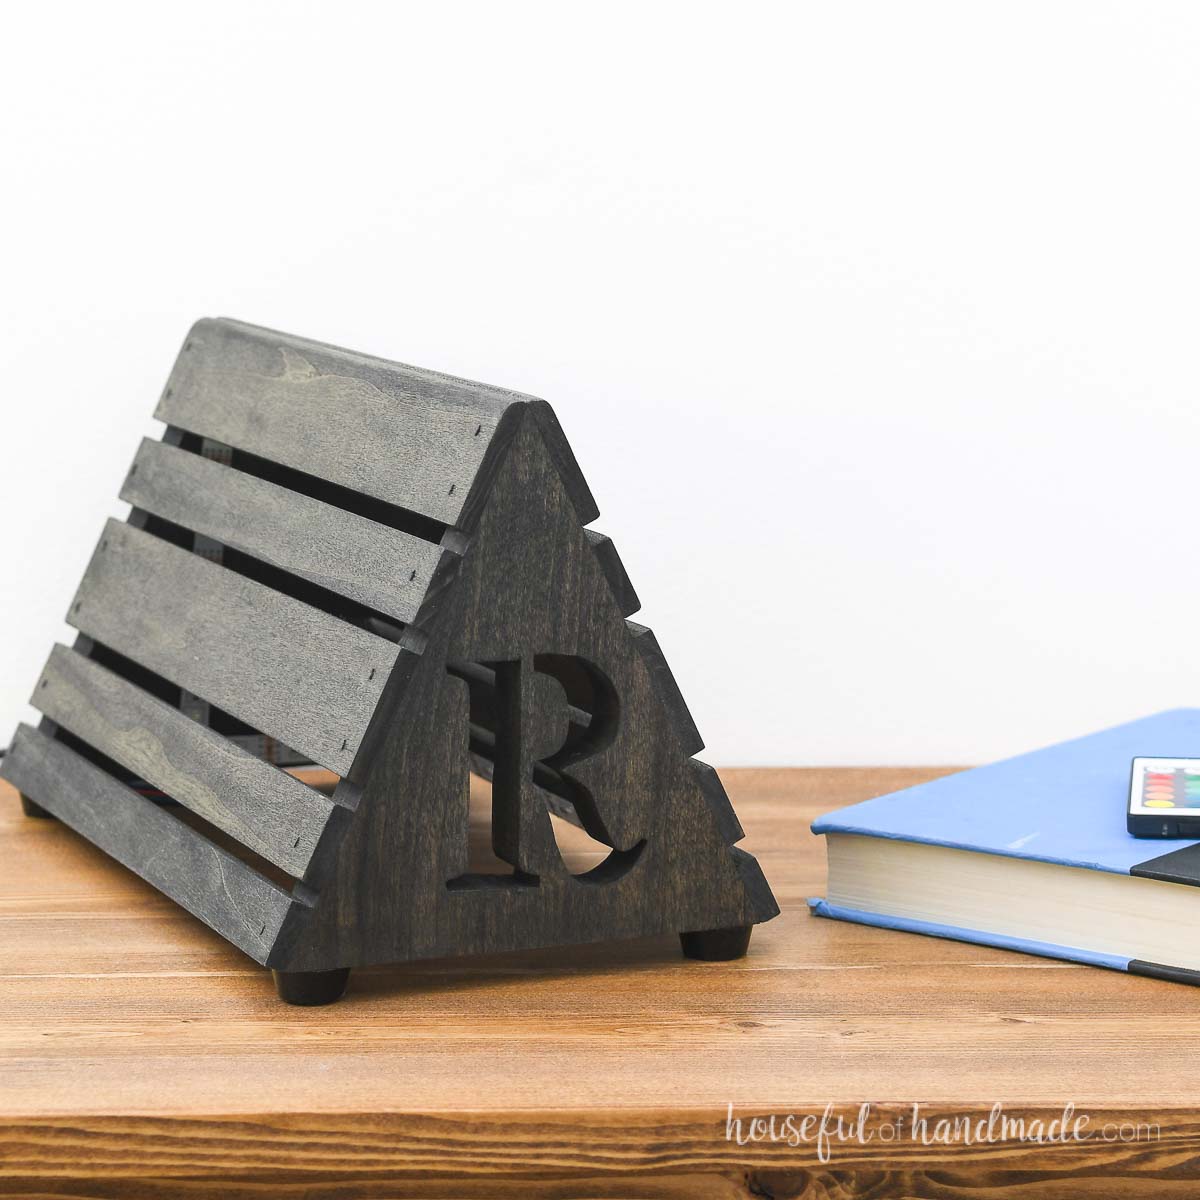
This nightstand bookrest will be the perfect gift for him. And to make it extra special I personalized it and added lights.
This post may contain affiliate links. As an Amazon Associate I earn from qualifying purchases. Click here to read my full disclosure policy.

Bookmark with Lights
A wood bookmark is very handy to save your spot in your book. But you can also turn it into a handy nightlight too.
This book rest has a cutout initial on the front. You can personalize it any way you want.
If you do not have a jigsaw, you could also add a variety of holes with a drill in a pattern or random like stars.

This book rest is longer than other triangle bookmarks I have seen.
It allows plenty of room to hold a full size book plus still have the lights shine.
But you can always adjust your book rest to be shorter or longer. Make it extra long to hold 2 books if you like to have options during reading time.
How to Make a Wood Book Stand
Tools & Materials
Recommended Tools:
- Miter saw
- I recently upgraded to this larger sliding miter saw (watch for it to go on sale), but all my projects before were built with this inexpensive miter saw that I loved.
- Jig saw
- Kreg Adaptive Cutting System (ACS)
- Drill
- Impact driver (optional, but I love not having to switch bits on the drill)
- Speed square
- Brad nailer
- Sander
Supplies:
- Wood products
- (1) 1×6 board, 1′ long
- (2) 1/4″ x 1 1/2″ board, 4′ long
- 5/8″ brad nails
- Wood glue
- Small LED light strip
- (4) cutting board feet
Overall Dimensions
The finished book rest is about 6 1/2″ tall by 6″ wide and 10″ long.
STEP 1- Cut the front and back
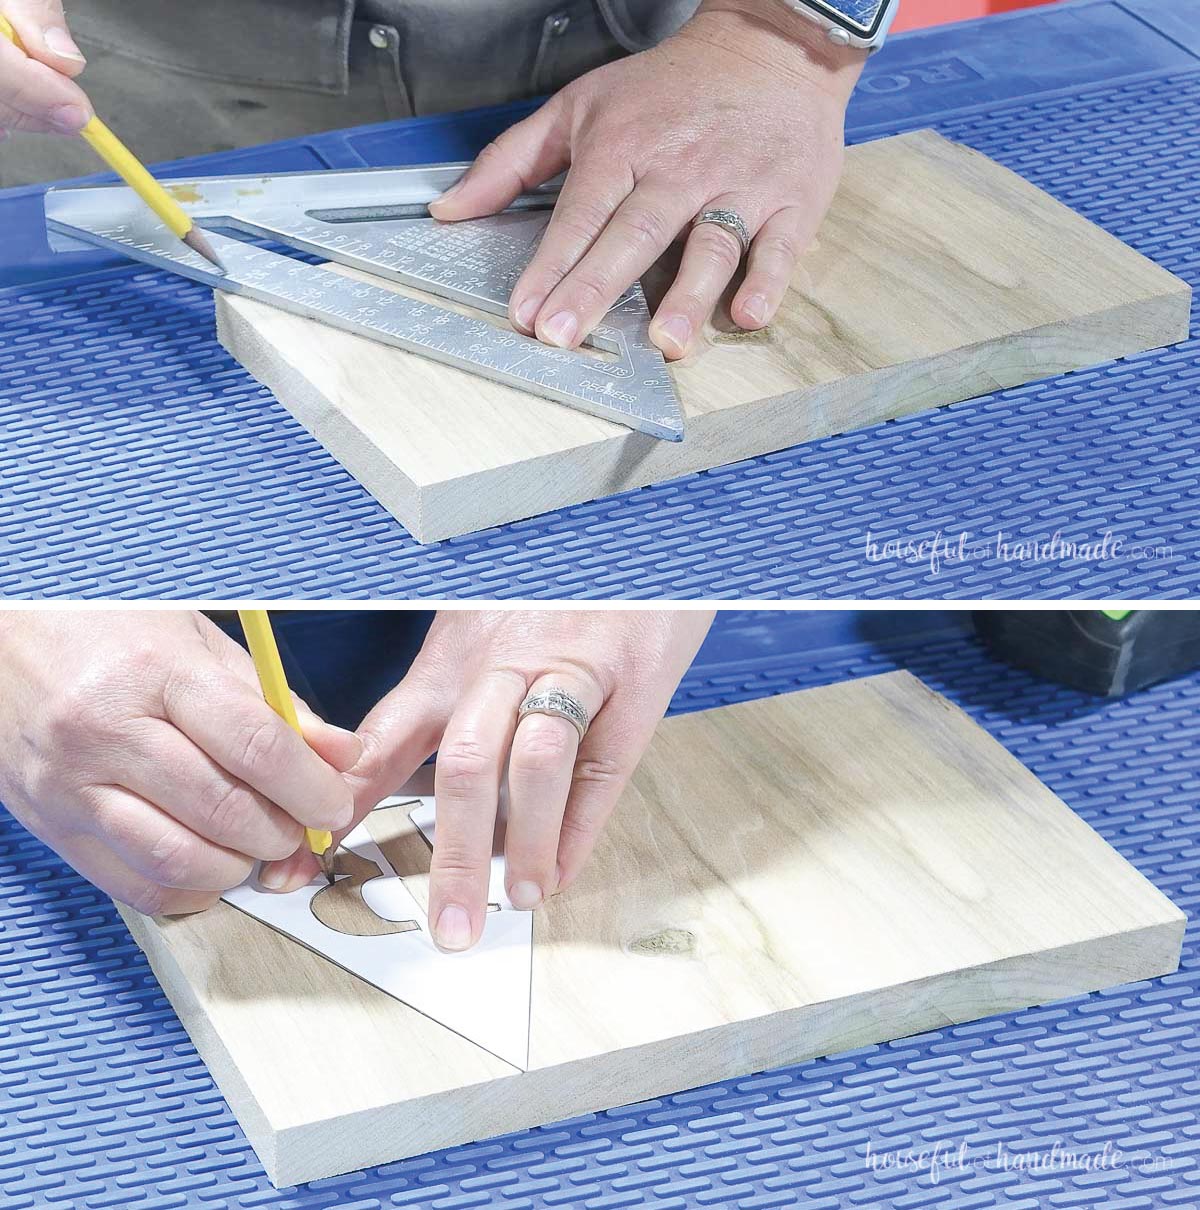
Cut a 6″ piece from your 1×6. On one side, make a mark in the center (2 3/4″ in from each side).
Draw lines from the bottom corners to this center mark on the top to create a triangle.
I used a scrap of 1×10 board and cut both triangles from it instead of using (2) 6″ 1×6 boards. So go through your scrap bin and see what you have to make the triangles.
If you want to add a monogram to the front to personalize the book stand, draw a stencil initial (I used a font on my computer) on the front piece.
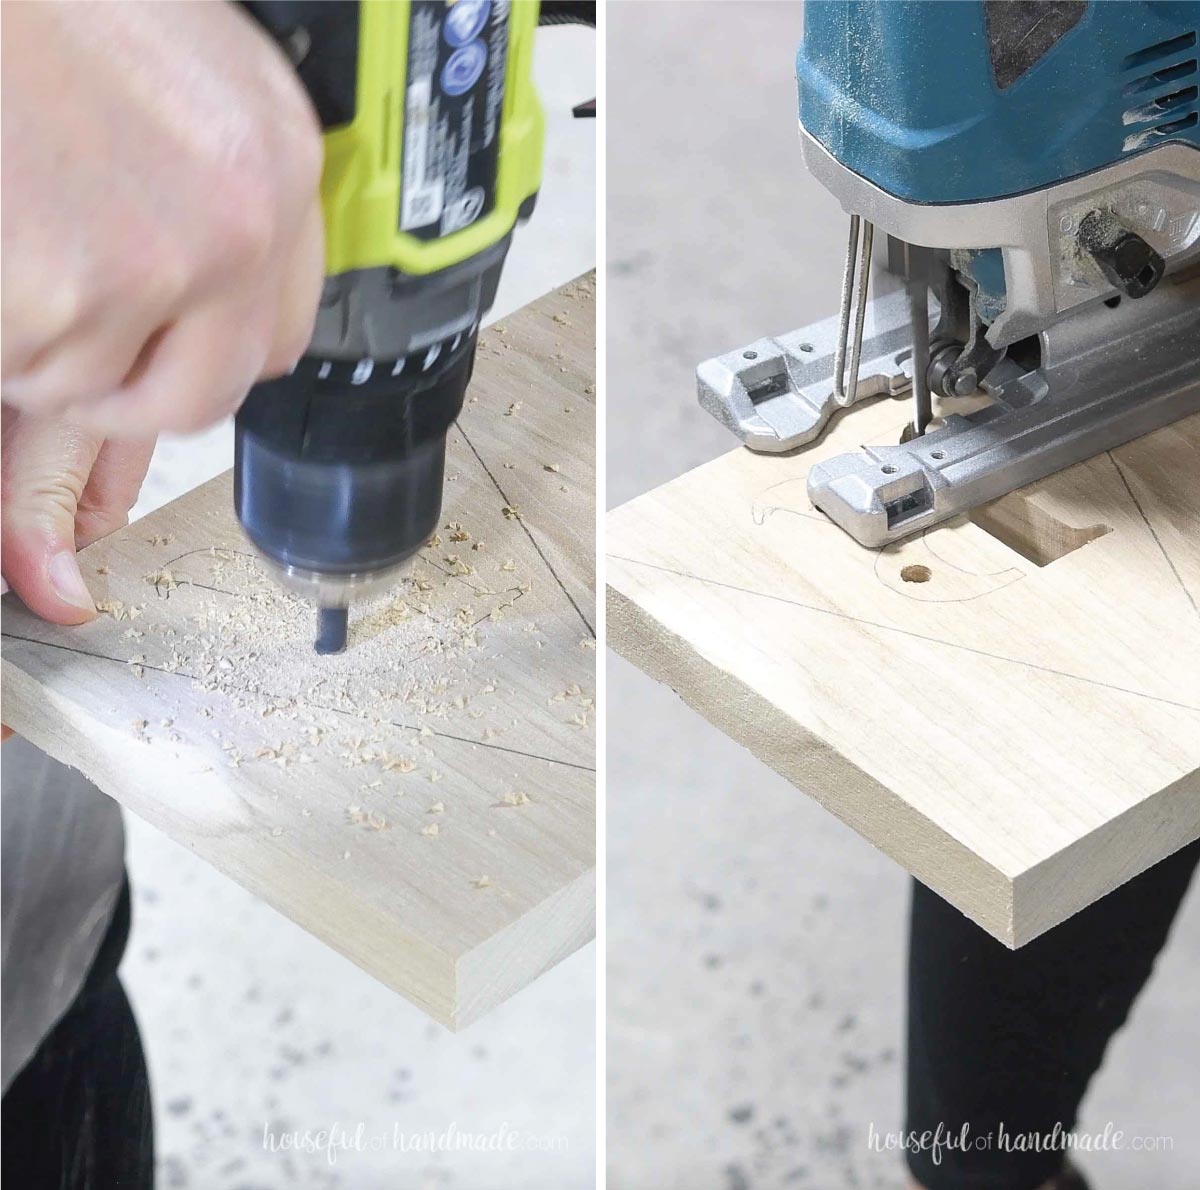
Drill a hole big enough for your jig saw blade.
Cut out the monogram stencil. You will have to make lots of little cuts to go around the small corners and curves. Take your time and go slow.
EXPERT TIP:
Use a scroll blade in your jig saw made for detail cutting to get into the small corners on the monogram.
You want to cut out any personalization before cutting the triangle so you have plenty of room to clamp the piece while cutting.
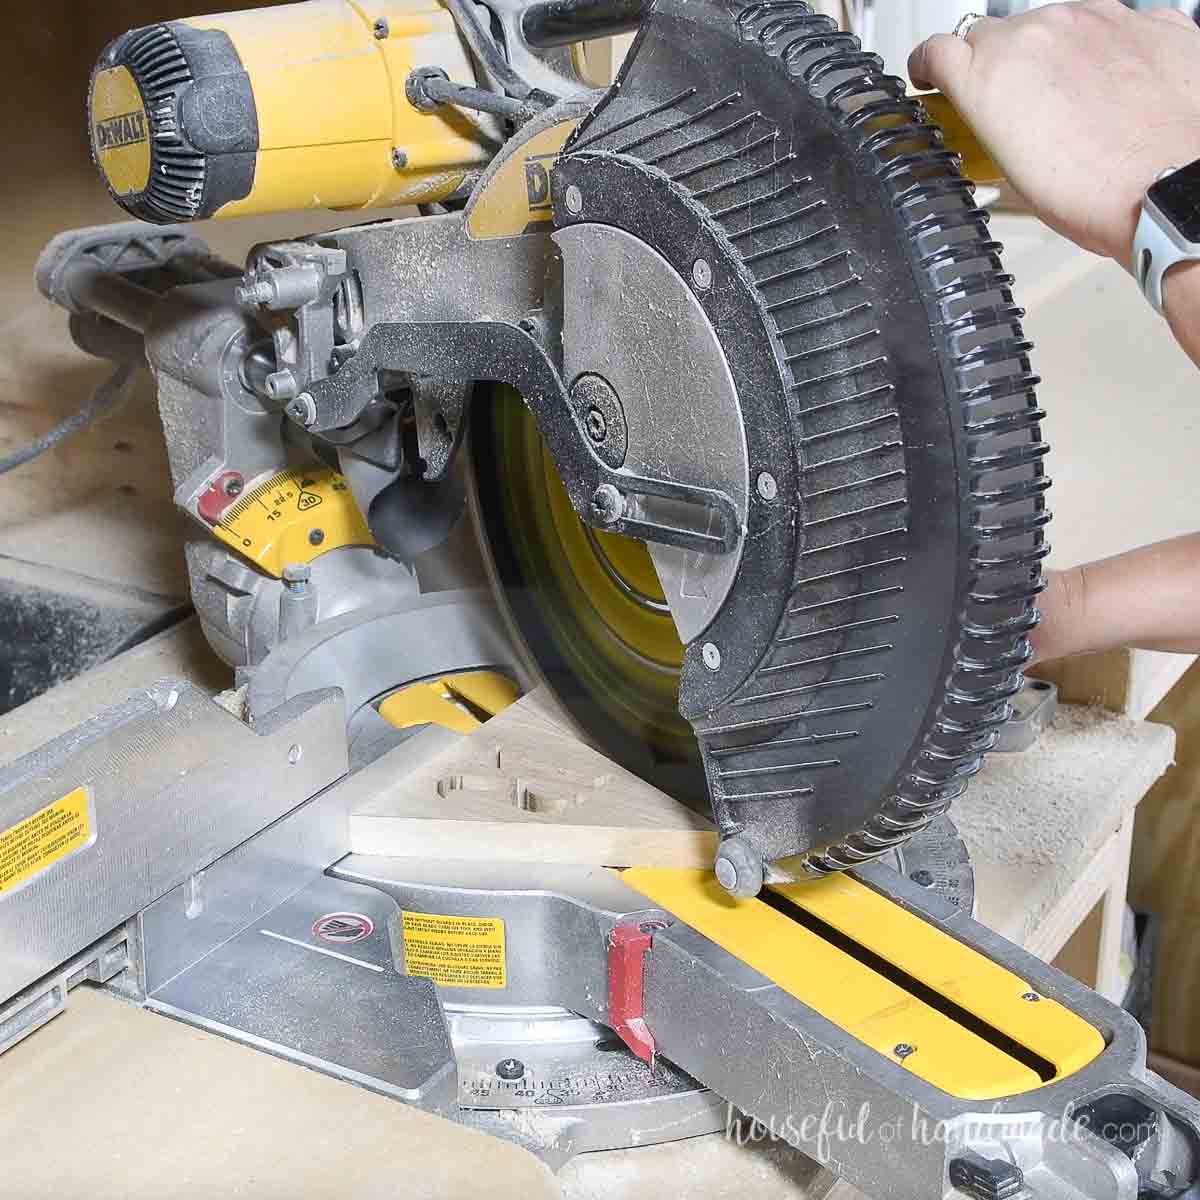
Then use your miter saw to cut out the triangle.
Turn your blade to match the line you drew on the piece. Mine was a 25 degree angle.
Cut a second triangle for the back.
EXPERT TIP:
Hold the two triangles together to make sure they are the same size before moving on. If they are not, your book stand may not be flat on the bottom.
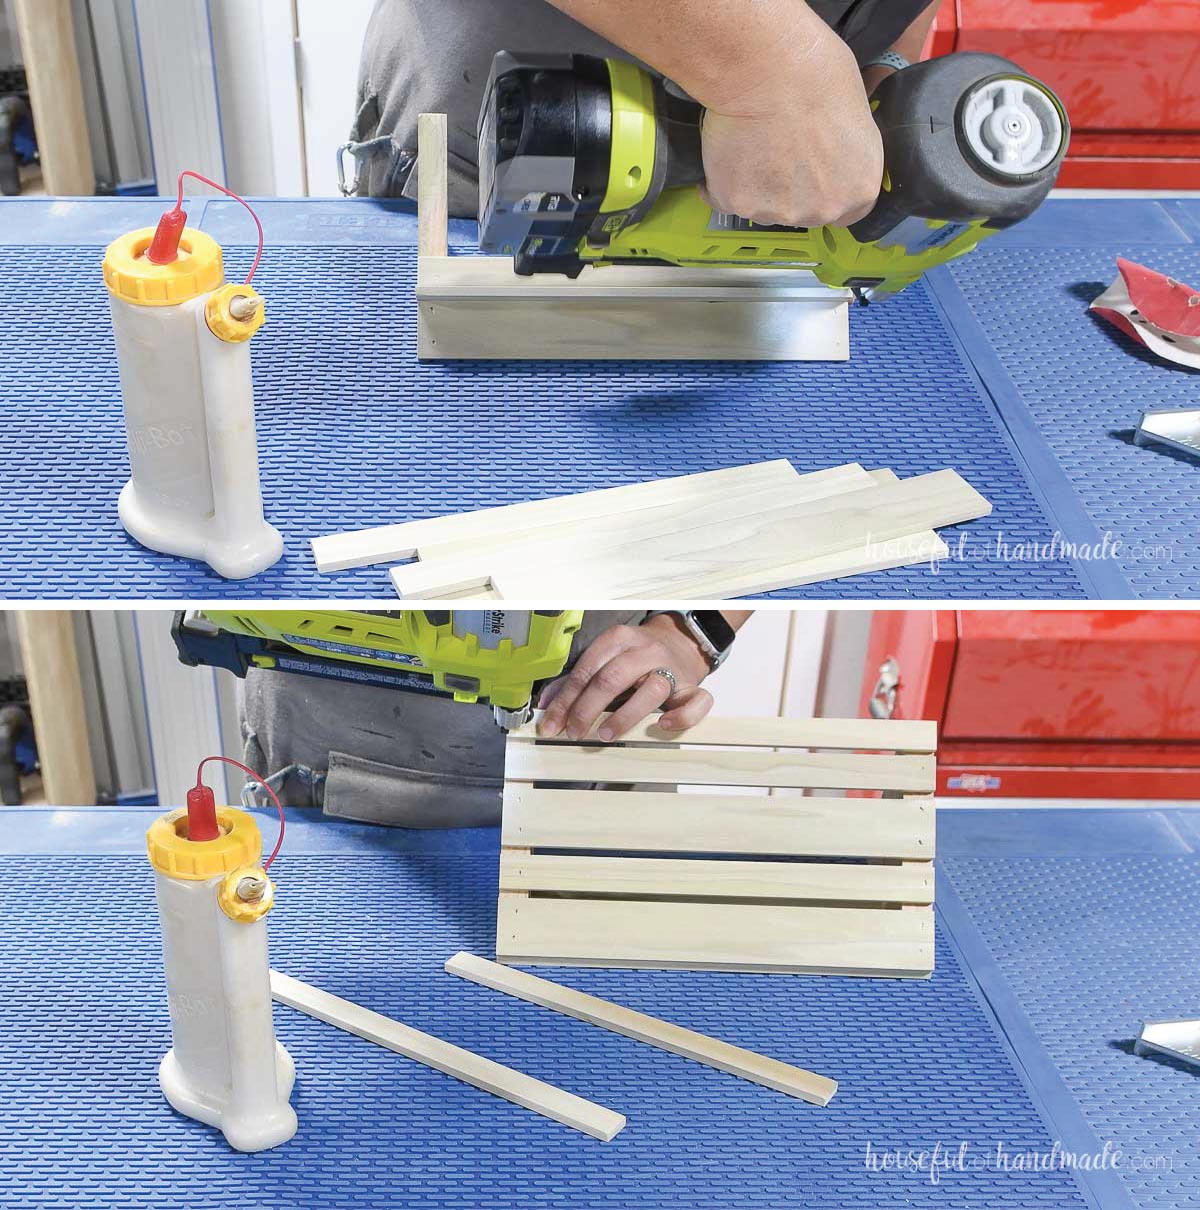
STEP 2- Add the slats
Cut the 1/4″ project board so you have four 10″ long pieces for each side.
I used some scraps I had laying around so some of my pieces were 1 1/2″ wide and others were 3/4″ wide. So you can use what you have.
With 1 1/2″ wide pieces, 4 will fit nicely on the side with 1/4″ gaps.
The top should be flush with the top of the triangle. On the bottom one, the gap might have to be slightly bigger or smaller, just line it up with the bottom of the triangle.
Attach to the side with wood glue and brad nails.
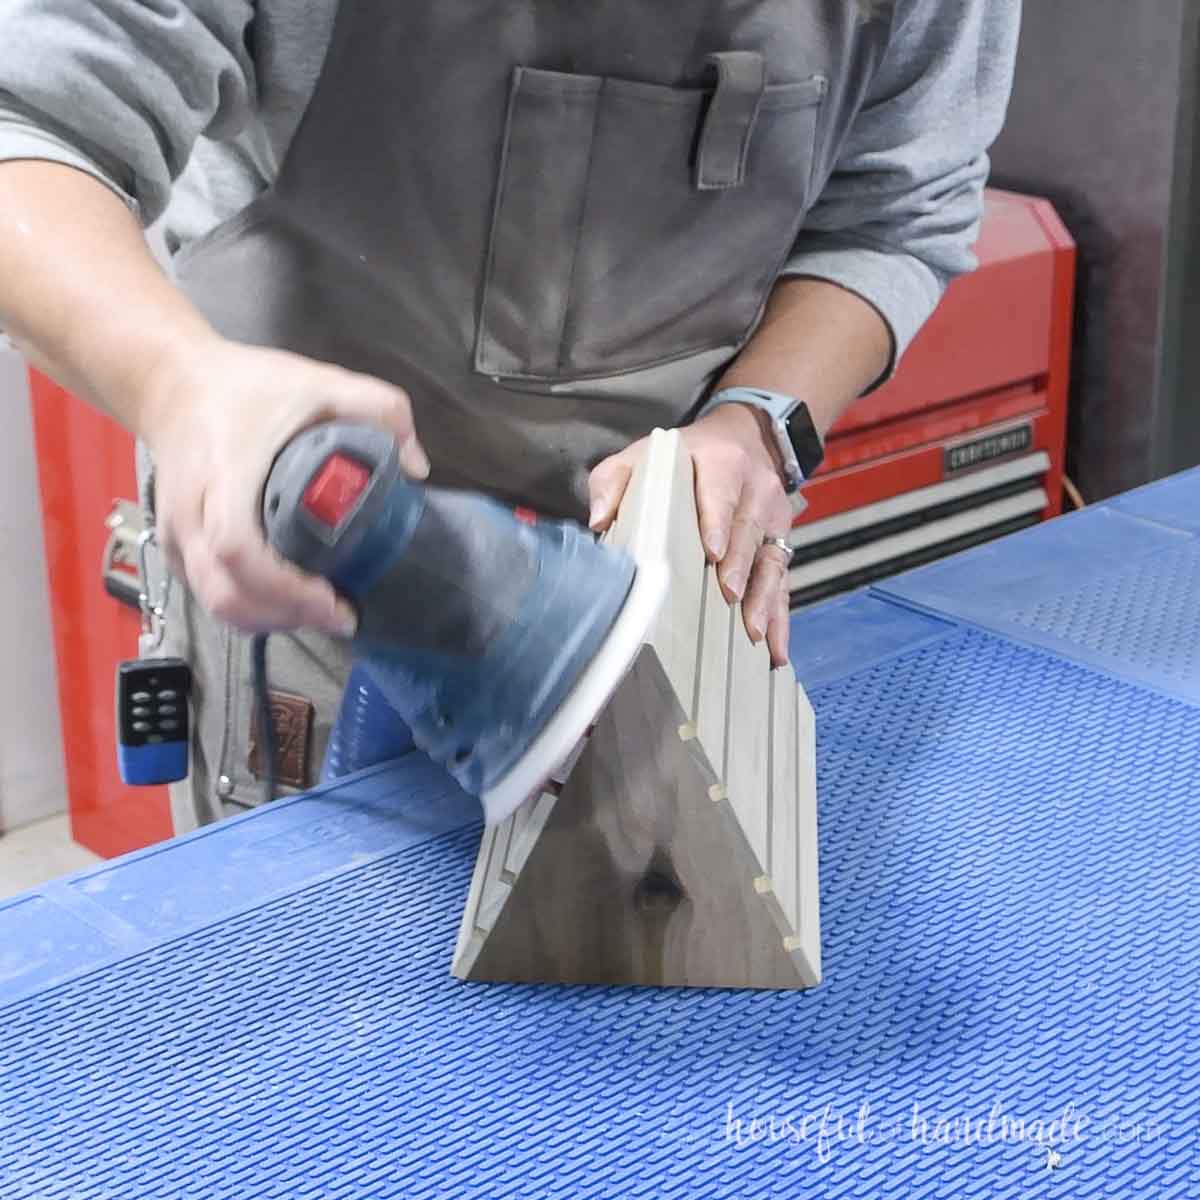
STEP 3- Sand and finish
Sand the bookmark stand.
When sanding the top, curve over the edges of the 1/4″ slats so they create a curve on the top instead of a V.
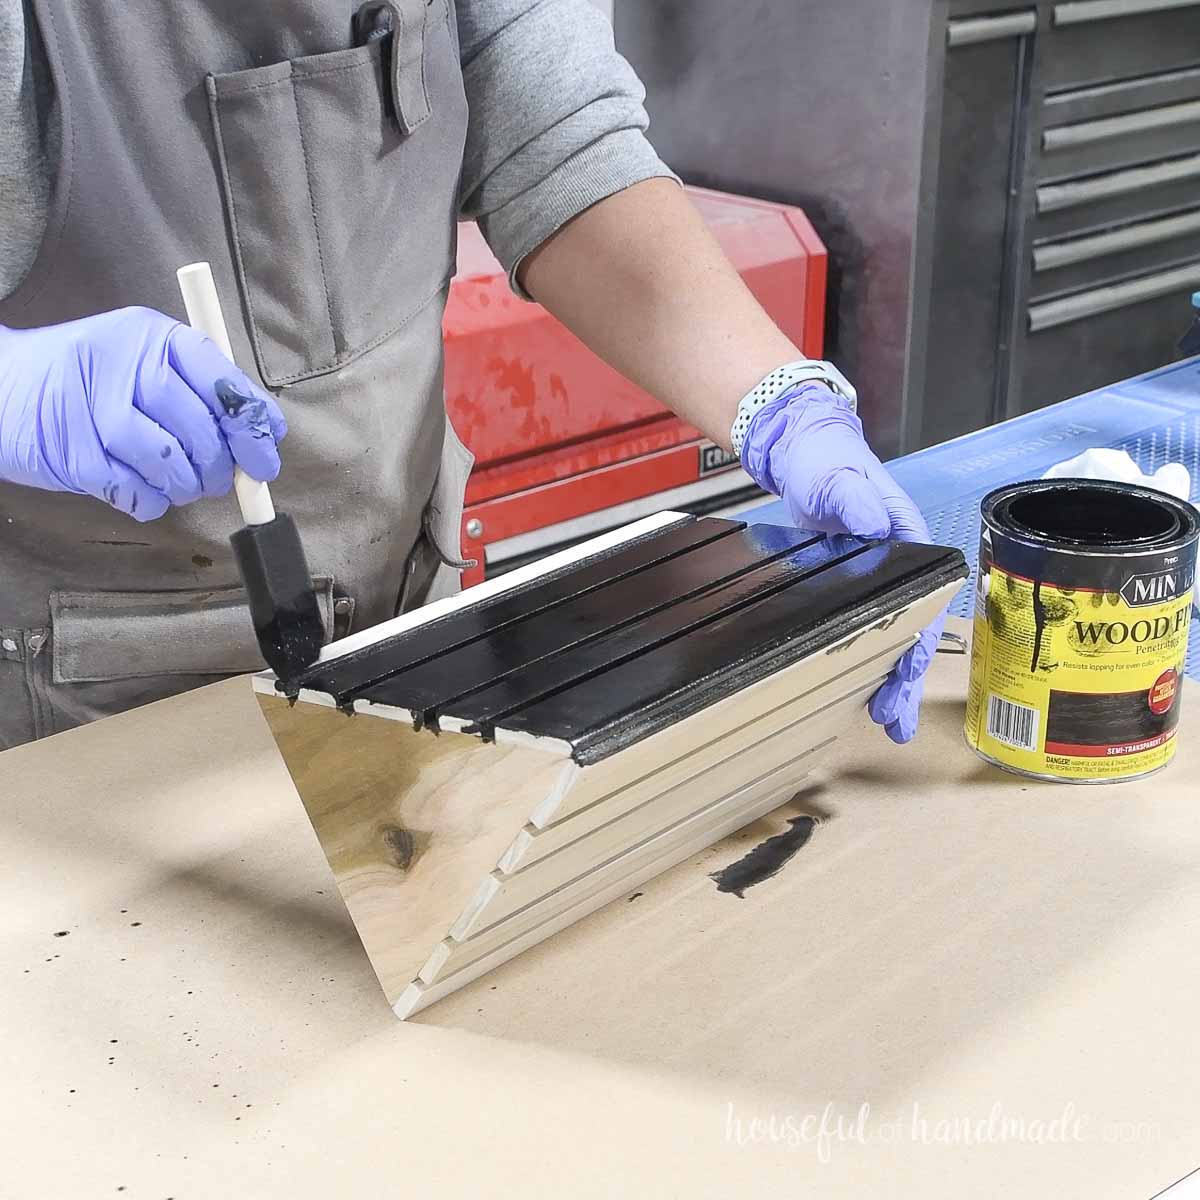
Stain or paint it however you want.
I used True Black stain from Minwax. It gave me a nice charcoal color on the poplar wood.
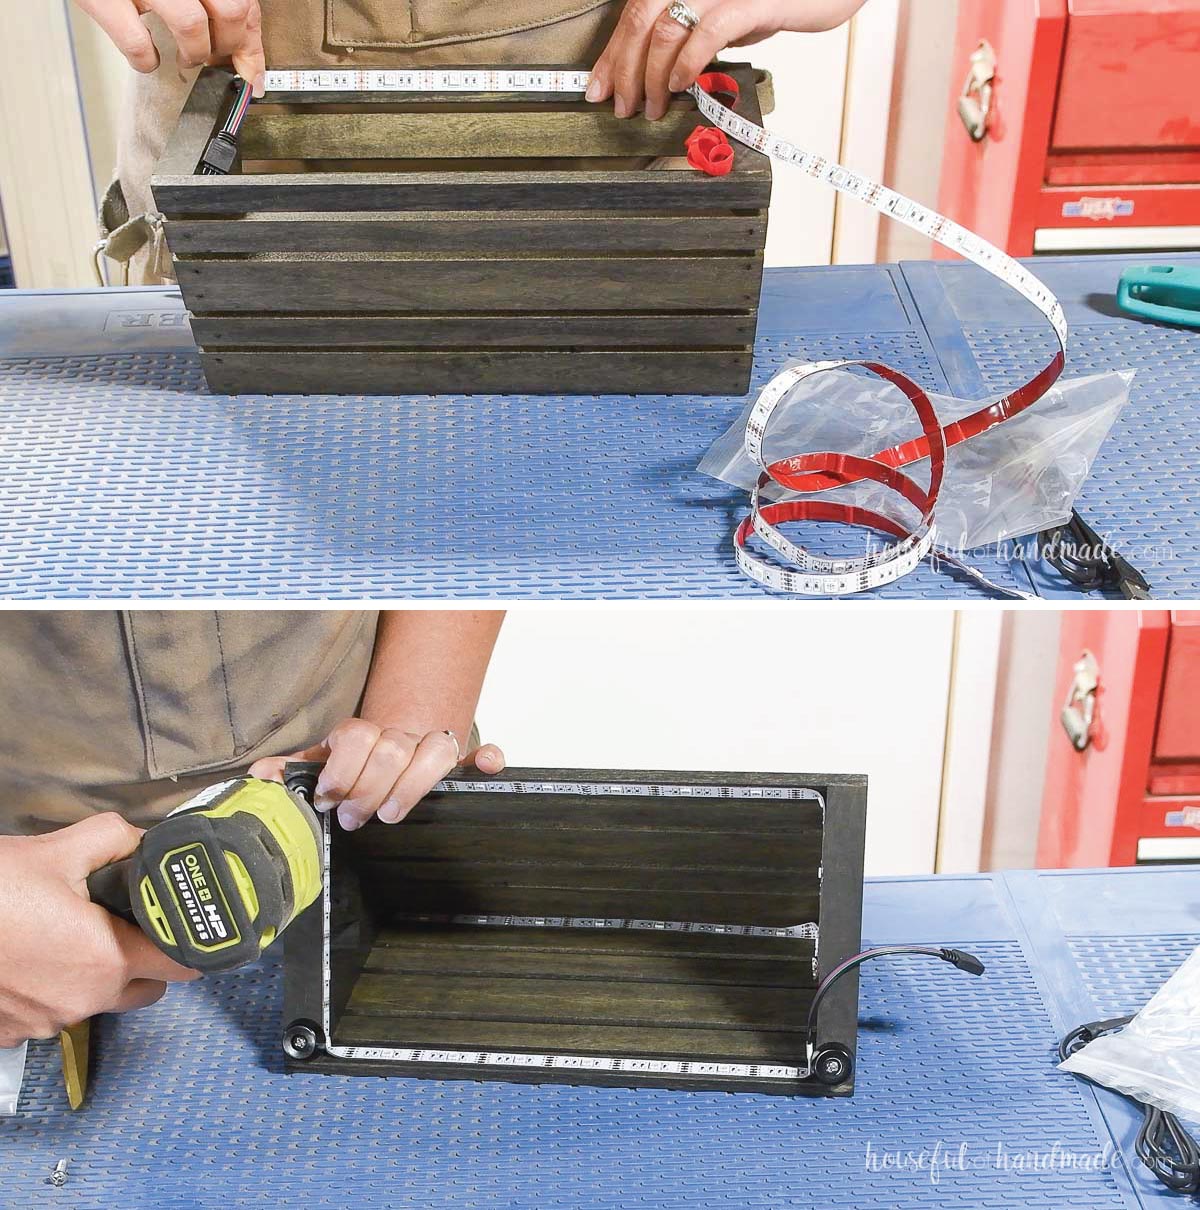
STEP 4- Add lights
Attach the LED light strip inside the book rest. Start at the bottom back so the cord comes out the back.
Go around the bottom perimeter, then up the back to the center peak. Go along the center, then cut the strip there.
I bought the 2 meter long light strip and had left overs. You could probably get away with the 1 meter size.
Attach the feet to the bottom. This will make it so the cord can come out without making the bookstand rock.
You did it!
Now your nightlight book rest is done! Plug it in and have fun changing the colors.
This is going to be the best gift for my bookworm son. A nightstand bookmark and fun LED lights!
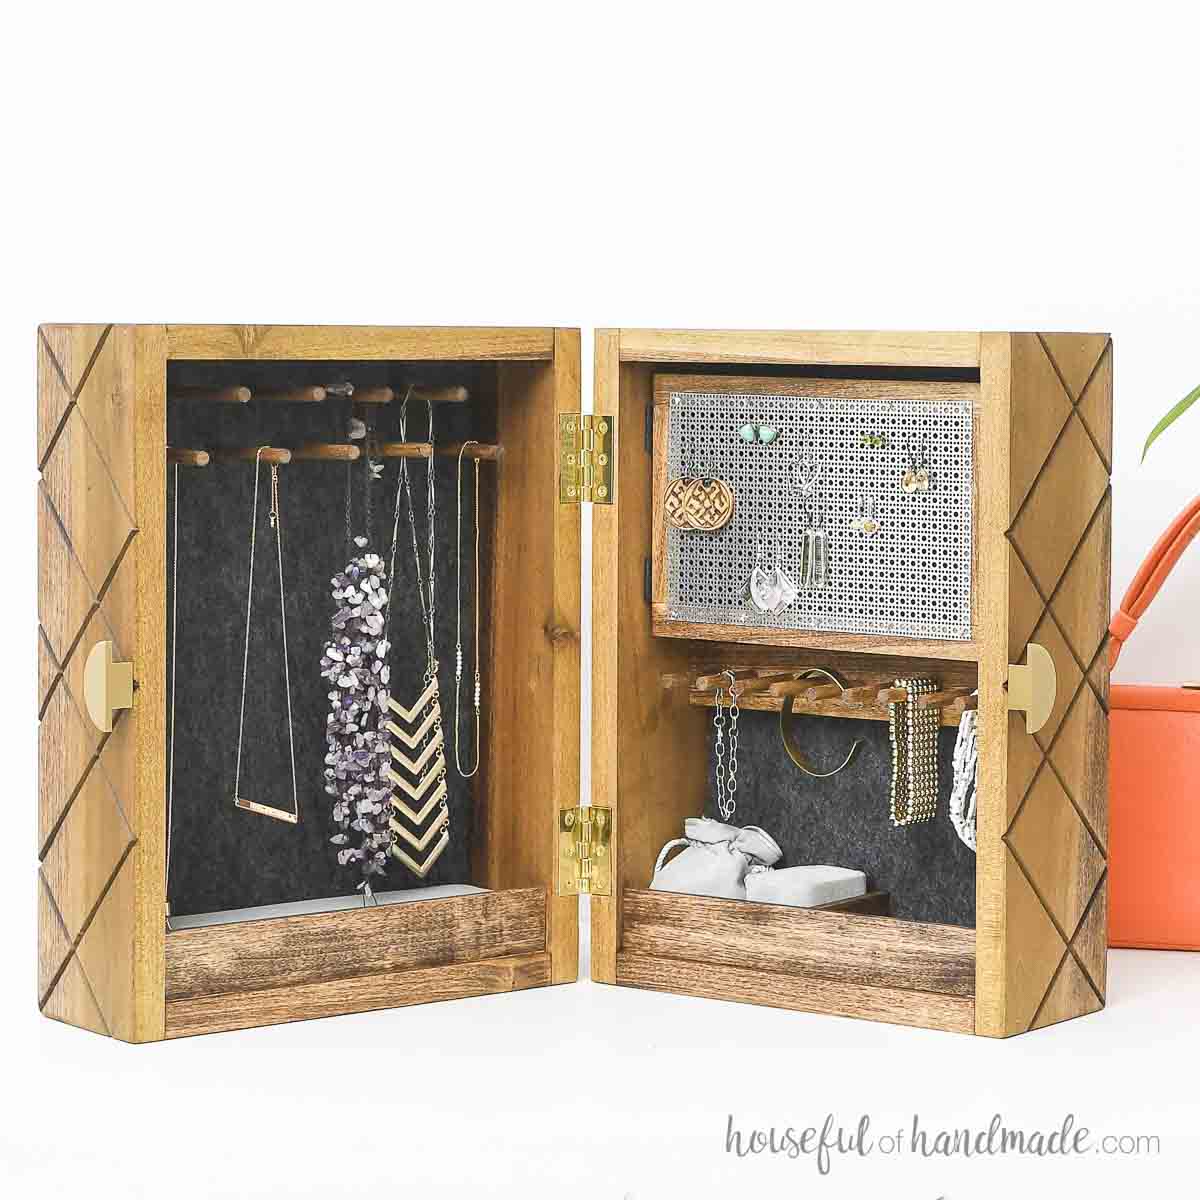
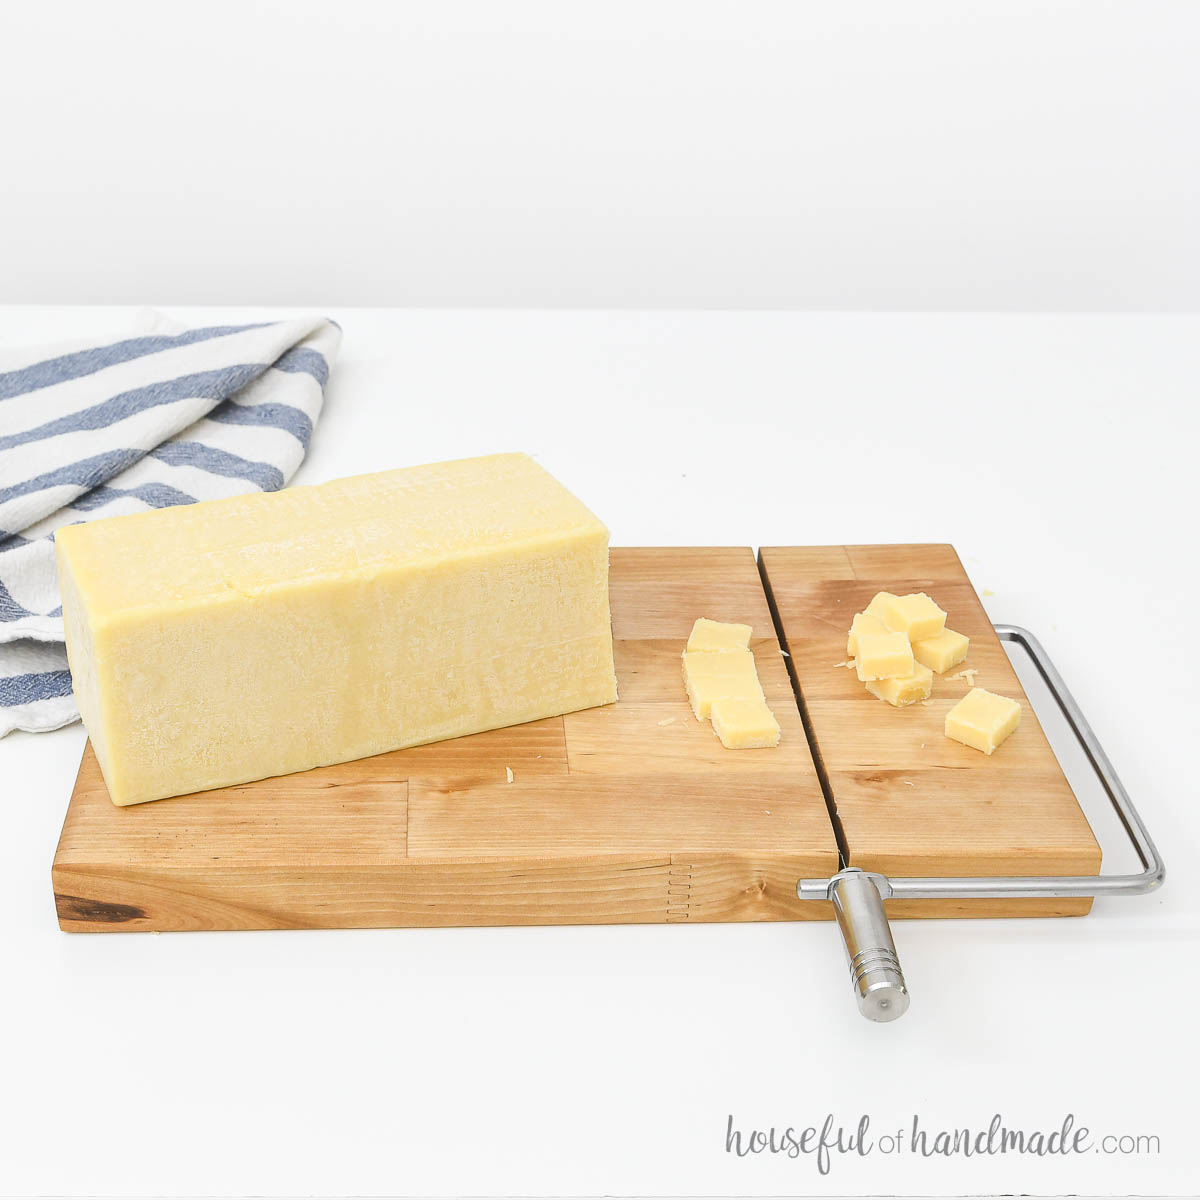
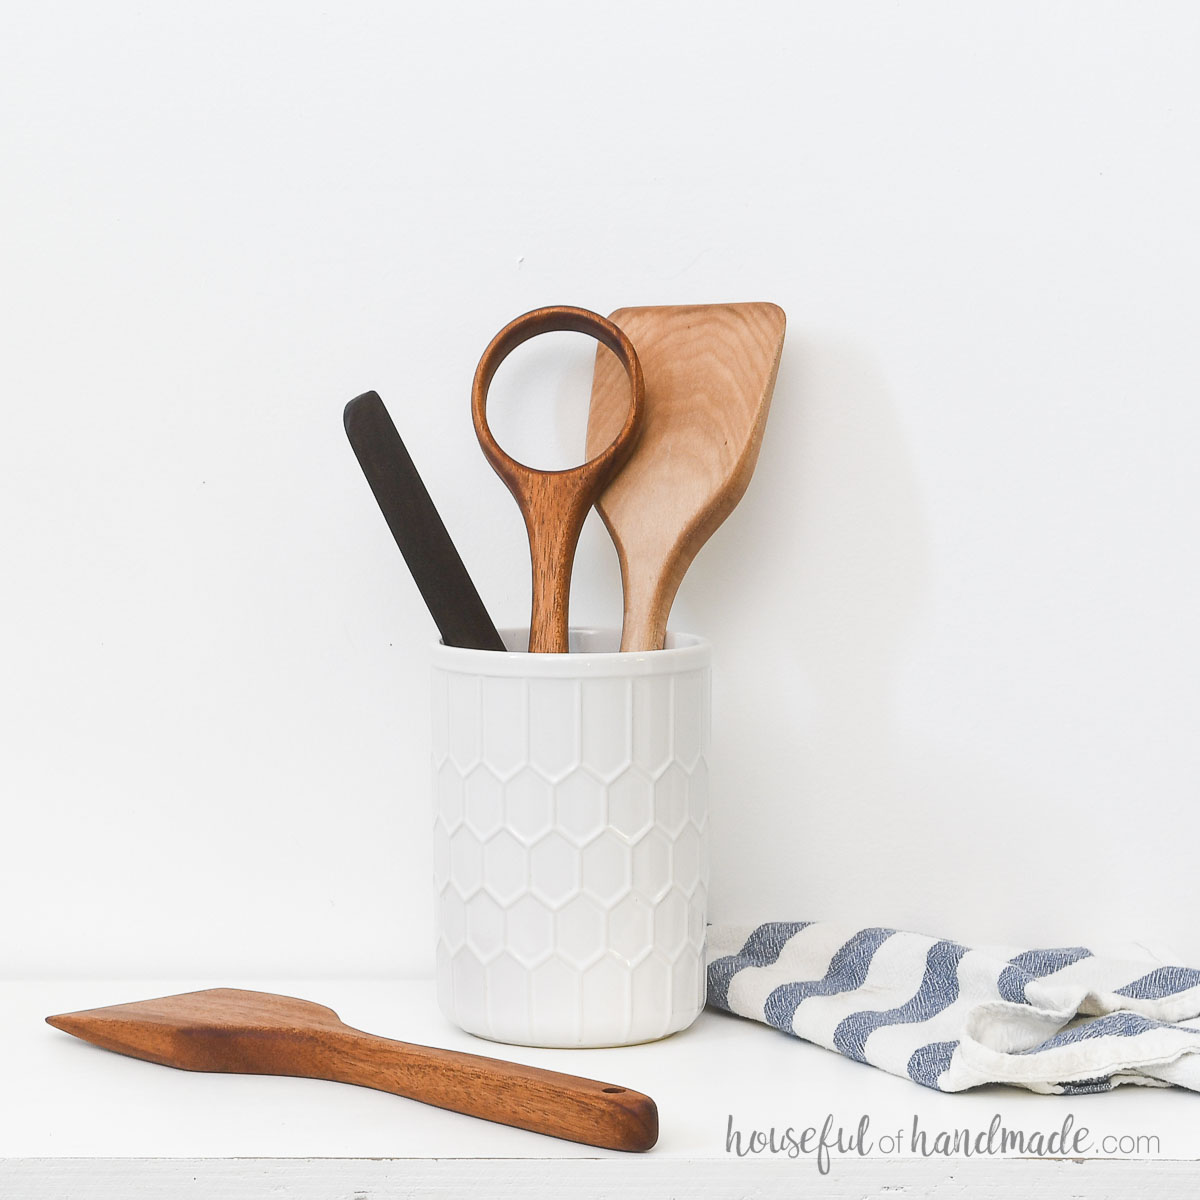
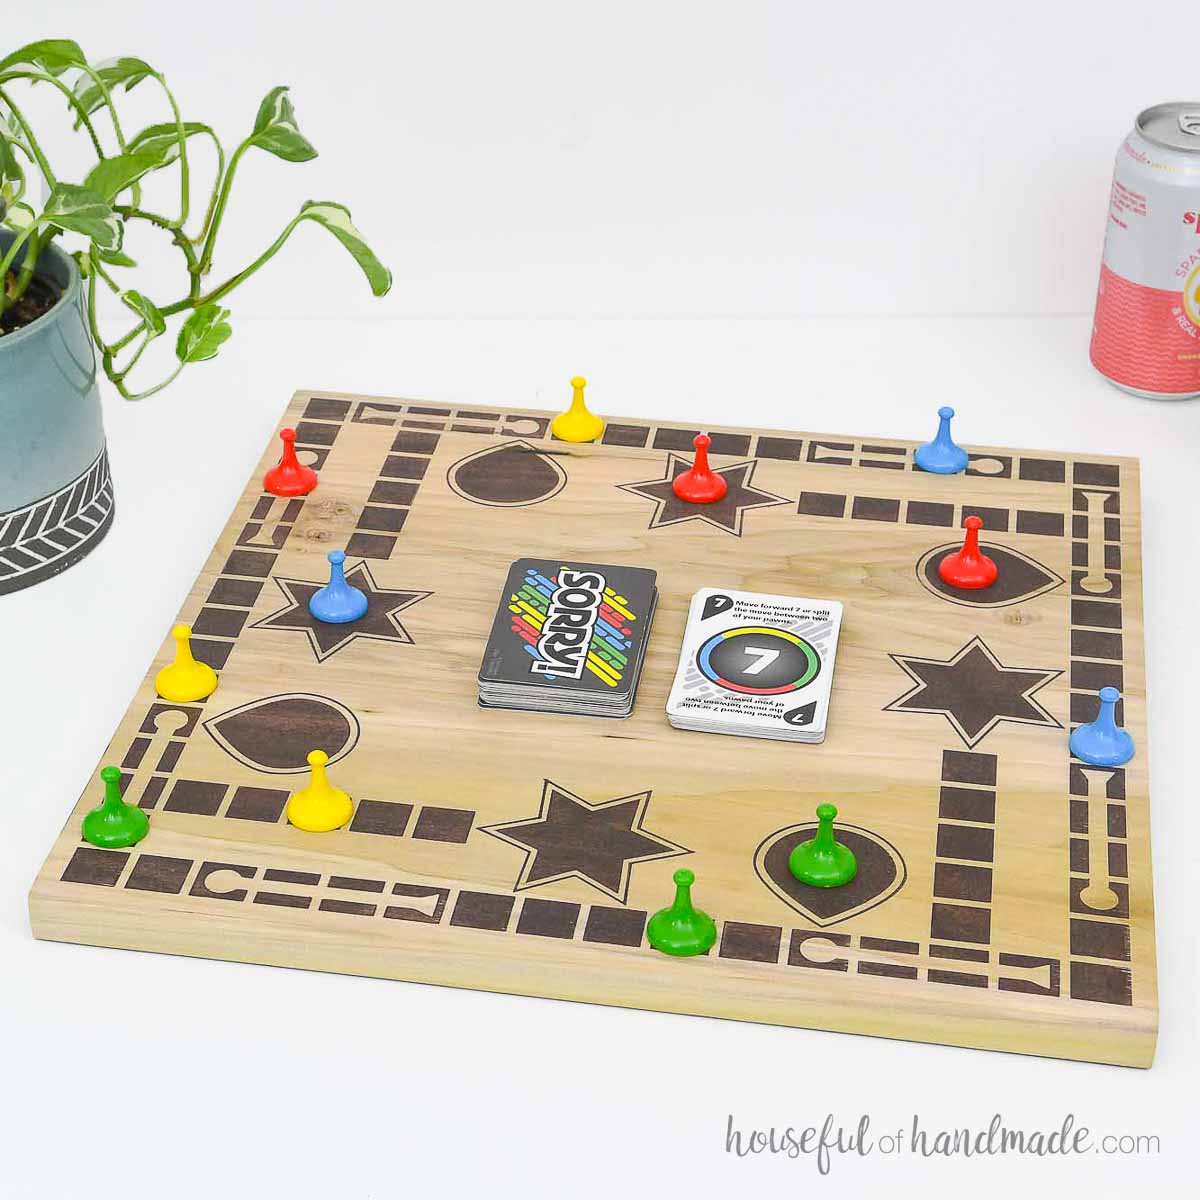
DIY Gift Ideas
This DIY book rest with nightlight makes an amazing DIY gift!
And with the holidays fast approaching, I teamed up with my friend Shara from Woodshop Diaries to share 5 easy DIY gift for everyone on your list.
Check back everyday until Thanksgiving for new gift ideas and check out any you may have missed below.


Happy building!
