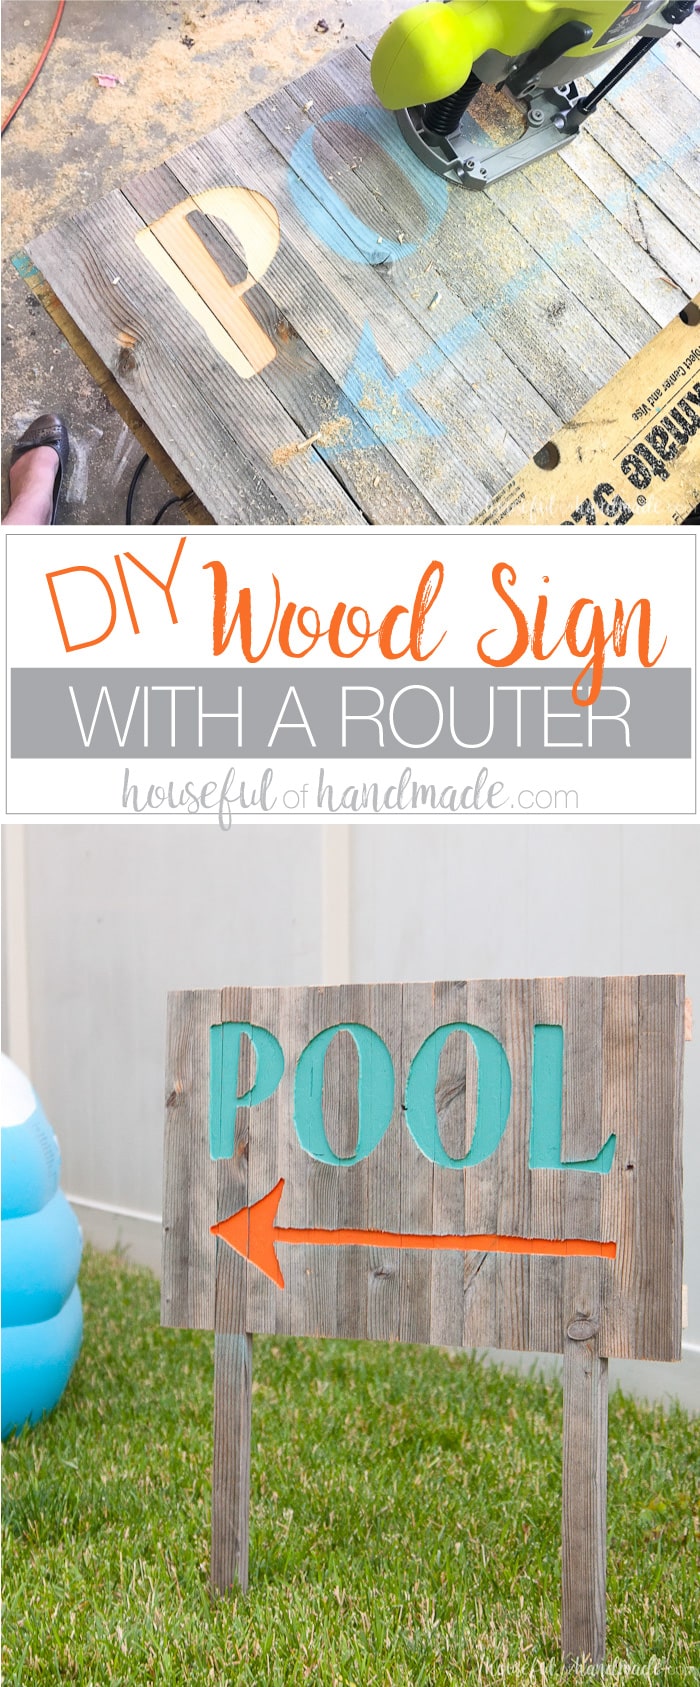
Man, it is definitely summer this week! The temperatures are getting into the 100s and all I want to do it take is easy.
But we still have a lot of work to do on the playhouse. Since all I want to do is lounge by the pool, I decided that this is the perfect time to share this fun pool sign that I made a couple weeks ago.
I decided to play with my new toy and made a fun DIY wood sign with a router for the backyard.
This post may contain affiliate links. As an Amazon Associate I earn from qualifying purchases. Click here to read my full disclosure policy.

Making this sign is definitely a bit of wishful thinking. Our backyard is small and the only pool we have is a $30 blow-up one from the store. But hey, it still needs a fancy sign right?
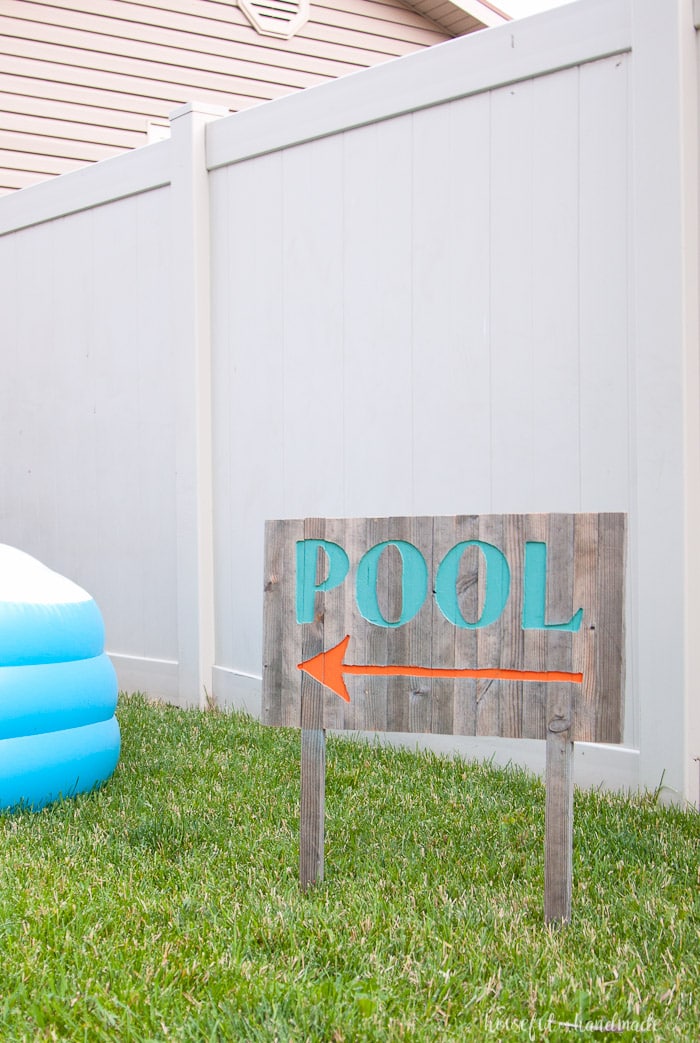
For Mother’s Day this year, my sweet husband and kids bought me a router. I have wanted one for a while and couldn’t wait to crack it open and see what I could do with it.
Of course I want to add decorative edges to all my upcoming projects, and figure out how to router rabbets and dados, and don’t even get me started on the picture frames I plan to make.
But I needed a simple project to start with because I was busy building all kinds of things for the backyard.
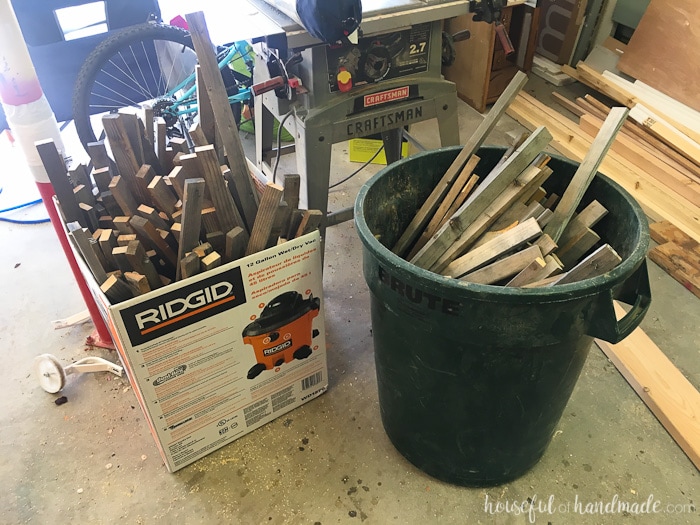
A couple weeks ago, my father-in-law brought me 2 large buckets of reclaimed wood. His friend was redoing his fencing around his raspberry bushes and I was so happy he saw those perfectly aged 1x2s and thought of me.
So I decided the first router project would be a DIY wood sign.
Free-handing a design with a router is a little challenging. You need to go slow and have a steady hand. Unfortunately mistakes cannot be un-done (but if you are creative you can hide them). I practiced on a scrap piece of plywood to see if I could follow a line and discovered it was totally doable.
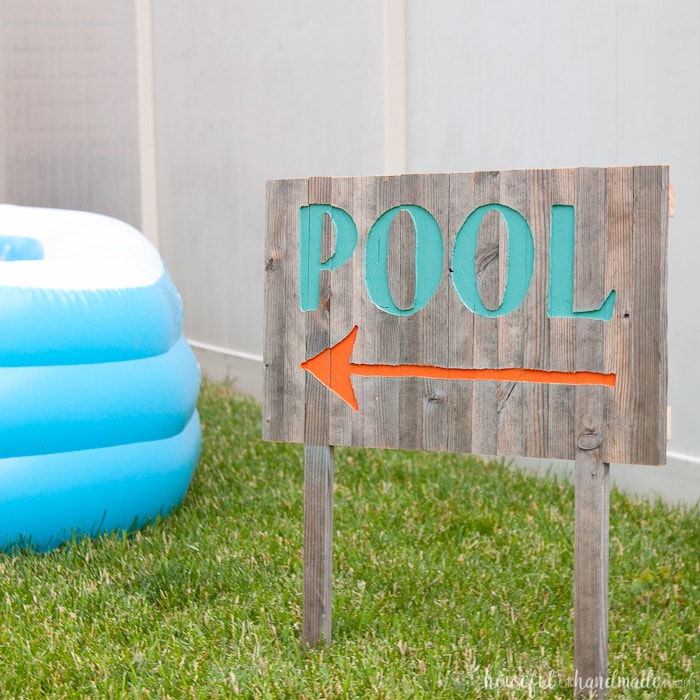
I kept the design of my summer wood sign super simple. I decided to use a straight router bit for consistent depth on the sign. The bit I had was 1/4″ so I knew the smallest line I could make would be 1/4″ thick.
That helped me design my simple Pool sign. And making it simple would also make cutting my very first DIY wood sign much easier.
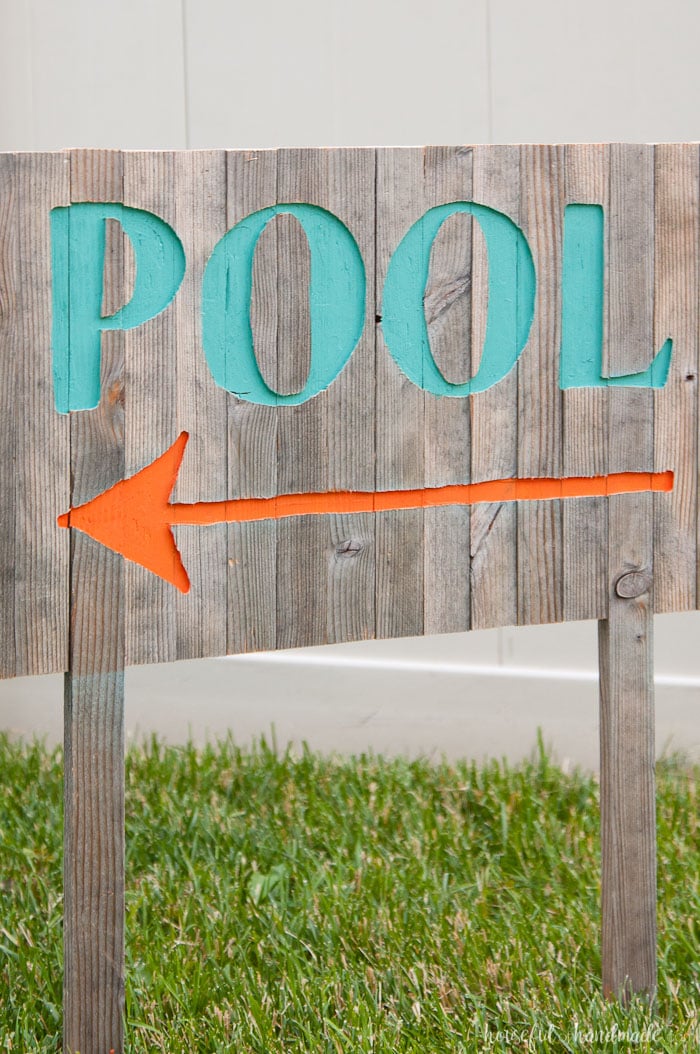
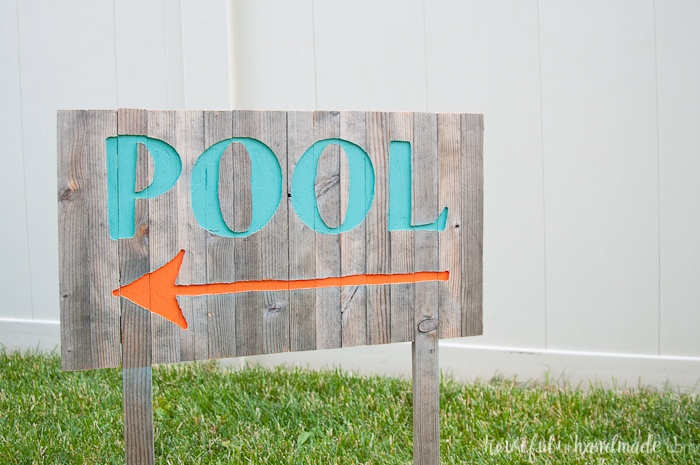
I couldn’t be more excited with how my sign turned out! It is perfect to add some summer fun to our snazzy pool area ;). And you better believe I am going to be figuring out how to make many more wood signs with my router.
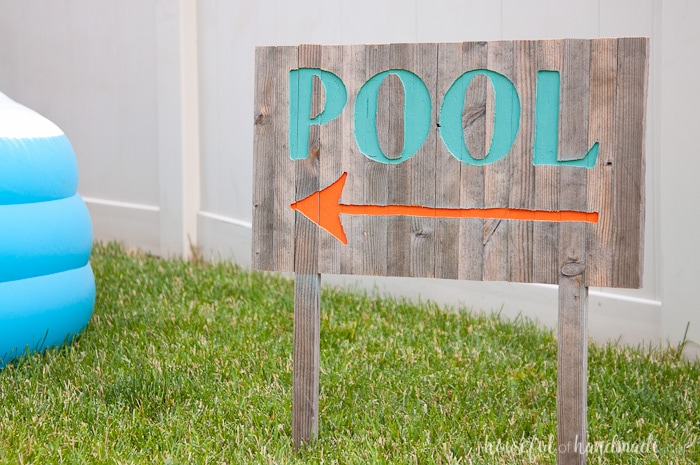
How to Make a DIY Wood Sign with a Router
Supplies:
- Router
- 1/4″ straight router bit
- Reclaimed wood
- I used (14) 13″ 1×2, (2) 26″ 1×2 and (2) 23″ 1×2 pieces of wood to make a 23 1/2″ x 13″ sign on 13″ stakes.
- Saw
- Nail gun with 1″ finishing nails
- Outdoor wood glue
- Paper for stencil
- I used my Silhouette Cameo to quickly cut out my stencil, but this simple design could easily be cut by hand.
- Blue painter’s tape
- Spray Paint
- Exterior paint
To make the wood sign, cut 14 1x2s to 13″ long and 2 1x2s to 26″ long. Cut the bottom of the 26″ pieces off at a 45 degree angle on each end to make them into stakes. Lay out your wood so the longer boards are the 3rd board in from each side.
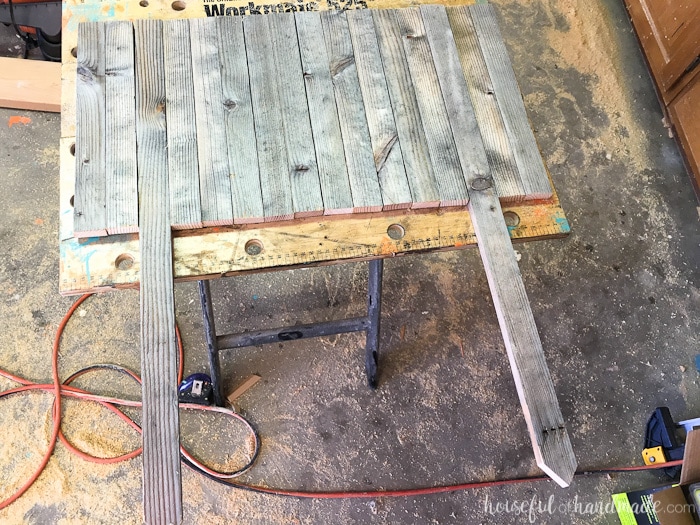
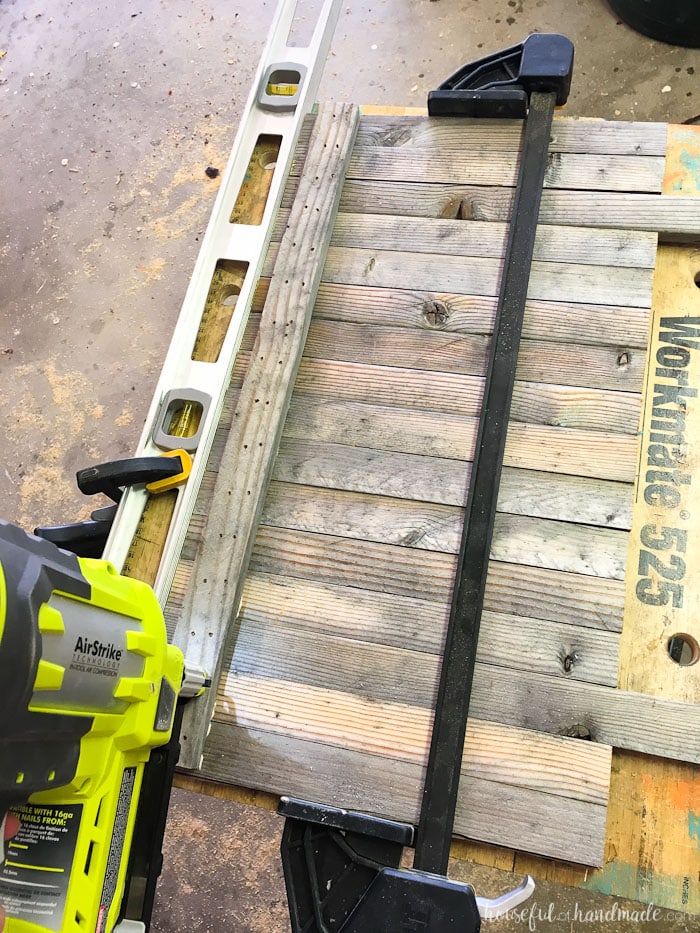
Once you like the way it looks, turn the boards upside down and clamp together. I used a level to keep the boards straight at the top. Cut 2 23″ pieces for the back. Apply wood glue to the back of them and lay them on the back of the other boards.
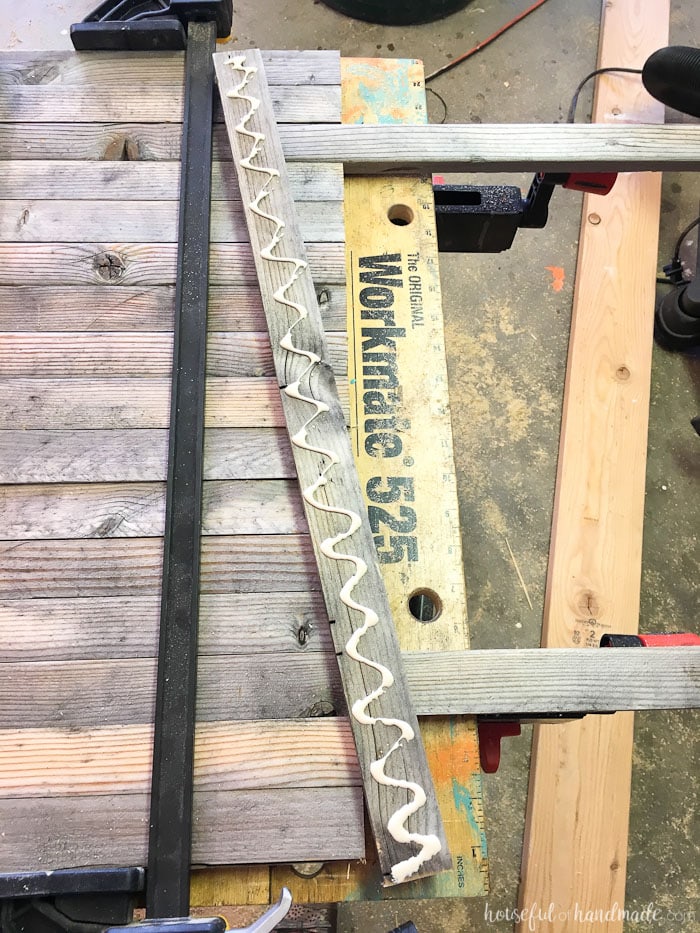
Secure the back boards to the sign with 1″ finishing nails. I used 2 nails into each board. Let the glue dry.
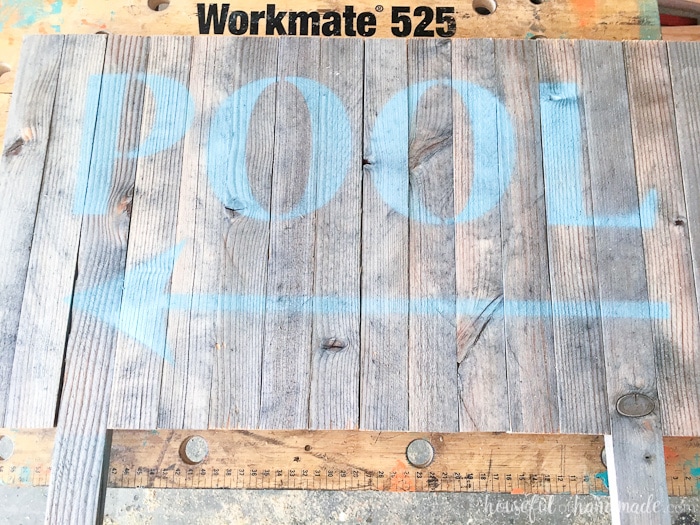
Cut your sign design out of paper. I made sure to leave a little section of the P and O on the top and bottom so the centers didn’t fall out (like a stencil font). Because the design was large, I cut it out on 2 12×12 pieces of paper and then taped them together.
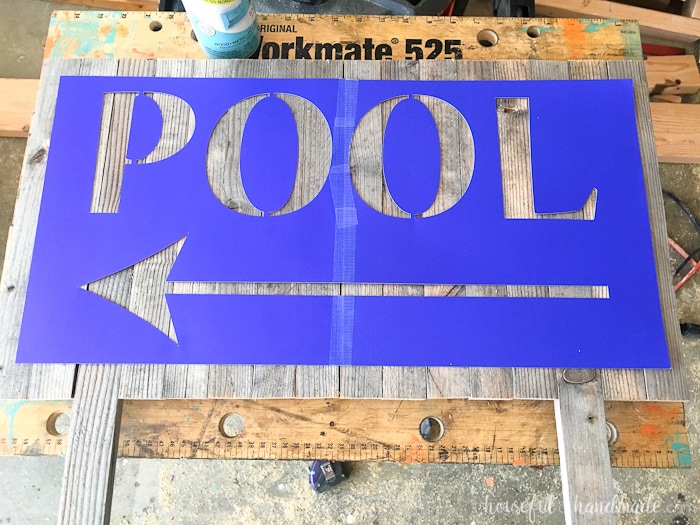
Lay it out on your DIY wood sign and secure with blue painter’s tape. Cover the entire sign outside the stencil so you don’t get any spray paint on it. Spray paint the design on the wood, being careful not to spray under the edges of the stencil.
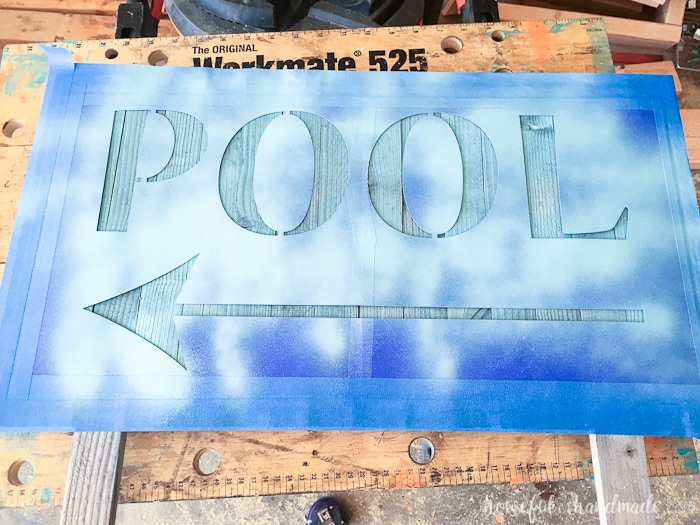
Now you can see your design on the wood. Clamp it to your work surface and get ready for some fun!
I set the depth of my plunge router to about 1/8″ and inserted my 1/4″ straight bit. Make sure to use good safety glasses when doing this because it will flip wood shavings right at your face and you need to be able to see what you are doing. I want to get some google type glasses for the next time because even with my favorite curved glasses, the dust still came in.
Turn on your router and plunge the tip into the sign over the first letter. My router allows me to lock it down which was very handy because I don’t have enough hand strength to keep the router pushed down while free-handing the design. Go slow and outline the letter, then come back and remover the center.
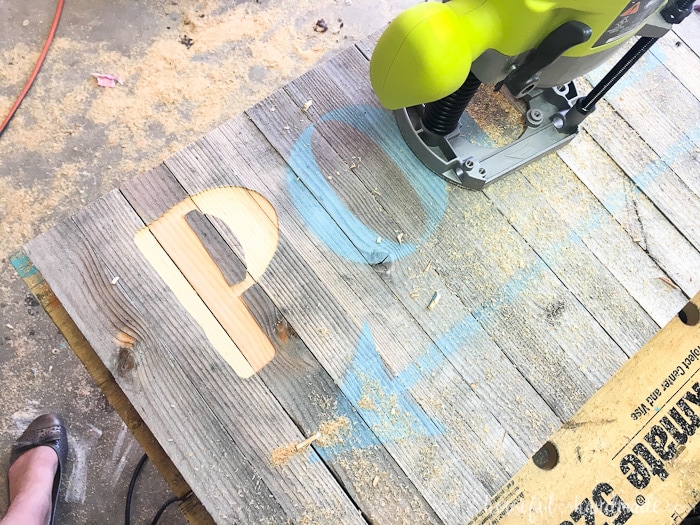
Be aware that the reclaimed wood is not smooth! There were areas where my router got stuck and I had to lift slightly to keep it moving.
When all the letters are cut out, I used a red wax pencil to mark areas that needed to be cleaned up (red so that I could see it easily while using the router).
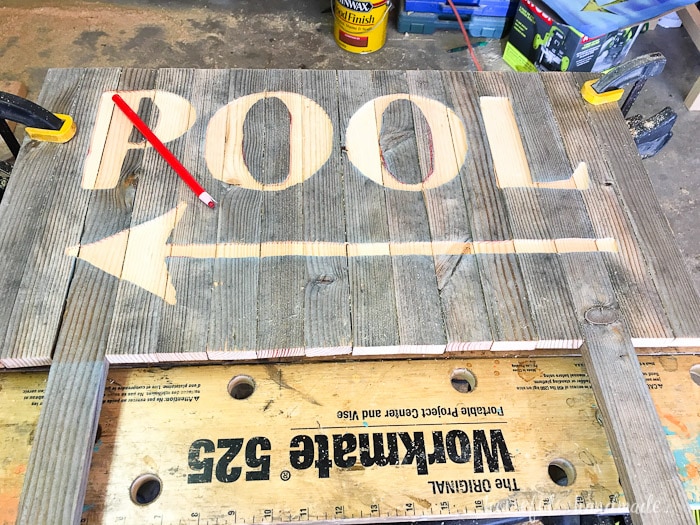
You could leave the sign just like this. It is really pretty, but I wanted to add some color. My backyard is full of color and I had some orange and turquoise paint left over from the kids chairs I made.
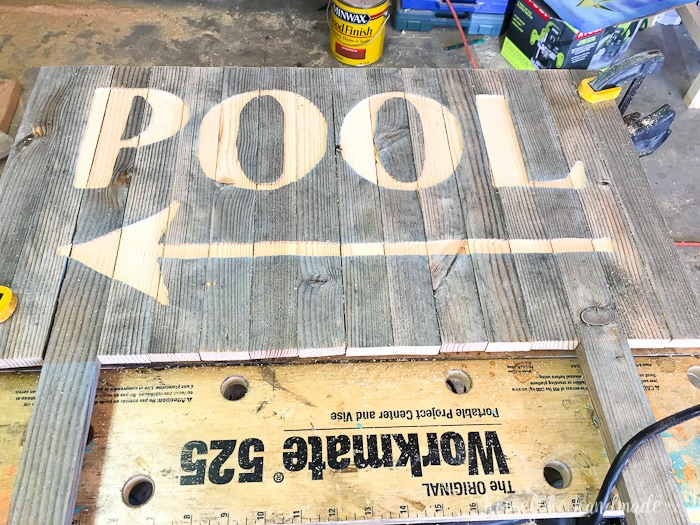
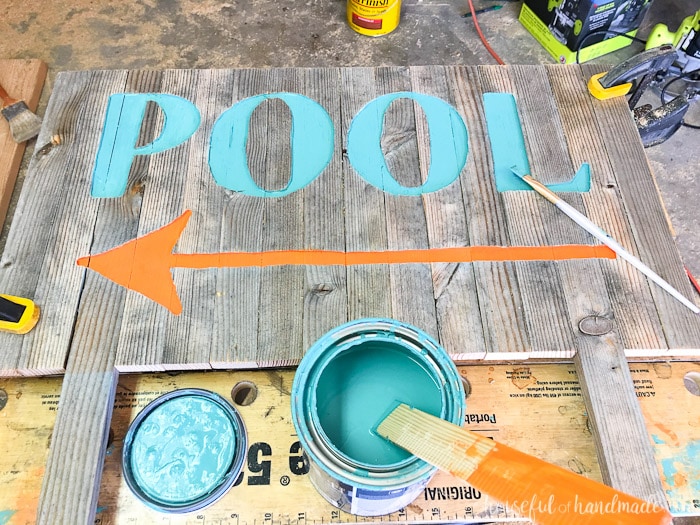
I used a small flat paint brush to add color to the inside of each letter. The flat brush made it easy to paint the sides of the router area too.
After the paint dried, all that was left was to stake it into the grass by the fancy pool! It’s such a fun little sign for our summer decor.
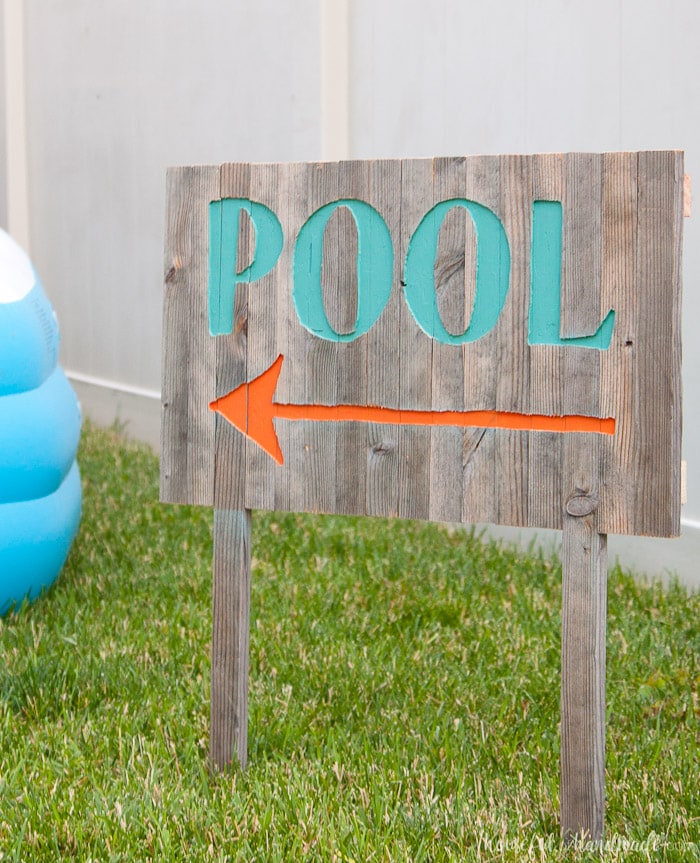
Anyone up for a pool party!!!
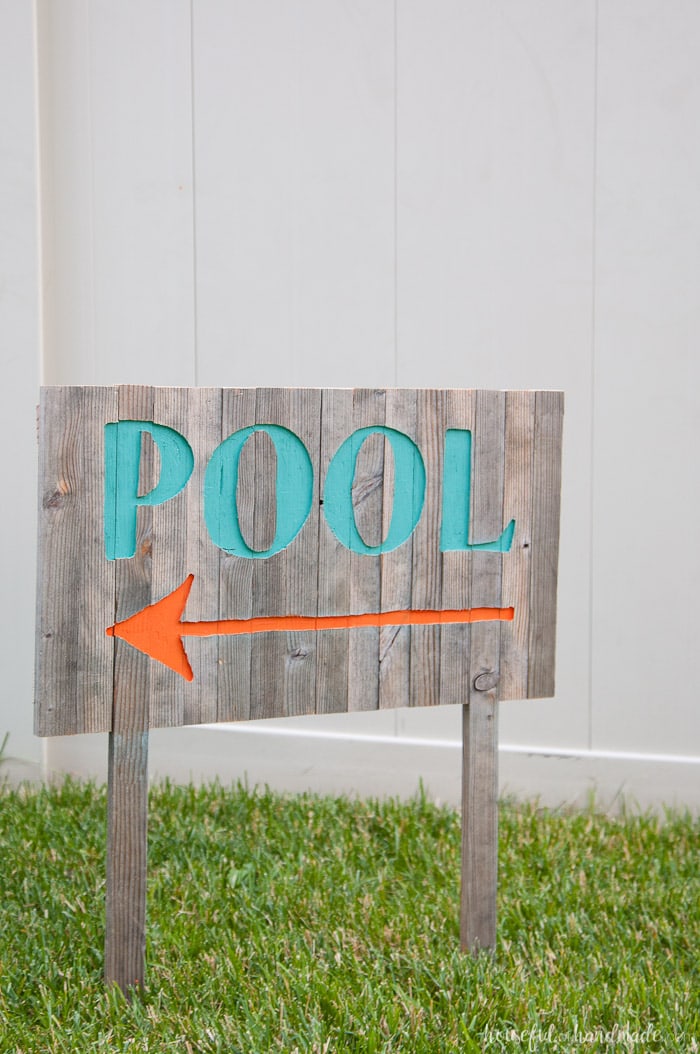
Now I am going to go cool off and then try to finish another fun backyard project!

