Wow, this week has been busy. I really just want to get this playhouse totally done.
Partially because I want the kids to have their place to play outside. Partially because I have lots of other projects I want to get done this summer.
But mostly because it’s getting hot and I want it done before it’s too hot to work!
This post may contain affiliate links. As an Amazon Associate I earn from qualifying purchases. Click here to read my full disclosure policy.
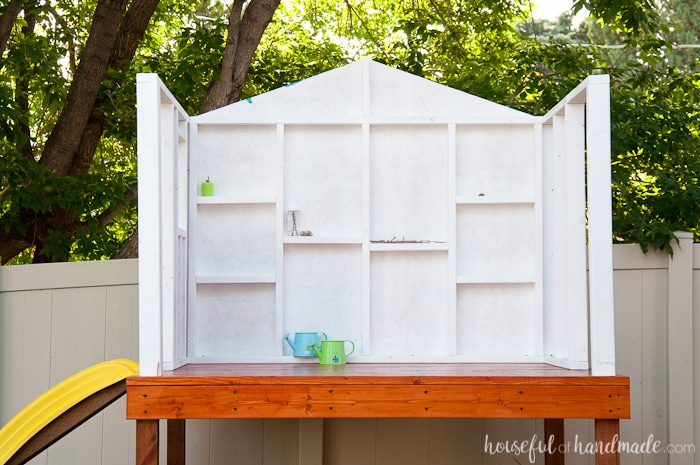
So this week I built the walls of our DIY playhouse and now it really looks like a playhouse!
The walls were a bit more time consuming than building the deck (more to paint), but super easy.
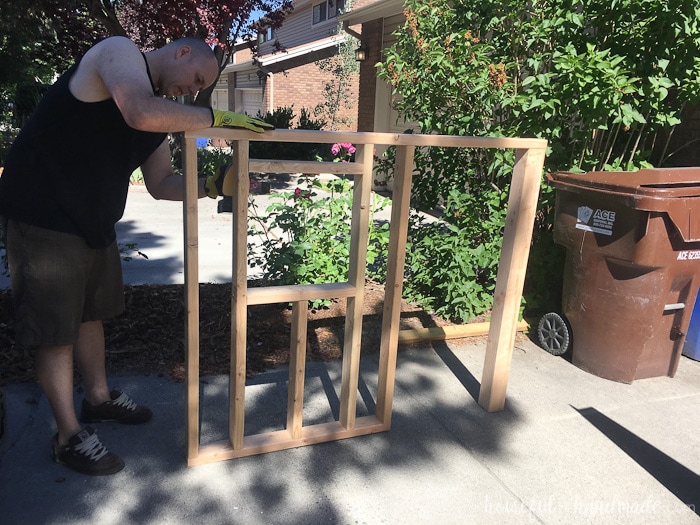
I built them all on our driveway and painted them while they were flat.
Then moved them one by one to the backyard (with the hubbies help) and installed them.
We secured them together while installing them. And within minutes the kids had moved in and loaded all the shelves with fun things for their “clubhouse”.
The day we installed the walls, we had to get them in early because my husband had to go to work.
As soon as the walls were there the kids were playing and having so much fun.
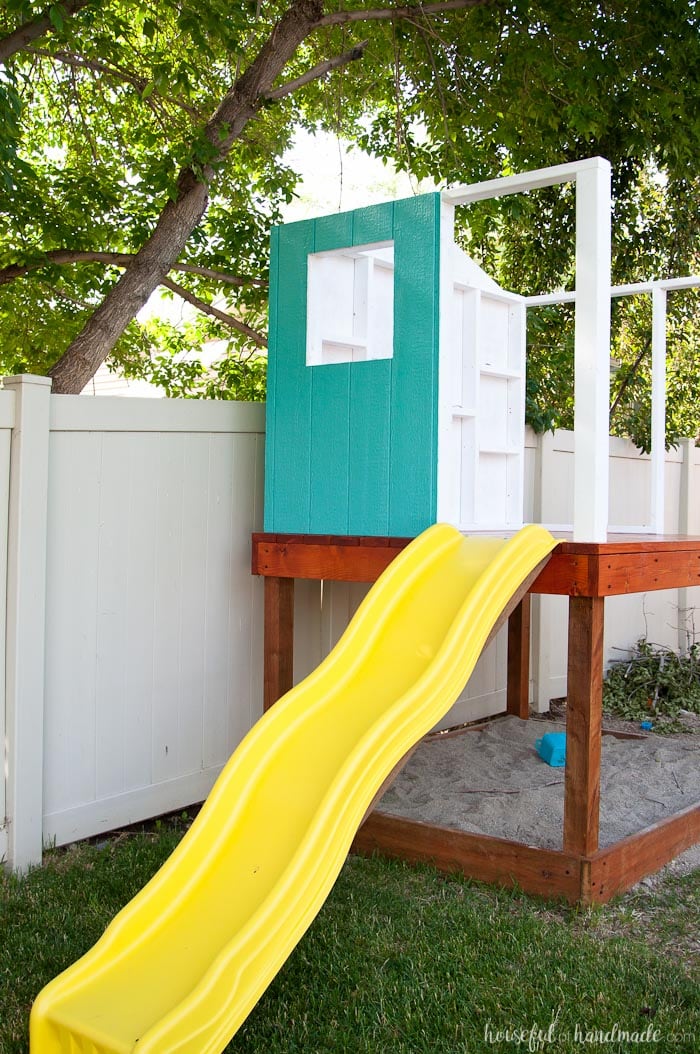
So I decided to tackle the slide that morning too (I share the slide install in this post).
After getting the slide done, the kids were in heaven. They played in the backyard ALL DAY LONG!
Seriously, I gave them a picnic lunch, which they ate in the playhouse.
Then at 4PM they came in asking for a snack, which they wanted to take out to the playhouse too. At 5PM I finally pulled them inside to clean up because we had someplace to go that night.
I love that they are having so much fun playing outside.
All the hours of hard work are totally worth it because the kids are playing outside instead of asking for electronics. That is a win for sure!
And I’m already noticing they are burning more energy so they are less restless and the house stays cleaner!
The DIY playhouse it not done yet though. I have to keep reminding myself of that (because I definitely want to take a bit of a break).
This week my plan is to tackle the railing and climbing wall. Right now the kids are using a step stool to get up to the playhouse.
We are not doing stairs because they will take up more space (that we do not have).
And since kids love climbing, I thought why not “kill two birds” at once.
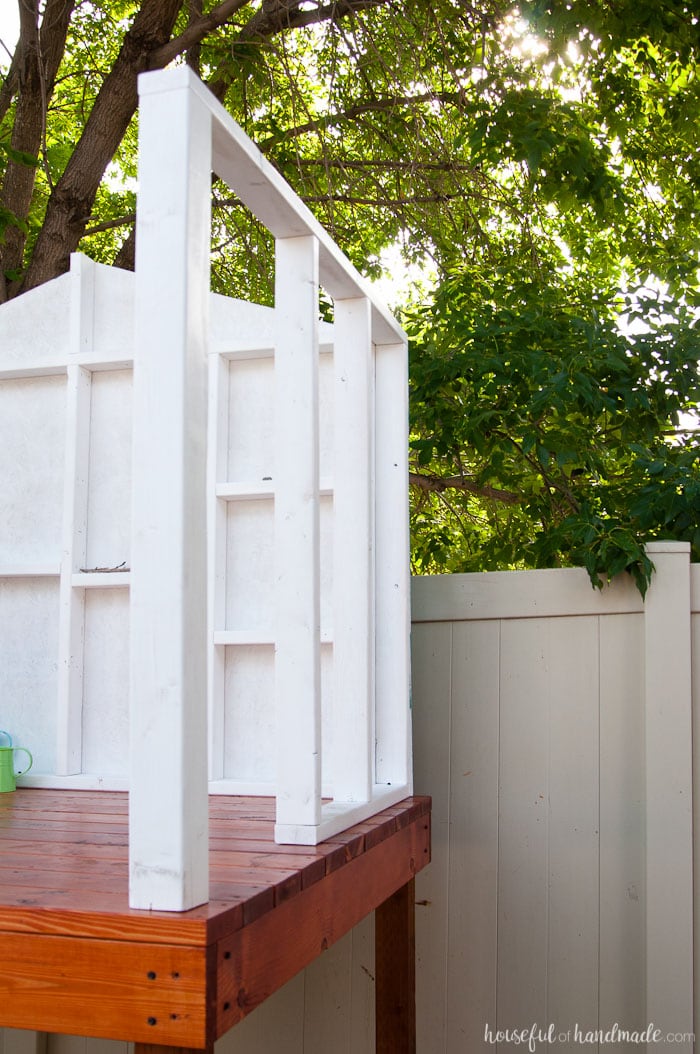
This wall that does not have siding on it is going to be wood slats all the way up so the rock climbing handles can also be attached to them.
A 4′ climbing wall just seemed kinda small to me, and then they would have to pull their bodies up over the deck to get in.
The climbing handles on the upper wall will make it easier for them to climb all the way to the doorway.
And then next week we will add the roof! Making the DIY playhouse work for all weather is important to me.
If they want to play outside in the rain or snow, perfect! It will also serve to protect the playhouse from the elements which will help it last longer.
And don’t miss the rest of the posts in the series. Click the links below for the rest of the playhouse build.
THE DECK || THE RAILING || THE SLIDE & CLIMBING WALL || THE ROOF
How to Build DIY Playhouse Walls
Tools & Materials
Recommended Tools:
- Miter saw
- I used my miter saw to cut all the 2x4s for the walls, but you could also use a circular saw for this.
- Circular saw
- Jig saw
- Impact Driver
- Drill
- Speed square
- Measuring tape
- Optional: Kreg Jig
- Optional: FinishMax Paint Sprayer
Supplies:
- Wood (I used regular lumber, if you paint/seal it for the outdoors it will last for years)
- (12) 2×4 8′ boards
- (2) 4×4 8′ boards
- (2) 1lb box 3″ gold construction screws
- (2) sheets of 4′ x 8′ outdoor siding panels
- (1) box 1 1/2″ gold screws
- (6) decking screws left over from deck build
- (8) 2 1/2″ TimberLOK wood screws
- (4) 4″ TimberLOK wood screws
- Exterior paint
- I used Ultra White by Behr for the inside and Aqua Rapids by Behr for the outside (left over from these kid’s chairs I made).
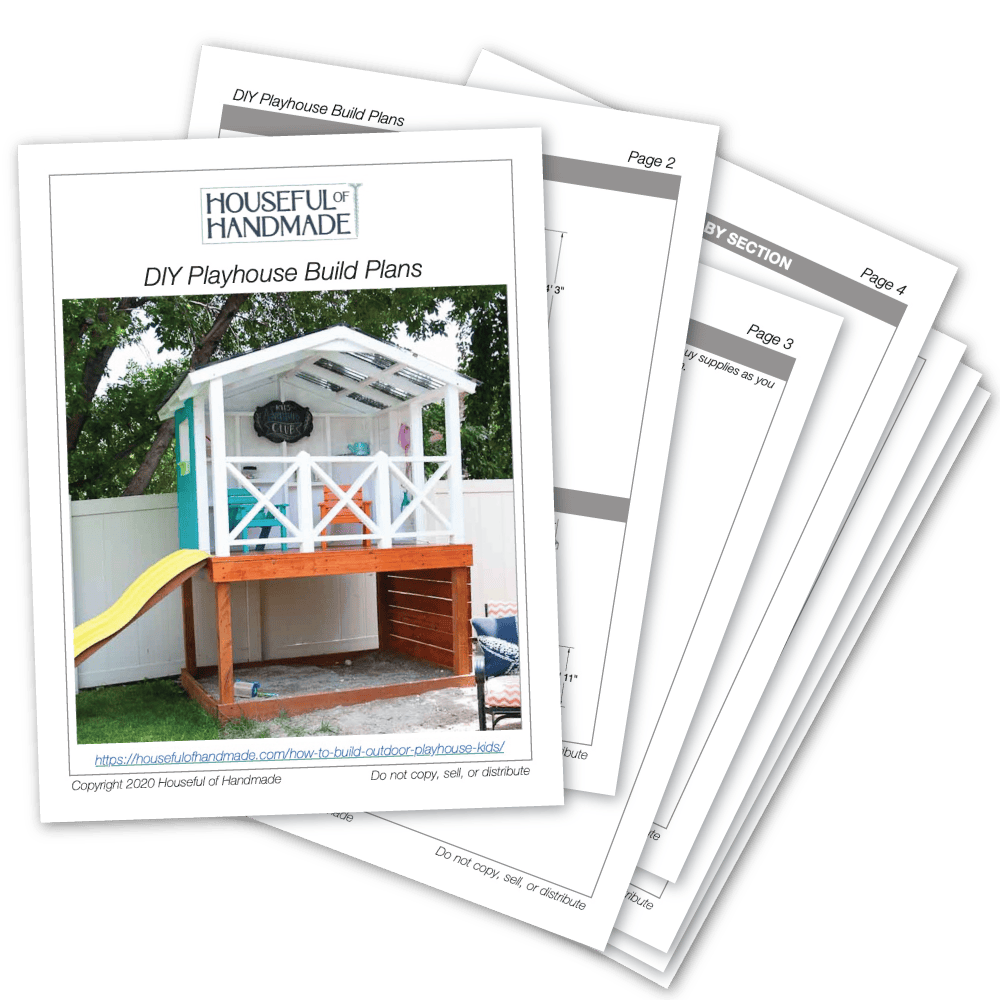
Printable PDF Plans
I have compiled everything you need to build your own playhouse in one easy to follow printable PDF.
Plans include material and cut lists the totals for the entire build, as well as a break down for each step. Makes it easy to buy all at once or purchase as you go.
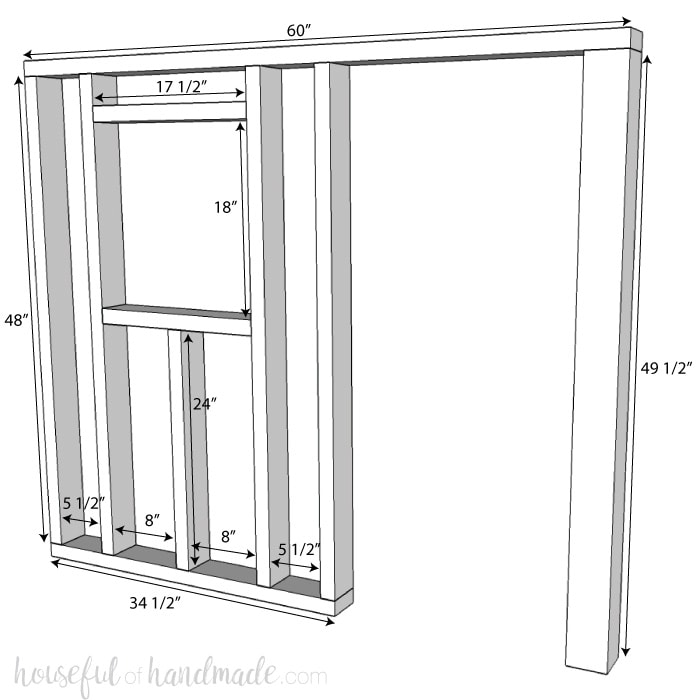
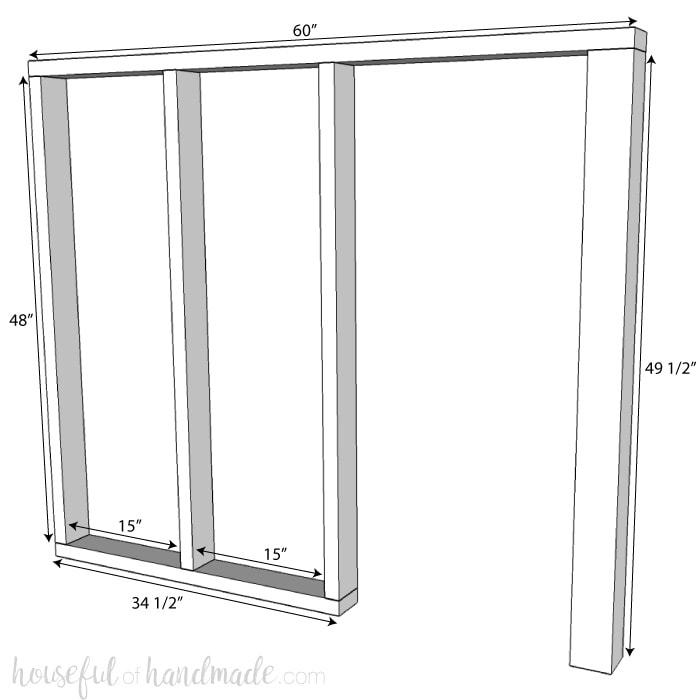
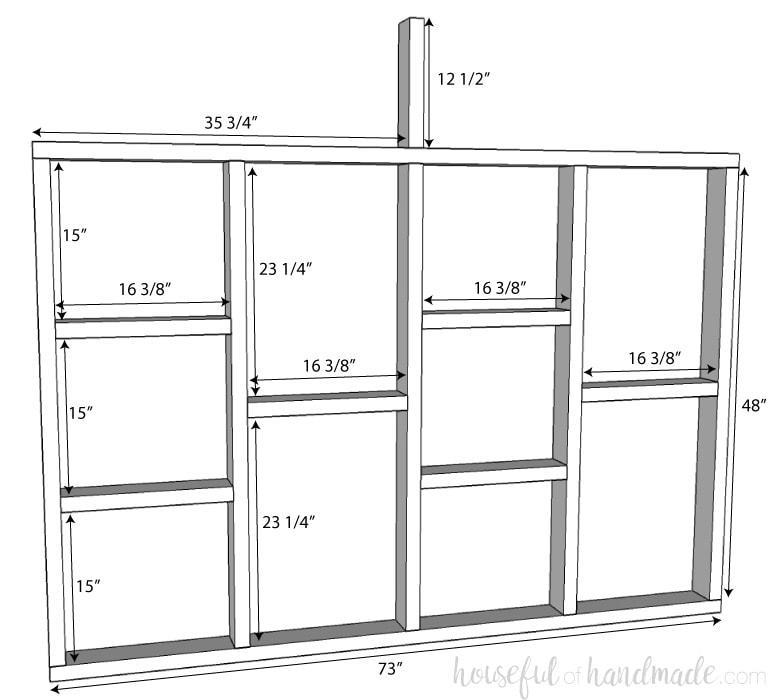
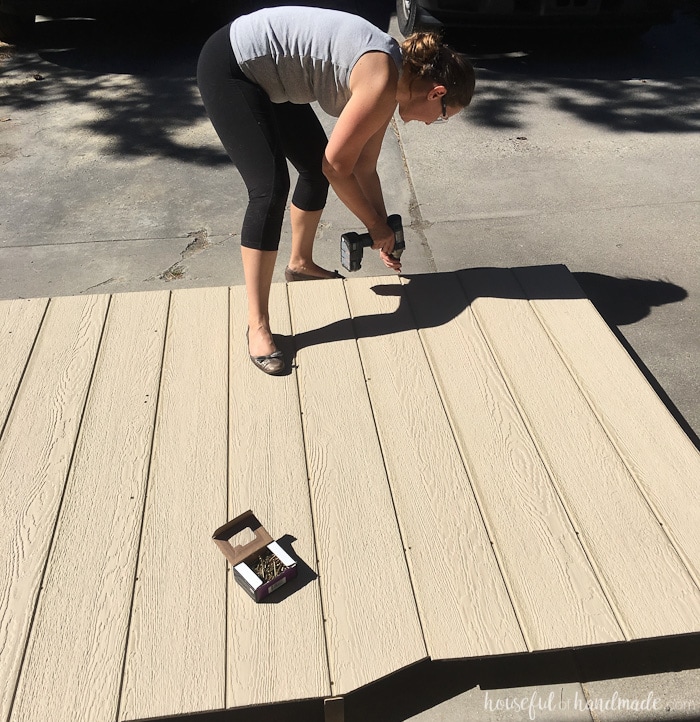
STEP 1- Build the wall frame
Start by assembling the walls as shown in the diagrams below. I used 2 gold screws on each end of each 2×4.
Drill pilot holes for the screws to prevent splitting and make your life much easier. I was able to build all 3 walls by myself in 2 hours.
For the back wall, I used the pocket hole Jig to easily attach the upper center stud (it will help hold up the roof rafters) since it was directly over the center stud.
You could also do this by just carefully drilling in screws at an angle, but I LOVE my Kreg Jig and so I use it whenever possible.
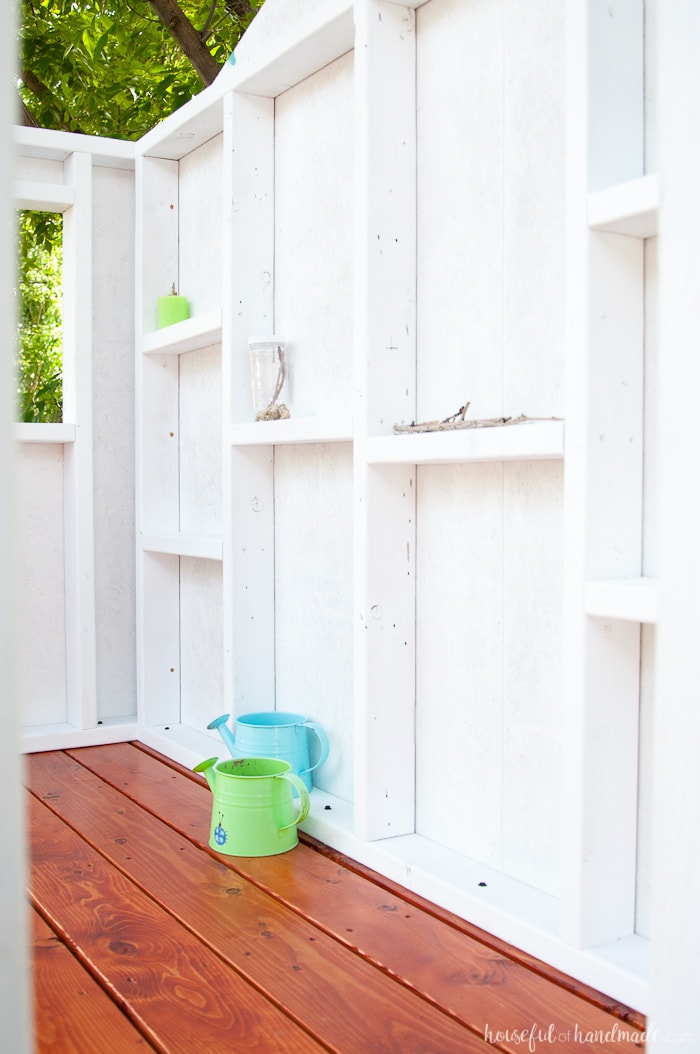
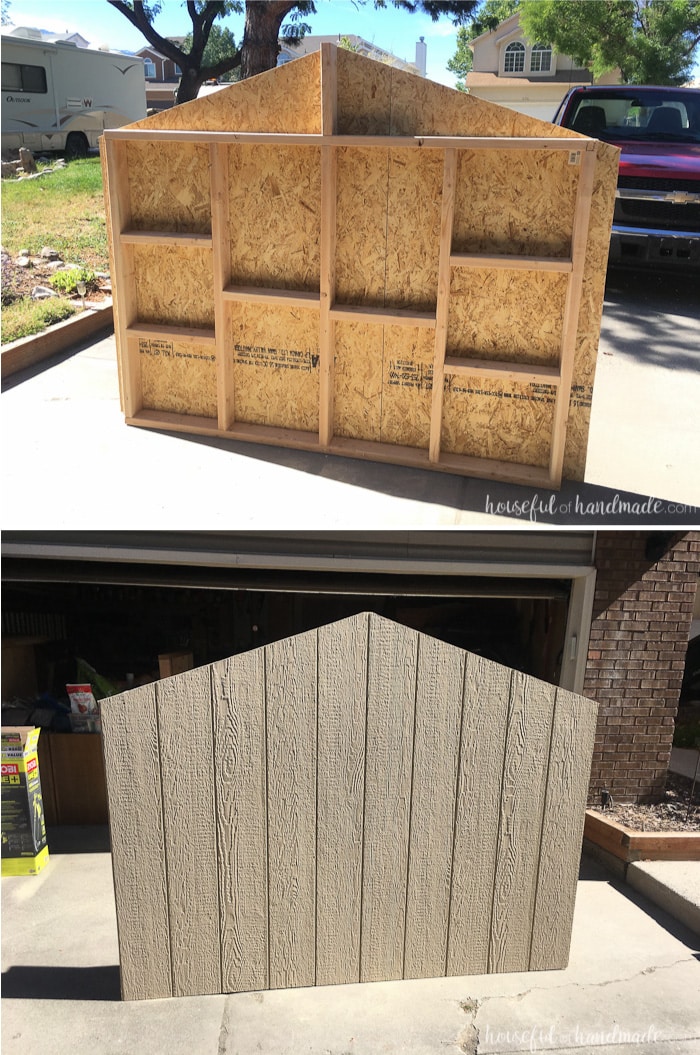
Also, on the back wall we chose to add sideways studs to use as shelves like we saw in this amazing handmade hideaway from The Handmade Home.
Once all the walls were built, we sanded things down nicely before adding the siding.
It would be way harder to sand the inside of the walls if the siding is attached.
STEP 2- Attach the siding
Now it’s time for the siding. This part was easier with 2 people because the 4×8 siding was awkward to move by myself.
Also the walls got a little heavy with the siding attached. I could move them myself, but it was definitely better with two.
It took us about 2 1/2 hours to sand and install the siding with 2 people.
We started on the back wall, cut 1 piece of siding to 4′ x 63 1/2″. Then installed it so there was 3 1/2″ overhang on the one side (the width of the other wall that would be attached next to it).
We secured it with 1 1/2″ gold screws.
For the second piece of siding, I measured 63 1/2″ up and then the remainder of the width needed (don’t forget about the 3 1/2″ overhang). Attach it overlapping the tongue and groove of the siding panel.
Then I drew a line from the top of the peak to the edge of the outside of the wall and cut the line with a jig saw.
I filled in the back of the screws with paintable, waterproof caulk. I also caulked the inside seam of the siding because it was really noticeable.
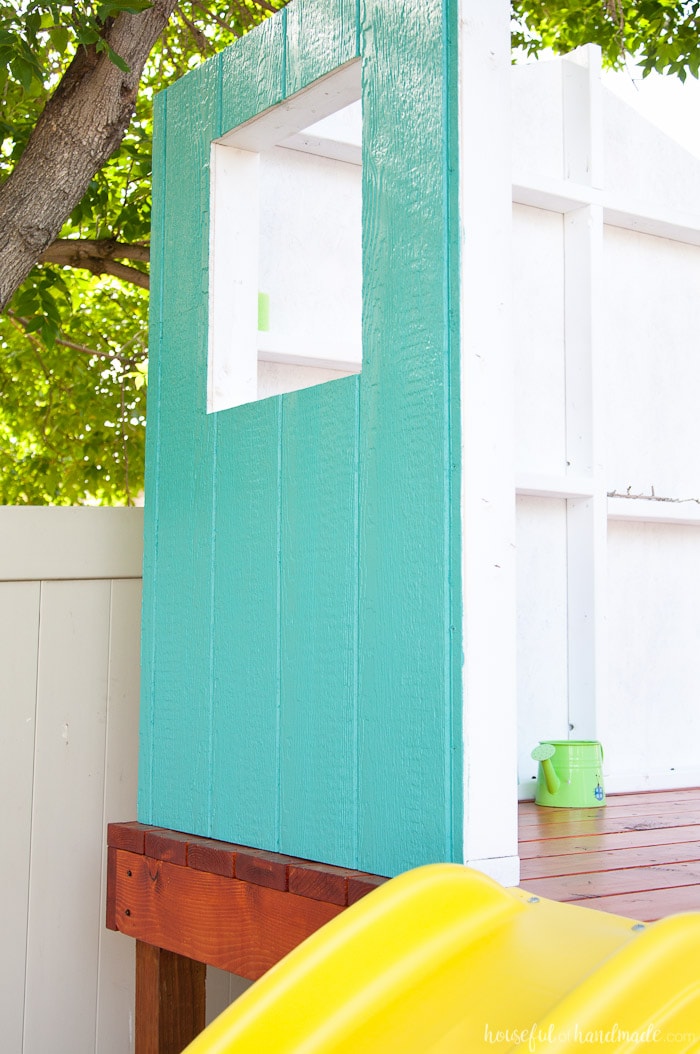
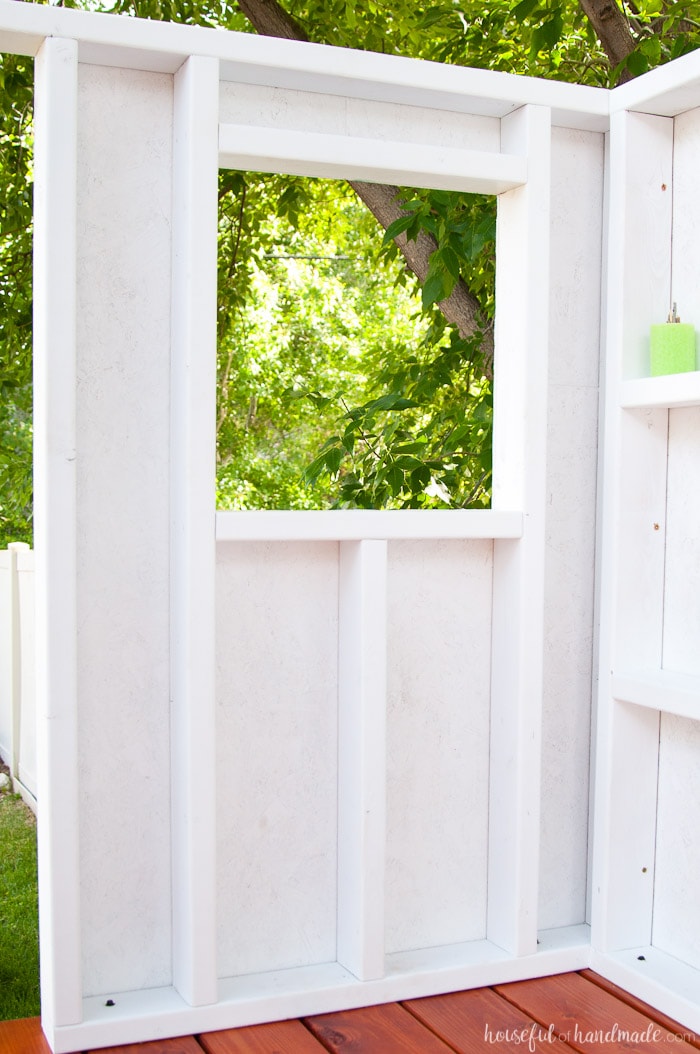
For the window wall, I used the L piece of siding that was left over from the back wall. This would make 2 smaller seams in the siding instead of one larger one.
After putting the first piece of siding on, I cut out the window with a jig saw. Then attached the second piece in the corner and finished cutting the window.
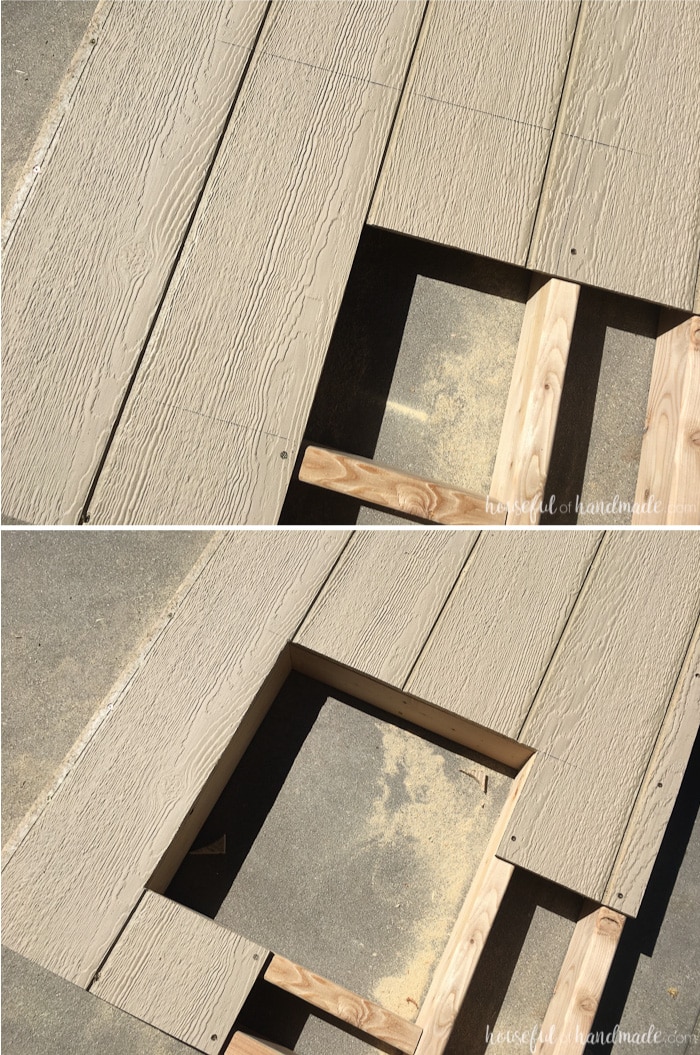
I again caulked the screw holes and seams. It helped to hide these two small seams. Now time for paint!
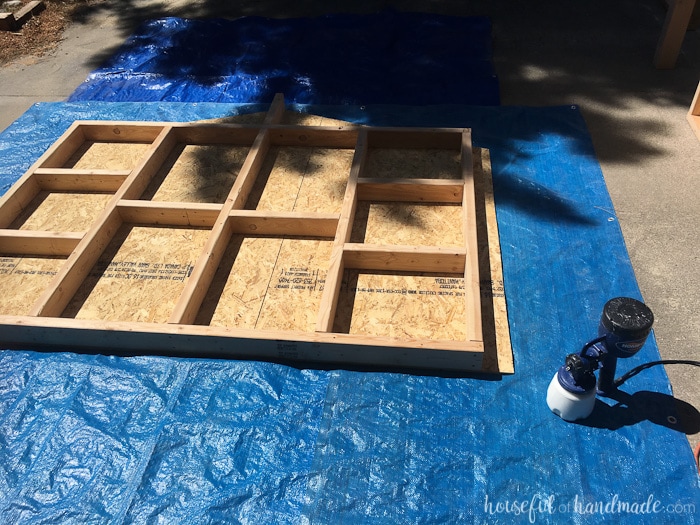
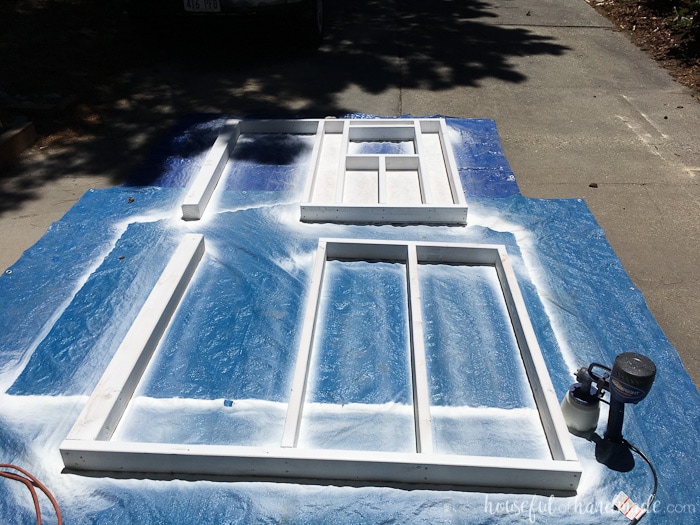
I used my paint sprayer to spray 2 nice coats of white exterior paint on the inside of the walls.
The paint sprayer is better for painting in the summer heat because it doesn’t leave streaks and brush marks. It’s also super fast for painting around all those corners and edges.
For the side walls, I also made sure to paint all around the front posts.
And for the climbing wall, I painted both sides to keep it protected until the wall slats are installed (hopefully really soon).
After the white was dry, I painted the siding.
I used a high nap roller and paint brush to get in all the grooves and texture. It was really quick and easy to get it painted.
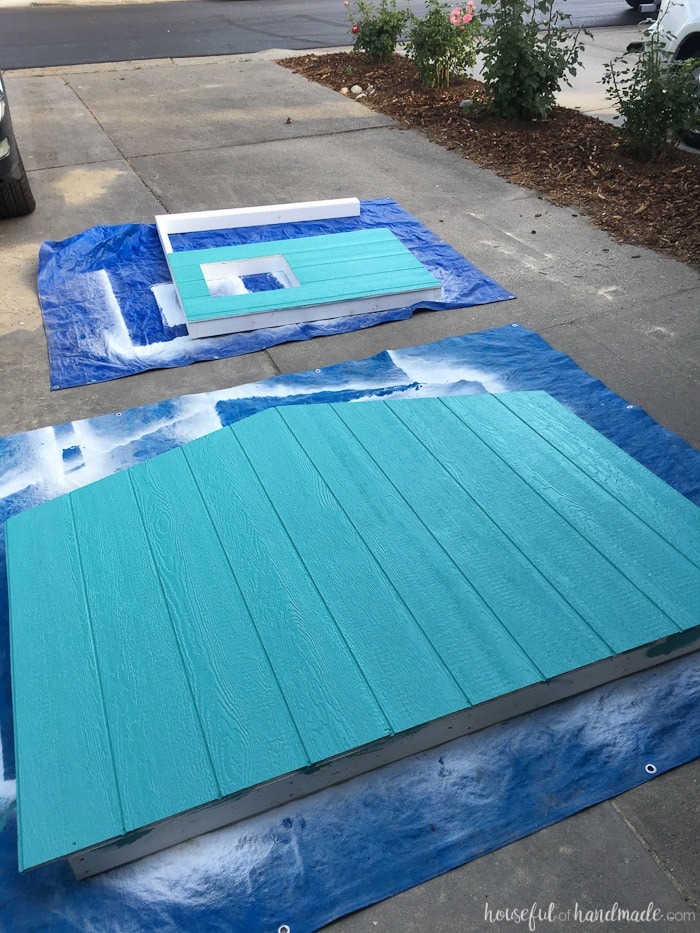
It took me about 3 hours to paint all the walls by myself.
Actually, the kids ended up helping me paint the turquoise on the back because they really wanted to help.
But that probably ended up taking longer than it would have if I did it by myself.
The hardest part of the whole process was waiting until the paint dried and my husband had an hour to help me carry the walls and install them.
I am not a very patient person when I get super excited. But I managed to keep myself busy until the next day.
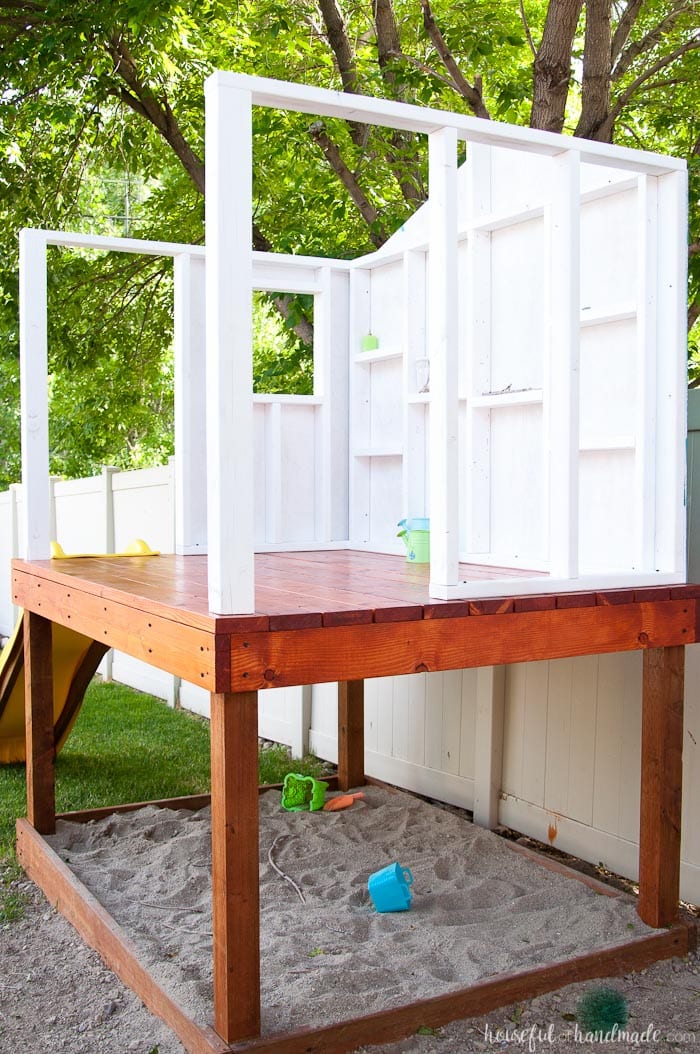
STEP 3- Install the walls on the deck
Installing the walls was super quick and easy, it took the 2 of us about 30 minutes.
Lifting them on the deck would have been easier with 3 people, but we managed.
The back wall was secured 1 1/2″ away from the back of the deck and centered between the sides. We used (4) 2 1/2″ TimberLOK screws to secure it to the deck.

Then we lined up the side walls, making sure they were straight on the deck.
Using some left over decking screws, we secured the back wall to the outside wall. Then using the 2 1/2″ TimerLOK screws we secured the wall to the deck.

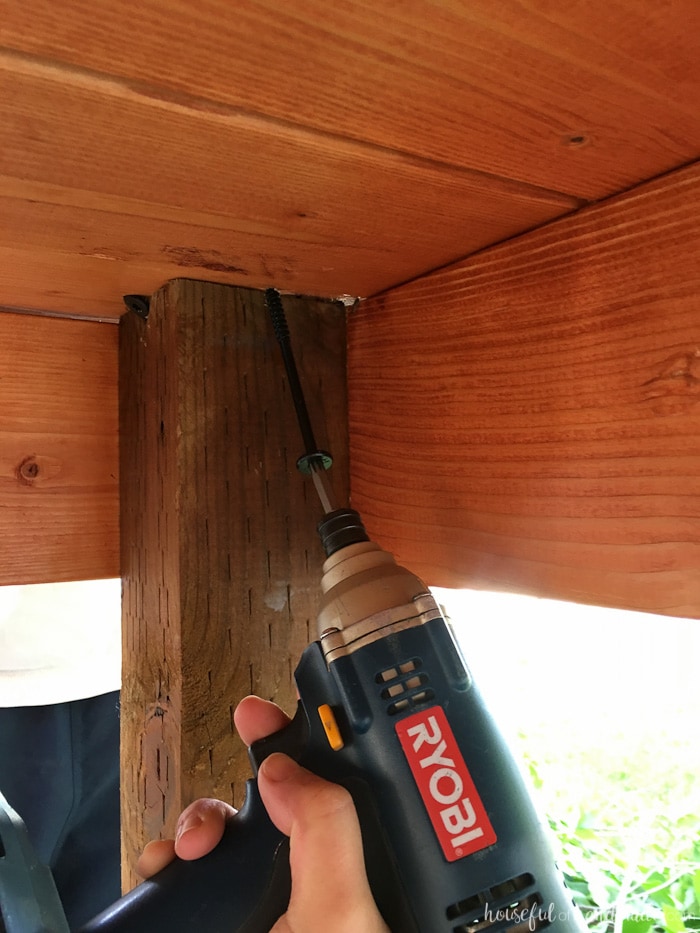
For the front 4×4 posts, I secured them to the deck with (2) 4″ TimberLOK screws up through the bottom of the deck.
The posts sit directly on top of each other, so I had to drive them in at a slight angle. But they are super secure now!
Now the walls are secure and ready for playtime! And it’s really looking like a playhouse.
Premium plans include:
- Recommended Tools
- Shopping list
- Easy to read cut list table
- Cut diagrams
- Step-by-step instructions with 3D renderings
- Helpful resources
- BONUS: 3D SketchUp file
And now for the $$$. Here is what we have spent so far:
- The deck = $196.96
- Slide = $99.99
- Rock climbing handles = $20.00
- (12) 2×4 8′ boards = $37.92
- (2) 4x4 8′ boards = $19.70
- (2) 1lb box 3" gold construction screws = $7.94
- (2) sheets of 4x8 outdoor siding panels = $65.96
- (1) box 1 1/2" gold screws = $6.97
- (6) decking screws (left over from deck build)
- (8) 2 1/2" TimberLOK wood screws = $9.12
- (4) 4″ TimberLOK wood screws = $5.12
- (1) gallon exterior paint = $36.98
Total for Walls: $189.71
Total so far: $506.66
But there is no rest for this momma. Not yet! A couple more weeks of work and then we can just sit back and enjoy our summer!

