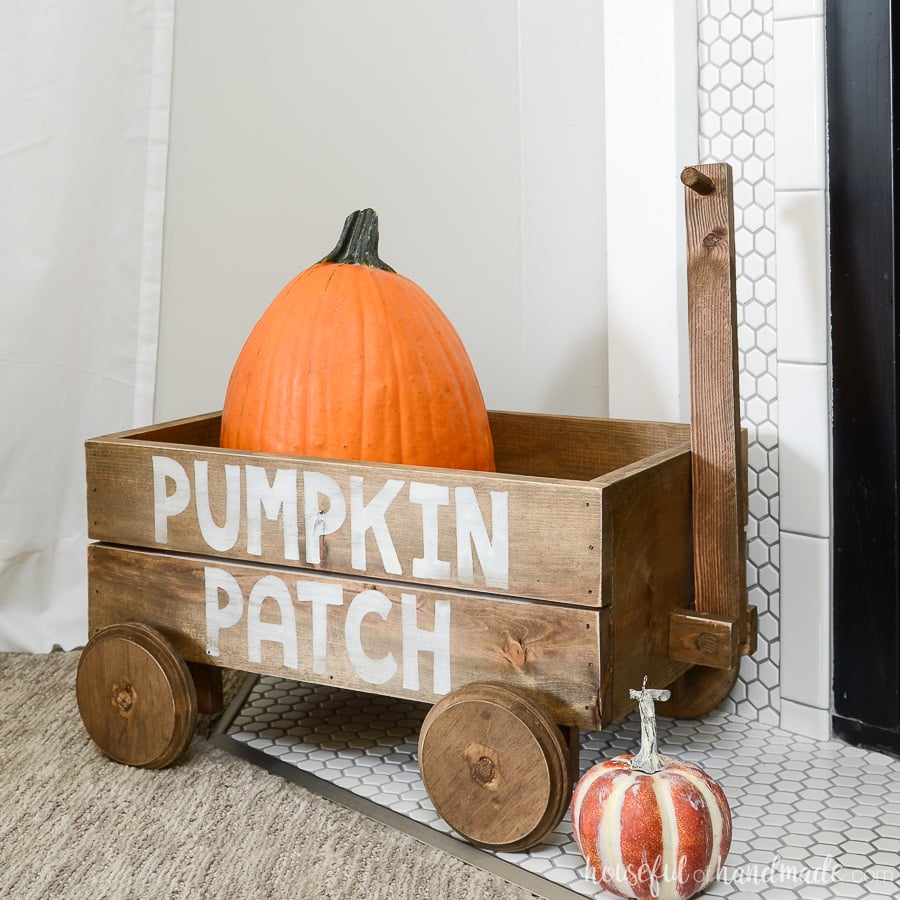
Fall is one of my favorite seasons to decorate for! There is just something cozy about all those pumpkins after a hot summer.
Lanterns also make amazing cosy fall decor. So why not combine wood lanterns with pumpkins?
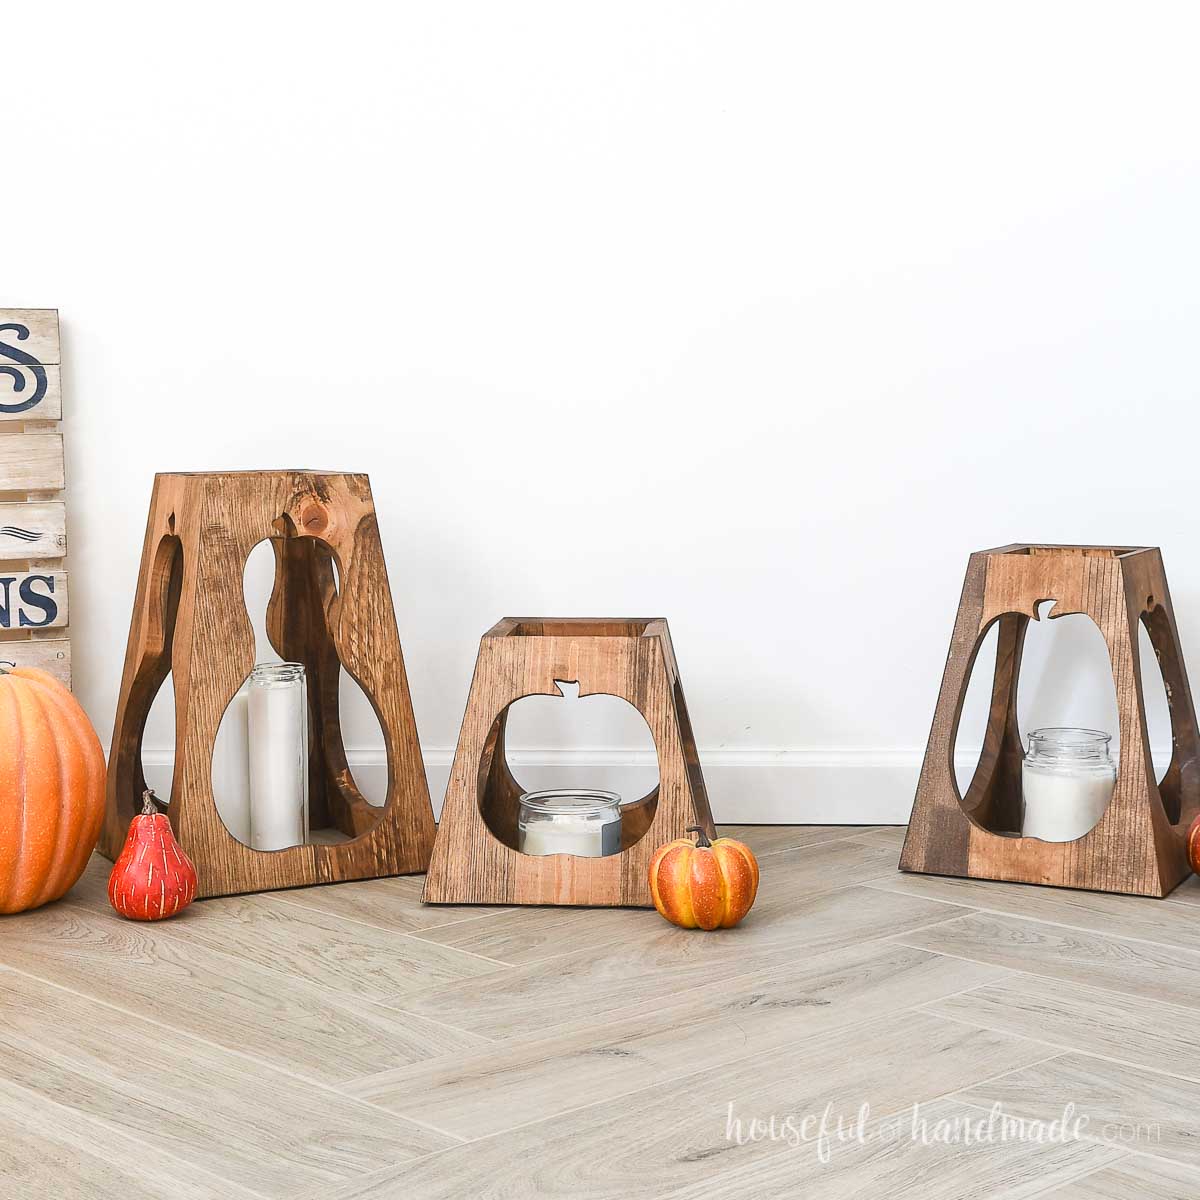
These simple, but beautiful, fall lanterns are the perfect way to decorate for fall. They are cozy, and warm, and so fun to make.
This post may contain affiliate links. As an Amazon Associate I earn from qualifying purchases. Click here to read my full disclosure policy.
How to Decorate with Wood Lanterns
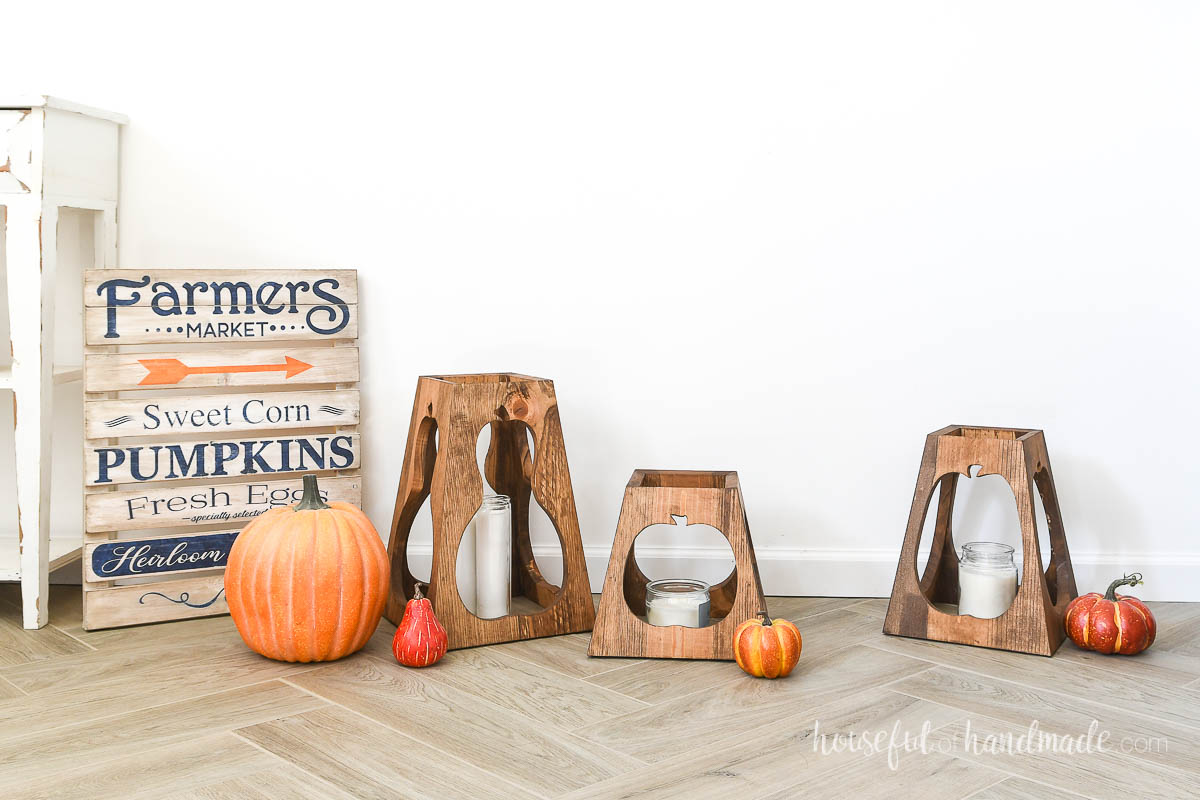
These large wooden lanterns will become your new favorite fall decor. They are so versatile!
You can use them on a porch. Perfect to framing a door or creating a vignette on one side.
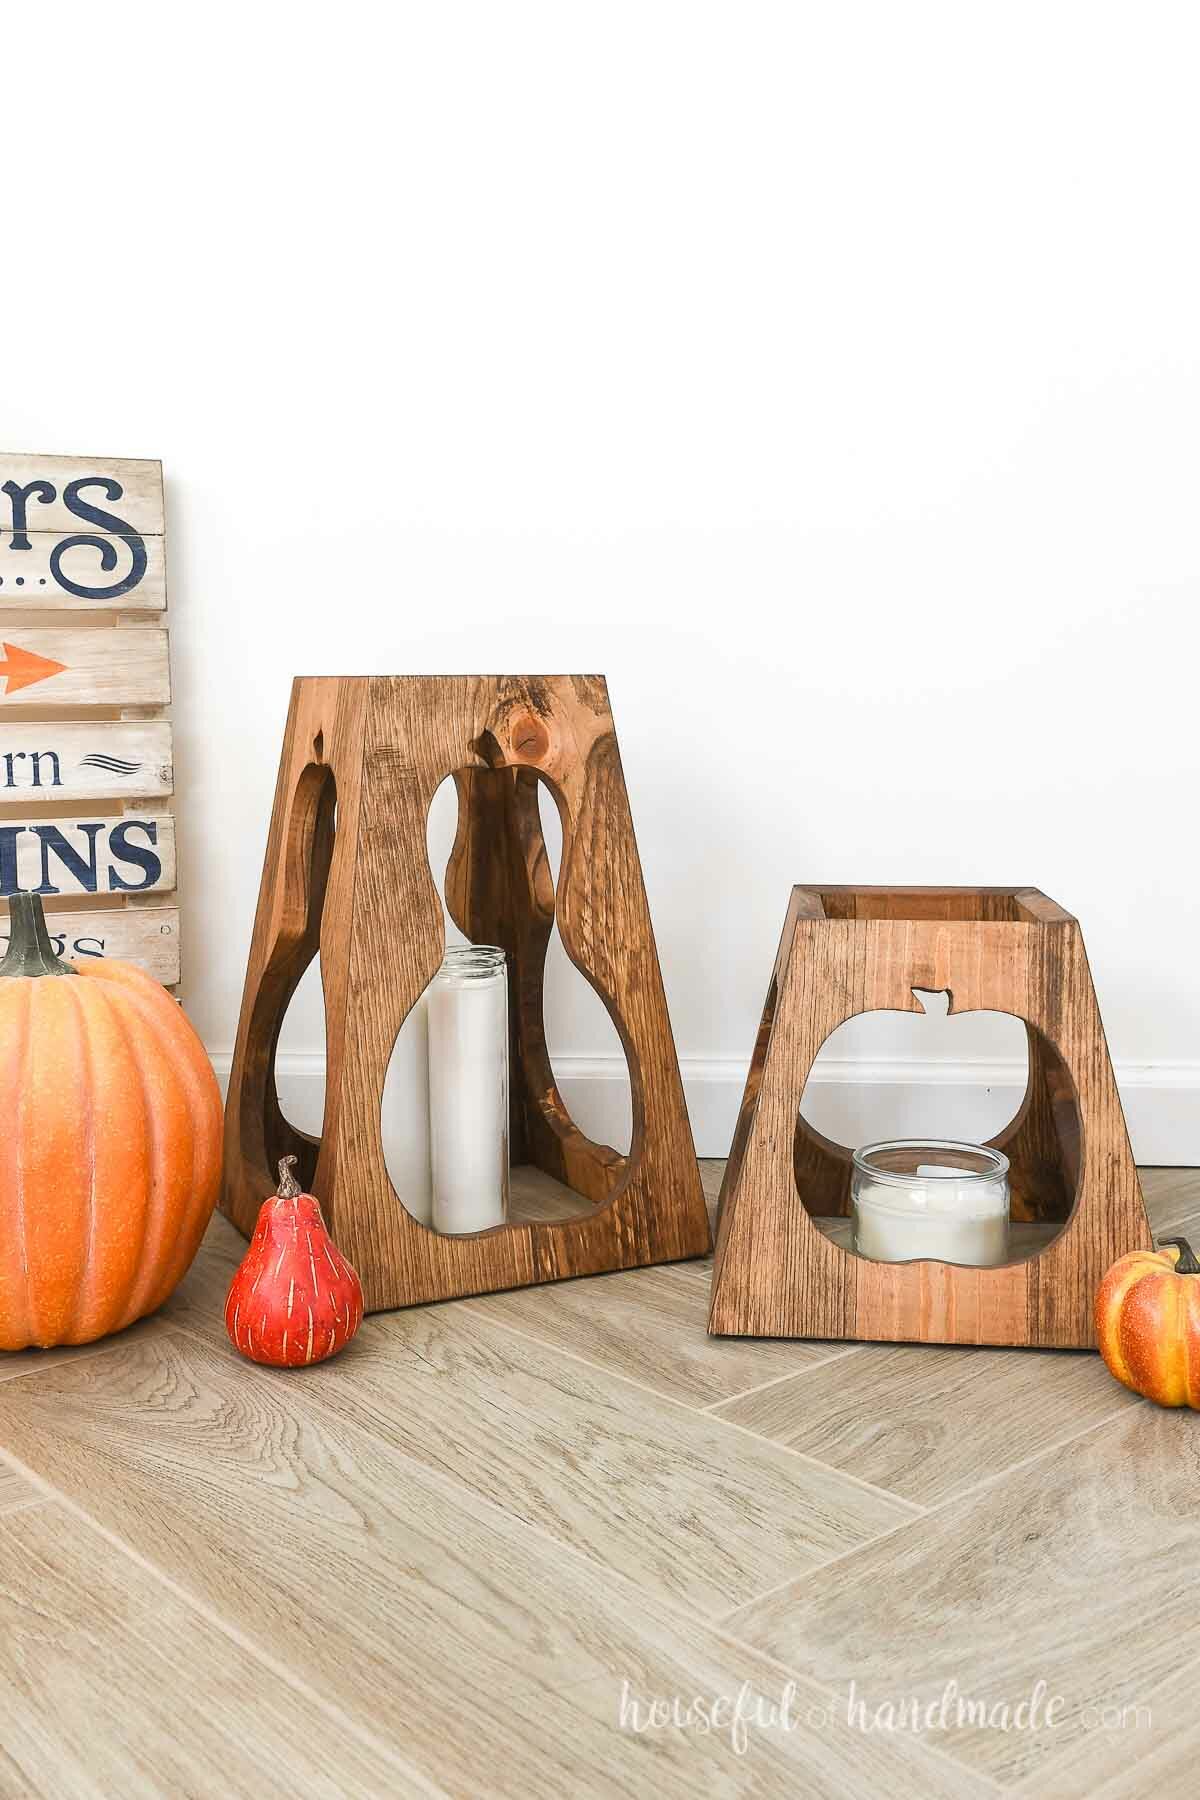
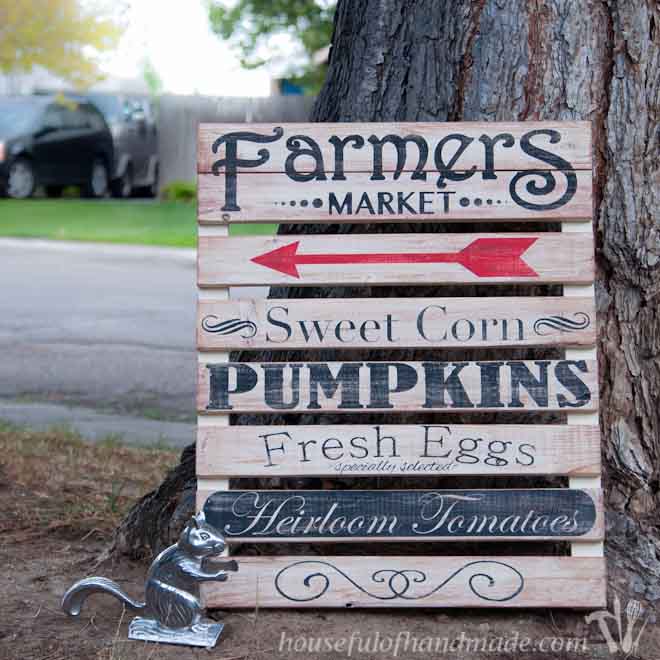
Pair them with your favorite fall sign (I love this decorative Farmer’s Market sign) for a festive fall look.
Or you can use these lanterns indoors. Place them next to a console table or TV stand for a sprinkle of fall. They would also make a great display next to a fireplace.
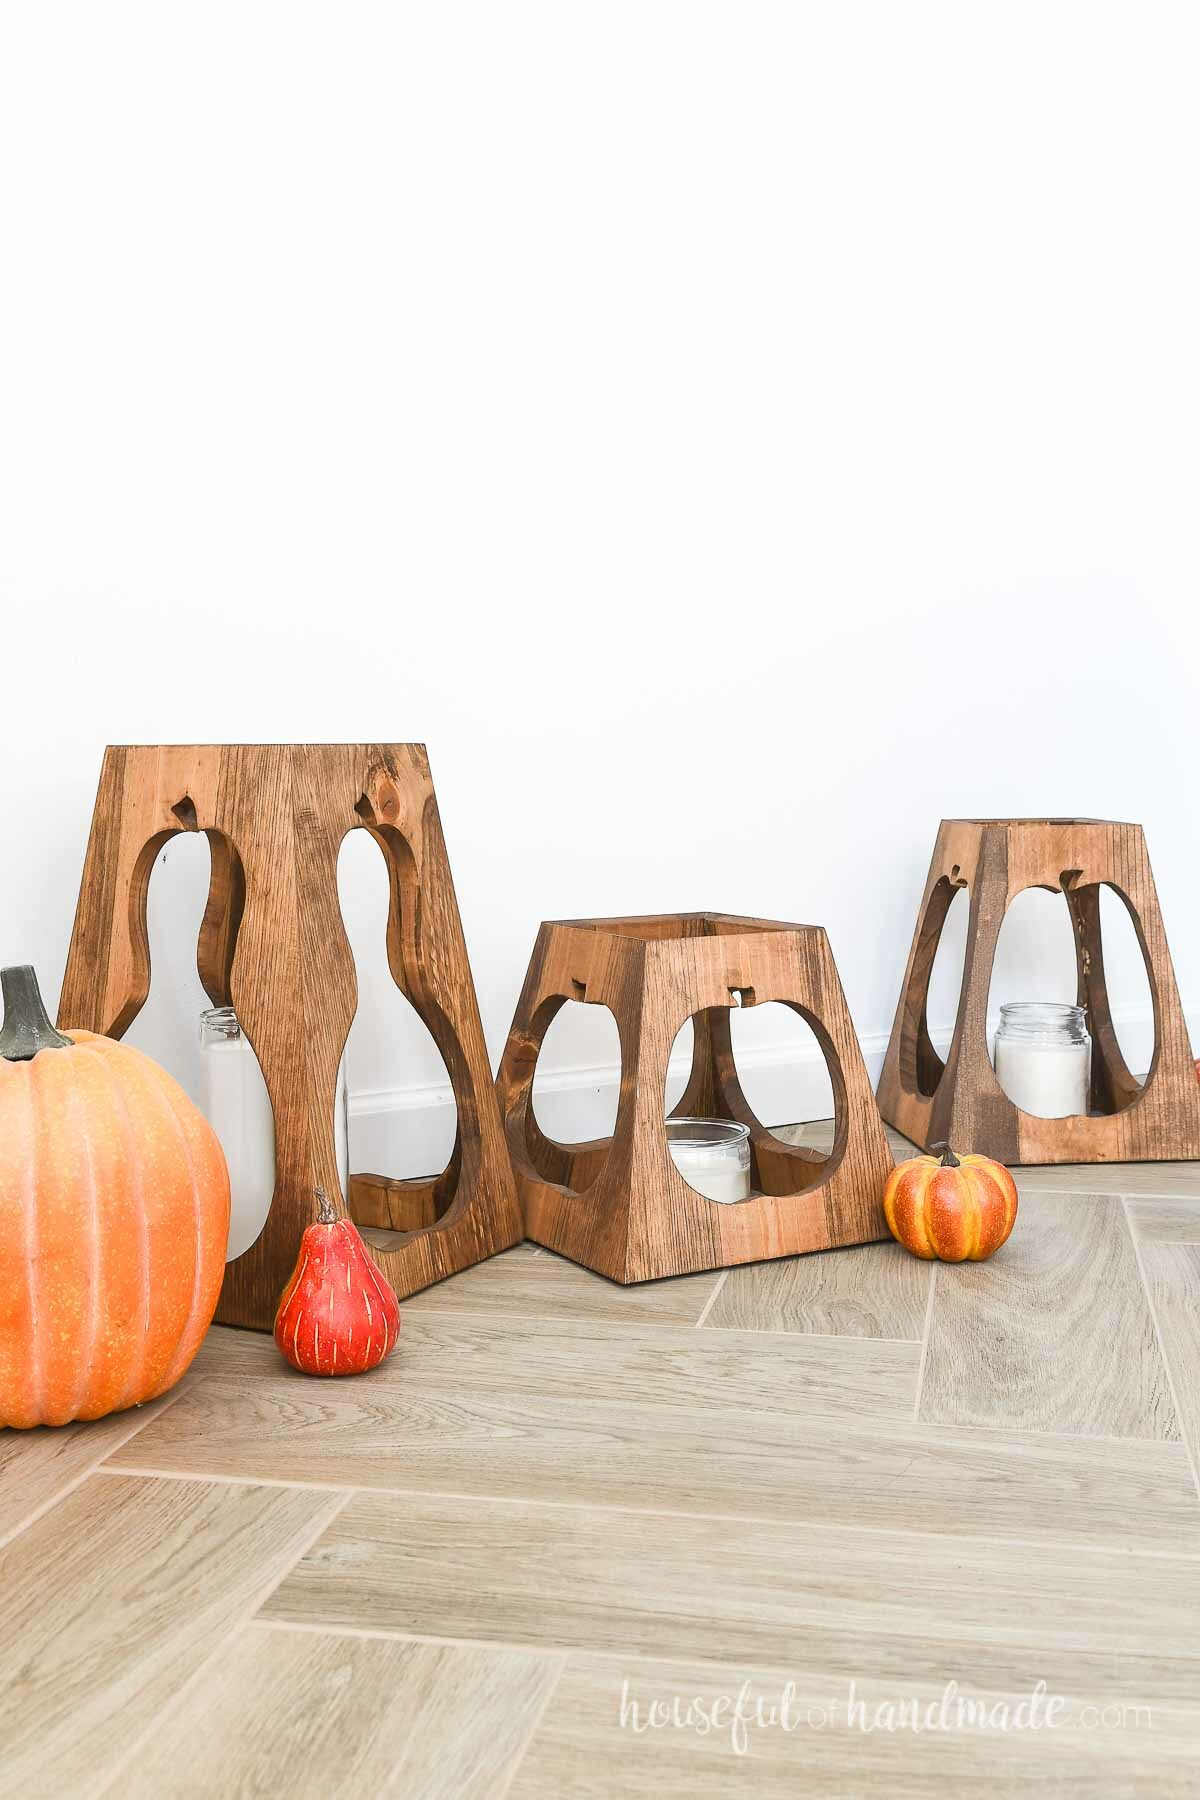
Use all 3 sizes for lanterns together for a large display, or just display your favorite lantern alone.
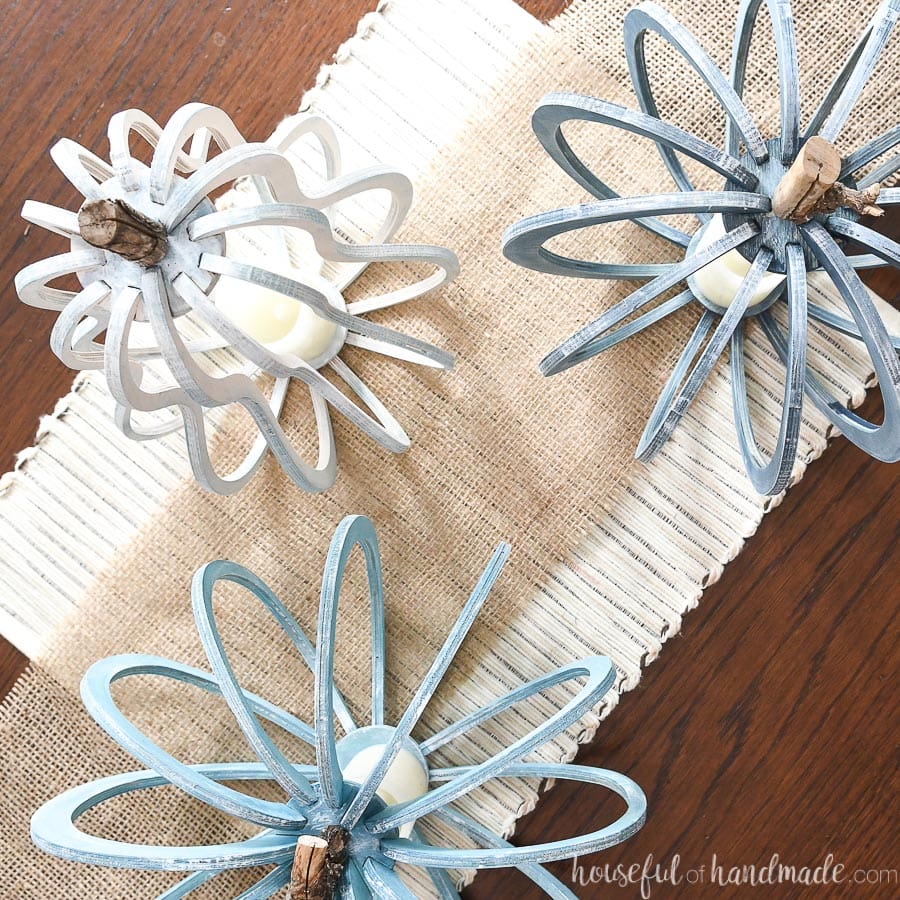
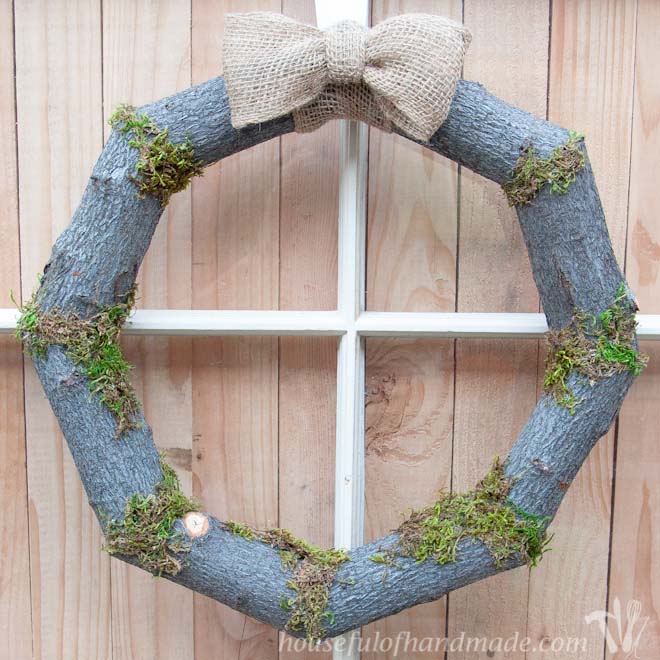
More DIYs for Fall
Create a cozy home for fall with some of my favorite DIY decor.
How to Build Wood Lanterns for Fall
Tools & Materials
Recommended Tools:
- Table saw with miter gauge
- Jig saw
- Drill
- Brad nailer
- Sander
- Optional: Miter saw
- You can cut the boards to length on a miter saw or with the table saw.
Supplies:
- Lumber
- (2) 1×12 boards, 8′ long
- 1 1/4″ brad nails
- Wood glue
- Sandpaper
- Stain and sealer
Overall Dimensions
There are 3 different sized lanterns. The base of each is ~11 1/4″ wide. The large one is 16″ tall, the medium 12 3/4″ and the short one is 10″ tall.
Cut List
Cut out the pieces according to the easy-to-read table in the PDF plans.

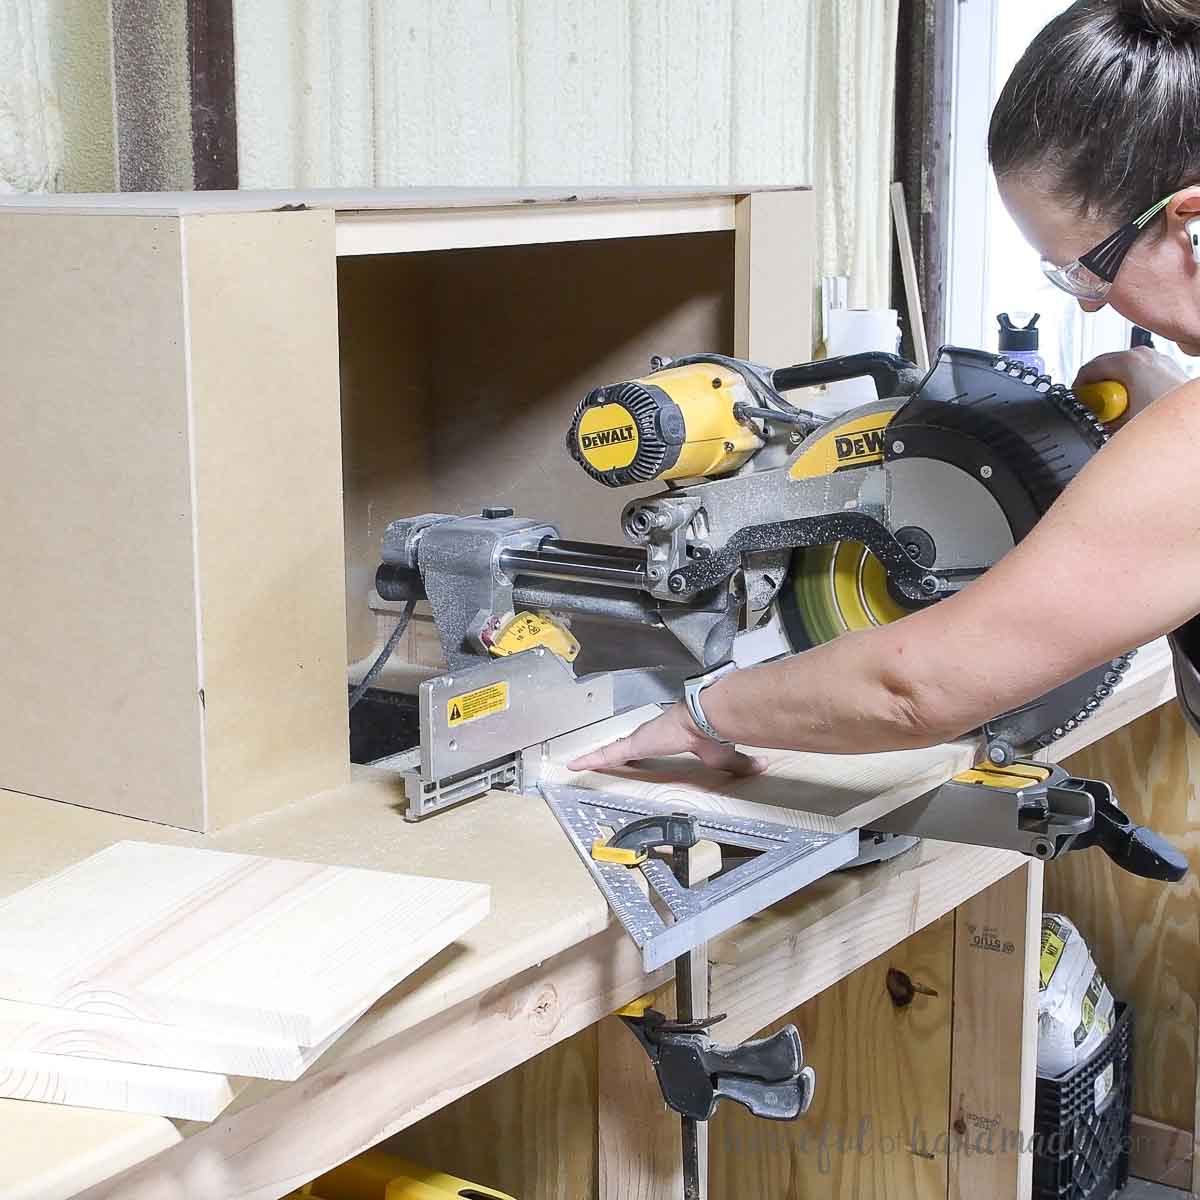
I cut the boards to length on my miter saw. You can also cut them to length on the table saw.
If you do not have a sliding miter saw, use a stop (something clamped at the edge of the board). Then cut part way through the board, flip it over so the uncut is up against the fence and repeat.
Make sure the board is pressed up against the stop for both cuts and that your saw blade is square, and you will have a straight cut across the longer board.
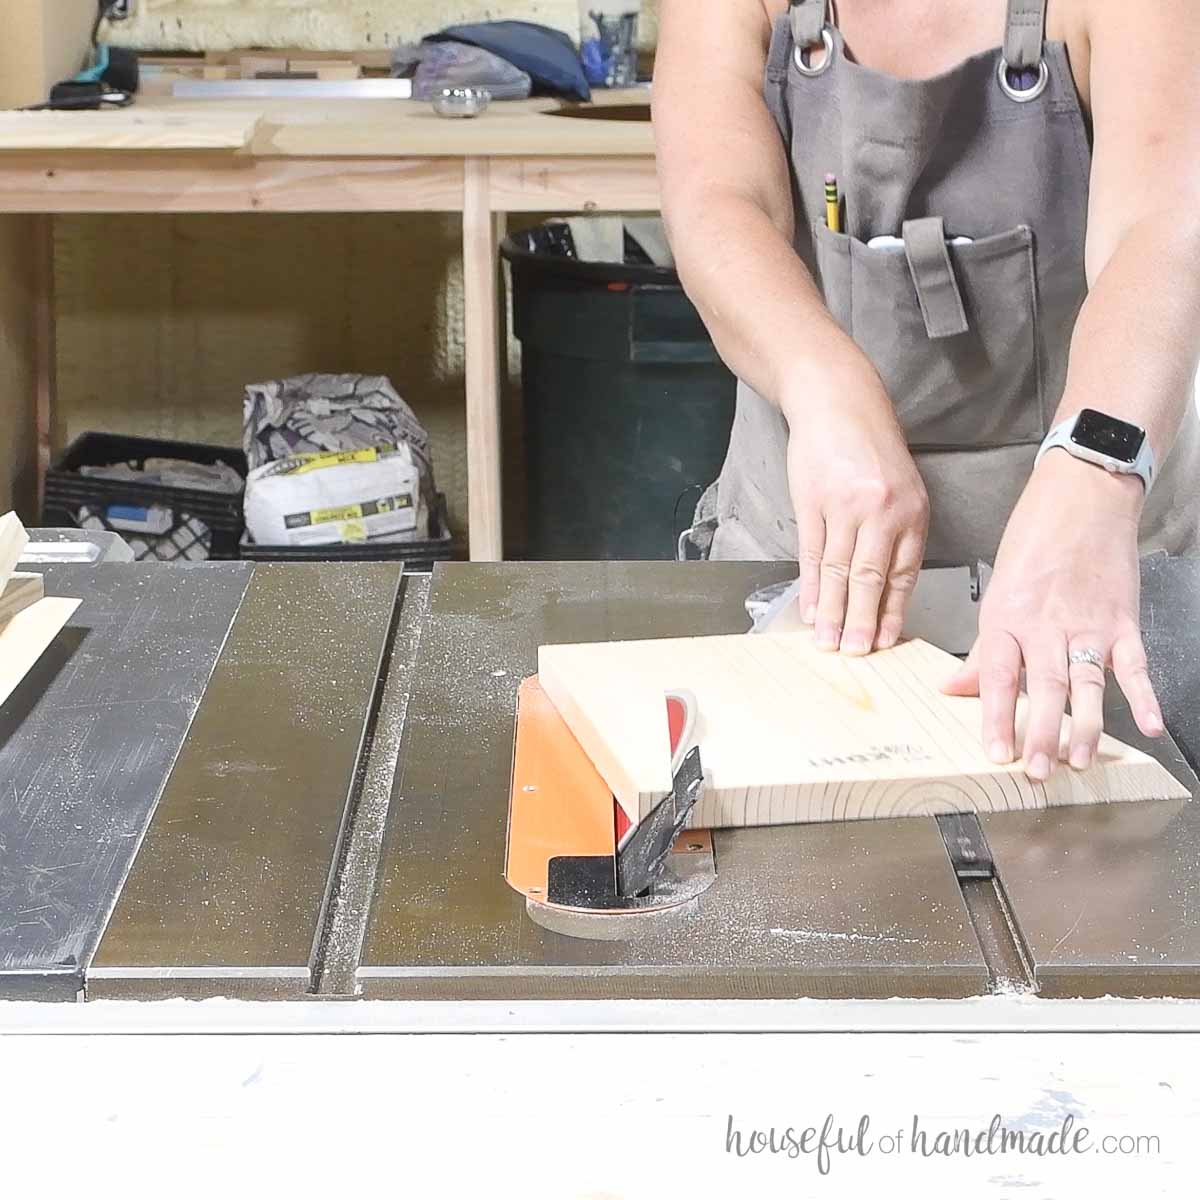
STEP 1- Cut the angled sides
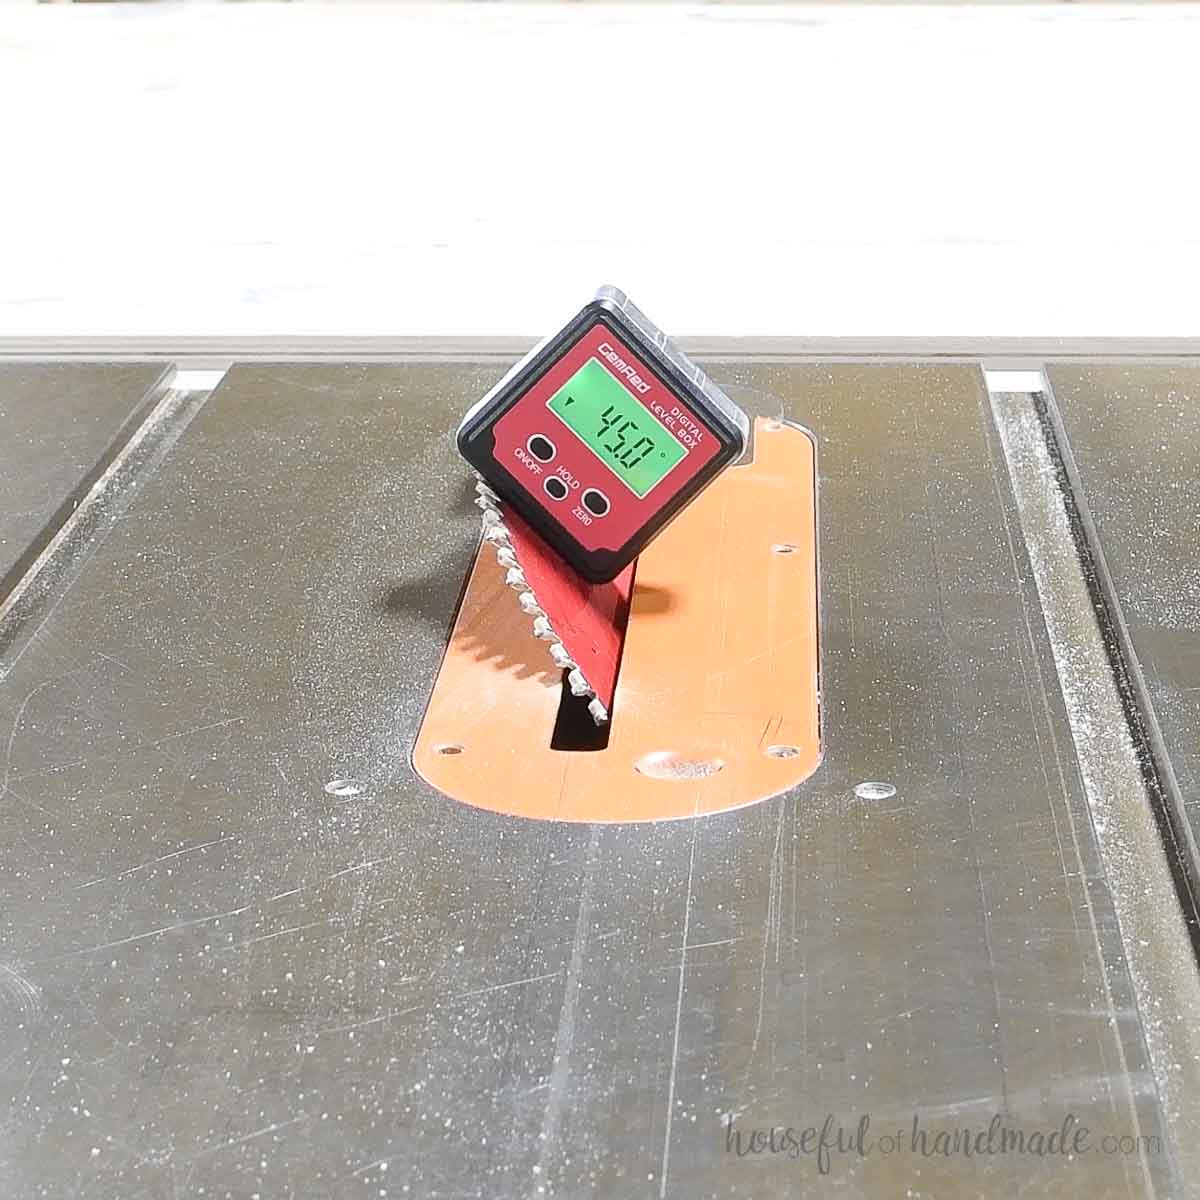
The angles on the side boards are cut on the table saw using a miter gauge. I am using the one that came my table saw.
Set the saw blade to 45 degrees.
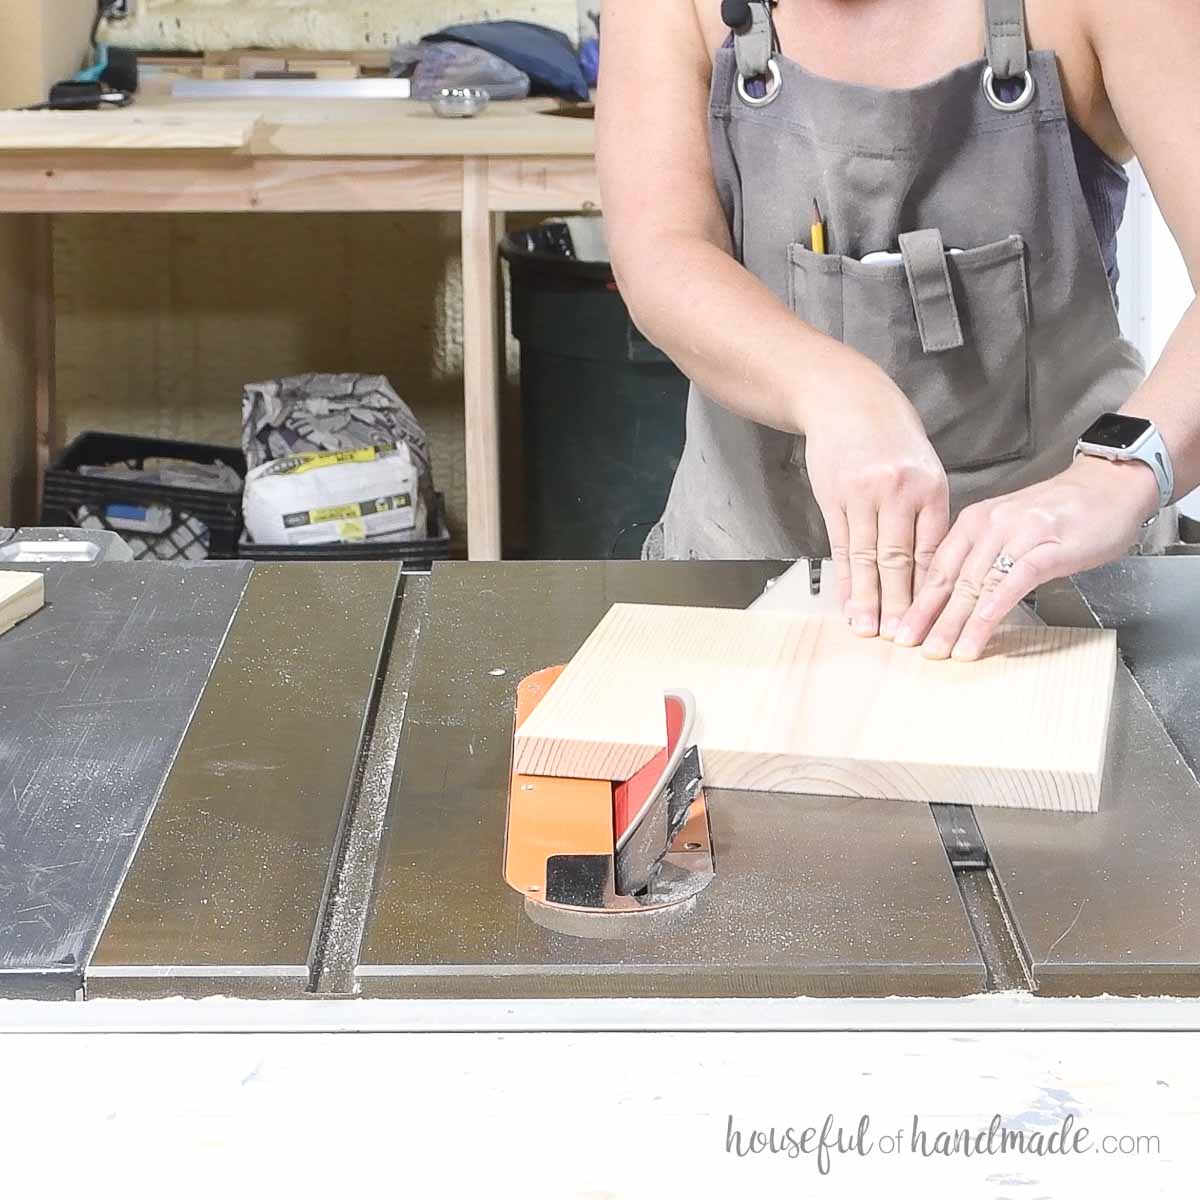
Set the miter gauge to the degree for the size of lantern according to the plans. Angle the gauge so it is tilted toward the blade.
With the board up against the miter gauge fence, line the bottom corner of the board up with the center line of your table saw.
Run it through to cut off one side at an angle. Repeat for all 4 boards.
Then adjust the miter saw so it is angled the same degrees but tilted away from the blade.
Line up the bottom corner of the board with the edge of the blade.
Mark a line where the top of the board lines up on the miter gauge. This is used to quickly line up the next boards so they are all cut the same.
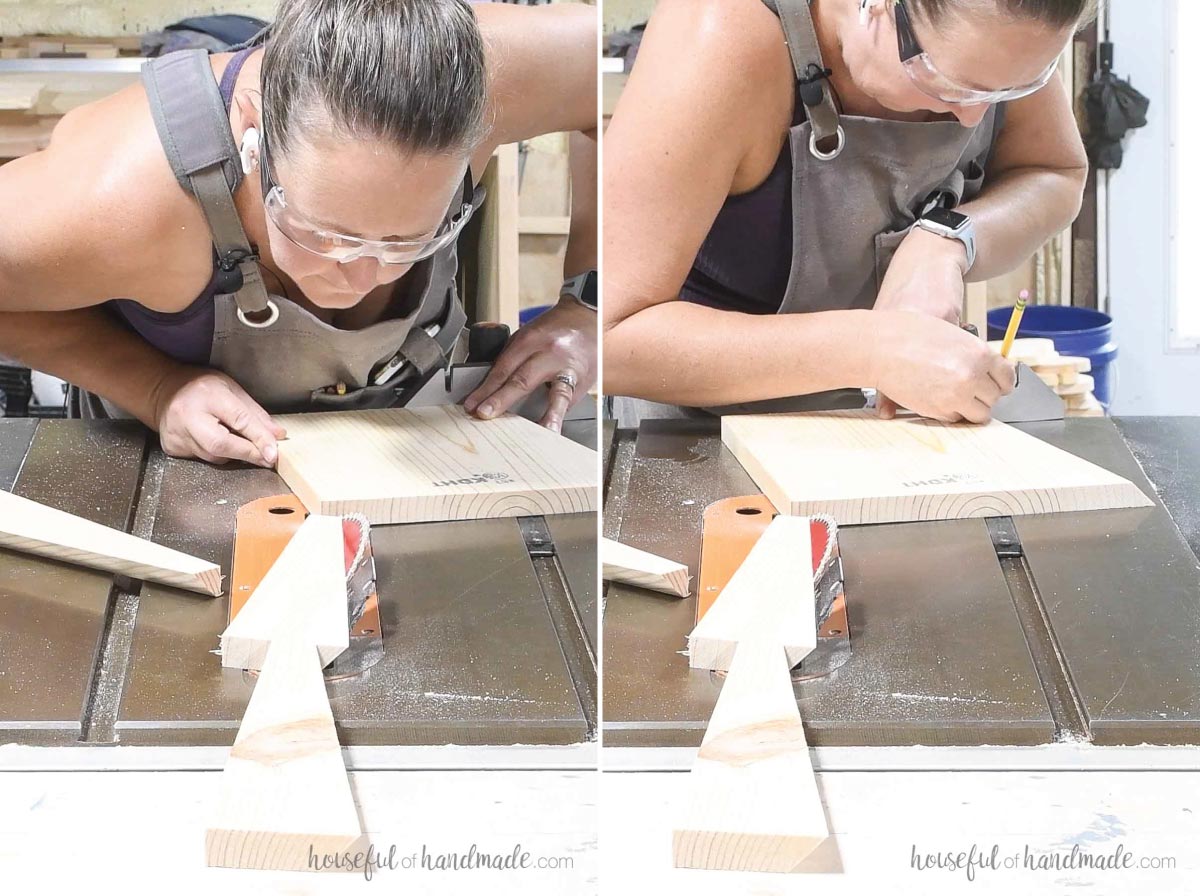
Run the board through the saw to cut off the other side at an angle. Repeat for all 4 boards.
Adjust the gauge and cut the boards for the other lanterns the same as above.
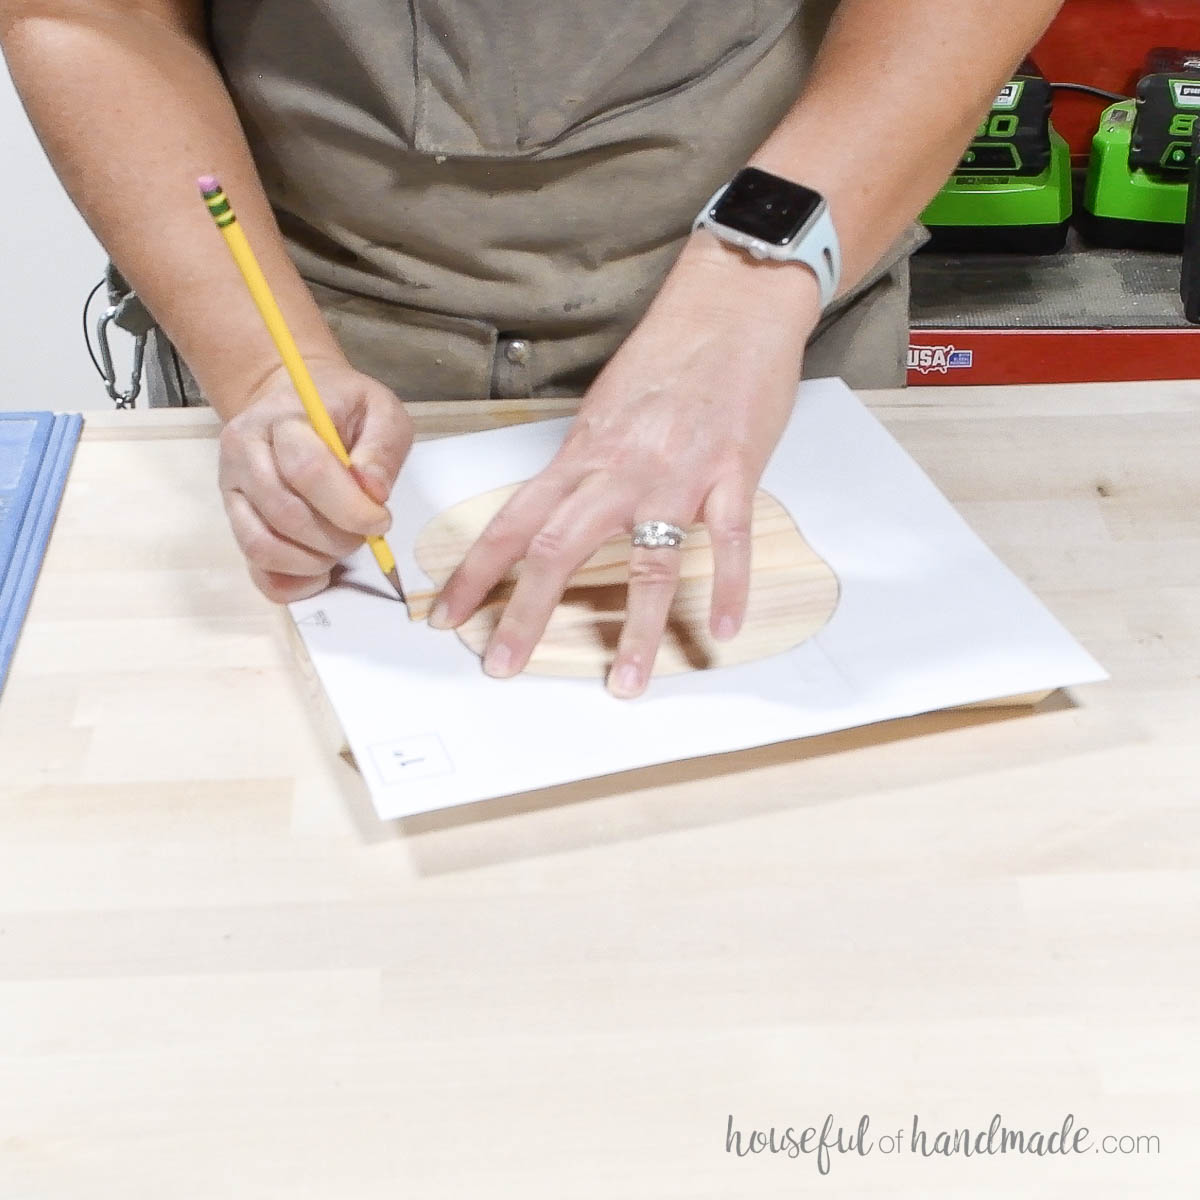
STEP 2- Cut out the designs
Print the pumpkin shape templates in the PDF plans.
Line up the top line with the top of the board so the center points line up. Trace the shape onto all 4 boards on the top face.
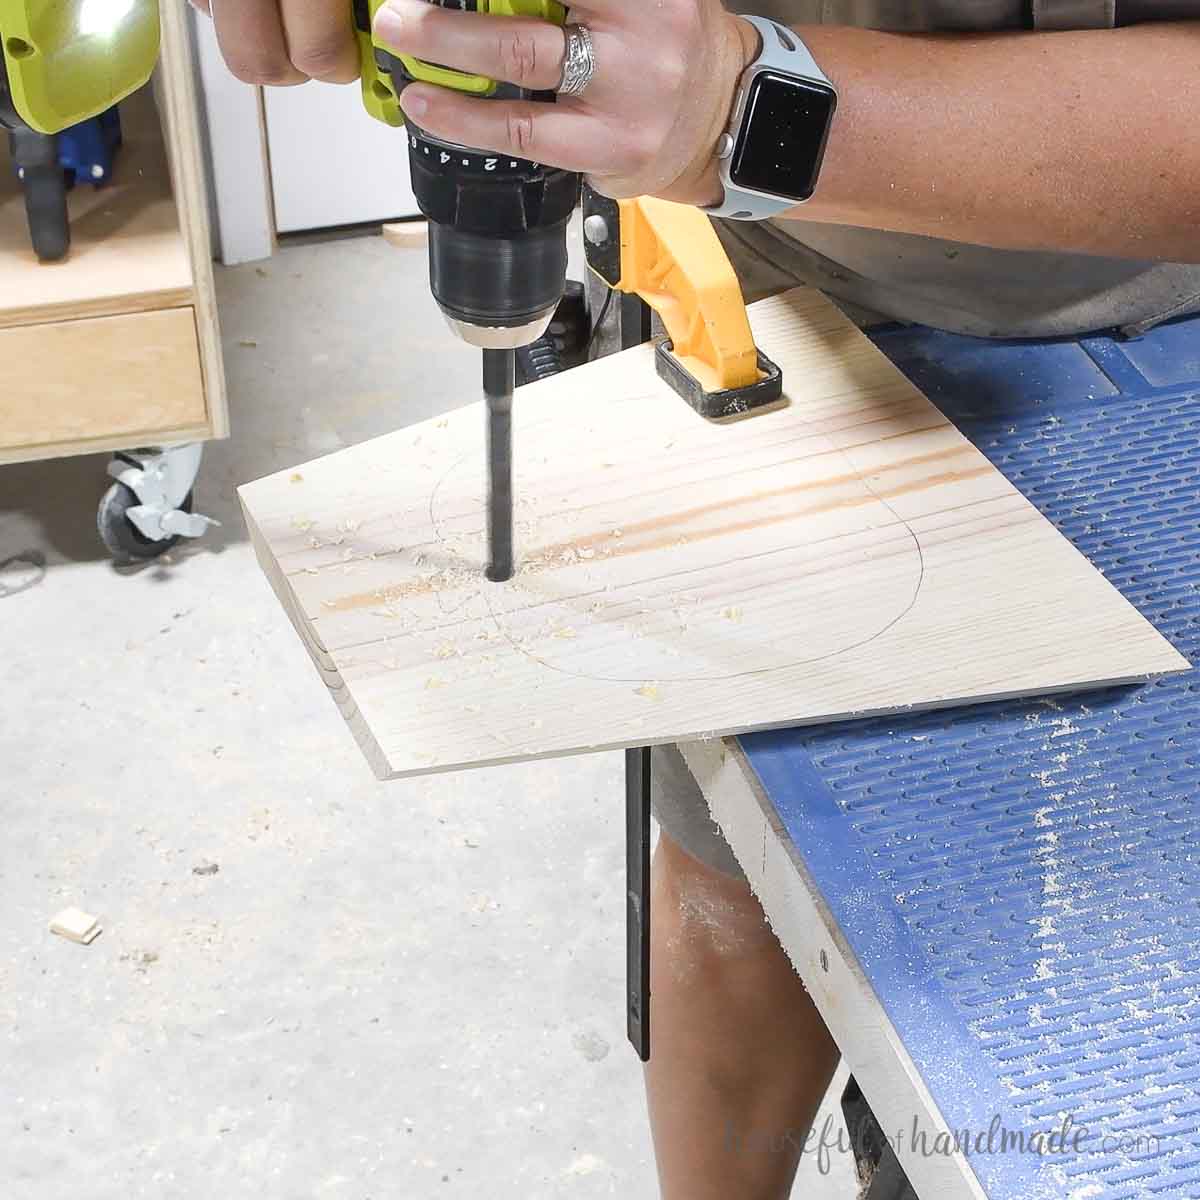
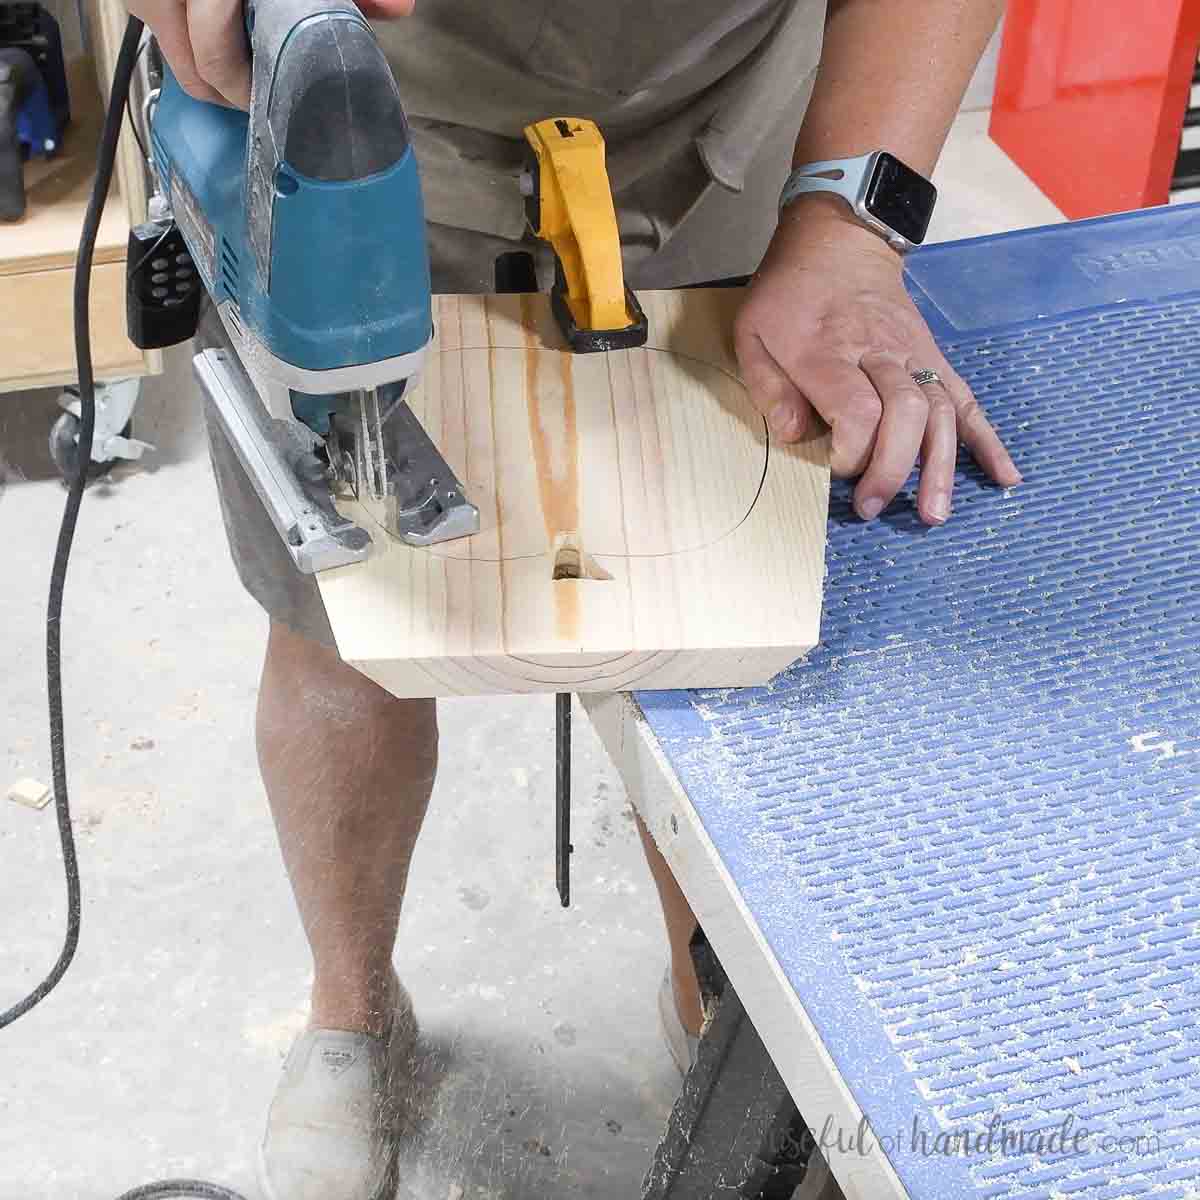
Drill a hole, large enough for your jig saw blade, in the design right below the stem.
Using a jig saw with a scroll blade, cut out the stem.
You want to cut the stem first since cutting the rest of the pumpkin shape can make the board fragile. If the jig saw bounces it too much when cutting the tighter stem area, it can break.
You will have to cut the stem out in pieces.
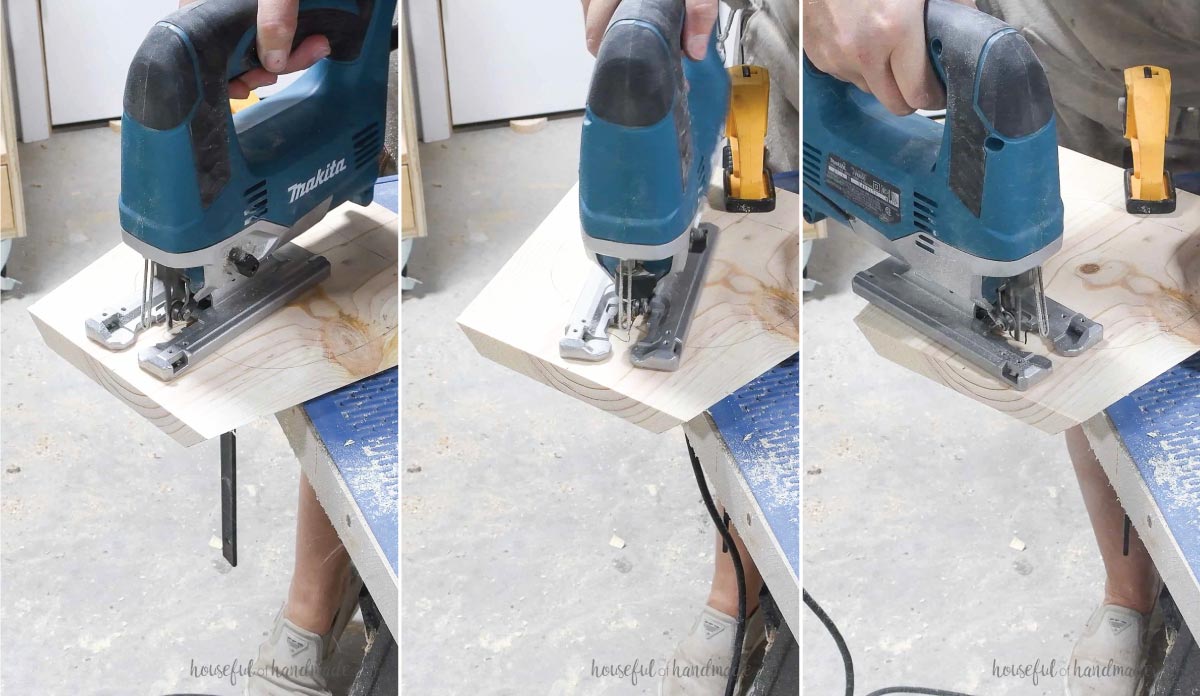
Once the stem is removed, cut around the rest of the pumpkin shape to remove it. Start and end at the hole.
Repeat for all lantern pieces.
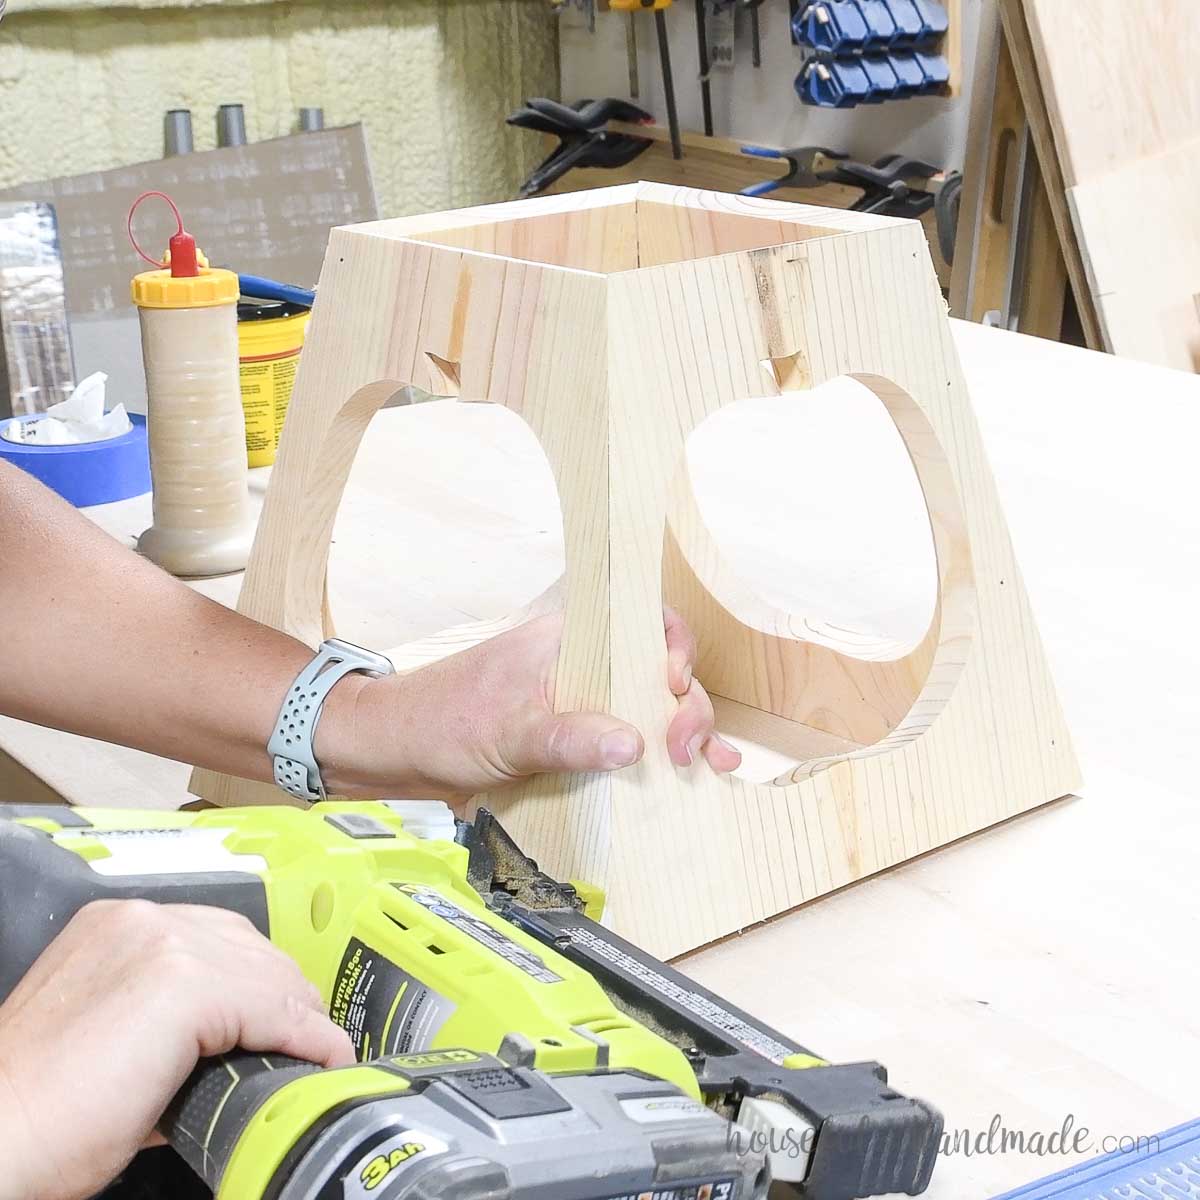
STEP 3- Assemble the Lanterns
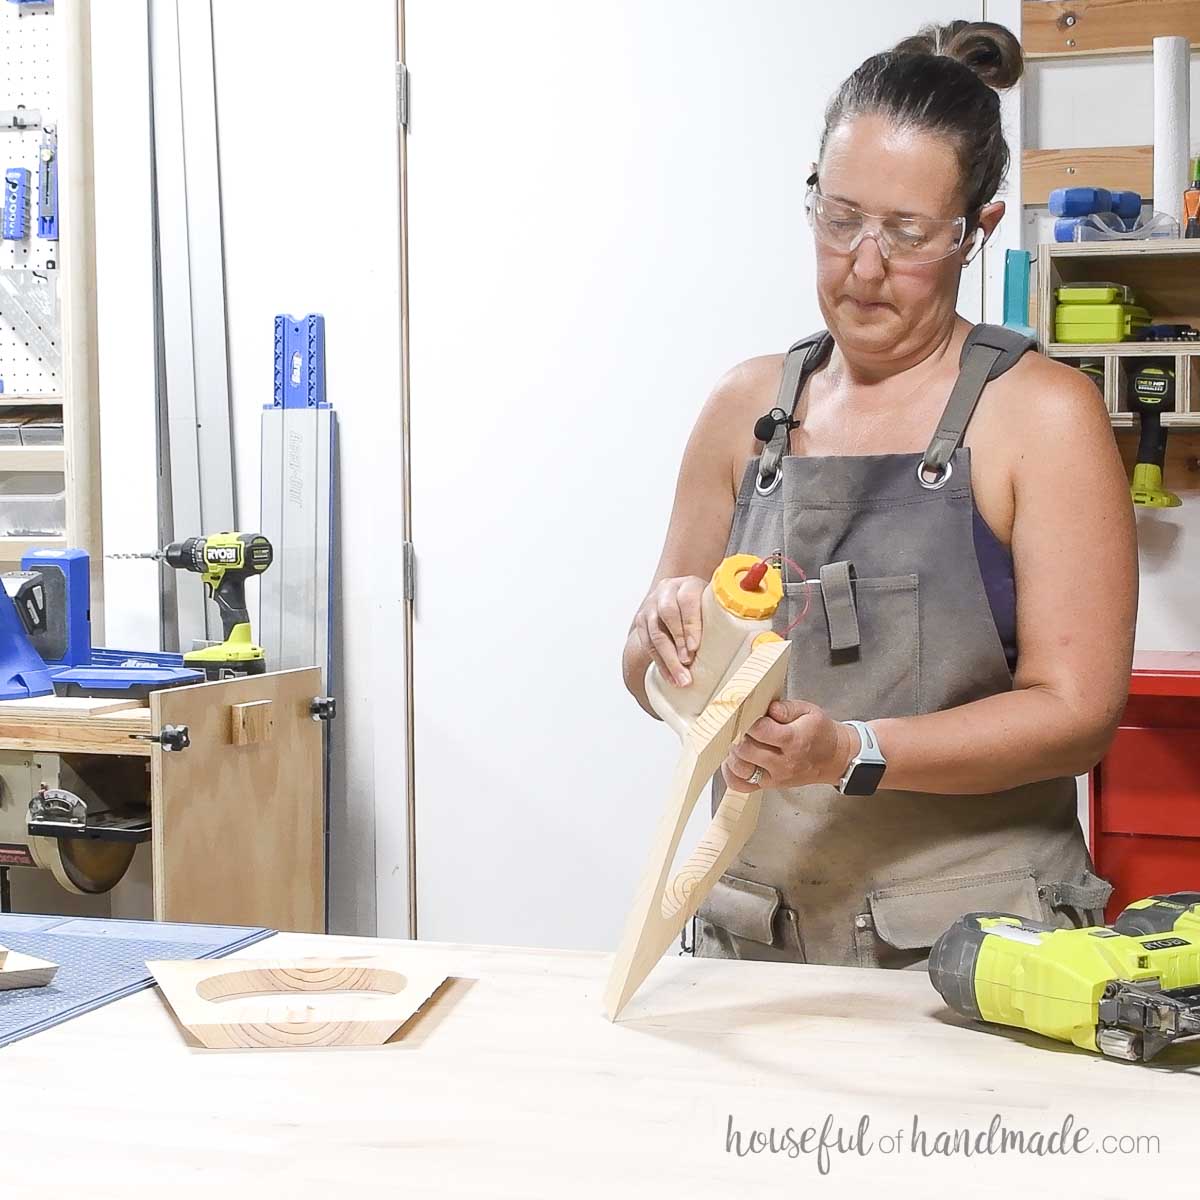
Add wood glue to the angled side of one lantern piece. Press a second piece up against it.
Make sure to use waterproof outdoor glue if you are planning to use your lanterns on the porch.
Secure with brad nails. Be careful to keep the outside edge of your lantern lined up as you secure it.
Also, do not drive nails through the lantern in areas where there is not enough room next to the cut out for the full length of the nail.
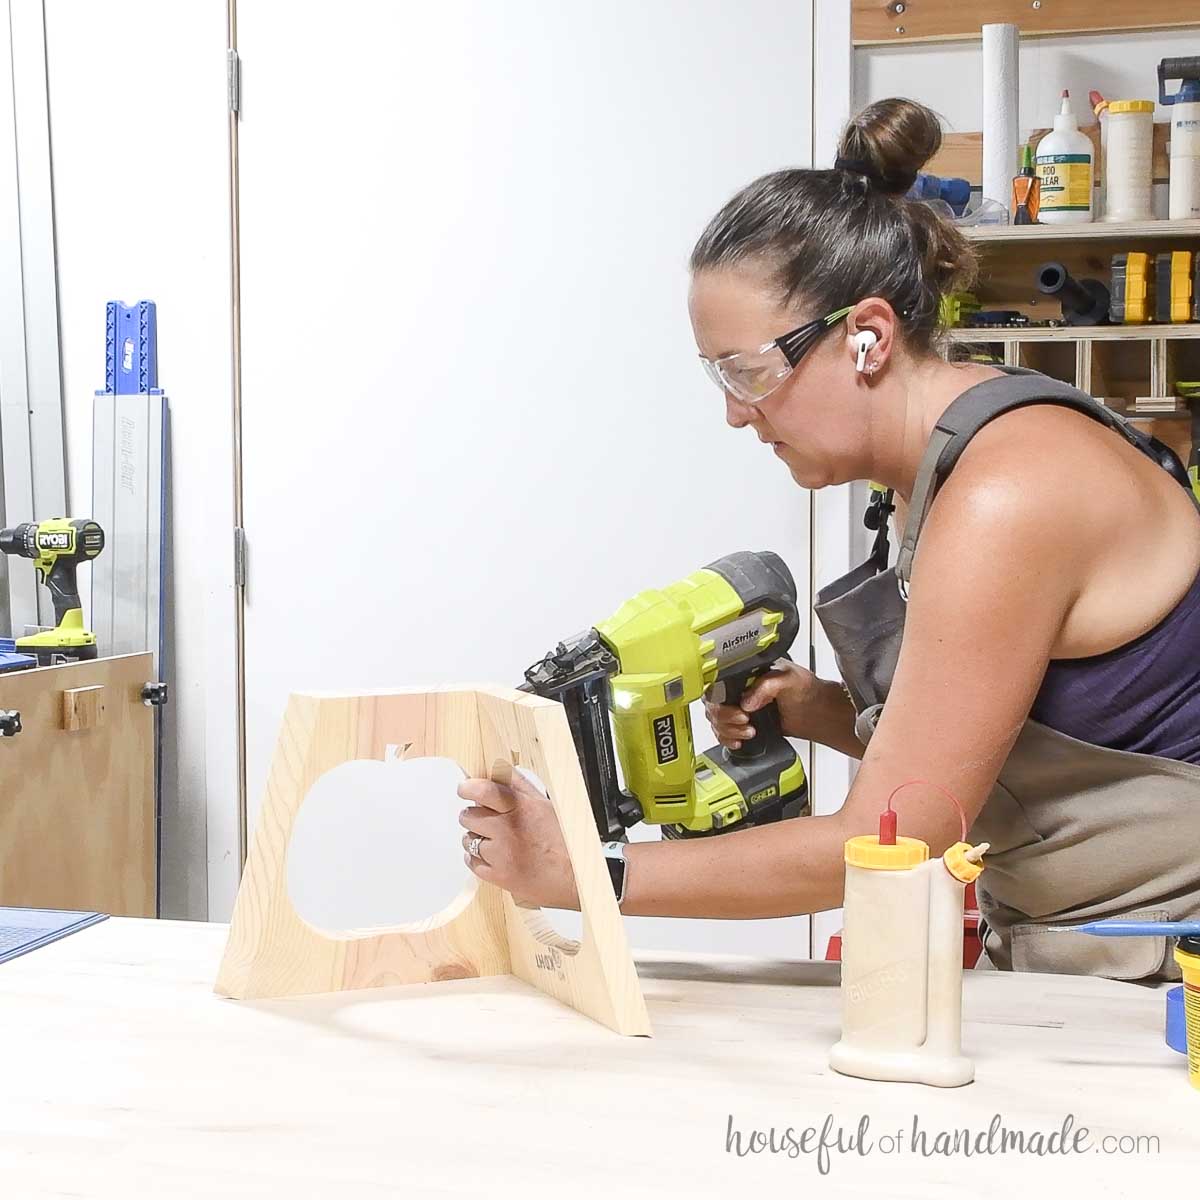
Repeat for the other side.
Then the add the final piece, add wood glue to both sides before lining it up.
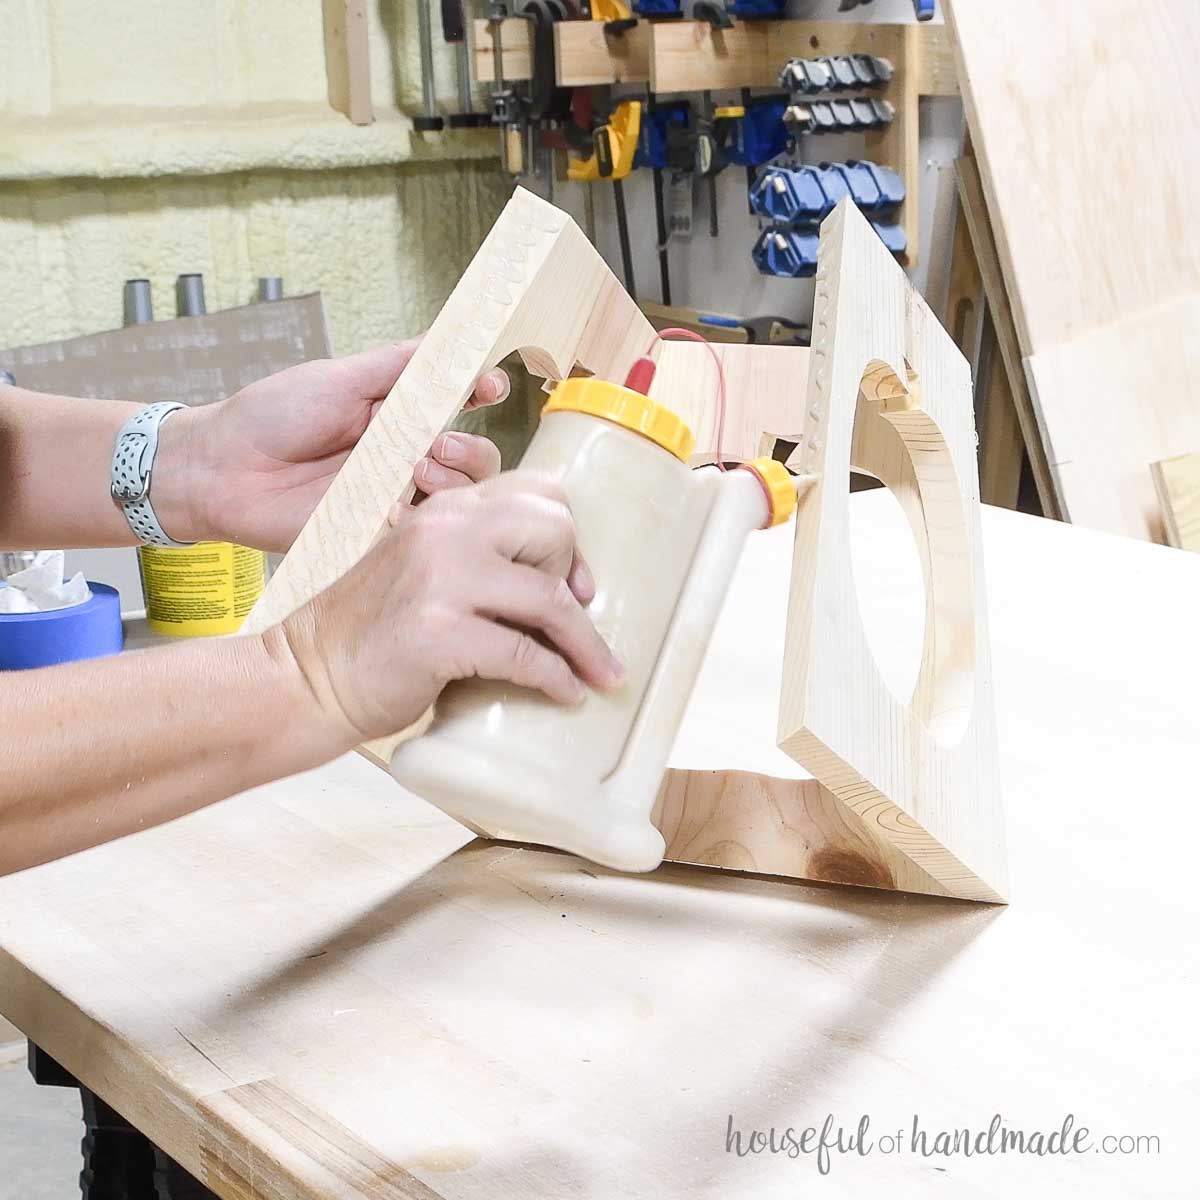
Secure one side first, then the other.
Attach the same way you did the other sides.
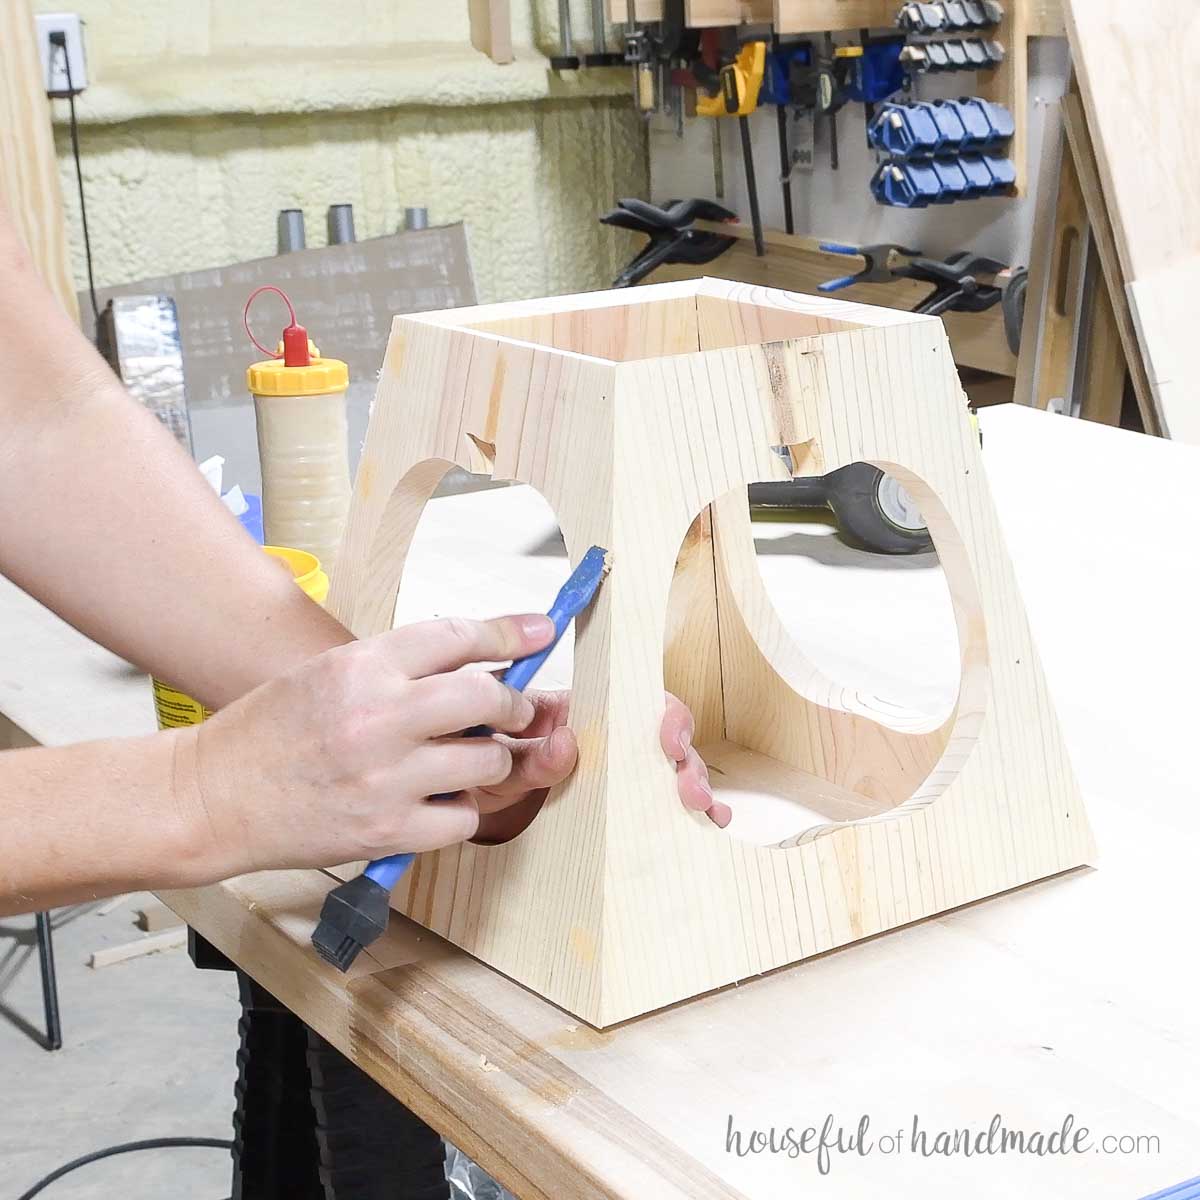
STEP 4- Sand and finish
Fill the nail holes with wood filler.
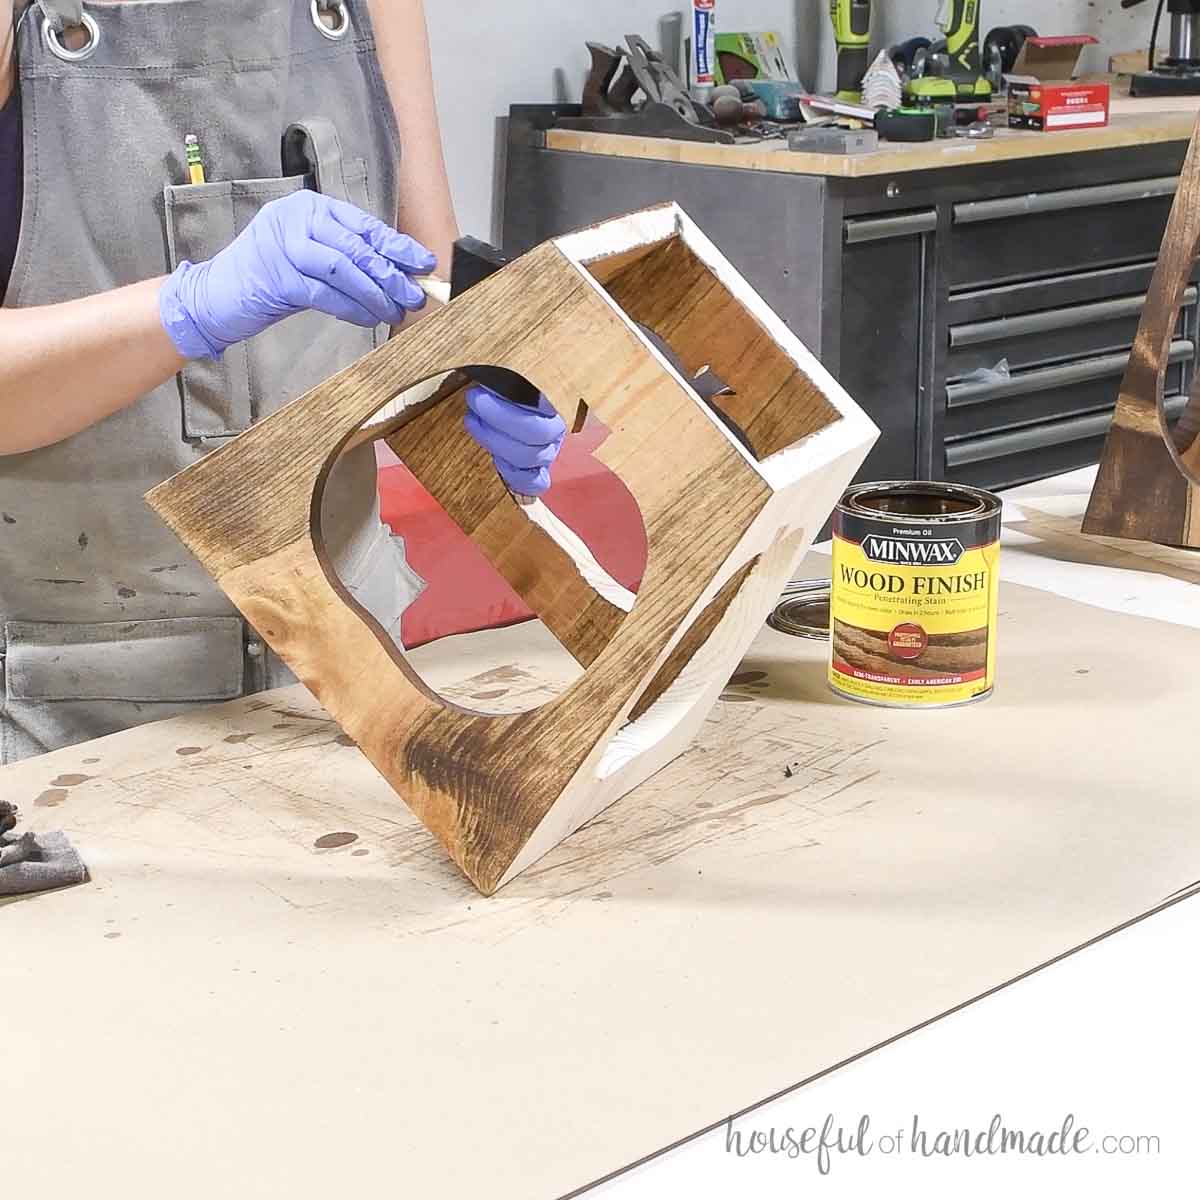
Sand, then stain/paint/seal your lanterns.
If you are using your lanterns outside, make sure to use outdoor paints, stain and sealers.
I stained mine with Early Americana stain by Minwax.
Premium plans include:
- Recommended Tools
- Shopping list
- Easy to read cut list table
- Cut diagrams
- Step-by-step instructions with 3D renderings
- Helpful resources
- BONUS: 3D SketchUp file
You did it!
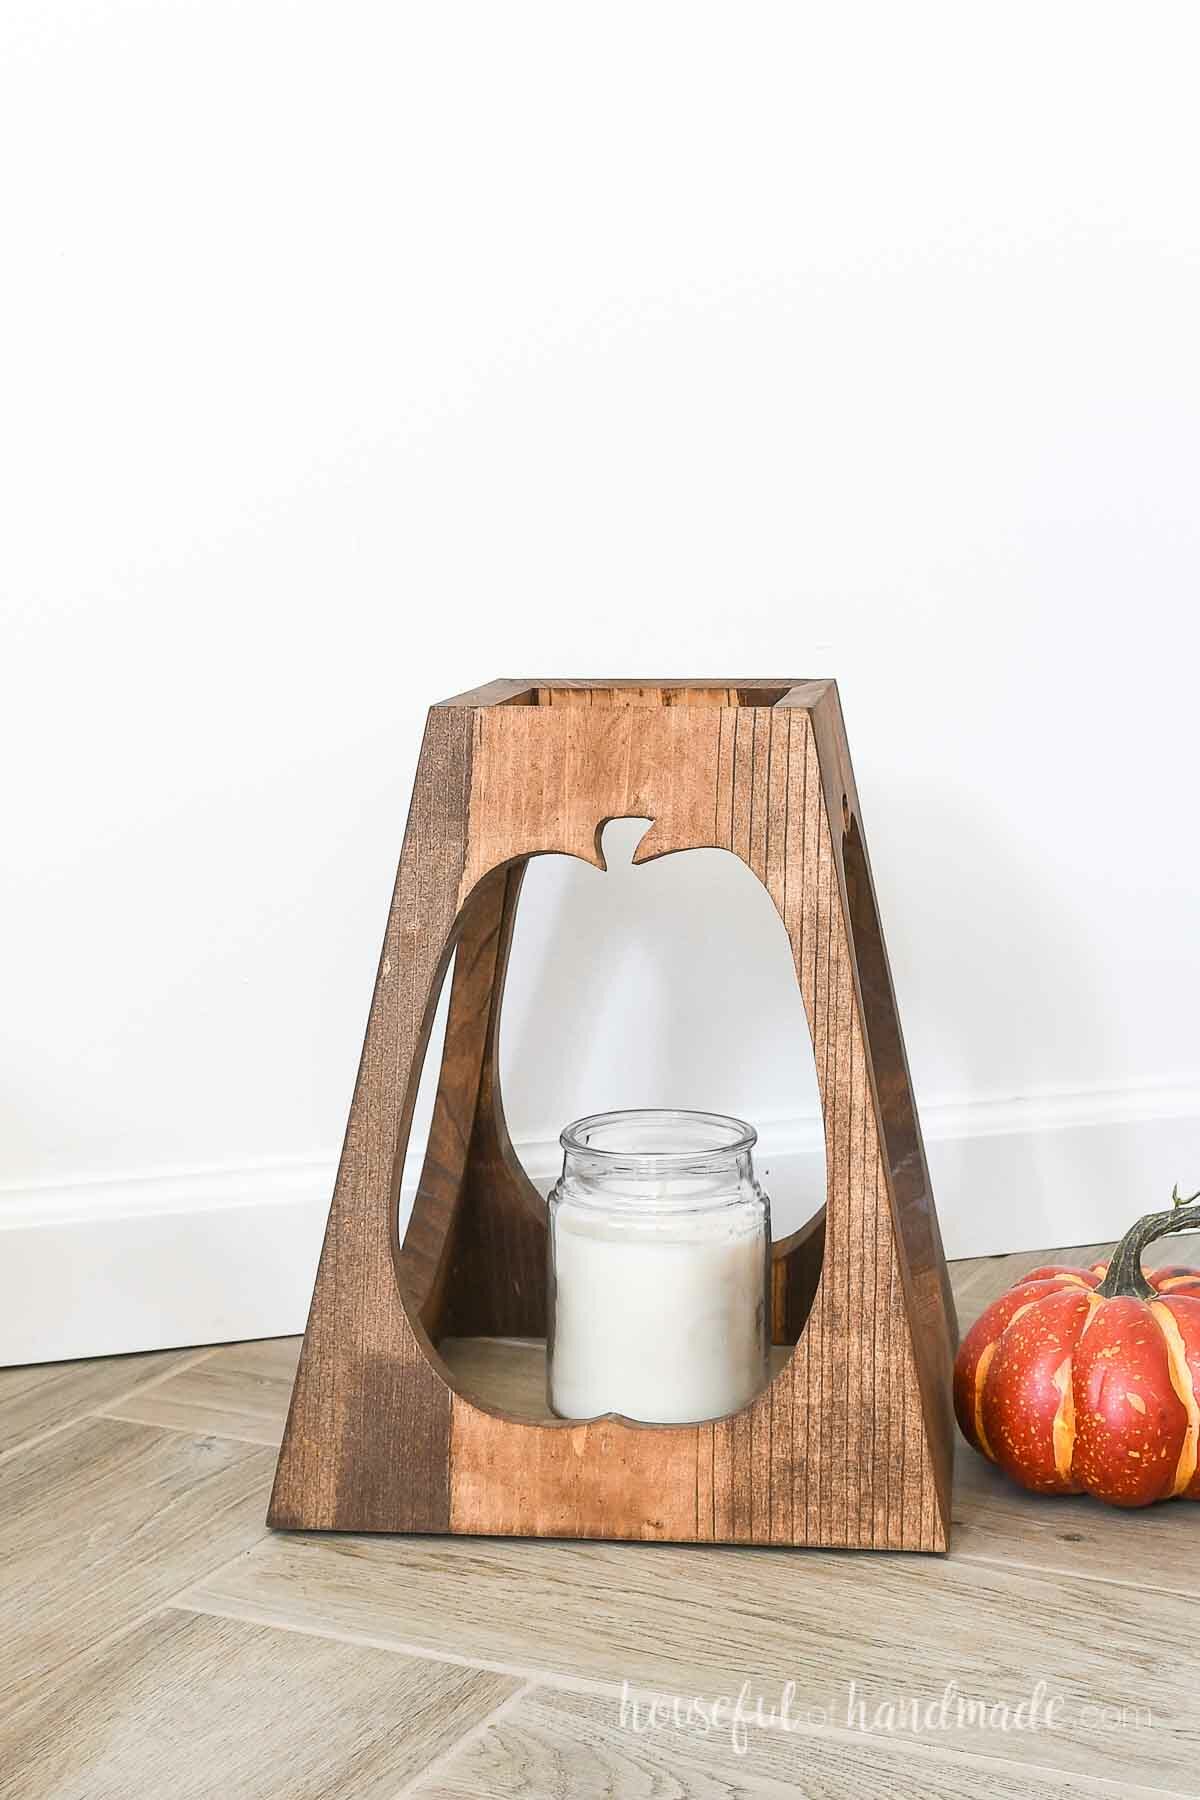
Add a flameless candle inside your lantern (or use real candles for look, but light them at your own risk) and enjoy!
These fun tapered lanterns will give any room a perfect fall glow.
Happy building!
