See the progress made in just 1 week on the budget bathroom makeover for the $100 Room Challenge.
It’s week 2 of the $100 Room Challenge. This means there has been exactly 1 week of work on the budget bathroom makeover!
The first week always seems like lots of work and not much to show for it. But I promise, progress is happening and I am confident we will finish this budget remodel on time!
How much time? Only 2 more weeks left before it is time to reveal our new bathroom on January 27!
This post may contain affiliate links. As an Amazon Associate I earn from qualifying purchases. Click here to read my full disclosure policy.
Update: Our bathroom remodel is (mostly) done! You can check out the plan, with lots of tips, in the budget bathroom design. We installed inexpensive peel and stick flooring and added an easy board and batten wall for added style. And our new budget friendly open vanity was an easy DIY.
The finally budget bathroom reveal can be found here!
Bathroom Demo
This is the first time I have done actual demo on a $100 room makeover. I guess that changes this from a makeover to a remodel!
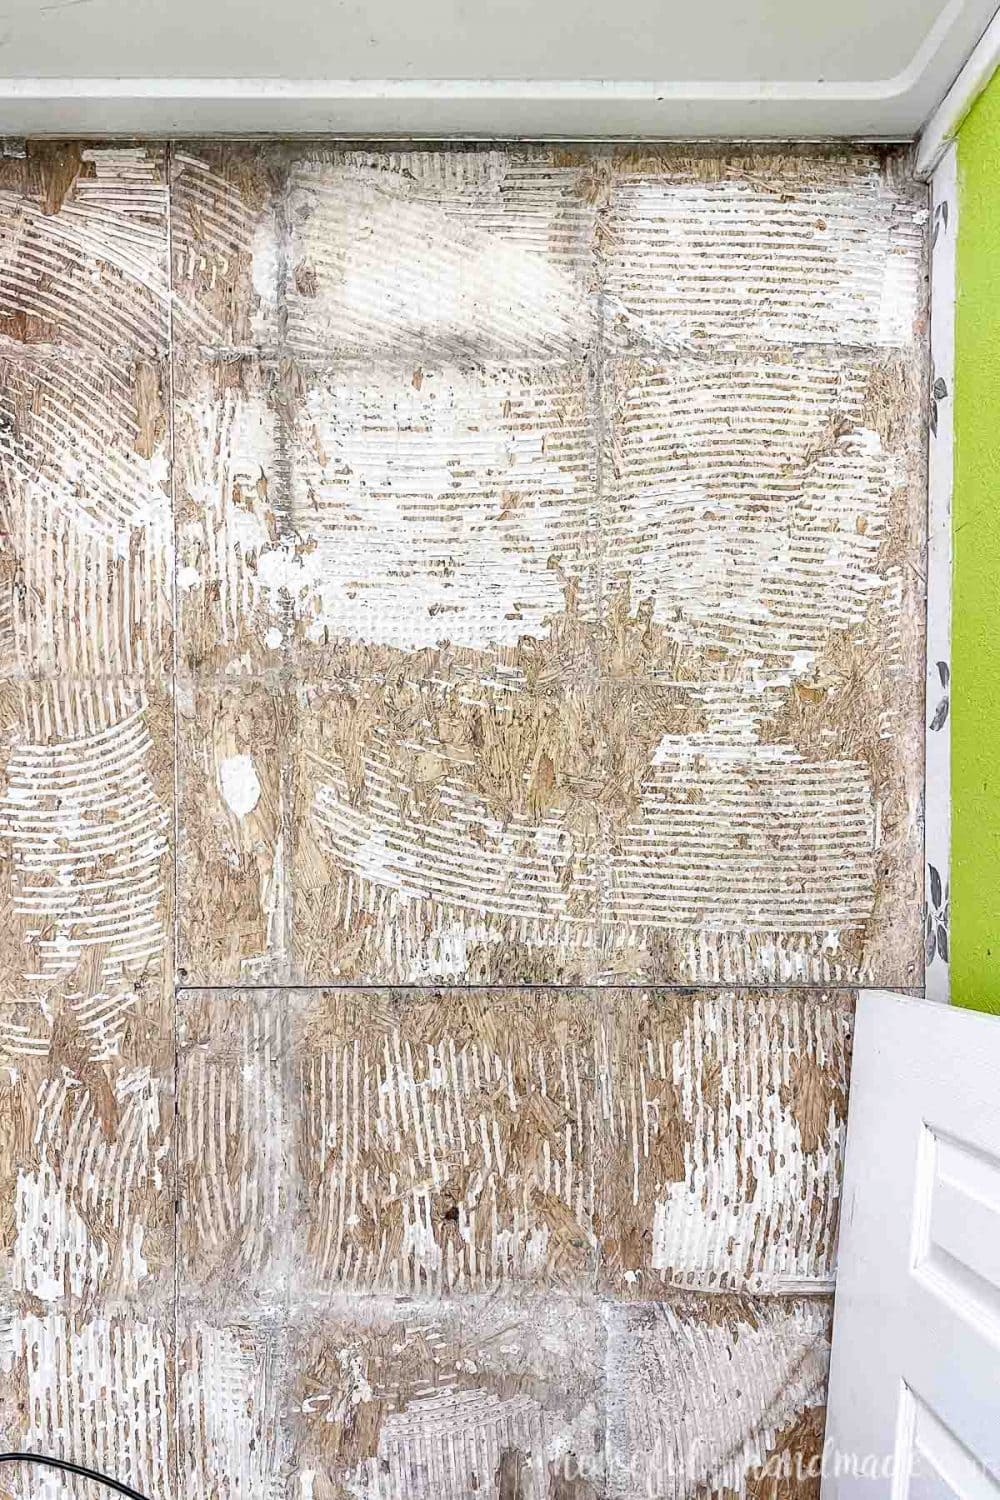
But the makeover plan for this bathroom that I shared last week, is to start from scratch. The floor tiles were broken and most were not even attached to the floor anymore and the vanity needed to be replaced.
This required a full demo day! Okay, not a full day. My husband and I completely demoed this bathroom in just a couple hours.
New Challenges for the Bathroom Remodel
Doing demo always reveals new challenges that you didn’t plan for…
When removing the vanity, we learned the pipes for the sink water and drain were not in the wall. Instead they came through the floor and were hidden inside the vanity.
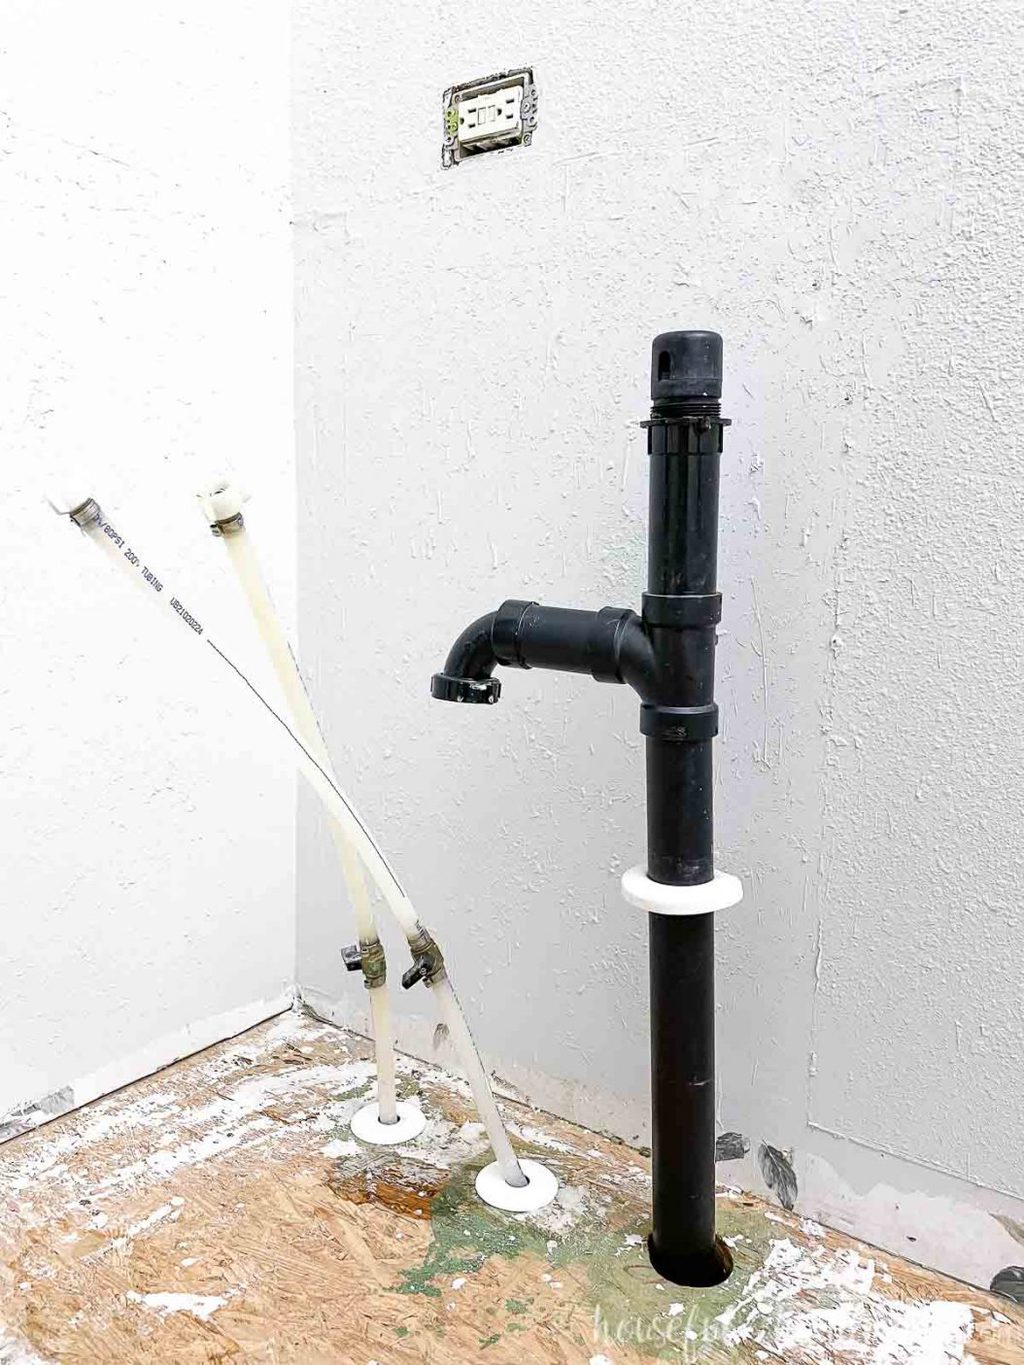
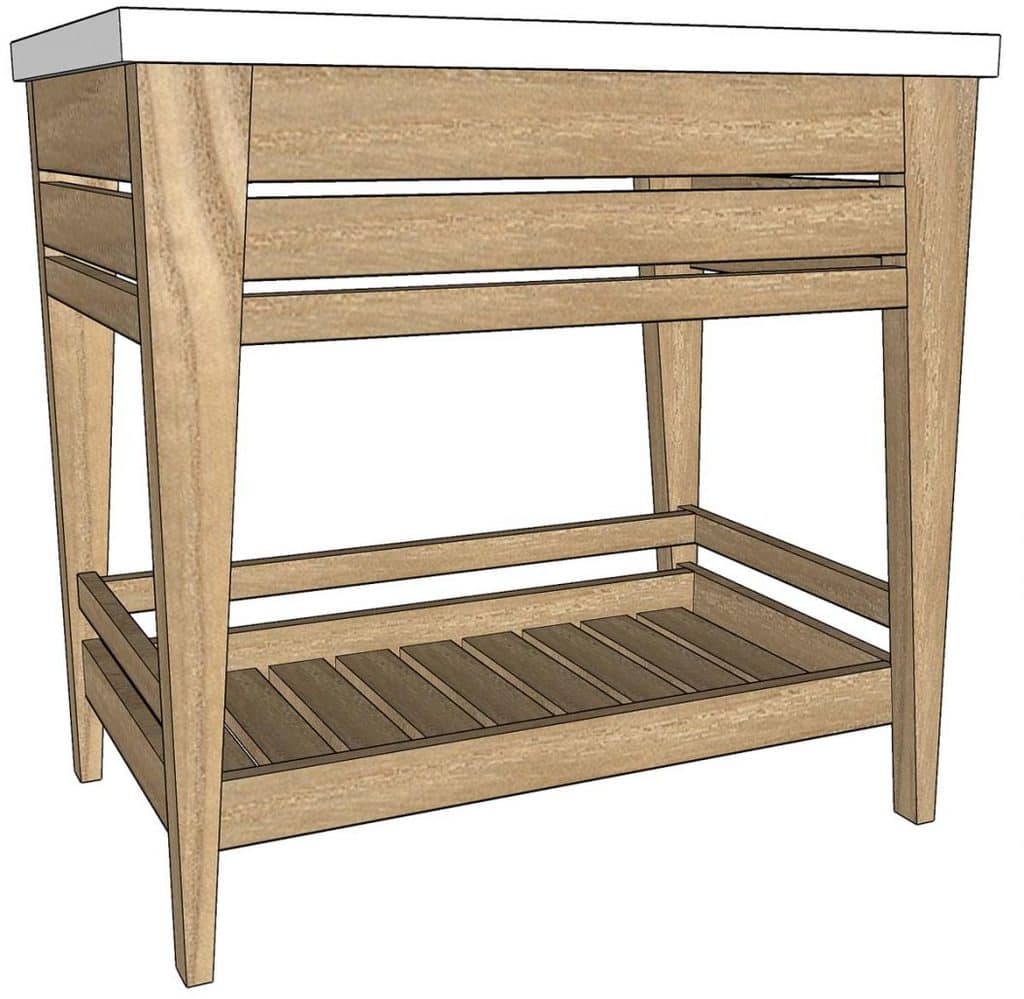
Our plan is to have an open vanity in this room. So first we need to decide how to address the pipes.
We are going to move the pipes closer to the wall so they can sit behind the open vanity. The water lines will be pretty invisible back there, but the large black drain pipes, not so much.
So I am going to paint the black drain line the same color as the wall! This should allow it to camouflage itself behind the open vanity.
Also, I have to adjust the vanity plans slightly to allow space for the larger pipe to sit behind the bottom shelf. And I am going to add a rail around the three sides of bottom shelf to help further camouflage the drain.
New Paint
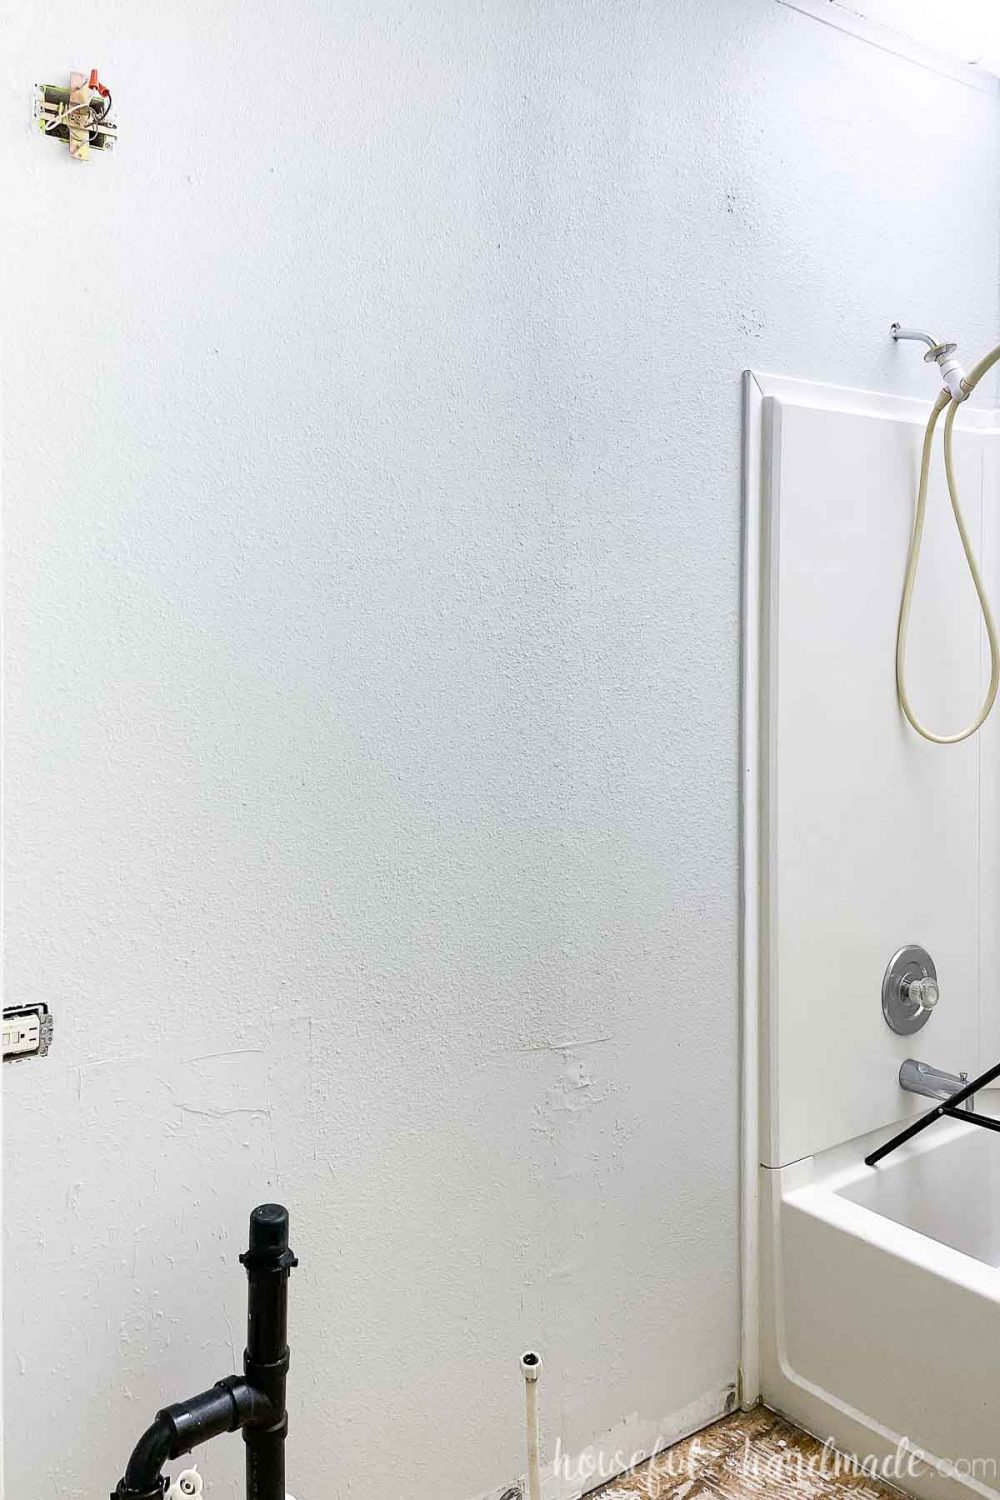
One of the biggest changes so far is the new paint! That bright green color (as you can see in the before photos in this post). Covering up the too vibrant color already makes the room feel cleaner and calmer.
We couldn’t find an oops paint that would work, and I couldn’t wait any longer. So I decided to use the only leftover paint I had.
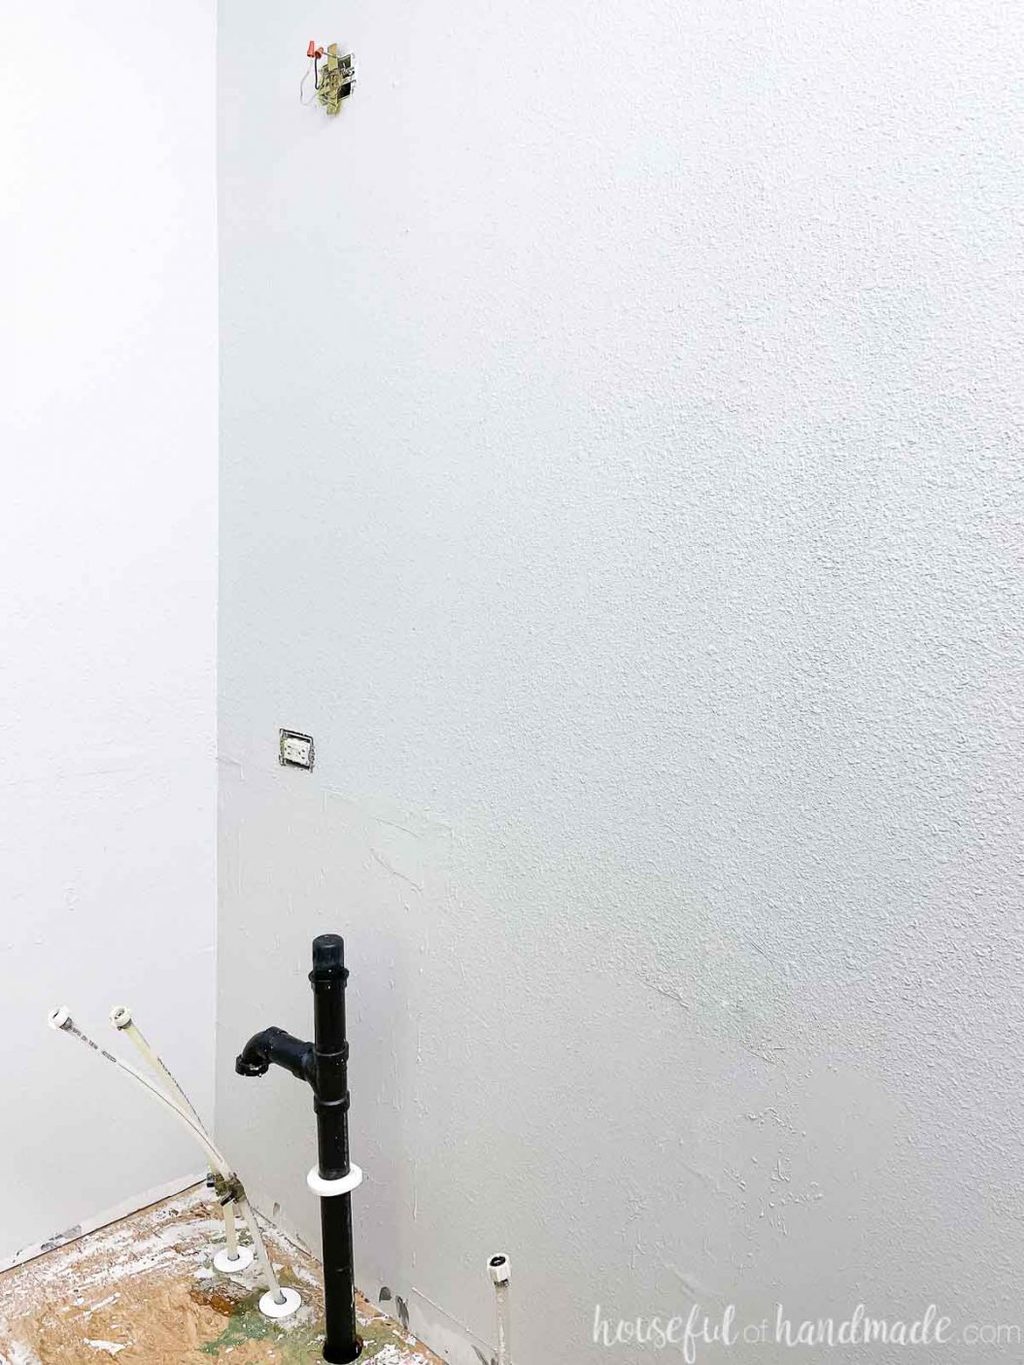
This pale gray paint is the color that the entire rest of our house is painted, Now the bathroom fit seamlessly in with the rest of the house instead of sticking out like a sore thumb.
But I still want to add some style and color to the space… so I am going to add board & batten to the back wall and paint it. This way I only need a small amount of the colorful paint.
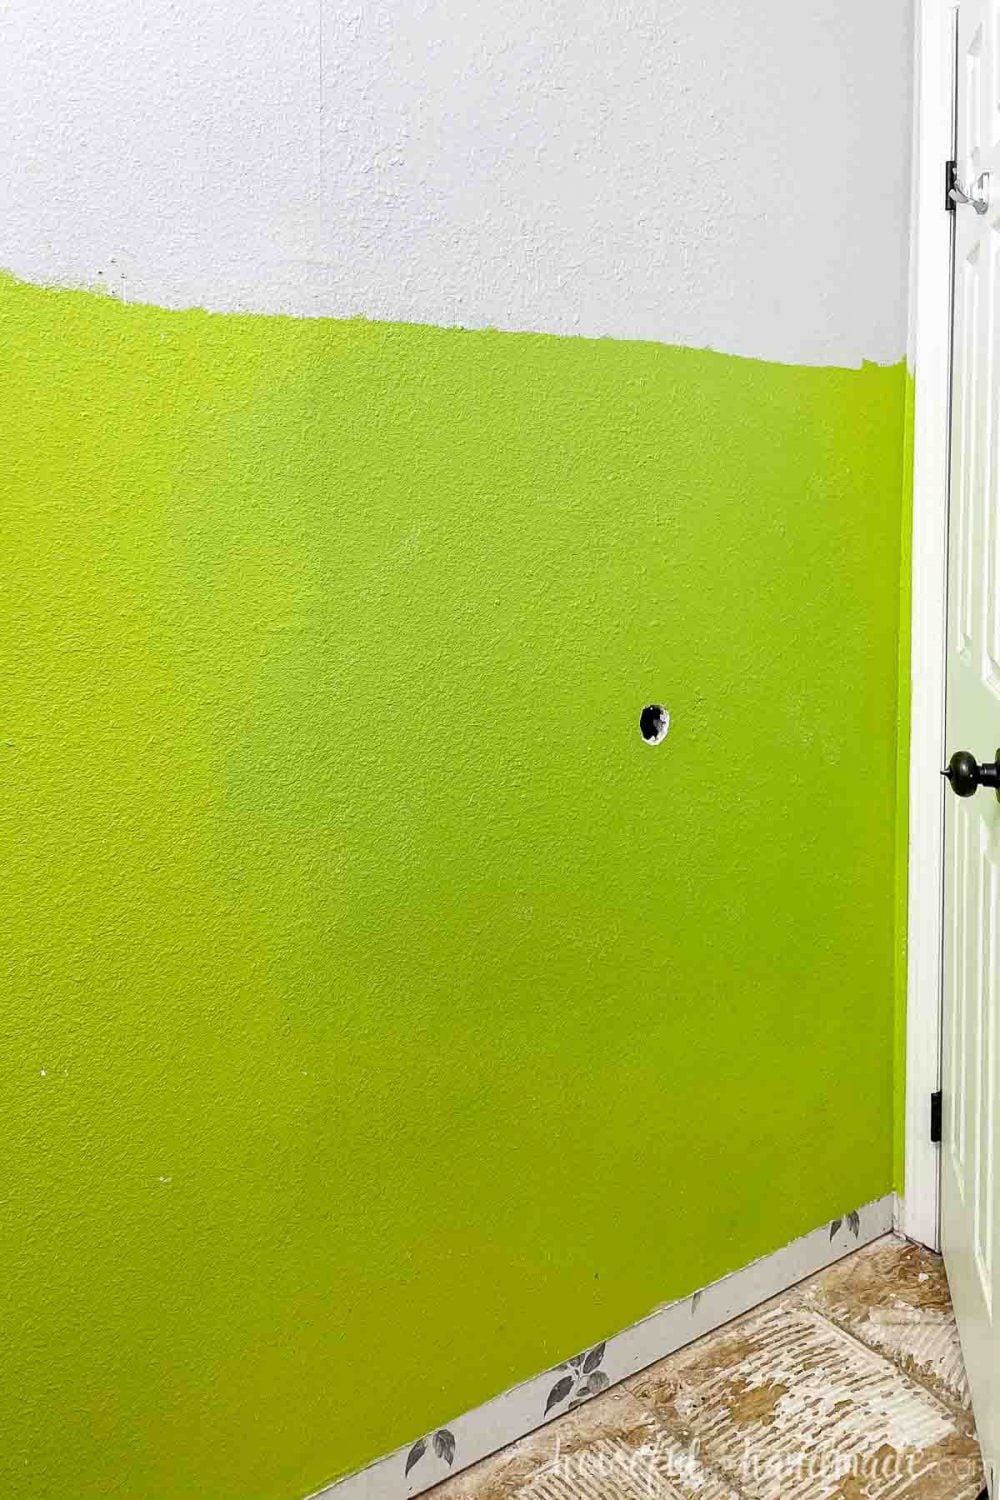
Then I will bring use the same color in with some of the the accessories to make it feel cohesive and purposeful.
When adding a color to any space, try to add it in 3 places. That way it is represented throughout the space instead of just in one spot. My goal is to use it in accessories, the shower curtain and the wall.
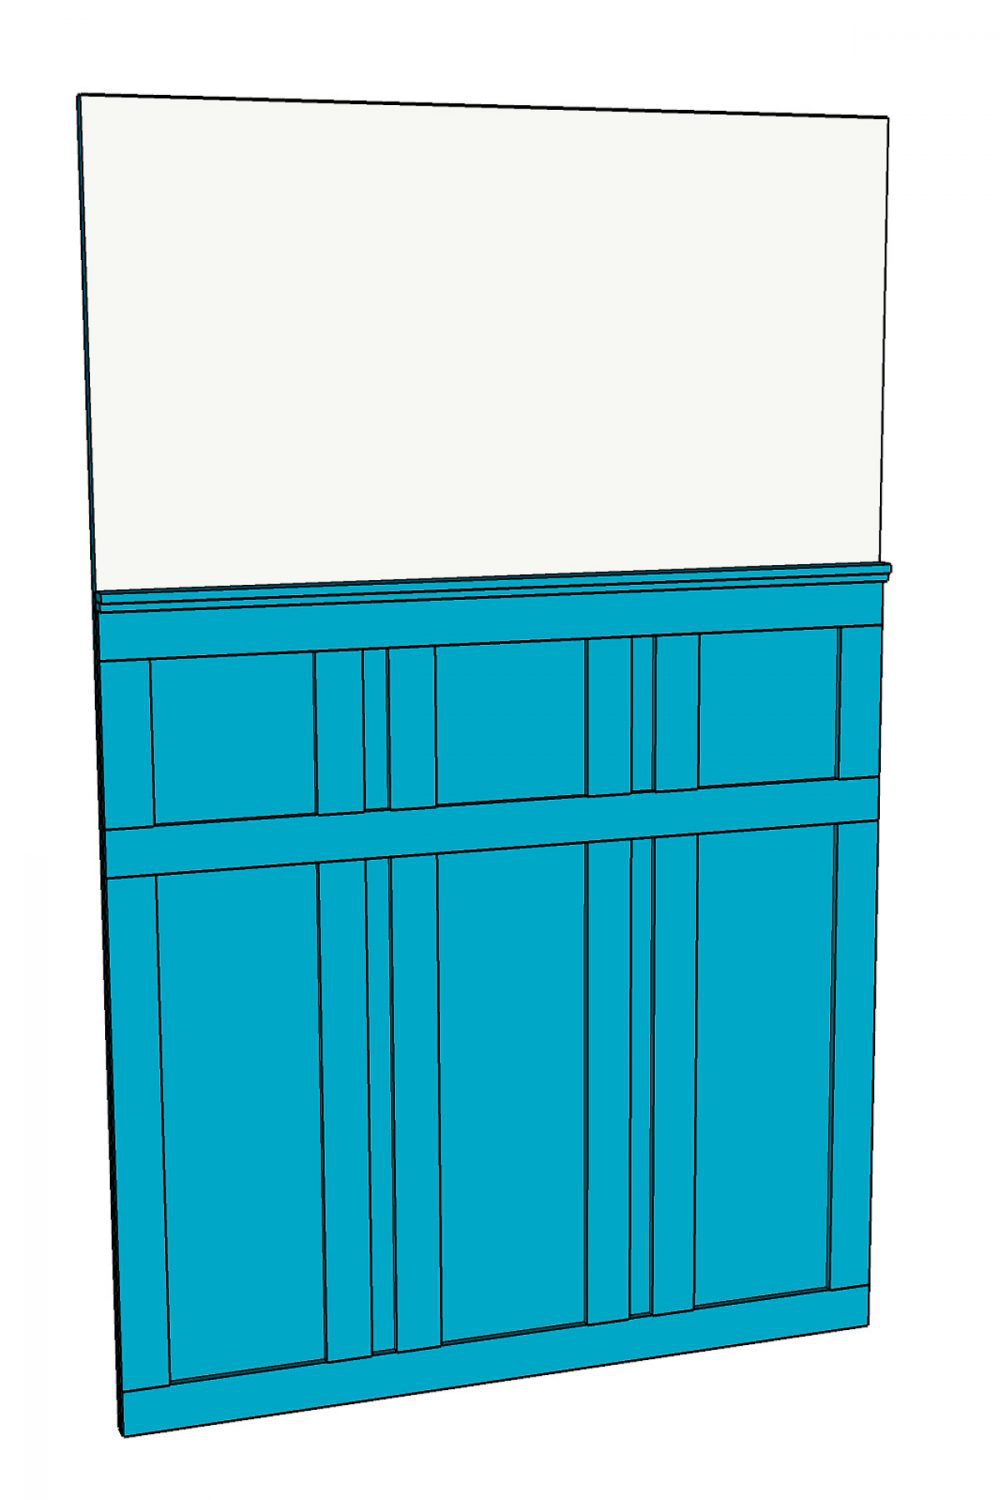
Budget
Since this entire bathroom remodel is happening on such a tight budget, I am very cautious of every penny spent! It’s going to take a lot of reusing and upcycling to make this space amazing for only $100!
Each week I will share what was spent so far to help me stay on track. Hopefully this will help you get ideas for ways to stretch your dollars on your next room makeover.
Spent So Far:
- Demo – $0
- Moving drain pipe – $2.00 (for pipe elbows)
- Repair holes – $0 (had drywall mud left over from other project)
- New gray paint – $0 (had one roller on hand and will wash and reuse)
- MDF boards for board & batten – $32.00
Total: $34.00
To get the shell ready to start adding the bathroom back in is 1/3 of the total budget! And there’s still a lot to do to get the beautiful bathroom on the design board.
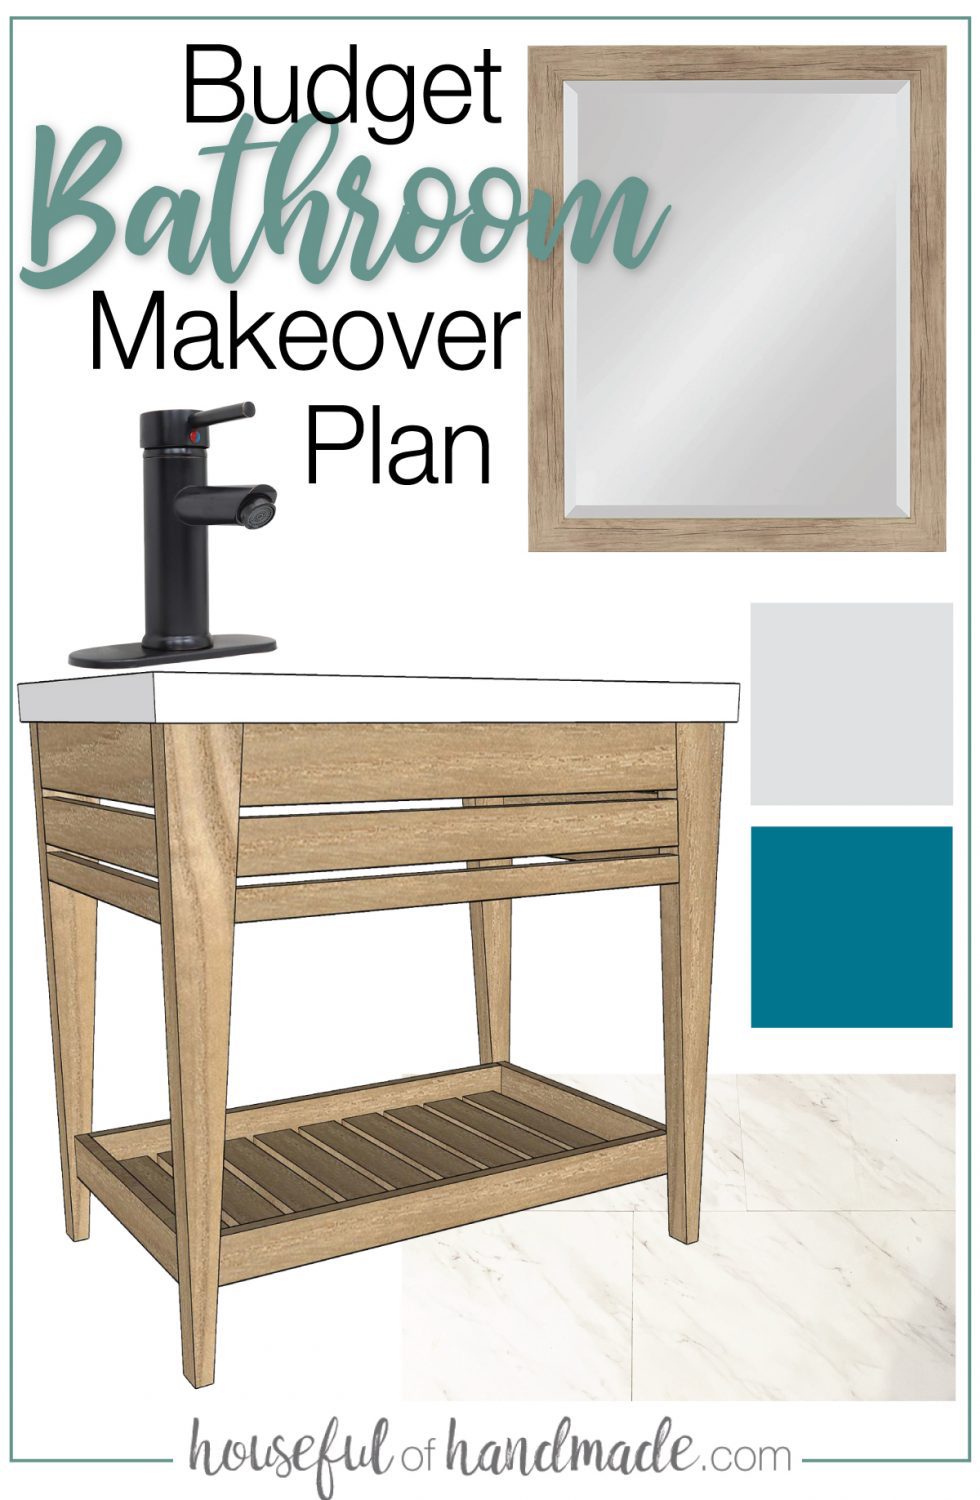
Time to get back to work!

So while I go to work, don’t forget to check out the rest of the participants of the $100 Room Challenge.

The gray paint is perfect! There is always a surprise isn’t there?
Wow! This is going to be an amazing transformation for less than $100! You already have done so much. I can’t wait to see how the board and batten turns out.
What a difference already! I love it. Isn’t that always the way with remodels… except the unexpected LOL. I have run into my share in this challenge as well 😉
I agree, demo is always full of surprises. Your bath is going to be great!
Luckily there was only 1 surprise this time! Thanks.
It’s shame about those pipes- but you have a plan that will make them blend. Good thinking! I am looking forward to seeing board and batten and the vanity- those should be fun projects.
Yes, I should have looked in the cabinet before demo but was just so excited. I am hopeful I can still make it work!
I think this is the first true demo done for the $100 Room Challenge. I am SO impressed! The lighter gray made SUCH a huge difference. AHHHH… I cannot wait to see this bathroom!
Ha ha! I like to stretch the bounds for sure. Fingers crossed I can still come in under budget!!!
Great job on the demo and with the budget! It’s going to look great!
Wow, this is an ambitious makeover! (And I always feel the same way about week 2.) You’re right, covering up the green has already made a huge difference, and I love the idea of painting the drain pipe to match the wall. I think it will look great!
Hoping the paint will help hide it well. And yes, it is ambitious, but will hopefully be worth it!
Wow that is going to be a cool vanity I love the shape and storage space it provides. Great plan for the space and perfect way to save money.
I am so excited about that vanity. It looks so modern and way better than the boring box that was in there before 😉
The vanity plans look sooooo good!!!! I am so excited to see this!!!
Thanks Rebecca! I am so excited to share it soon.