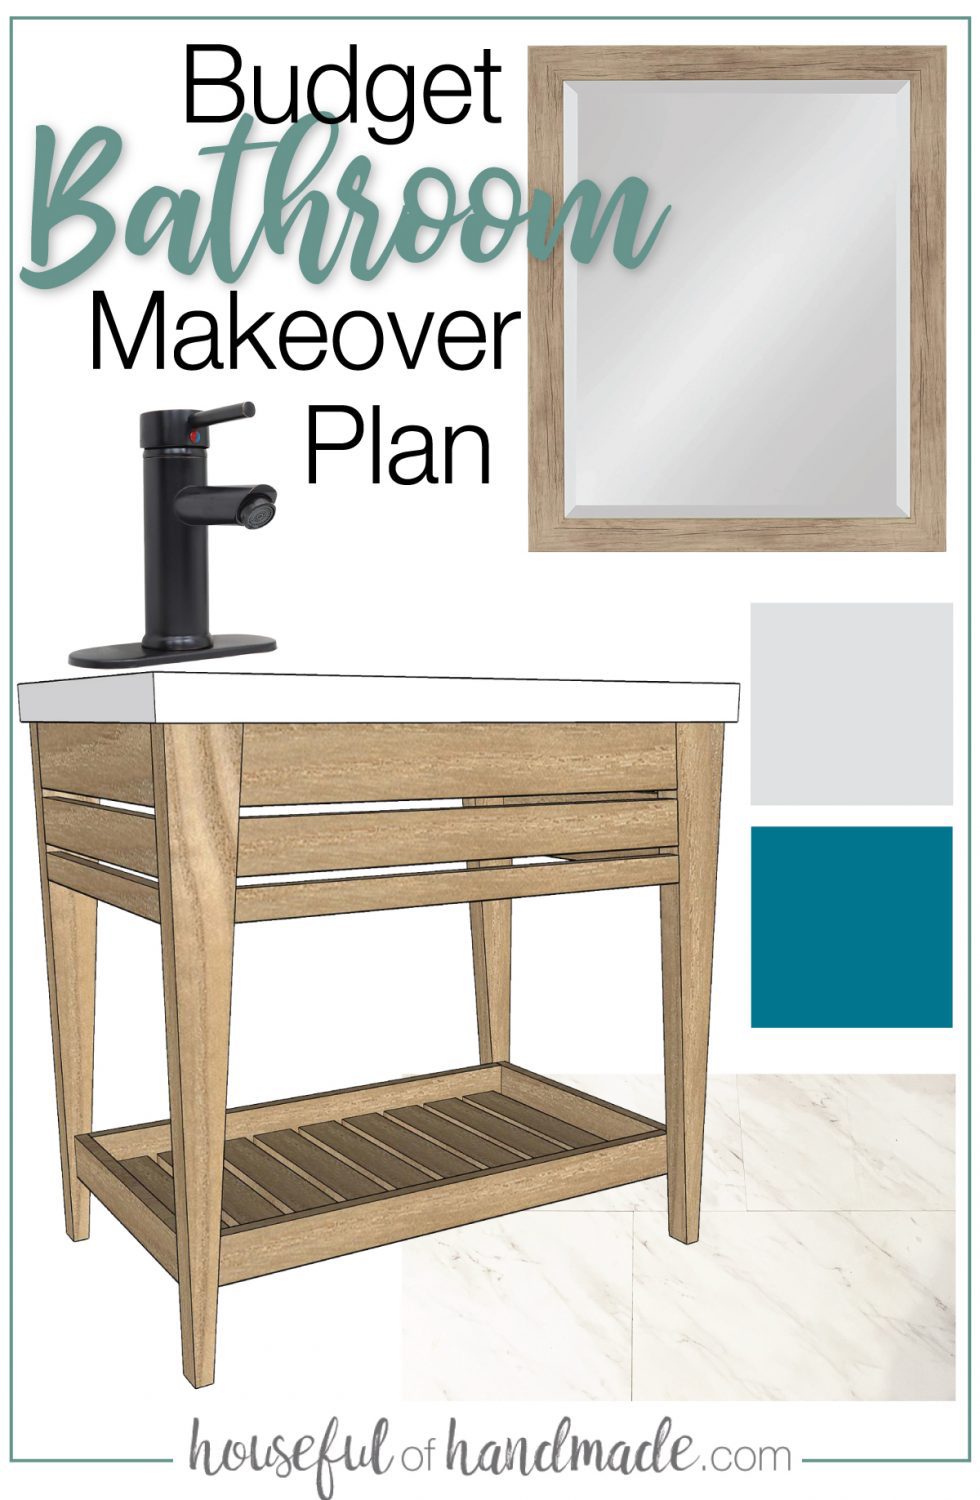
It’s reveal day for the $100 Room Challenge bathroom remodel.
Just 3 weeks ago I shared our big bathroom makeover plan as part of the $100 Room Challenge. And to be honest, it was more than just a makeover because the bathroom was in bad shape.
Today is reveal day, and sadly, the room is not 100% done. But it is already looking 150% better. So I am rejoicing in the amazing transformation today and excited to share the reveal.
Then I will finish up the last few projects and share the 100% completed room soon. Make sure to subscribe to my email list so you don’t miss that reveal too!
This post may contain affiliate links. As an Amazon Associate I earn from qualifying purchases. Click here to read my full disclosure policy.
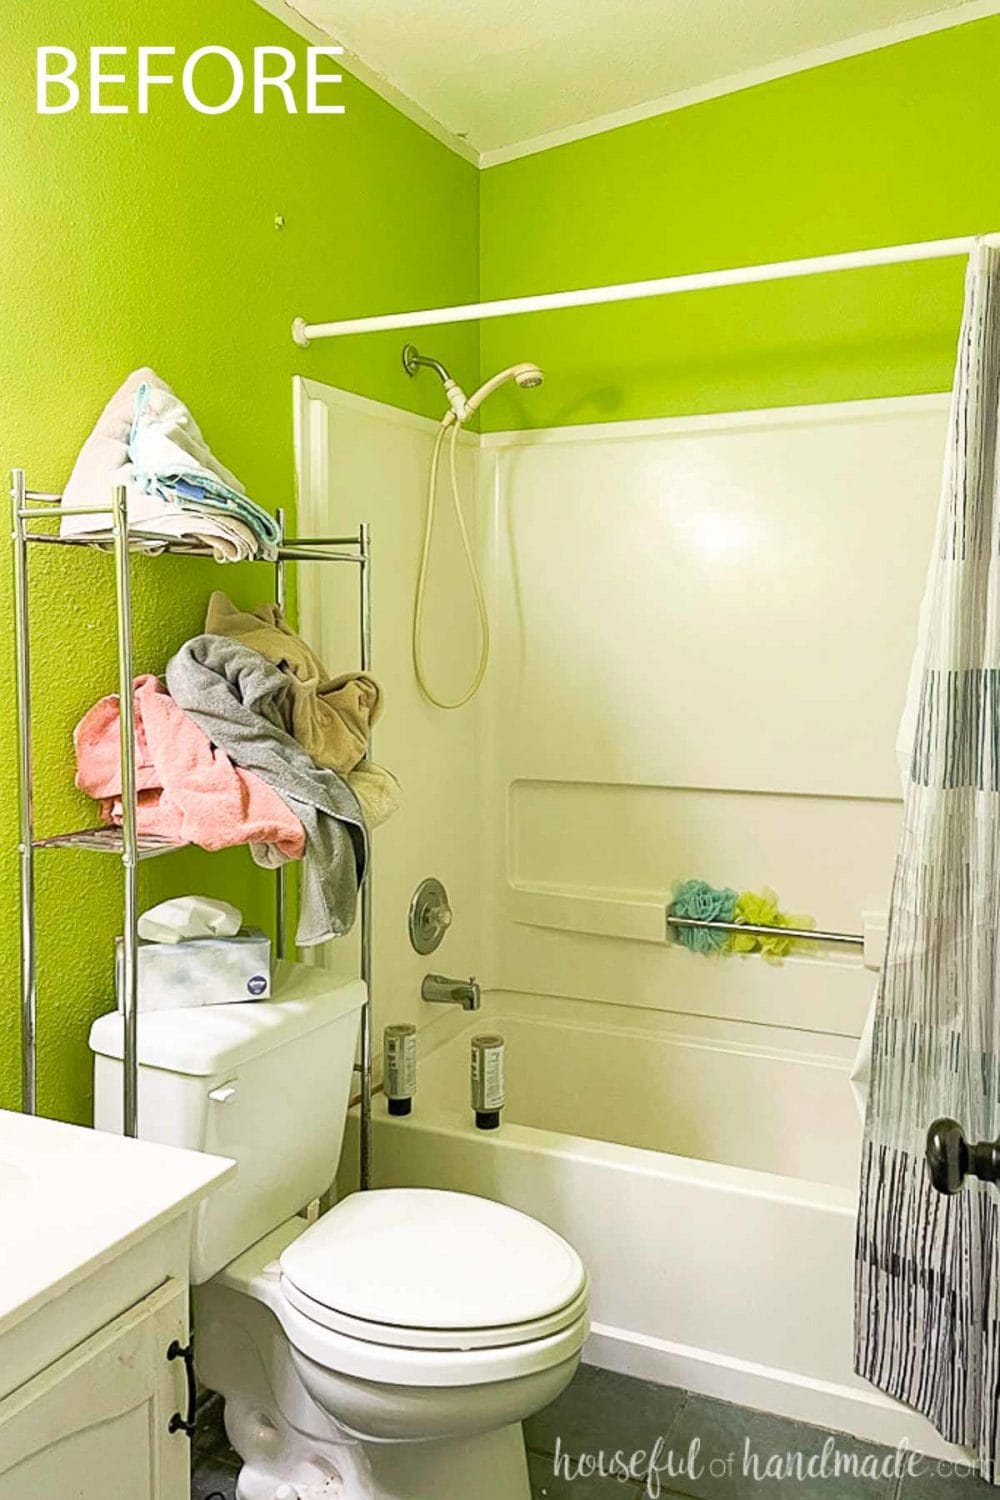
The Bathroom Before
After sharing the plan, I grabbed my hammer and did some demo. Yes, demo! On just a $100 budget it seemed insane to start from scratch… in a bathroom… but we had no other choice.
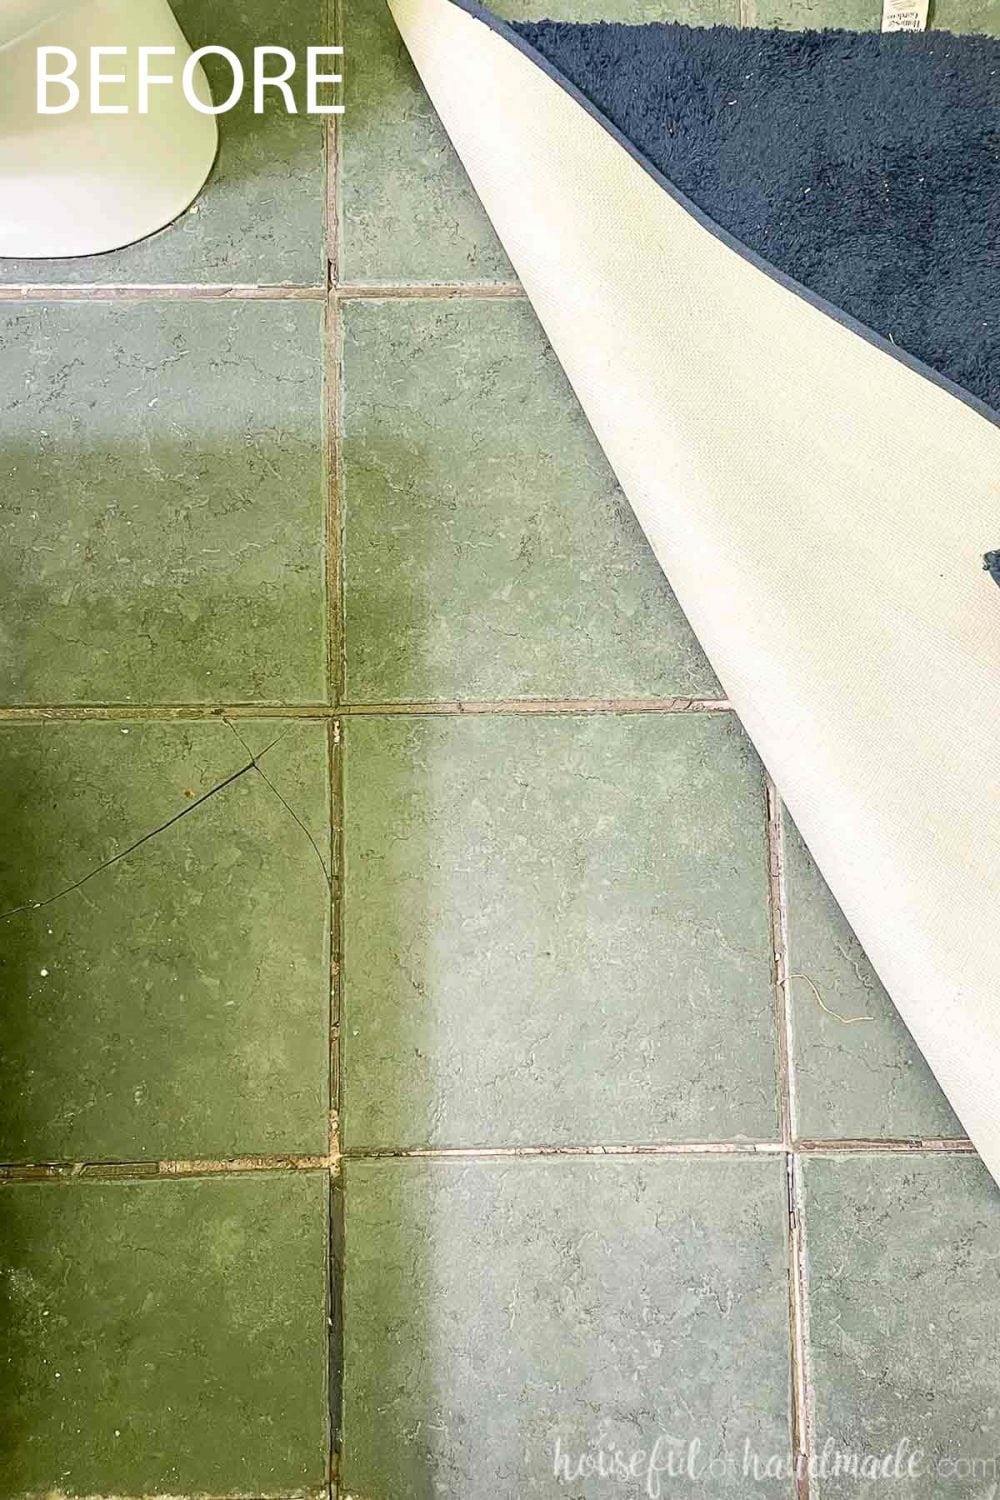
The floor tiles were broken and most were no longer attached to the subfloor.
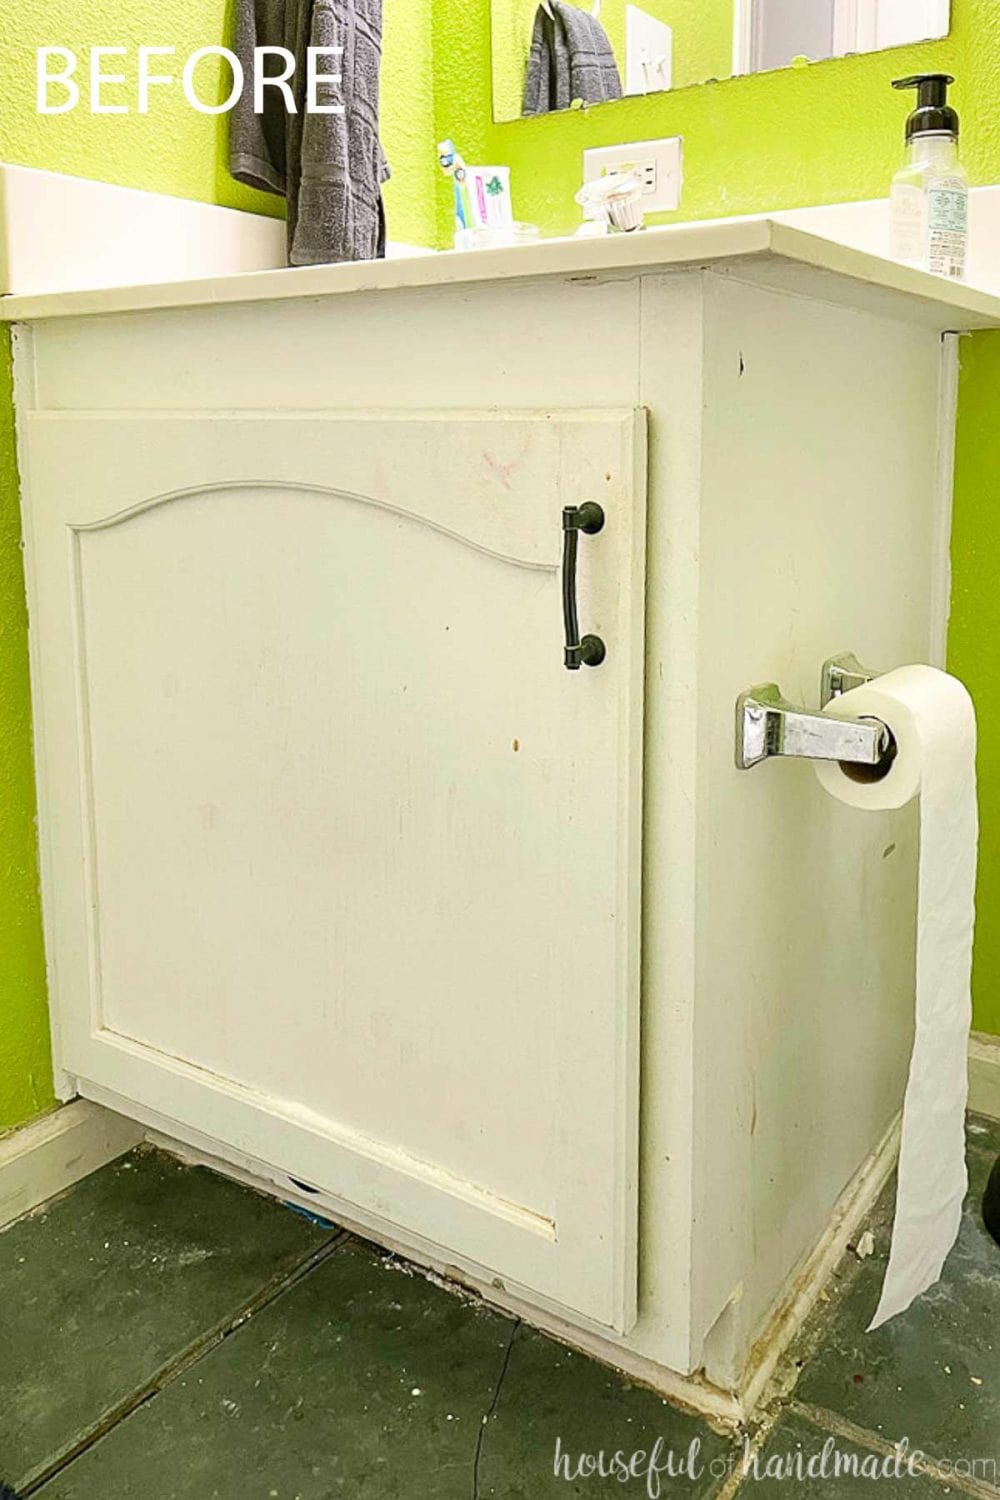
And the bathroom vanity was small, gross, and just not functional for the space.
So we demoed! And then got to work replacing everything in this bathroom for only $100!
Designing a Room on a Budget
When designing a room on a budget, don’t start out by looking at beautiful inspiration photos on Pinterest. Instead, first take a look at what you already have available to you.
Whether that is leftover tile, flooring, paint, lumber, or even piles of reclaimed boards or pallets. Then make use those current supplies to make a plan.
We had enough leftover vinyl floor tiles from our kitchen remodel to replace the floor in the small bathroom. So I immediately added that to our design board.
Then I looked at my leftover lumber, and figured I could build a simple open vanity with boards we bought for the DIY fire pit seating. The boards were not used when I made a last minute change to the design eliminating backs to 2 of the benches.
With those two big budget items on my design board (aka, a digital folder with pictures/ideas), I could then add in other elements to create a beautiful and designed space.
At each step of the process, I shopped for items by filtering by price. If you just look at featured items, they are usually more expensive. You do not have to settle for items you do not like, but filtering by price will allow to to see clearance and cheaper alternative that fit in your budget.
Create a design board, whether digital or tangible, with pictures of all the elements you want. Don’t forget to include pictures of the items you already have that you plan to use.
Include all of the following on your design board:
- Flooring
- Paint colors
- Hardware
- Lighting
- Fabrics/curtains
- Cabinets/furniture/vanities
- Accessories
Once you see all the pieces together, you can see where things don’t look right and find different solutions in your budget!
The DIY Bathroom Reveal
New Paint & Wall Treatment
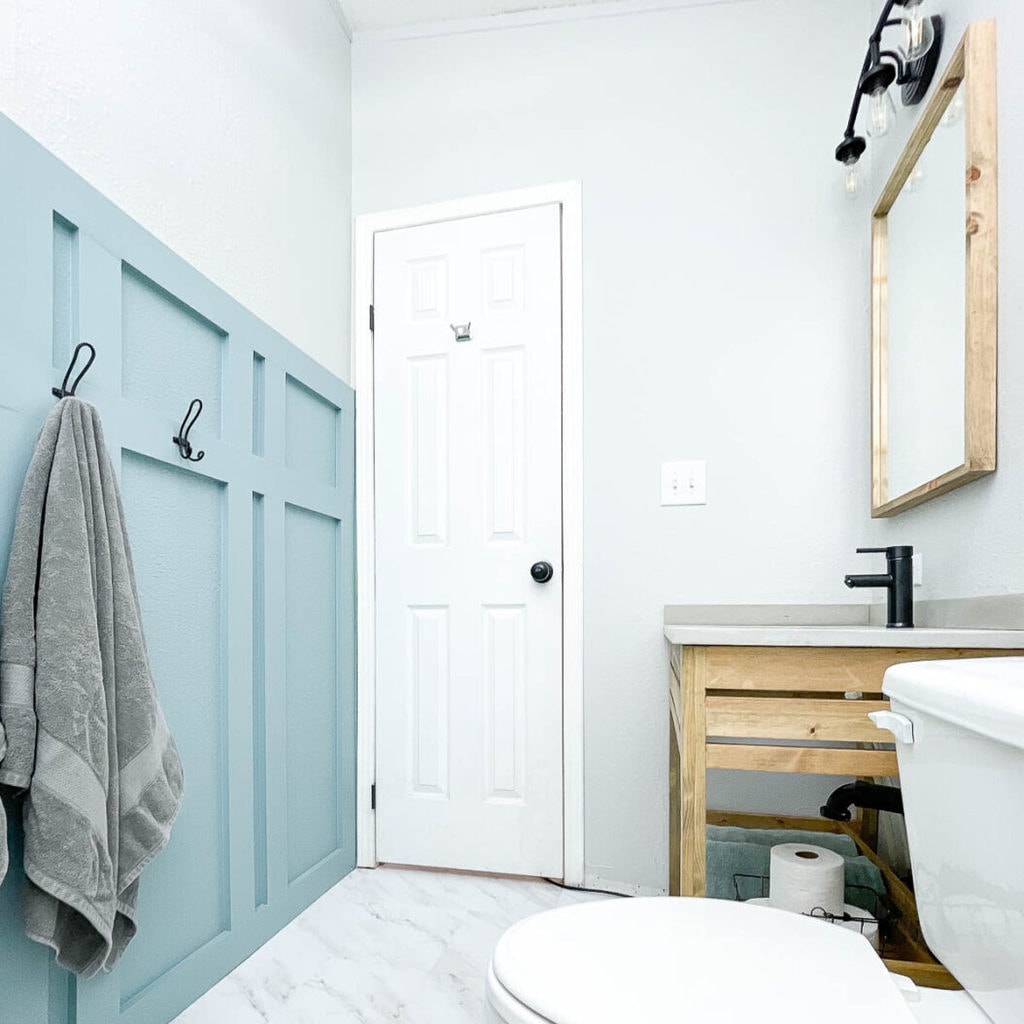
Let’s start with the most noticeable change… the color!
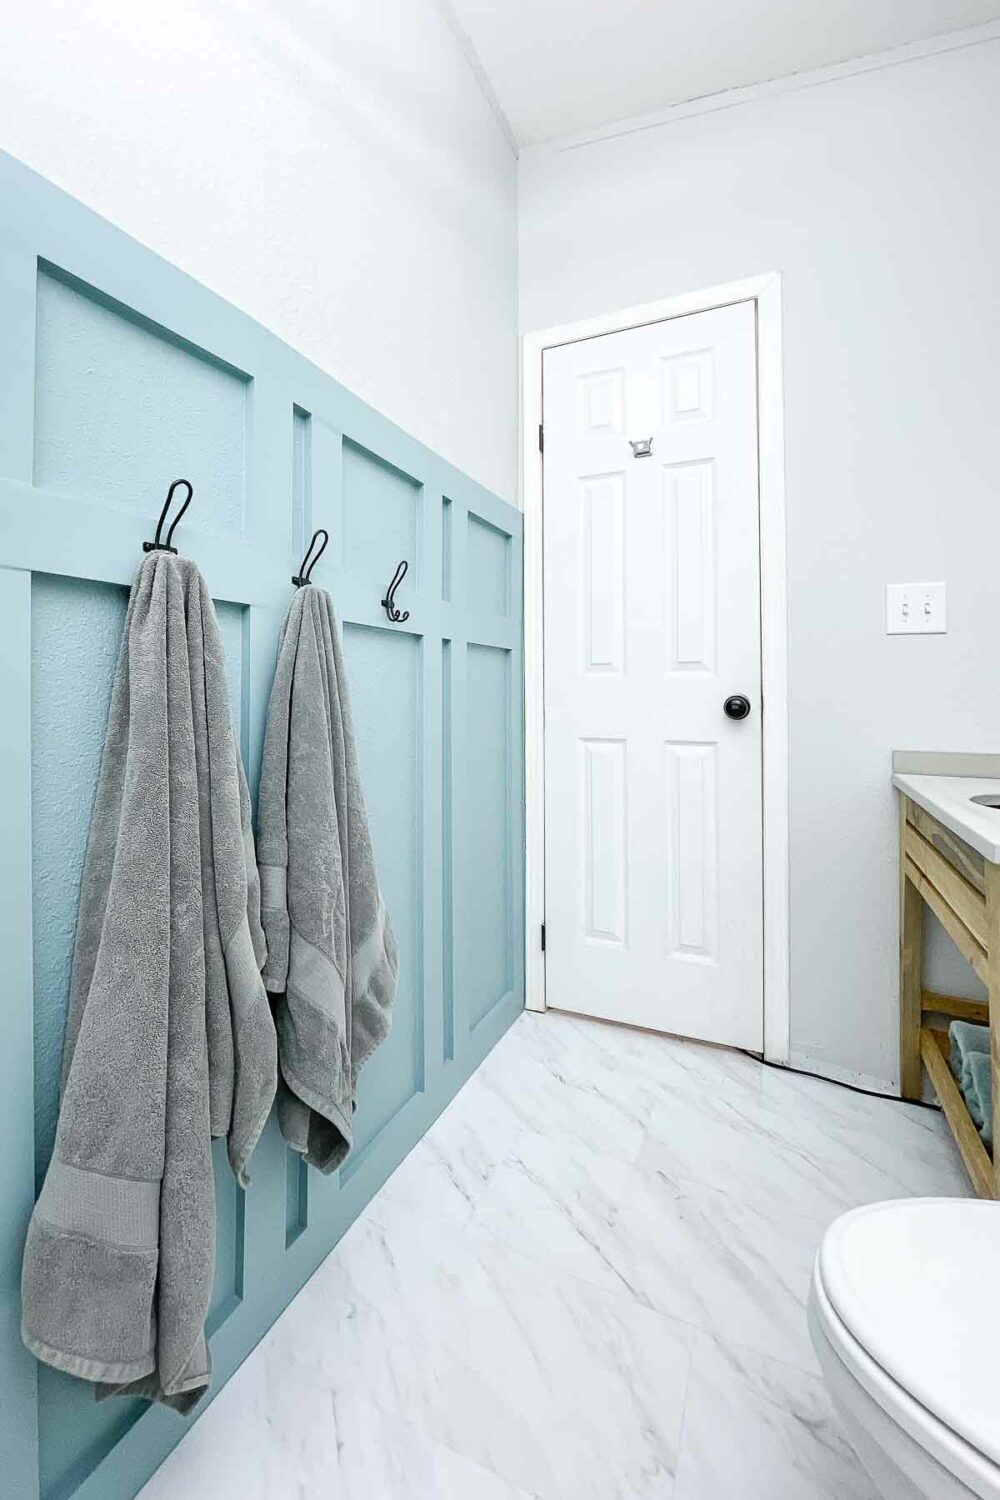
Just painting the too-vibrant green to a soft gray instantly changed the bathroom. If we could do nothing else, that would have been enough to freshen the space.
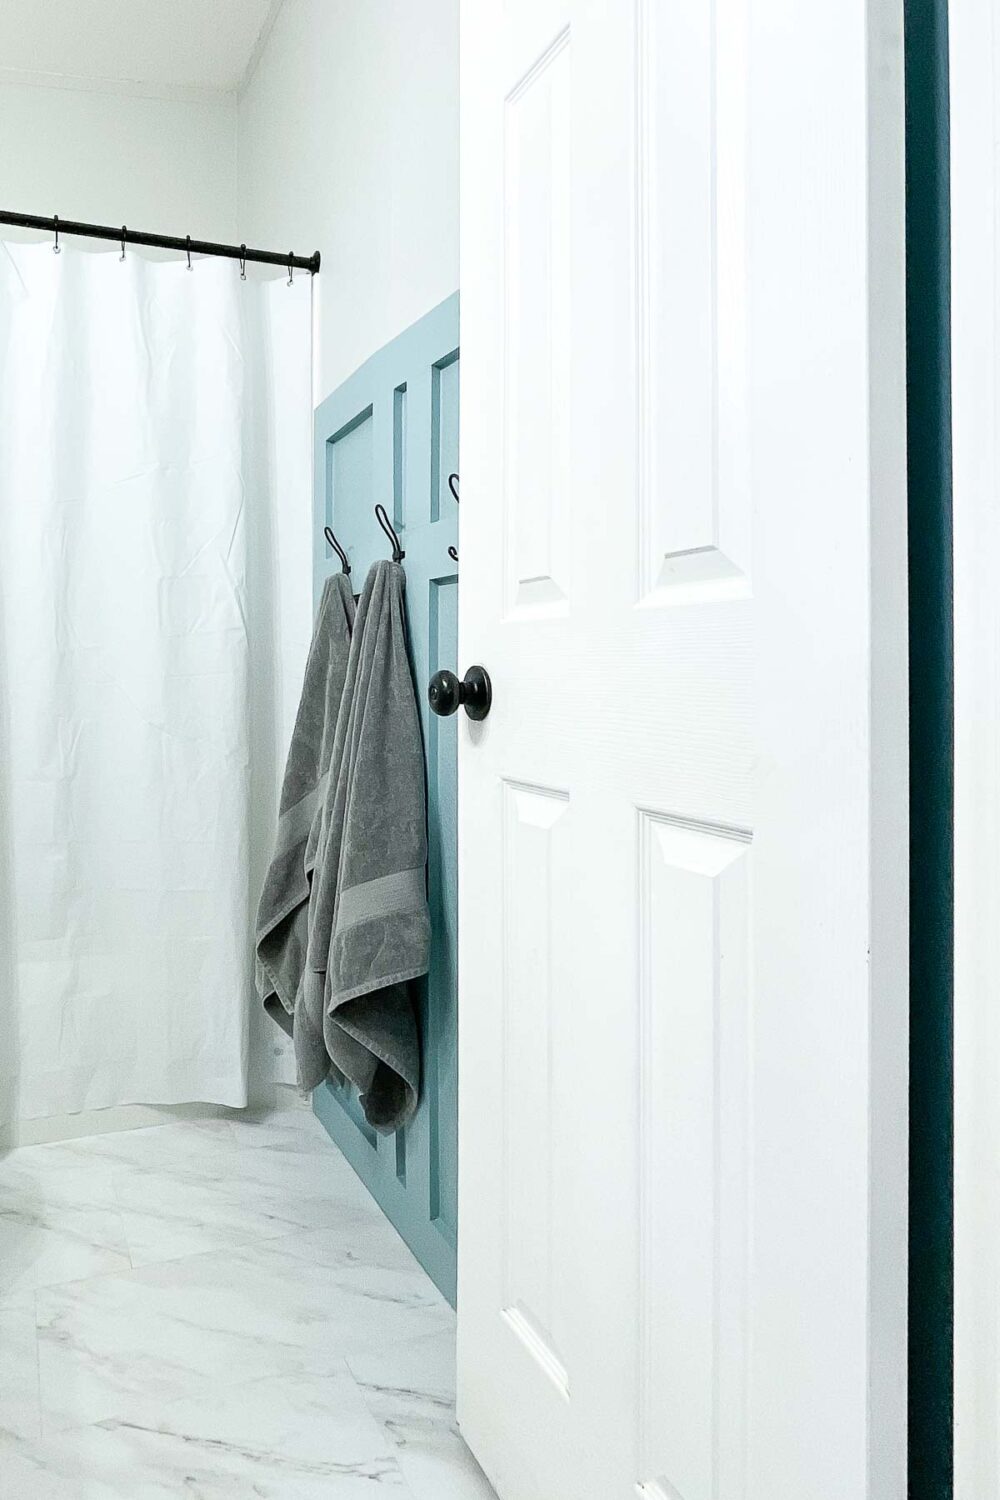
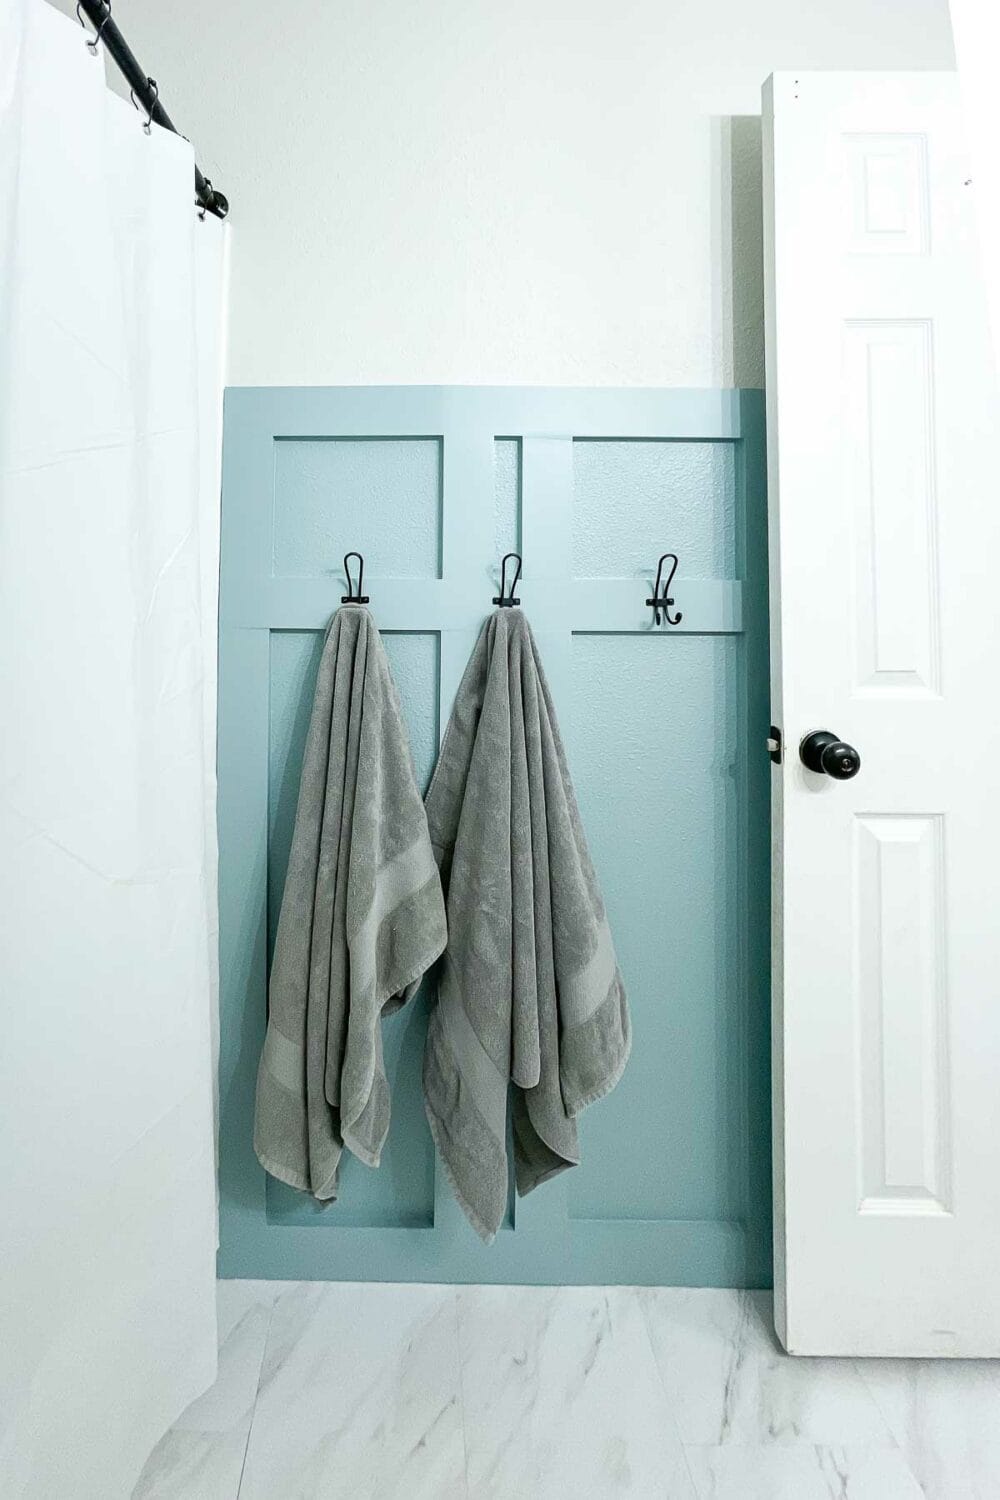
But I wanted to add style to the walls, in such a small room it is easy inexpensive and quick to add a fun wall treatment. I chose to add a board and batten wall because it also gives you a secure place to add hooks.
And then we borrowed some paint that my father-in-law had leftover from his rental house. This gives the board and batten some contrast and adds color to the room.
New Flooring
Once the green was gone, it was time to fix the flooring!
We used leftover floor tiles from our kitchen remodel. Because the bathroom is just 5′ by 6′ it only used 17 floor tiles.
When I bought flooring for the kitchen, I bought the necessary 10% extra and a couple more (to make a complete box). So we had enough to use to tile the bathroom as well!
New Bathroom Vanity
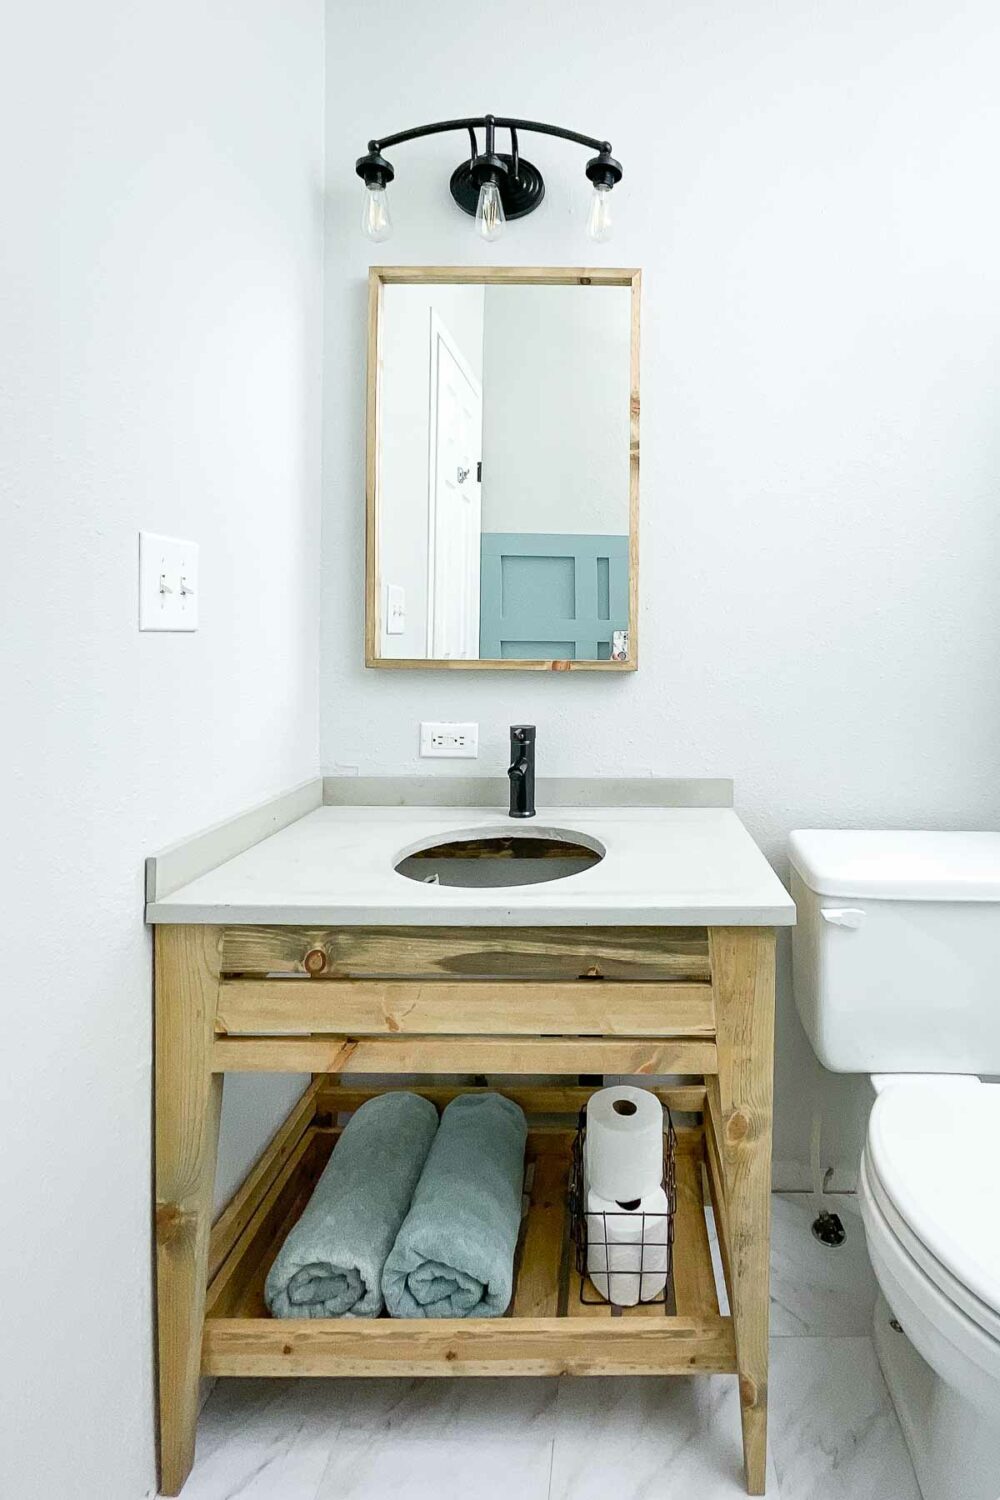
Next it was time for the vanity! I had so much fun designing a vanity that was easy to build and used inexpensive lumber, but looked amazing!
This open bathroom vanity hit all the boxes and turned out perfect! I love the warmth of the natural wood. The bathroom needed some warmth with the cool gray and blue walls.
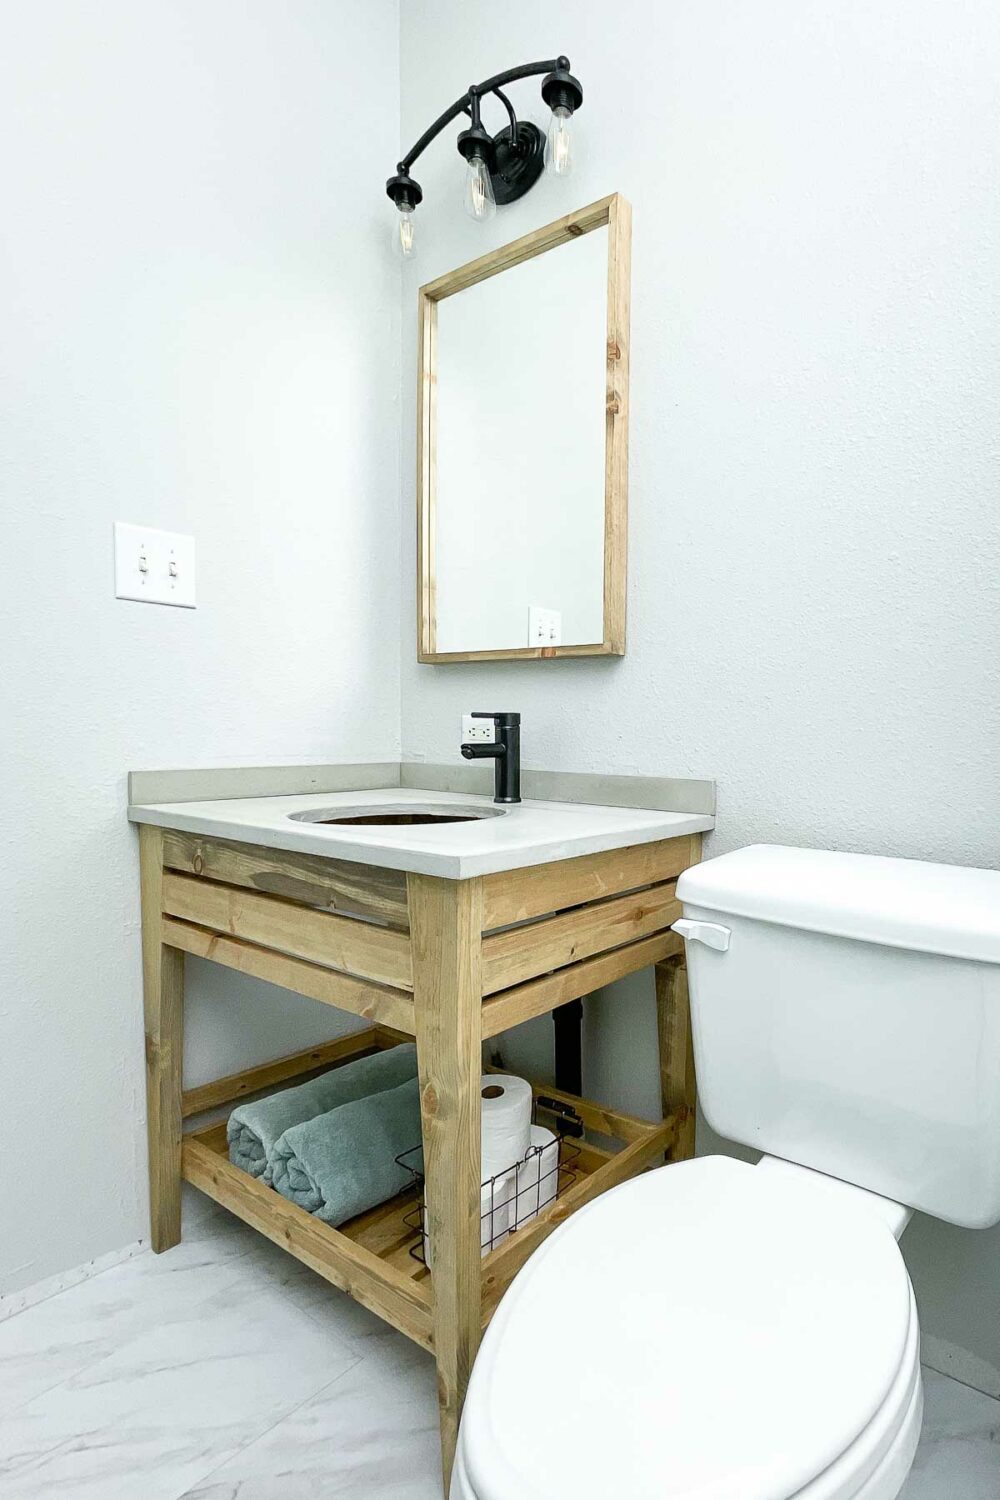
One of the most expensive parts of a bathroom is the vanity top. We loved the inexpensive wood vanity top we had in our last house. But because I wanted the wood vanity, I decided I needed a different budget option.
Lucky for us, we just learned how to make a concrete countertop earlier this month. Just before demo, we finished off the kitchen island in our kitchen with one. And we had 2 bags of leftover concrete from that project that were opened so they could not be returned.
This DIY concrete vanity top took us just 1 afternoon to make and only used up 1 of those extra bags (with left overs). I will be sharing the tutorial for it soon so stay tuned!
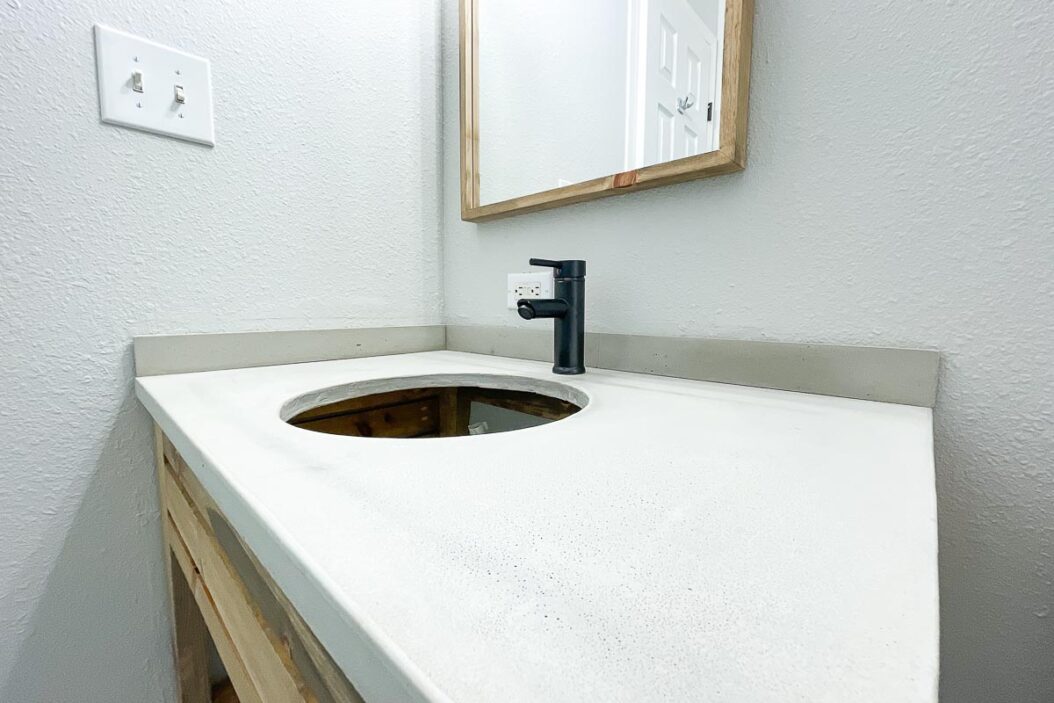
You may have noticed the lack of sink in our vanity, that is one of the items that isn’t done yet. But I bought the supplies for the sink (and they are in the budget).
I am using an idea that I am still figuring out the detail on, which is why it is taking a bit longer than planned. Fingers crossed it works out as planned. If so, it will be a $14 sink option. Perfect for a bathroom or prep sink.
Stay tuned for those details too!
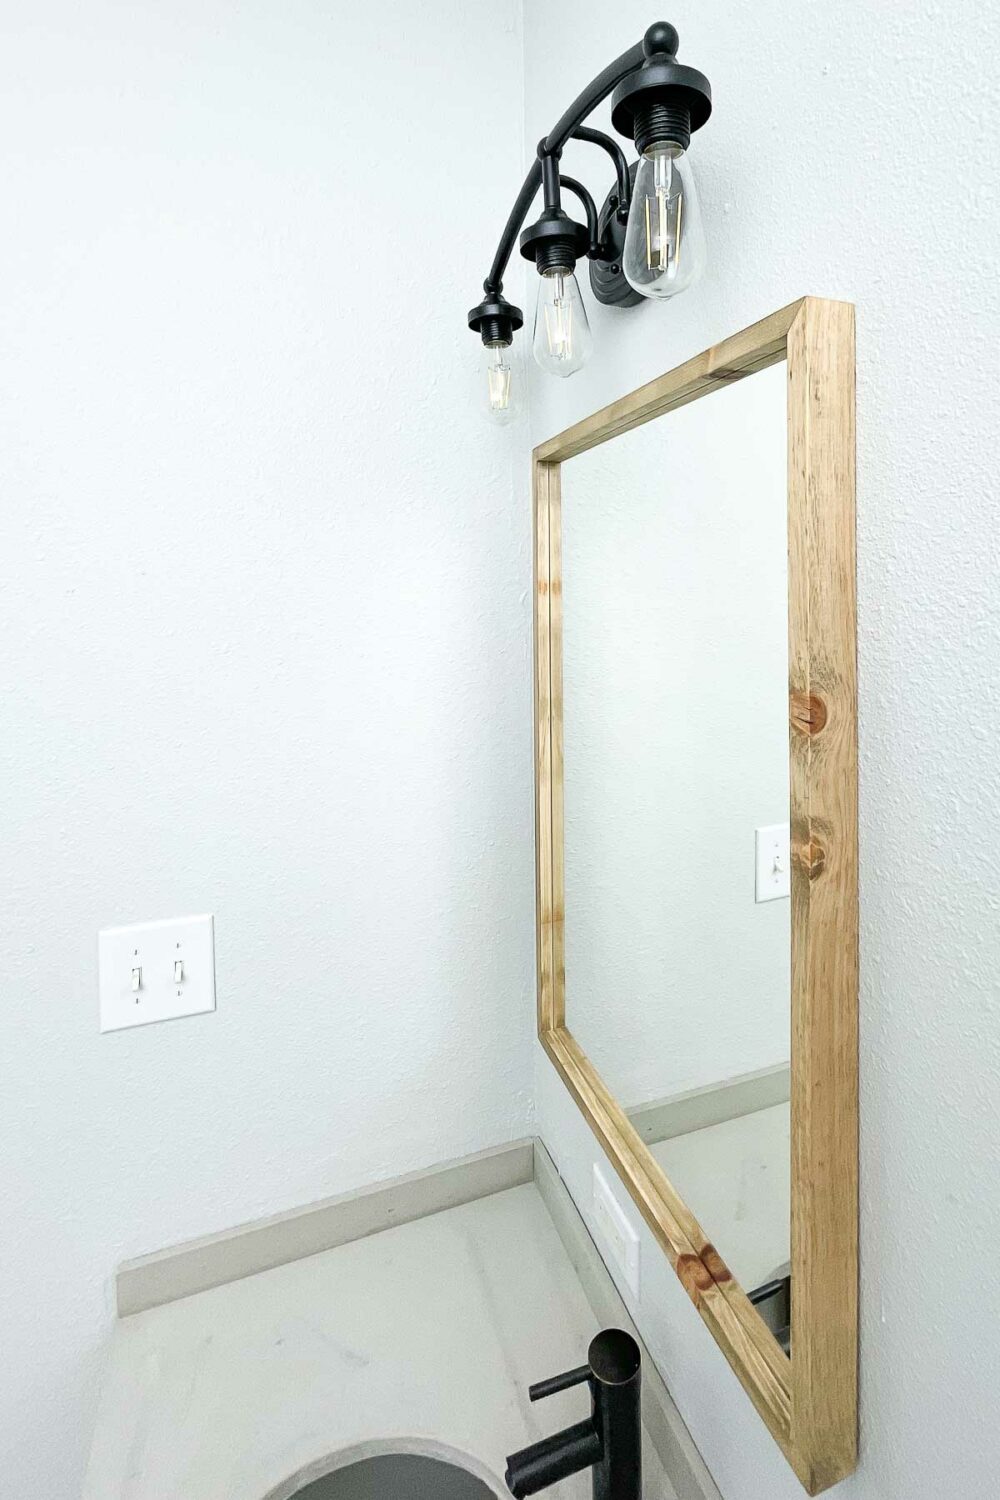
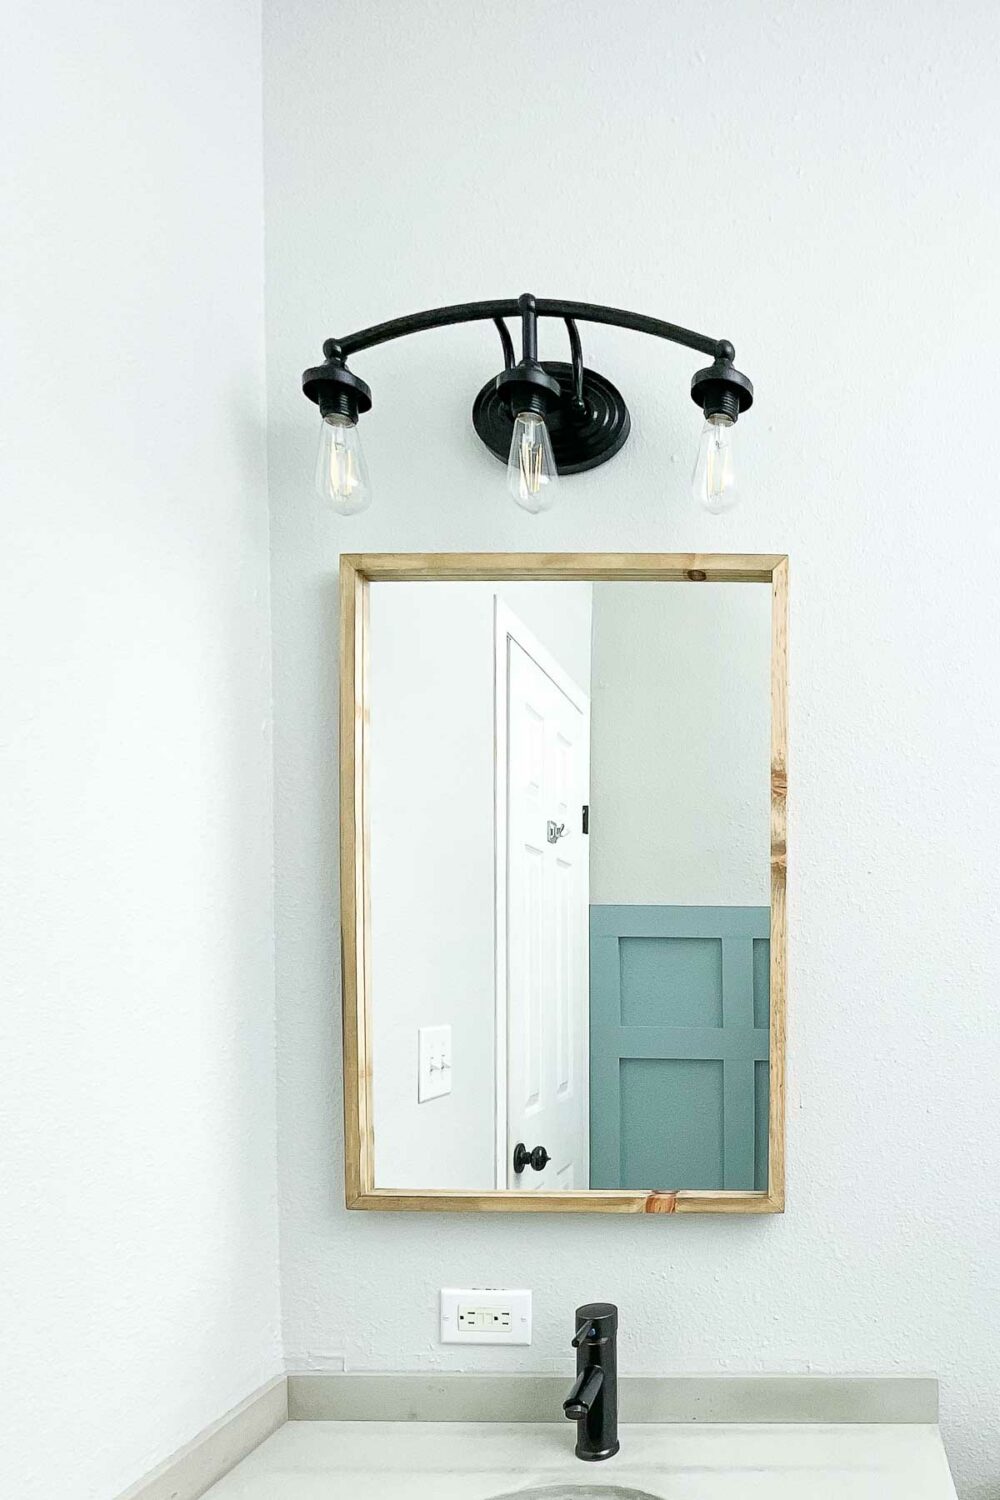
Updated Mirror
The mirror before was a plain, unframed mirror, held on with those annoying plastic clips.
In just a couple hours, I was able to turn some 1×2 scraps into a frame for it. I used the same mixed-together stain I used on the vanity and it turned out amazing!
I love the thin, modern frame. And it hides the french cleat that is holding it firmly to the wall into the studs!
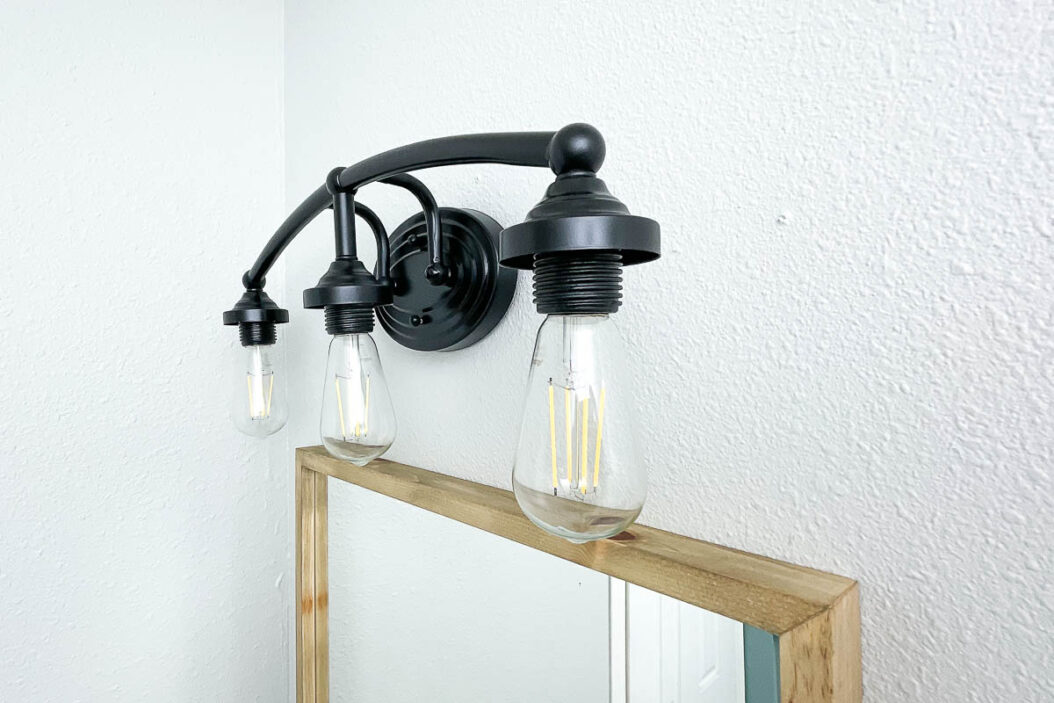
Updated Fixtures
The light fixture, shower curtain rod and towel ring were all inexpensive fixtures that were showing their age.
To match the black door knobs throughout the entire house, I have been changing fixtures to black as well. But I didn’t have the budget to replace them in the bathroom.
Instead I used black spray paint leftover from this rolling kitchen card build to paint them all. I used the leftover etching primer as well to make sure the paint adheres well.
Now all the fixtures look brand new!
I also removed the dated glass from the light fixture. With the Edison bulbs that were already in the light, it looks like a new modern fixture!
I did have to spend a little money on new towel hooks. Towel bars are just not functional for my children. They can never hang the towels properly on them and they always end up on the floor.
So I splurged and spent $12 on 3 new hooks. I did find some cheaper options, but I loved the look and function of these ones best.
In the summertime we have lots of swim suits and beach towels so the extra hooks will come in handy.
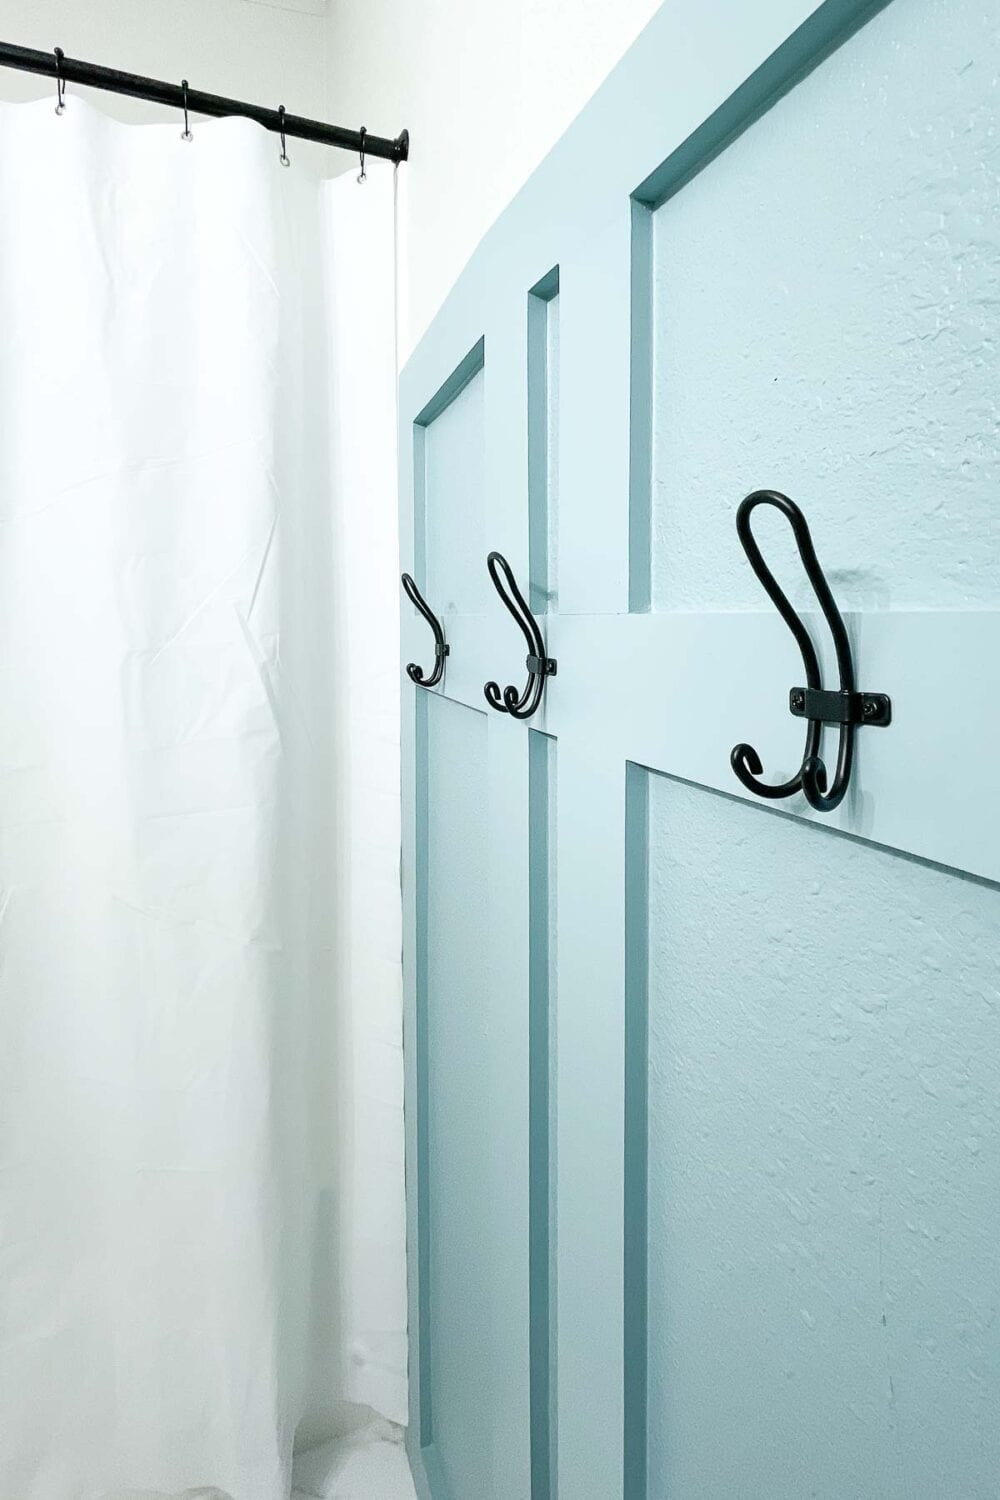
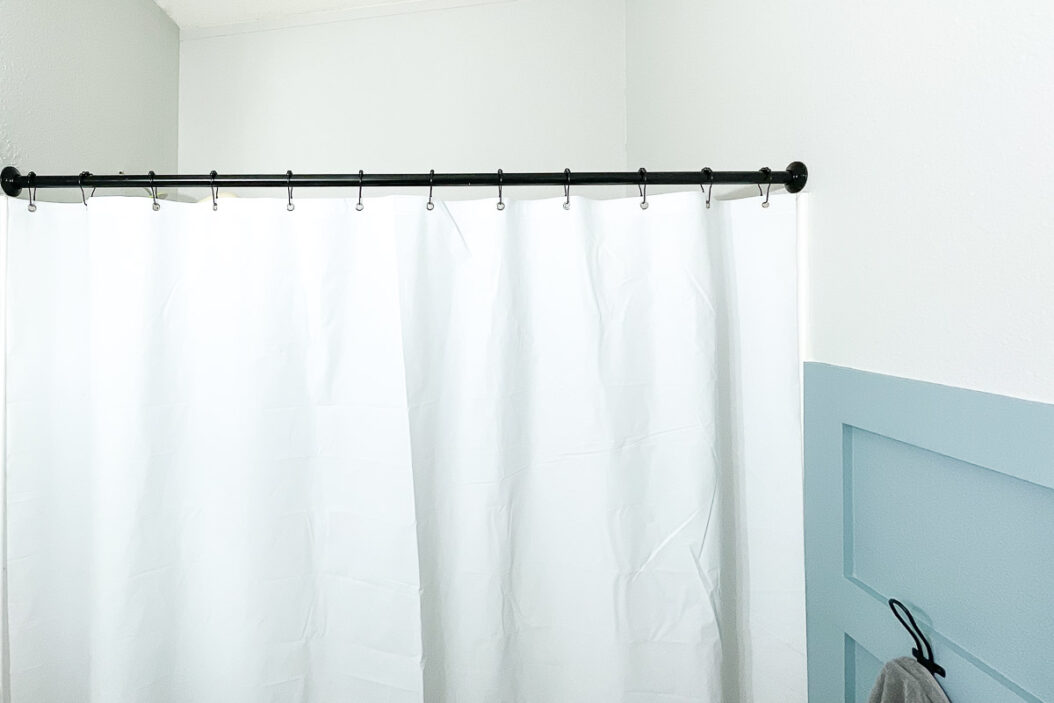
Instead of buying a new shower curtain, I just removed the dated one and left the plain white shower curtain liner. White shower curtains always make a bathroom feel larger and clean.
I also bought new shower curtain rings for $6 to match the black rod. I did not like the cheap plastic rings that were there.
How we Spent the $100 Budget
We came very close to completing the bathroom under the $100 budget, but sadly did not make it.
I forgot to account for the rebar and concrete additive that we needed for the vanity top. Also, I found some cheaper hooks, but just liked the more expensive ones better, so I splurged!
But I am still very impressed with the total budget spent on this amazing bathroom transformation!
- Moving drain pipe – $2.00 (for pipe elbows)
- New gray paint – $0 (had one roller on hand and will wash and reuse)
- New turquoise paint – $0 (borrowed paint and used small roller on hand)
- New Floor – $0 (used leftovers from kitchen remodel)
- MDF boards for board & batten – $32.00
- Caulk – $2.50
- New vanity – $0 (used leftover lumber)
- Concrete vanity top – $23
- $0 – concrete (leftover from kitchen countertops)
- $16 – melamine for countertop
- $3 – Flow Control concrete additive
- $4 – rebar
- New faucet with drain – $24.00
- Mirror – $0 (framed existing mirror)
- Shower curtain rings – $6.00
- Towel hooks – $12.00
- New sink bowl – $14.00
- New P trap for sink – $3.50
Total: $119
True Cost of the Remodel
I think it is important to note that all the items we used were still very budget friendly! Even if you had to buy everything because you didn’t have leftover supplies, this is a great budget bathroom.
So I thought it would be interesting to see how much it would cost to DIY this exact bathroom with the full cost of all the supplies. I priced out everything for our area if I bought it today now, prices change by region and date so don’t quote me on it 😉
- Moving drain pipe – $2.00
- Gray paint – $32 for 1 gallon
- Turquoise paint – $17 for 1 quart
- Vinyl floor tiles– $42.50
- Floor underlayment – $13
- MDF boards for board & batten – $32.00
- Caulk – $2.50
- New vanity – $50 (for lumber and stain)
- Concrete vanity top – $46.50 (for concrete and forms)
- New faucet with drain – $24.00
- Mirror – $7.50 (lumber for frame)
- Shower curtain rings – $6.00
- Towel hooks – $12.00
- New sink bowl – $14.00
- New P trap for sink – $3.50
Total: $304.50
Not bad for a complete bathroom remodel that looks amazing!
More $100 Room Makeovers
This is not my first time participating in the $100 Room Challenge. Check out these other amazing room makeovers too.