The holiday season is coming and that means lots of gatherings and cooking.
If you need to take a dish to share, stop carrying your hot pan in a towel and build a beautiful wooden casserole dish carrier instead.
I love this easy DIY project. You can build one in about an hour (while your dish is baking). Then use it to carry and display your delicious food.
This post may contain affiliate links. As an Amazon Associate I earn from qualifying purchases. Click here to read my full disclosure policy.
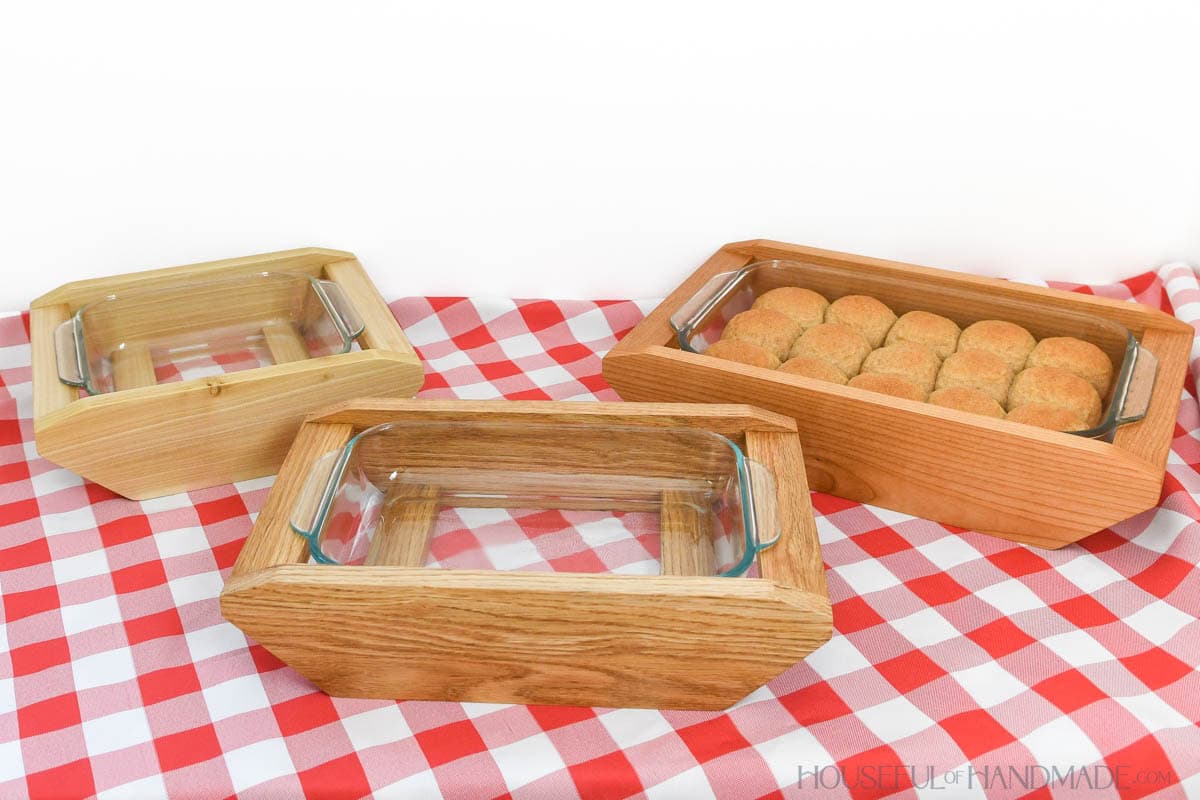
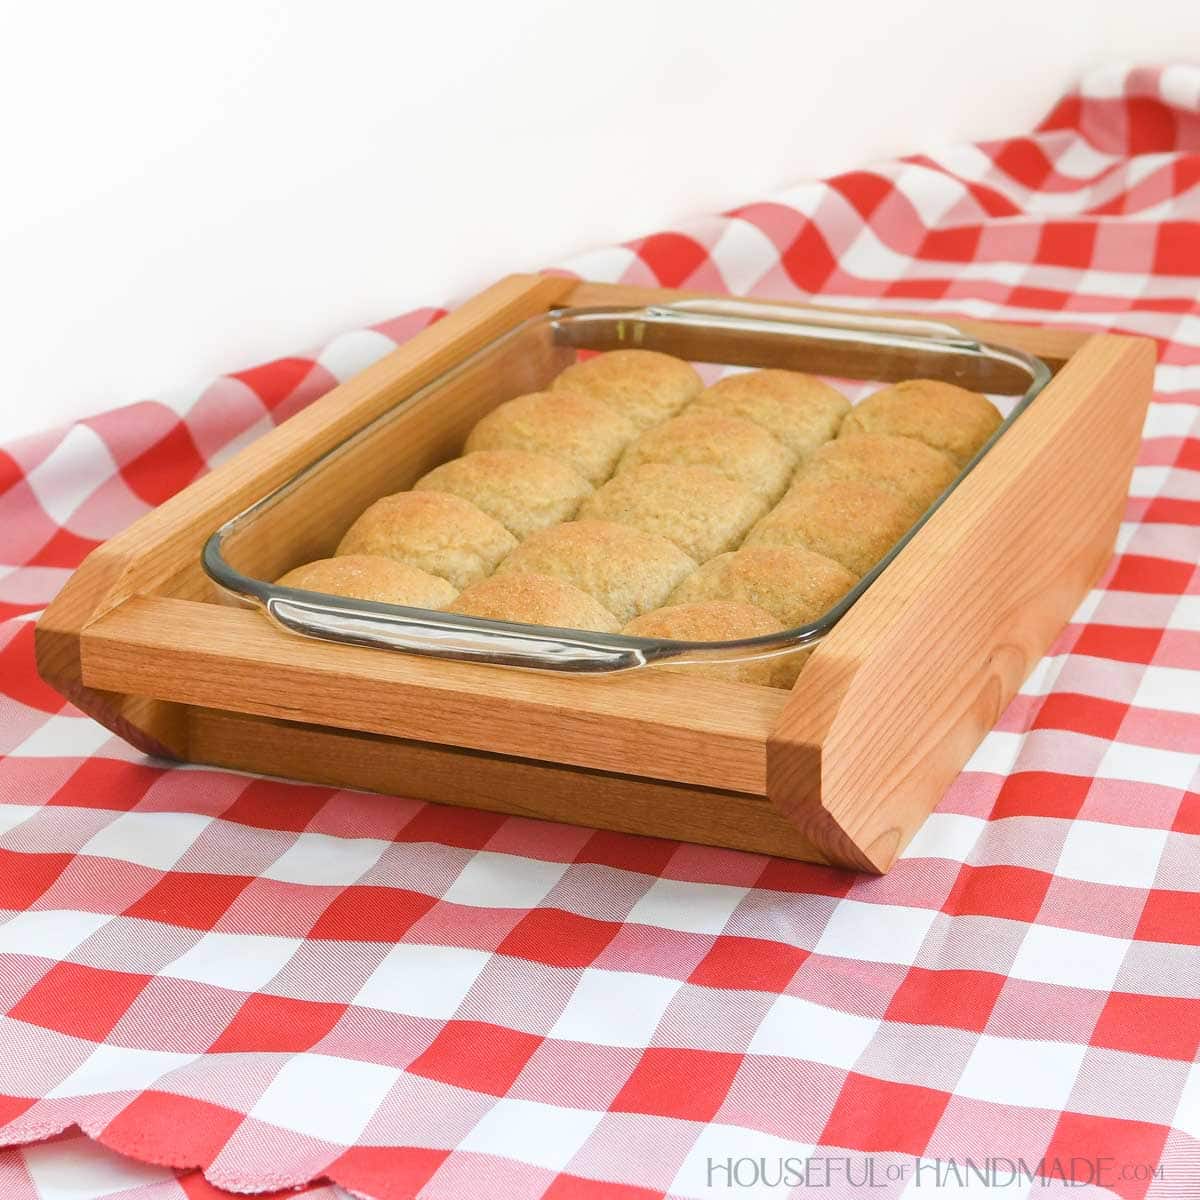
Baking Dish Carrier and Trivet
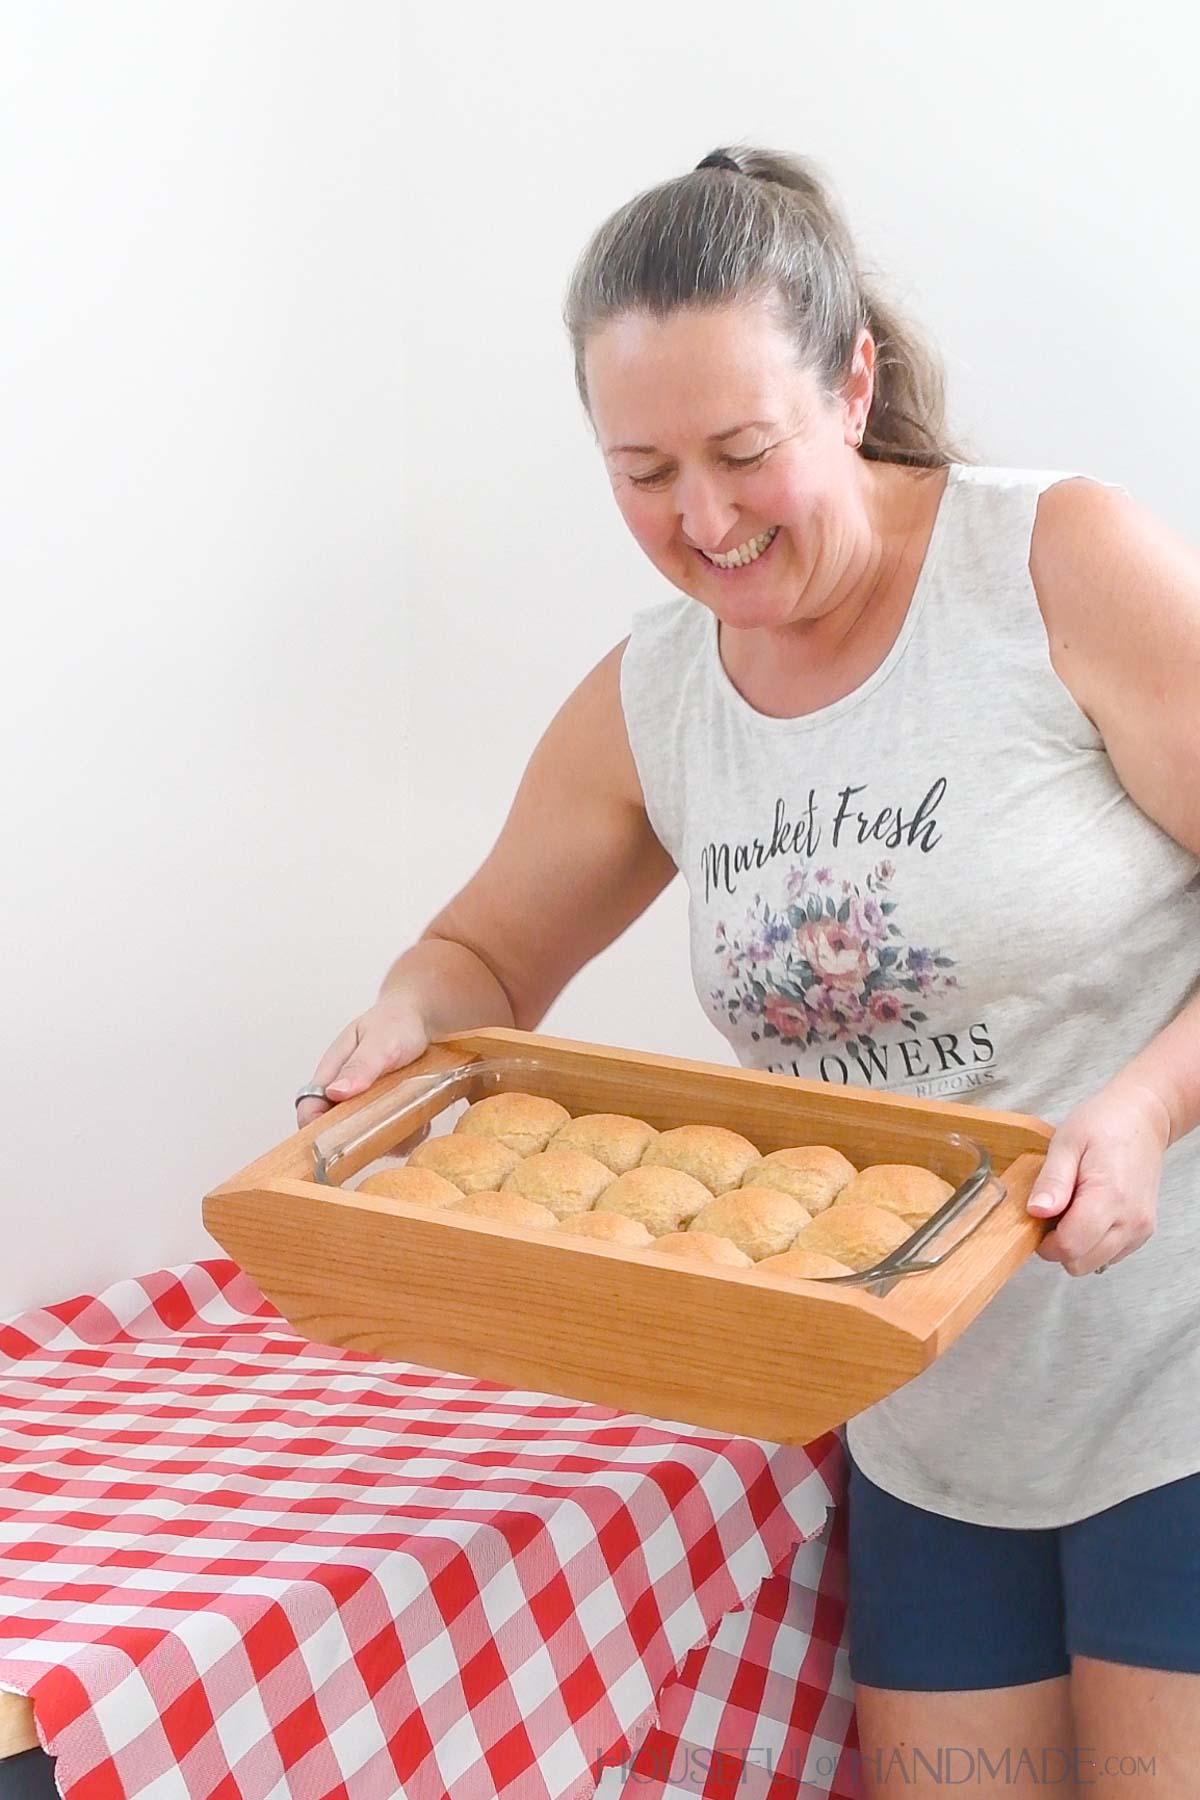
My favorite part of these beautiful carriers is that you can put the hot bakeware right from the oven into the wood holder.
It’s easy to carry and transport the casserole dish! No towel needed to prevent burns.
Then you can place the carrier directly on the serving table and the wood also acts as a trivet, protecting the countertop.
Plus it does this all while looking amazing!
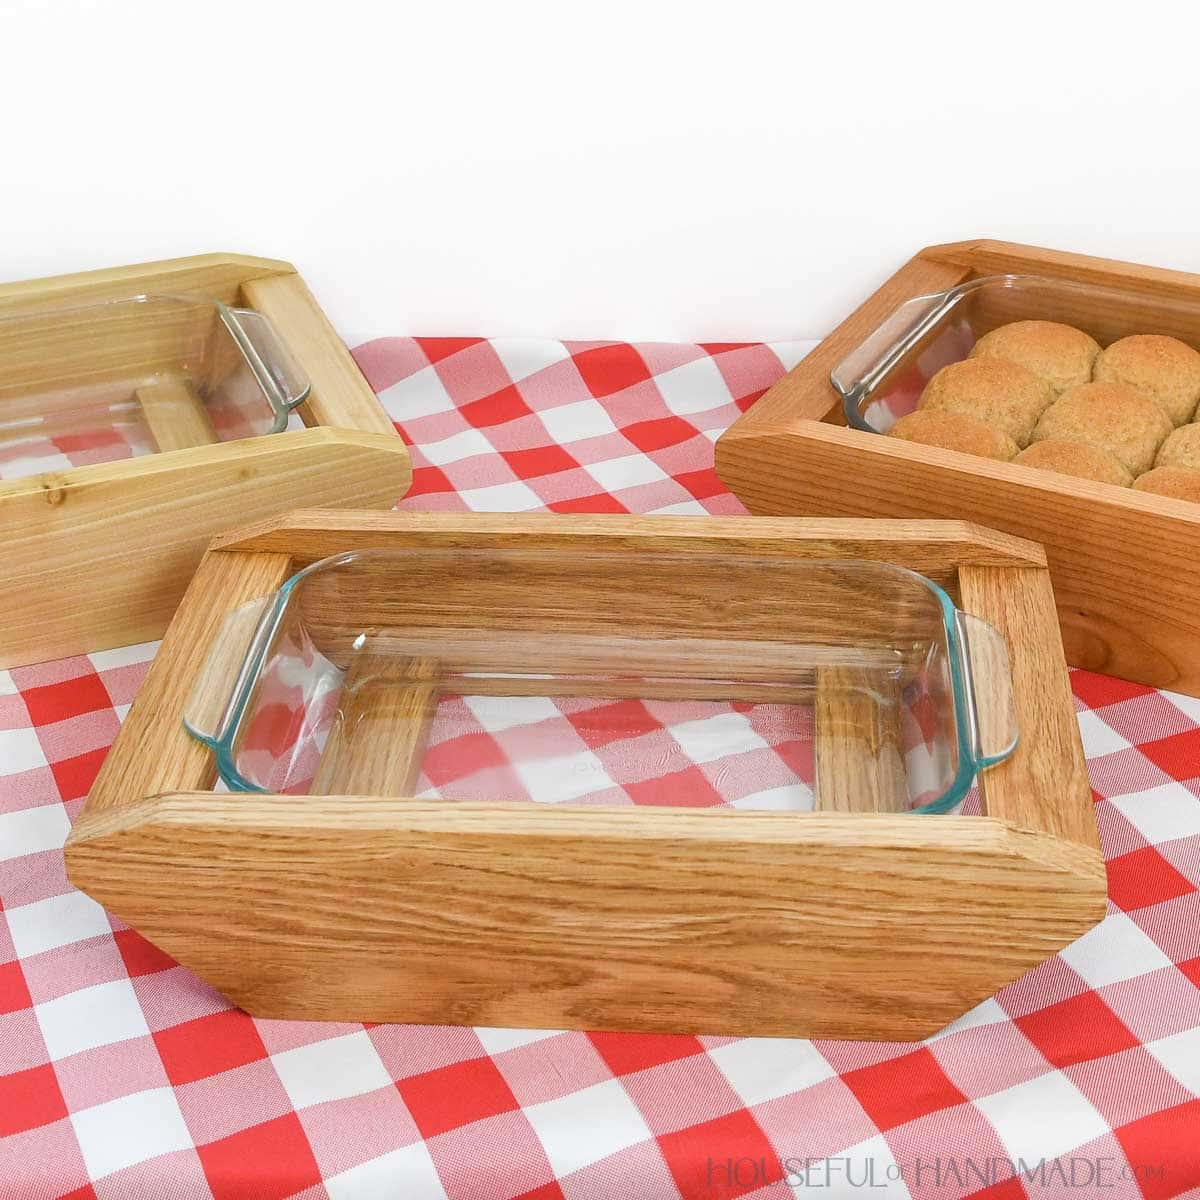
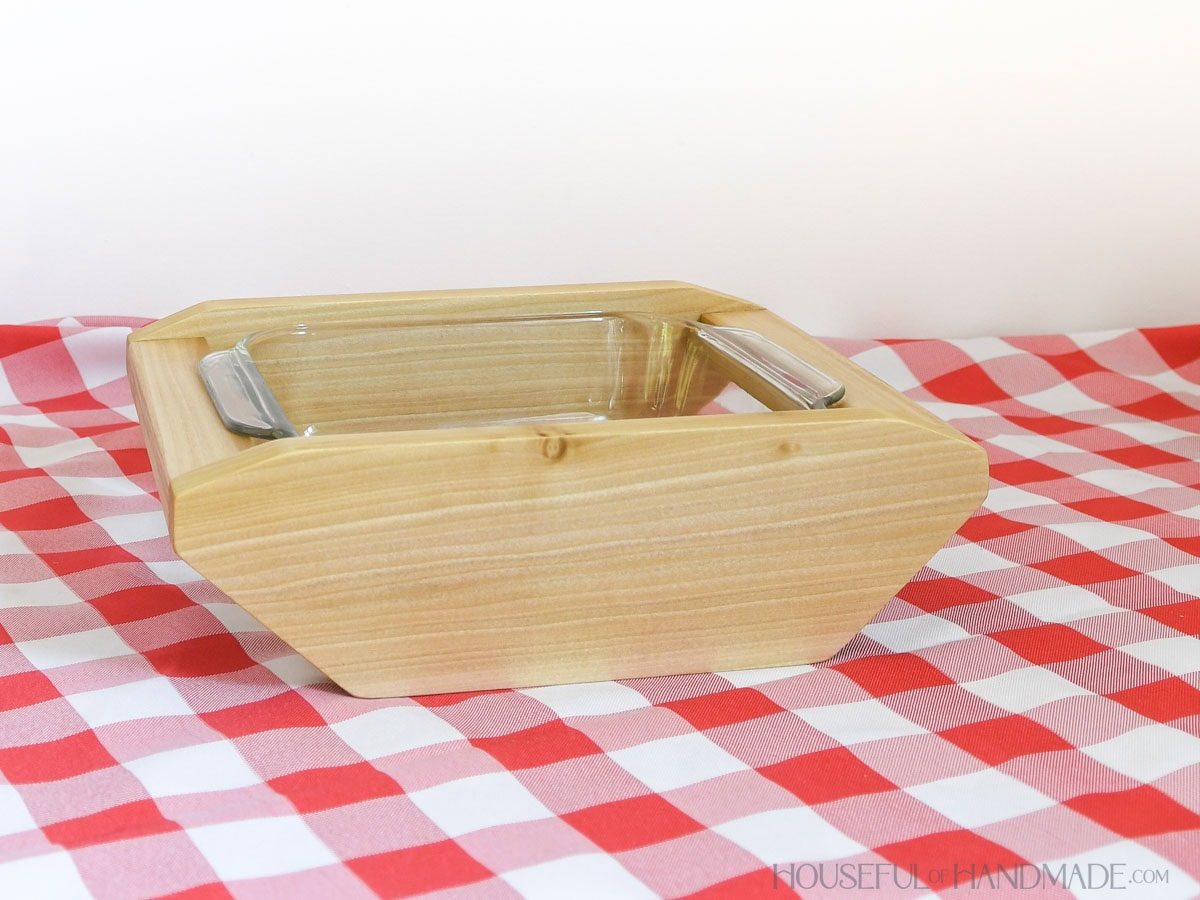
I love the beautiful, modern shape of the carriers. They are not boring boxes or your grandma’s fabric carrier.
I used up scraps of wood in my stash to build them. Nothing more is needed, because the grain and color if the wood is so pretty.
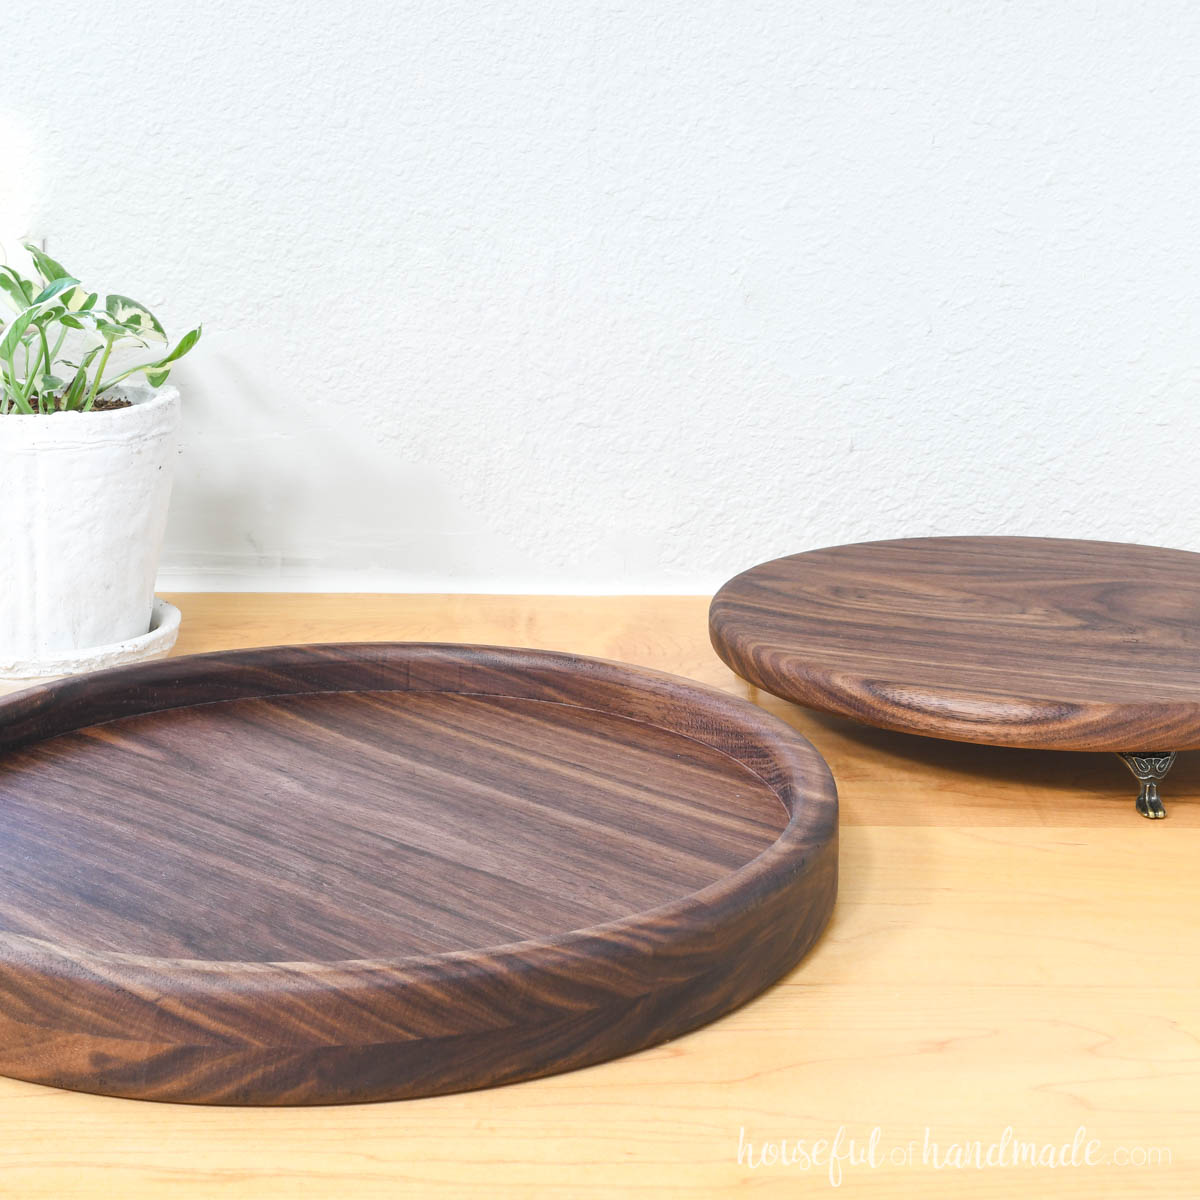
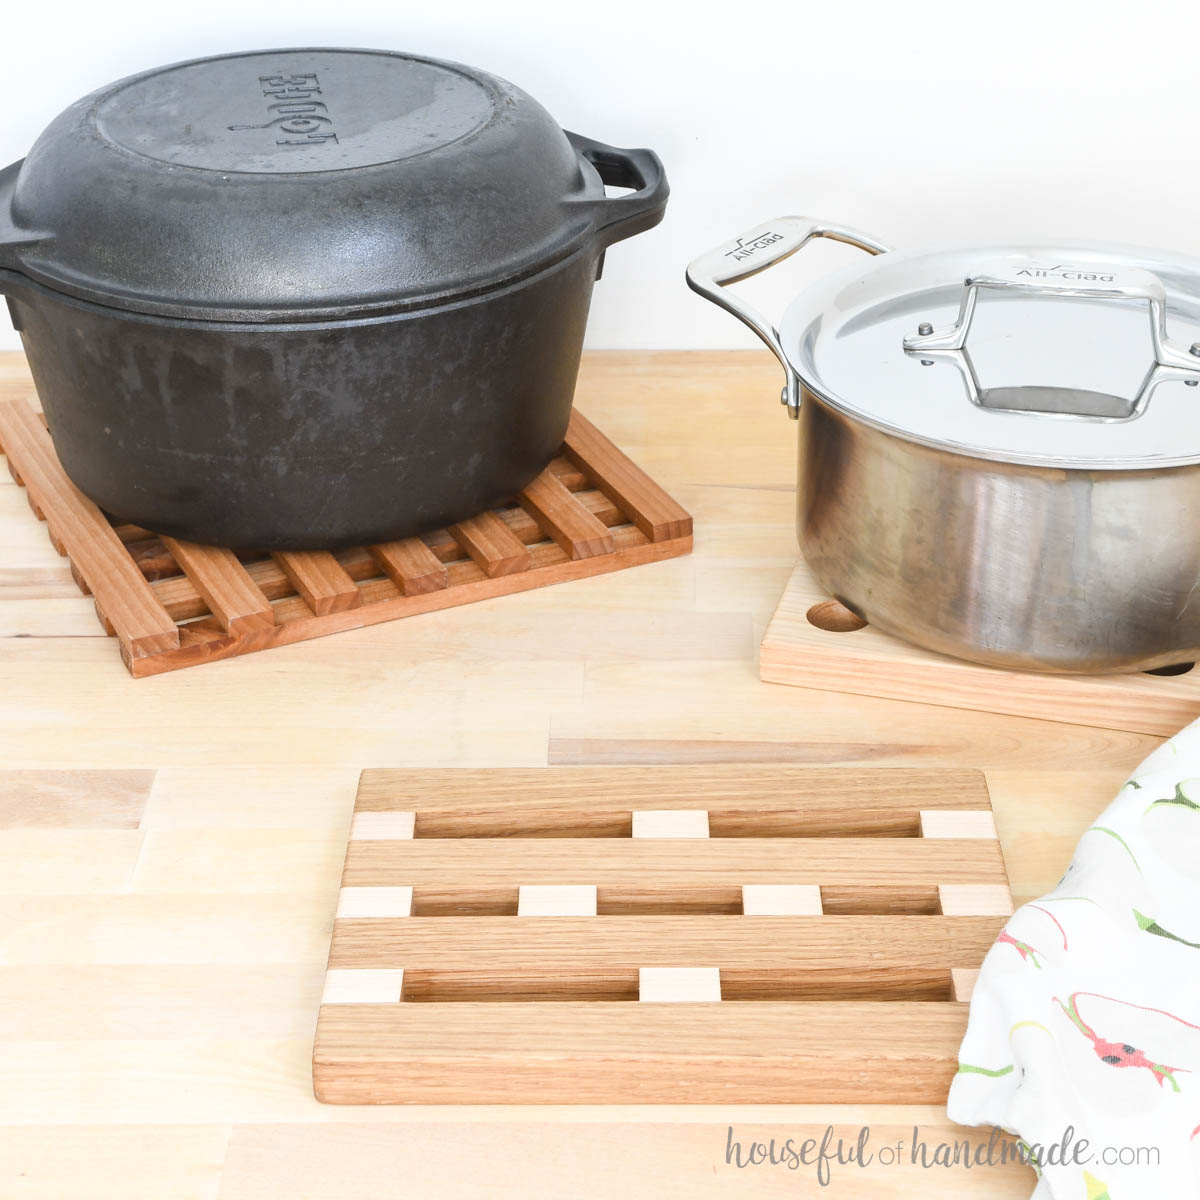
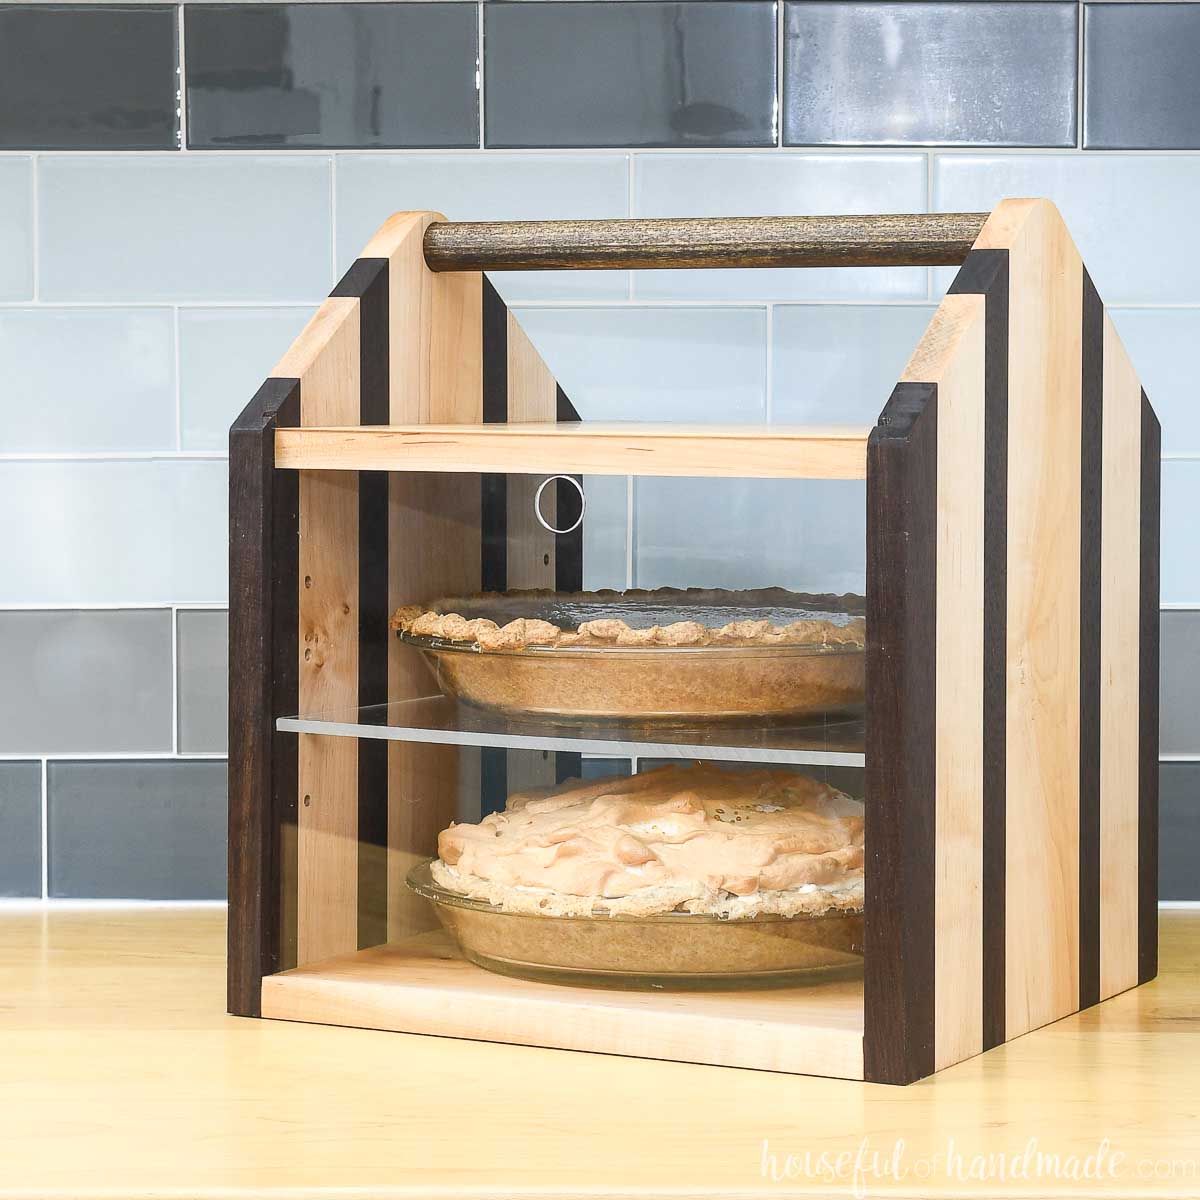
More DIY Serving Ideas
Serving dinner and dessert is more fun when you do it with things you built yourself.

How to Build a Casserole Carrier
Tools & Materials
Recommended Tools:
- Miter saw
- I recently upgraded to this sliding miter saw (watch for it to go on sale), but previously used this inexpensive miter saw that I love.
- Circular saw or jig saw
- Pocket hole jig
- Drill
- Impact driver (optional, but I love not having to switch bits with the drill)
- Multi-mark measuring tool
- 90 degree drill adapter
- Clamps
- Flush cut saw
- Sander
Supplies:
- Wood products
- (1) 1×4 board, 3′ long
- (1) 1×2 board, 3-4′ long
- 1 1/4″ pocket hole screws
- Wood glue
Overall Dimensions
I designed 3 different carriers to fit my most used glass Pyrex baking dishes: 9×13, 7×11 and 8×8. Each holder is 3 1/2″ tall and then sized to fit the casserole pan.
Cut List
Cut out the pieces according to the build plans.
You can find the 8×8 and 7×11 casserole dish carrier plans here. Or find the build plans for the 9×13 dish carrier here.
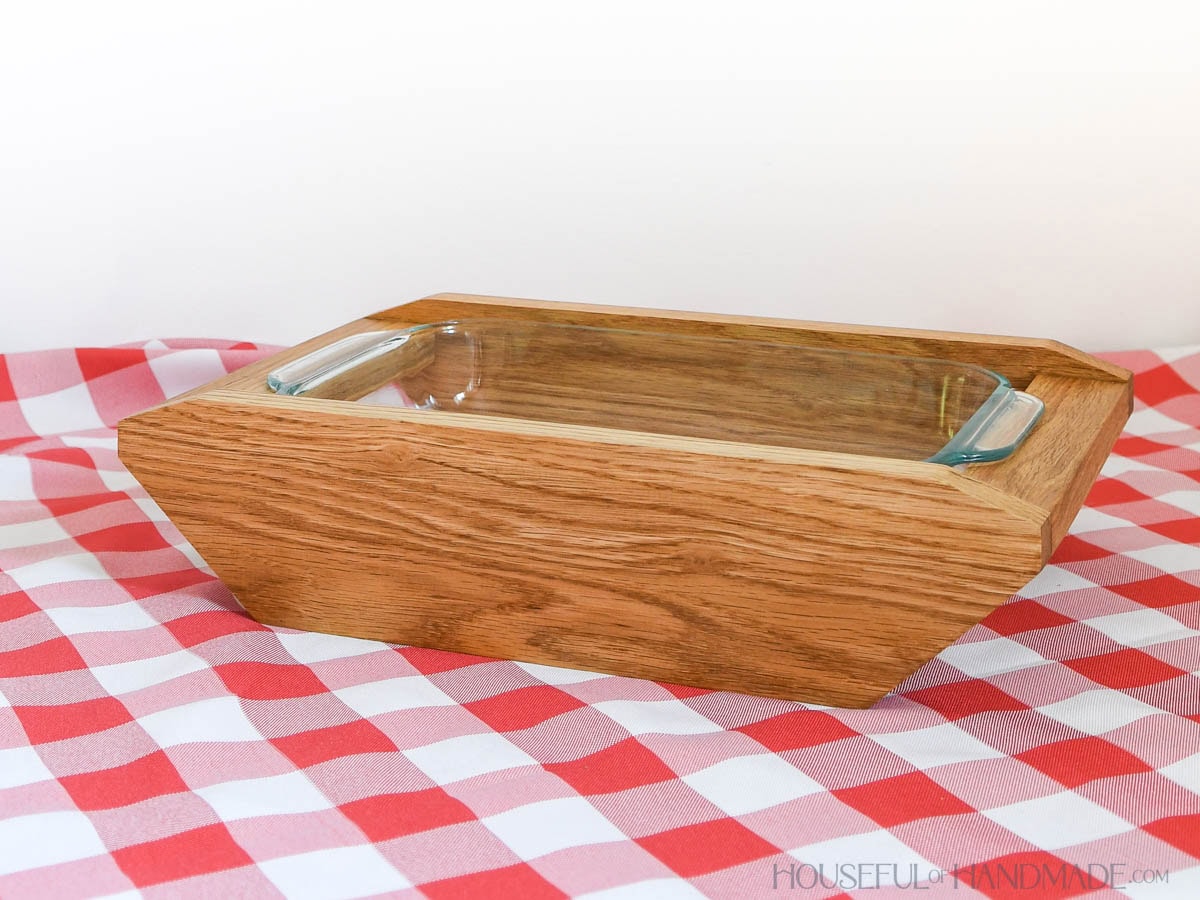
STEP 1- Shape front and back
On the front and back pieces, measure and mark out the angles according to the diagram in the plans.
Cut the angles out with the circular saw or jigsaw.
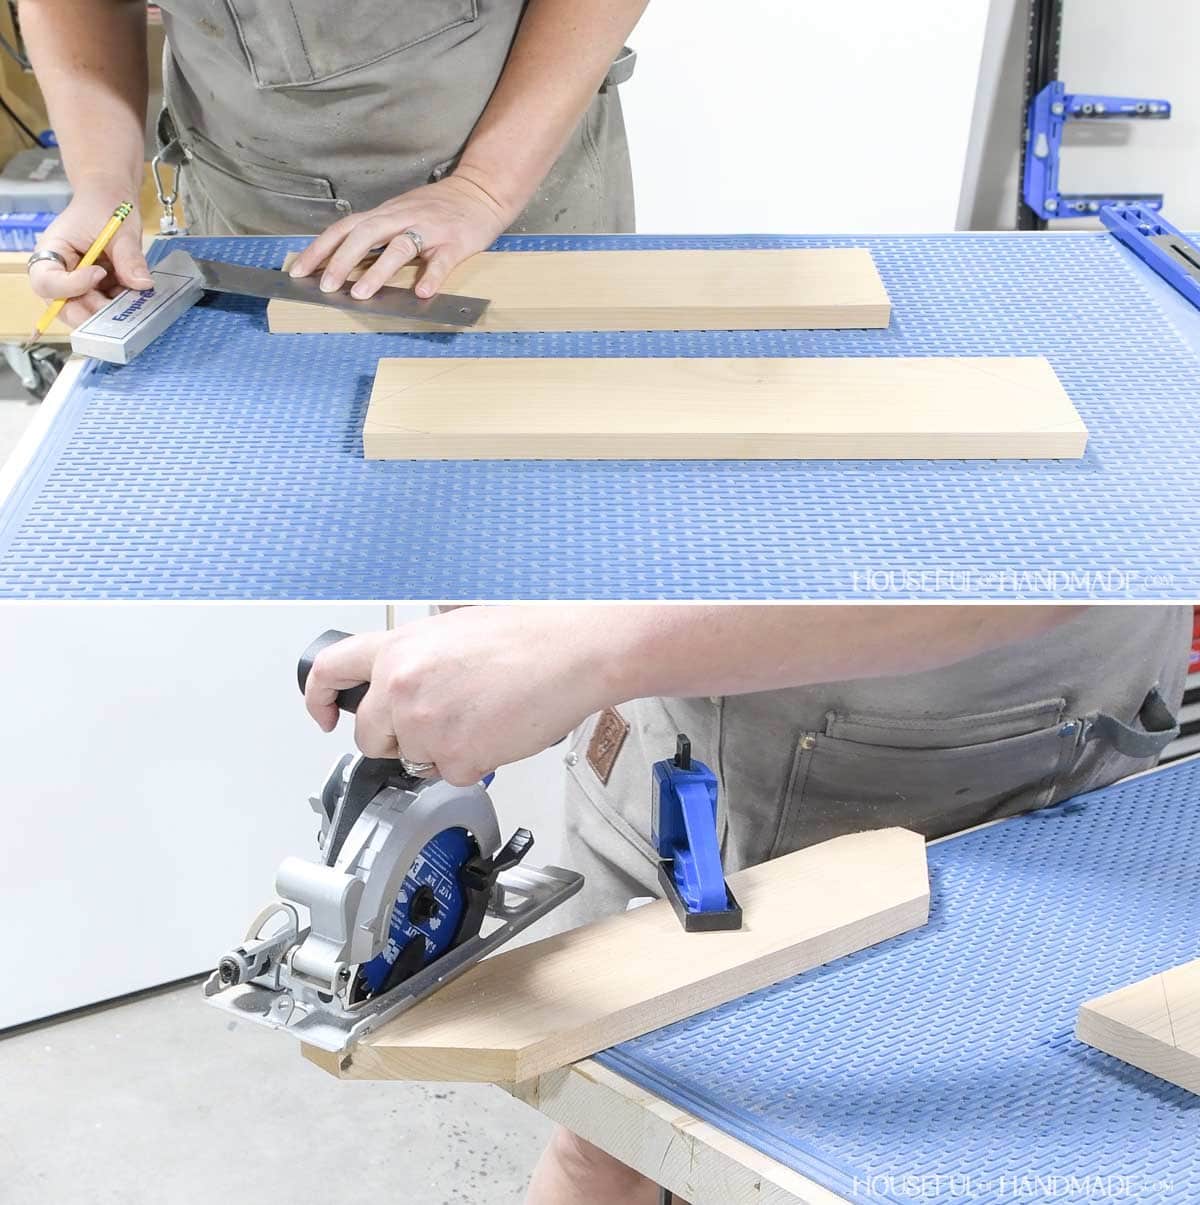
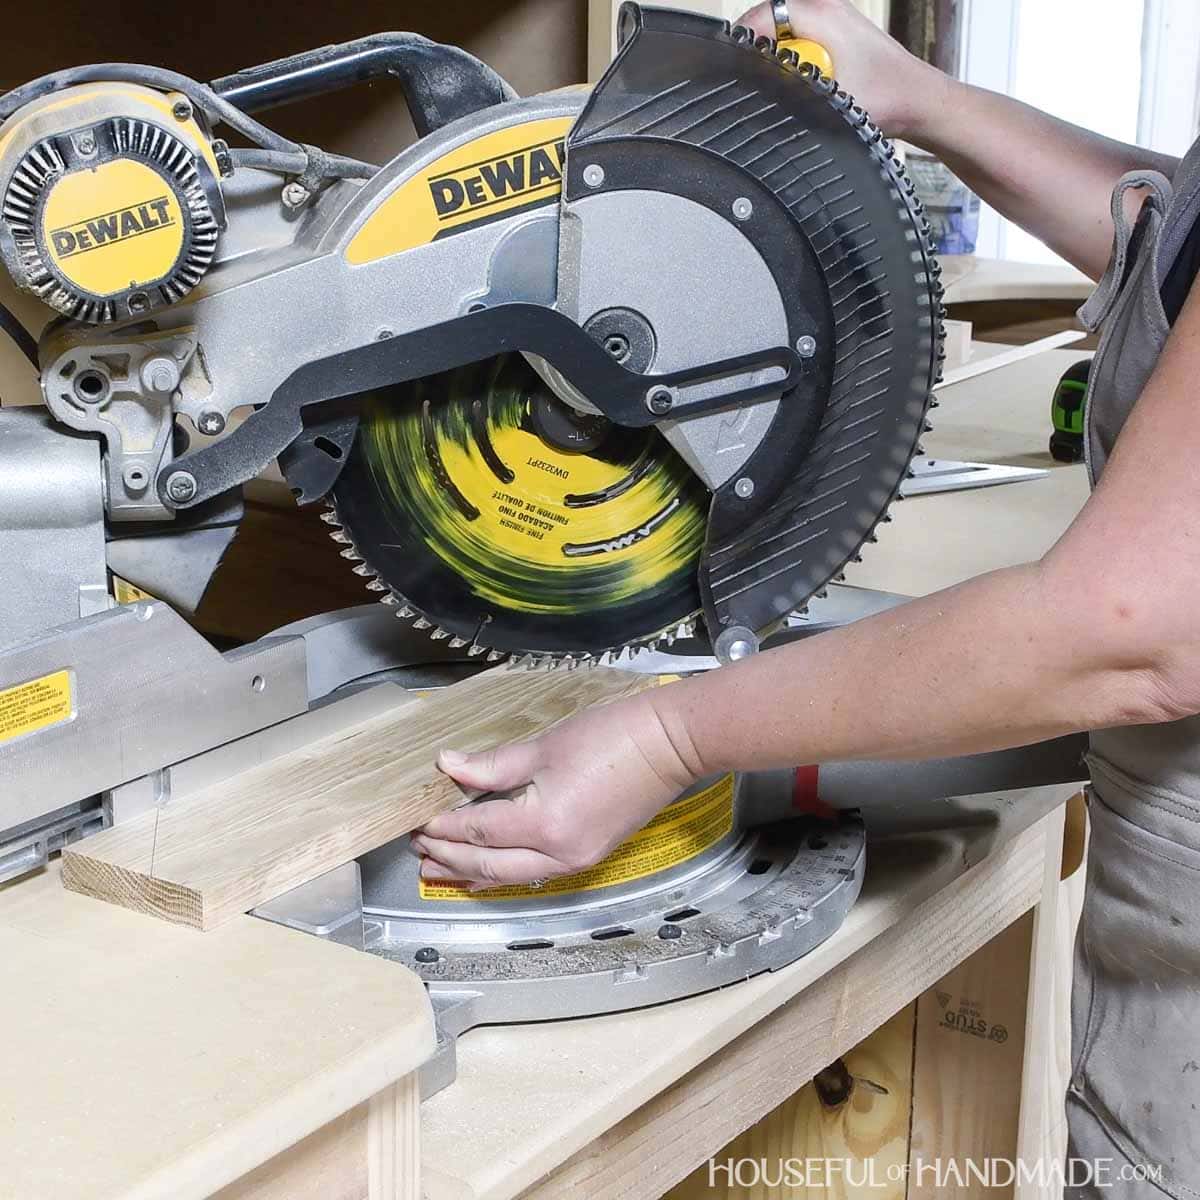
Alternately, you can use the miter saw to cut the large angle on the bottom of the boards.
Check the angle of the board with a square, mine was 46 1/2 degrees. Then set your miter saw and double check carefully before cutting.
The top angle is too sharp to be cut on the miter saw safely without a jig. So it will need to be cut with the circular or jig saw.
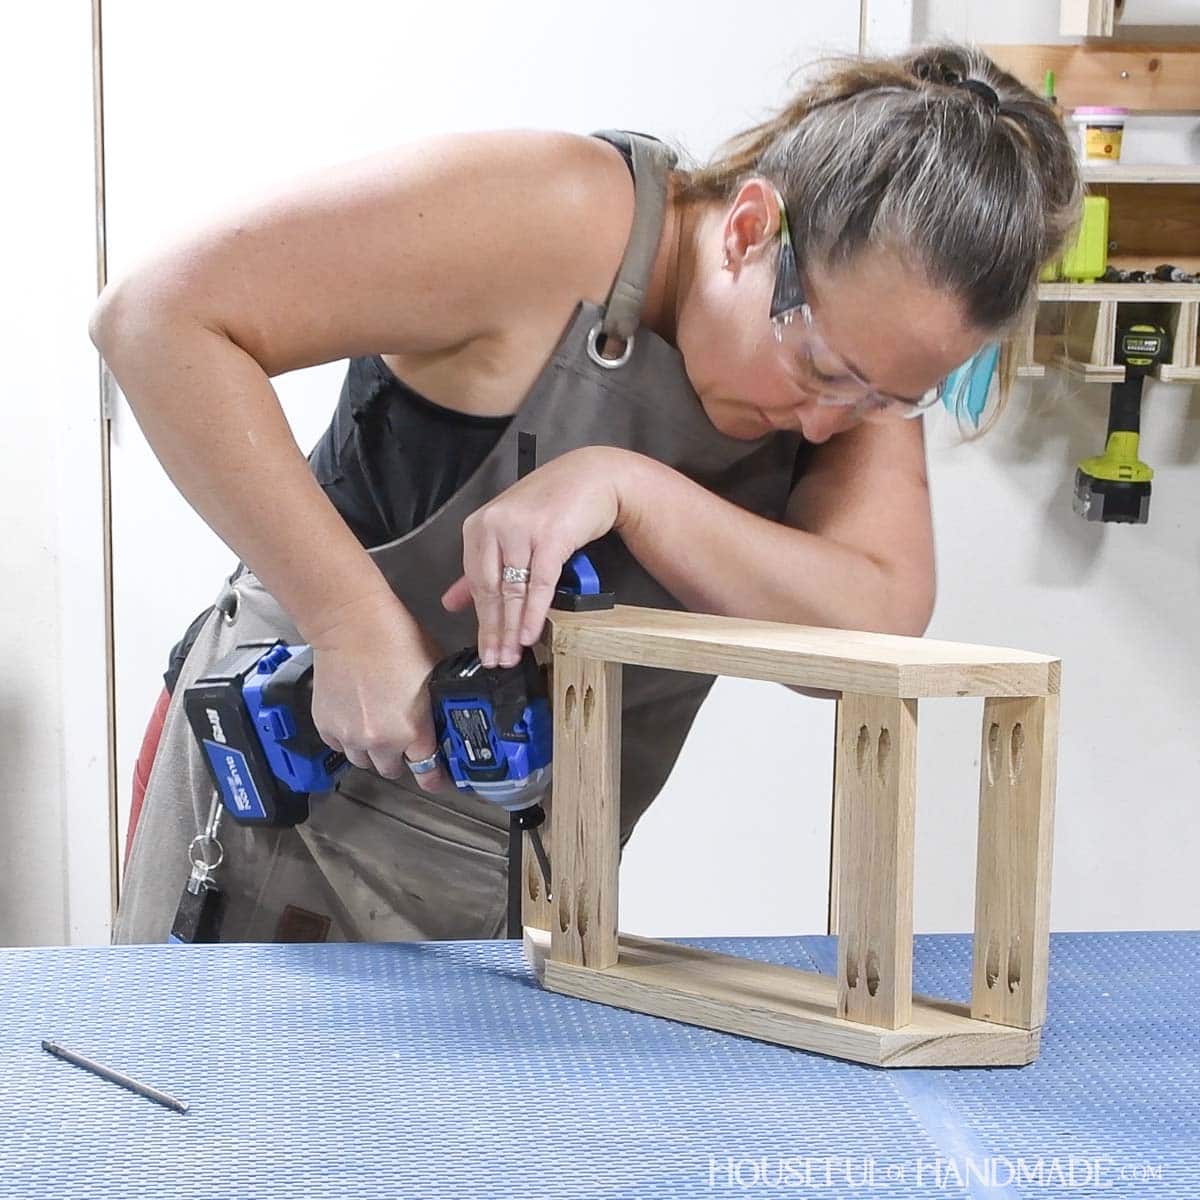
STEP 2- Attach supports
Set the pocket hole jig for 3/4″ material. Drill 2 pocket holes in each end of all the center pieces.
Learn how to use the Kreg Pocket Hole Jig 720 here.

Attach all 4 center pieces to the front or back piece according to the plans. Secure with wood glue and 1 1/4″ pocket hole screws.
The top pieces will be attached so they are 1/2″ below the top. The two lower pieces will be attached so they are flush with the bottom.
Learn what type of pocket hole screws to use here.
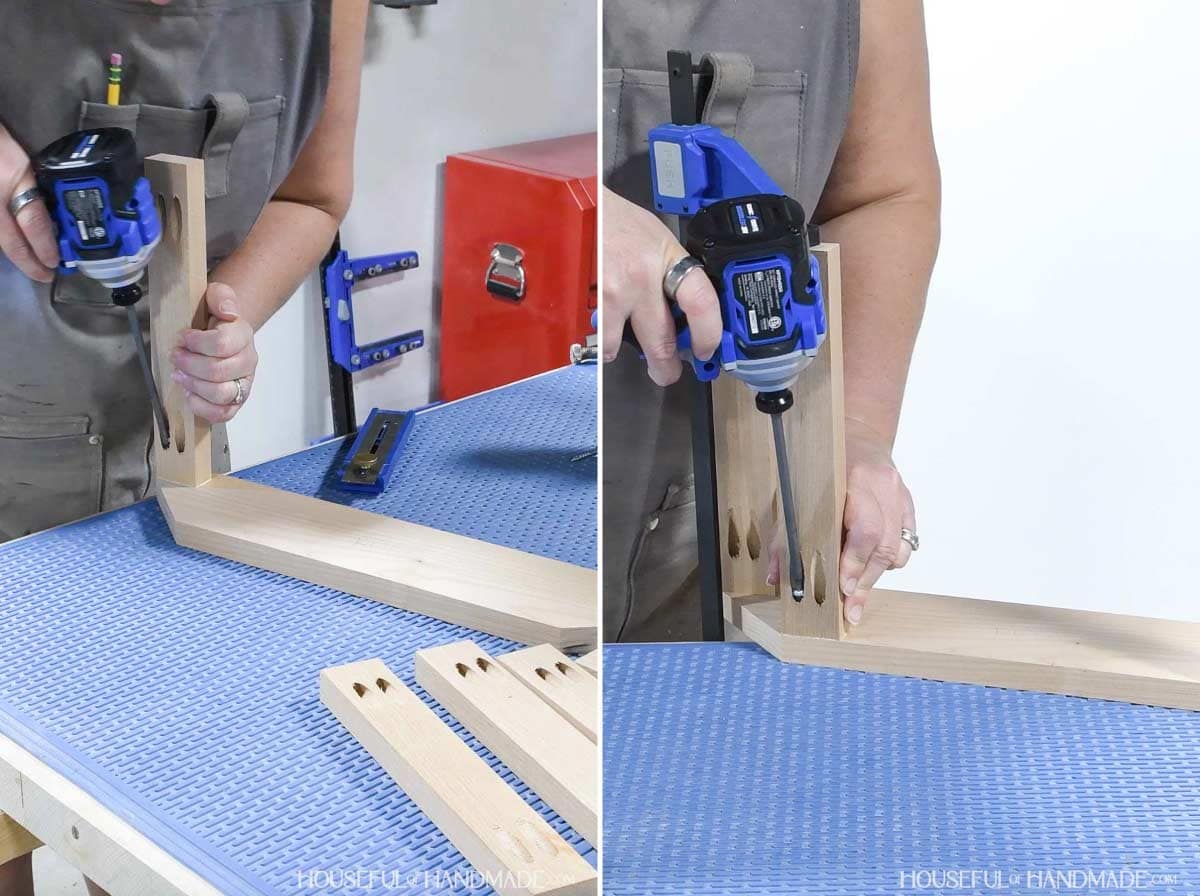
Once all the center pieces are secured to one front/back piece, line the other piece up and secure them all to it.
Line them up properly, then secure with glue and 1 1/4″ pocket hole screws.
You may need to use a shorter bit or a 90 degree bit adapter to secure the pocket hole screws in the top center boards.
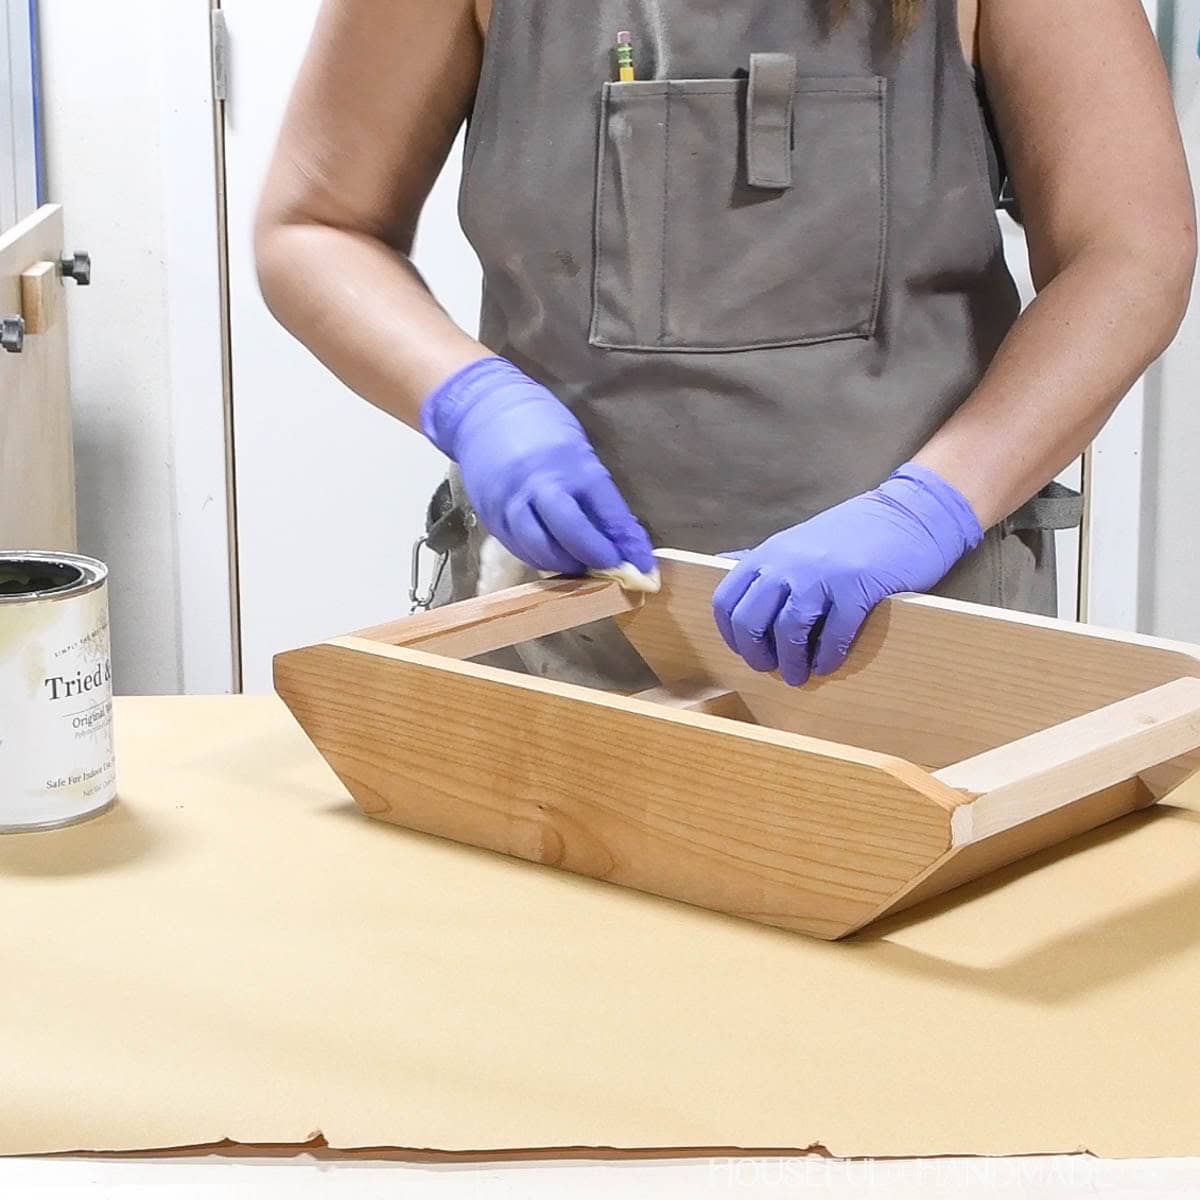
STEP 3- Finish
To hide your pocket holes, glue pocket hole plugs into them, then sand till they are flush with the board.
I like to use the plug cutter attachment on the pocket hole jig to make plugs that match my wood perfectly.

Alternately, if you do not want to have pocket holes on the underside of your carrier, you could attach the center pieces with dowels using a dowel jig.
But I suggest adding the dowel holes before cutting the angles as it can be harder to line things up with the angles cut.
Learn how to use the Kreg Dowel Jig here.
Sand your new casserole carrier. Then stain/seal/paint it as desired. I finished my carriers with a food safe linseed oil/beeswax sealer.
Premium plans include:
- Recommended Tools
- Shopping list
- Easy to read cut list table
- Cut diagrams
- Step-by-step instructions with 3D renderings
- Helpful resources
- BONUS: 3D SketchUp file
You did it!
Now you can take your favorite hot dish straight from the oven to your get-together.
It's looks so pretty, I think I need to bake brownies so I can have an excuse to use it again.
Happy building!
