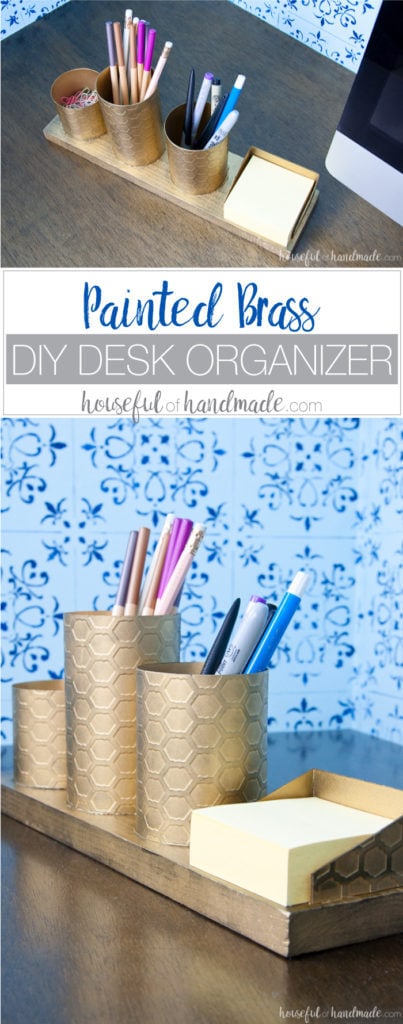
Learn how to make a DIY desk organizer in a beautiful painted brass finish.
All the big projects are done in the office & craft room except the painting of the upper walls and ceiling. That is happening today because reveal day is Wednesday! I can’t wait.
I have been working on adding the last few bits of decorations and the room is really starting to come together. Since I do not have a drawer on my new closet desk, I needed a way to organize all the things I need to have handy.
To solve that problem, I partnered with Spellbinders and used their die cutting machine to make this beautiful DIY Desk Organizer. Then I fancied it up with a painted brass look.
This post may contain affiliate links. As an Amazon Associate I earn from qualifying purchases. Click here to read my full disclosure policy.
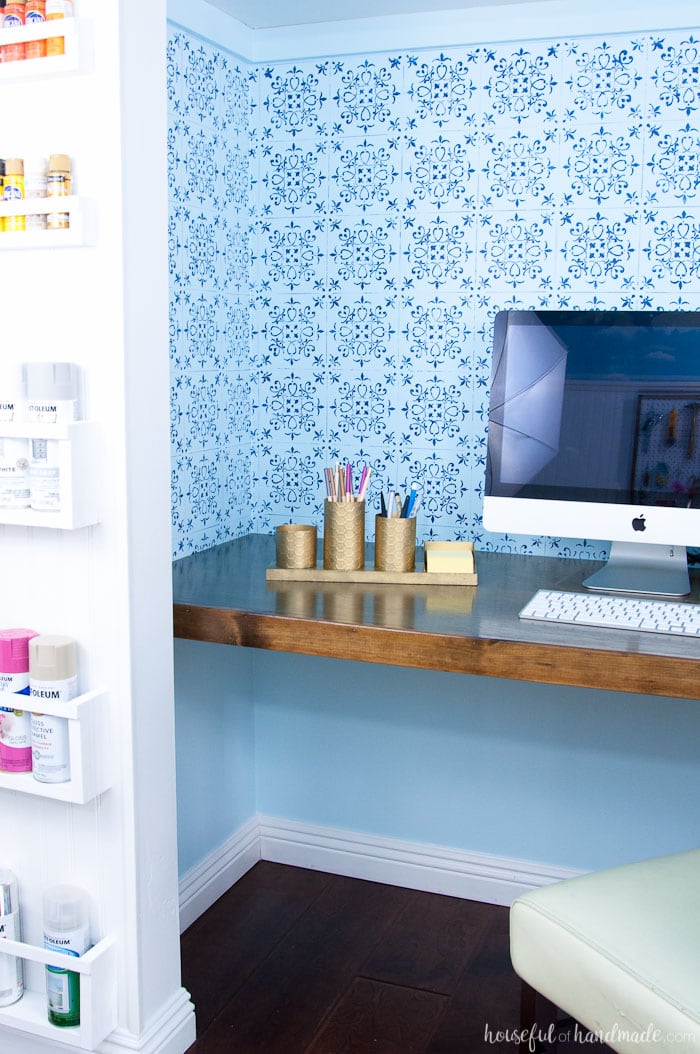
I was worried when I built my desk in the closet that I would hate not having desk drawers. I am a stickler for organization.
But instead I have minimized the things that I have at my desk and do not miss it at all! It is quite nice to have this minimalist approach in the space I need to free my mind and get to work.
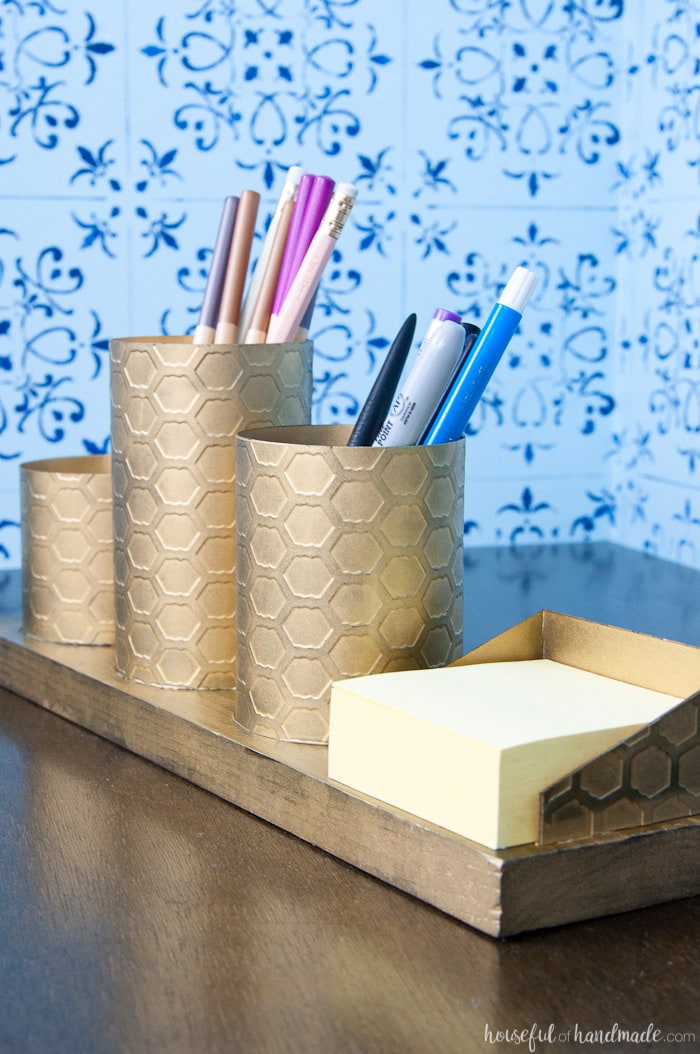
However, there are a few things that I have to have on my desk. Obviously, a pencil is quite important. I use it to keep track of my projects and daily tasks in my planner, as well as jotting down ideas as they come to me in my sketchbook.
Then there are the rest of my “tools”: a few pens, Sharpies, my fabric marking pens, x-acto knife, weeding tool, and nail file. These are the things I reach for all the time and love having on my desk.
And lastly, I cannot live without my pad of Post-it notes and a gaggle of paper clips.
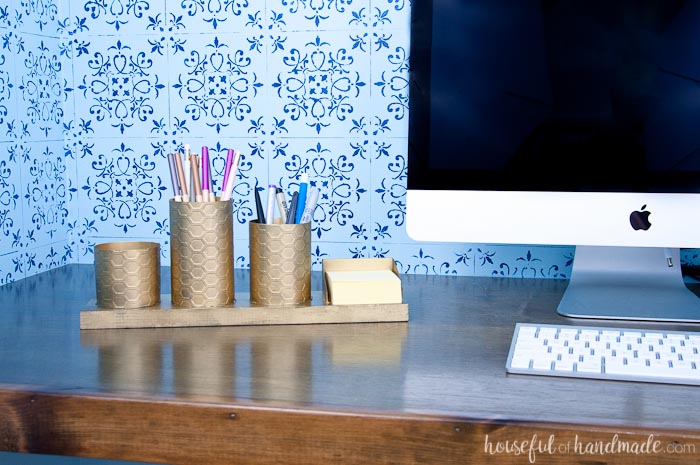
So instead of creating a drawer area for my desk, I decided to create a beautiful DIY desk organizer to keep these important items where I need them most.
I wanted to make it something that I was proud to display on my minimalist desk. Something that would be easy to move around the room as I work on my projects. And something that was cheap!
I am redoing this entire room for only $100 and my money is gone. So I reached for one of my favorite mediums: paper!
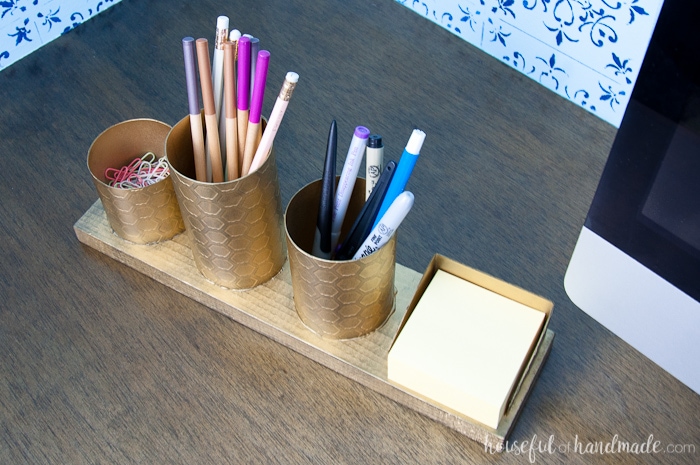
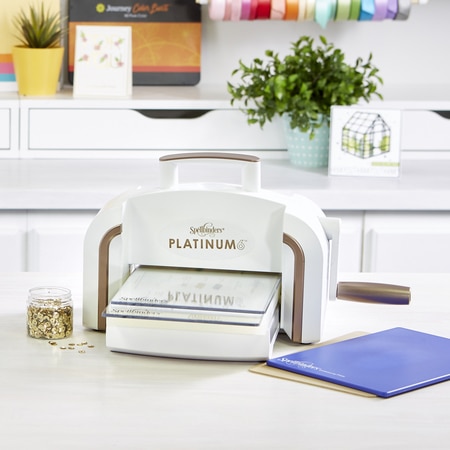
I have been wanting a reason to use the embossing folder I got with my Spellbinders Platinum 6 machine. I bought it because it was a chicken wire pattern and I am obsessed with chicken wire (who’s not really?).
I was going to use it for some pennants on my fall mantel, but never got around to it (story of my life).
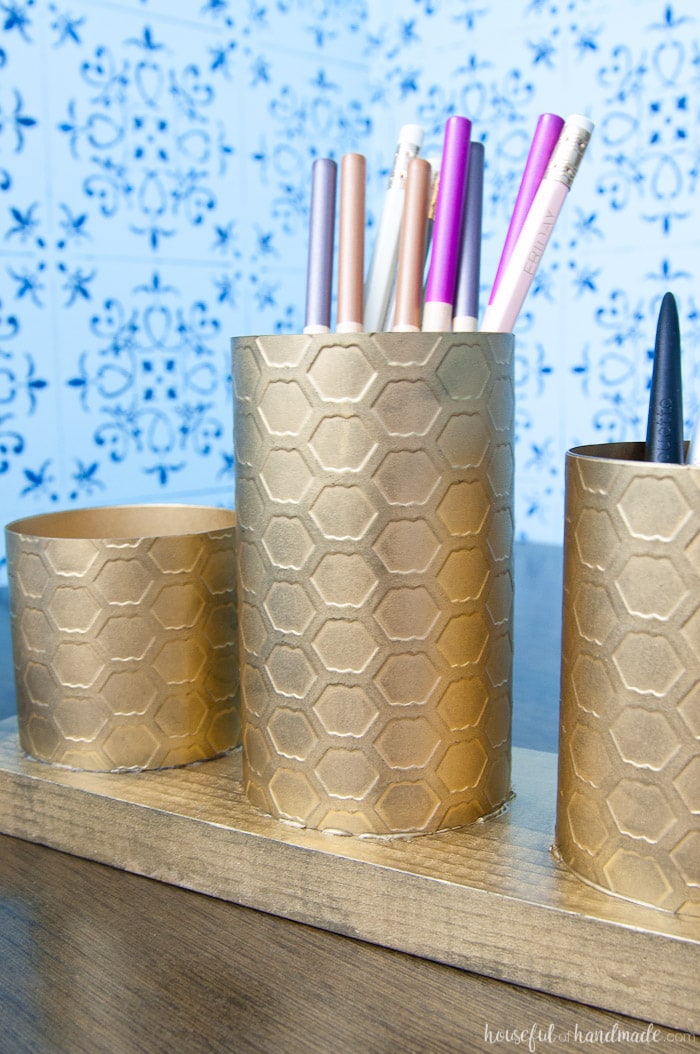
Instead, it was the perfect solution to add a little texture to my painted brass DIY desk organizer. It’s the perfect chic desk accessory with farmhouse inspiration.
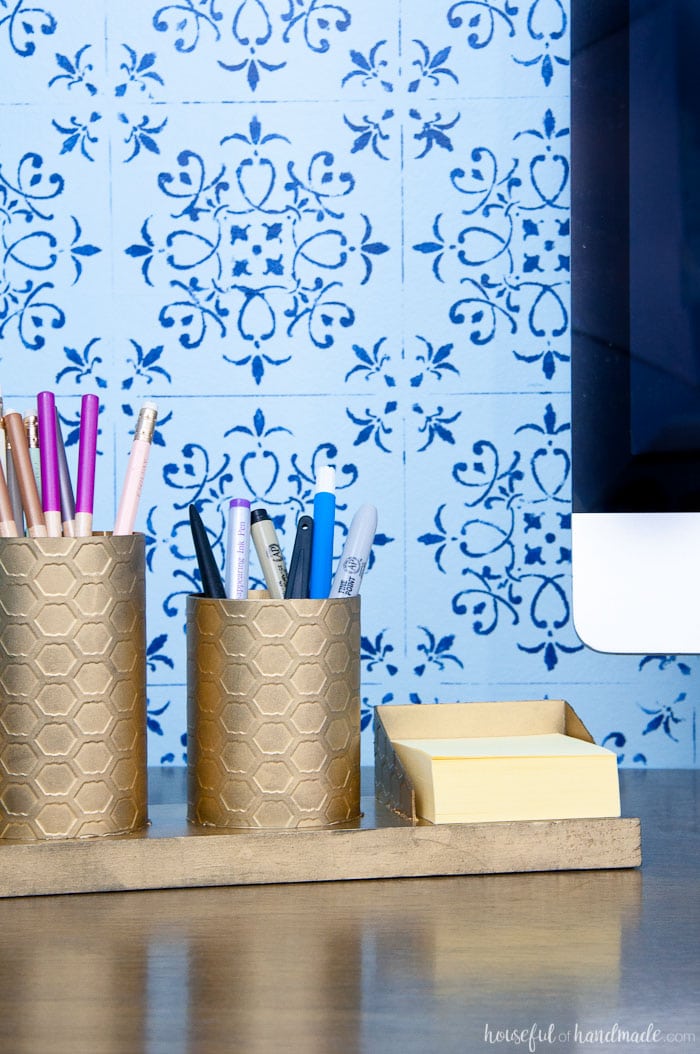
I was able to use 3 sheets of heavy cardstock and a 14″ scrap of 1×4 wood to create this DIY desk organizer.
And since I could actually find all my paints thanks to these new paint storage shelves, I was able to use what I had to paint it with a brass finish.
It really looks like the perfect metal desk organizer. And it is super sturdy (who would have thought)! No one will ever know it was made out of paper.
How to Make a Painted Brass DIY Desk Organizer
Supplies:
- 3 sheets coverstock
- Platinum 6 Die Cutting Machine
- Chicken wire embossing folder
- 14″ piece of 1×4 wood
- Permanent spray adhesive
- Hot glue gun and glue sticks
- Metallic gold spray paint
- Black stamp pad
- Clear matte spray paint
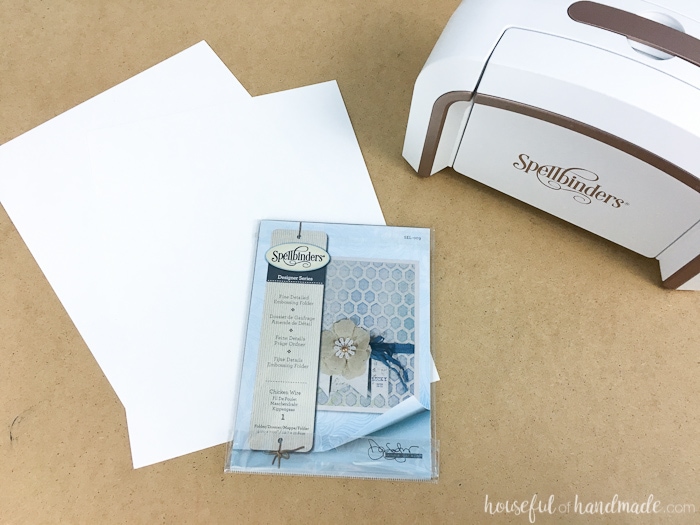
Cut 2 pieces of coverstock to 8 1/2 inches wide by 4 1/2″ inches tall. Place one of the pieces in the embossing folder. It will not fit completely, just let the left over edge hang out the one side.
Create your embossing sandwich with the platform on the bottom, the embossing folder with the coverstock inside, then a cutting plate on top. Run it through the Spellbinders Platinum 6 machine.
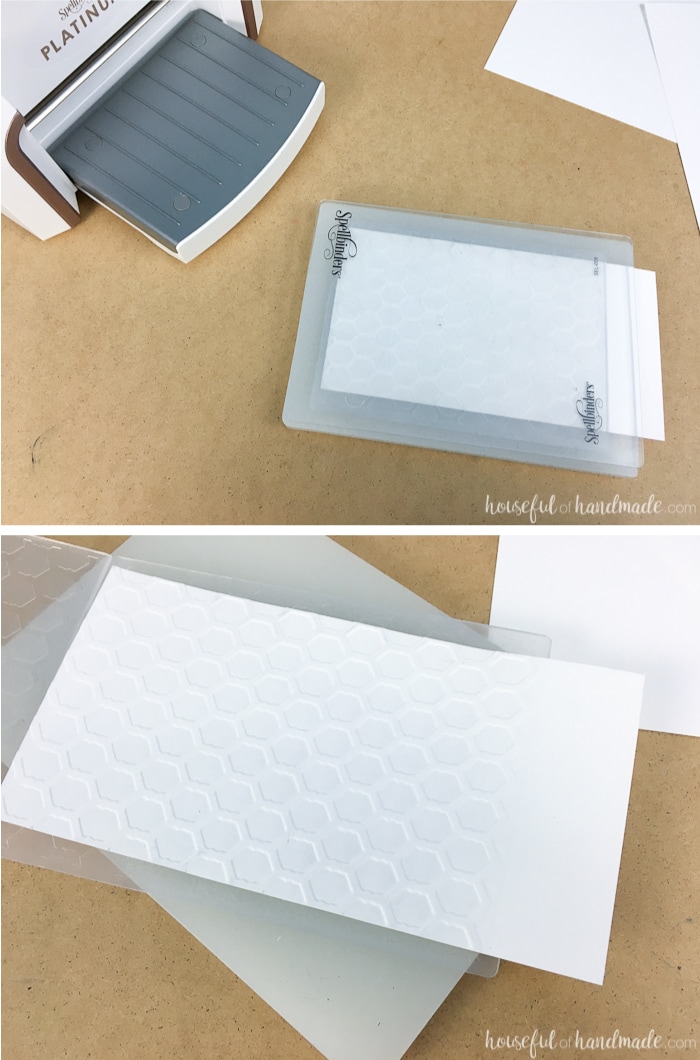
Now reinsert the half embossed coverstock into the embossing folder. Line up the already embossed area inside the grooves of the embossing folder.
Recreate your embossing sandwich as above and run the paper through the machine.
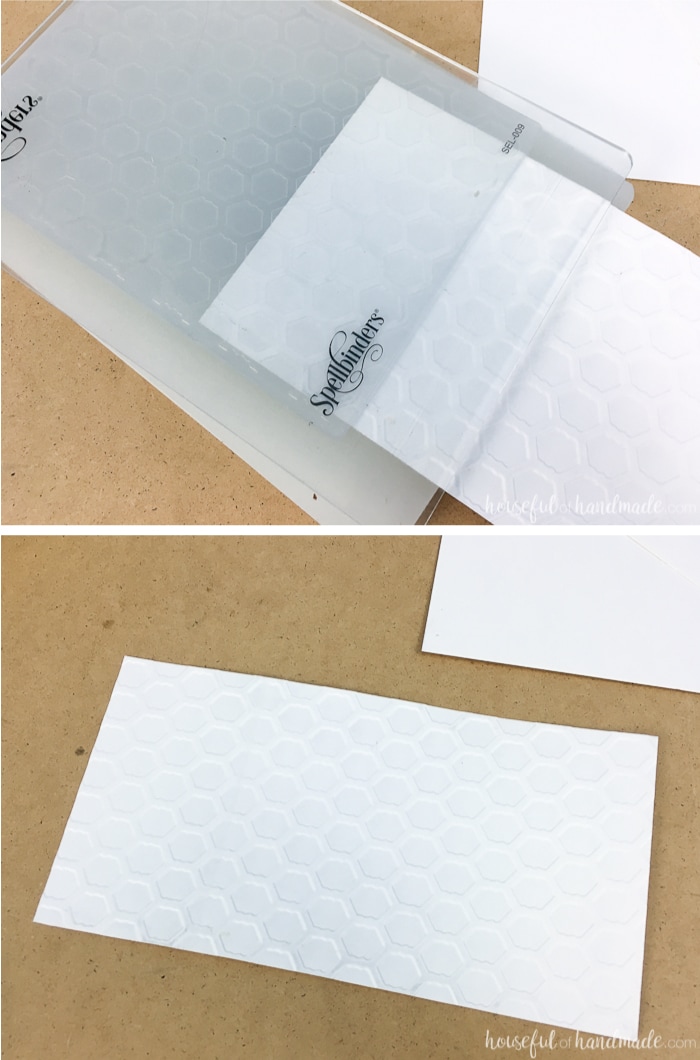
Now you have a fully embossed piece of coverstock. Take the second sheet of coverstock that you already cut and coat the back with spray adhesive.
Glue it to the back of the embossed paper about 1/2″ in from the edge so you have an overhang of the non-embossed sheet on one side and and overlap of the embossed sheet on the other side.
Make sure the top and bottom are flush.
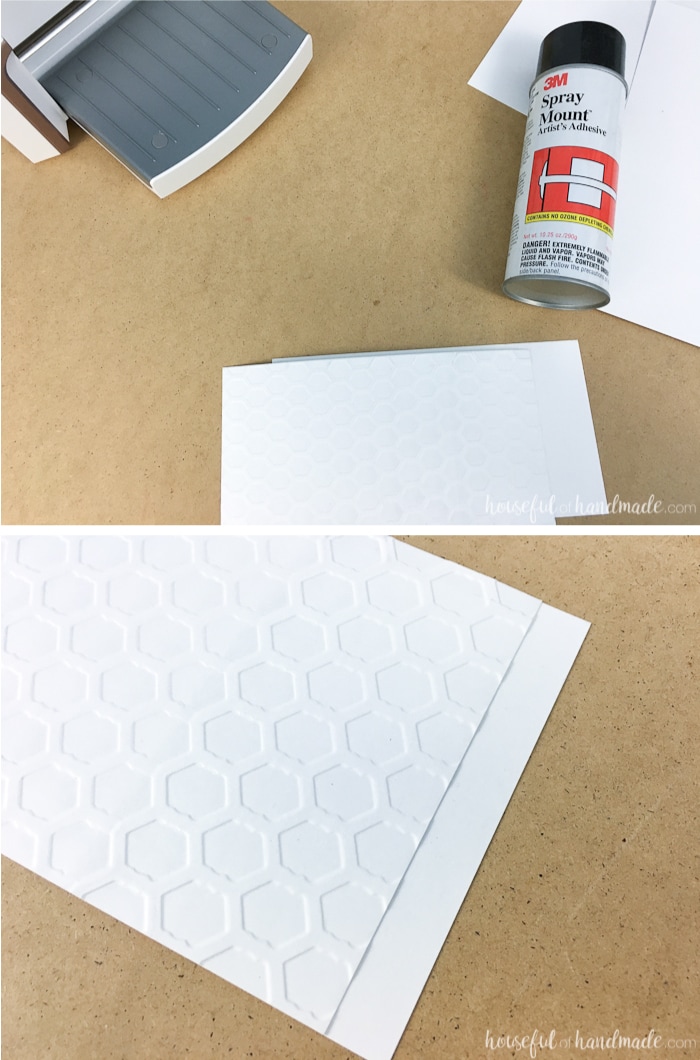
Let the glue dry while you repeat the above steps with 2 – 3 1/2″ x 8 1/2″ pieces and 2 – 2 1/2″ x 8 1/2″ pieces of coverstock. Also cut 2 pieces of coverstock to 1 1/2″ x 8 1/2″.
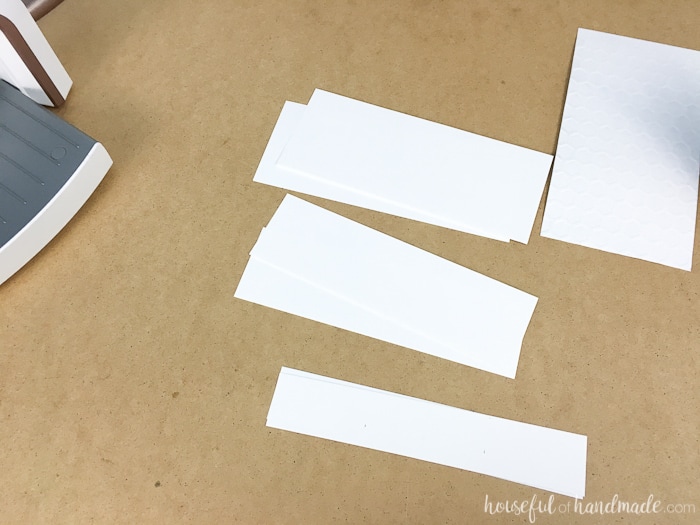
Before embossing the 1 1/2″ pieces, cut it to fit around your post-it notes. Score lines to fold the pieces so they will wrap around the post-it notes. Then angle the sides.
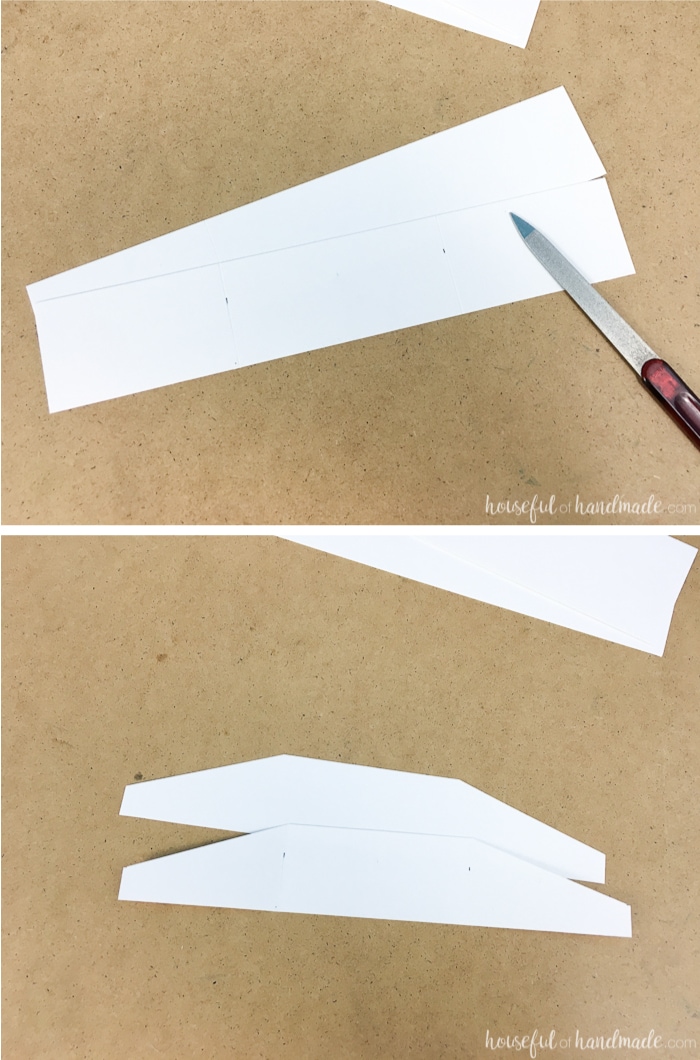
After embossing one piece, fold both pieces of coverstock and then glue them together with the spray adhesive.
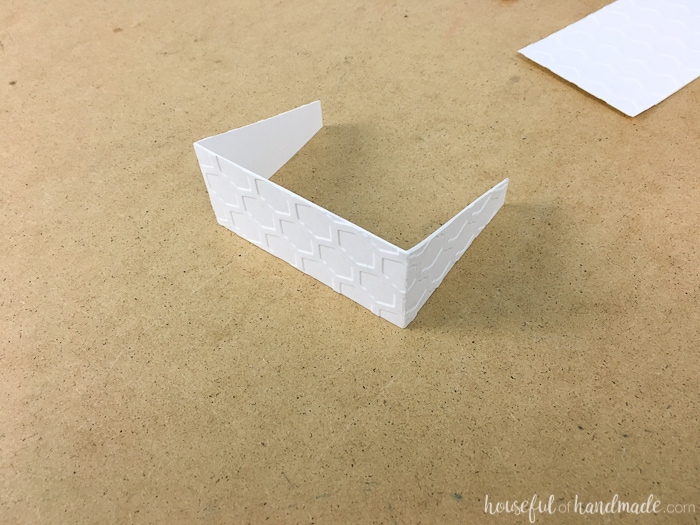
Now turn your 3 embossed coverstock pieces into cylinders and glue together with hot glue on the overhang you left when you glued the two pieces of coverstock together.
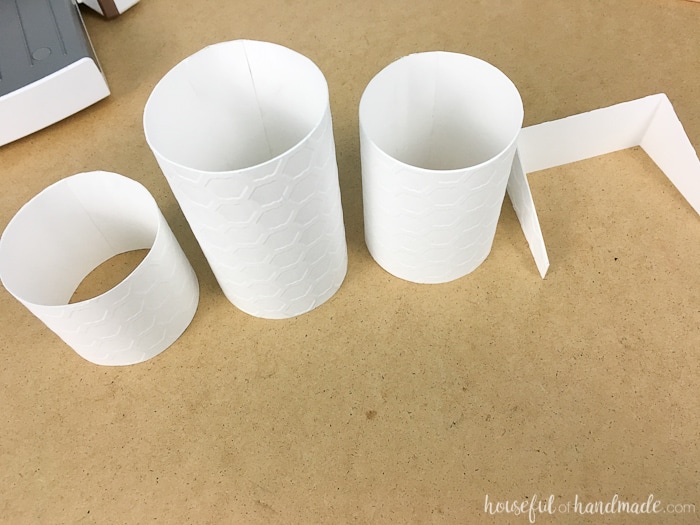
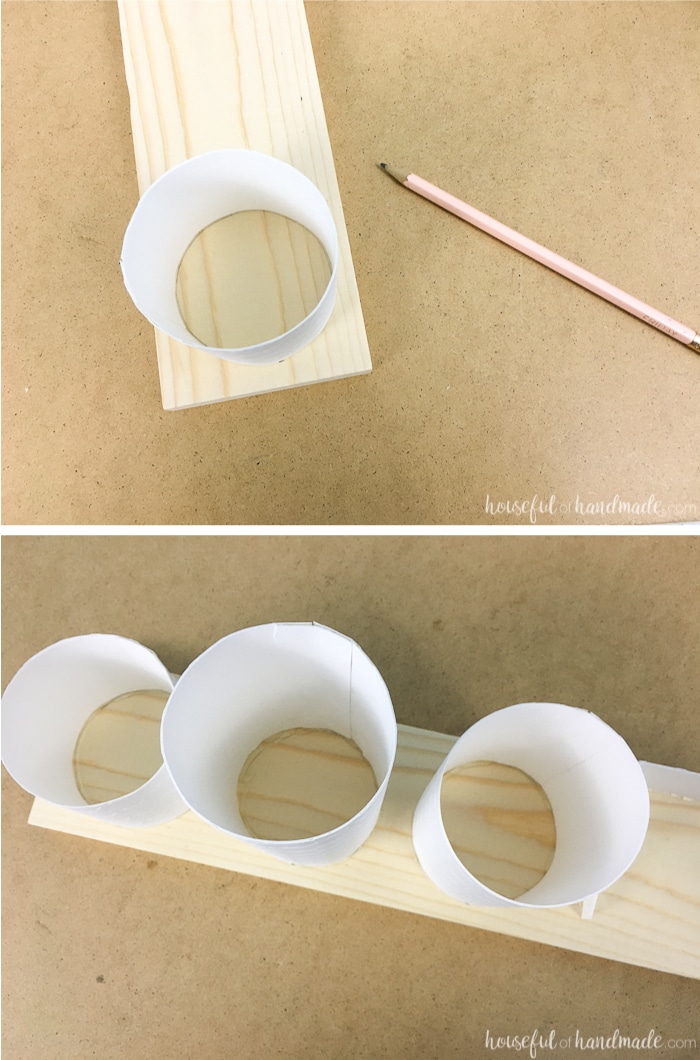
Line the pieces up on your piece of wood. Trace the inside of each cylinder. Then add hot glue to the outside of the circle and position the cylinder over the glue.
Repeat with all three cylinders, then glue the post-it note holder on as well.
It’s time for paint. I wanted my DIY desk organizer to look like brass. There are brass accents on a couple of the pieces I am using in my room.
It’s funny that 10 years ago I would have purposely avoided anything brass. But now I am embracing and loving the rustic brass look. So much so that I actually want it in my new room.
They do not make a brass spray paint (at least not that I have found) and so I created by own painted brass look. I started by painting the entire DIY desk organizer with metallic gold spray paint.
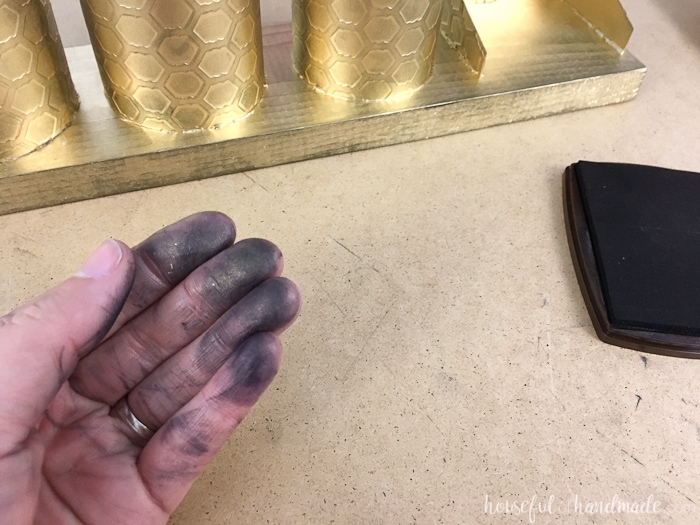
Then I grabbed a black stamp pad and rubbed it around the entire desk accessory.
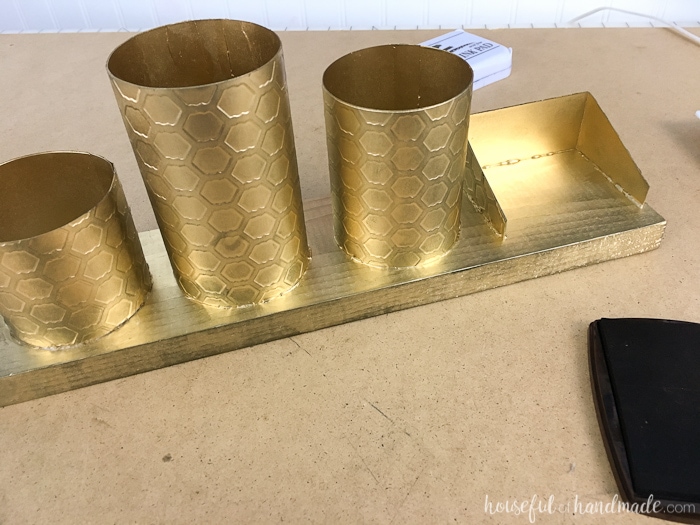
The black stamp added a worn look to the gold and brought out the chicken wire embossing detail. It was the perfect solution for the brass look, but was pretty messy.
Nothing a bit of scrubbing cannot fix though.
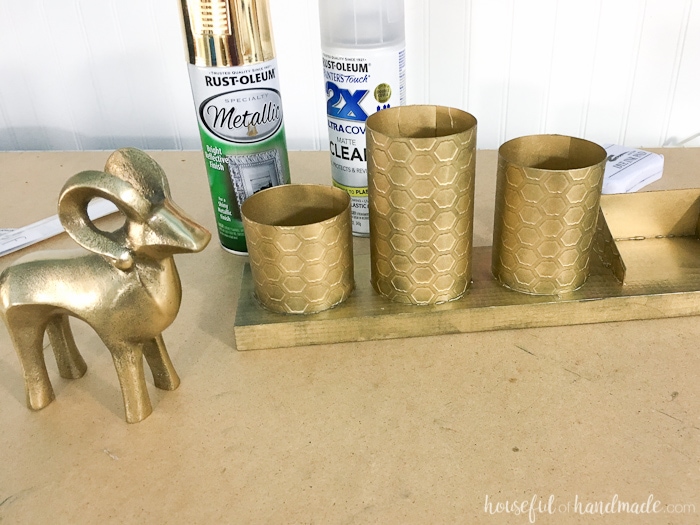
After you get the perfect brass look on your DIY desk organizer, cover the entire thing with a coat of matte clear coat to seal the look and take off a bit of the shine.
This will also keep those fingers from rubbing off the black effect every time you touch your new desk accessory. And it turned out just like the brass ram that I was using as my inspiration. Yay!
Now all that is left is to fill your new DIY desk organizer with all your must have office supplies! I have turned into a pencil girl again after years of working in a place where I was required to use pens.
So my large container is full of my favorite pencils so they are always ready for me to create!
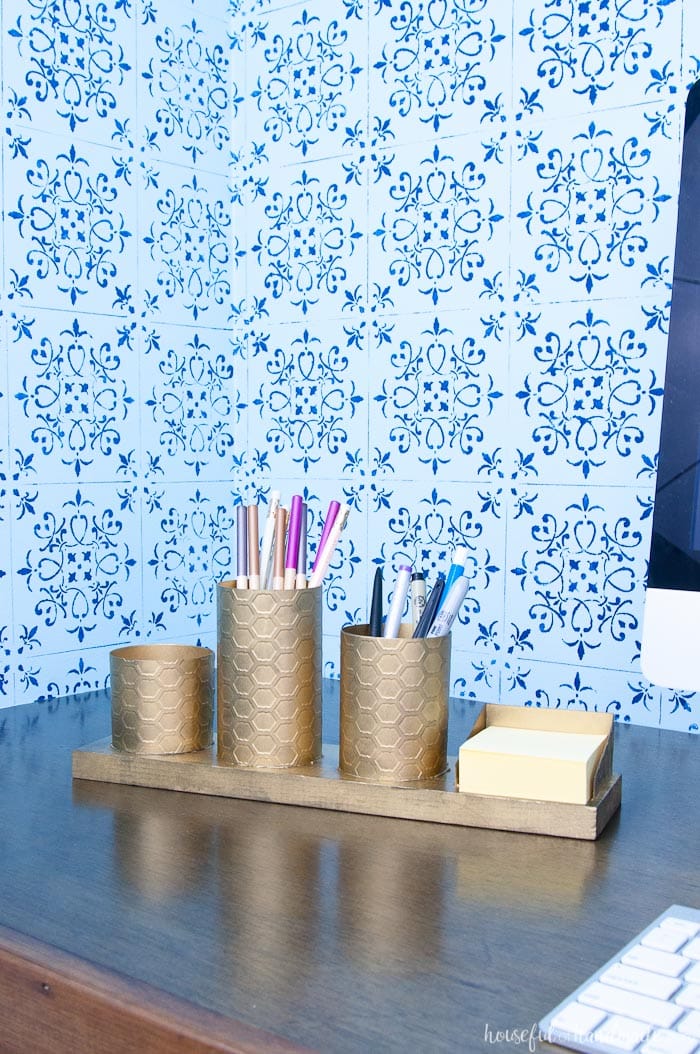
The other cylinder holds my favorite crafting tools. No more searching for the things I use the most. The smallest cylinder holds paper clips. And my ever loved Post-it notes finish off the perfect desk organizer.

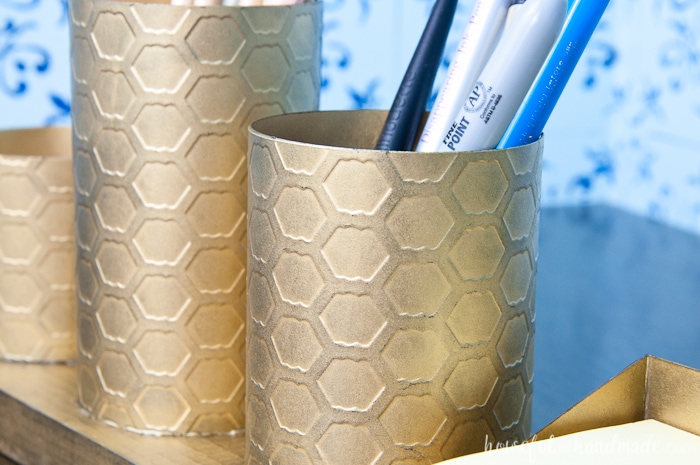
And don’t you just love that texture! It was so easy to add this texture with the Spellbinders embossing folder. Now I need a few more designs to see what else I can emboss.
Now I am so close to a completed office & craft room to show you. I better finish the painting and decorating. Stay tuned for the big reveal!
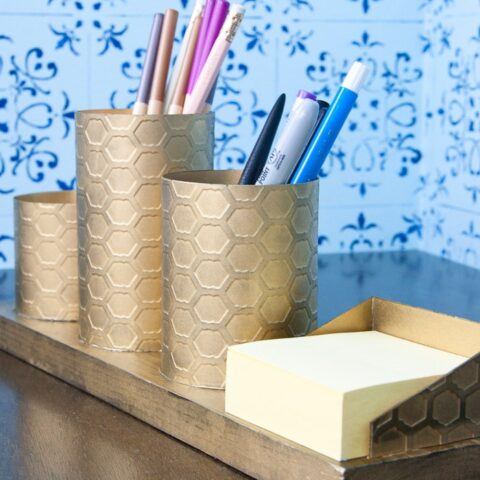
DIY Desk Organizer with Painted Brass
This DIY desk organizer is such a fun and easy project and will look great on your desk. It's so hard to believe it's made out of paper.
Materials
- 3 sheets coverstock
- embossing folder
- 14" piece of 1x4 wood
- Permanent spray adhesive
- Metallic gold spray paint
- Black stamp pad
- Clear matte spray paint
Tools
- Platinum 6 Die Cutting Machine
- Hot glue gun and glue sticks
Instructions
- Cut 2 pieces of coverstock to 8 1/2 inches wide by 4 1/2″ inches tall.
- Place one of the pieces in the embossing folder.
- Create your embossing sandwich with the platform on the bottom, the embossing folder with the coverstock inside, and a cutting plate on top.
- Run it through the Spellbinders Platinum 6 machine.
- Reinsert the half embossed coverstock into the embossing folder.
- Line up the already embossed area inside the grooves of the embossing folder.
- Recreate your embossing sandwich as above and run the paper through the machine.
- Take the second sheet of coverstock and coat the back with spray adhesive.
- Let the glue dry while you repeat the above steps with 2 – 3 1/2″ x 8 1/2″ pieces and 2 – 2 1/2″ x 8 1/2″ pieces.
- Cut 2 pieces of coverstock to 1 1/2″ x 8 1/2″.
- Fold both pieces of coverstock and then glue them together with the spray adhesive.
- Now turn your 3 embossed coverstock pieces into cylinders and glue together with hot glue.
- Paint the entire DIY desk organizer with metallic gold spray paint.
- Use a black stamp pad and rub it around the entire desk accessory.
Recommended Products
As an Amazon Associate and member of other affiliate programs, I earn from qualifying purchases.
-
 Minwax 233334444 Minwaxc Polycrylic Water Based Protective Finishes, 1/2 Pint, Satin
 -
 3M Super 77 Multipurpose Permanent Spray Adhesive Glue, Paper, Cardboard, Fabric, Plastic, Metal, Wood, 16.75 oz
 -
 Neenah Coverstock, Bright White, 325 Sheets, 65 lb/176 gsm, 96 Brightness, 8.5" x 11" - MORE SHEETS! (91632), Ream
 -
 Platinum 6 Die Cutting and Embossing Machine - 6" Platform

