My plywood scrap pile was getting out of hand. After building my office built-in bookcases, I had a hefty pile of too-big-to-toss pieces.
And since I have been meaning to build a riser for my dogs food and water bowls, this seemed like the perfect project to use up all those cut offs.
So I designed the ultimate dog bowl stand made entirely from scrap plywood!
This post may contain affiliate links. As an Amazon Associate I earn from qualifying purchases. Click here to read my full disclosure policy.
Double Dog Bowl Riser
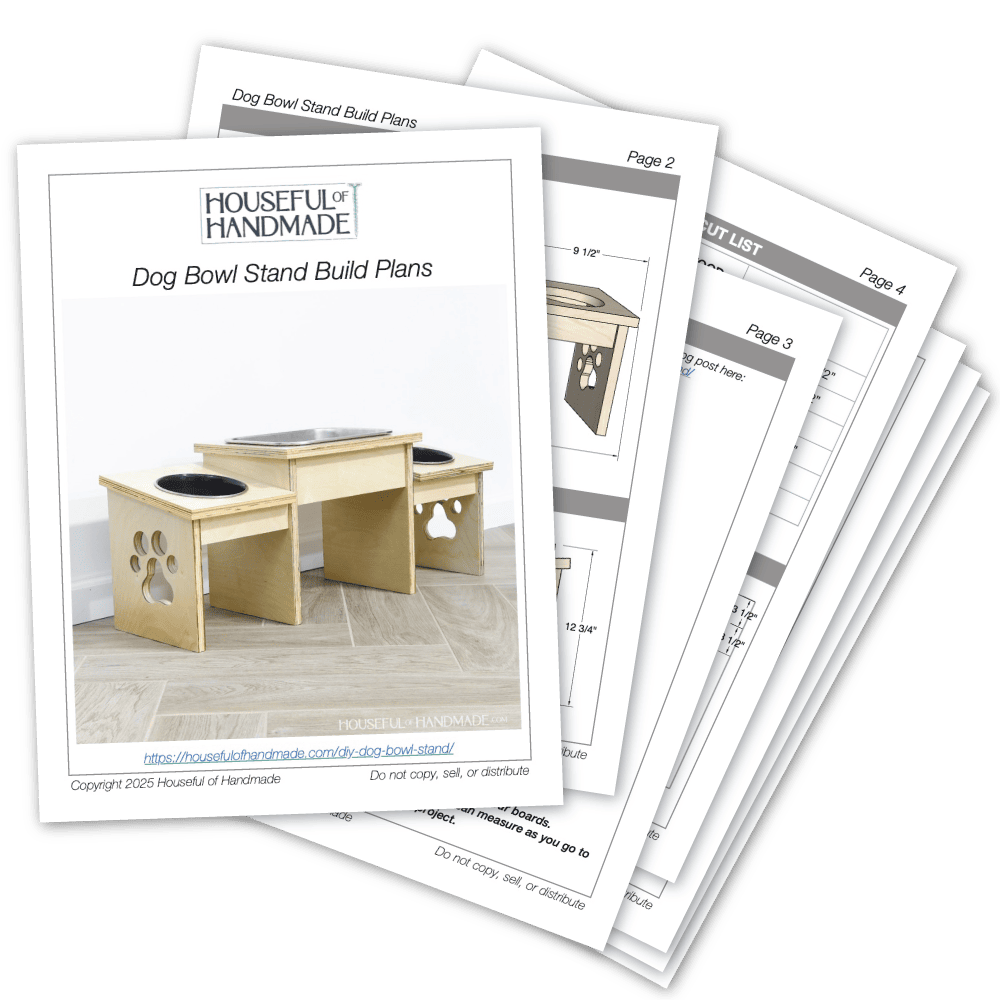
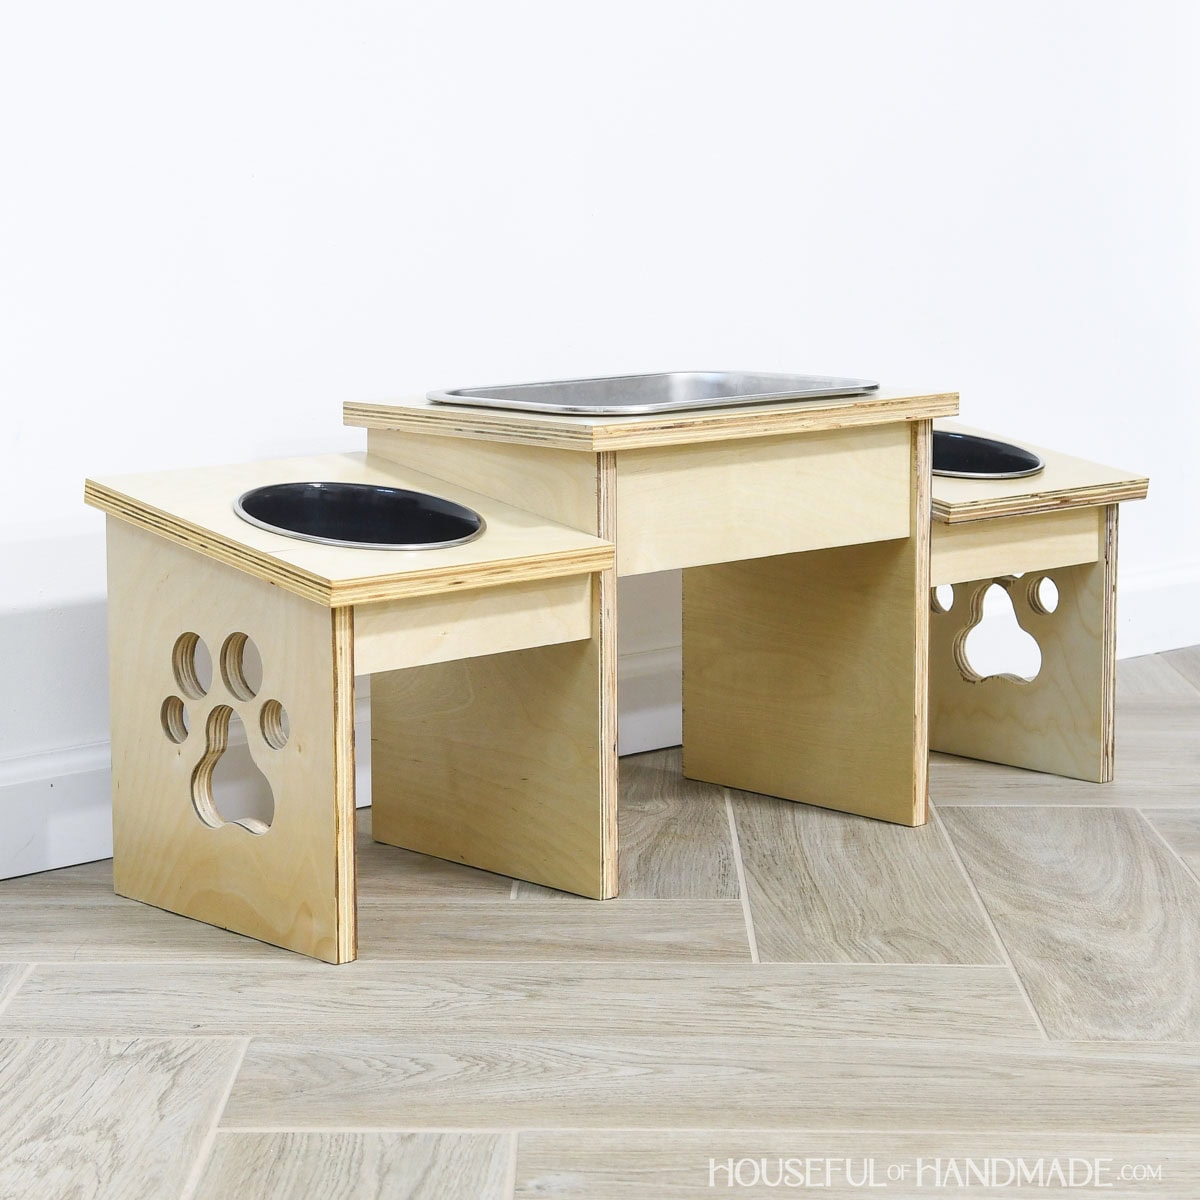
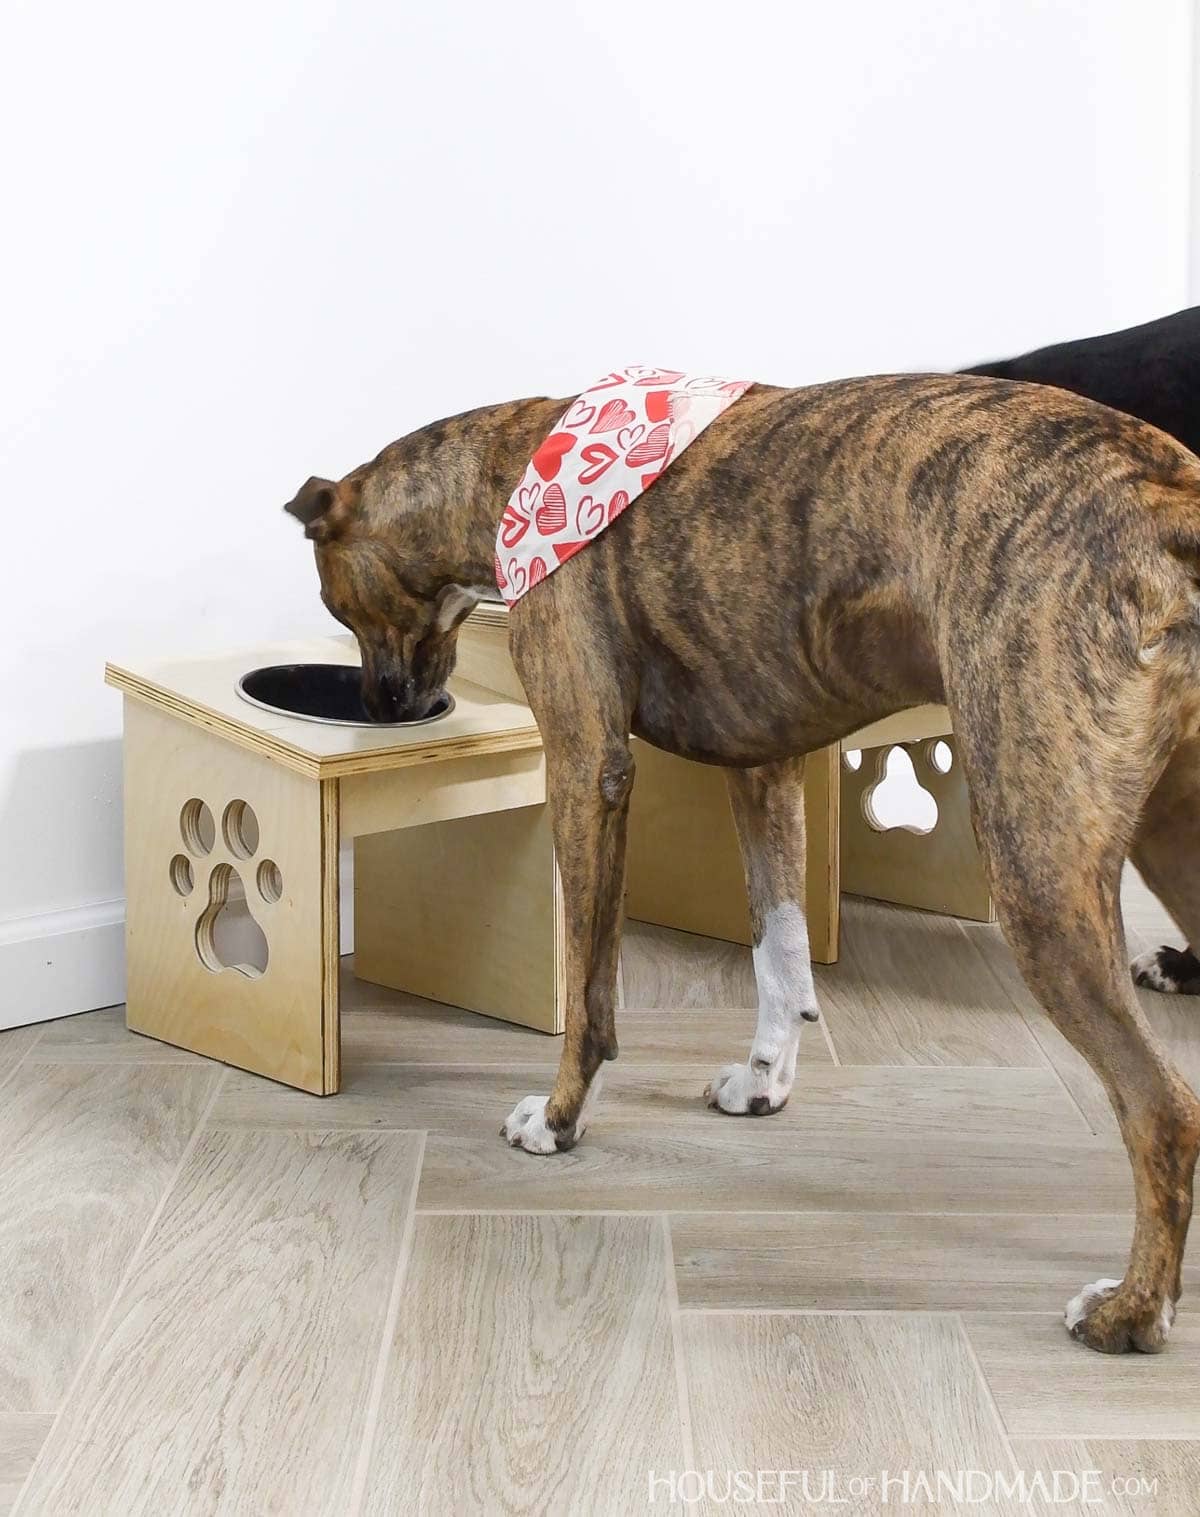
I have 2 dogs. So instead of making 2 dog food holders, I made one to hold both bowls.
It has two outer sections for food that are angled slightly. This to make it easier for my dogs to eat.
Then I made a large center section to hold an extra big water bowl. It gets hot here in Texas so my dogs drink a lot of water.
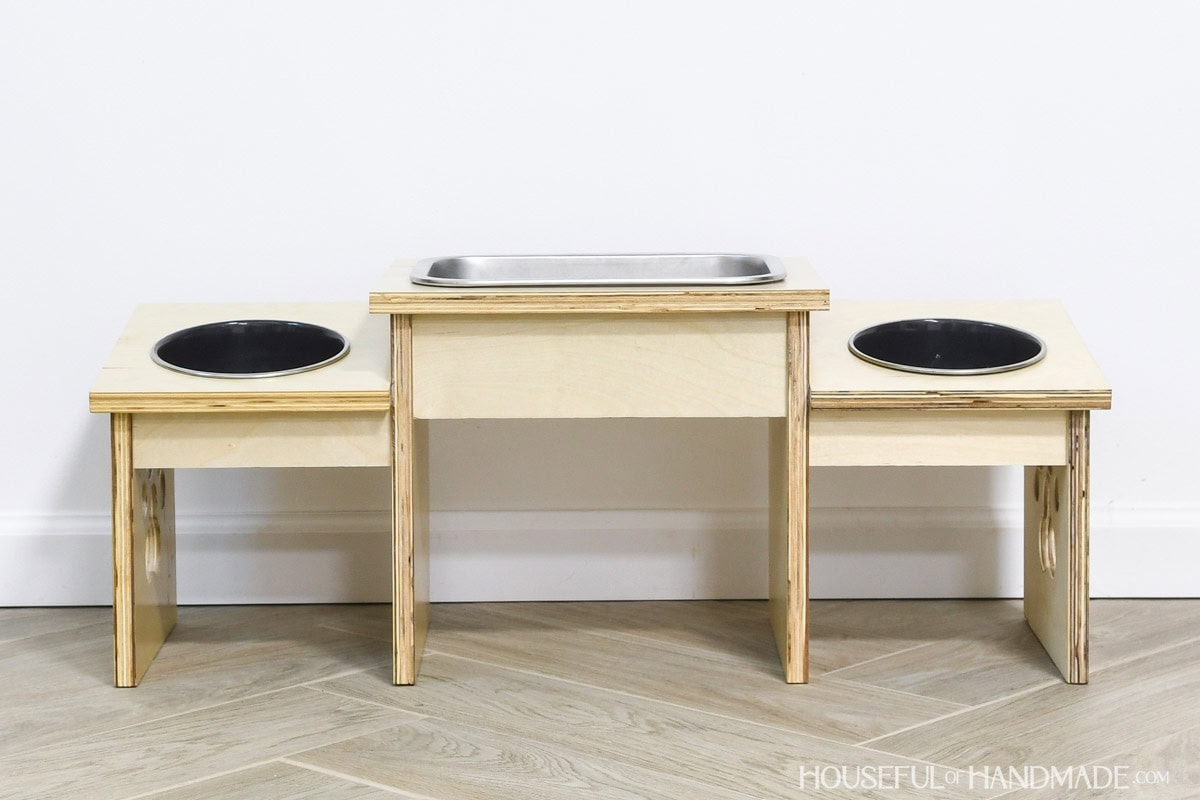
But you do not need 2 dogs to build this dog bowl stand. Just leave one side section off and make the ultimate dog bowl riser for one dog.
Also, I built my stand for medium sized dogs. If your dogs are taller or shorter, feel free to adjust the height of the legs to work for them.
That is the beauty of DIY! You can make it exactly what you need.
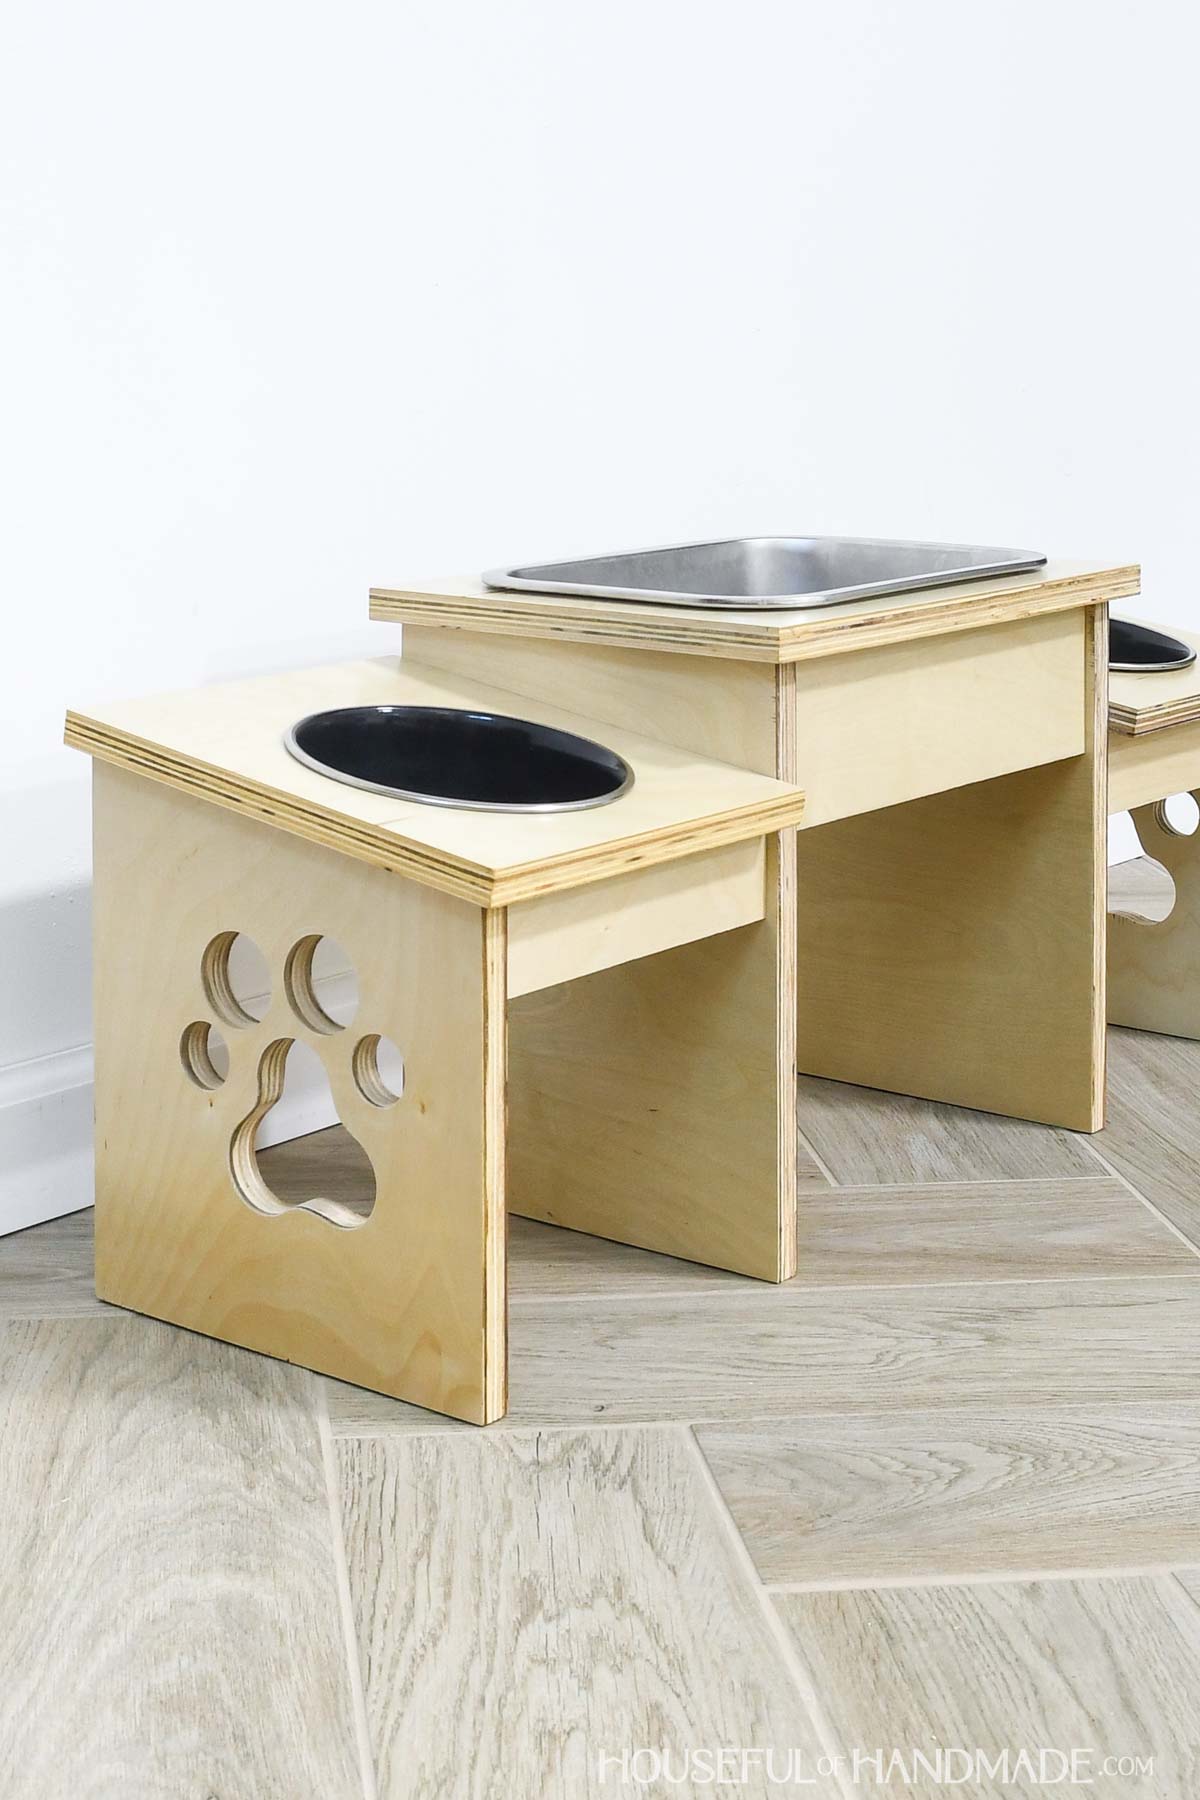
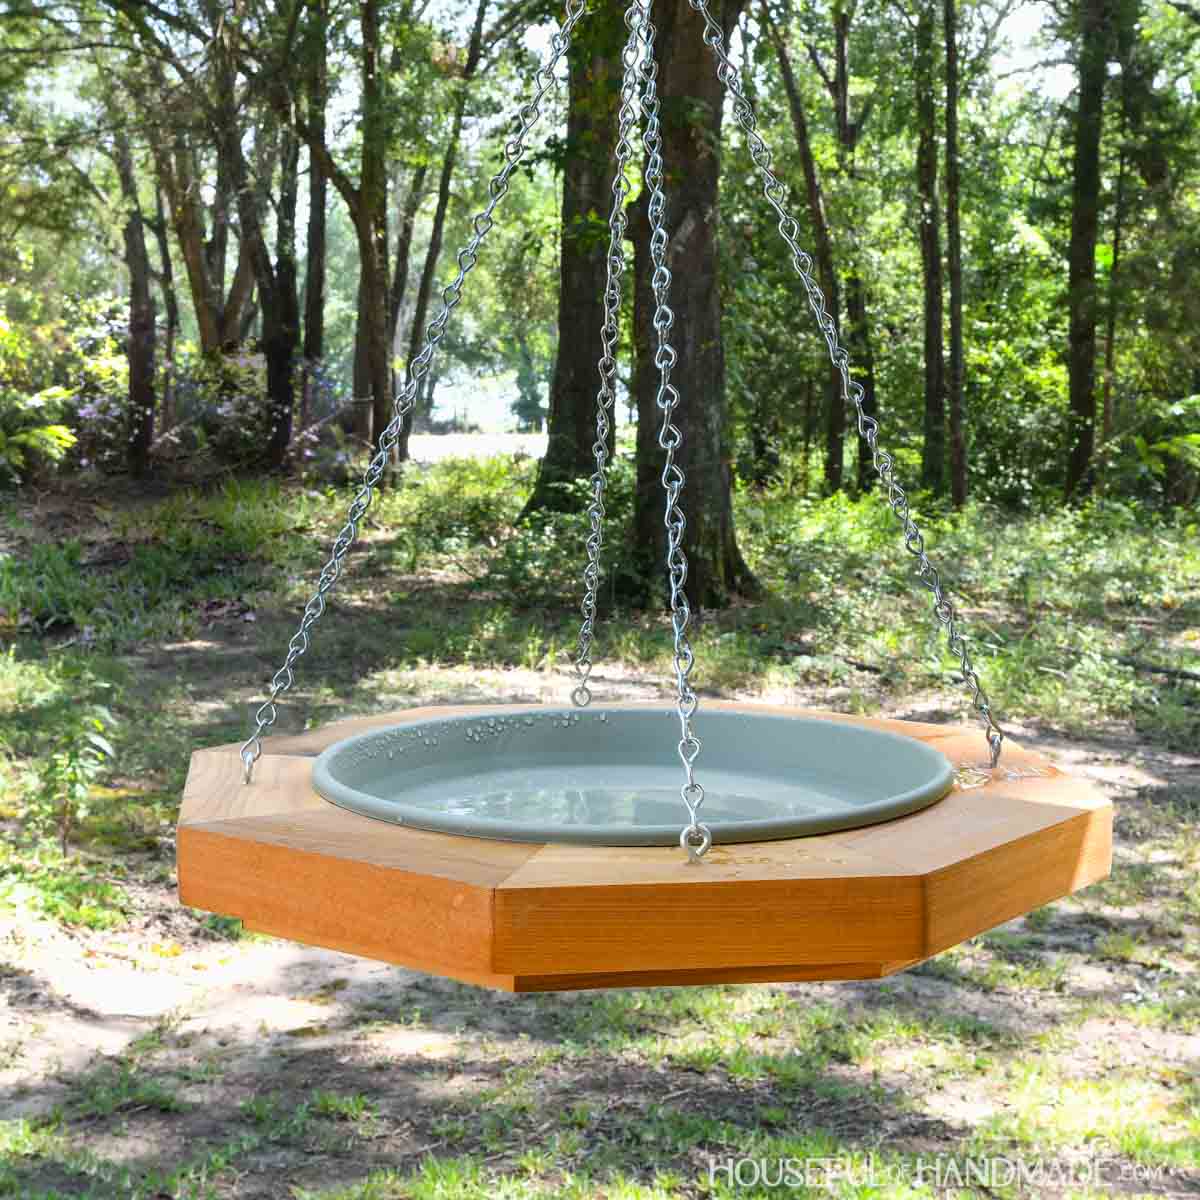
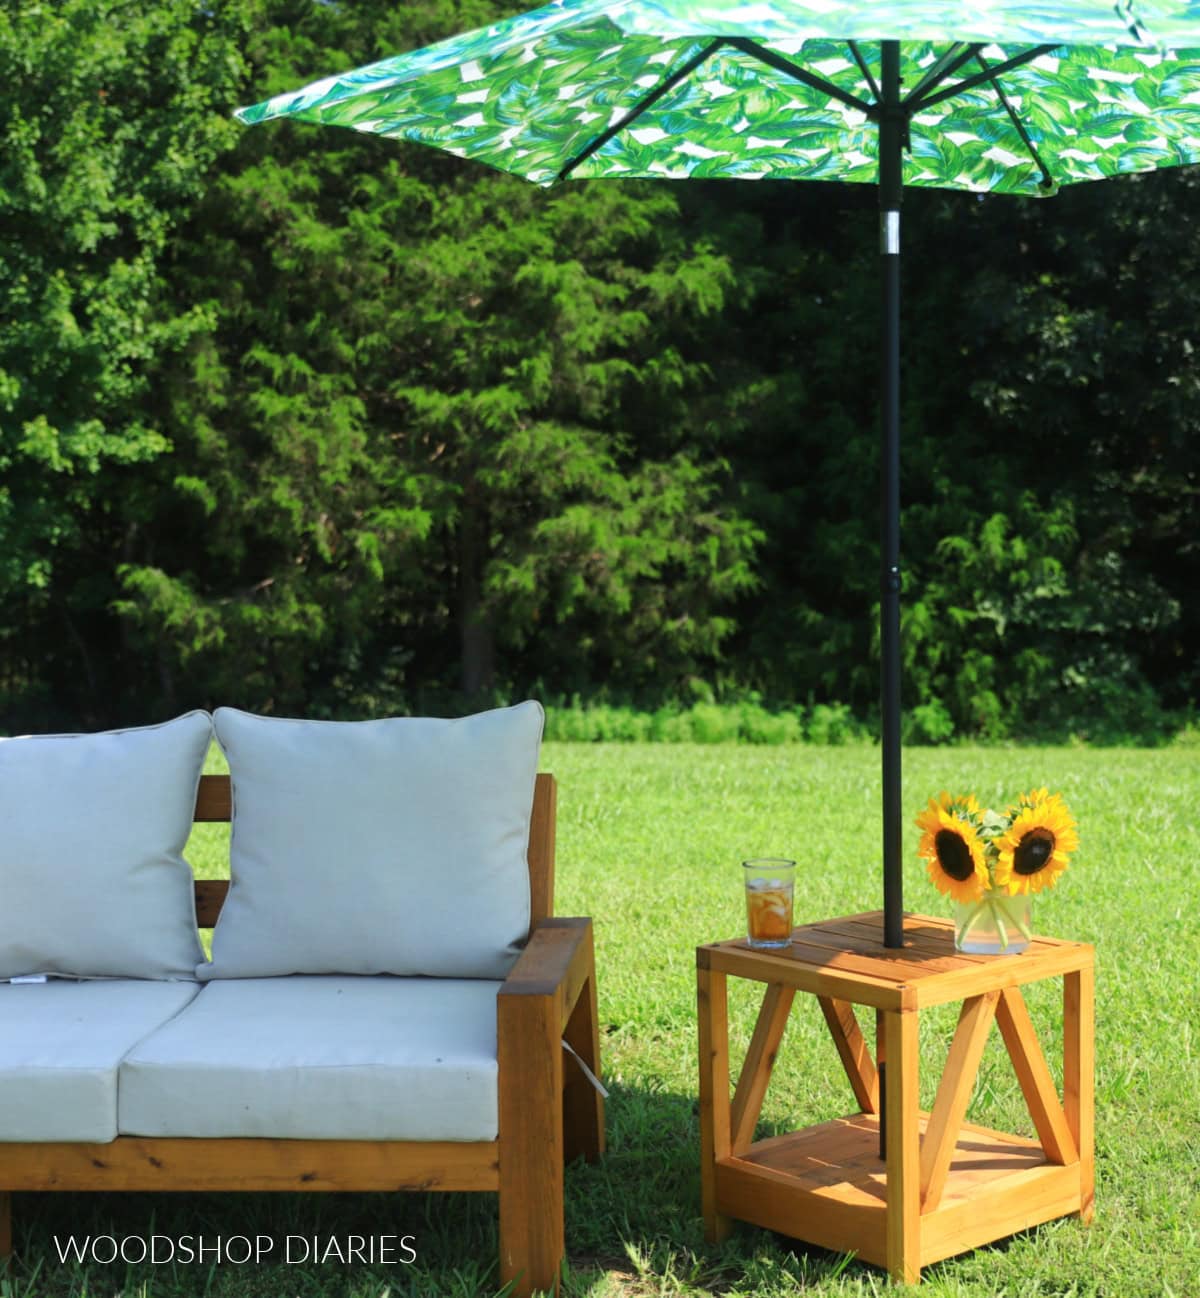
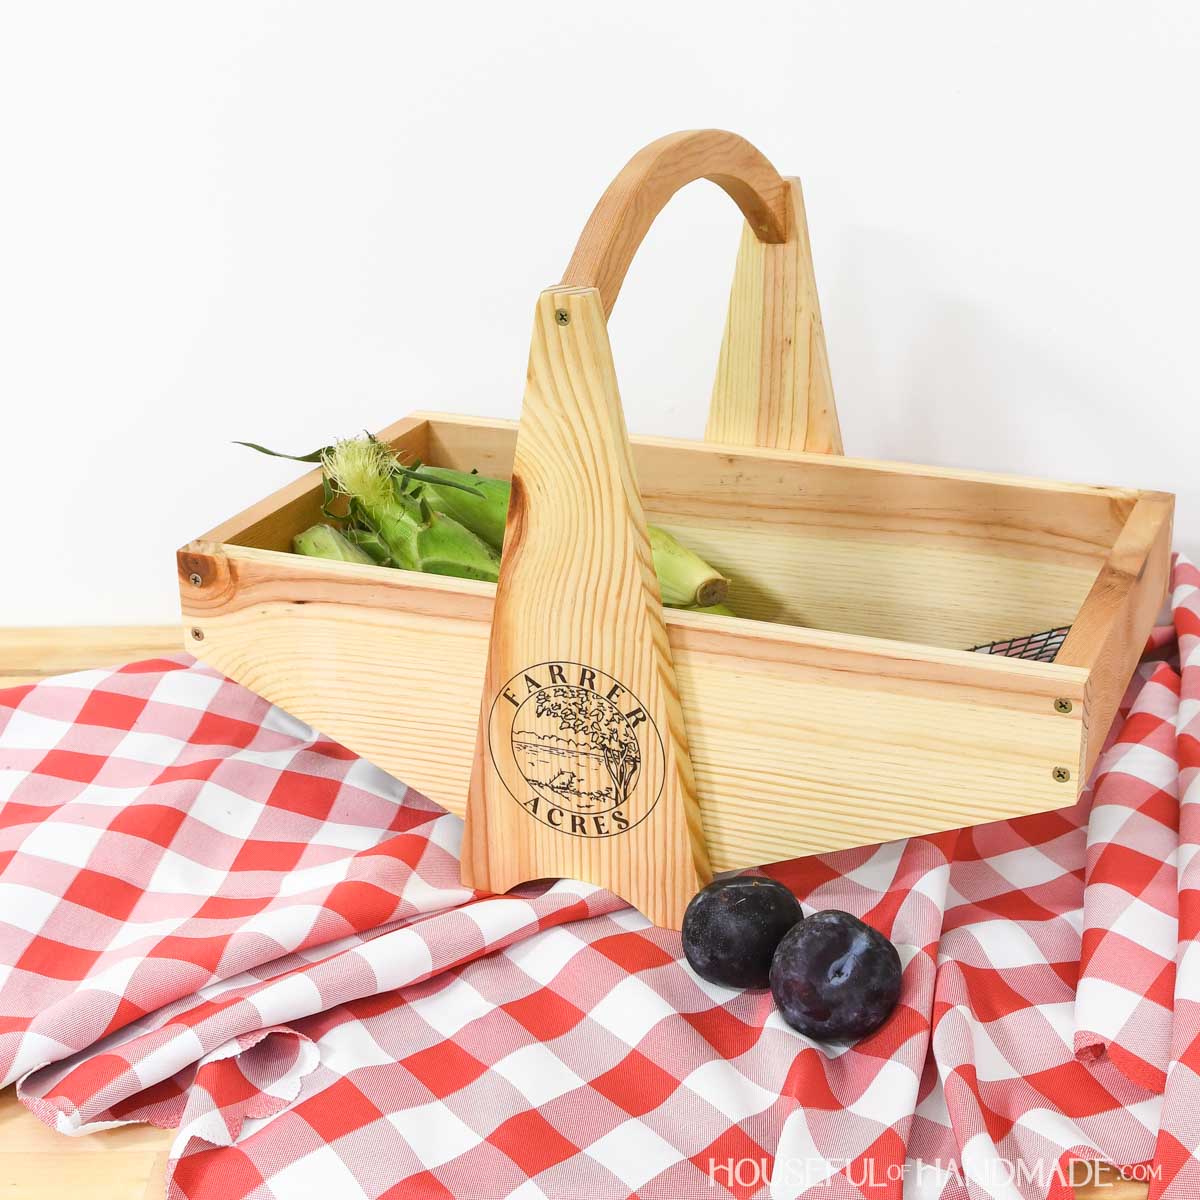
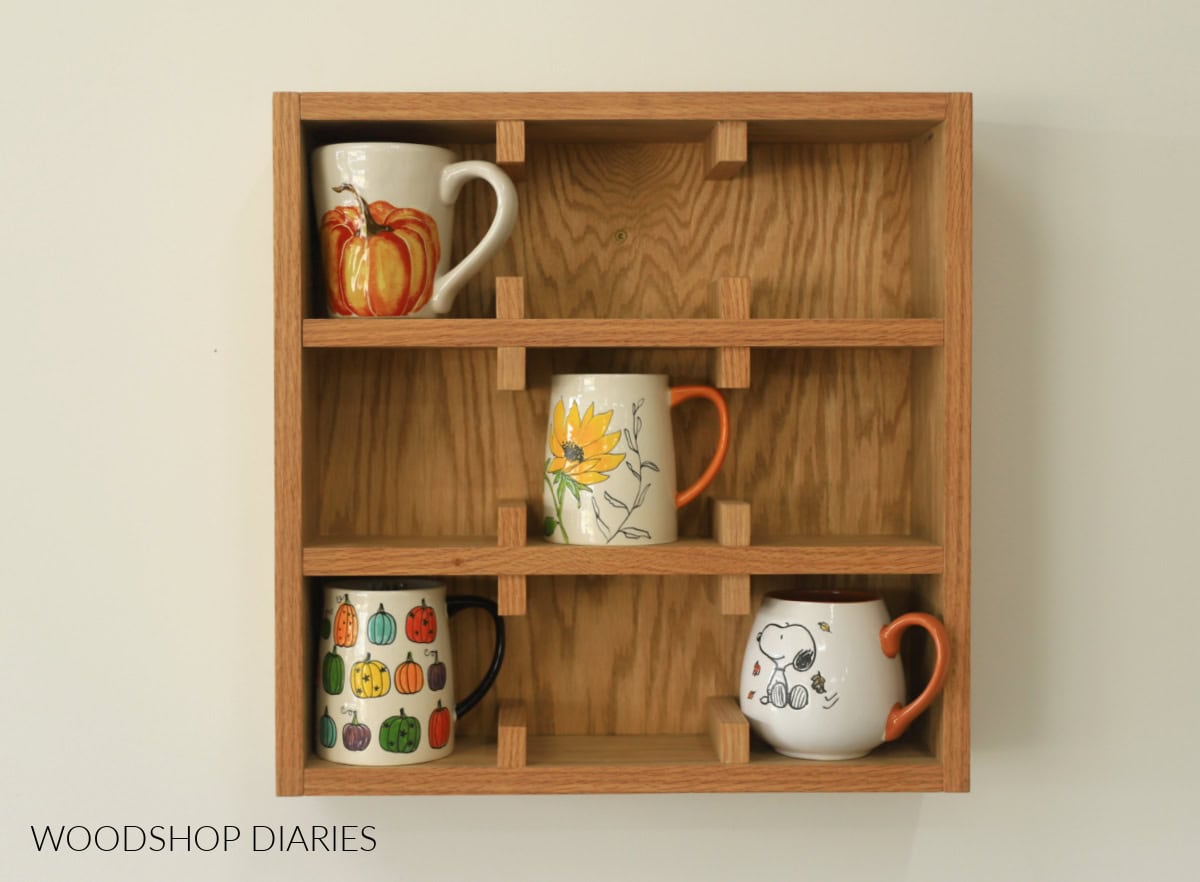
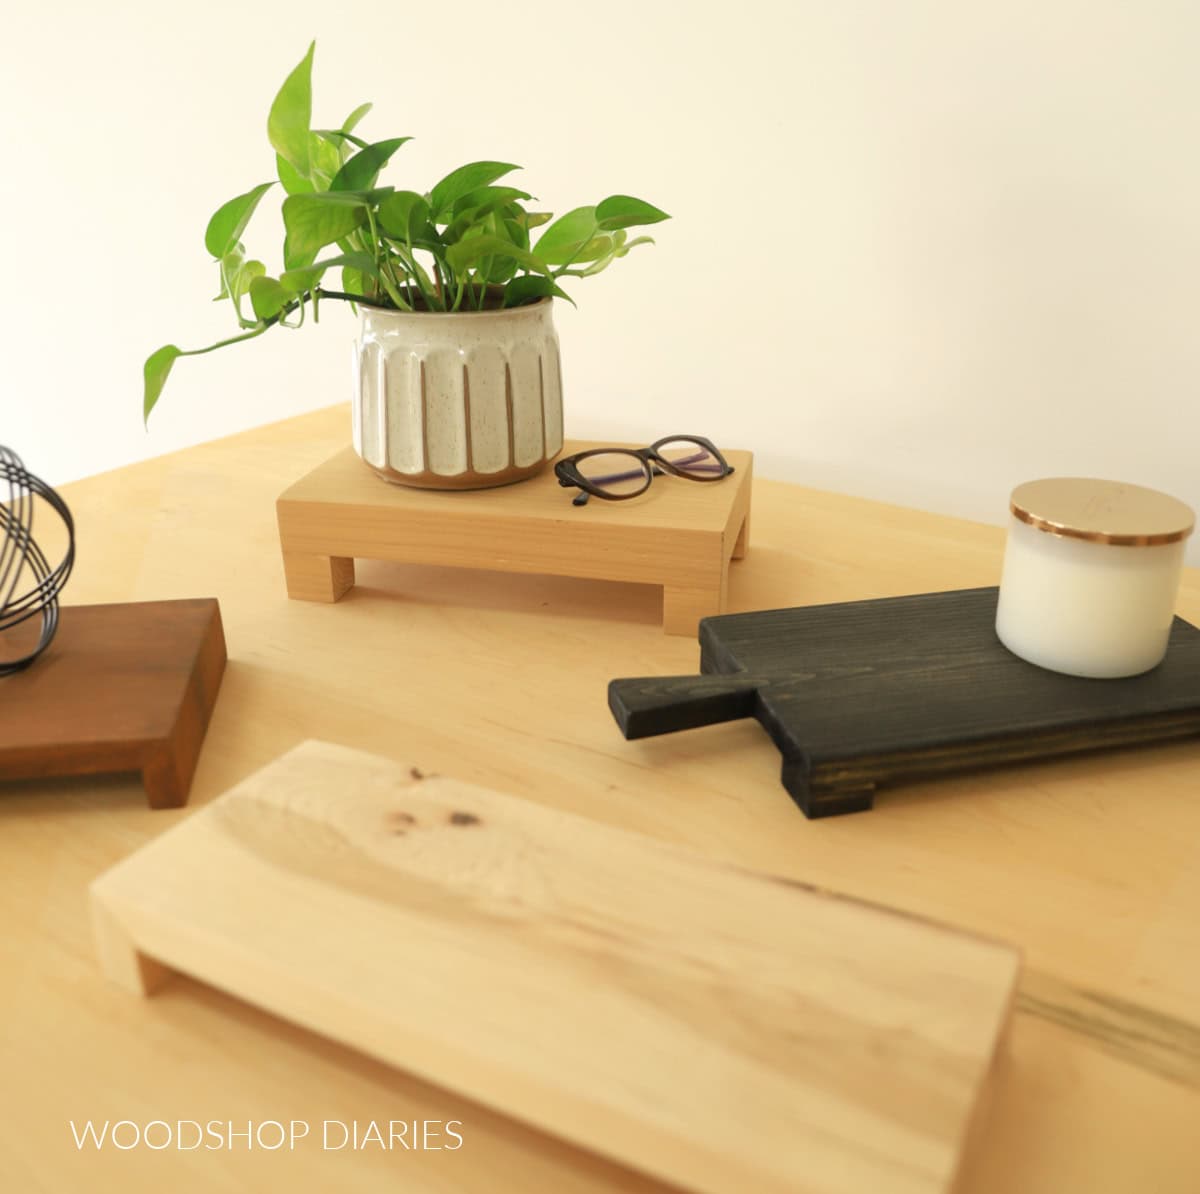
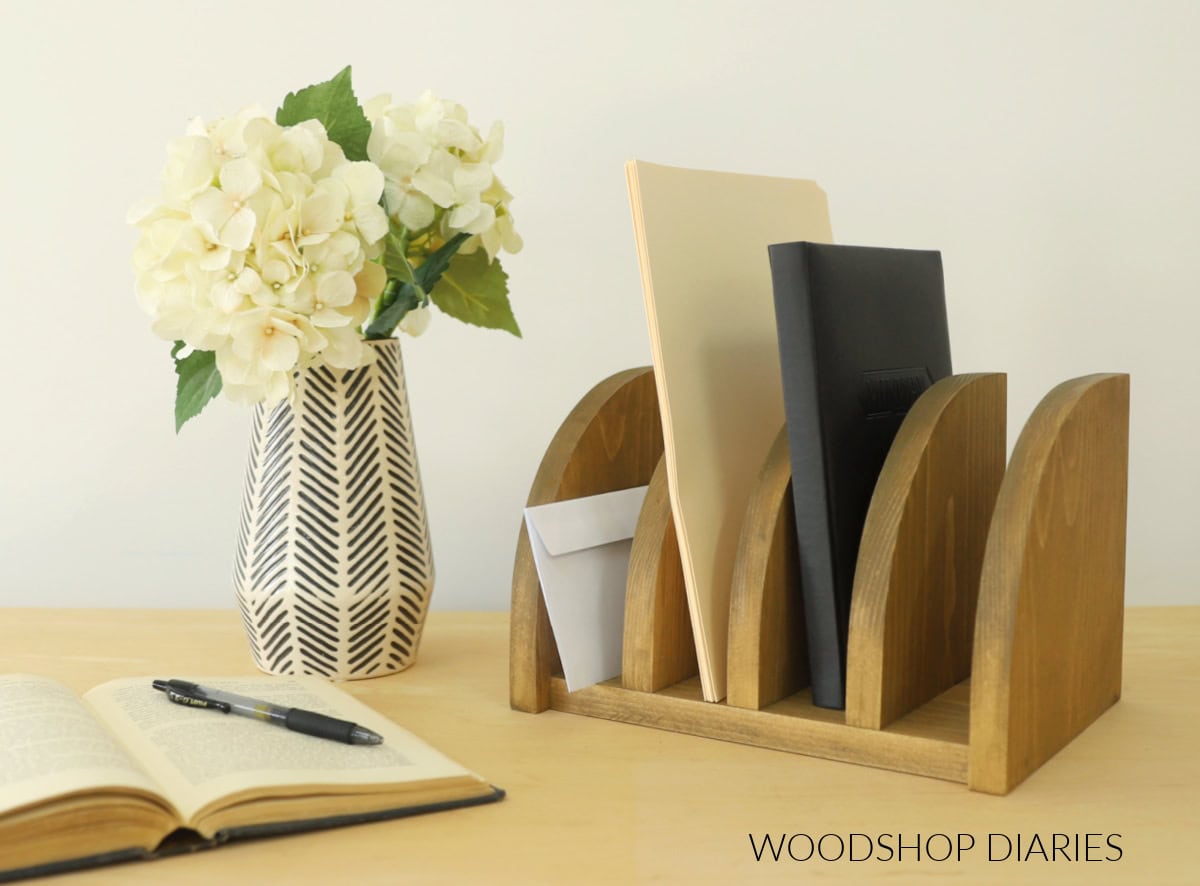
I built this project as part of Scrap Wood summer. Make sure to check out the other 7 scrap wood projects shared this month below.
How to Build a Raised Dog Bowl Holder
Tools & Materials
Recommended Tools:
- Circular saw with guide track or Table saw
- Jig saw
- Pocket hole jig
- Drill
- Impact driver (optional, but I love not having to switch bits with the drill)
- Speed square
- Multi-mark measuring tool
- Multi tool
- 90 degree drill adapter
- Sander
Supplies:
- Lumber
- (1) 3/4″ plywood, 2×4 sheet
- 1 1/4” pocket hole screws
- Wood glue
- (2) round dog bowls, 6 1/2” diameter or less inside lip
- (1) rectangle dog bowl, 7 1/2” x 11 1/2” or less inside lip
- Wood sealer or paint
Overall Dimensions
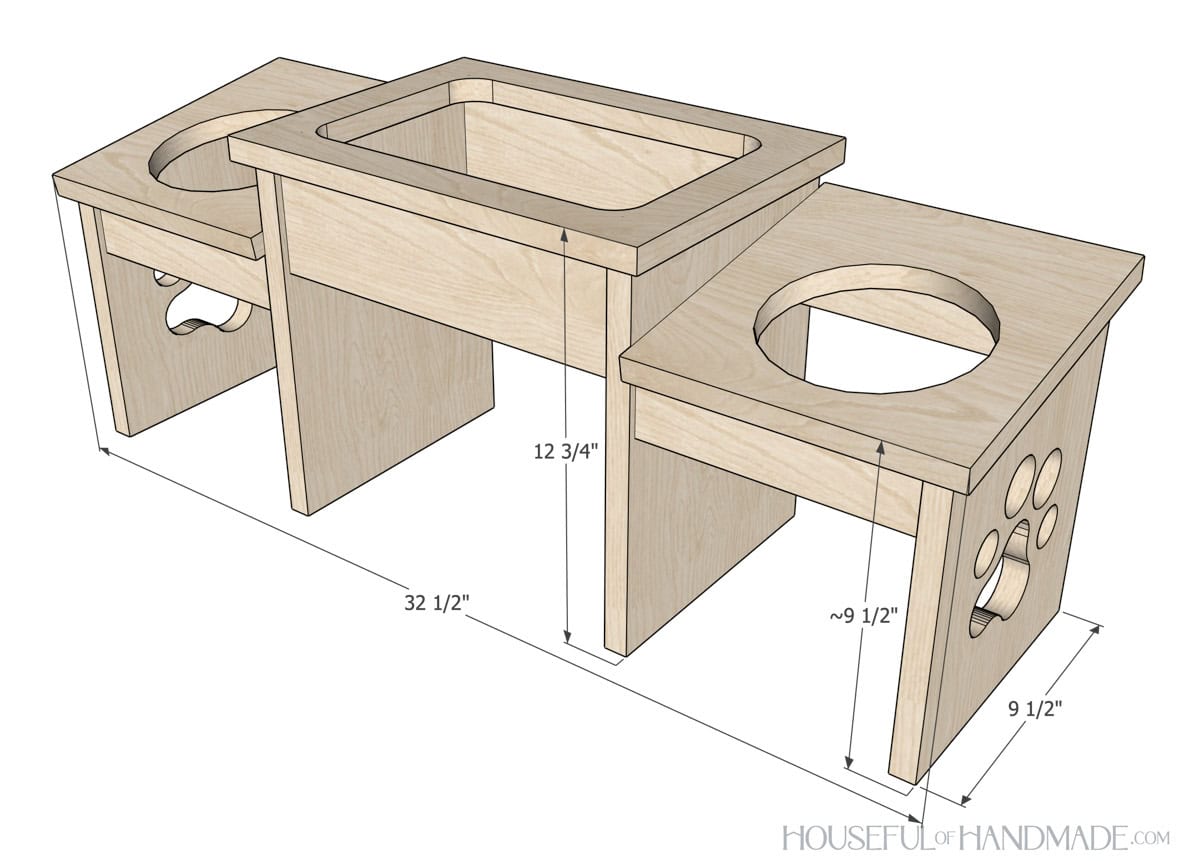
The finished dog bowl stand is 32 1/2″ wide and 9 1/2″ deep. The side is ~9 1/2″ high at the front and the center is 12 3/4″ high.
The dog food holder is designed to hold 2 round food bowls and 1 large rectangle water dish. You can eliminate one side to create a stand for a single dog.
Cut List
Cut out the pieces according to the easy-to-read table in the PDF plans.
Learn how to cut plywood easily with a circular saw here.
STEP 1- Cut design and bowl holes
If desired, cut out a decorative paw print in the side leg pieces. To do this easily, I used two Forstner drill bits.
First I used a 1 3/4” bit to drill 3 holes in a triangle. Then cut a curve between them with a jig saw to create the paw pad.
Next I drilled two 1 3/4” holes at the top of the pad and two 1 1/4” holes to the side of them.
EXPERT TIP:
To prevent tear out when drilling holes in the plywood, place a scrap piece underneath and clamp the pieces to your work surface.
Drill 1 pocket hole, set for 3/4” thick material, in the top middle area of each piece on the back. Position it so that it is not in the way of the design.
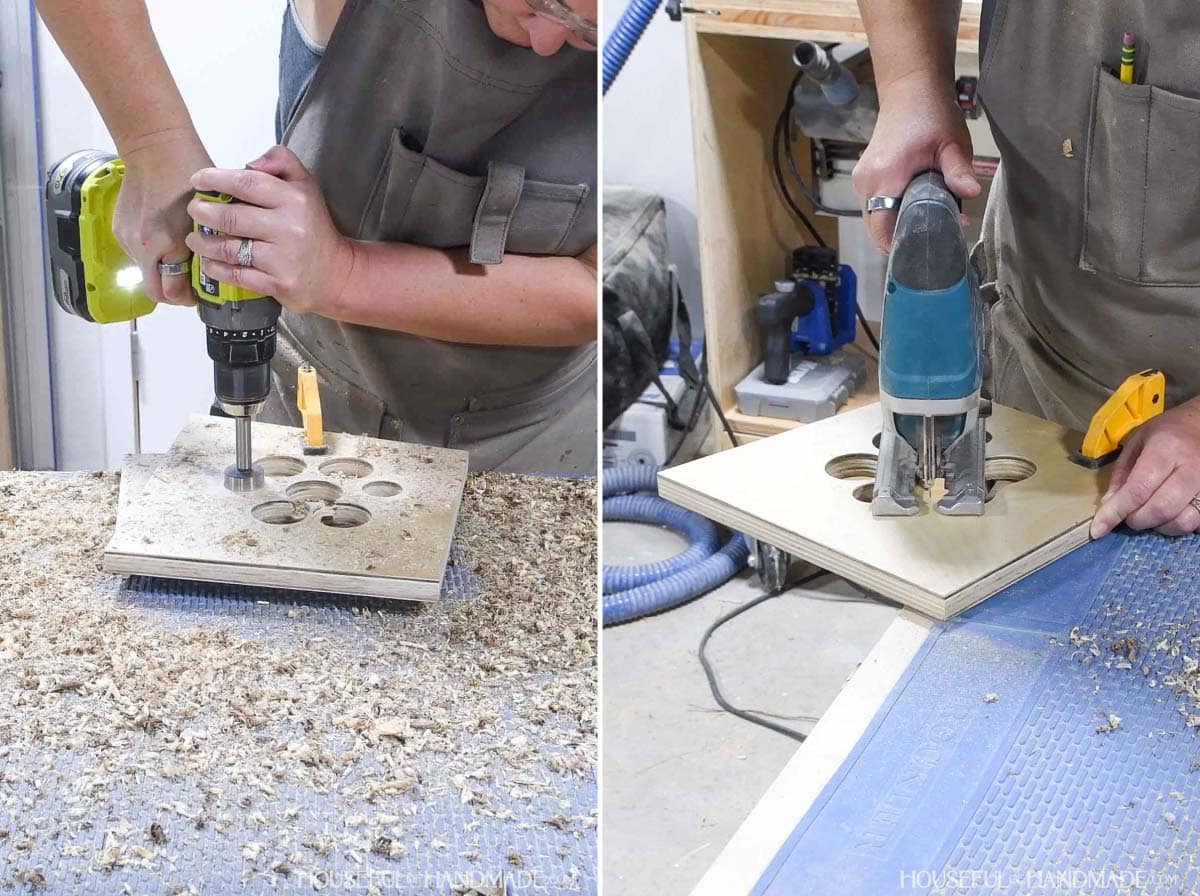
Measure the bowl size inside the lip. Draw out the shape on the top center and top side pieces.
Layout the opening according to the diagram in the plans. The cut the openings out with a jig saw.
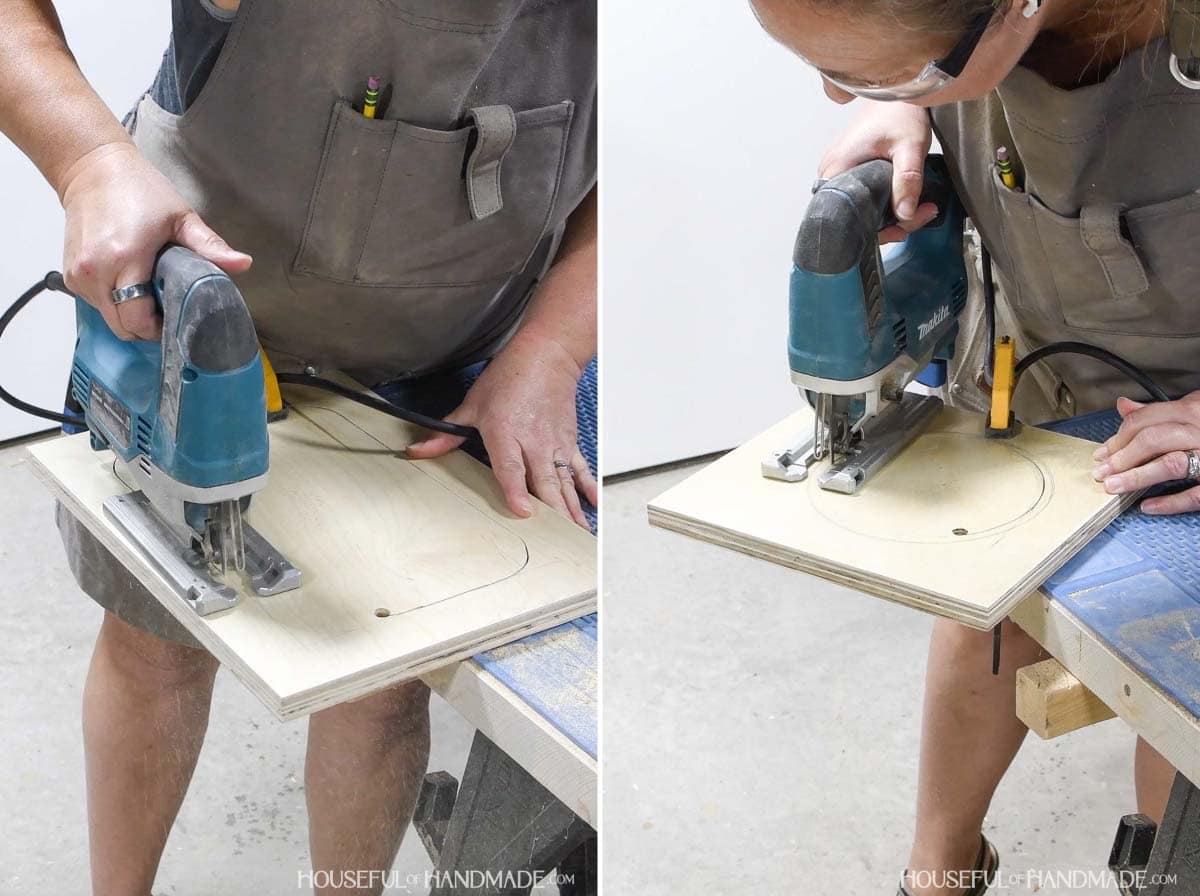
Then drill two pocket holes, set for 3/4” thick material, in the back on the inside edge of the top side pieces.
Position them so they are not in the way of the opening but not outside the 1 1/2” border or you will not be able to access them later.
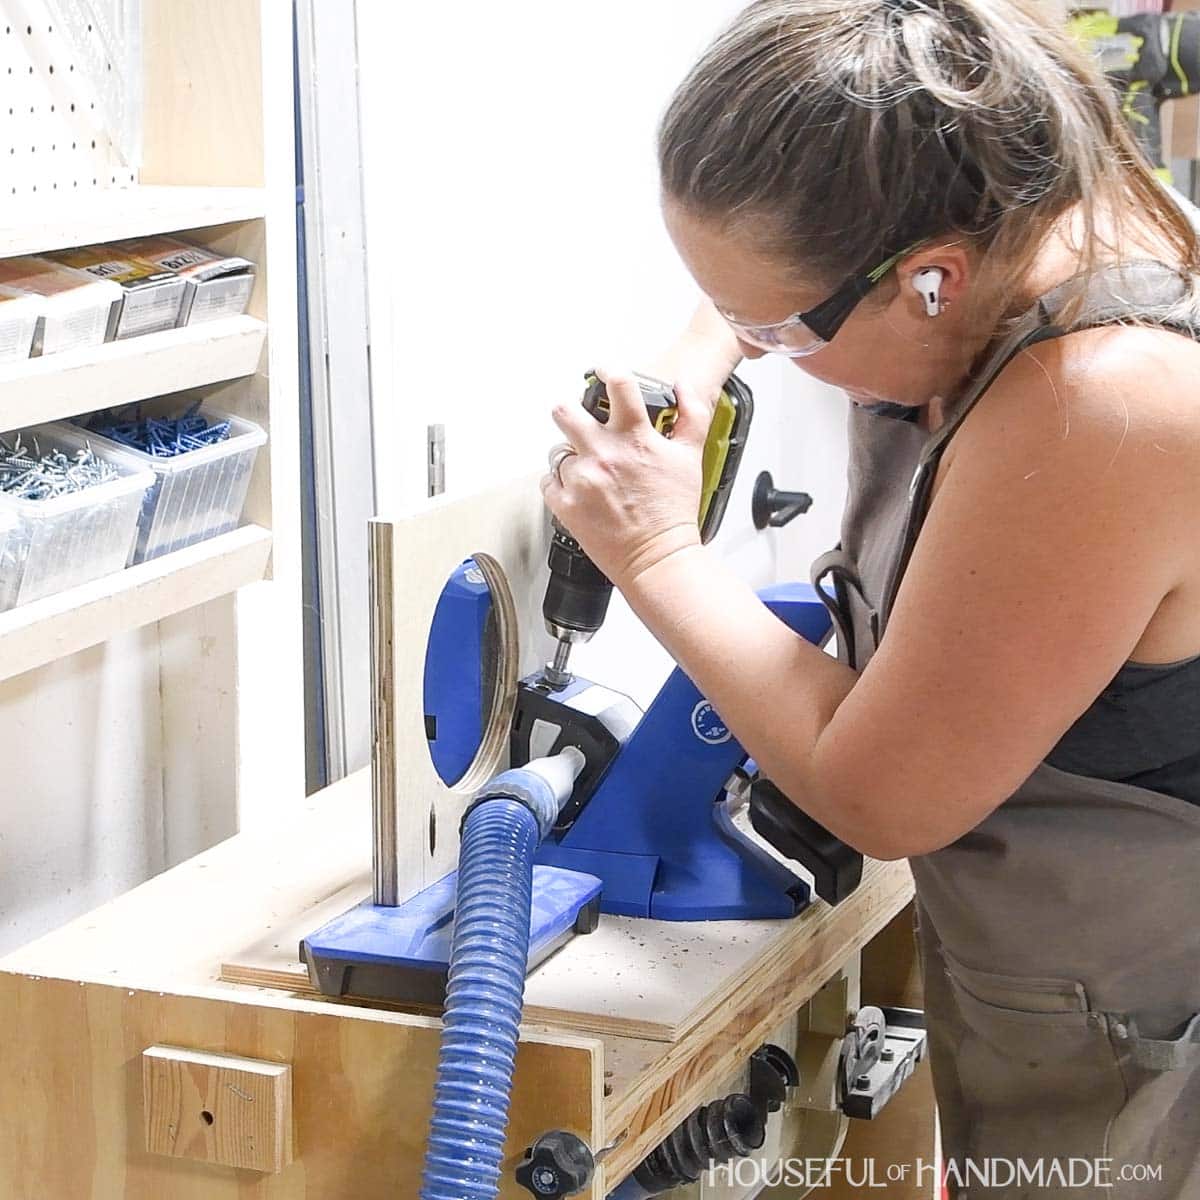
STEP 2- Assemble stand
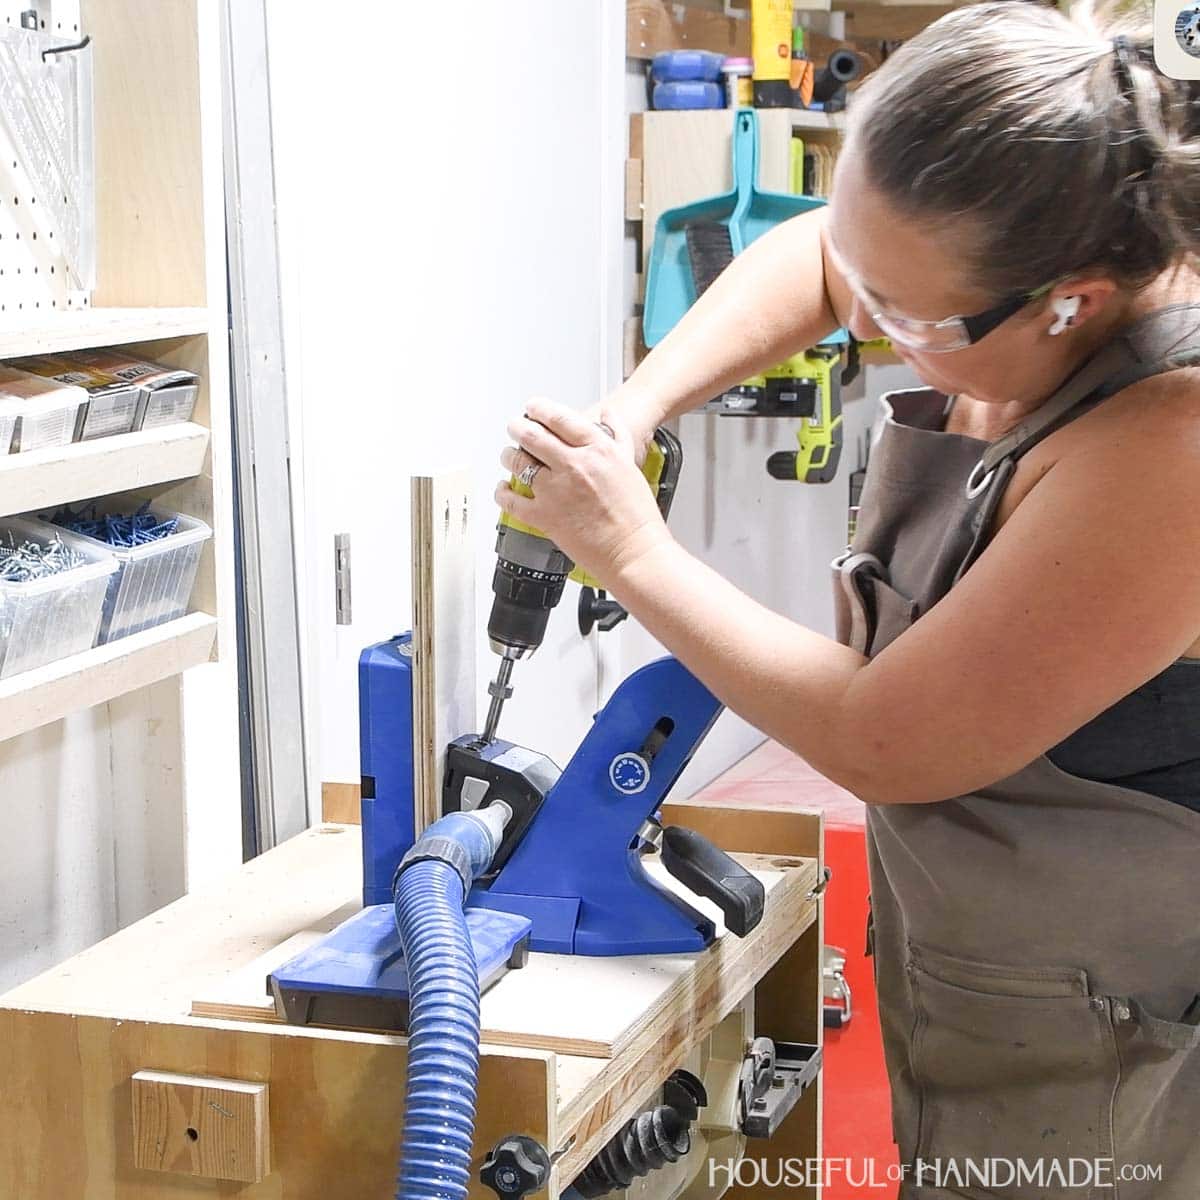
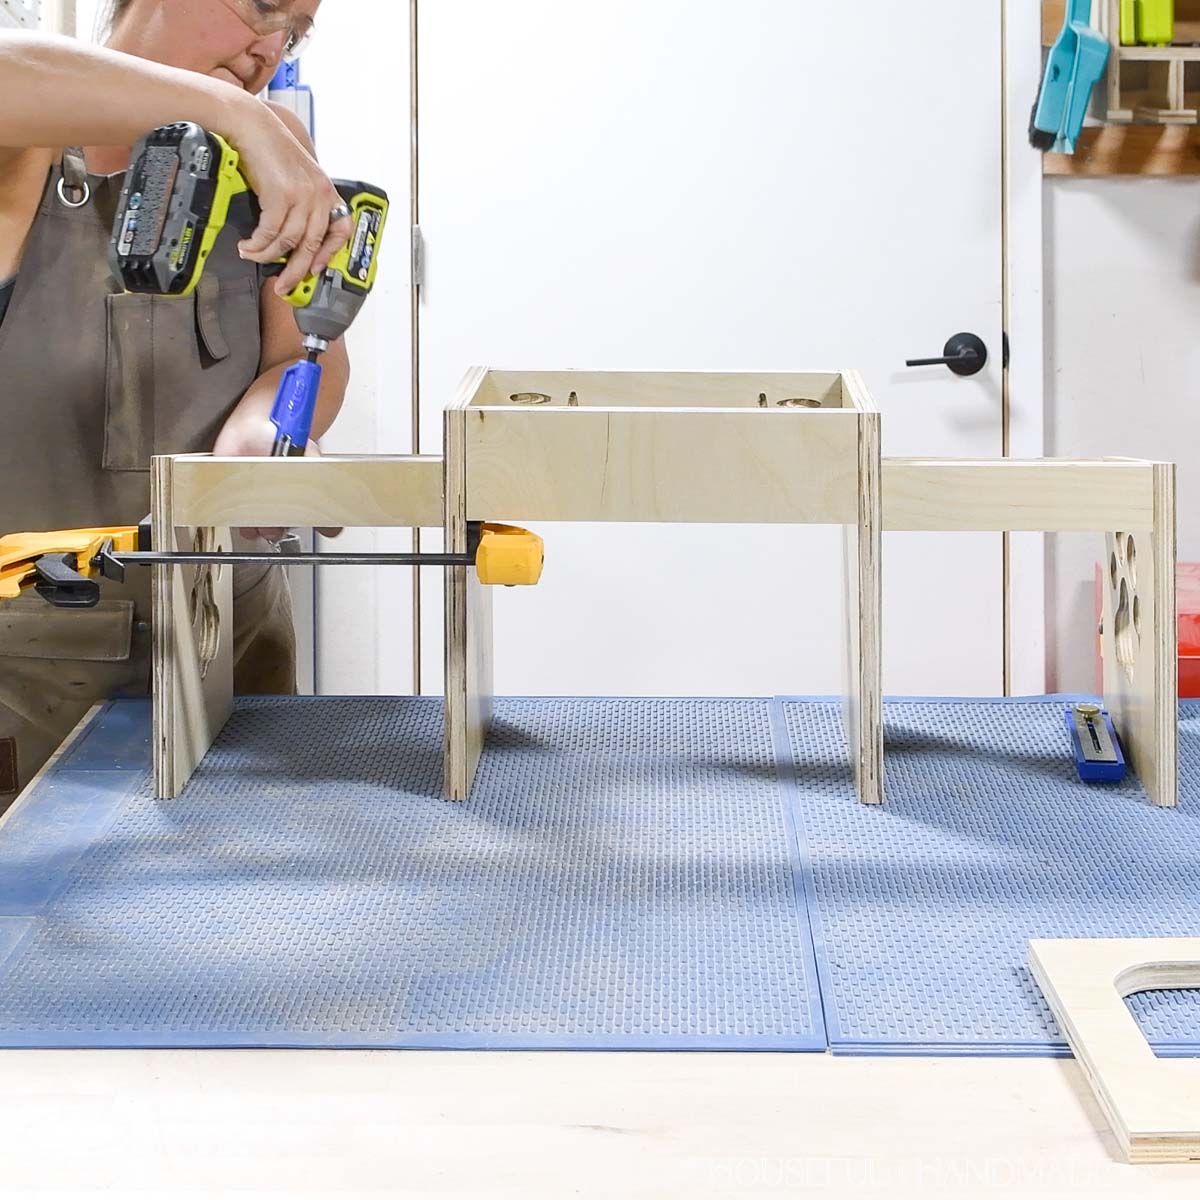
Drill pocket holes set for 3/4” thick material in both ends of the center support pieces. Also add two pocket holes on the top edge of the board.
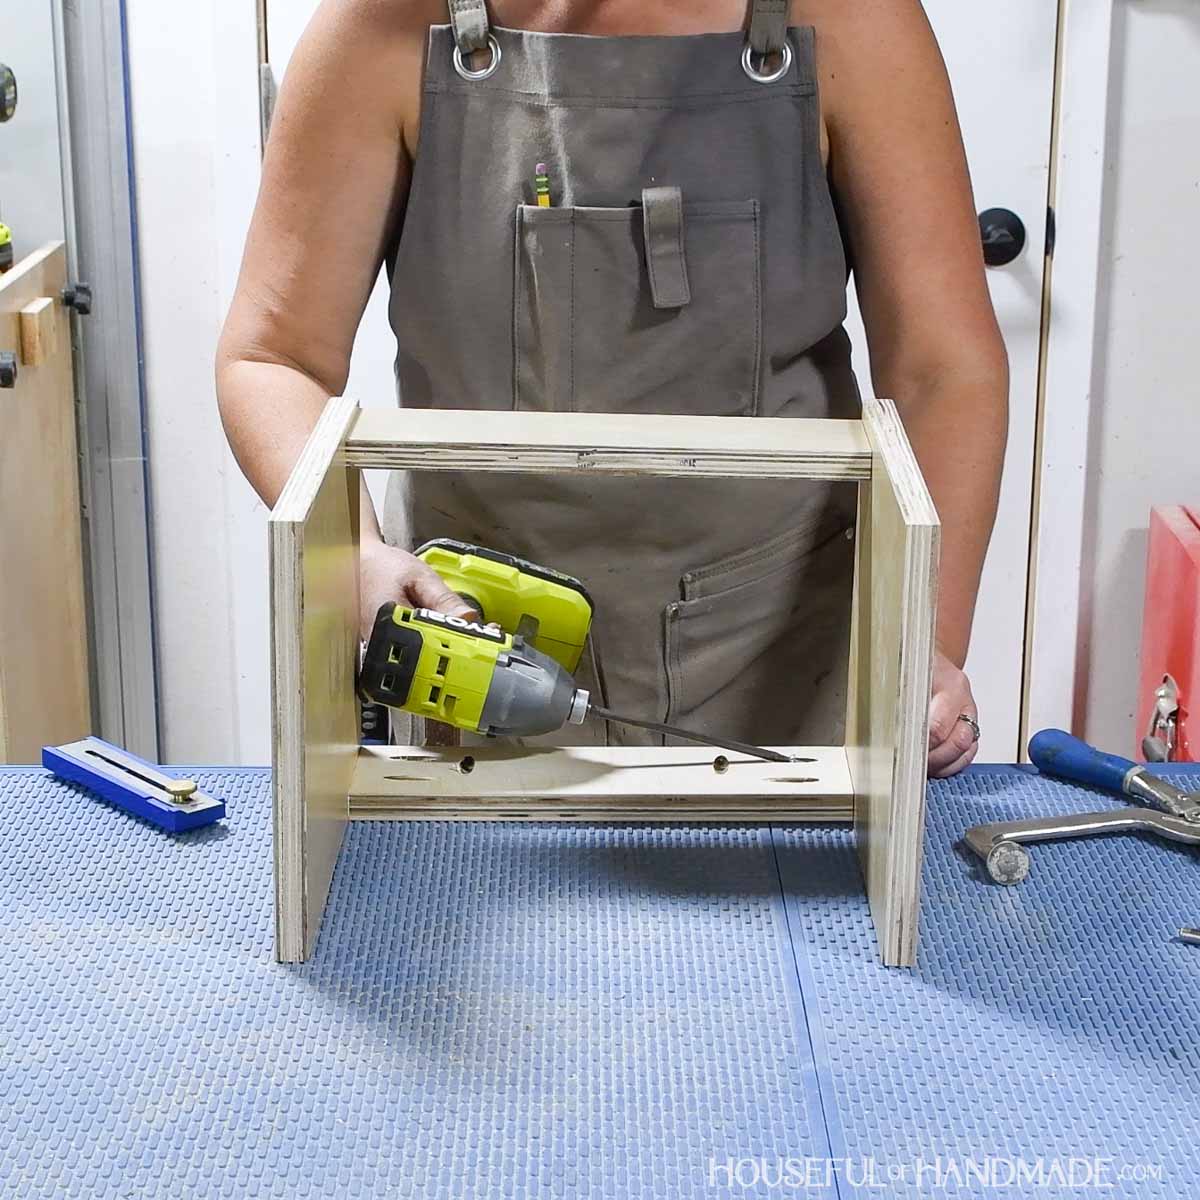
Attach the side supports between the center legs so they are flush with the top. Set the front support back 1/4” from the front.
Secure with glue and 1 1/4” pocket hole screws.
Drill pocket holes set for 3/4” thick material in both ends of the side support pieces.
Attach the side supports to the side legs according to the diagram in the plans. The top will not be flush since the side legs are angled. Secure with glue and 1 1/4” pocket hole screws.
Then attach the side supports to the center legs so they are lined up the same way. Secure with glue and 1 1/4” pocket holes screws.
STEP 3- Attach tops
Center the center top piece so it hangs over the edges 1/2” all around.
Secure through the pocket holes in the center supports with 1 1/4” pocket hole screws.
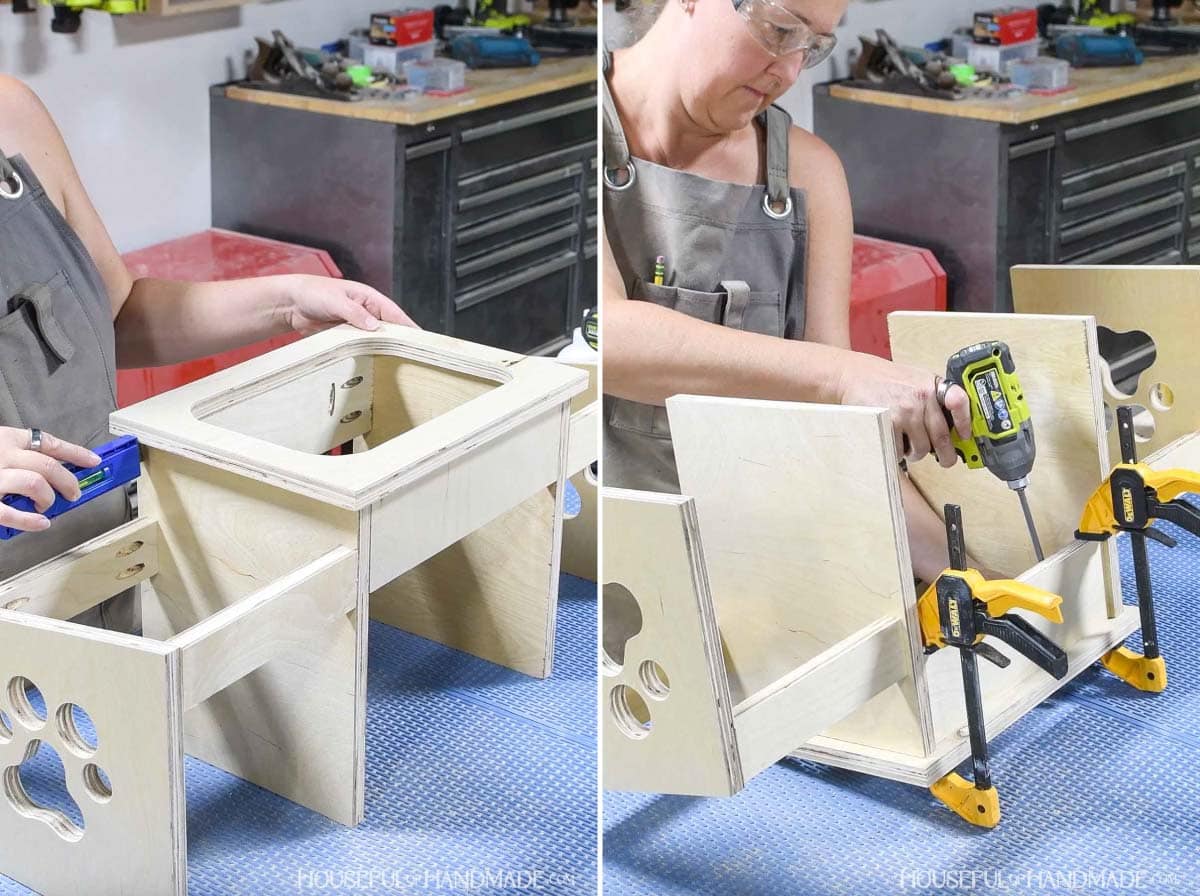
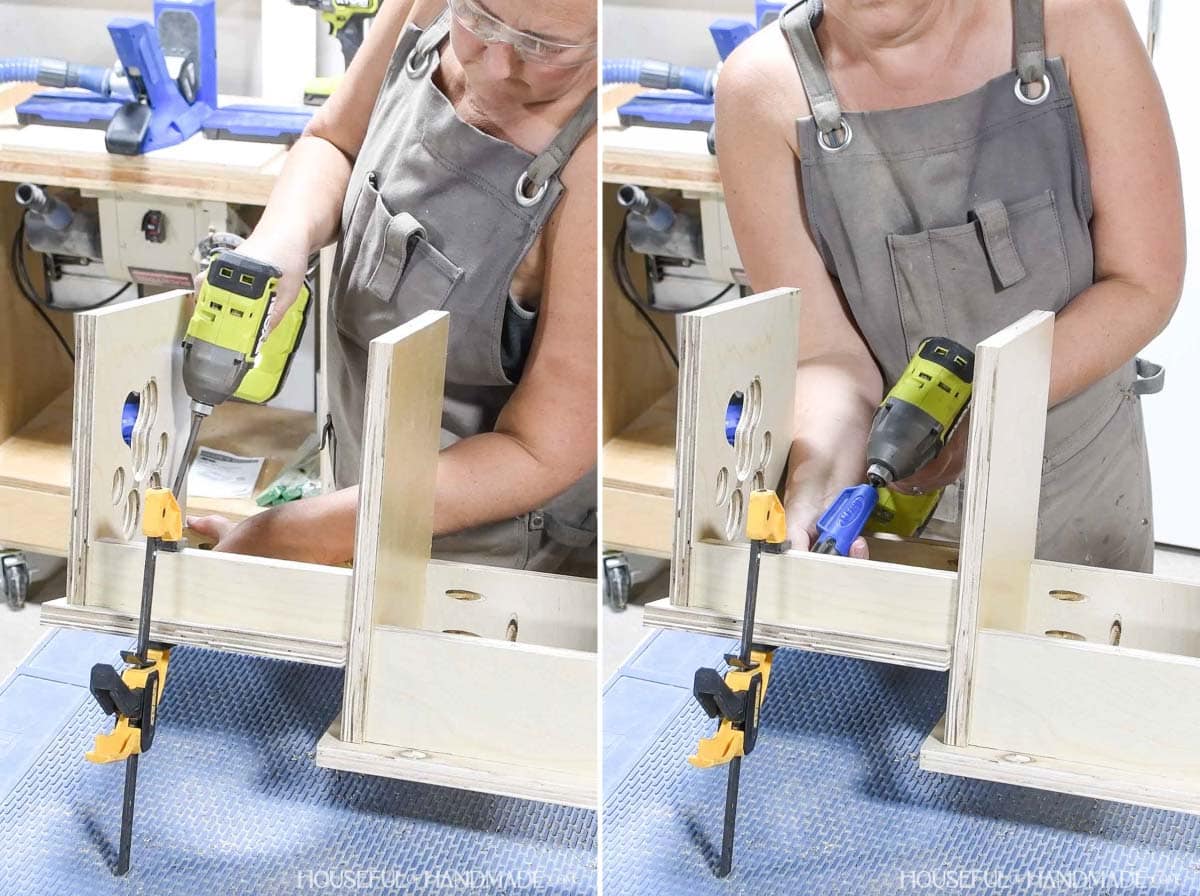
Place the side tops on the sides so they are flush to the center and hangs over 1/2” on the front and side.
Secure to the center legs with 1 1/4” pocket hole screws through the pocket holes drilling on the back of the tops.
Then secure the side leg to the top with a 1 1/4” pocket hole screw. Repeat for the other side.
STEP 4- Finish
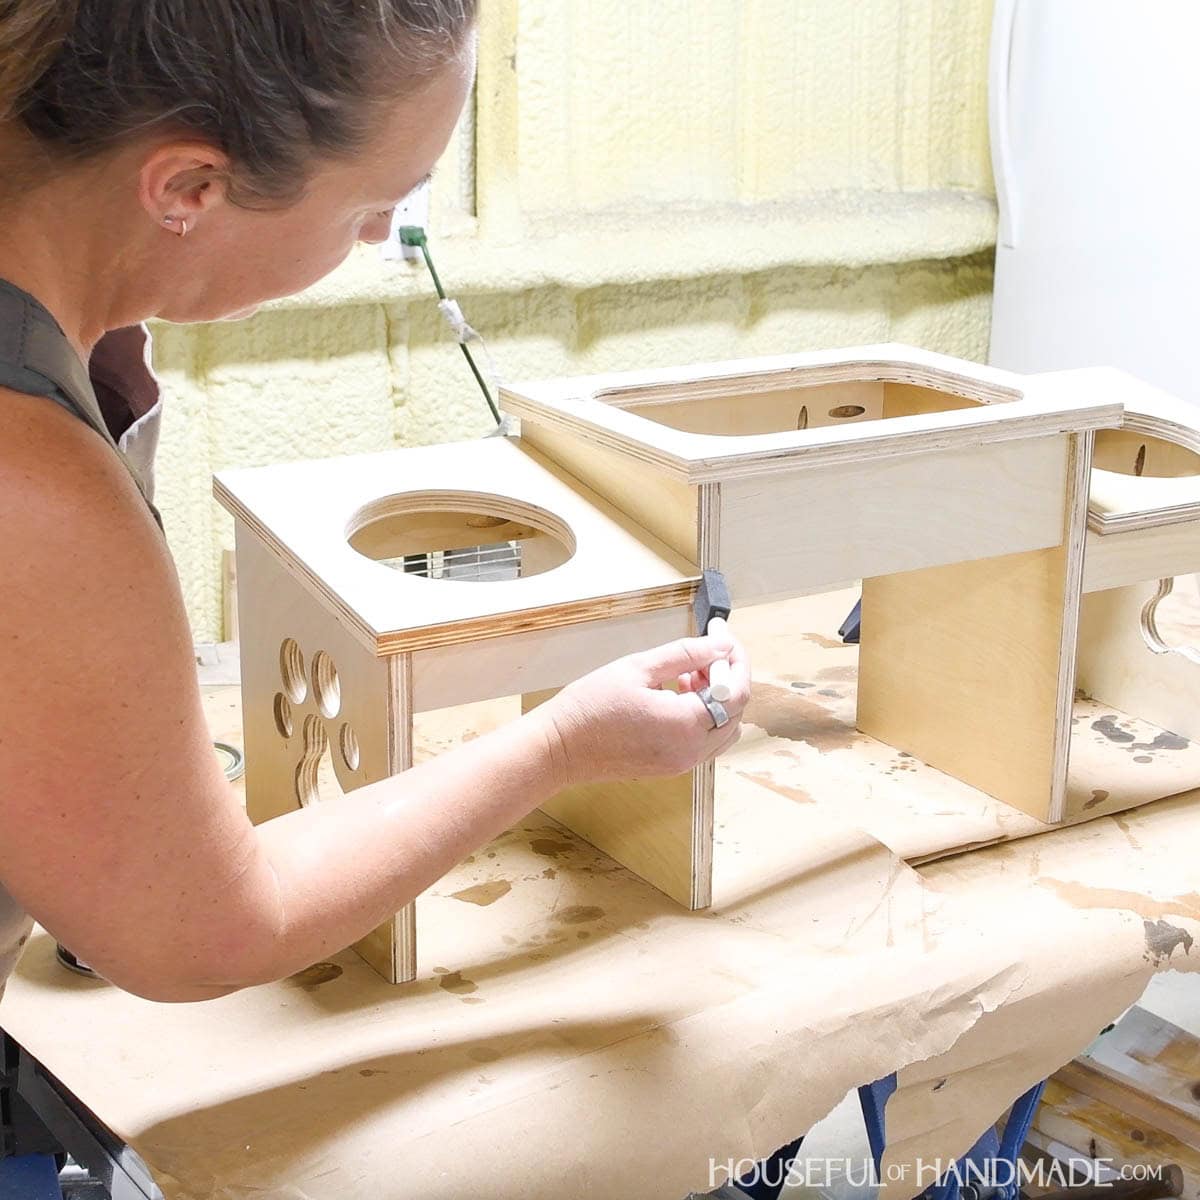
Sand and finish your new dog bowl stand. Make sure to pick a sealer that can withstand water if you have messy drinkers.
I built my dog bowl holder with pre-finished plywood so all I needed to do was seal the plywood edges.
Premium plans include:
- Recommended Tools
- Shopping list
- Easy to read cut list table
- Cut diagrams
- Step-by-step instructions with 3D renderings
- Helpful resources
- BONUS: 3D SketchUp file
You did it!
Now you can sit back and watch your pets enjoy their new raised food and water dish. My dogs love it and it's making them less messy too.
More Scrap Wood Ideas
It's the final week of Scrap Wood Summer! I love all the amazing projects that Shara from Woodshop Diaries and I made. And love that my scrap pile is quite a bit smaller.
I'll share each week's new projects below so you can use up your scraps too!
Happy building!


