Plywood is such a great material to use in your woodworking projects. But if you are new, it might be intimidating.
You may think you need large and expensive tools like a table saw, but you do not! You can easily cut down a full sheet of plywood with basic tools.
And learning how to properly break down your plywood will give you professional and magazine worthy DIY furniture you can be proud of.
This post may contain affiliate links. As an Amazon Associate I earn from qualifying purchases. Click here to read my full disclosure policy.
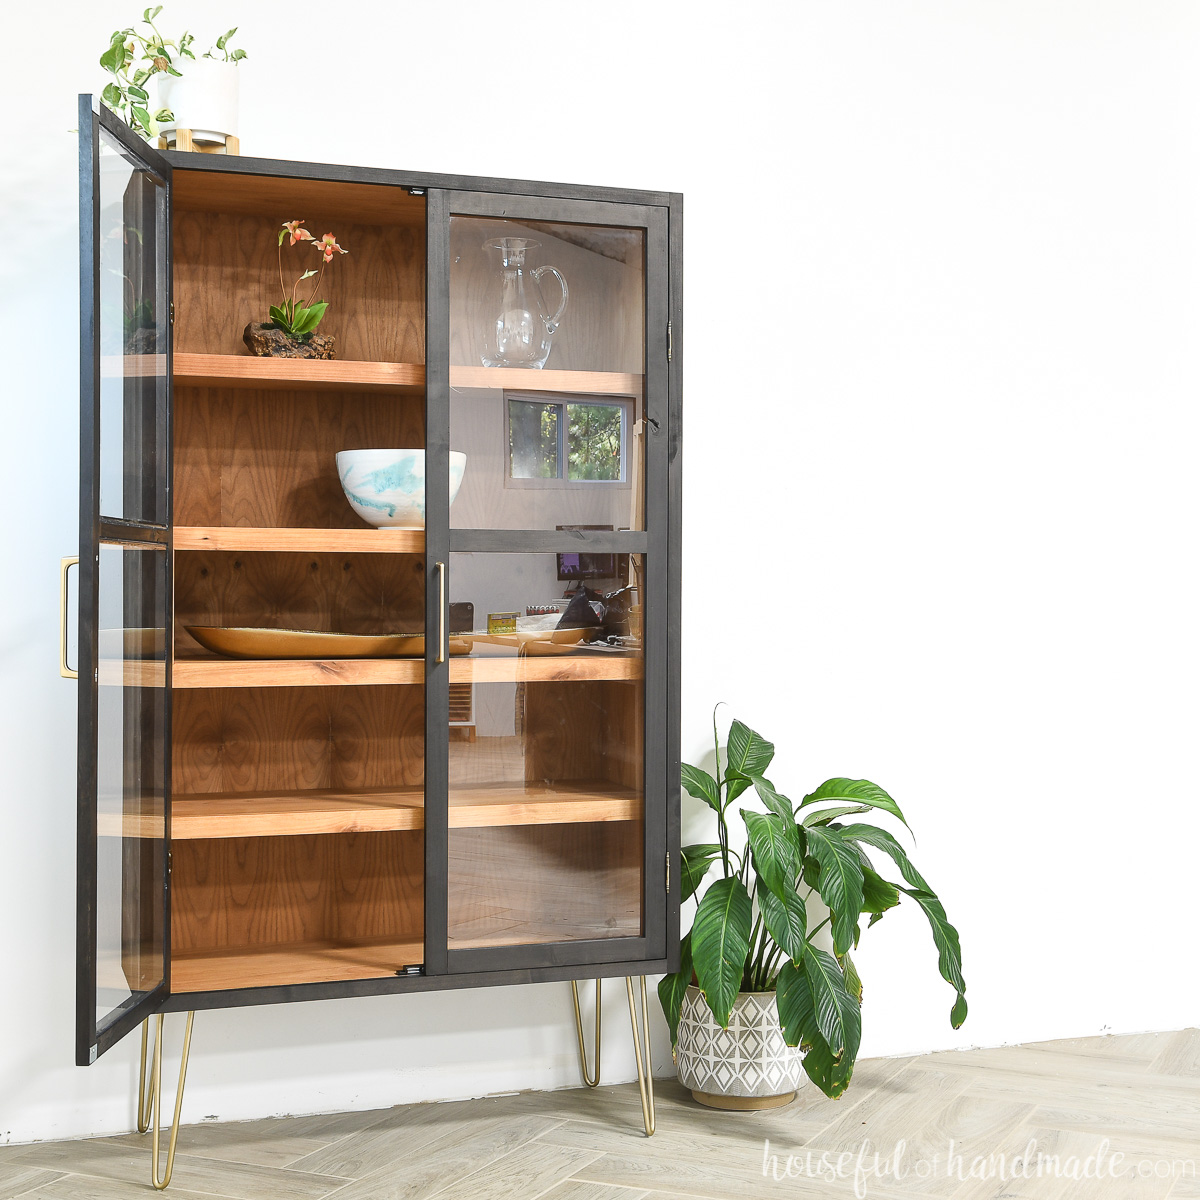
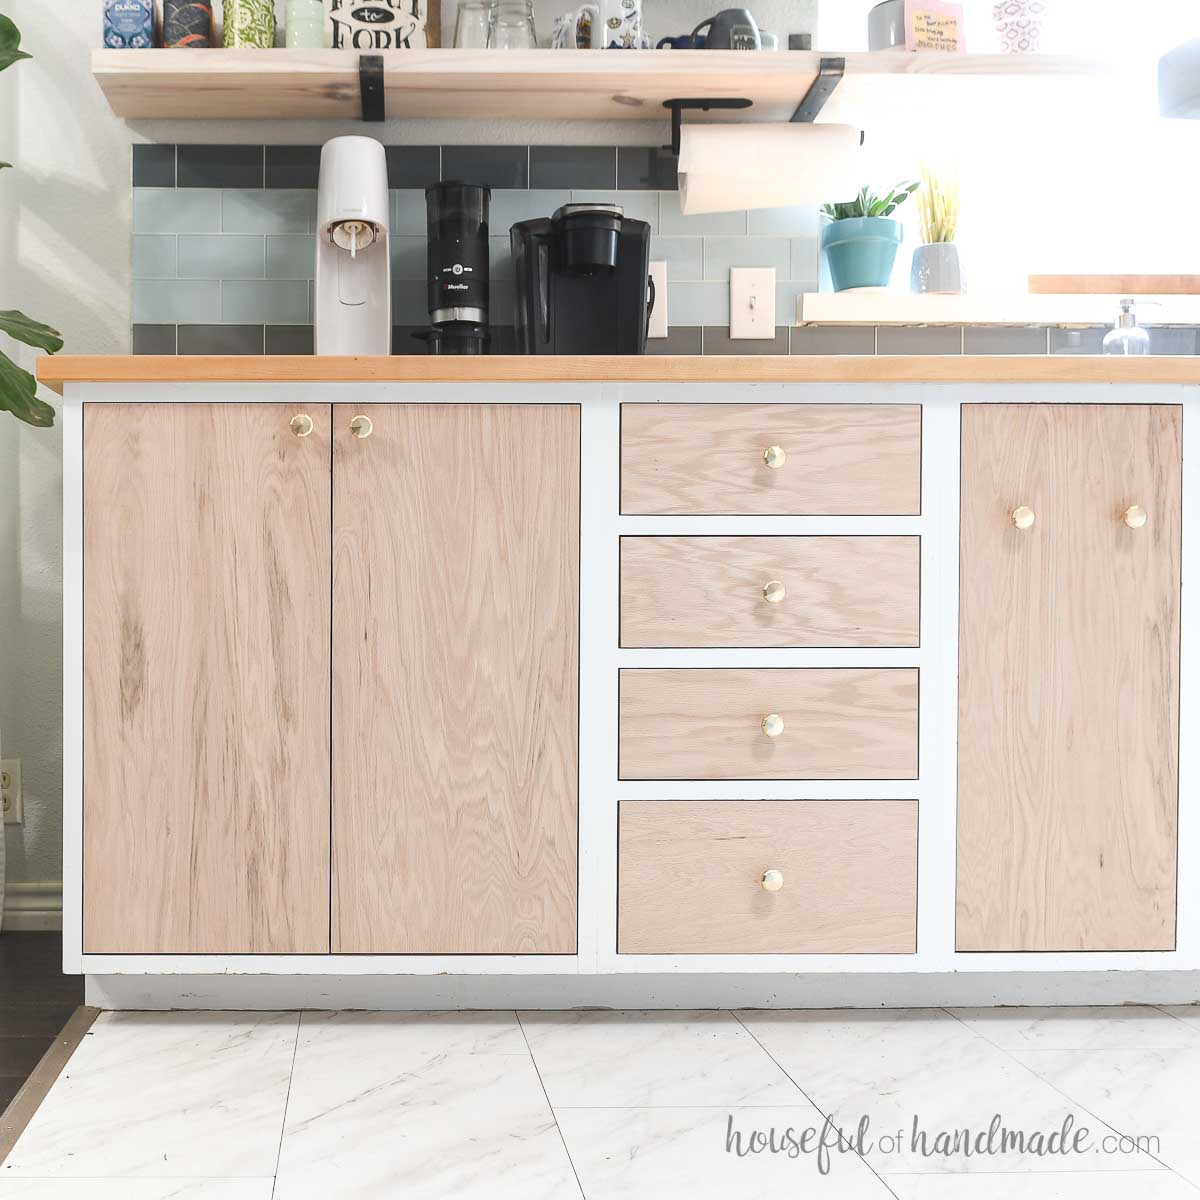
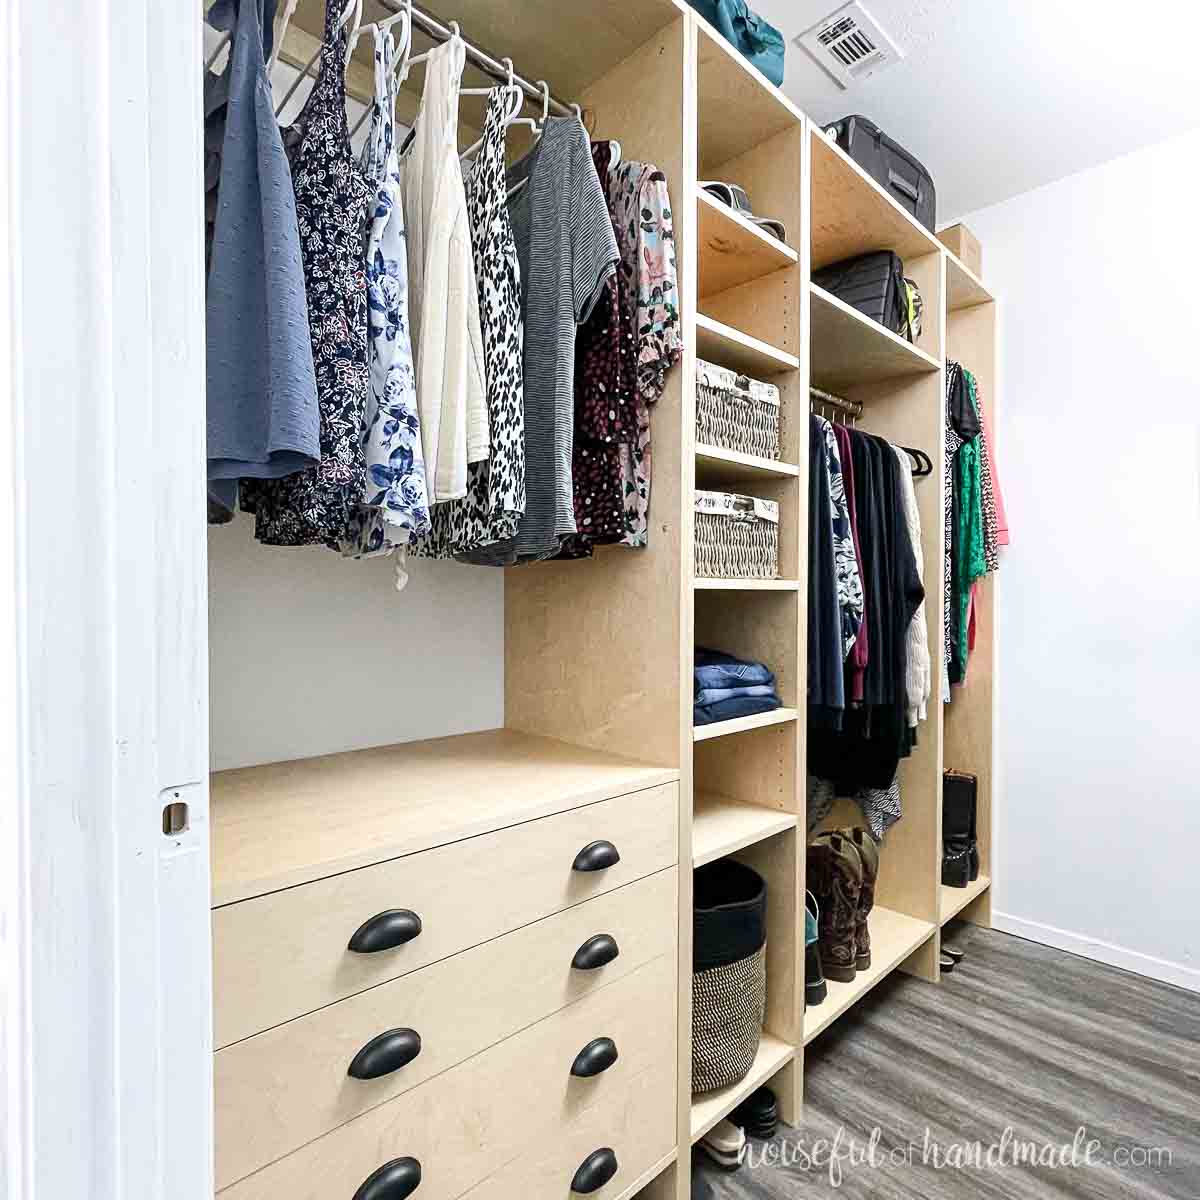
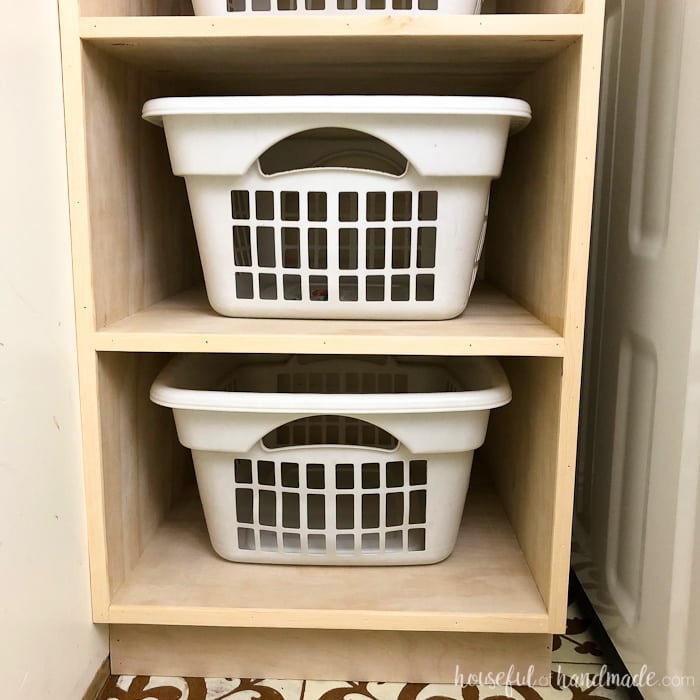
Knowing how to cut plywood will make it so you can build amazing things like this modern display cabinet or installing your own slab cabinet doors and so much more!
What tools are necessary to cut plywood?
There are many different tools you can use to cut plywood.
Using a table saw can make small repeated cuts very quick, but it takes up a lot of space and can be a huge investment. Plus it can be intimidating.
Also, if you want to break down a full 4×8 sheet, it can be a challenge on a table saw. I cannot manage a full sheet of plywood on the table saw, even with rollers and and outfeed table.
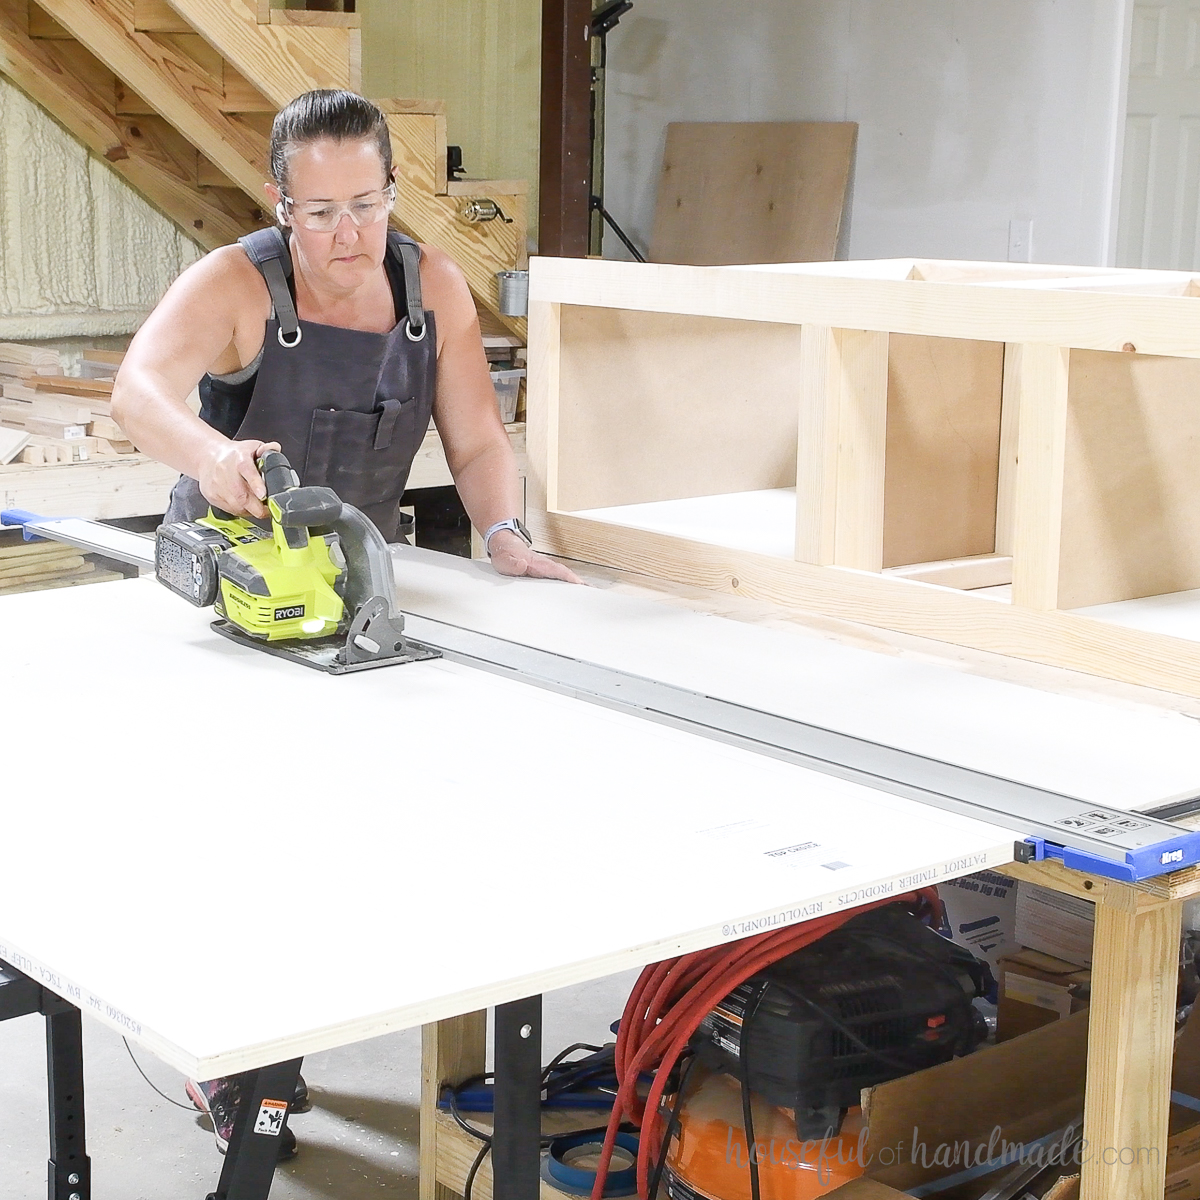
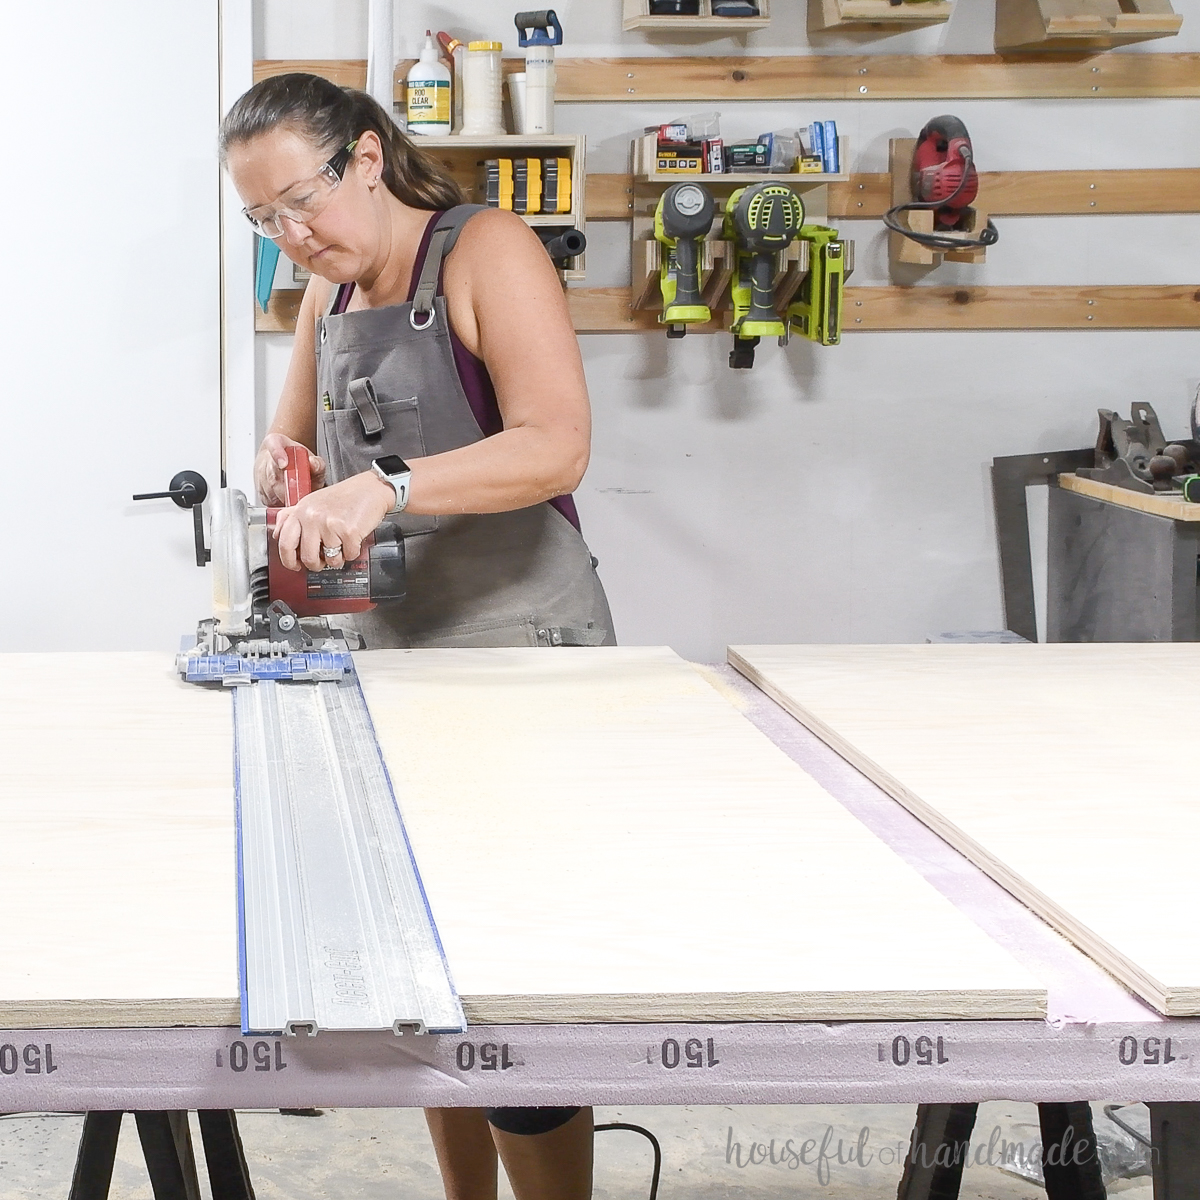
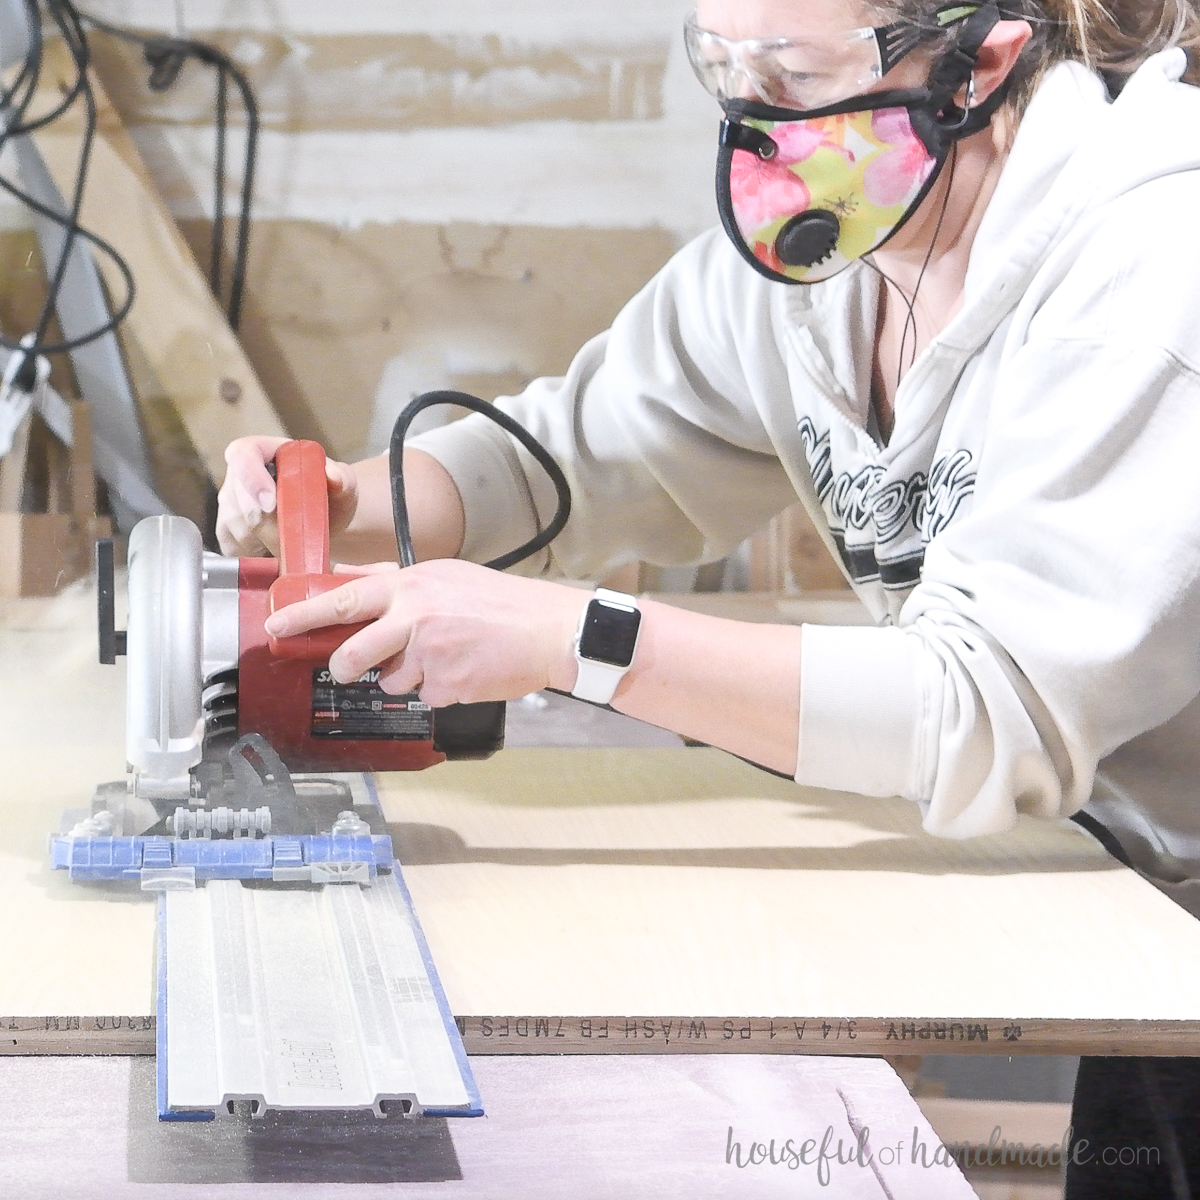
So instead, I prefer to cut my plywood sheets with a circular saw and guide track! Both are small and inexpensive tools, but vital in my shop.
There are 2 types of guide tracks I use:
- One is a straight edge that you clamp or secure to your wood. You then press the bottom plate of the circular saw up against it as you cut.
- The other is a guide that attaches to the plate of your circular saw, then has a lip on the end that runs along the edge of the plywood making quick and repeatable rip cuts.
You can make your own straight edge circular saw jig fairly easily, and you can do it with just a circular saw and some clamps. Or you can spend a little money to buy a guide.
My Favorite Guides
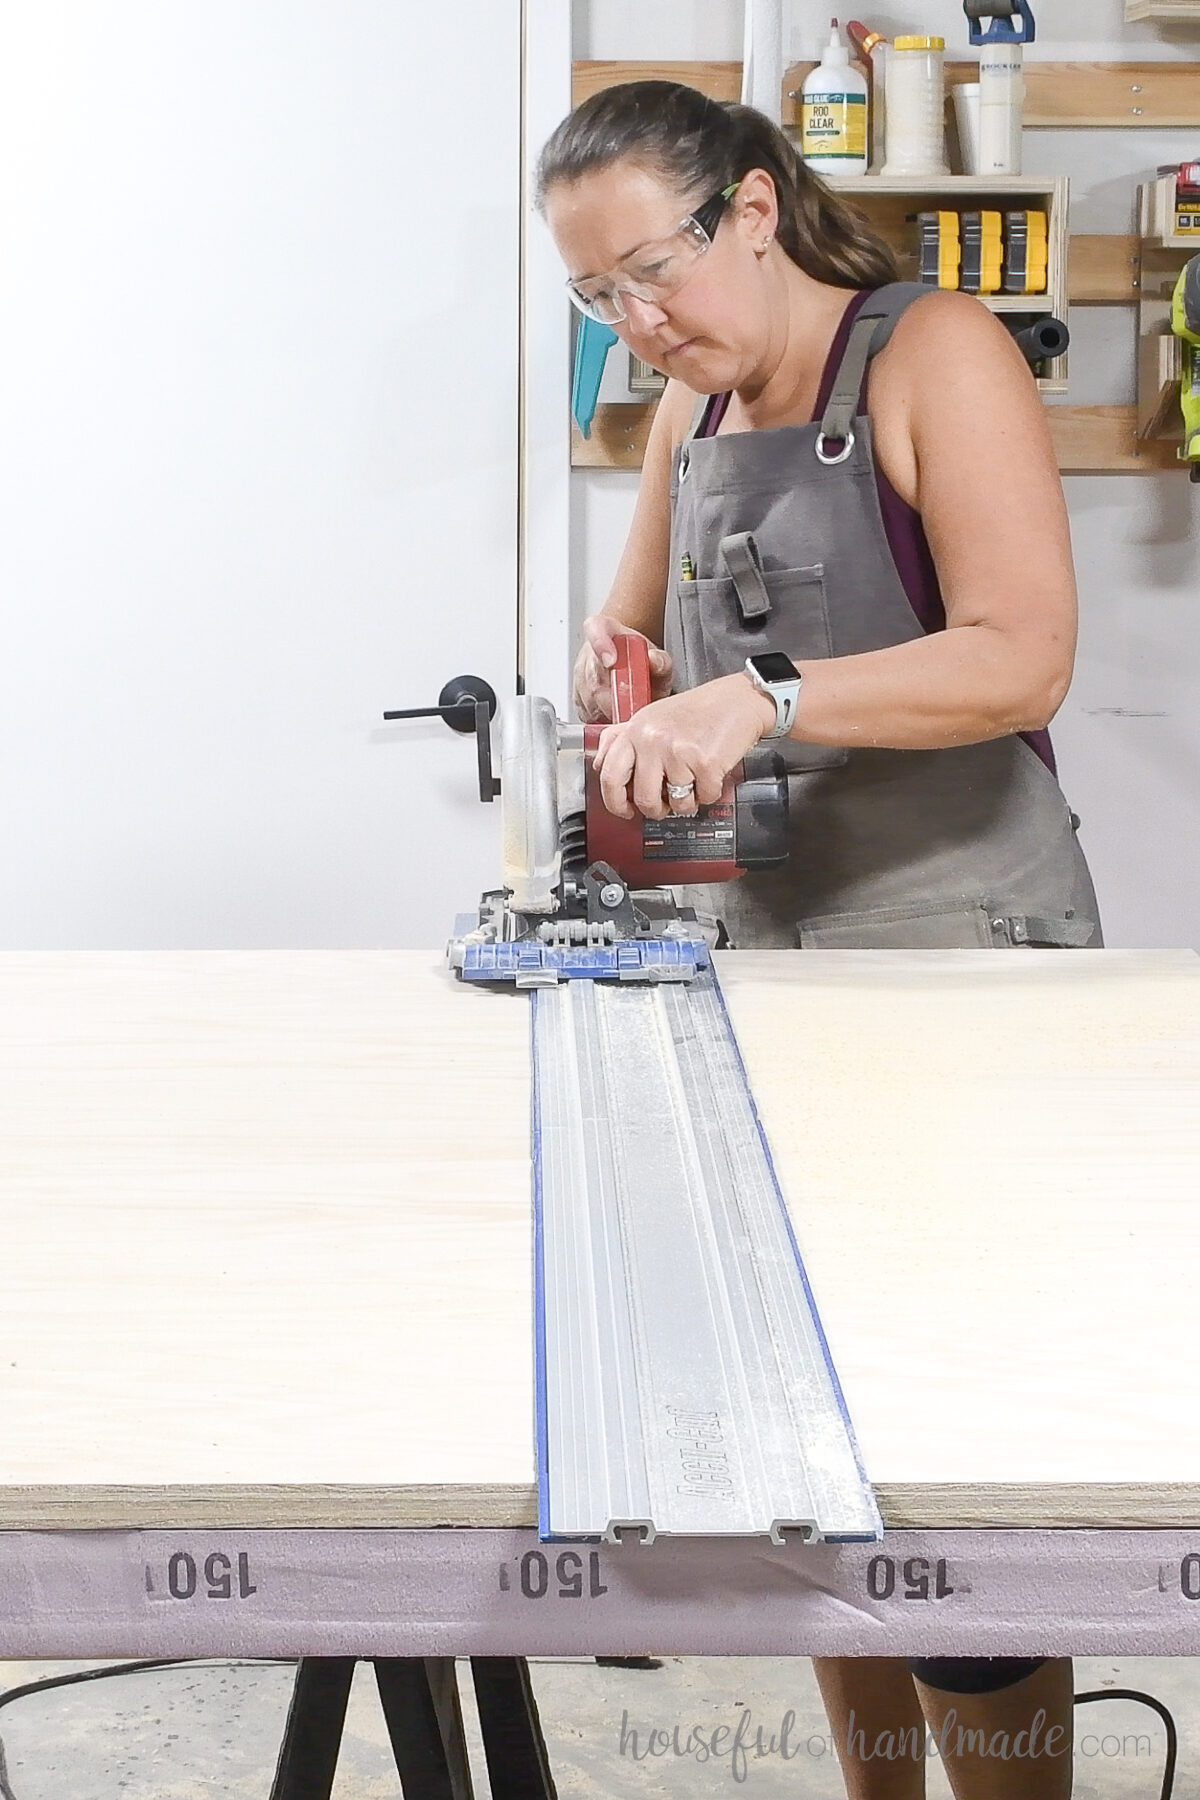
My favorite straight edge guide track is the Kreg AccuCut. It takes the simple straight edge but give it a huge upgrade. You mount a plate to your circular saw base and then it glides on top of the guide.
The plate and guide both have grooves that interlock so you cannot accidentally veer off the straight fence. And it has a grippy bottom so no need to clamp it down.
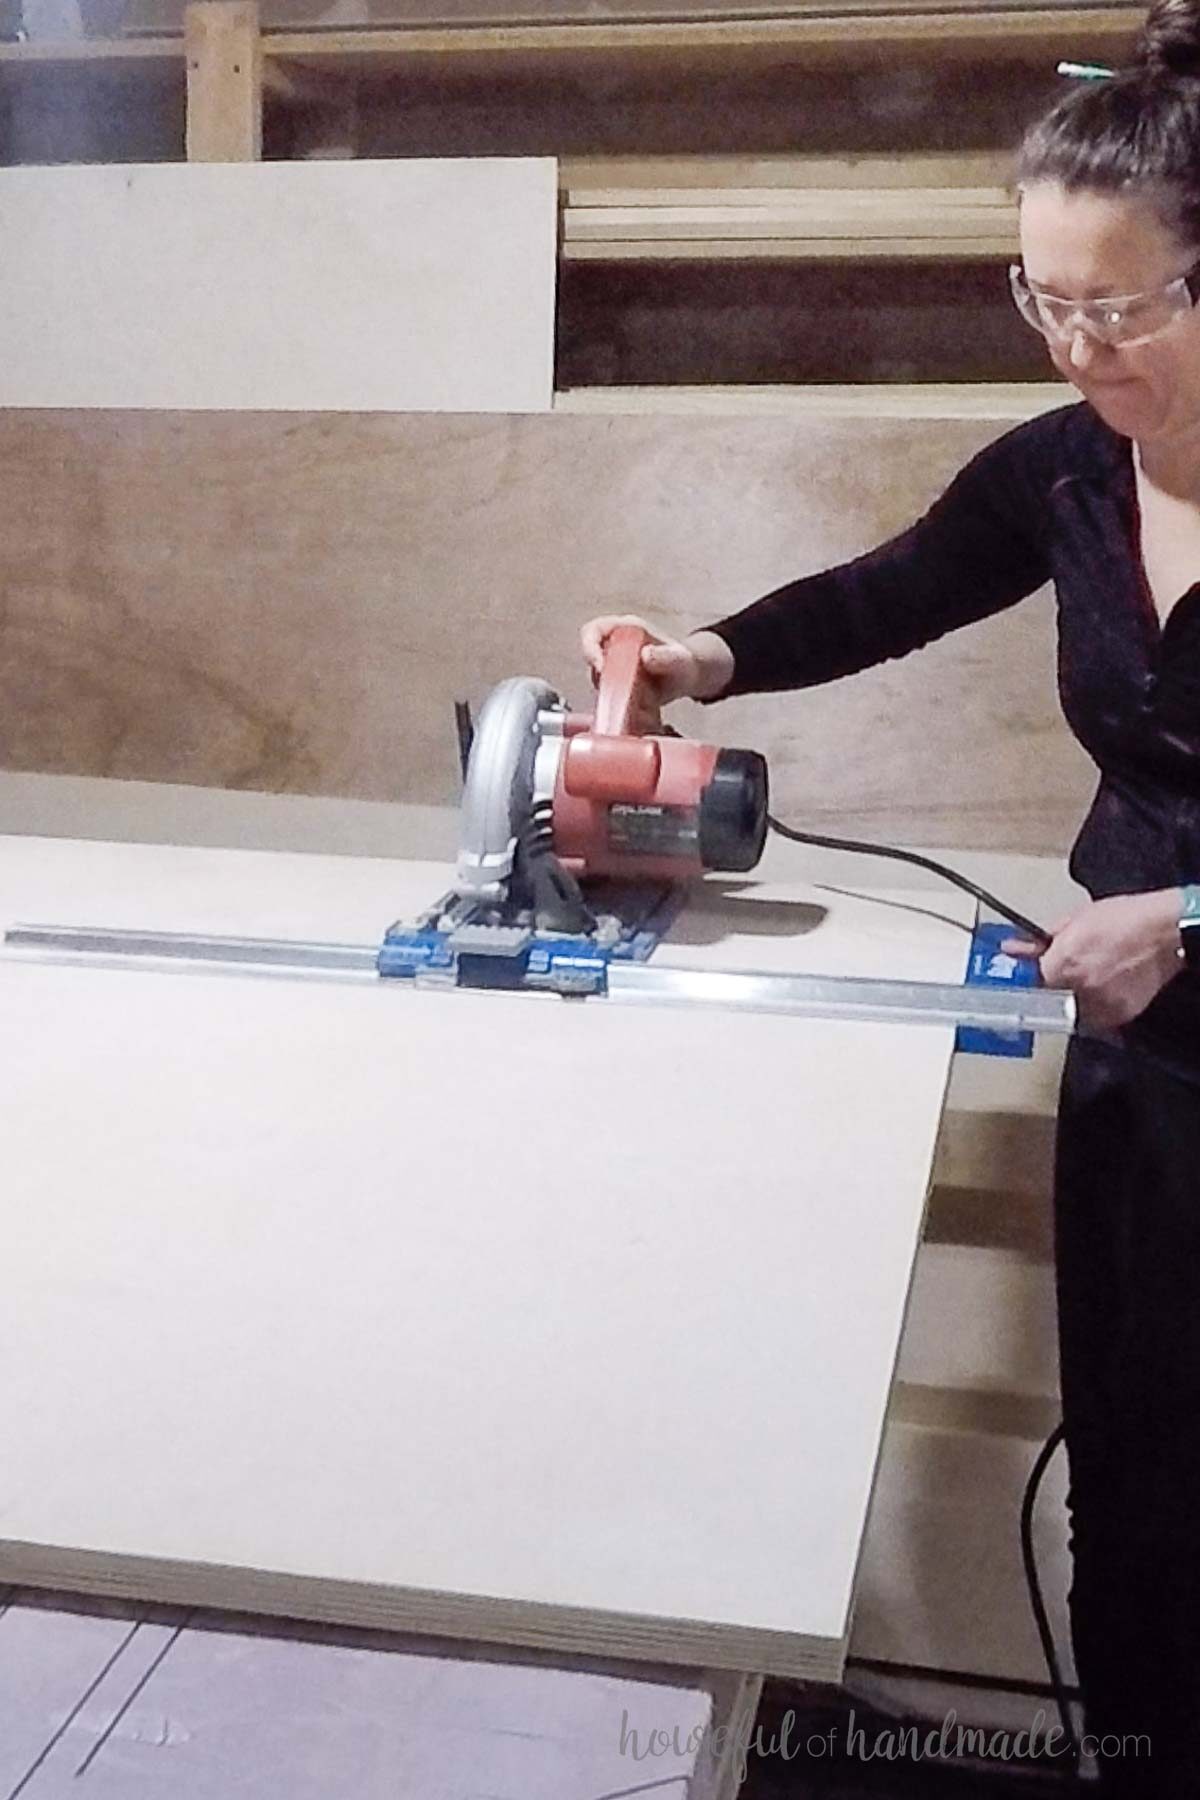
My favorite edge lip guide is called the Kreg RipCut. It is so easy and quick to use and makes it easy to rip along the full 8′ length of a plywood sheet up to 24″ wide cuts.
Also, if you have both the AccuCut and RipCut, the base plate is the same. So one saw can quickly swap between the two guides.
Another guide option I use is the Kreg Straight Edge Guide. This one does not attach to your saw and can be used with other tools like routers.
Rip Cut vs. Cross Cut
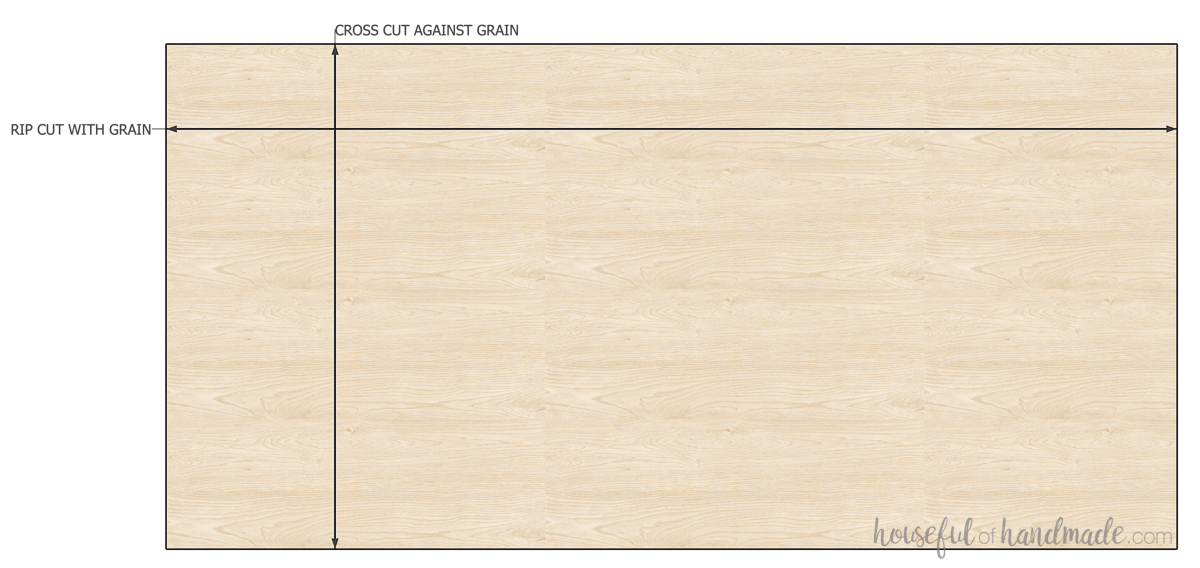
When cutting plywood you need to understand the difference between a rip cut and a cross cut.
A rip cut is a cut made along the grain of the wood. For plywood, the grain refers to the grain in the veneer on the top and bottom.
So on a 4×8 sheet of plywood, typically the grain will run the length of the plywood. So a rip cut would be up to 8′ long on a full sheet.
A cross cut is a cut made against the grain of the wood. So on that same 4×8 sheet of plywood, your cross cut would be along the 4′ width of the sheet.
Cross cuts can cause tear out on the veneer edge since you are cutting against the grain. It is important to take care with your plywood cuts to prevent chipping so you get professional looking results.
How do you prevent chipping on plywood edges?
Preventing your plywood veneer from chipping at the cut is easy with these 3 tips.
Chipping happens more often with cross cuts. So take extra care when cutting across the grain.
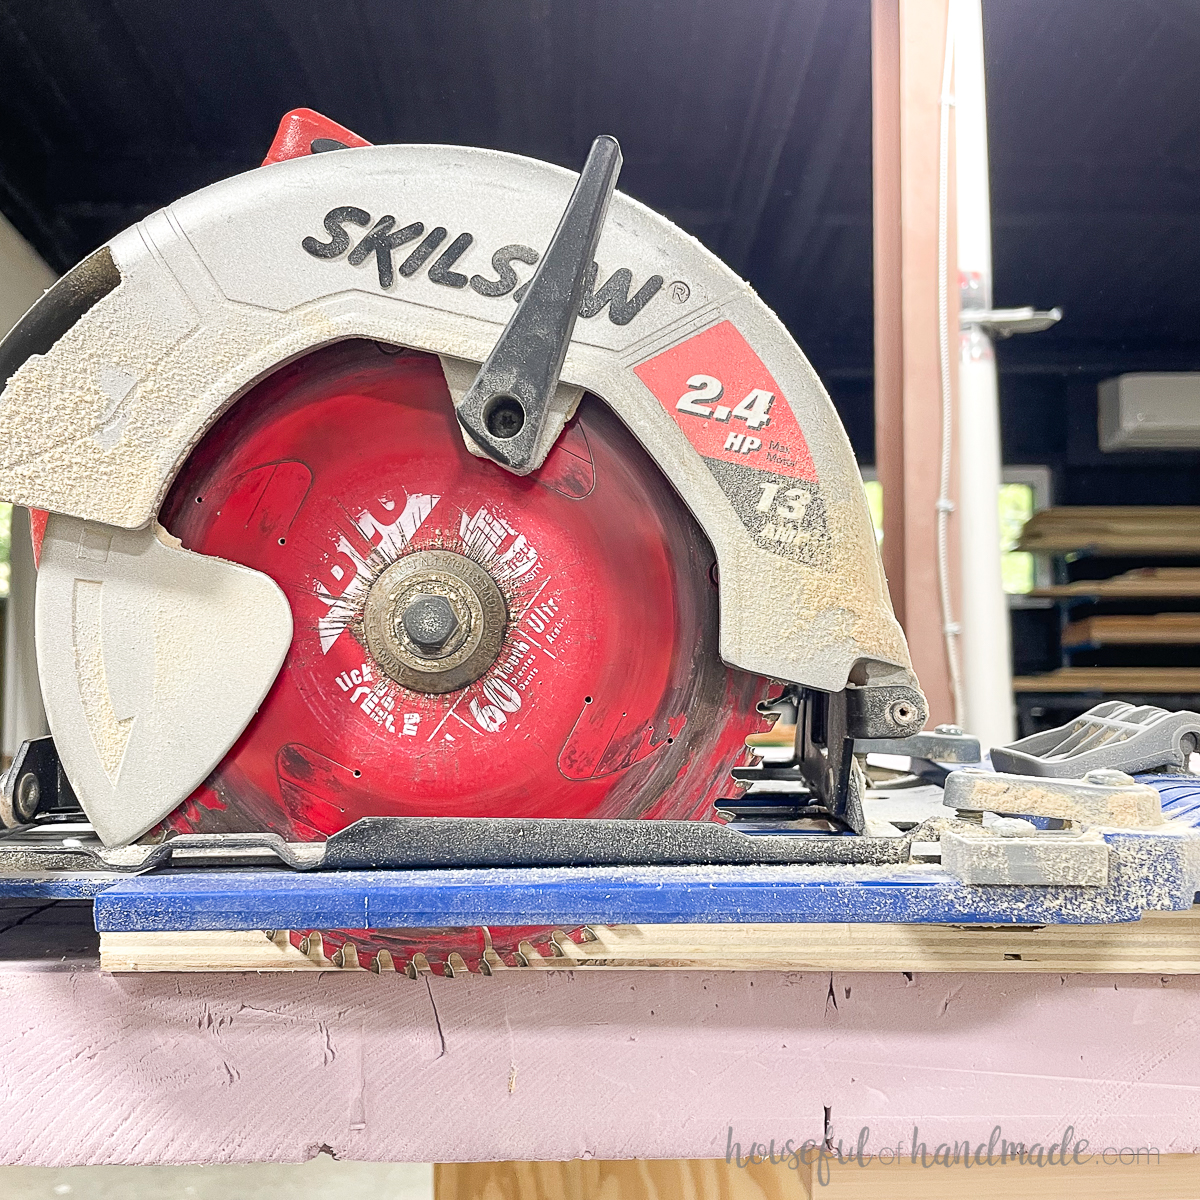
Tip 1- Use a plywood blade in your circular saw
A plywood blade has more teeth on it than other blades, including the one that comes standard in most circular saws.
A plywood blade has 80+ teeth. The teeth are close together and create a smoother/finer cut.
Tip 2- Don’t cut too fast
Go slow and let the blade do the cutting. If you push the saw too fast, the teeth will not have time to properly cut.
But also, don’t go too slow or you can burn the cut edge. This will take some practice. Don’t let the fear stop you from starting, just go cut some plywood and learn from your mistakes.
Tip 3- Cut on a piece of rigid foam insulation
Instead of placing your plywood on scraps of wood, you can fully support the entire cut by placing it on a piece of rigid foam insulation.
The foam is inexpensive and comes in 4×8 sheets so it is the exact size of the plywood. I place it on my work bench that is only 40″ x 6′ and it instantly makes my work bench the size of the plywood.
Then when you cut pieces, the foam fully supports the plywood so it does not pinch blades or fall off the sides. And the pressure of the foam below helps prevents tear out.
Tip 4- Use a guide with grip
A guide that presses down on the top of the plywood while you cut will help prevent chipping. The AccuCut guide has a blue tacky back made specifically for reducing tear out.
Tip 5- Cut with the pretty side down
Tear out usually occurs when the blade comes up through the wood. So if you flip the plywood pretty side down, the tear out will be on the back of your piece.
How to Cut Plywood
Tools & Materials
Recommended Tools:
- Circular saw
- Edge lip guide (I use the Kreg RipCut)
- Straight edge guide (I use the Kreg AccuCut)
- Measuring tape
- 2″ rigid foam
- Optional: Large square
Supplies:
- Plywood
- Pencil
STEP 1- Set up your circular saw
Keep your circular saw unplugged (or without a battery) while you set it up to prevent accidentally starting the blade.
If using a guide with a base, attach the base to your circular saw. Follow the manufacturer’s instructions to set your guide up.
Set the blade depth
Set the blade depth of your circular saw so it will cut just slightly deeper than the thickness of your plywood. I like to be around 1/8″ deeper to ensure a clean cut.
Usually the circular saw will have markings on their blade depth gauge to indicate the depth of the cut.
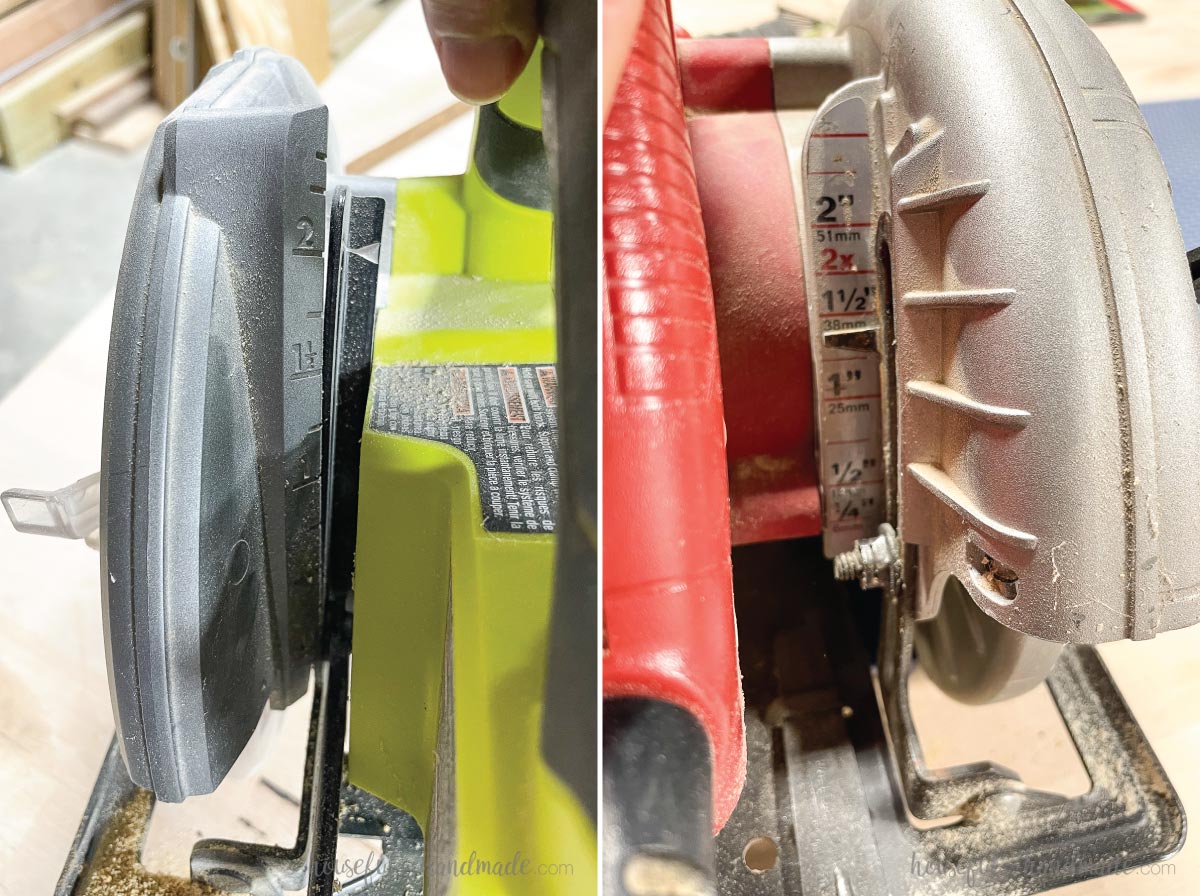
If you are using a guide with a plate, you will need to account for the thickness of the base plate and guide when setting your blade depth.
You can either measure the guide with base to find out what the measurement is and add it to your plywood thickness.
Or set the circular saw on the guide on the edge of your plywood. Leave the blade hanging over the edge so you can see how deep it will cut. Adjust until it is slightly below the plywood.
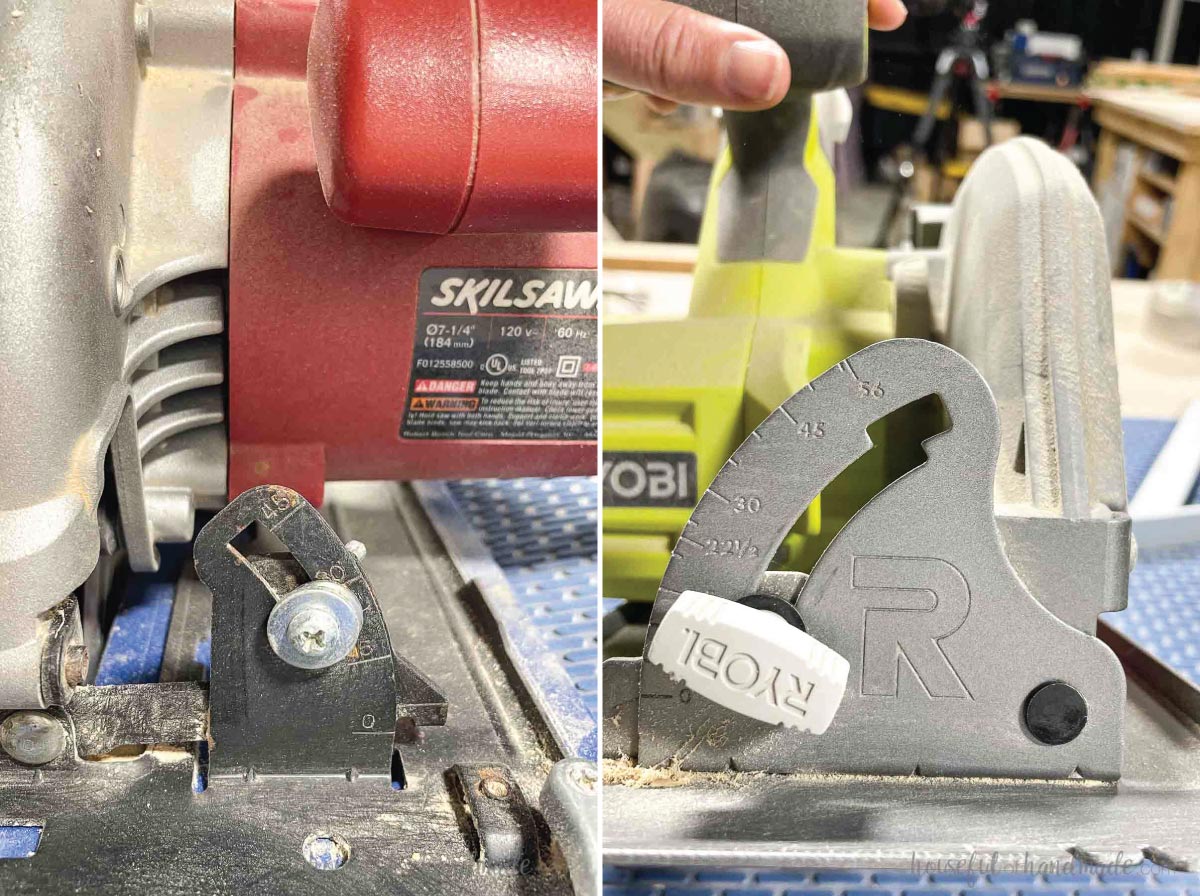
Set the angle
For most cuts, you will want your circular saw blade set to a 0 degree angle. This will cut the plywood straight.
I like to check the actual angle of the blade to the base plate with a square instead of just going off the markings on the saw.
If you need to cut your plywood at an angle, you can adjust the angle on the saw as needed.
STEP 2- Square off your plywood
Plywood does not usually come from the factory perfectly square. So before measuring and cutting any pieces, I like to square off one edge.
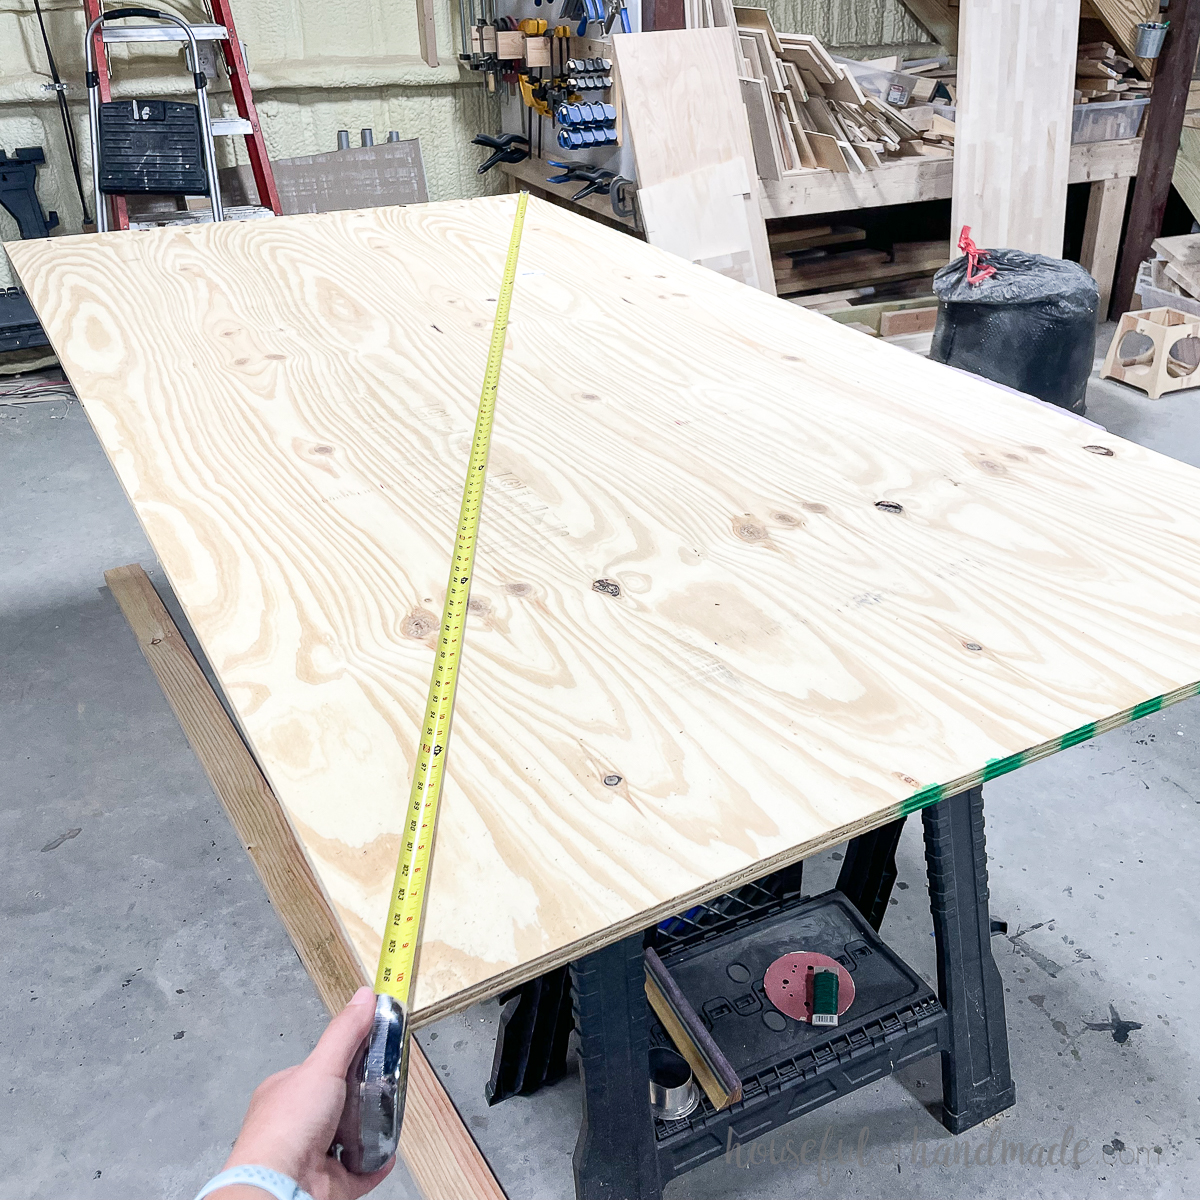
The easiest way to check for square is to measure from corner to opposite corner, diagonally across the sheet of plywood. Then measure the other two corners.
If the measurements are the same, your plywood is square. If not, it’s time to square off the edge before measuring out your pieces.
There are two simple ways to square off your plywood.
- On the corner-to-corner with the larger measurement, mark along the measuring tape the shorter measurement of the other two corners (close to the 4′ end of the plywood). Then draw a line from the corner to your mark and cut along this line to create a square piece of plywood.
- Using a large square, press one side flush against the edge of the plywood. Draw a line along the other edge of the square. Repeat on the other side making sure to match up the lines in the center.
Once your line is drawn to create a square edge, place your circular saw guide on the plywood and line it up with your marks.
Cut the plywood end off to square it to the sides. See cutting tips below in Step 4.
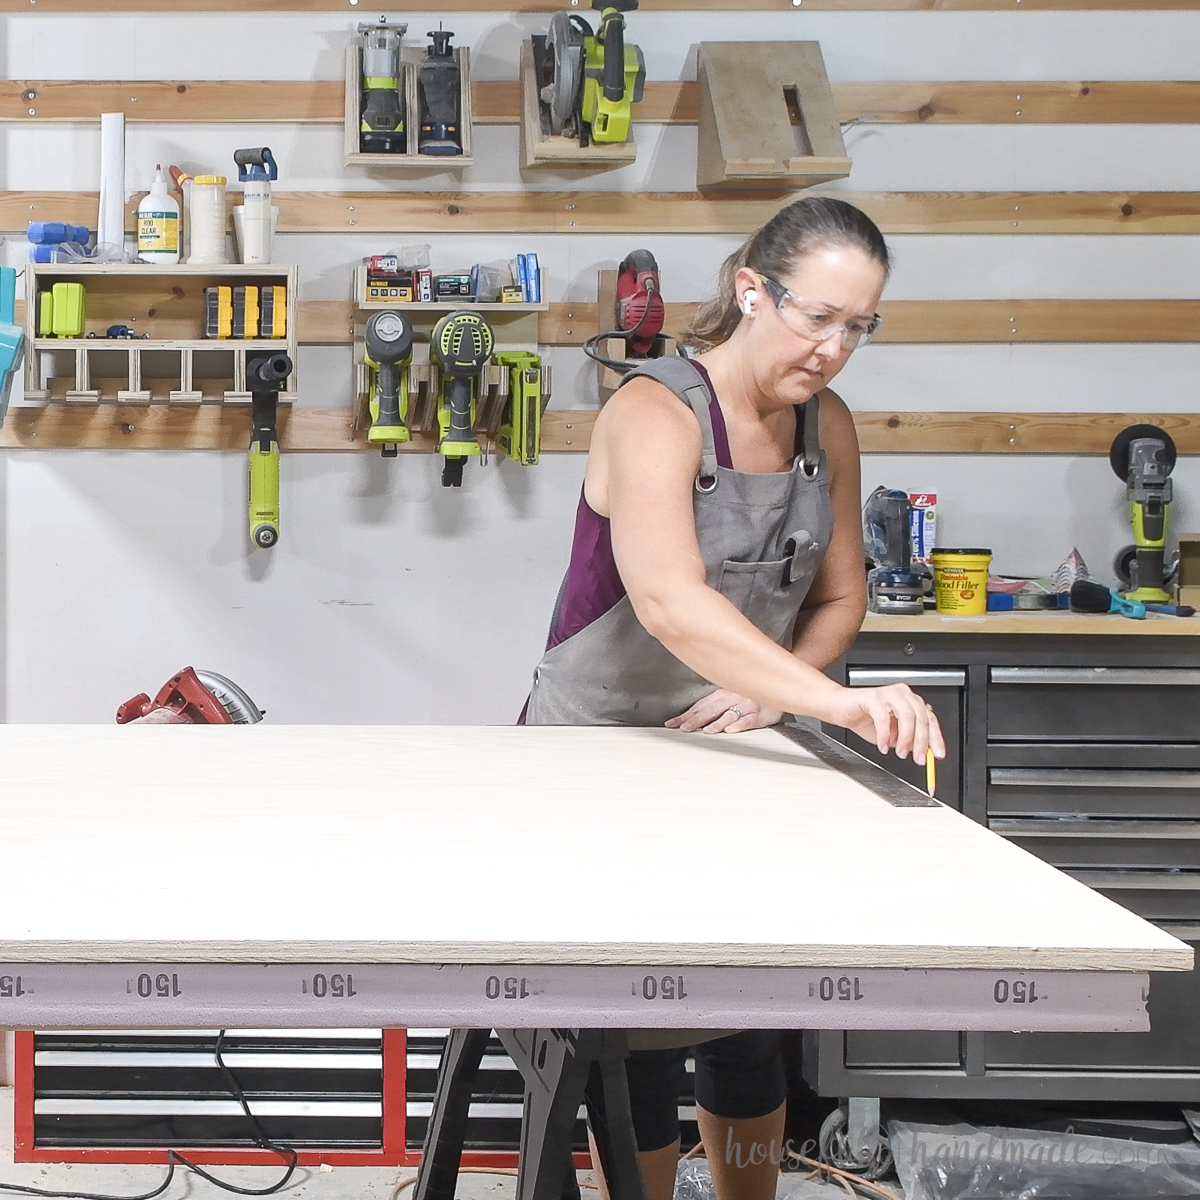
STEP 3- Measure out your first cut
Based on your plywood layout, decide on your first cut.
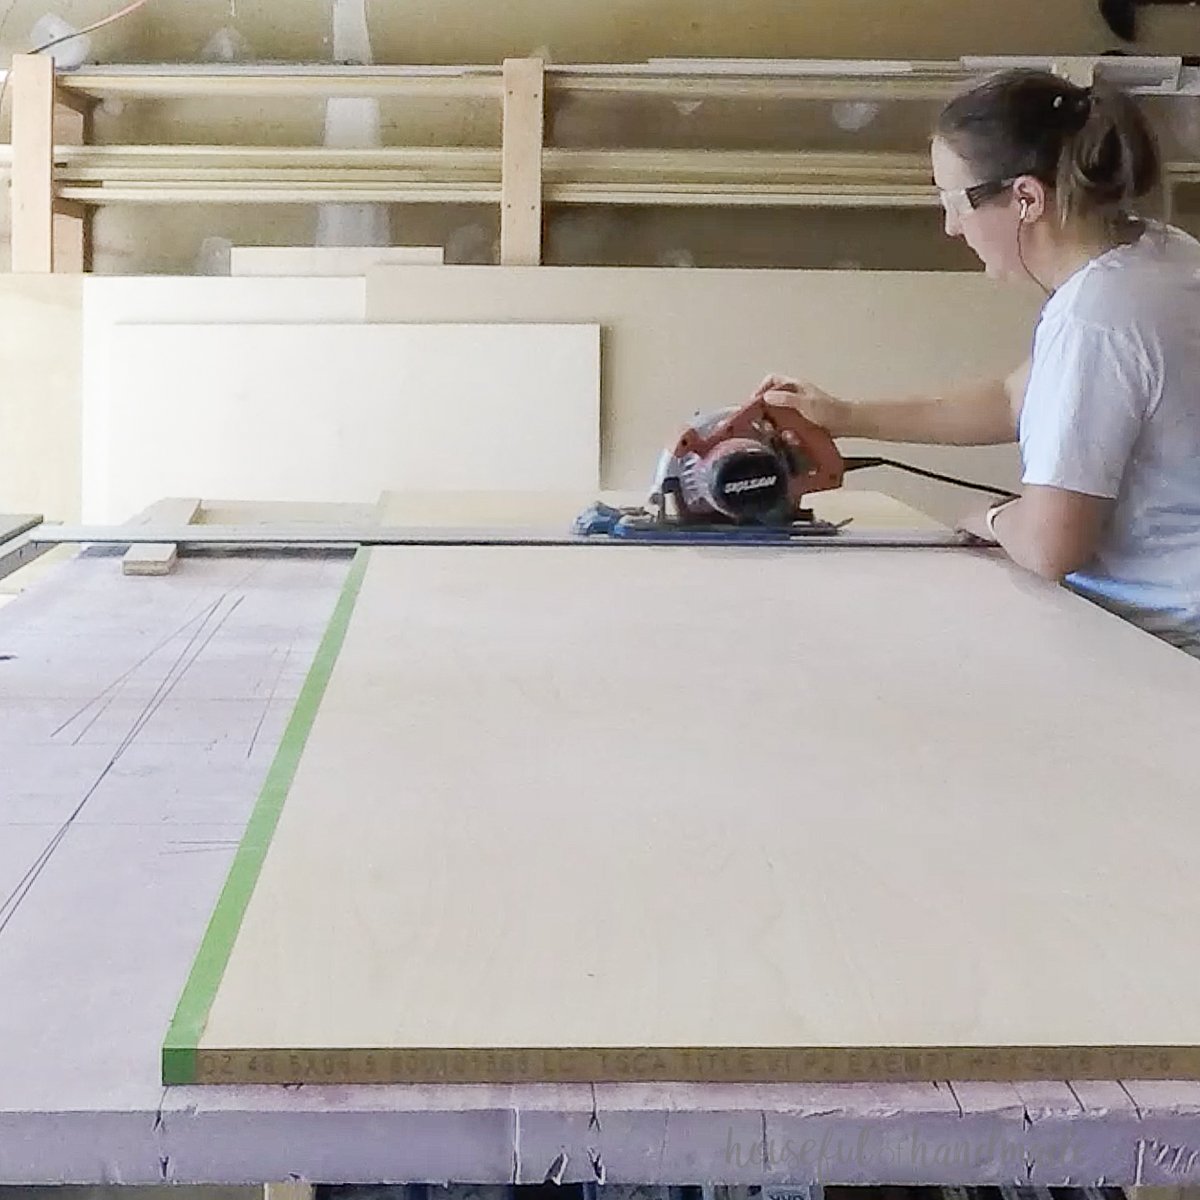
I like to break down the plywood into manageable pieces. Then I can further breakdown those smaller pieces into the final sizes.
See an example of how I would breakdown a sheet of plywood with lots of pieces below.

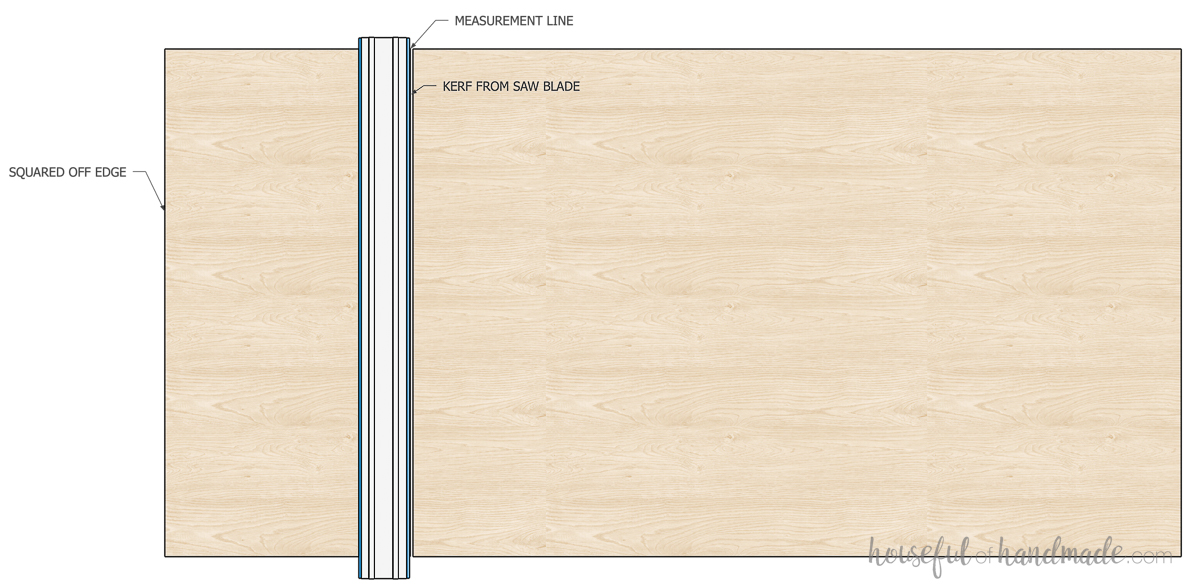
It is important to only measure and mark 1 cut at a time. Every time you make a cut the area the saw blade goes is taken out of the lumber. This is known as kerf.
If you measure and mark all the lines you want to cut out, your pieces will be slightly smaller after the first cut because of the amount of kerf removed.
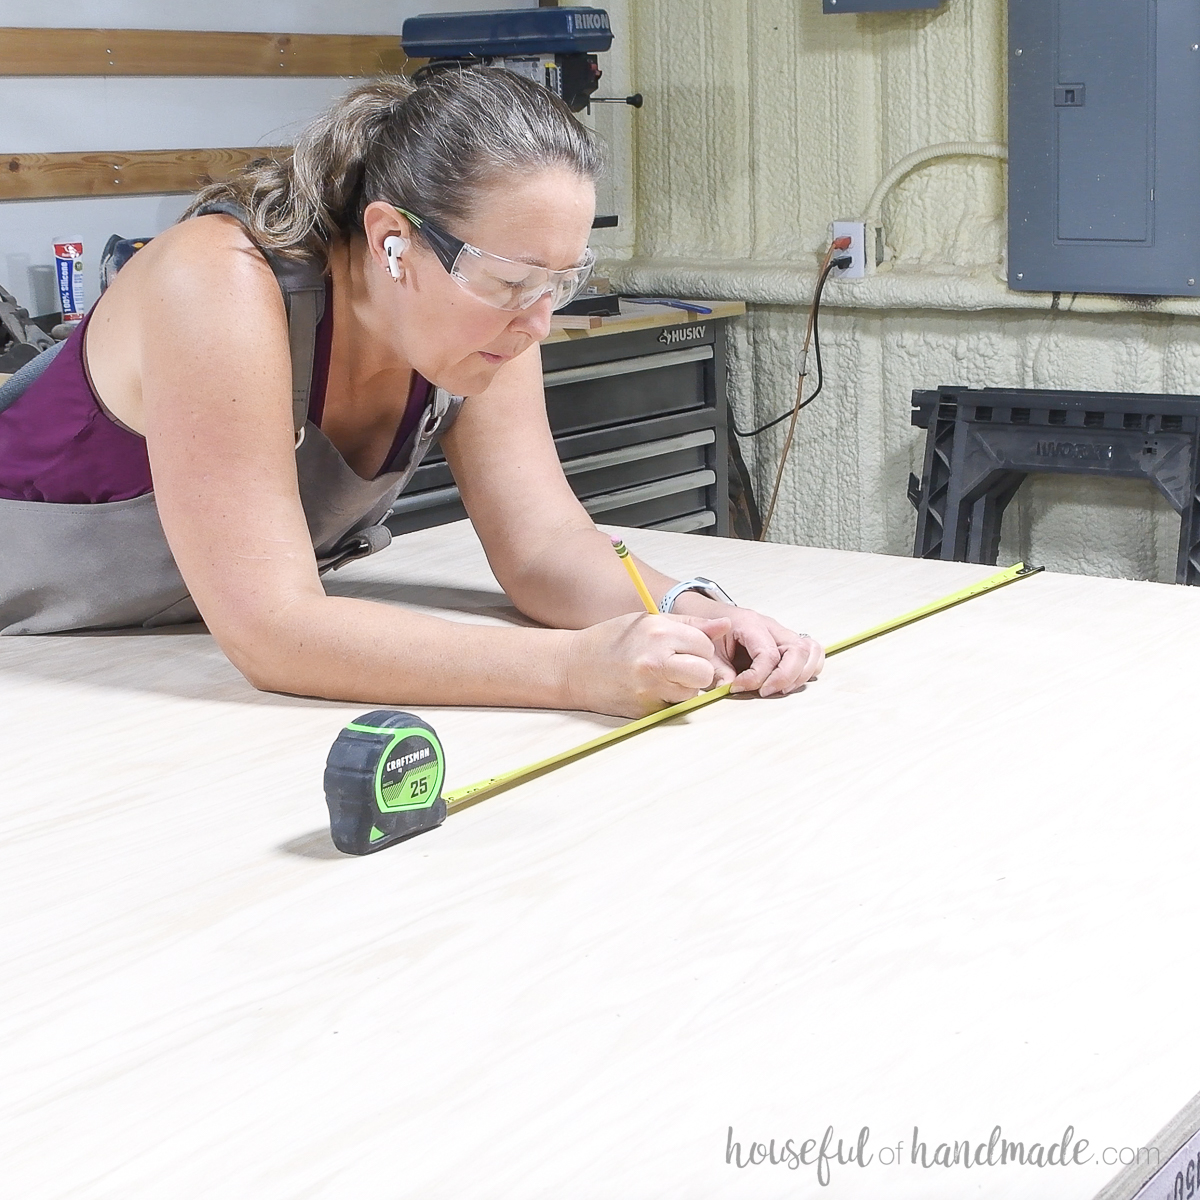
Instead, measure, mark, and cut one piece. Then measure from the new edge for your next piece. Mark then cut and repeat.
STEP 3- Line up your guide
I like to measure and draw a line where I want to cut. Then you can line up your straight edge or rip cut guide on that line.
When lining up a guide, your blade should always be on the outside of the area you measured for. If you measured from the left. Line the guide up so the saw is to the right of the line.
This way the kerf of your saw is just to the right of your measurement line and you will have an accurate plywood cut.
Clamp your guide (if needed).
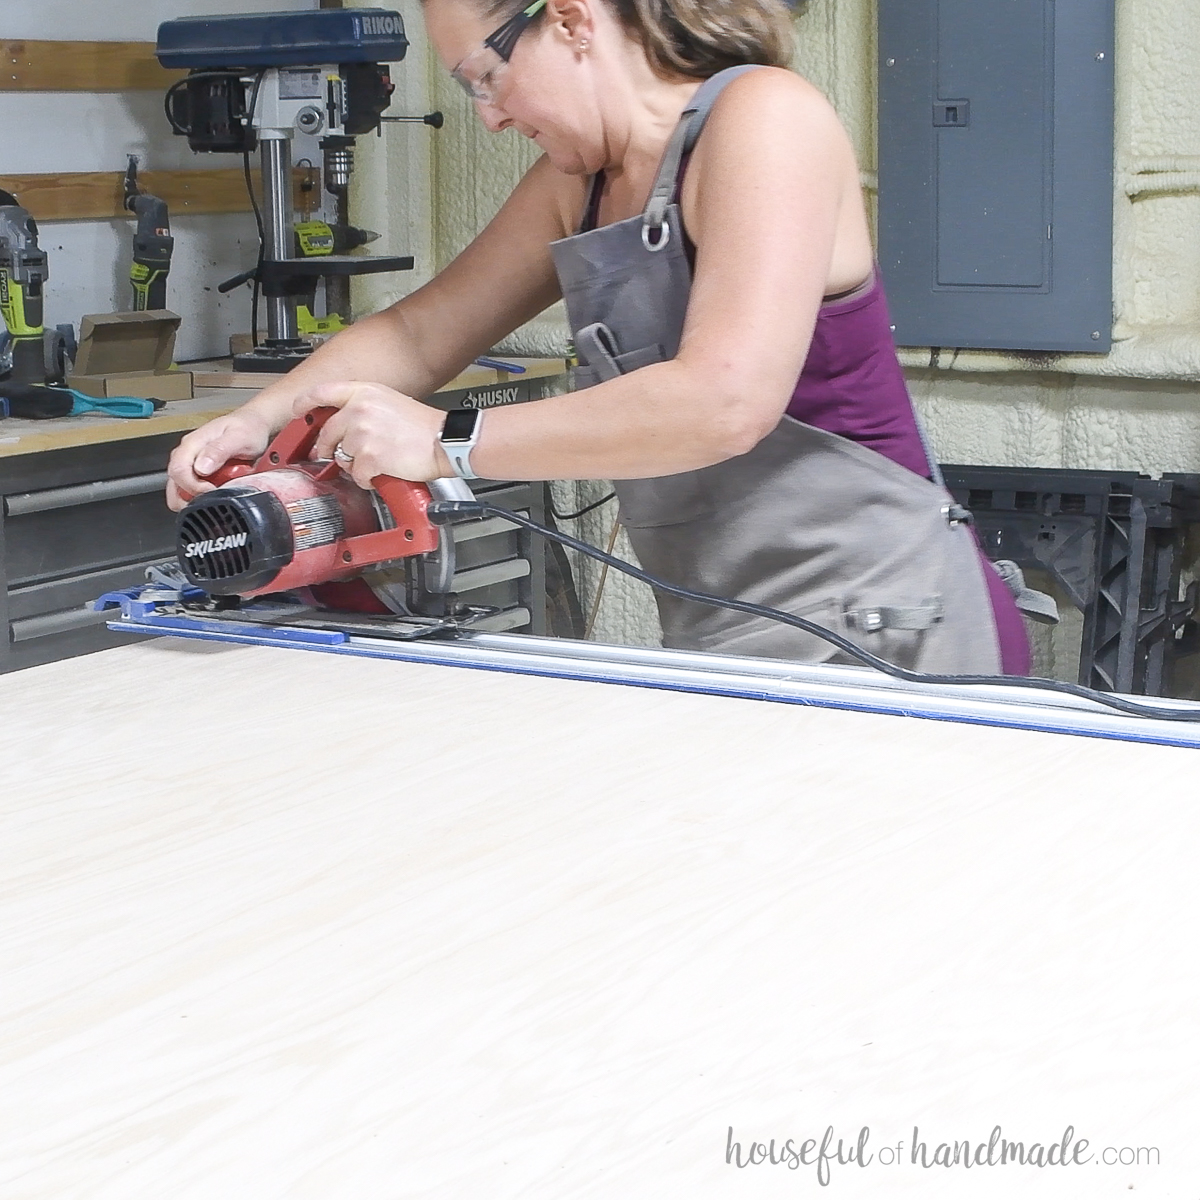
STEP 4- Make your cut
Start the blade by pressing the safety button and pulling back on the trigger. Get the blade to full speed before pressing it into the wood.
Never start the blade when it is touching the plywood, it can cause the circular saw to jump which is dangerous and will create a huge chip in your wood.
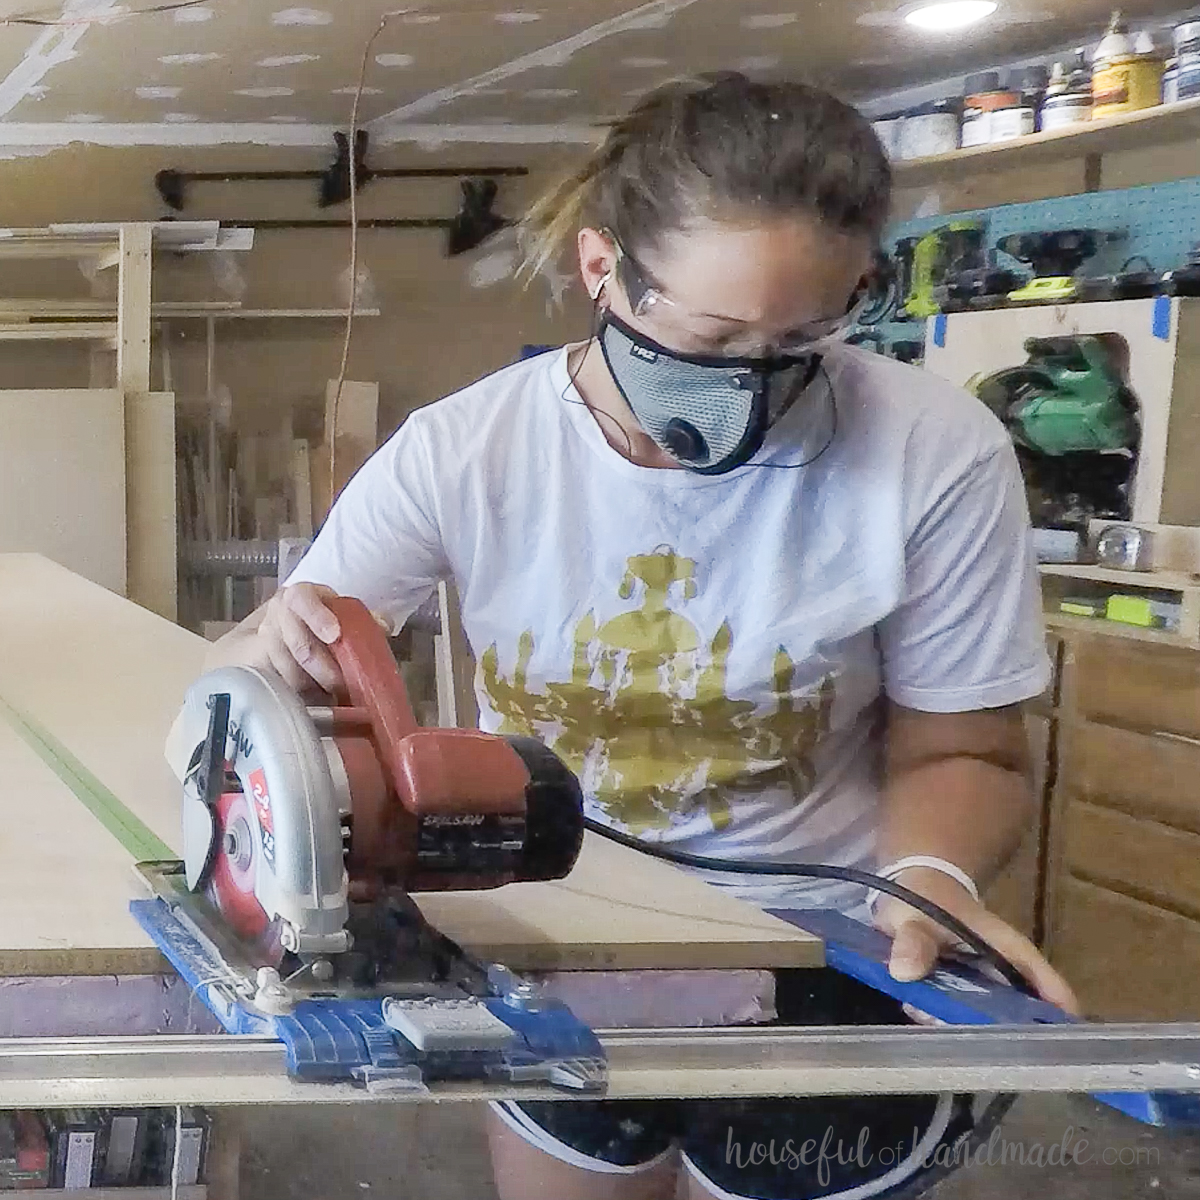
Cutting with an edge lip guide
If using an edge lip guide, make sure to keep the entire edge of the guide firmly pressed up against the edge of you plywood. Also, keep the base of the circular saw firmly against the top of the wood.
Move it at a nice consistent speed as you slide it down the edge of the plywood while the saw cuts.
As you come to the edge, it can be trickier to keep the guide along the edge so don’t rush the last few inches. Focus on the back of the guide as the blade exits the plywood.
Then shut off the blade fully before placing the saw down.
Cutting with a straight edge guide
If using an straight edge guide, make sure the circular saw is seated evenly in the track or up against the edge.
Grip the handle on the top of the circular saw with your non-dominant hand to keep the circular saw straight up-and-down as you cut. Tilting it will cause a slight angle to the blade which you do not want.
Keep the base of the saw firmly seated in the guide or up against the top of the plywood.
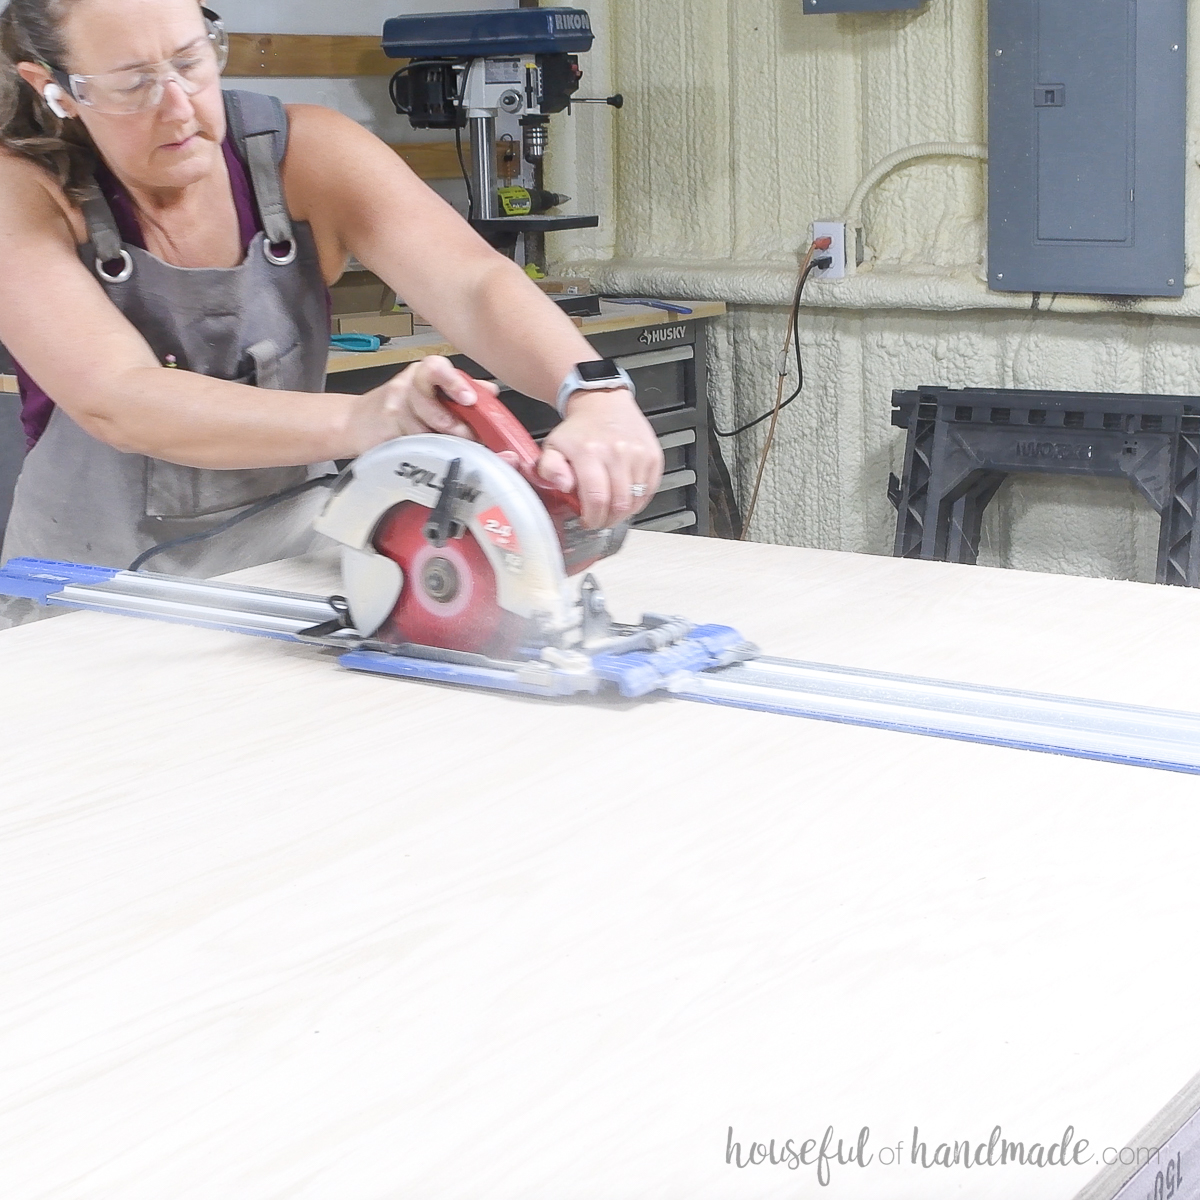
If your cross cut is longer than your arms (cross cutting a full 48″ is to long for me), go as far as you can then pull the blade back an inch before turning off the blade.
Walk around the plywood without moving the saw or guide. Then grip the saw and restart it with, making sure the blade is not touching the plywood.
Once the blade is at full speed, glide the saw along the rest of the guide to finish the cut.
Shut off the blade fully before placing the saw down.

STEP 5- Make your second cut
Now you will either make a second cut off your sheet of plywood or make a second cut on the first piece to get it to final size.
I like to cut the sheet of plywood down into smaller sections that I can easily manage myself. Then I move them off the rigid foam so I can cut down each smaller section into the final pieces one at a time.
When using a straight edge guide to cut shorter pieces, you will need to place a piece of plywood toward the back of the guide so that it stays flat against the plywood and does not tilt.
You can use a scrap of plywood or just another already cut piece. Make sure to place it at least 5-6″ away from the piece you are cutting so you do not accidentally cut into it.
STEP 6- Finishing your cuts
Continue to cut out all the pieces from your woodworking plan.
I like to label the pieces on the back of the board as I cut and stack them so I can easily find them during the assembly process.
Also, make sure to read through the plans fully to see if there are any pieces that you may want to wait to cut-to-fit.
Since all boards are not exactly the measurement they are labeled as, cutting boards to fit when they span over multiple other boards will ensure a perfect fit.
You did it!
You have successfully cut out the plywood you need for your project. Now you can feel confident choosing any build, with or without plywood.
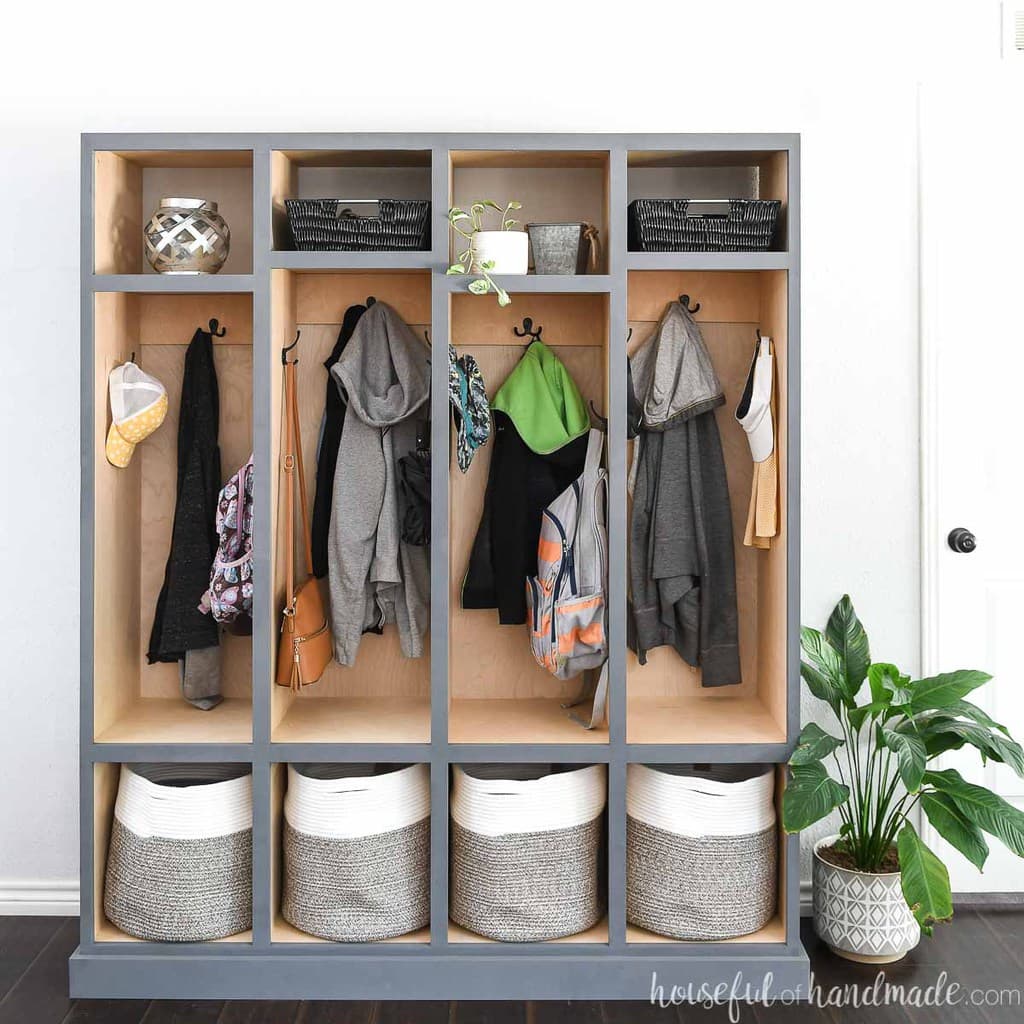
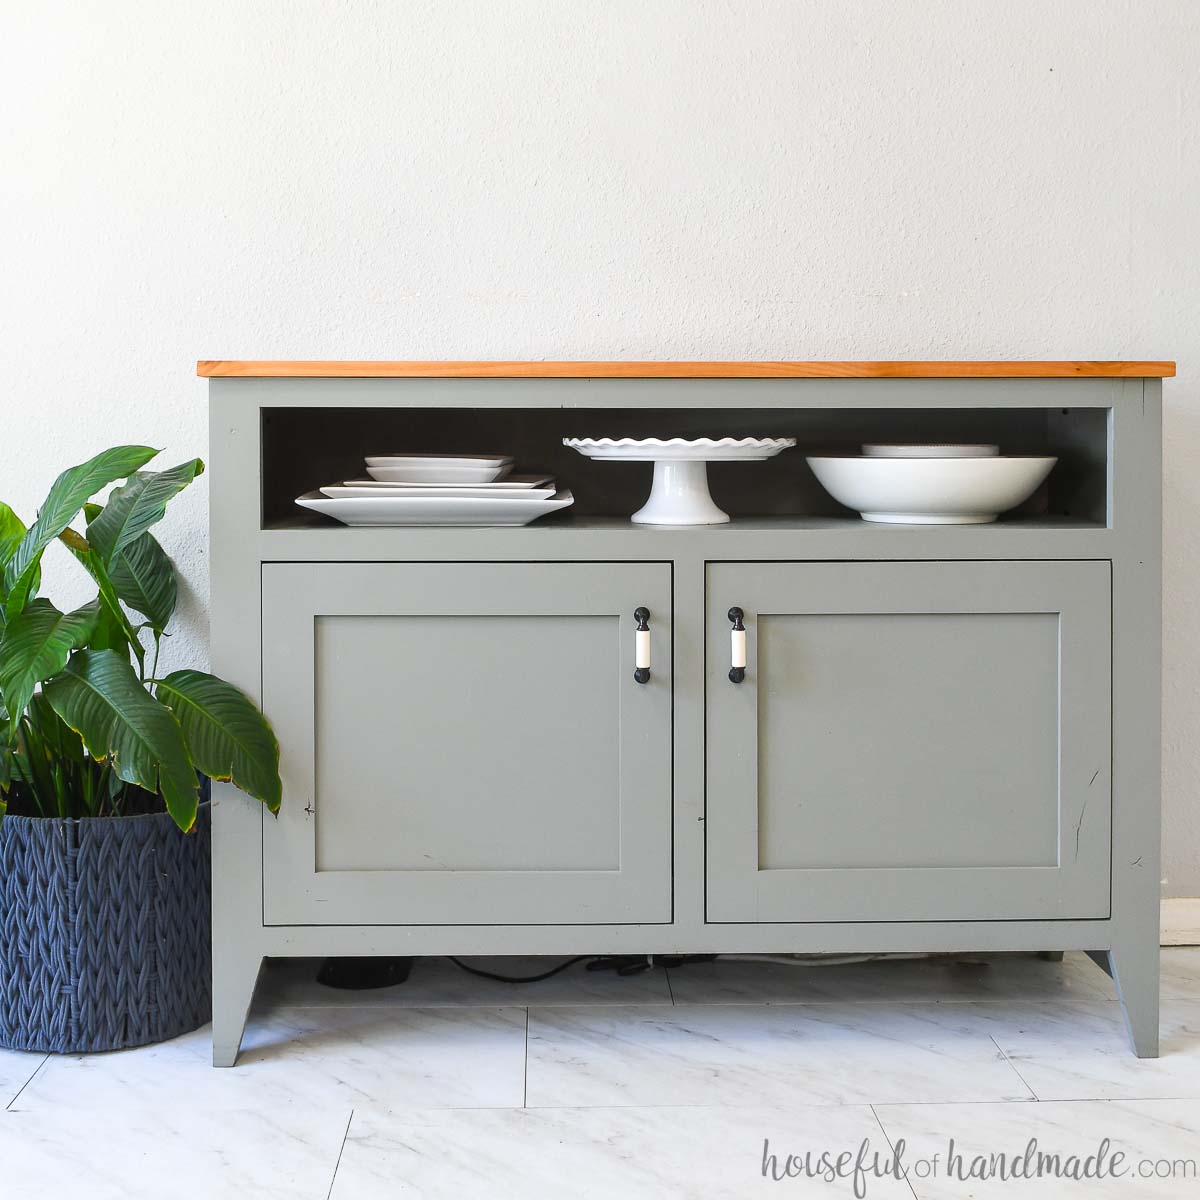
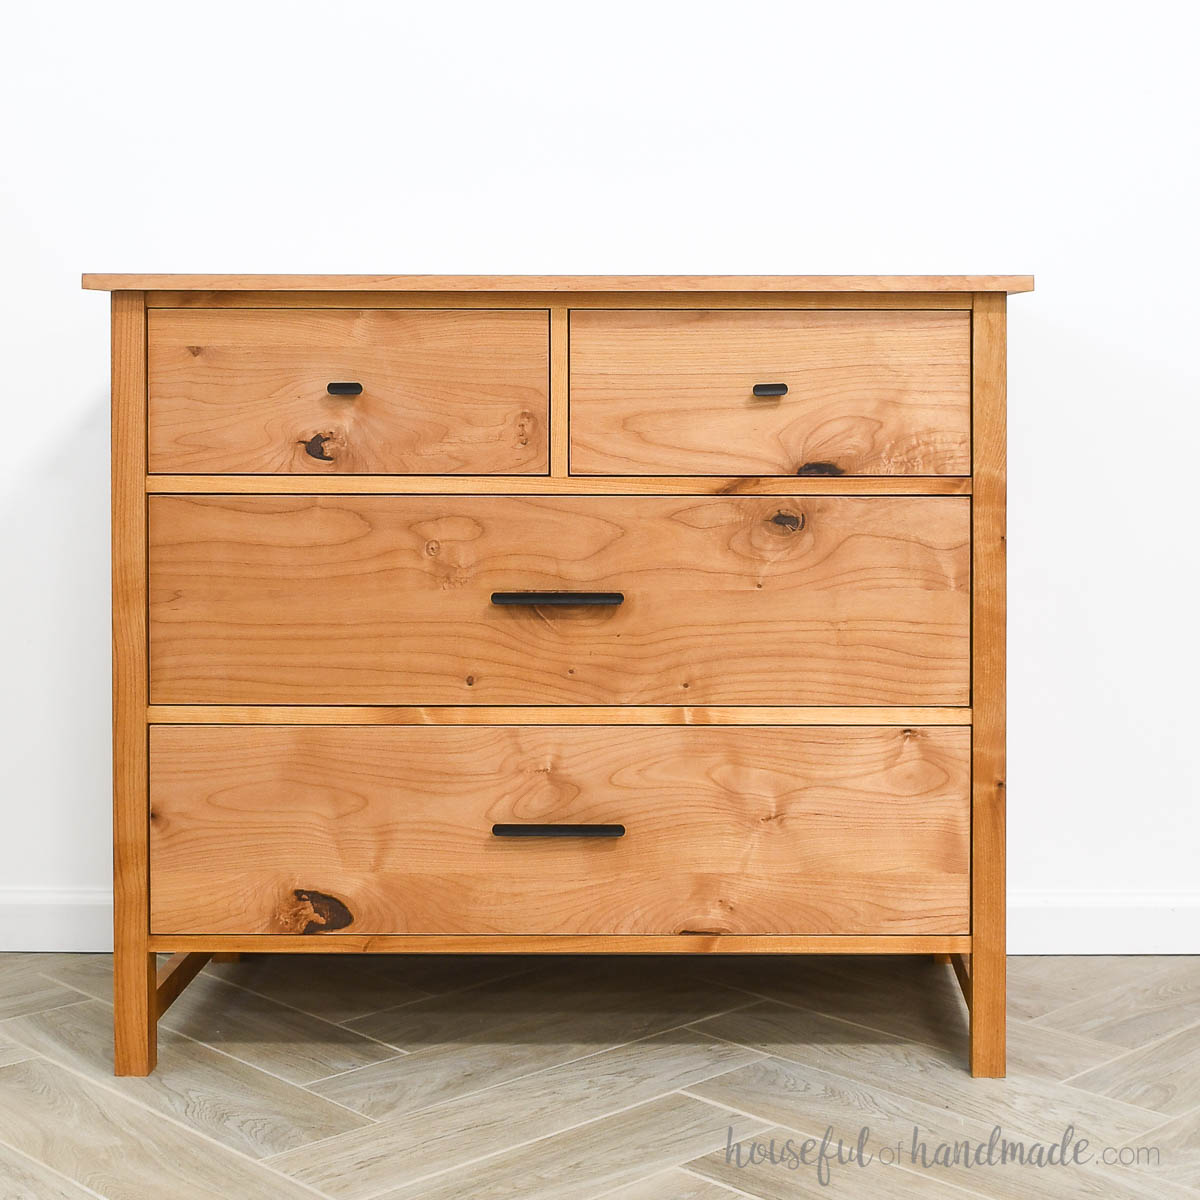
Fun Things to Build with Plywood
Now that you are a plywood cutting pro, check out these projects to build!
Happy building!
