
I love my stand mixer, but hate that the paddles and attachments take up too much space in my drawers. And the whisk barely fits anyway.
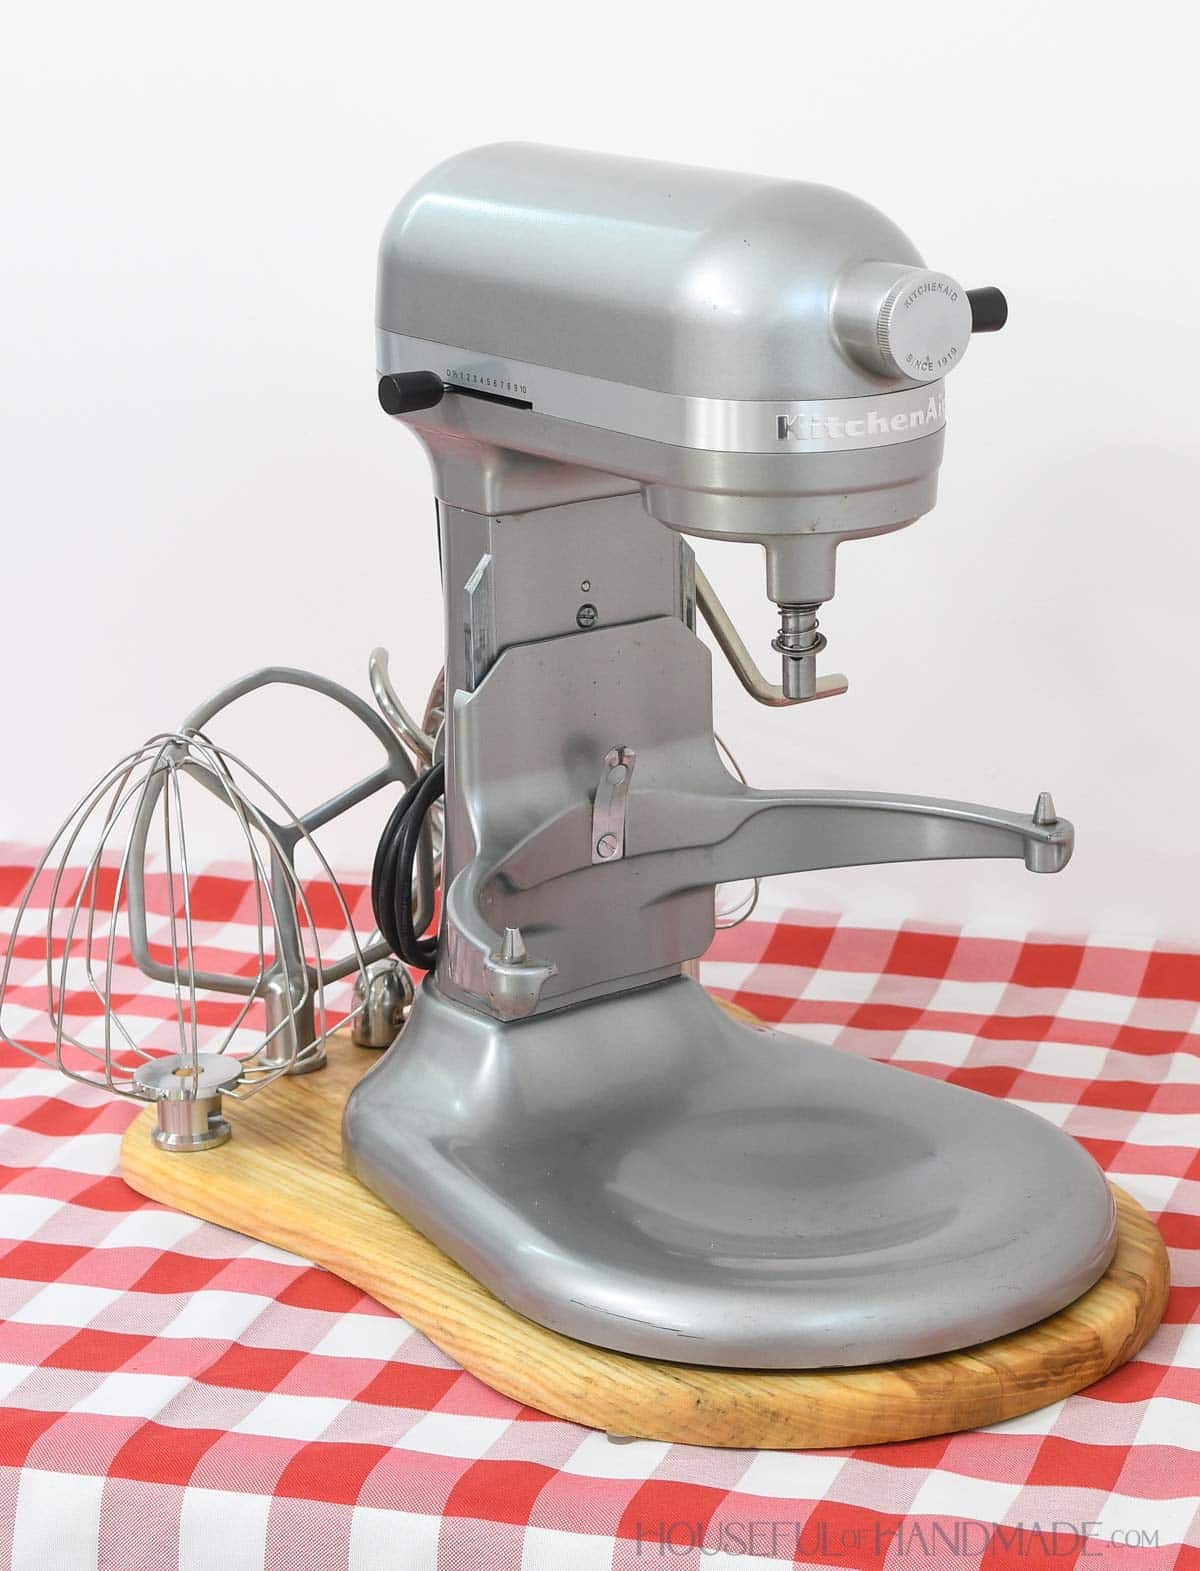
So since I already dedicate counter space to my stand mixer, why not make it beautiful and add some storage for all those attachments.
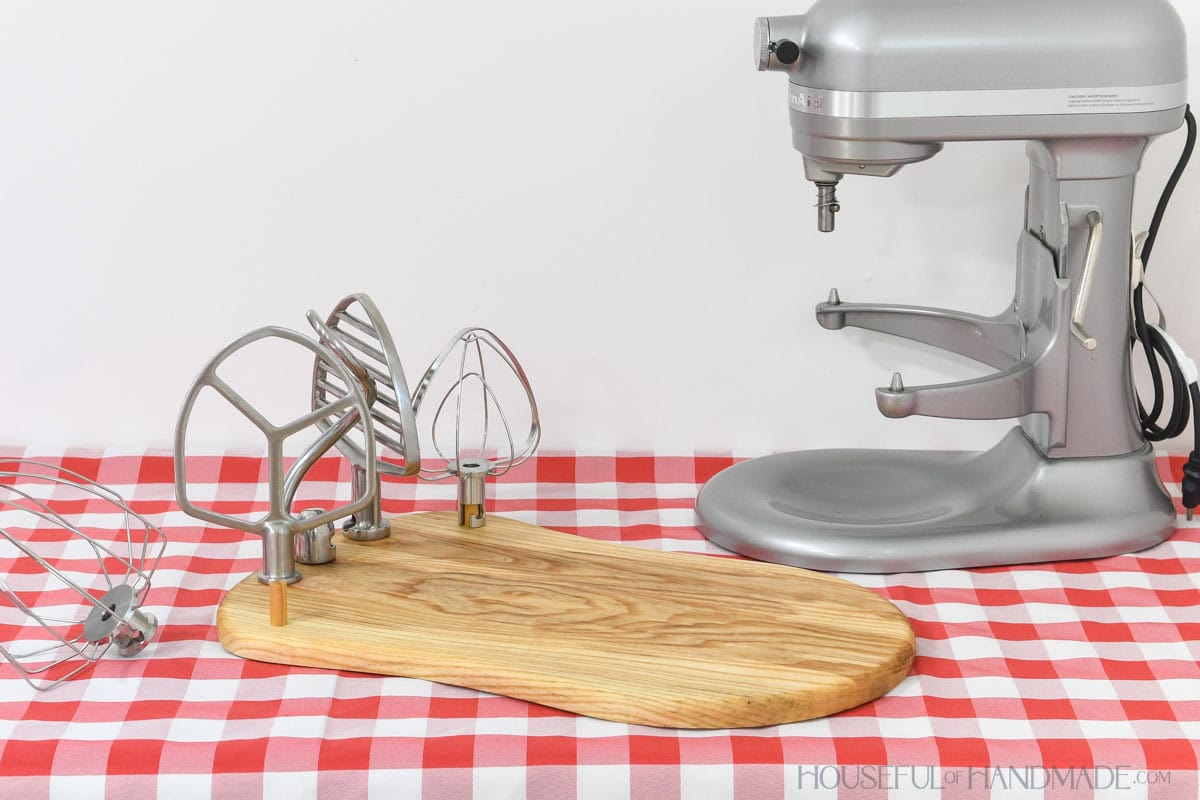
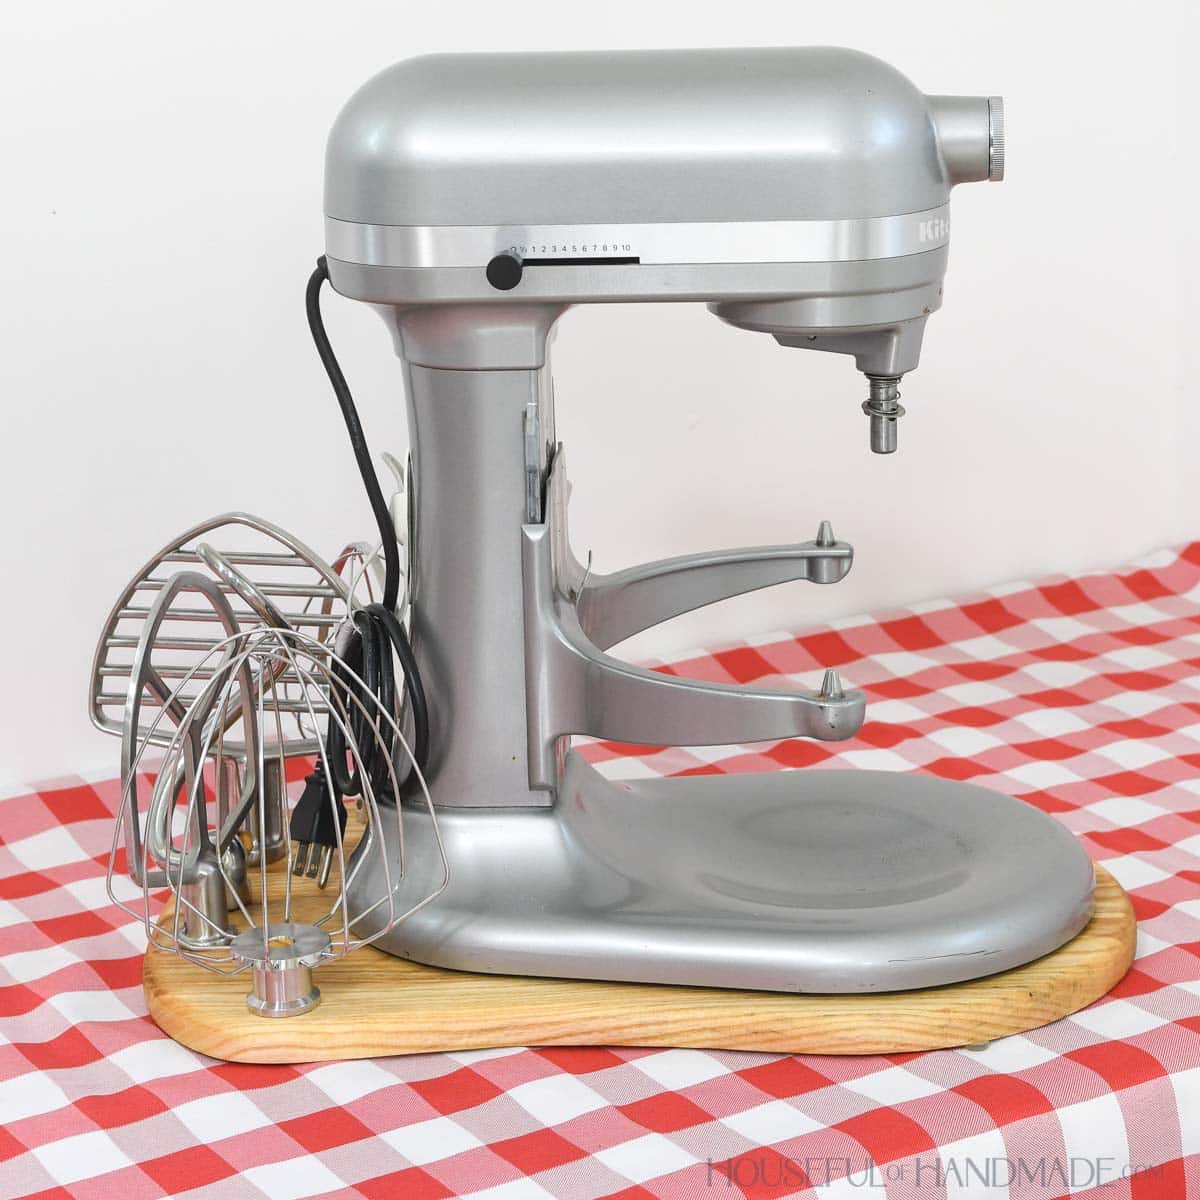
This simple to build tray is the perfect home for your mixer, while organizing up to 5 different attachments. And it would make a great DIY gift for the baker in your life.
This post may contain affiliate links. As an Amazon Associate I earn from qualifying purchases. Click here to read my full disclosure policy.
Mixer Storage Ideas
This simple project may just become your new favorite storage.
Without taking much more space than a stand mixer already does, you can add room to organize the paddles, whisks and kneaders.
They stand easily on dowels in the tray to always be ready and no longer get all tangled up in a drawer.
How to Build a Stand Mixer Tray
Tools & Materials
Recommended Tools:
- Miter saw
- I recently upgraded to this sliding miter saw (watch for it to go on sale), but previously used this inexpensive miter saw that I love.
- Jig saw
- Drill
- Clamps
- Trim router
- Sander
Supplies:
- Wood products
- 1x boards
- 7/16″ dowel
- Wood glue
- Silicone or felt feet
STEP 1- Create a template
I placed my stand mixer on a piece of butcher paper.
I wanted the tray 3/4″ wider than my base, so I used a 3/4″ thick scrap of wood as a spacer while I traced around it.
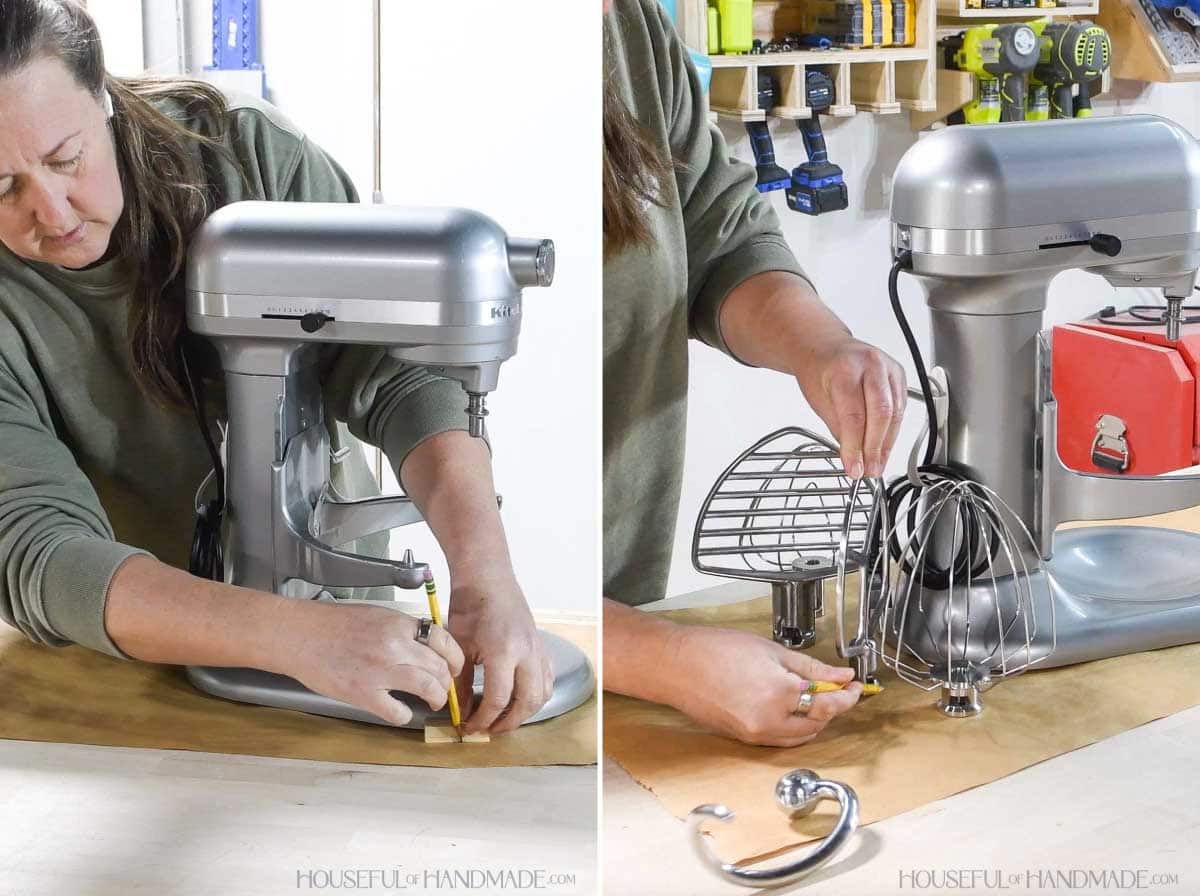
Then I put all the attachments behind it and traced around their bases.
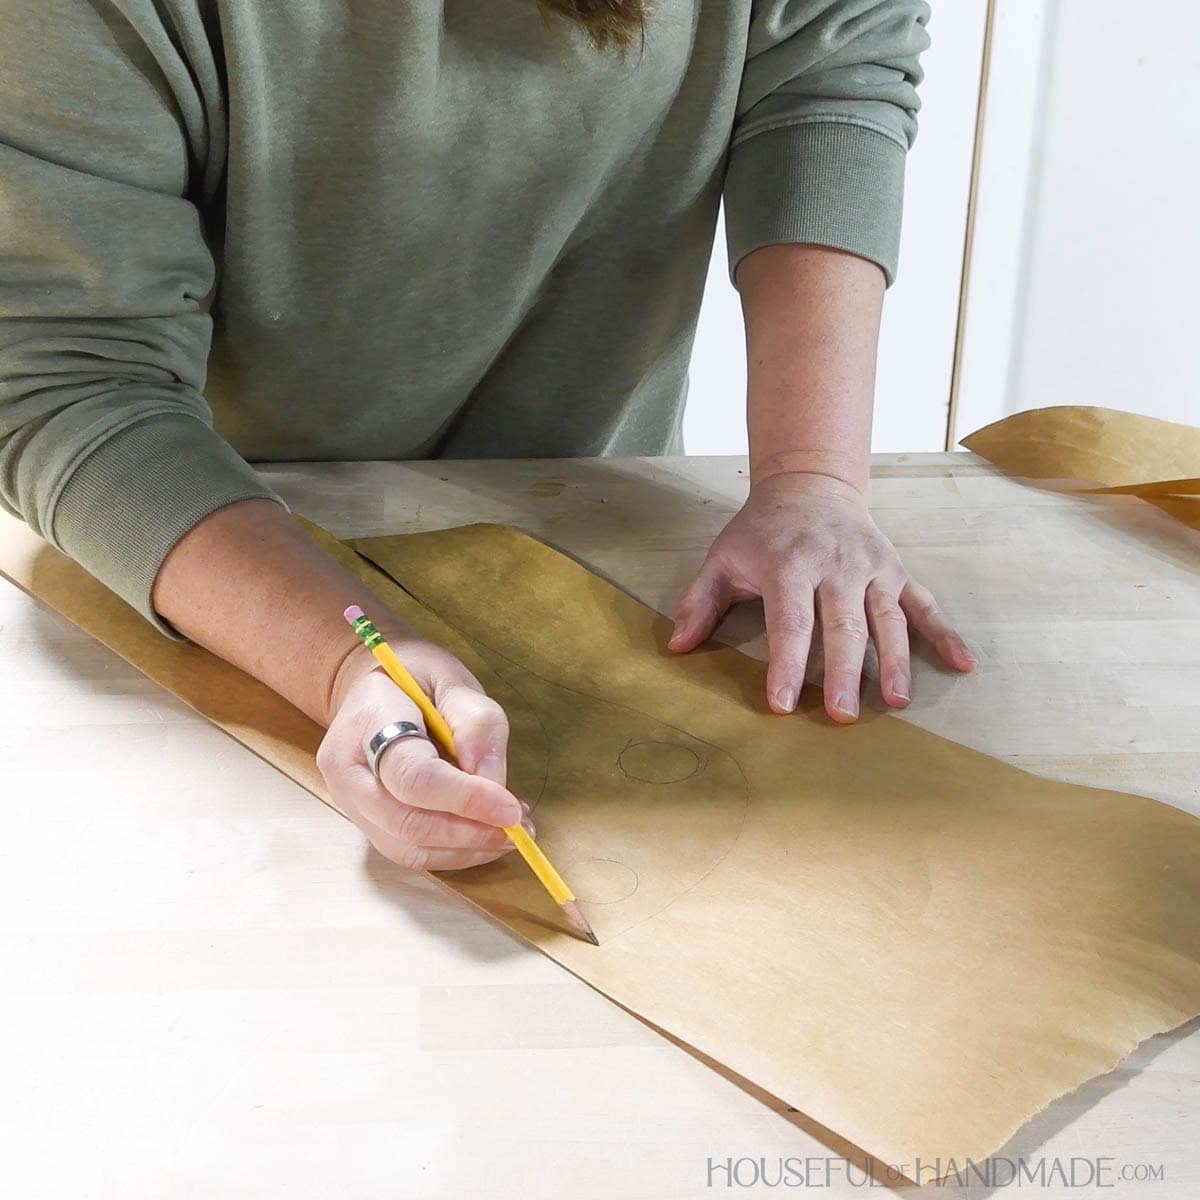
I drew an curve around the back to enclose all the attachment bases then cut out my template.
EXPERT TIP:
To make sure my tray is symmetrical, I folded it in half and trimmed the back section as need so they matched.
STEP 2- Cut the tray
Now that I knew how big my board needed to be. I found some 1x scraps, mine was hickory left over from building this X-leg bench.
I cut the scraps to the length I needed (plus a couple inches for wiggle room).
Then to make the scraps the width that I needed, I glued them together at the edge to make one large board.
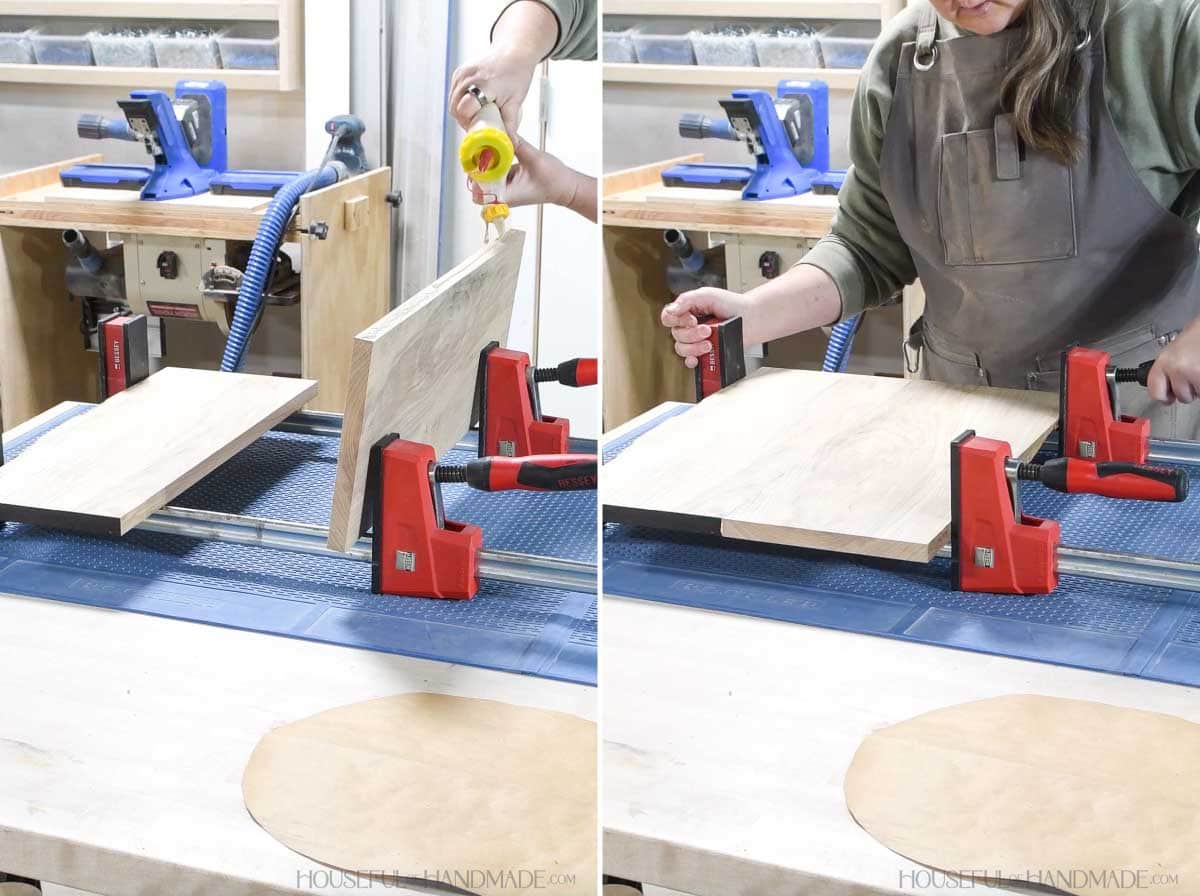
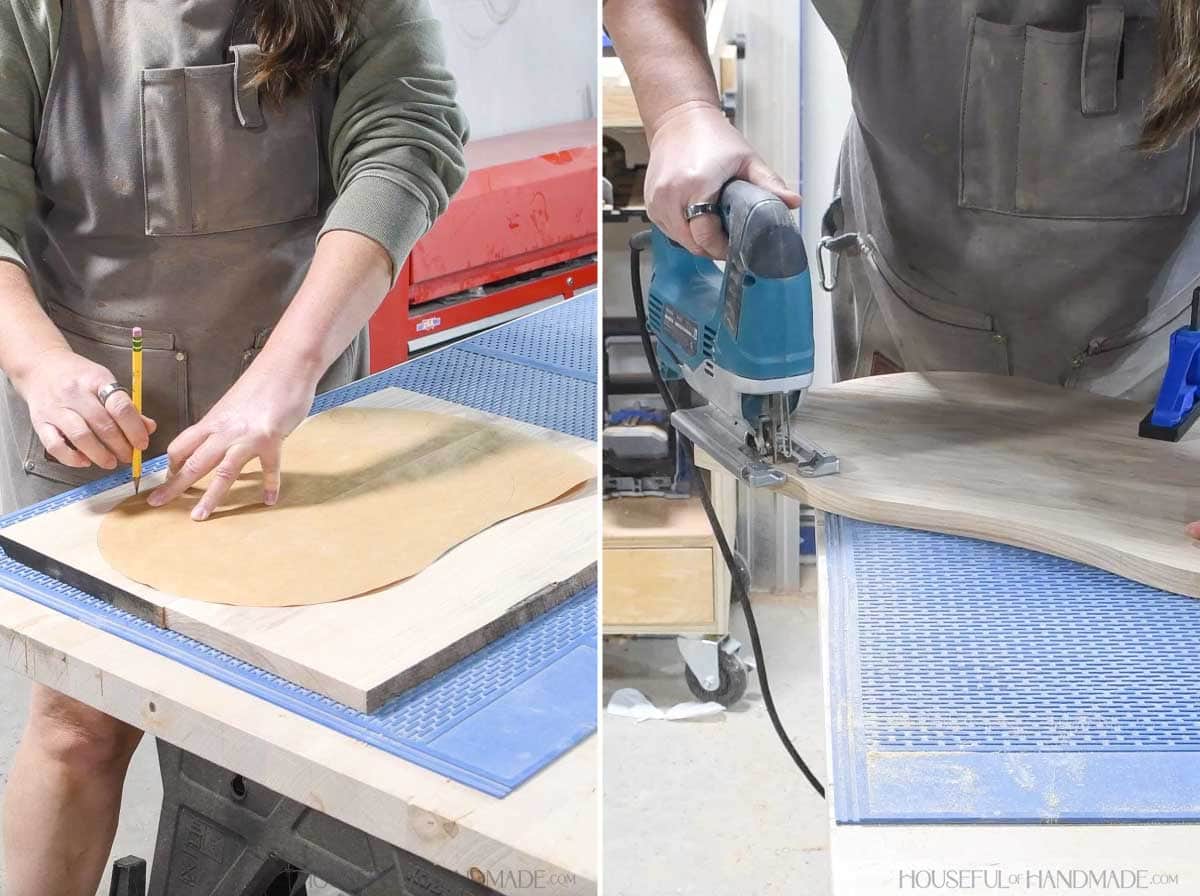
After the glue dried, I sanded everything. Then I traced my template on the board.
I cut the tray shape out with a jig saw. Then sanded the edges nice and smooth.
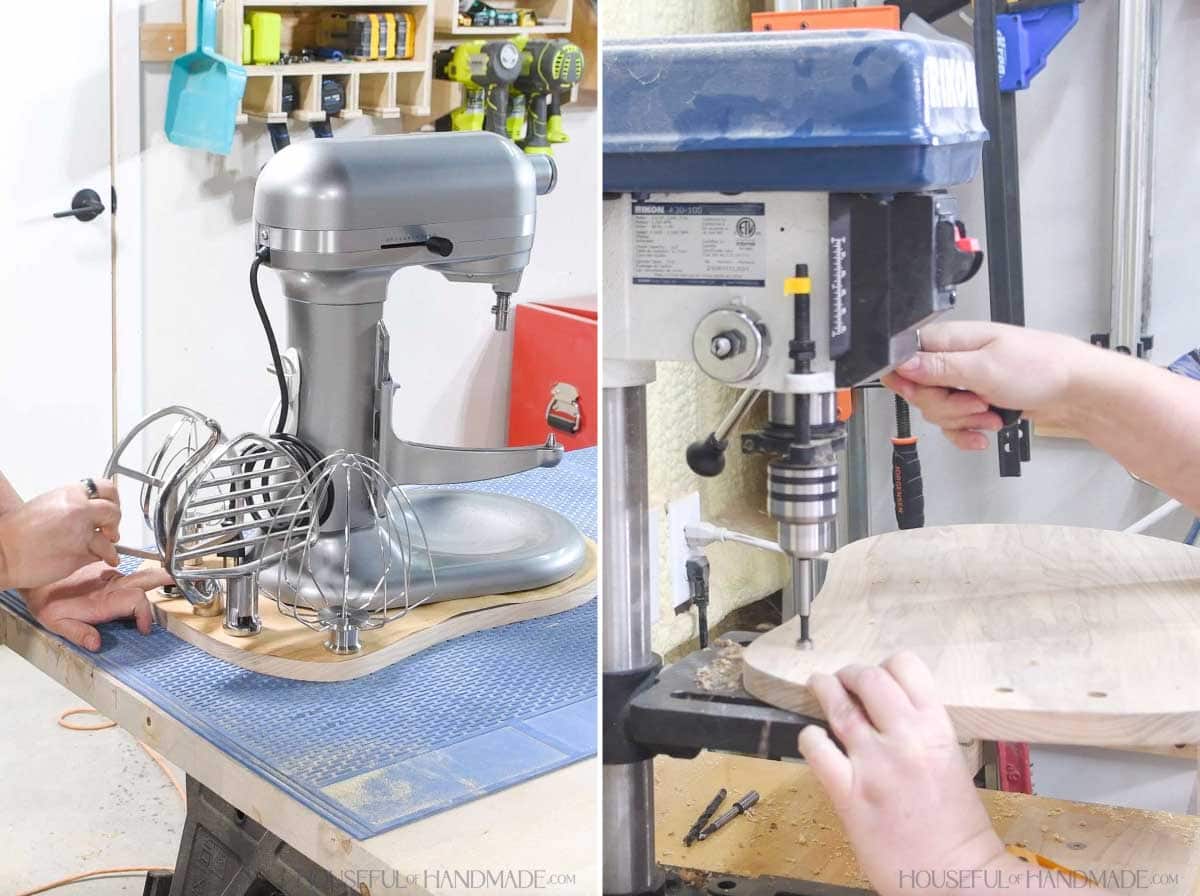
Finally, I double checked the placement of all my attachments to make sure I still liked where they were on the template.
Then I marked the center point of each of the bases. And drilled a 7/16″ hole 1/2″ deep at each point.
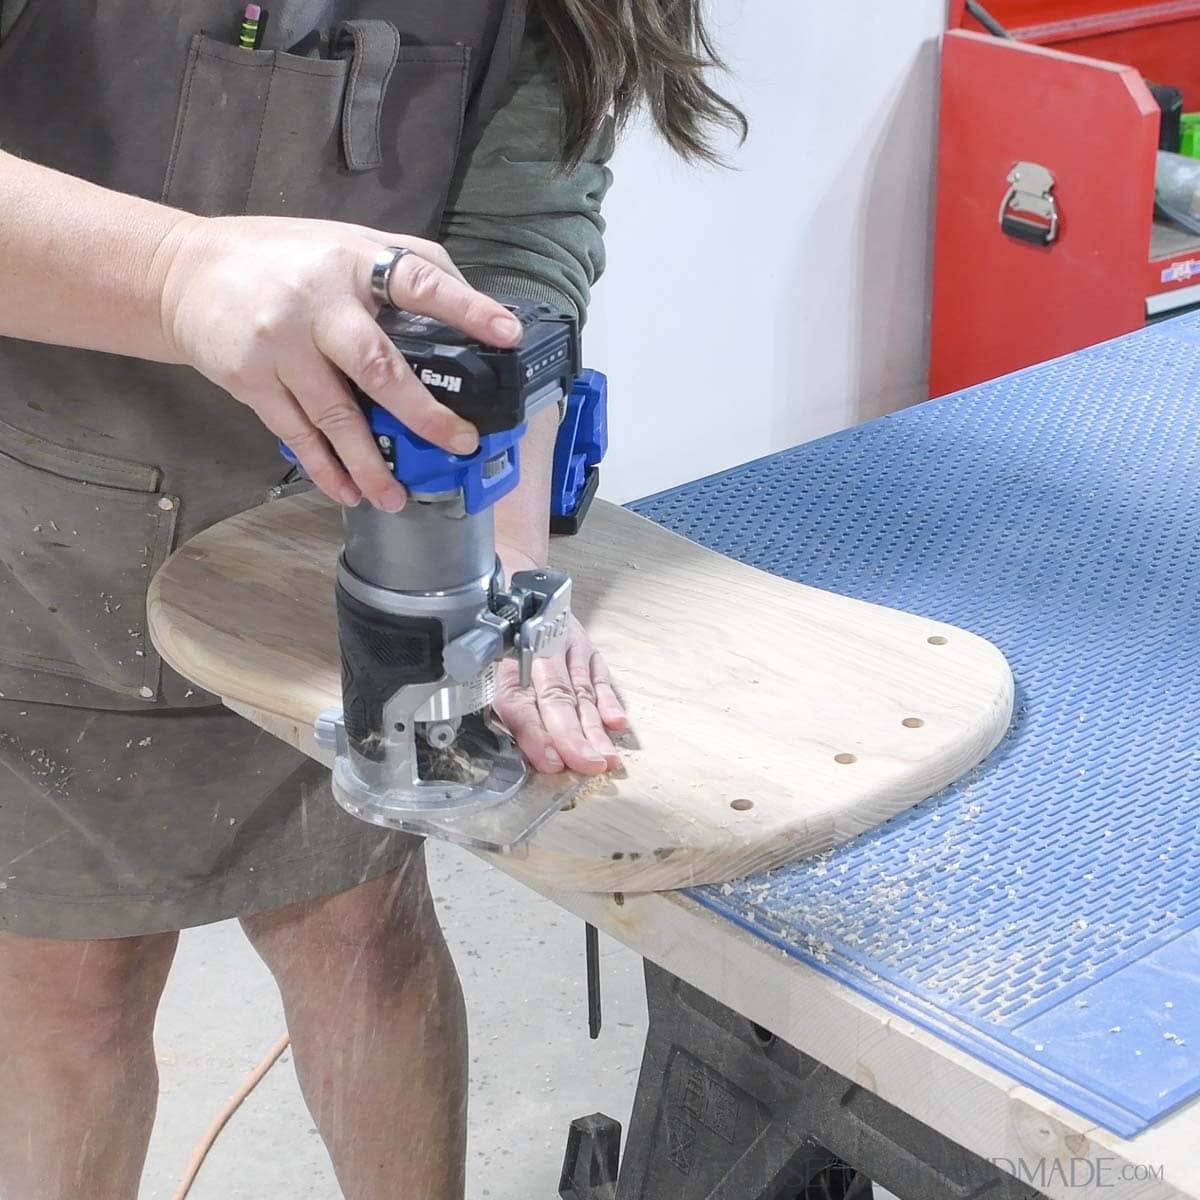
To soften the top edge, I added a round-over with my trim router. You could also do this with a sander.
STEP 3- Add dowels to hold attachments
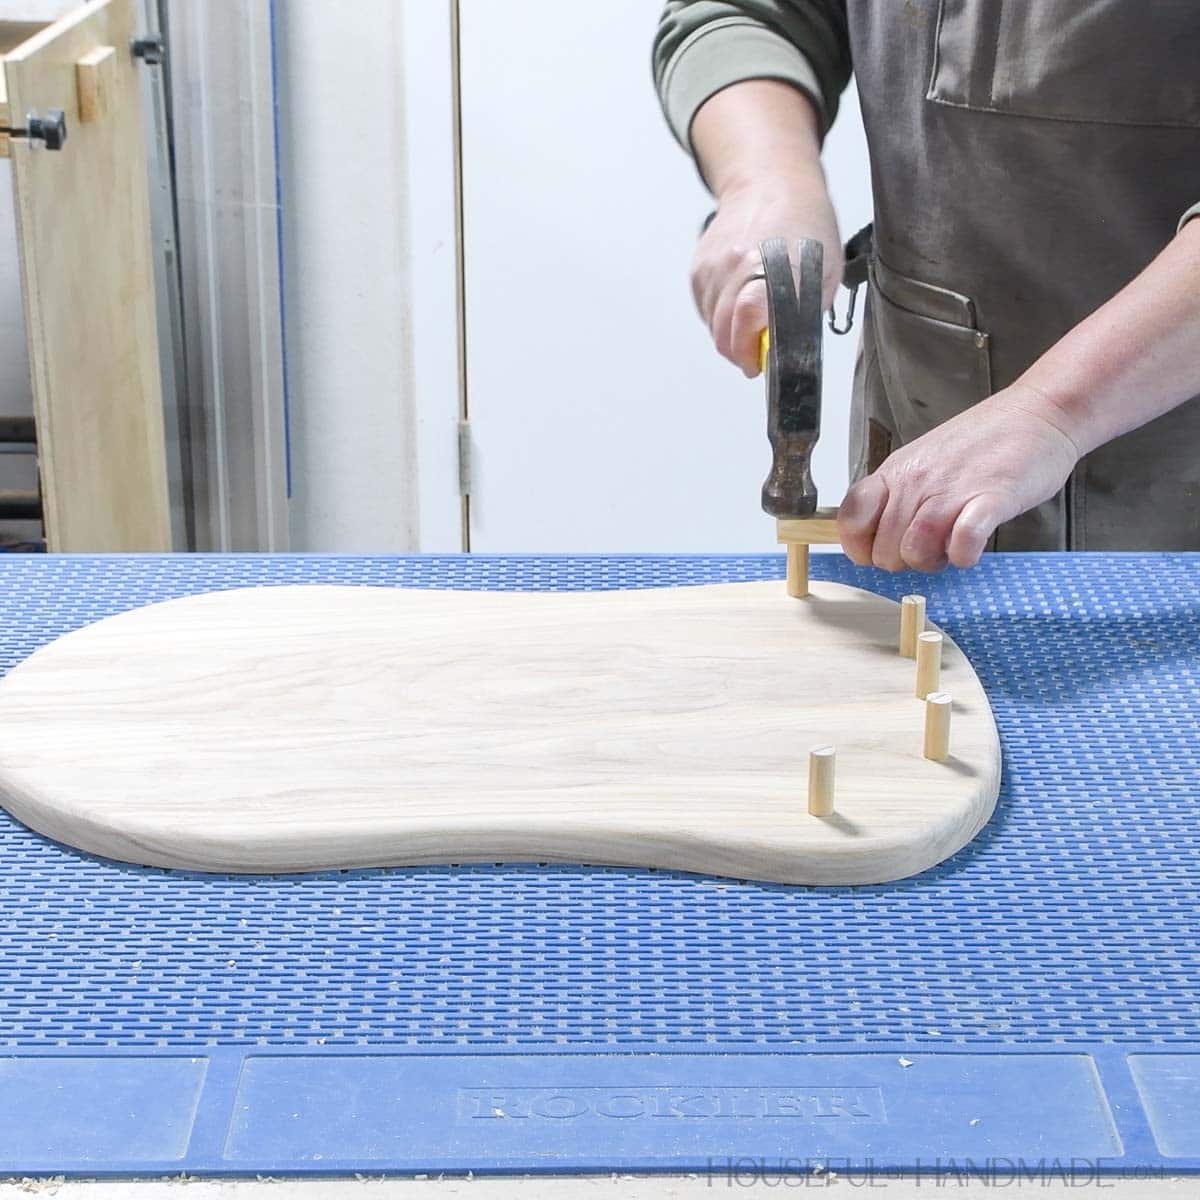
Cut the dowels to fit inside your attachment + 1/2″ to fit into the hole. Mine were 1 5/8″ long.
Then add glue inside the holes and tap the dowels all the way to the bottom.
STEP 4- Finish
Sand anything that needs it. Then stain/seal your tray.
This would also be a fun project to add a faux laser engraving to. The large flat surface is the perfect spot for personalizing.
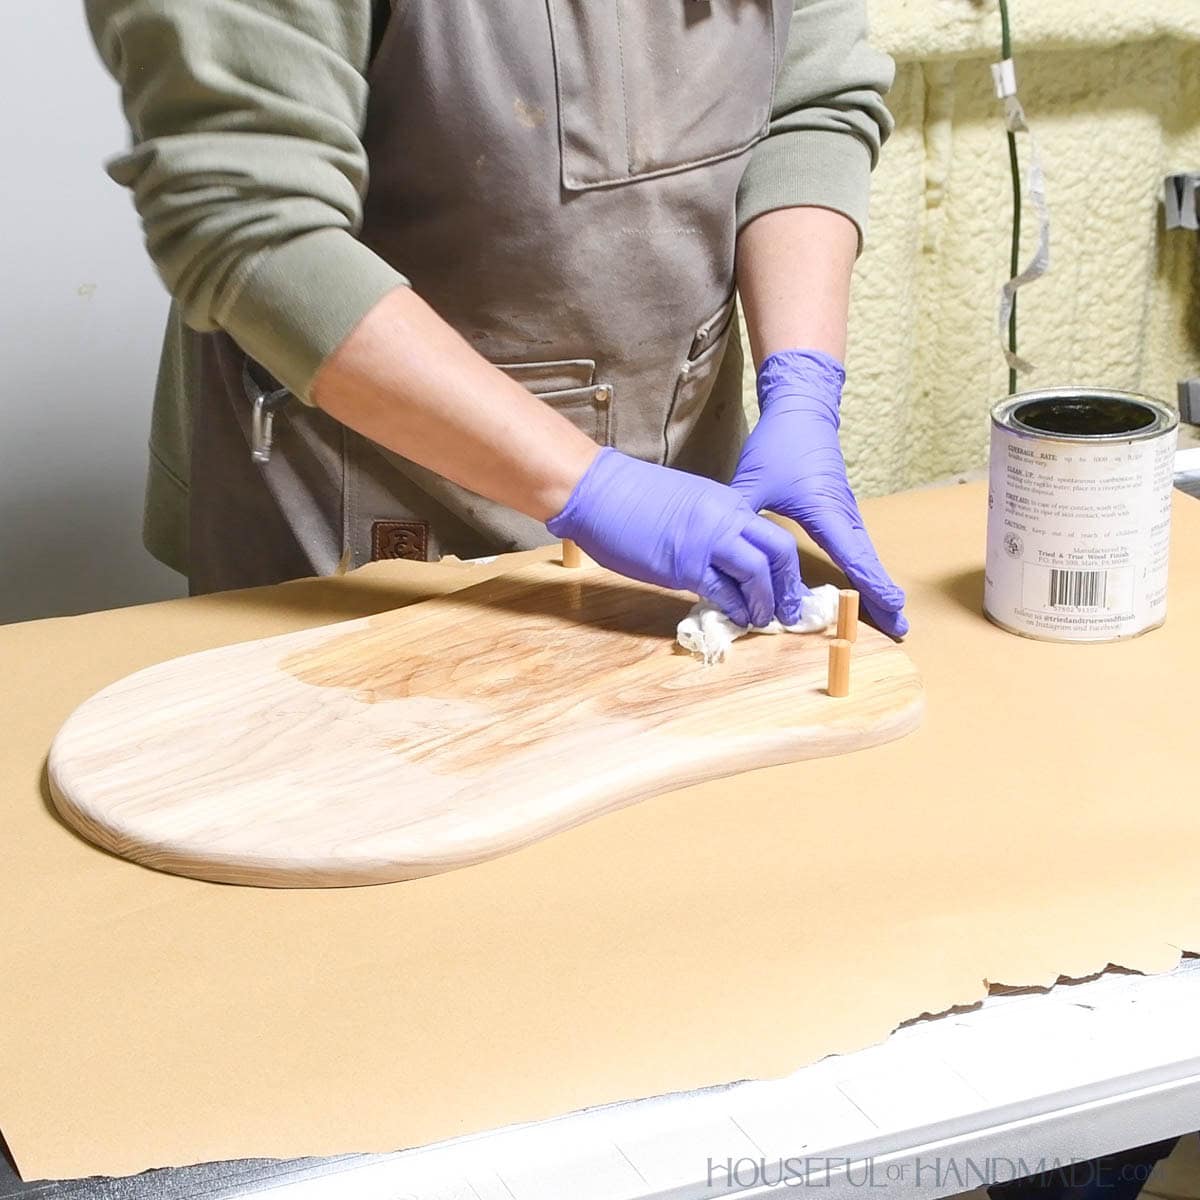
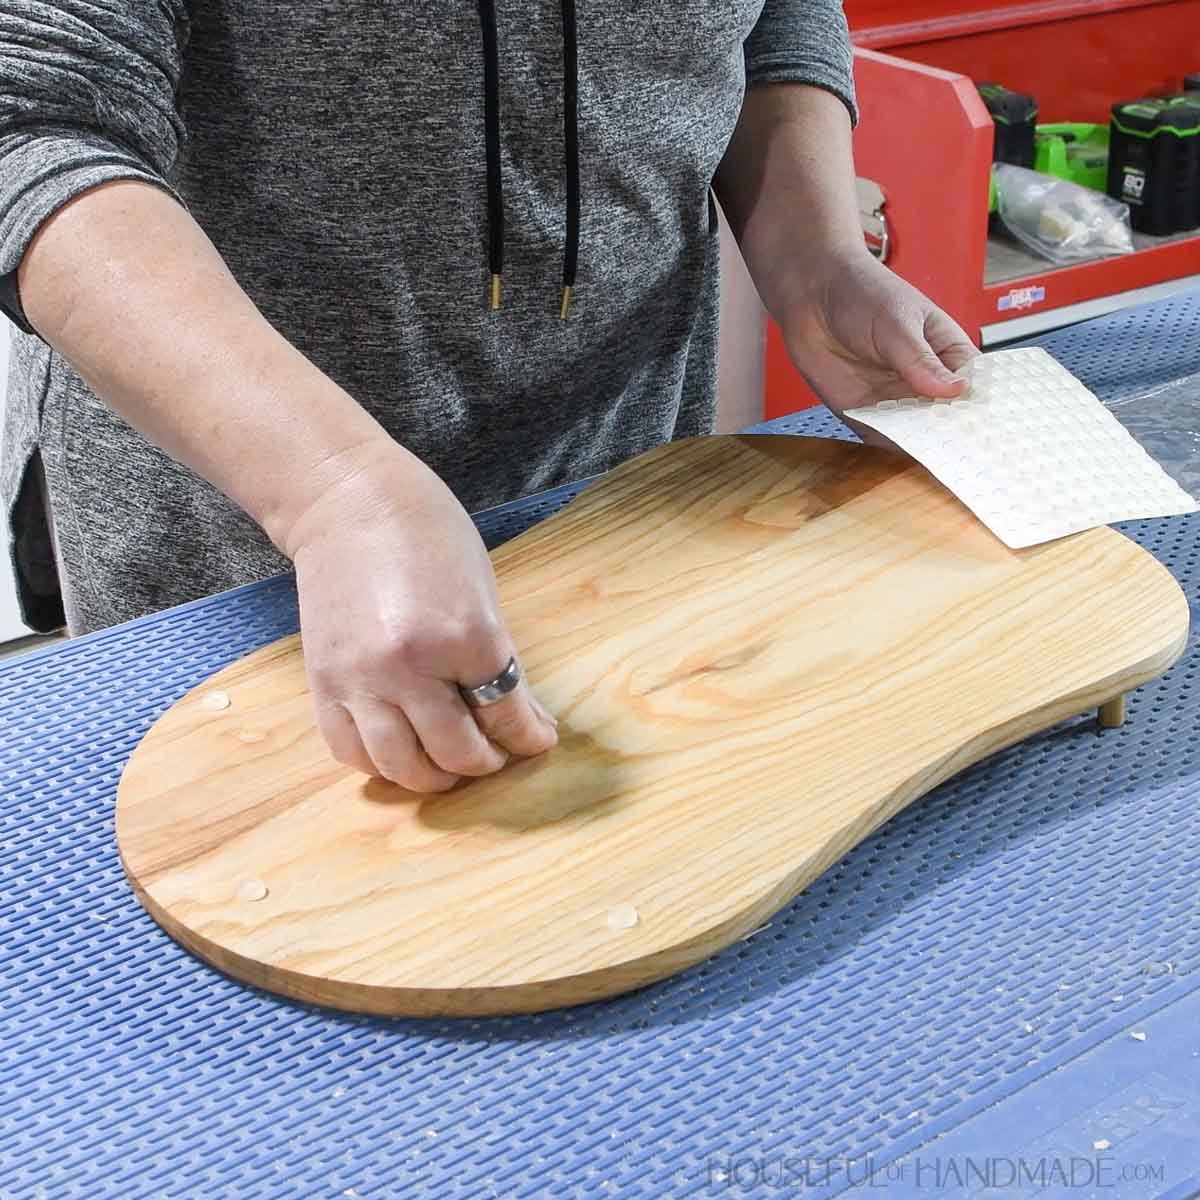
If you are worried about the wood scratching the countertop, add silicone or felt feet to the bottom.
But make sure the finish on the wood is completely dry or they will not stick well.
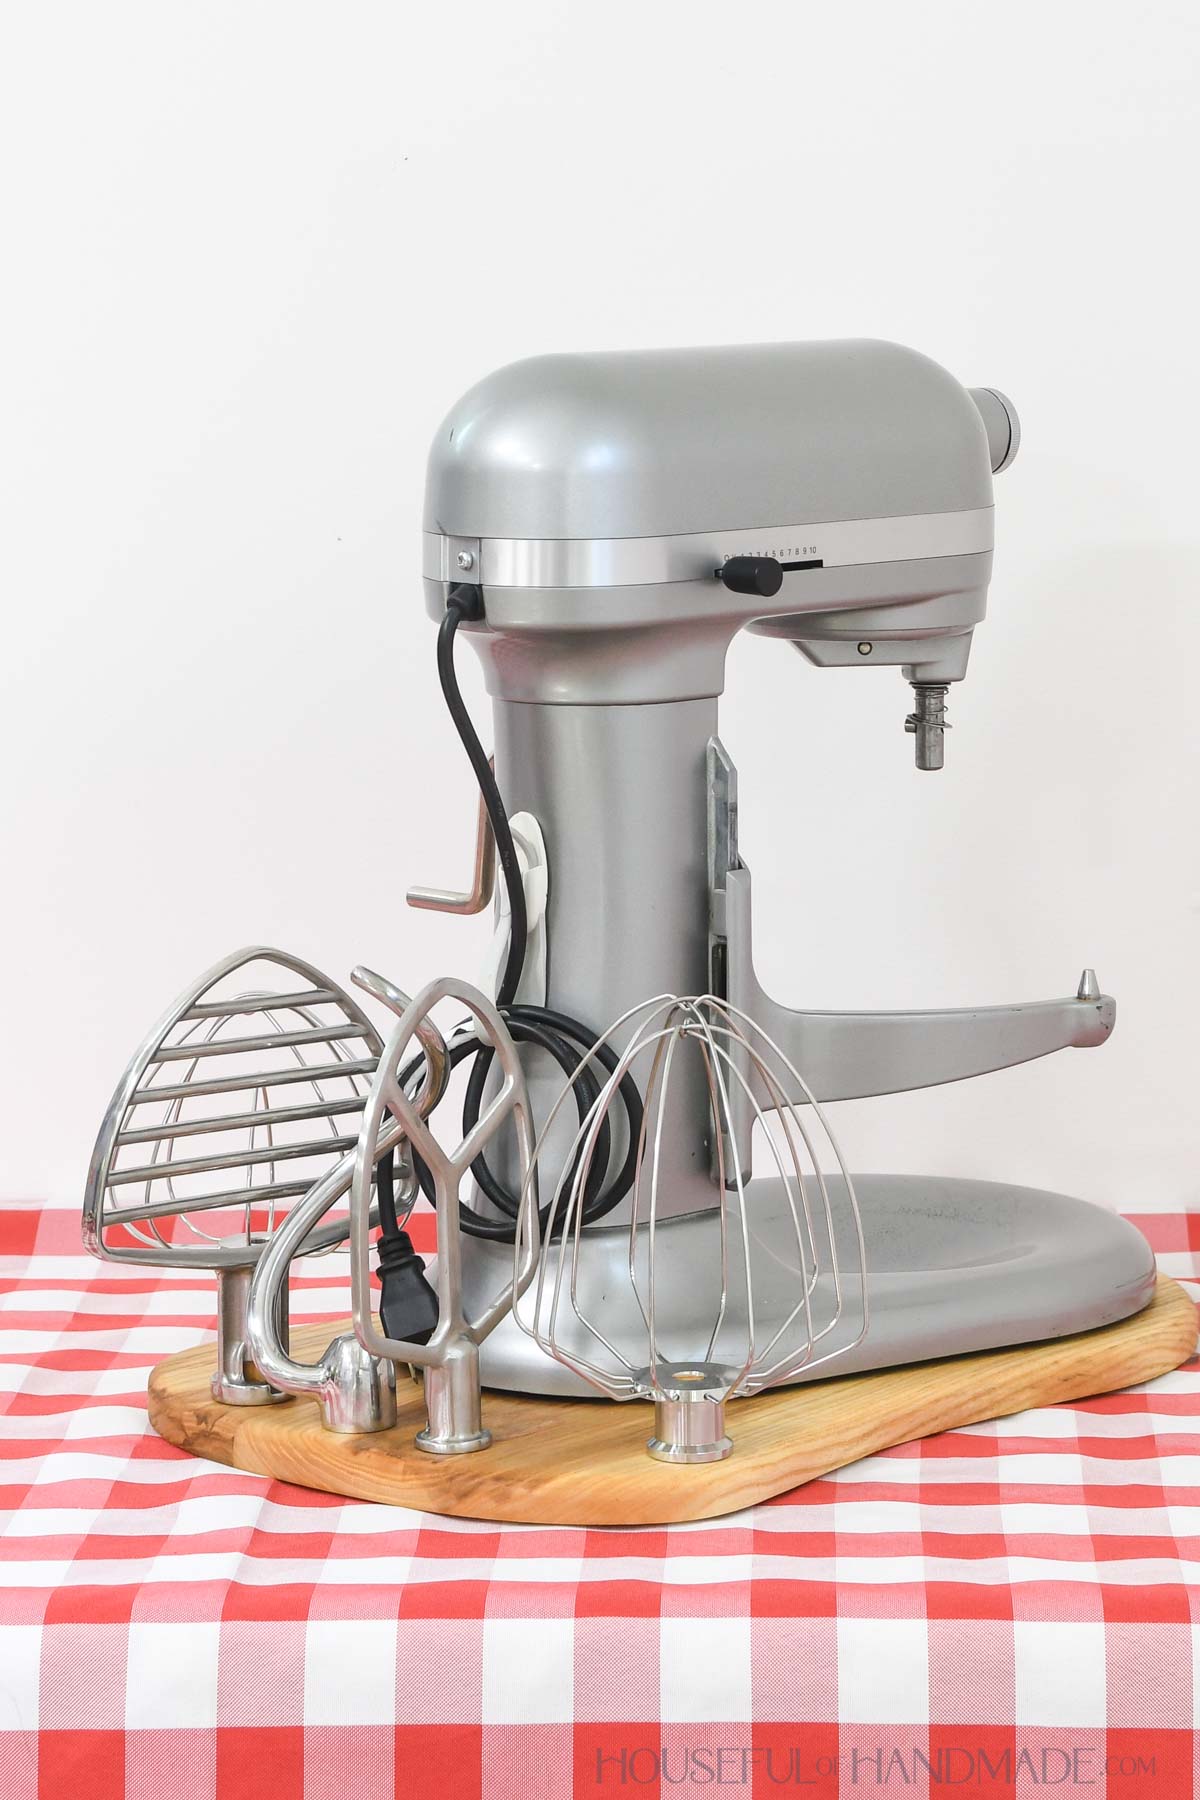
And it’s all done!
Now I have the perfect home for my stand mixer and it holds all my paddles and attachments. I love how organized they are.
DIY Gift Week- Day 3
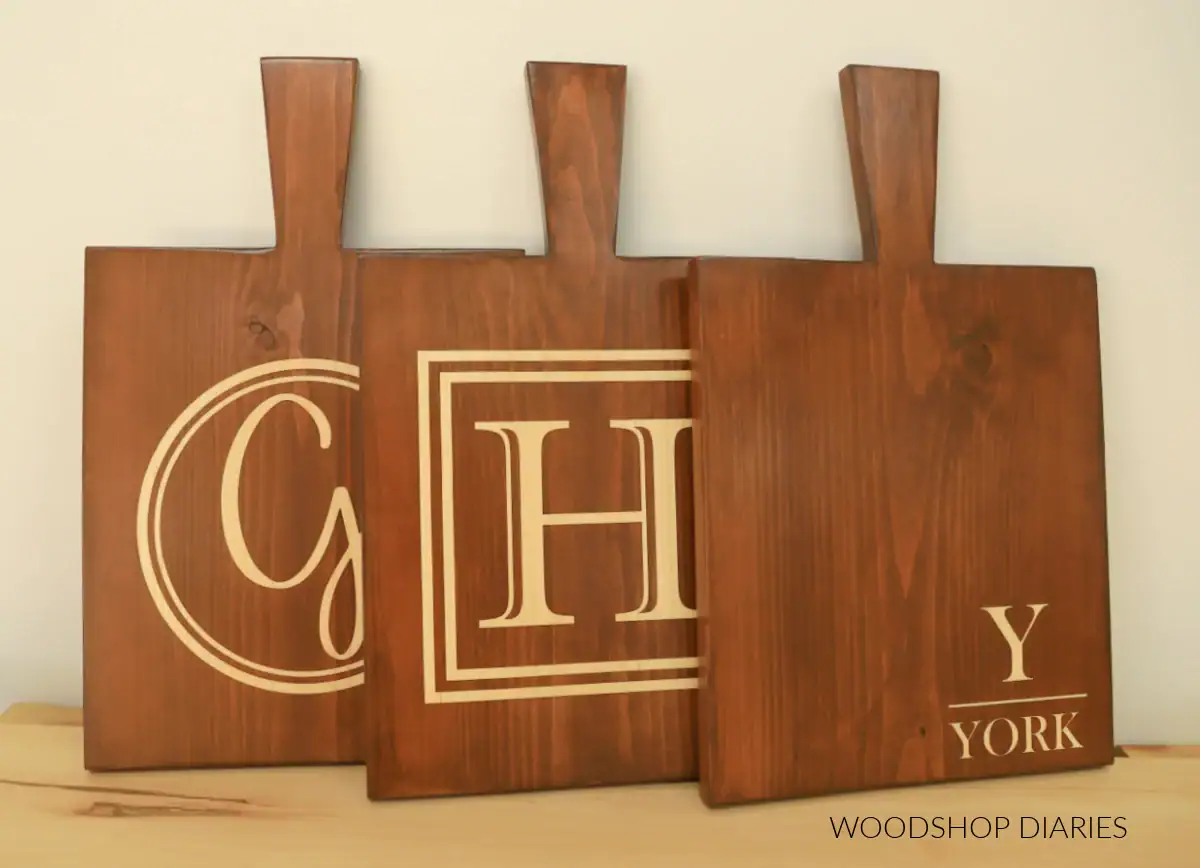
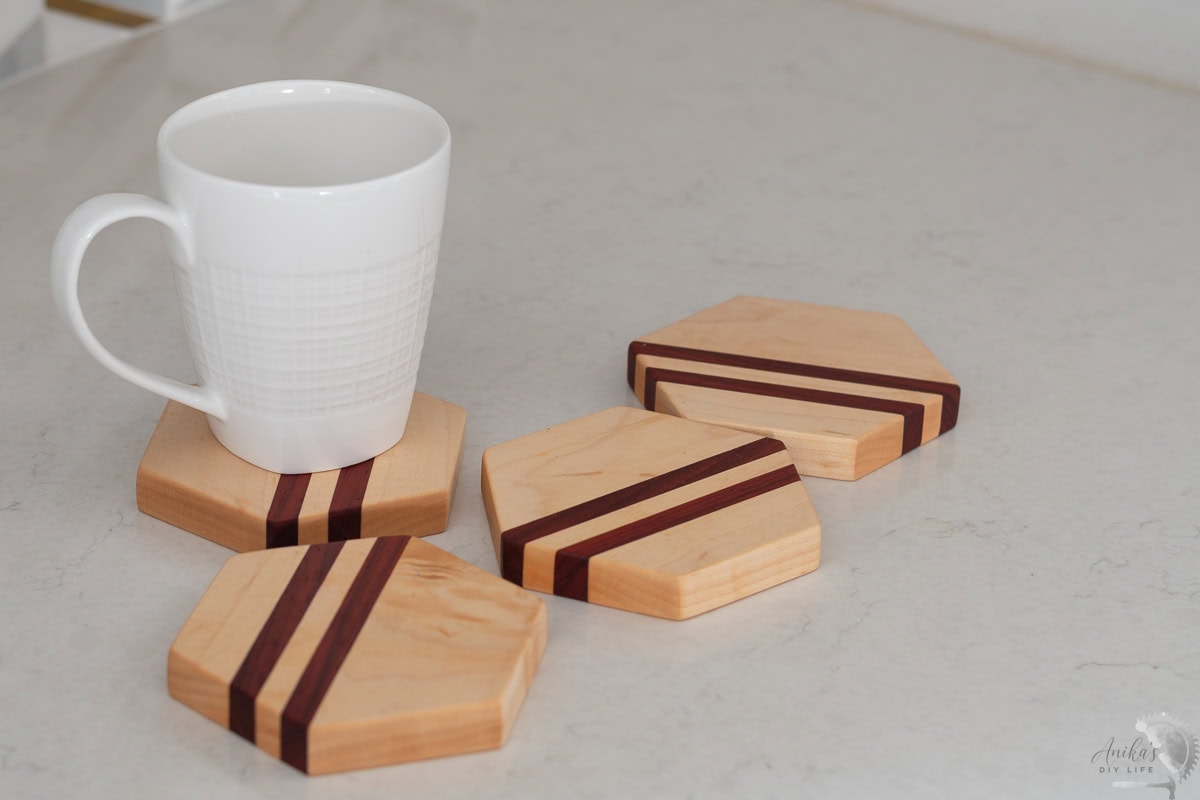
We are already half way through gift! Everyday this week I am sharing a new DIY gift idea along with my friends from WoodShop Diaries and Anika’s DIY Life.
Today’s DIY gift ideas are all perfect for entertaining and baking! Then don’t forget to come back and see tomorrow’s gifts too.
Happy building!