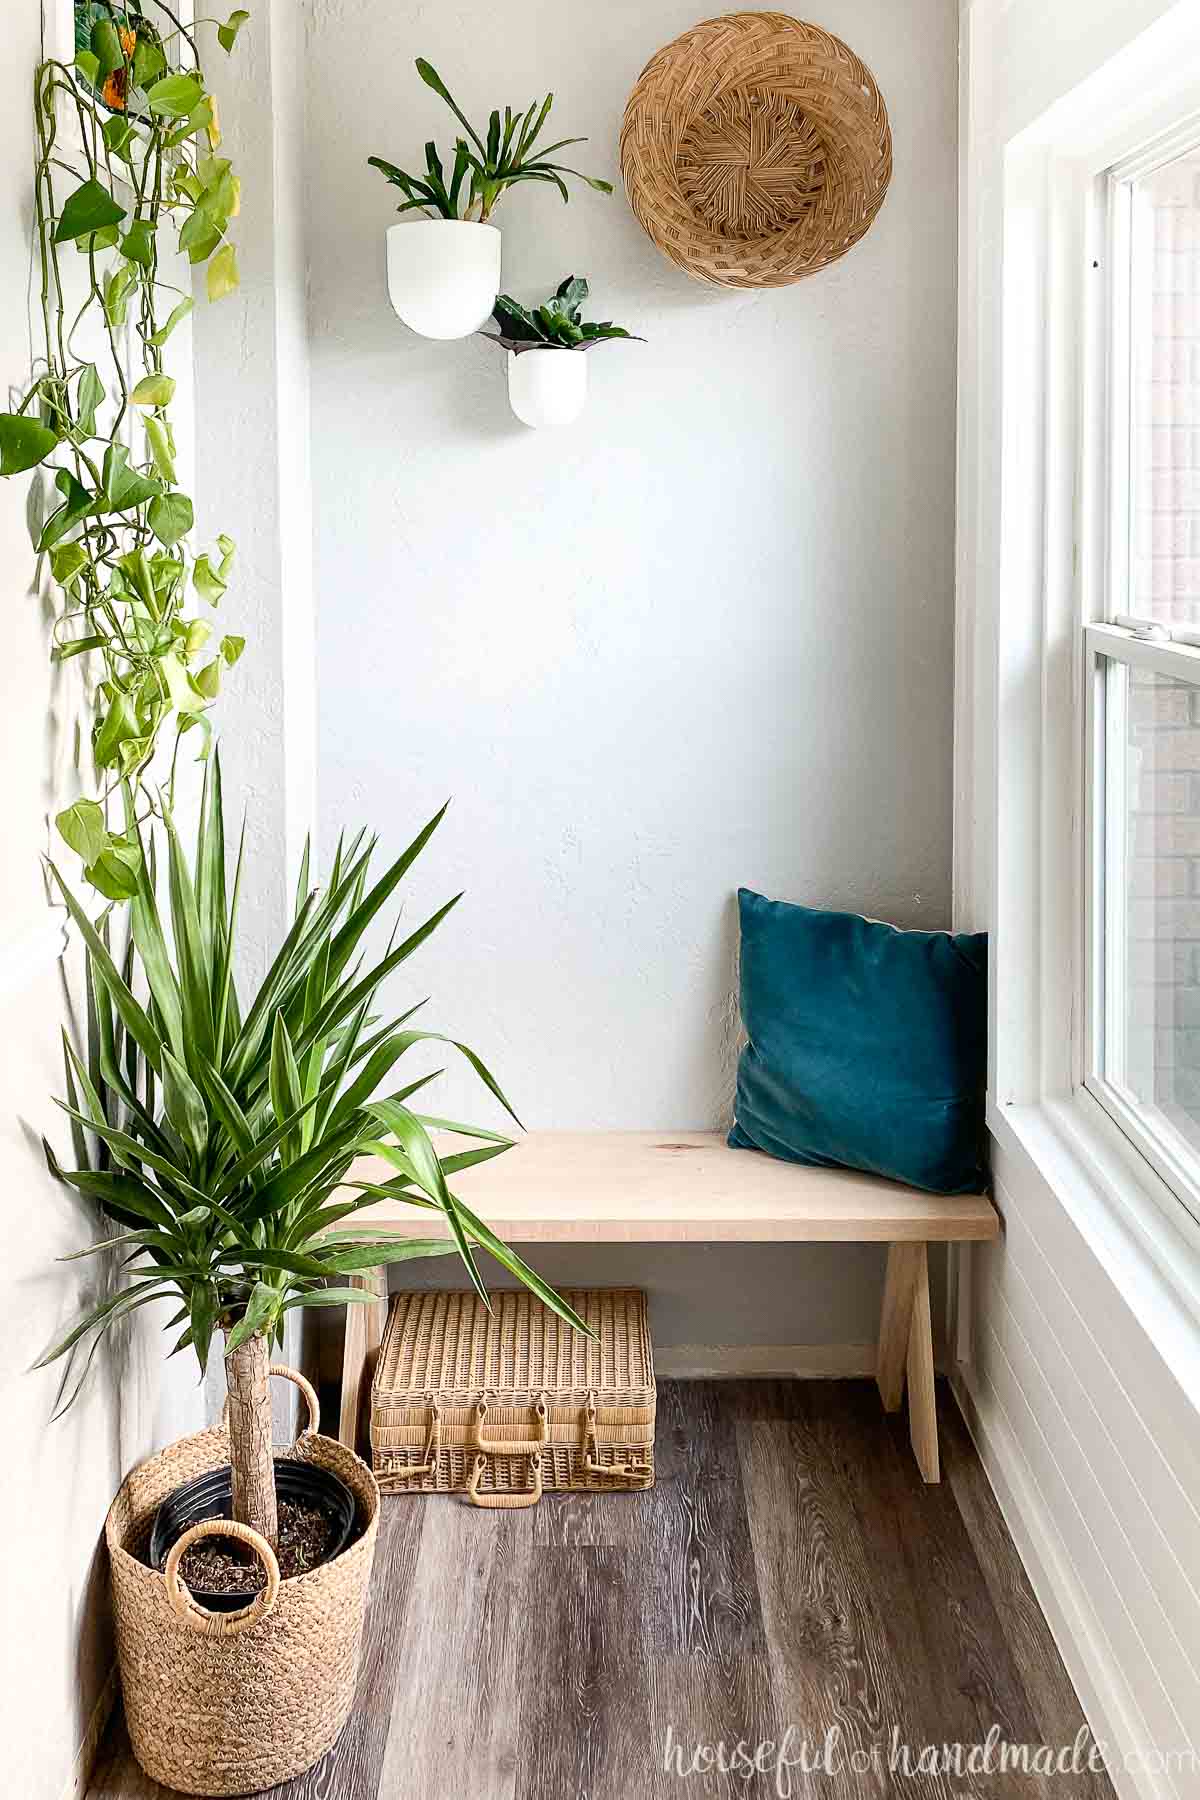
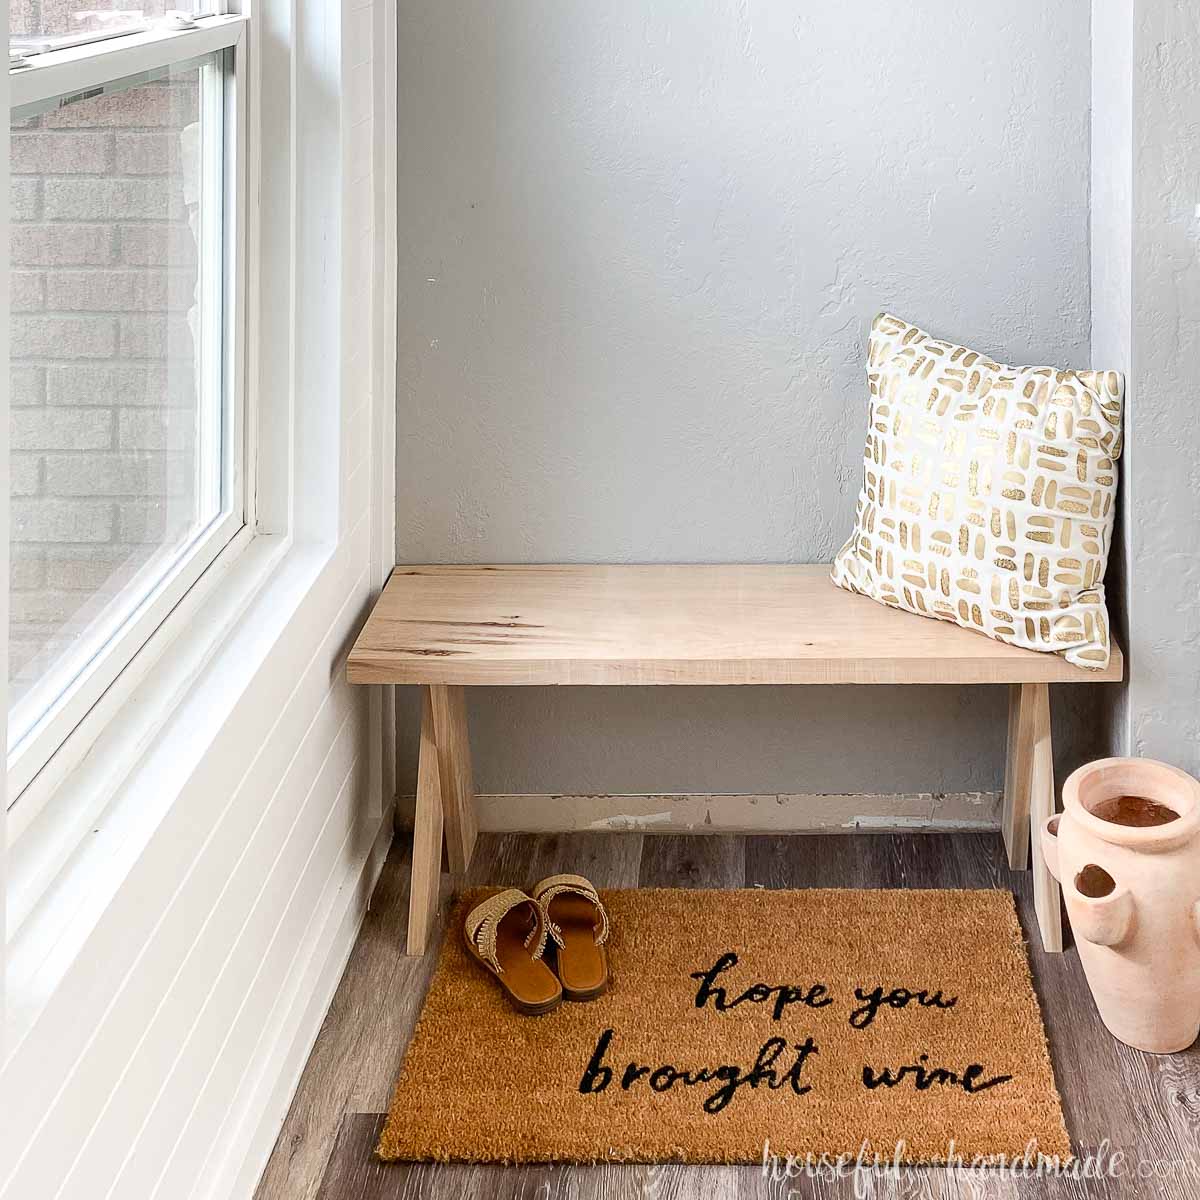
One can never have too many benches! They are so useful for sitting and taking off shoes, having extra seating, storing bins underneath, piling plants on top, and so much more.
So when my sister-in-law asked me to make her some simple x-leg benches for her entryway remodel, I was excited to tackle the project.
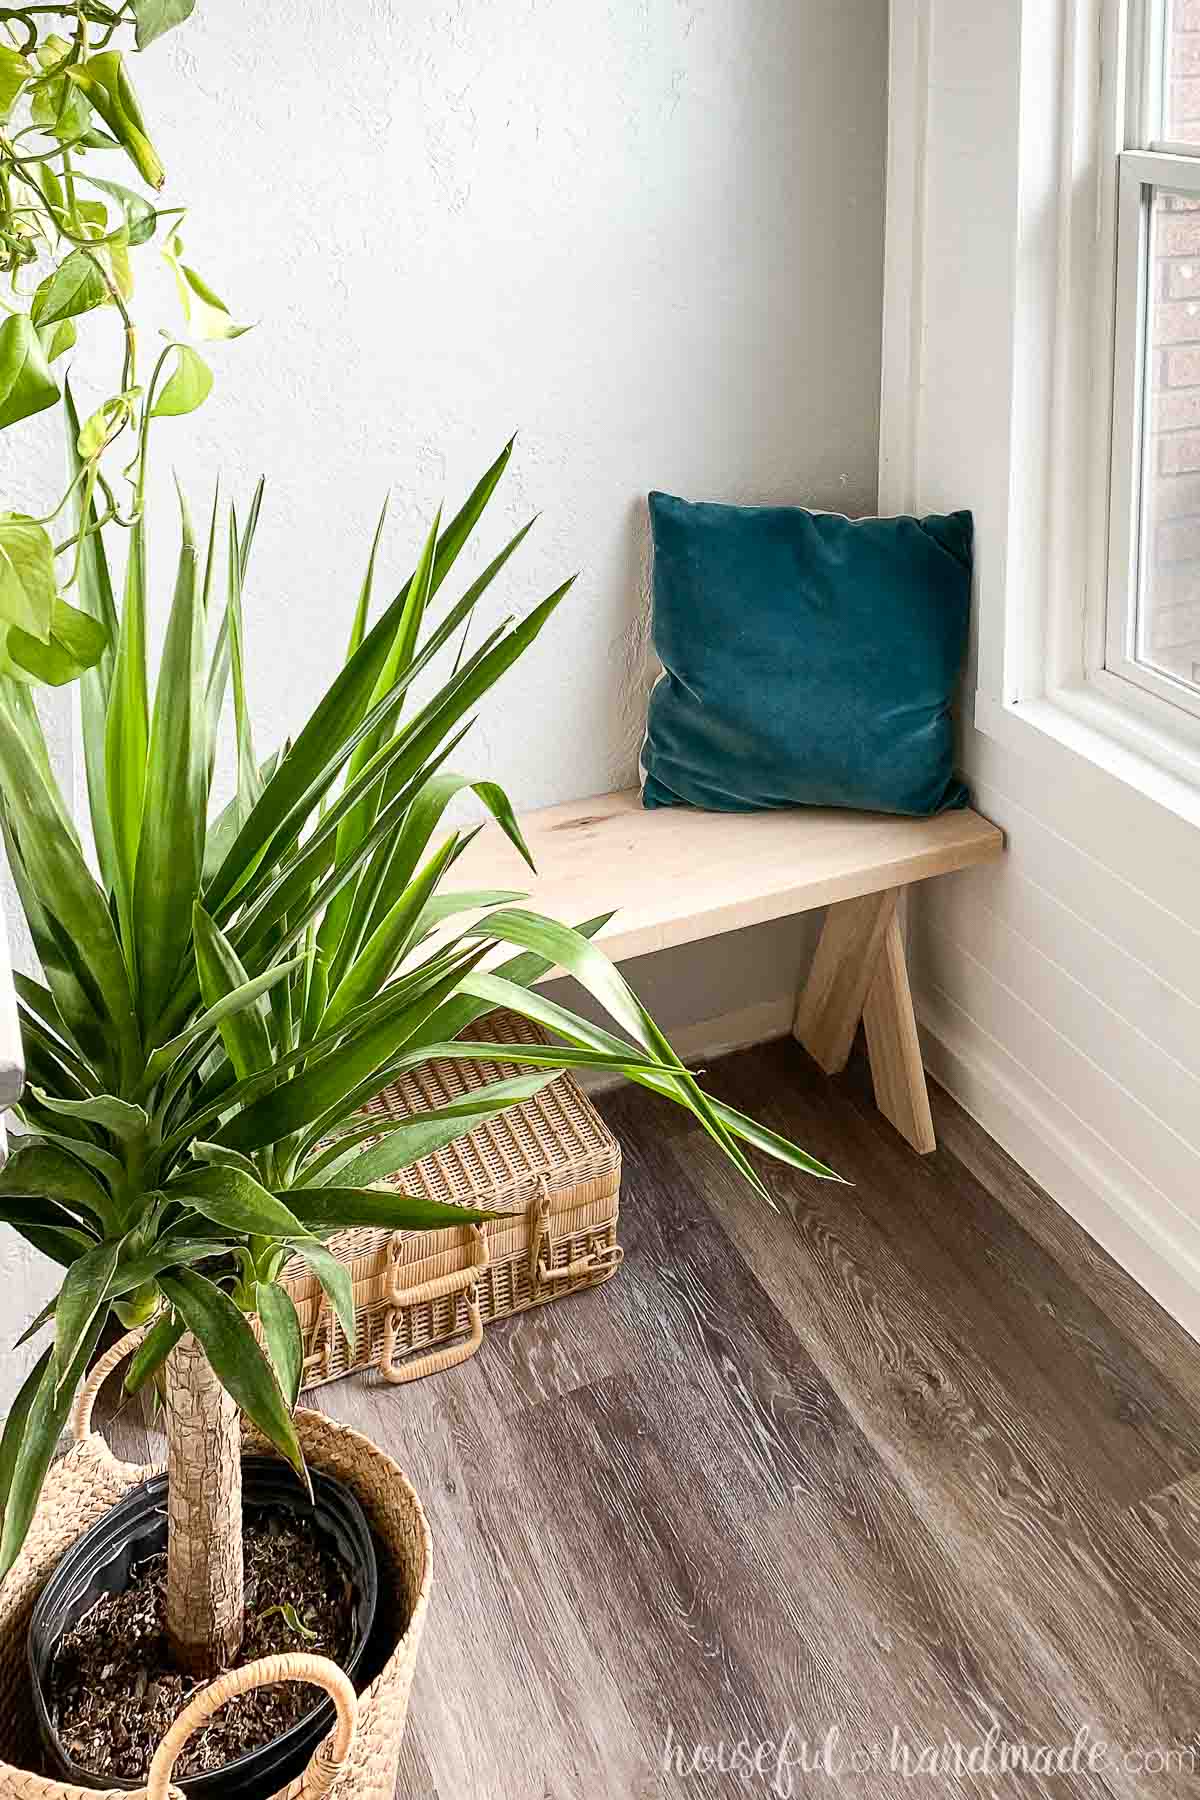
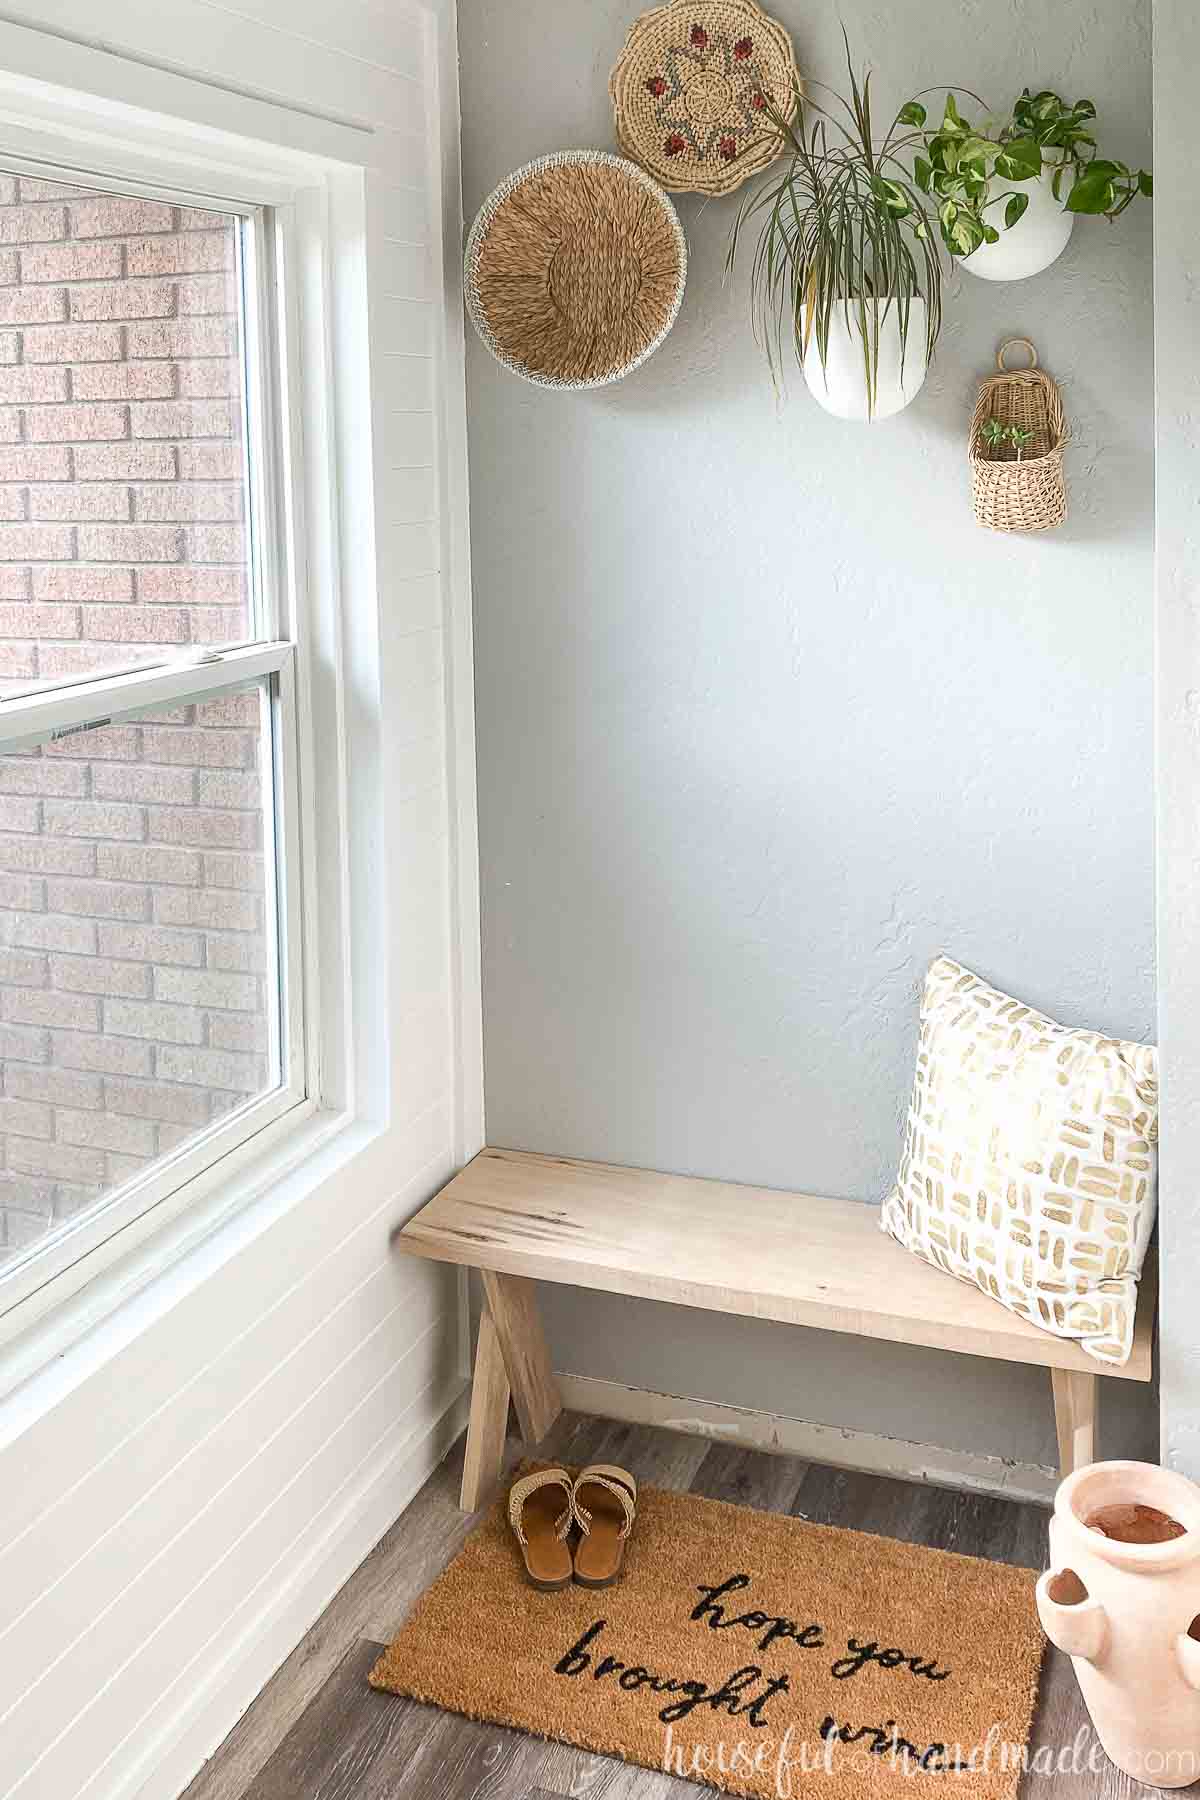
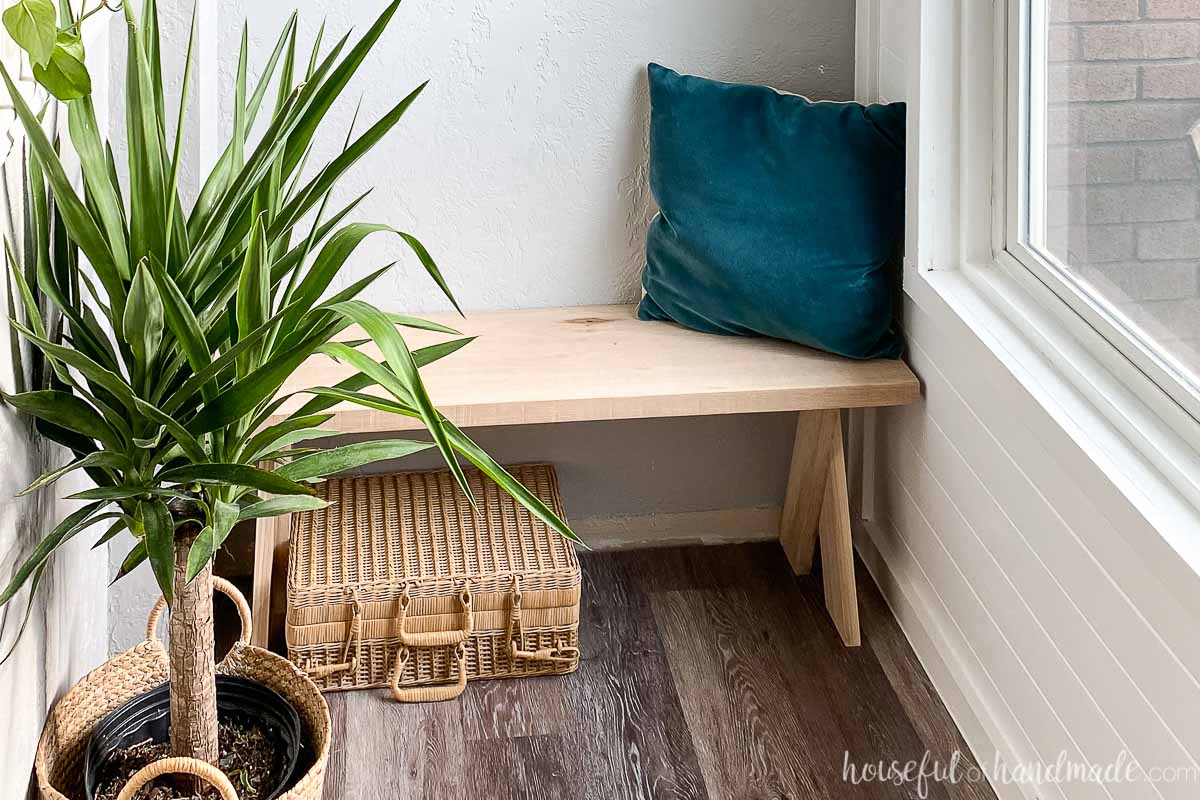
I made two DIY X-leg benches to sit on either side of her wide entryway. They really anchor the space and add loads of function and style!
This post may contain affiliate links. As an Amazon Associate I earn from qualifying purchases. Click here to read my full disclosure policy.
Working with Hickory
The DIY x-leg bench was designed to be super simple so we took the time to find some really beautiful wood to make them out of. Of course, my sister-in-law was drawn to the color and grain in the hickory wood.
I had not worked with hickory yet, because I was told it was extremely hard. The harder a wood species is, the more challenging it can be to work with.
But I decided a simple build plan was the best time to push myself to work with a new wood. And that was the perfect way to push my skills with a hard wood while still allowing myself success with the project.
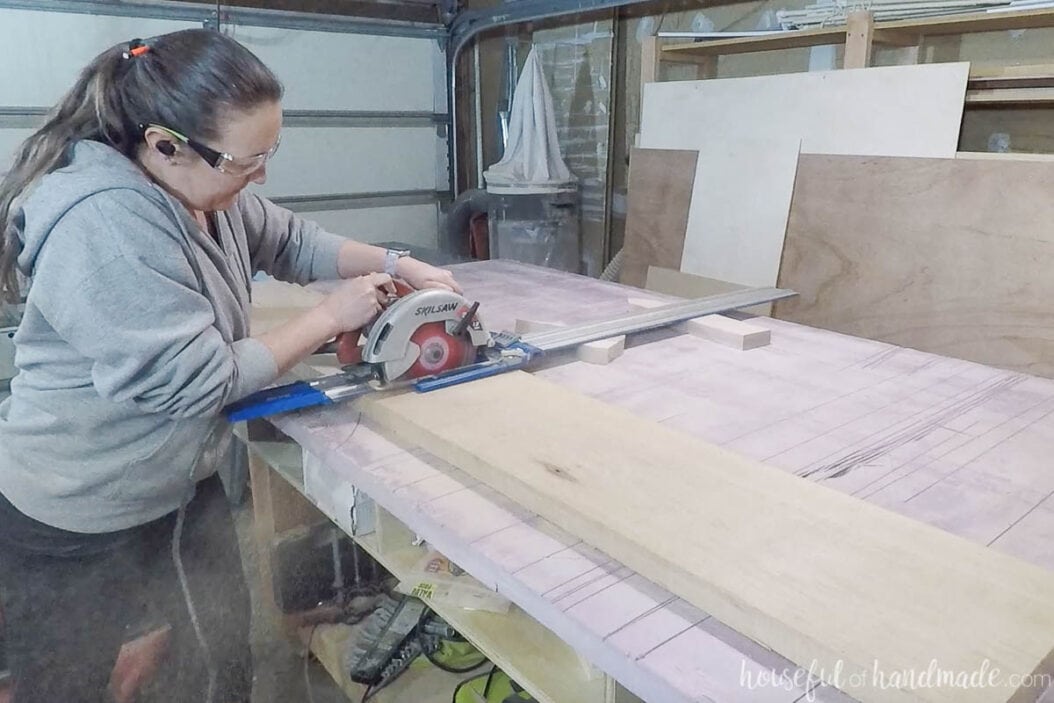
When working with a harder wood species, you need to be more patient. I milled my own lumber for these benches since we purchased the rough sawn lumber from the lumber yard.
When ripping the boards to 1×4 sizes for the legs, I didn’t try to cut through the entire 3/4″ thickness all at once.
Instead, I only lifted the blade on my table saw up 1/4″ and made a pass. Then up another 1/4″ and a pass. Then finishing off the remaining 1/4″ in a third pass.
Also, to cut the 1 1/2″ thick lumber for the top of the bench, I used my circular saw on a piece of 2″ rigid foam. The foam fully supports the board so it does not bend while being cut causing the blade to get pinched.
And even with the extra steps to safely cut the hickory boards, these simple DIY benches went together very quickly.
Now I am ready to take on another hickory wood project because the finished benches are stunning!!!
Simple Jig for the X-Legs
One challenge that I had when assembling the x-legs for the benches was how to get the legs to be perfectly flush on the bottom and top. It is hard to measure where to attach the two legs together because all the pieces are angled.
And if the legs are not perfectly flush on the top and bottom, you will end up with wobbly benches. No one wants that!
But I came up with the perfect solution: a super easy DIY jig!
Jigs can be made for any woodworking task that needs to be repeatable or to just make it easier. They are something I wish I would have learned about much earlier in my woodworking journey.
This jig is made up from just 3 scraps of wood and held together with just a few screws. But the result was making it super easy to make 4 legs (since I made 2 benches) that were identical and flat.
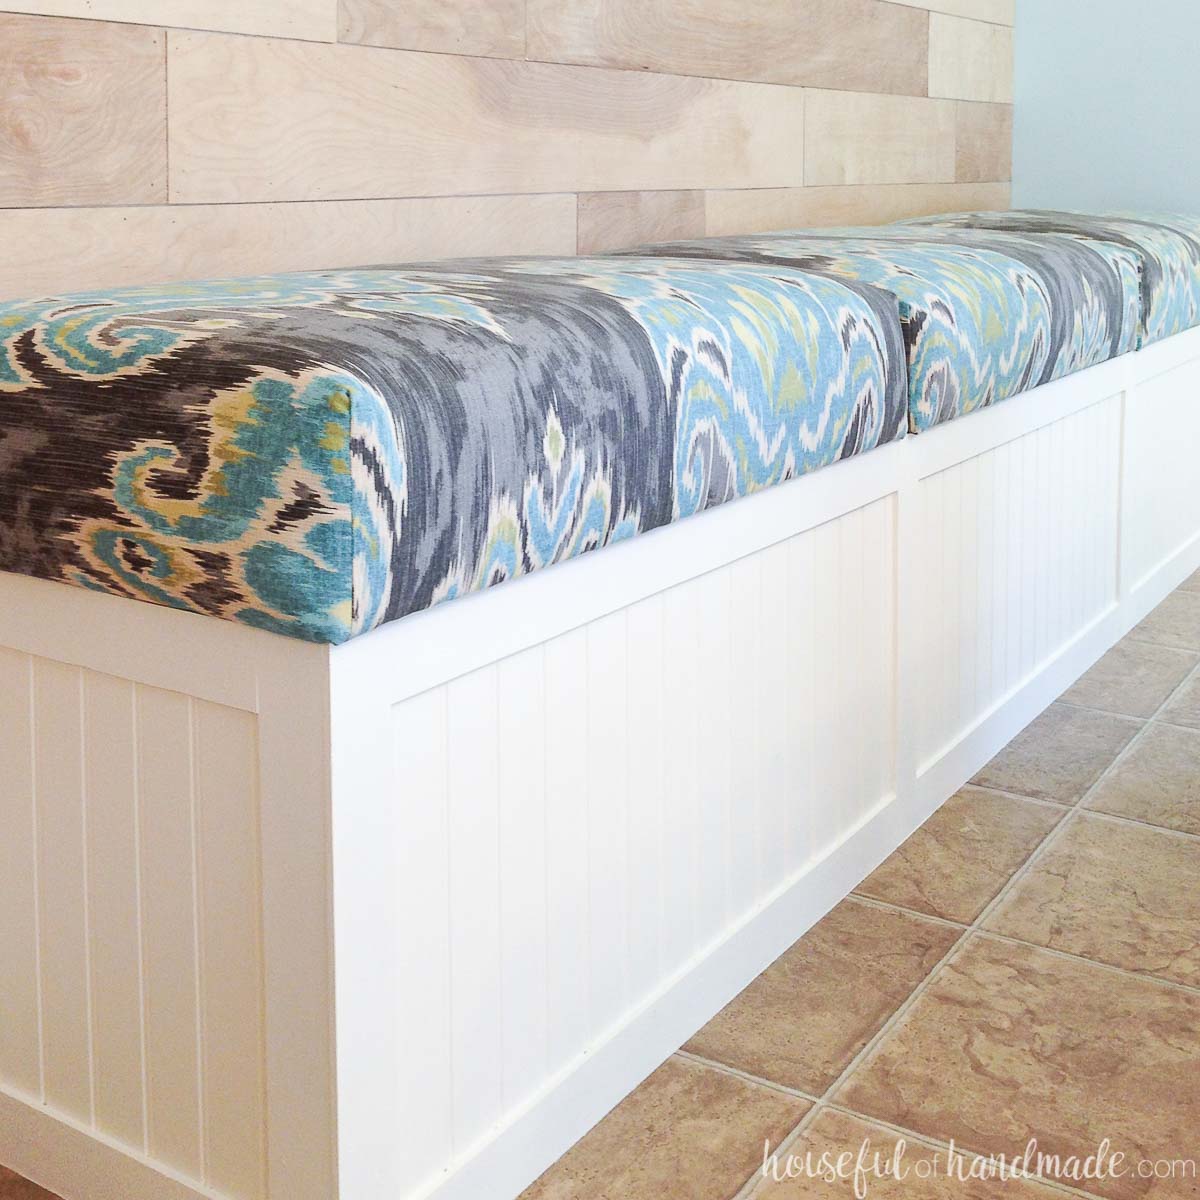
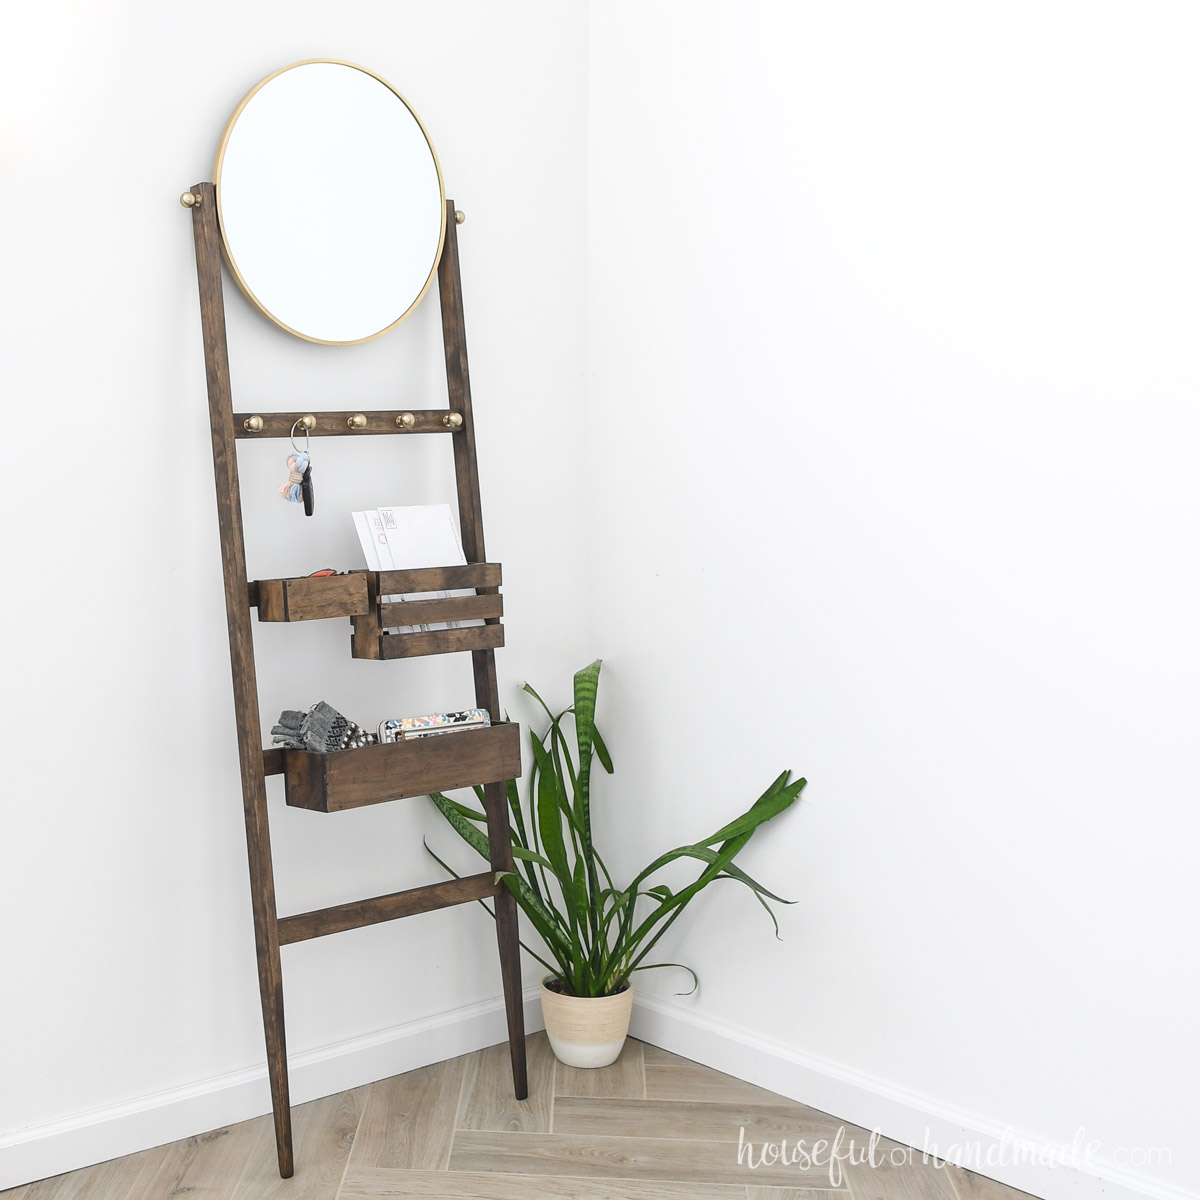
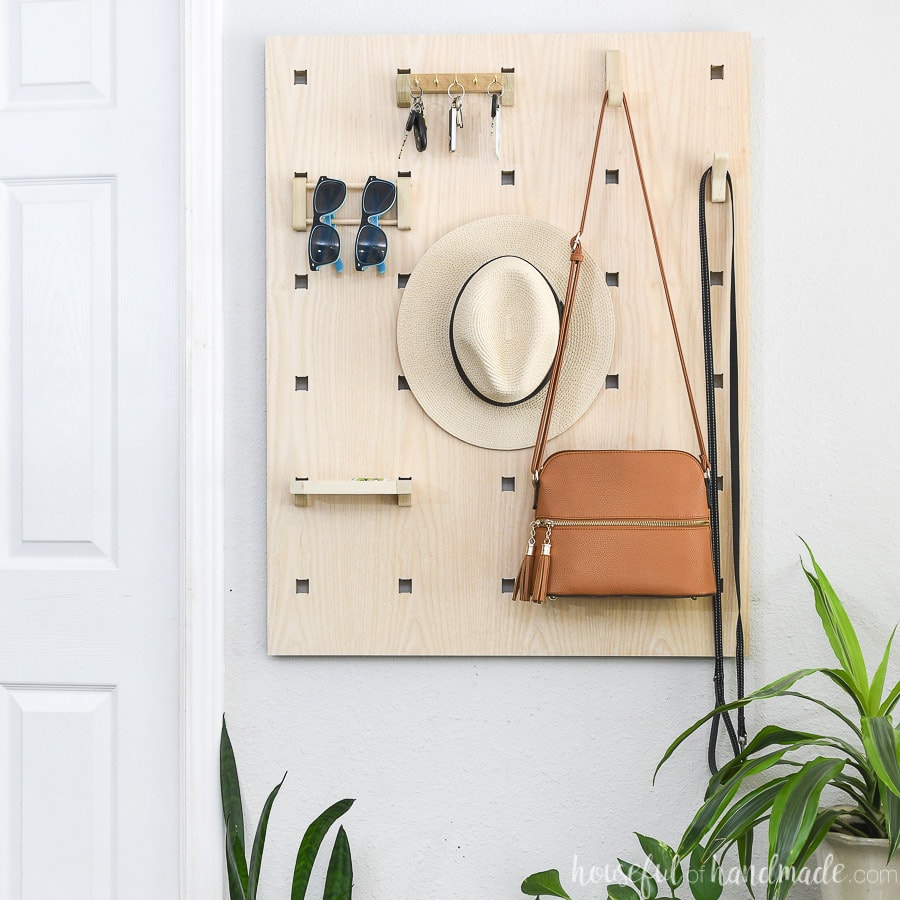
More Benches & Entry Ideas
Build the perfect entry with storage and style using these amazing DIYs.

How to Make an X-Leg Bench
Tools & Materials
Recommended Tools:
- Miter saw
- I recently upgraded to this sliding miter saw (watch for it to go on sale), but previously used this inexpensive miter saw that I love.
- Circular saw with guide track
- Drill
- Impact driver (optional, but I love not having to switch bits with the drill)
- Doweling jig
- Flush cut saw
- Sander
Supplies:
- Lumber
- (1) 2×12 board, 4′ long
- (1) 1×4 board, 6′ long
- (1) 1/4″ dowel
- 1″ wood screws
- Dowel pins
- Wood glue
- DIY jig for leg assembly
- 1×2 or plywood scraps
- Wood screws
Cut List
For our benches, I use hickory wood that I bought at my local lumber yard. But you can make your benches out of any wood, including lumber from your local home improvement store.
For the bench top, cut the 1×12 to 40″ long.
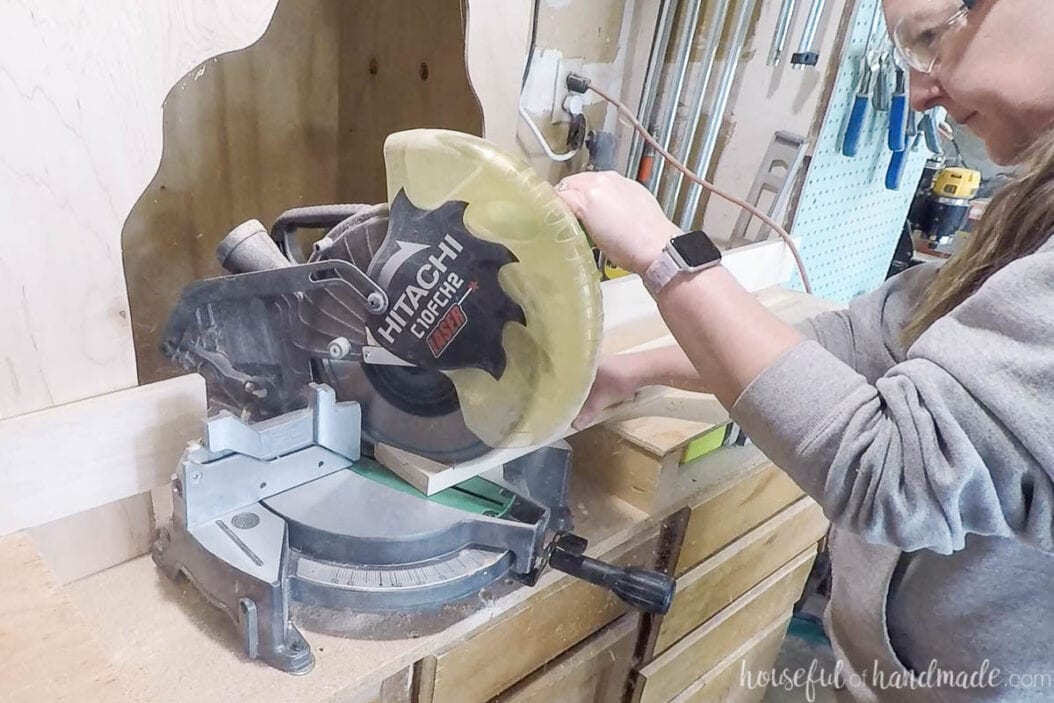
For the legs, cut four pieces of 1×4 to 17″ long with each end of the legs cut at a 20 degree angle.
This makes the measurement of each piece from point-to-point closer to 15 1/2″.
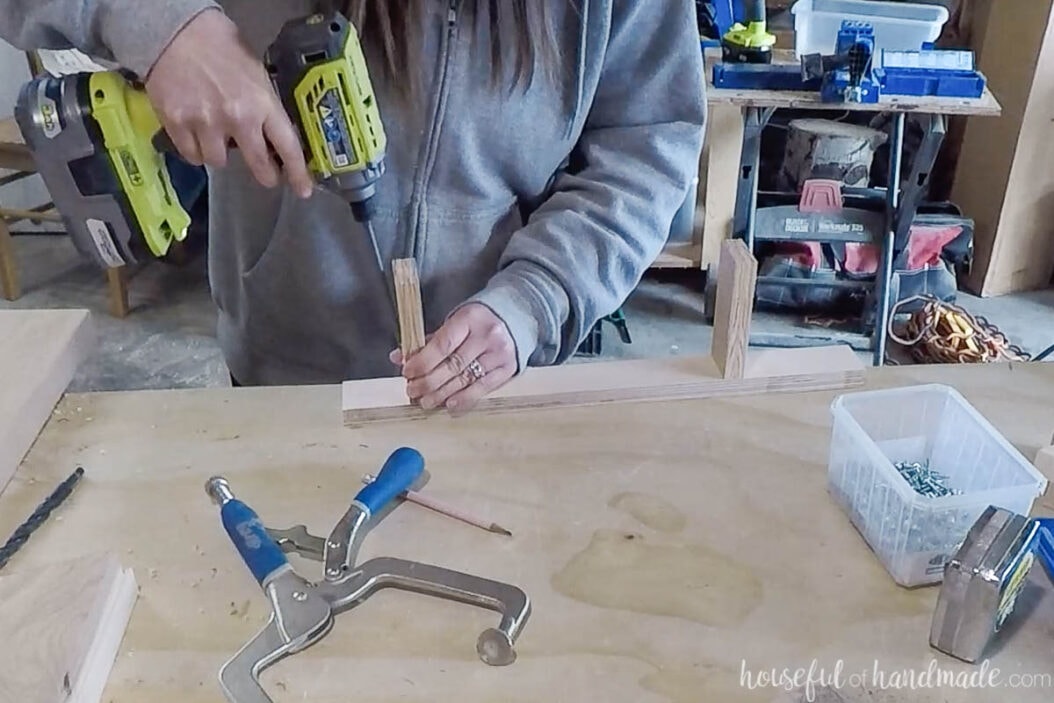
STEP 1- Build a jig for the leg assembly
Taking a minute to build this simple jig will make sure both sets of legs are flat on the bottom and the same once assembled.
Cut some scraps of 1×2 or ~1 1/2″ thick plywood so you can attach two ~3-4″ pieces so they are 10 1/2″ apart on a board.
I attached the smaller boards to the larger board with my Kreg jig and pocket hole screws, but you can just add screws in from the back to secure as well.
STEP 2- Build the legs
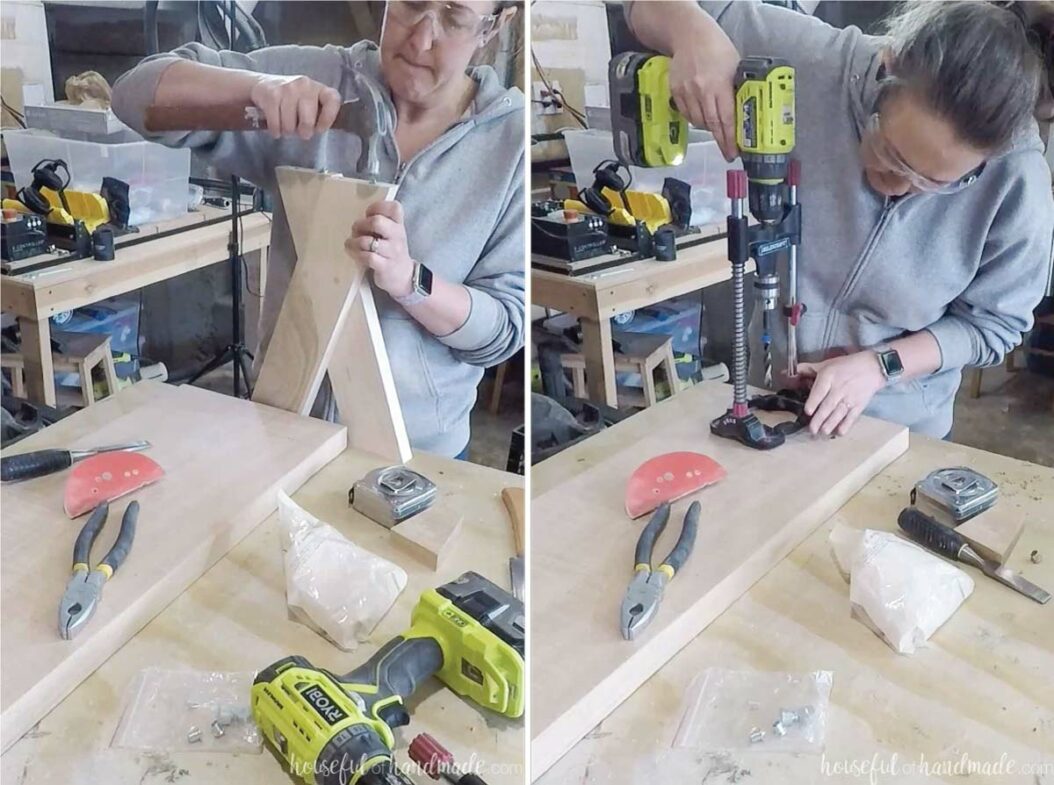
Before building the x-legs, use the doweling jig to add 2 holes for dowel pins to the tops of the four leg pieces.
If you do not have a doweling jig, you could also attach the legs to the bench top with these figure 8 fasteners instead.
Clamp your jig to your table so it is on the sides and then line the first leg piece up inside it. The bottom of the leg should be flush against the back of the jig and the outside of it should be touching the side of the jig.
Lay the second leg on top of the first so the bottom is also flush and the outer edge touches the other side of the jig. Mark where the two legs overlap.
Apply wood glue to the first leg only where the two legs will overlap. Then place the second leg back on top in position.
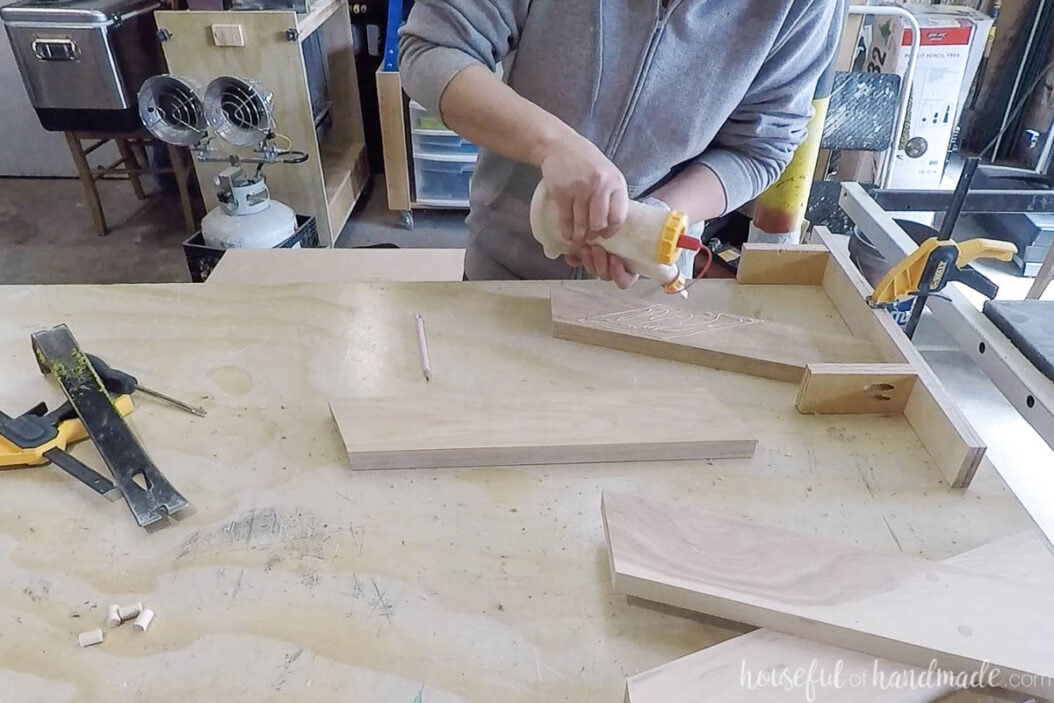
Mark a line up the center of the overlapping legs.
Using a 1/4″ drill bit, drill two 1/4″-3/8″ holes in the top leg along this center line. One hole should be closer to the bottom and the other toward the top.
Then attach the two legs together with the 1″ wood screws through the holes. Make sure the legs stay in position in the jig as you secure them.
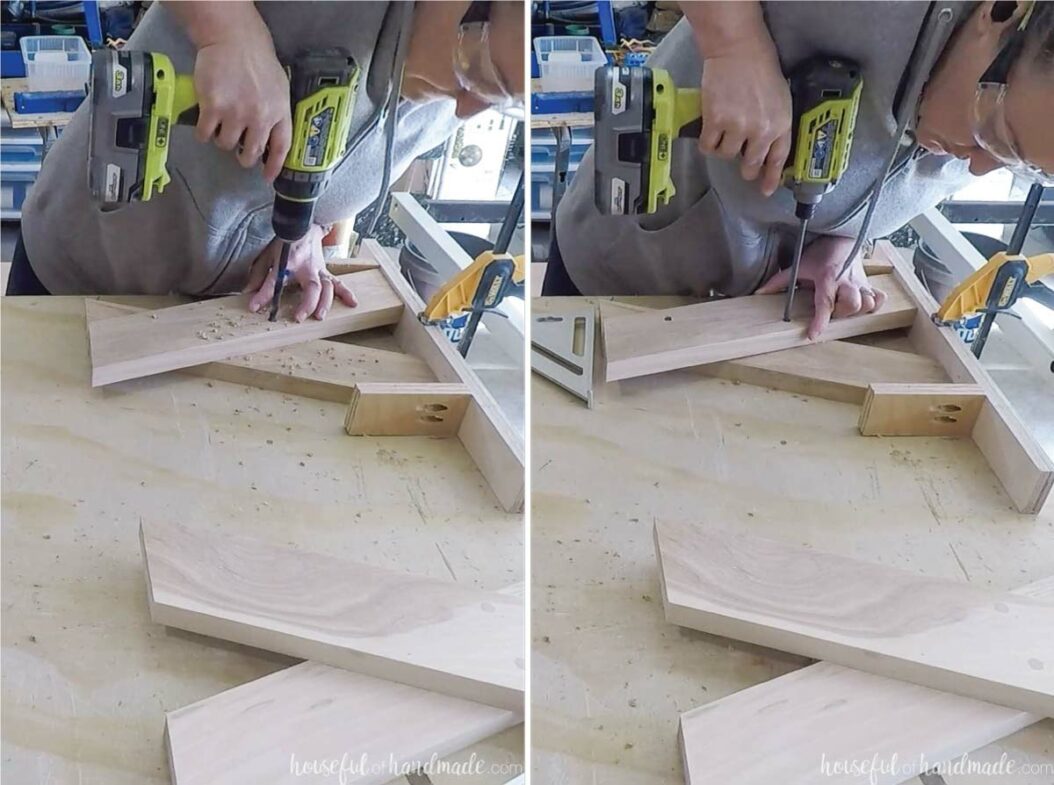
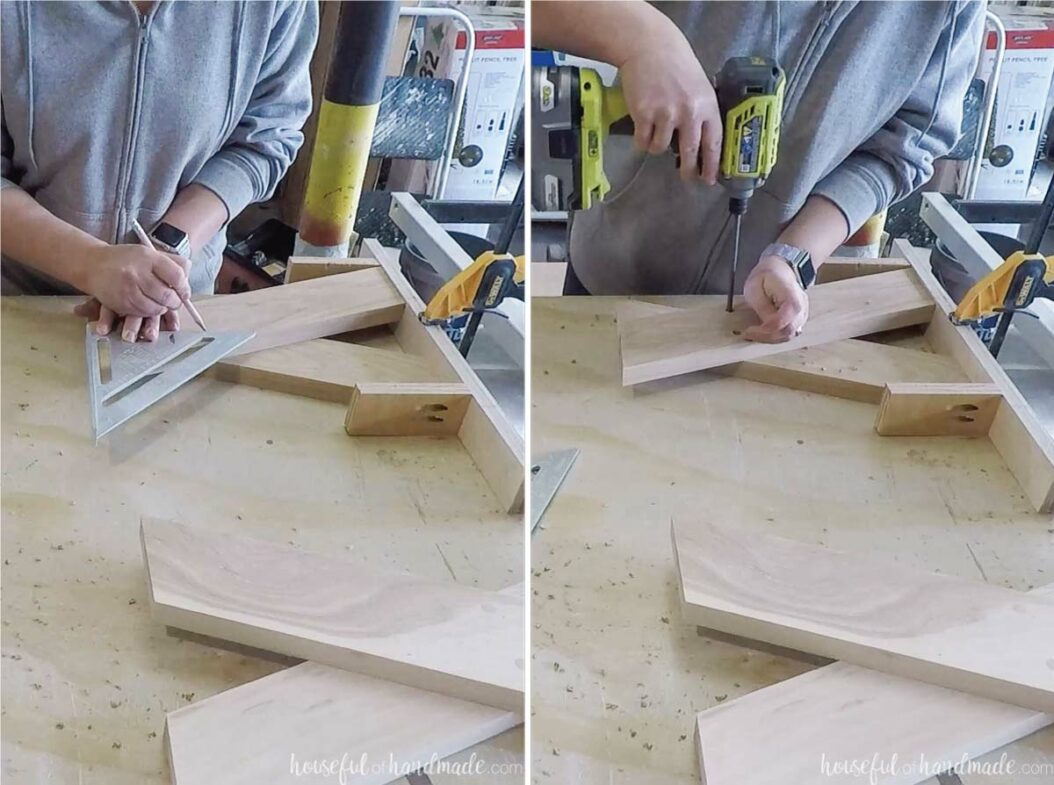
Flip the leg over and mark the horizontal center line of the overlapping sections.
Then drill two more holes and secure with 2 more screws through them on this line. One should be closer to the left and the other closer to the right.
Now you should have a very sturdy x-leg. Repeat for the other leg.
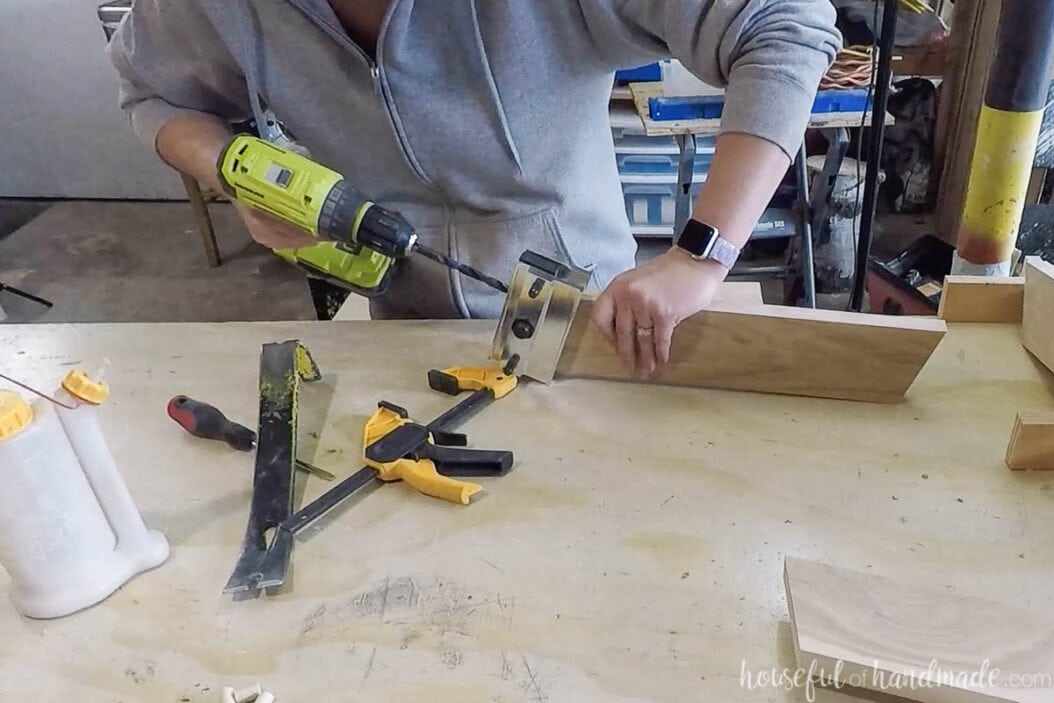
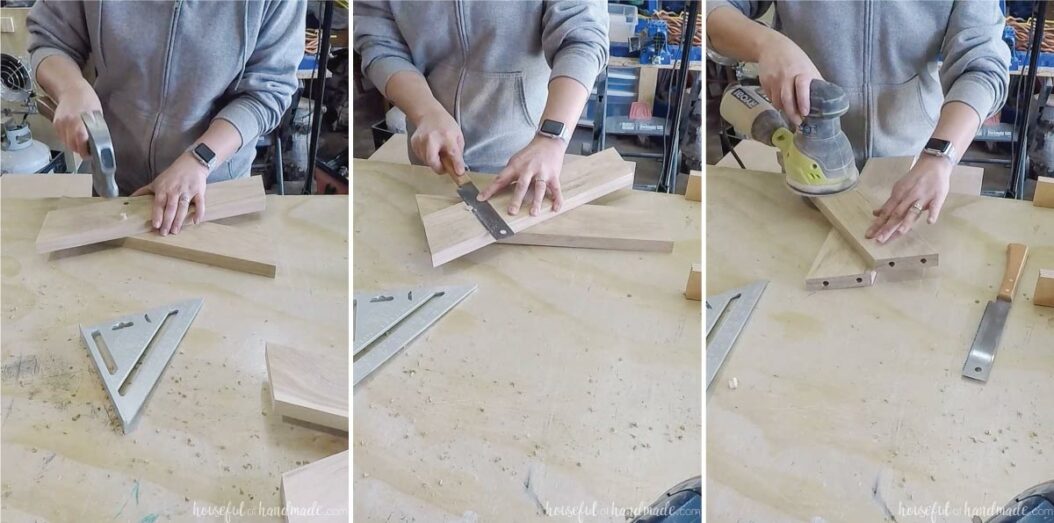
Cut small pieces from your 1/4″ dowel and glue them into the holes drilled on the leg. Tap them securely into place. Then flush cut the excess off the top with a flush cut saw and sand smooth.
Repeat for both sides of both legs.
STEP 3- Attach the bench top
To attach the bench top, I used dowel center points inside the previously drilled dowel holes to line up where I needed to drill the holes on the underside of the top.
Using the dowels to attach the legs means you have zero visible joinery, but you can also attach the legs easier with these figure 8 fasteners. The fasteners would be mostly hidden under the bench.
Since I do not have a drill press, I used a portable drill guide to keep my drill vertical while drilling the holes for the pins.
To attach the legs, glue the dowel pins into the bench top, then add wood glue to the top of the legs and inside the dowel pin holes. Tap it into place on the pins.
Clamp the legs tight until the glue drys. Repeat for the other leg.
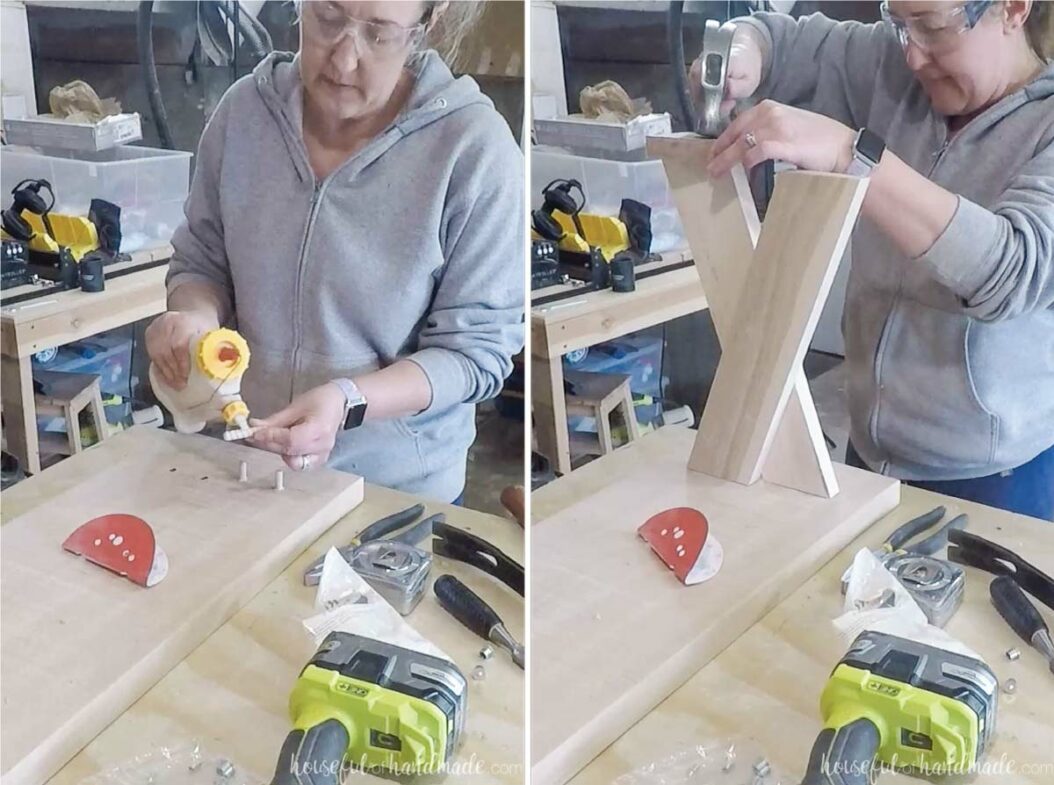
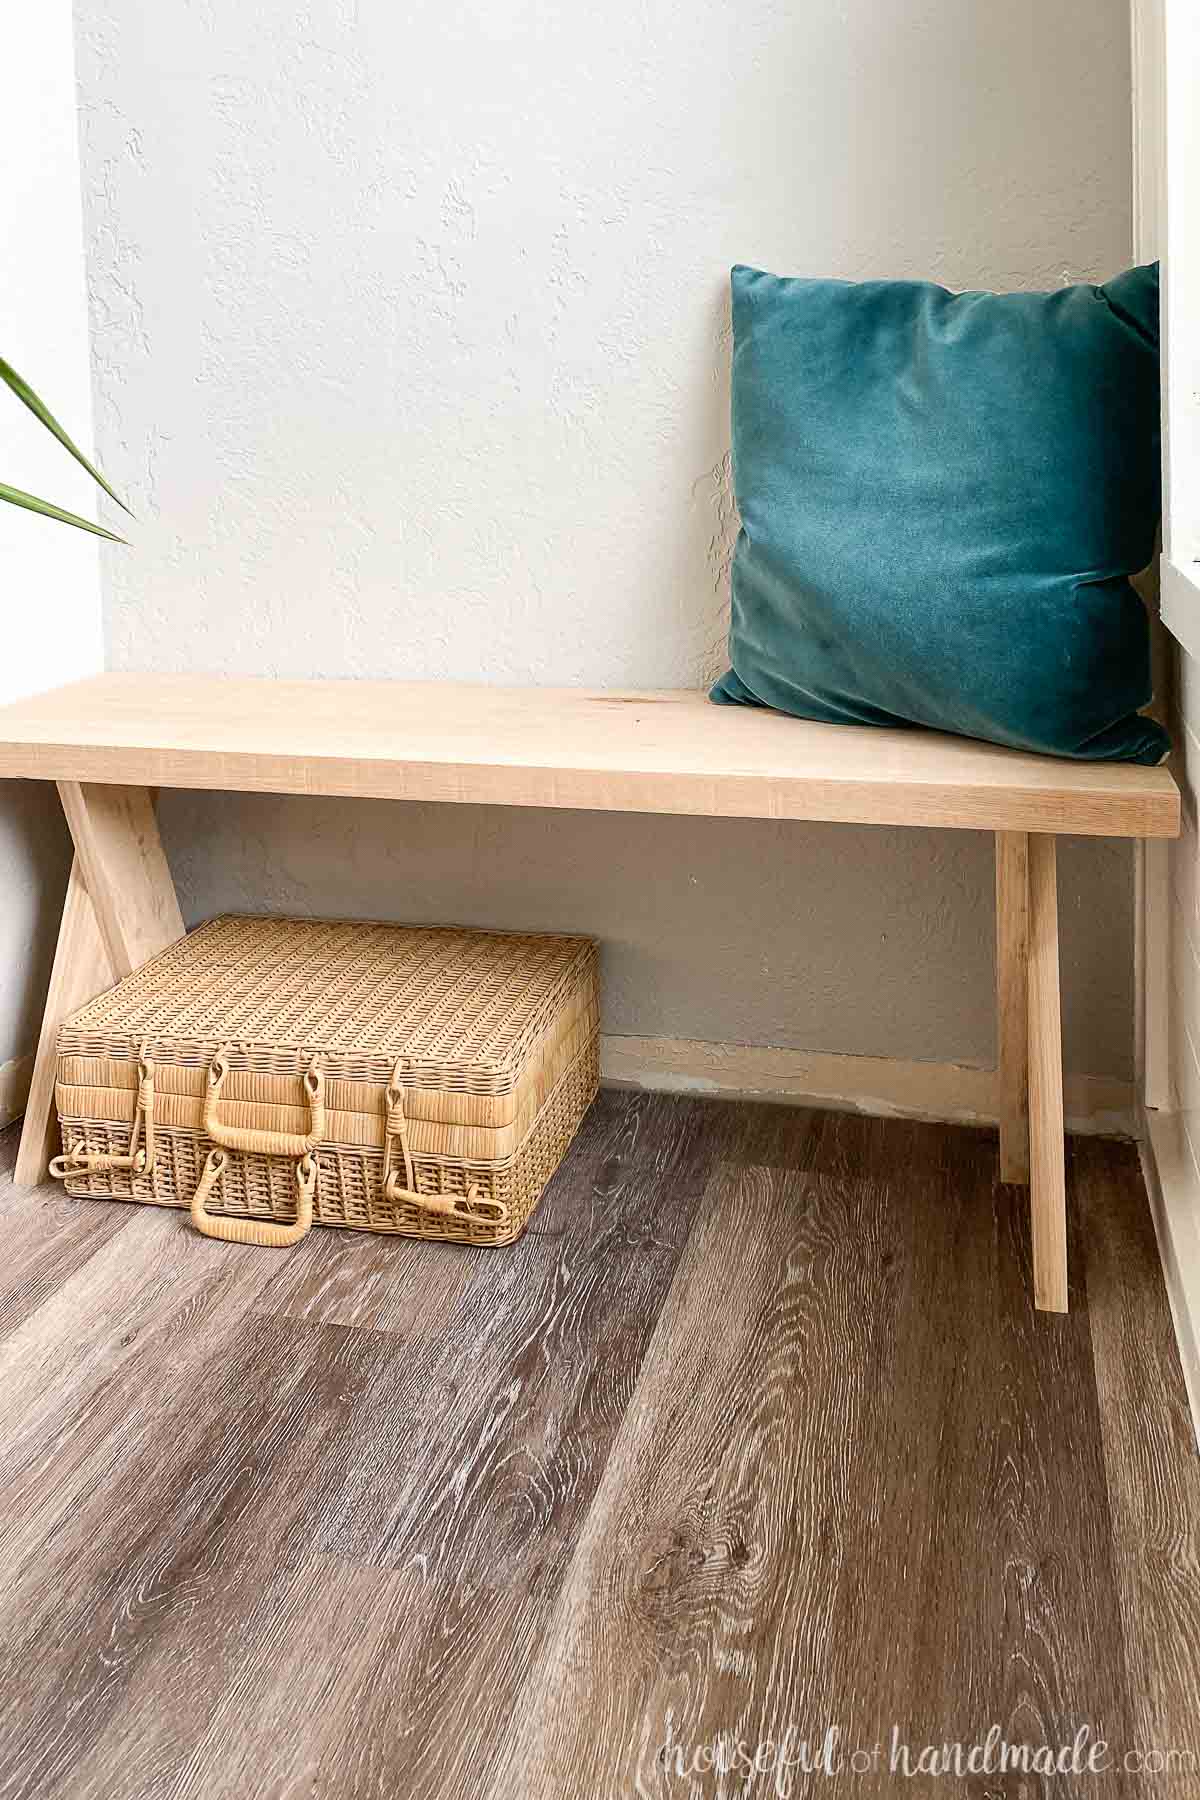
And now you are all done! You have a beautiful x-leg bench that has no visible screws or attaching.
I love the simplicity of these benches and it really allows for the beautiful wood my sister-in-law picked out to shine.
Happy Building!
