Since we leveled up our tortilla game with last year’s scrap wood tortilla press, I figured this year we should master DIY pasta!
And while laying the pasta on a cooling sheet to dry works okay, I have been eyeing my very own pasta drying rack. So I dug through my scrap wood pile and found just enough maple scraps to make one.
I did have to purchase a dowel to build my pasta drying rack, but all the other pieces were made completely from scrap wood.
This post may contain affiliate links. As an Amazon Associate I earn from qualifying purchases. Click here to read my full disclosure policy.
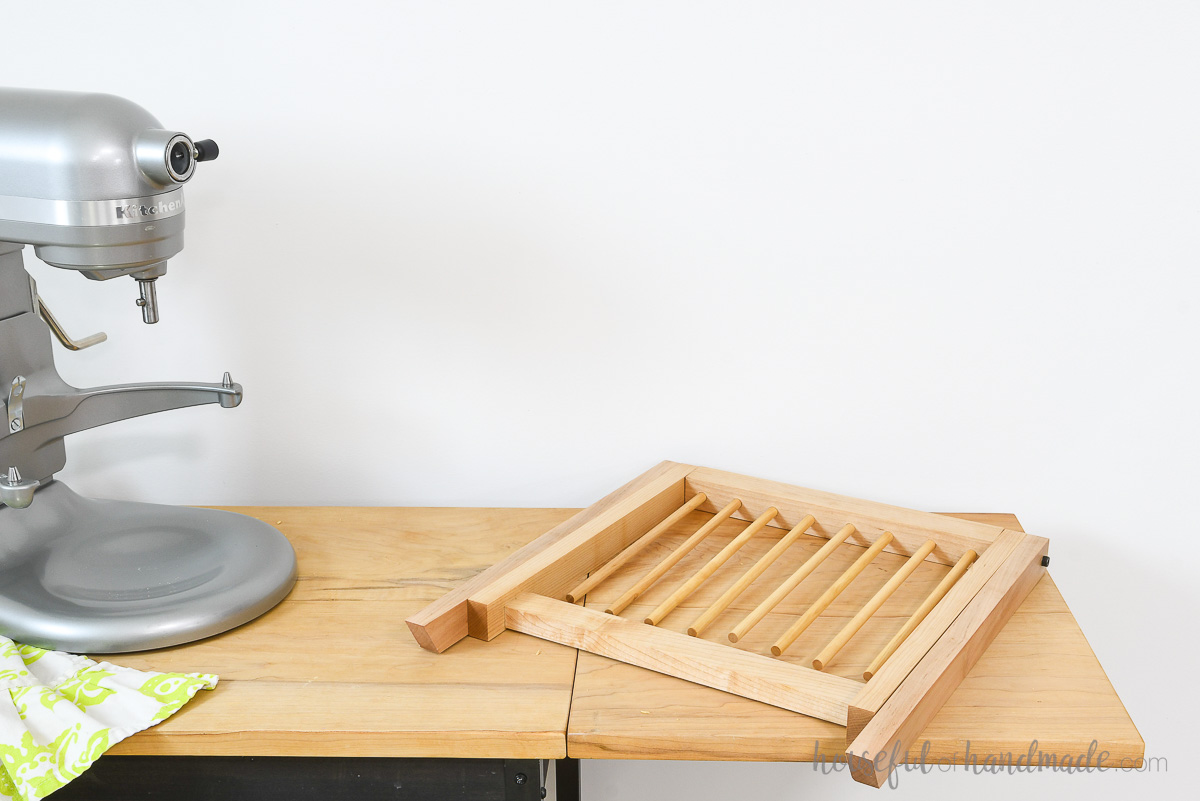
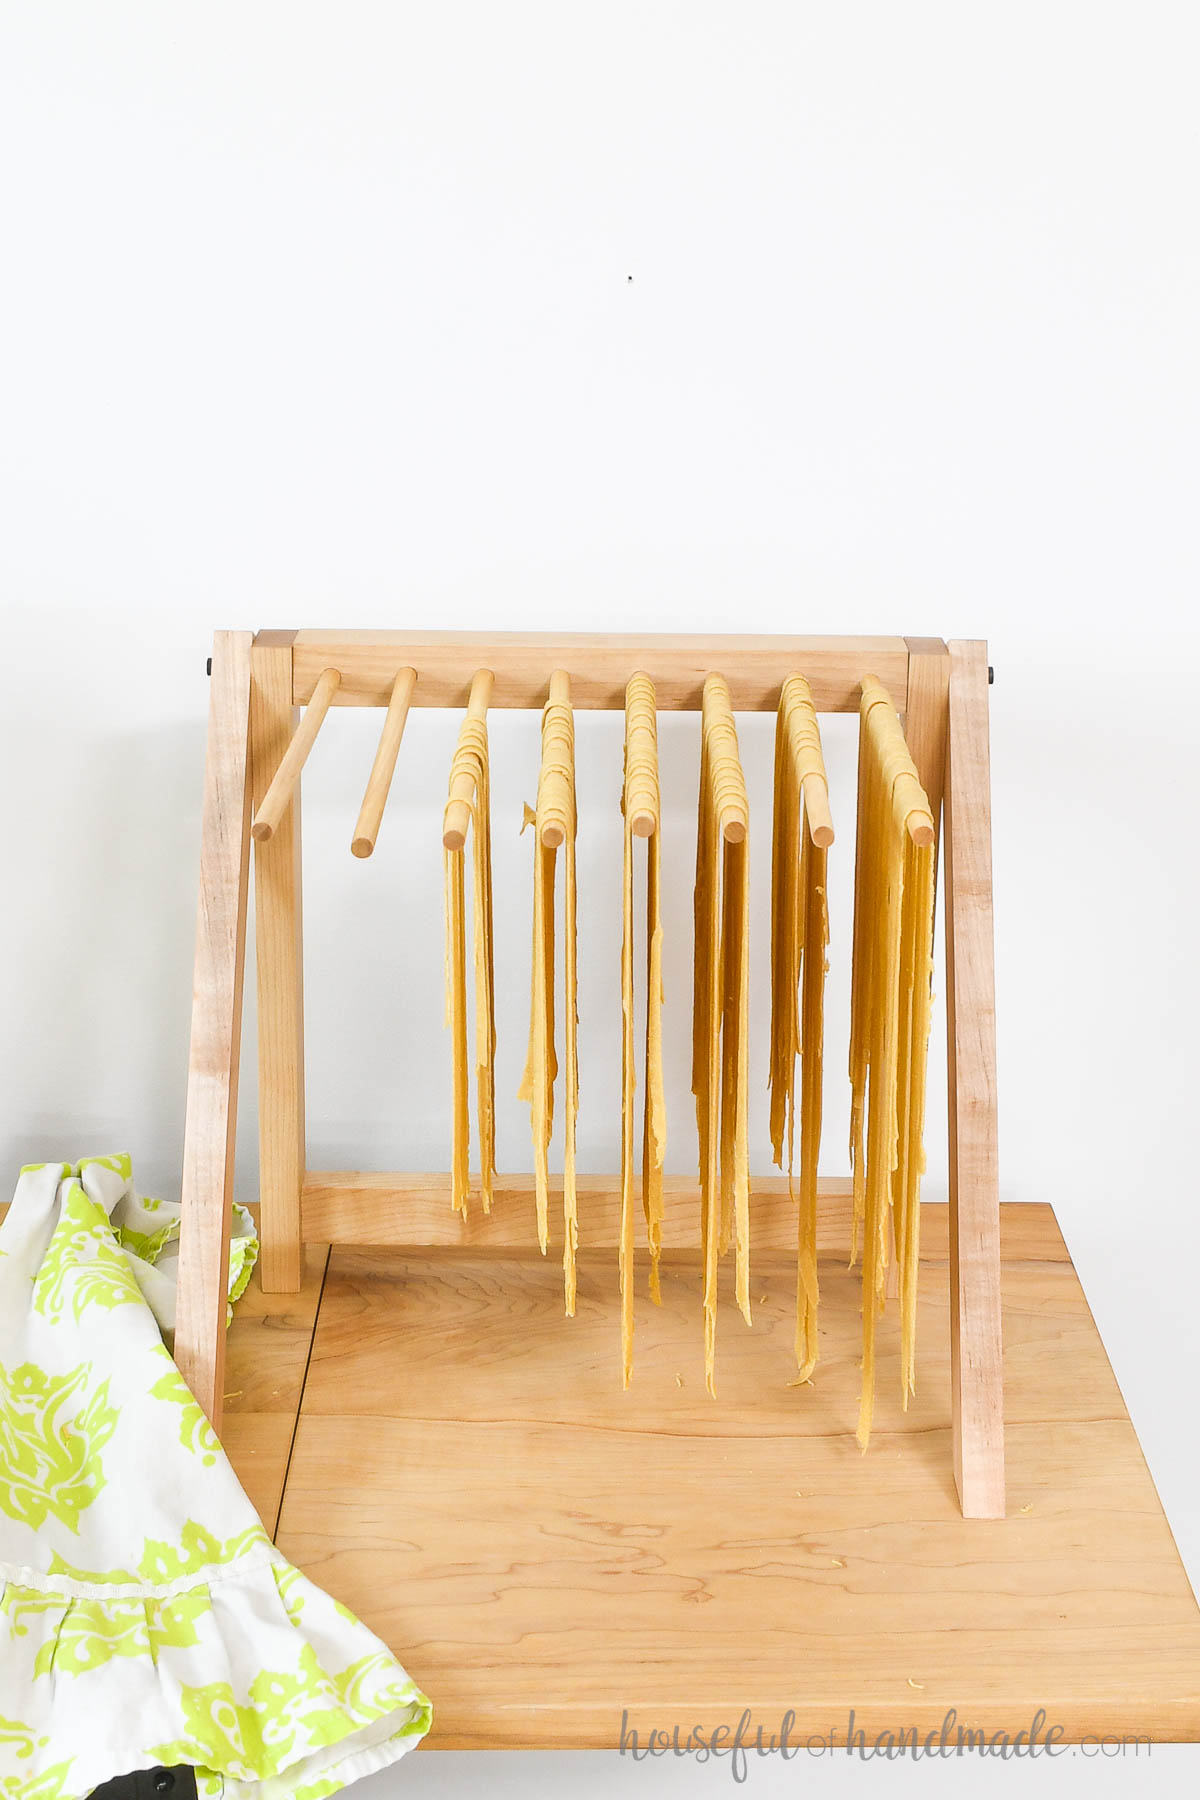
While this drying rack is simple to build, it is extra fancy in that it folds flat when not in use.
Collapsible Pasta Rack
The most important design element I wanted in my DIY pasta rack was that it could fold up flat for storage.
And I wanted it to fold quickly and easily. So unlike other pasta racks, all the pieces stay together so you never have to worry about loosing then.
I designed the drying rack to be held together with shoulder screws and threaded inserts. I have used these on a few other projects (like these cornhole boards and chaise lounge chairs) and they are easy to work with.
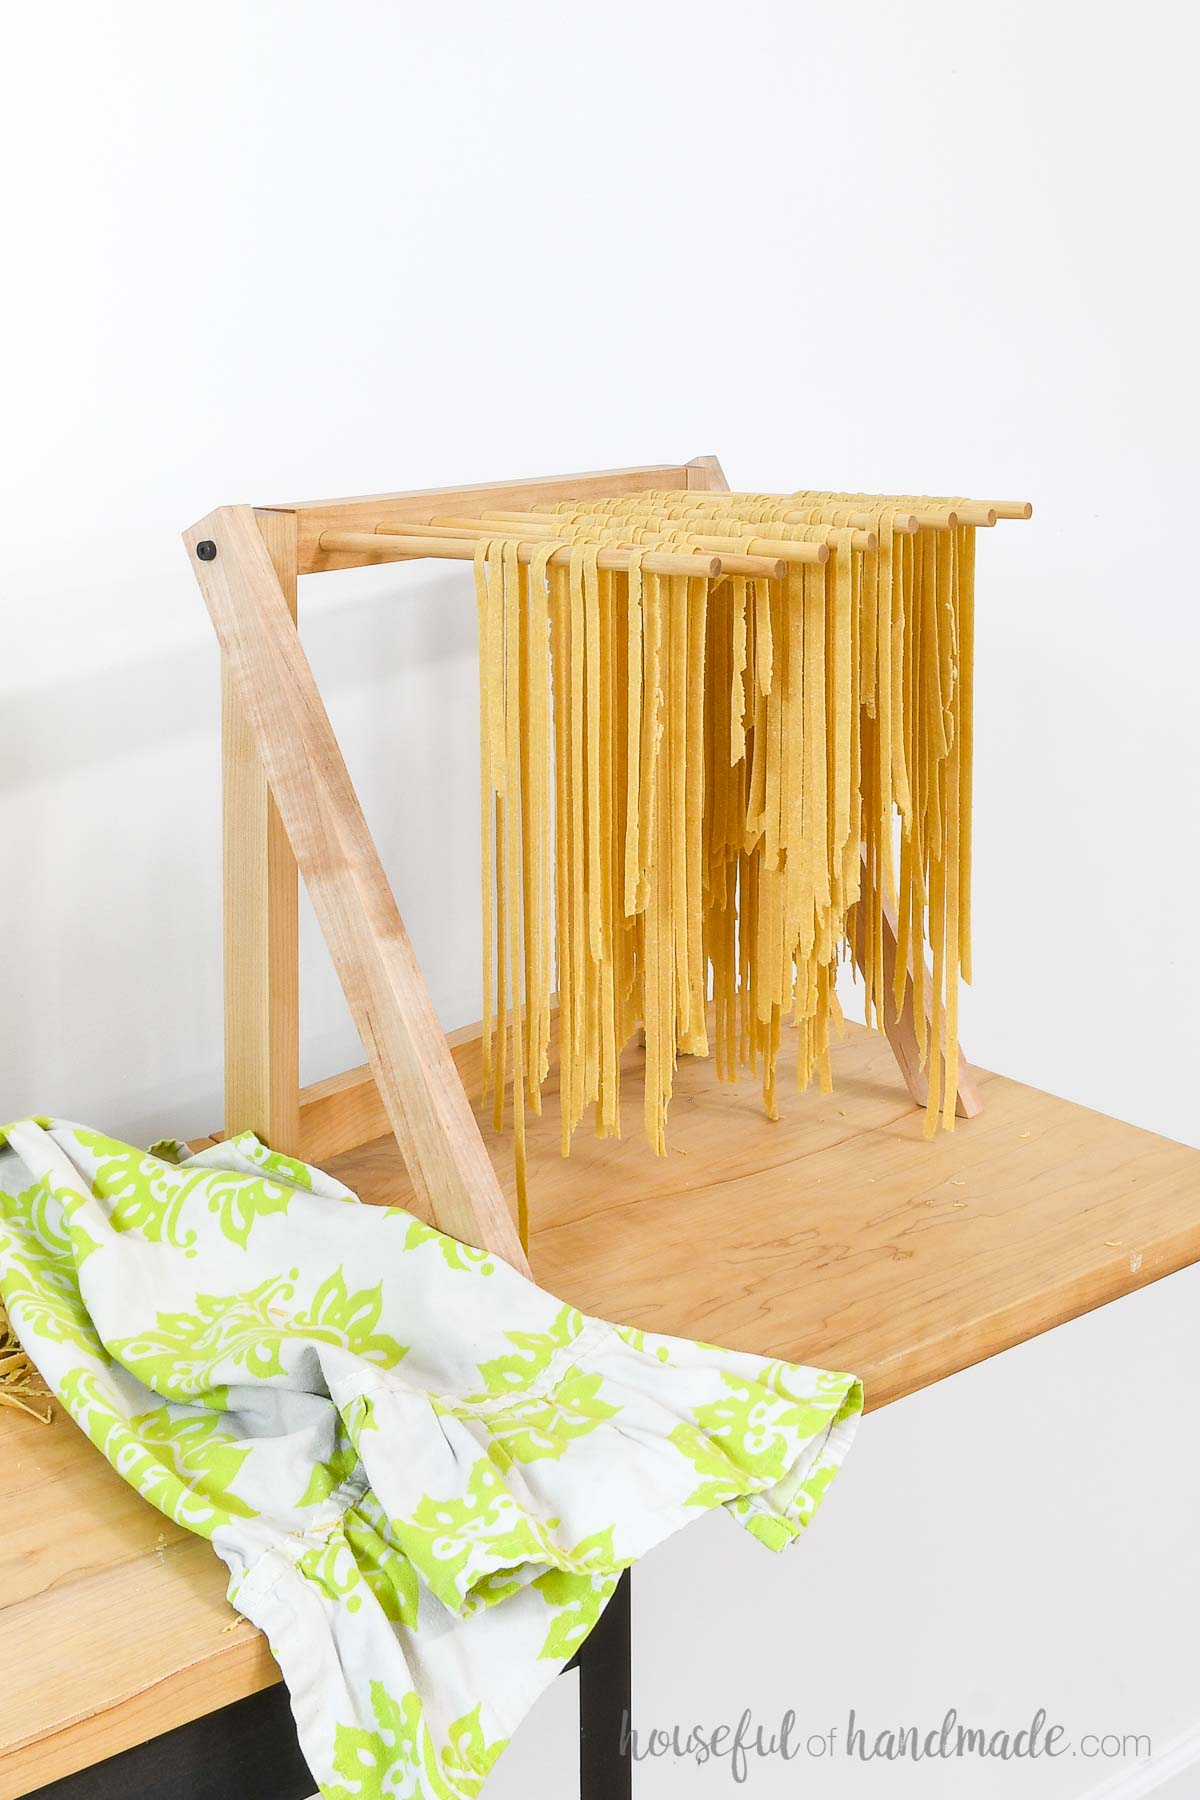
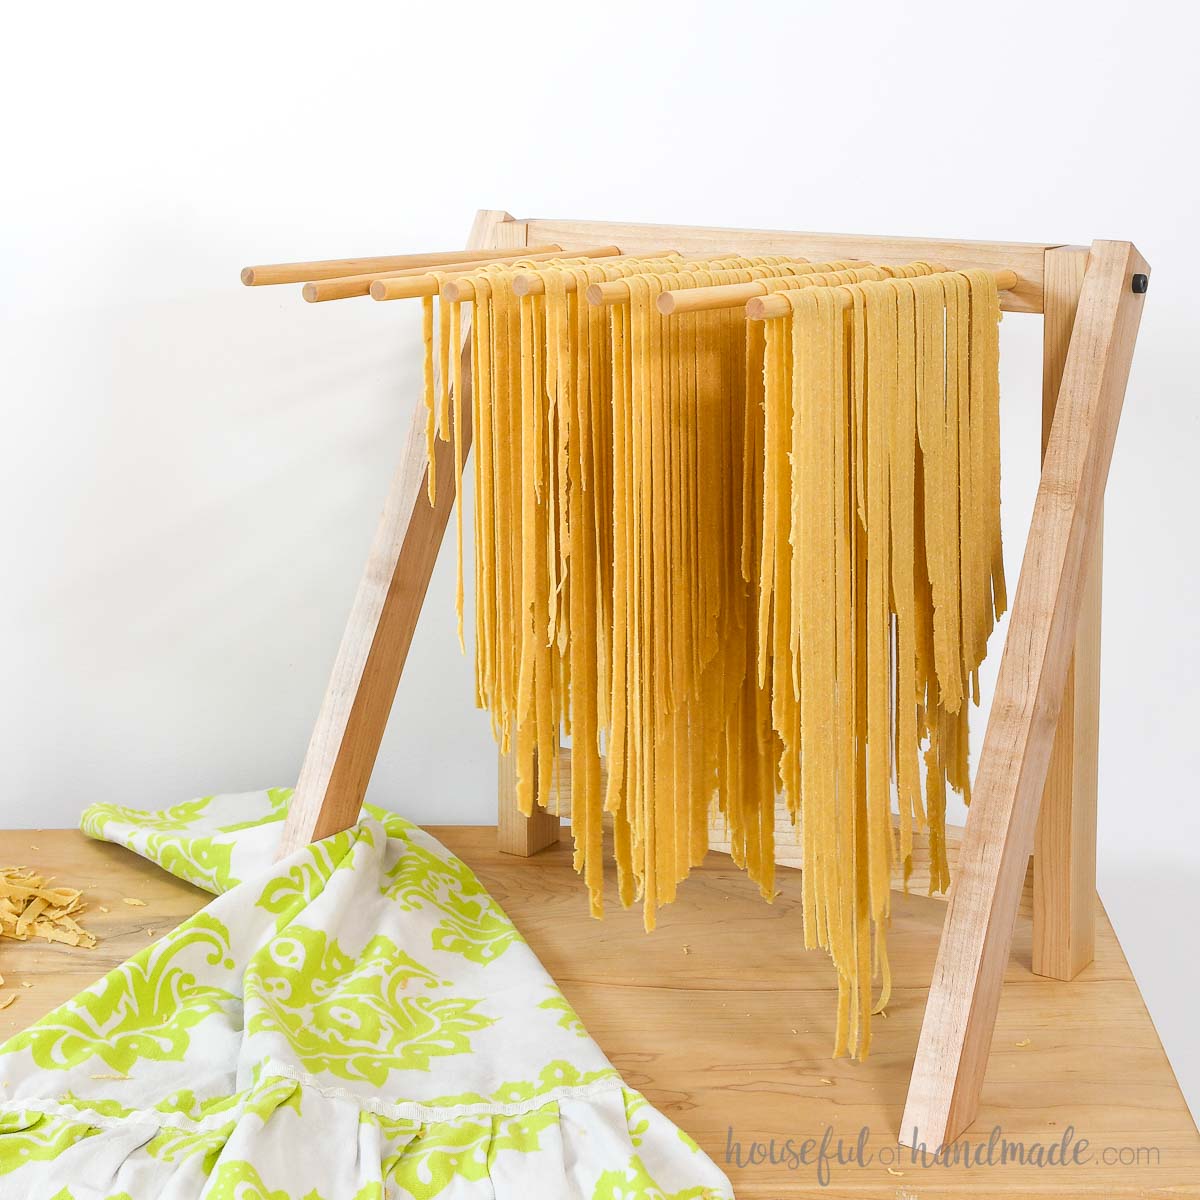
To open up the pasta drying rack for use, all I have to do is pull the front legs forward till they are flat on the countertop. Then rotate the top piece so the dowels are parallel.
Then it is ready to load up with homemade pasta!
If the shoulder screws get loose, you can quickly tighten them back up to hold the legs in place. And when you are done, just rotate the top and flatten the legs again.
Now it is ready to store in the cabinets until next time.
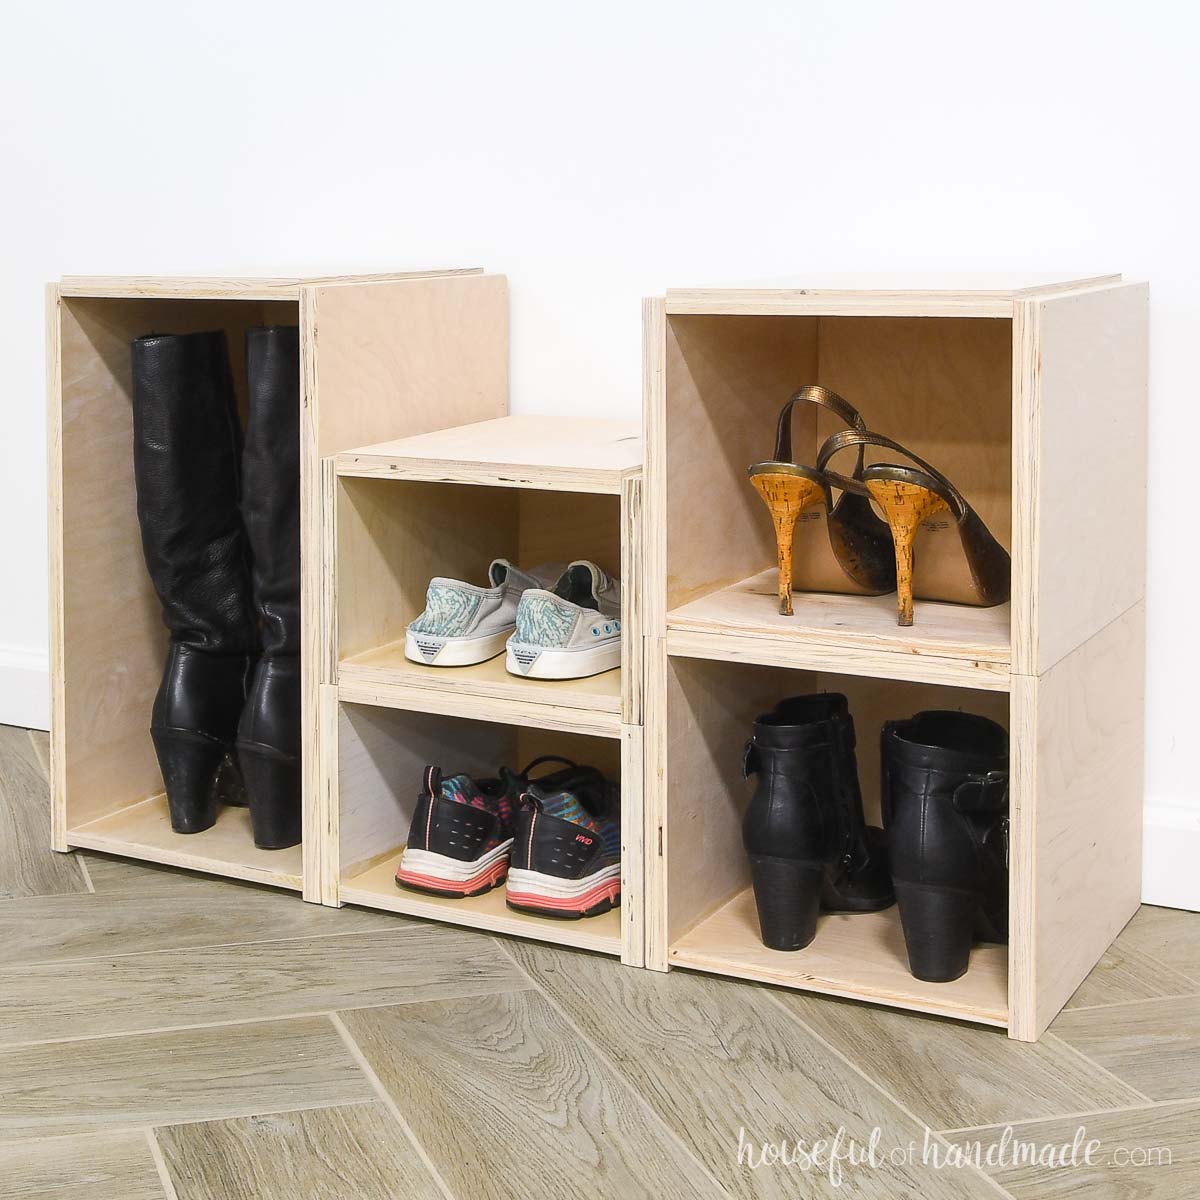
More Scrap Wood Projects
My DIY pasta drying rack was built as part of Scrap Wood Summer. Every Tuesday in August I share a new scrap wood project along with my friend Shara from Woodshop Diaries.
Check out all the other scrap wood projects below from the month so you can use up all those scraps of wood!


How to Build a Folding Pasta Drying Rack
Tools & Materials
Recommended Tools:
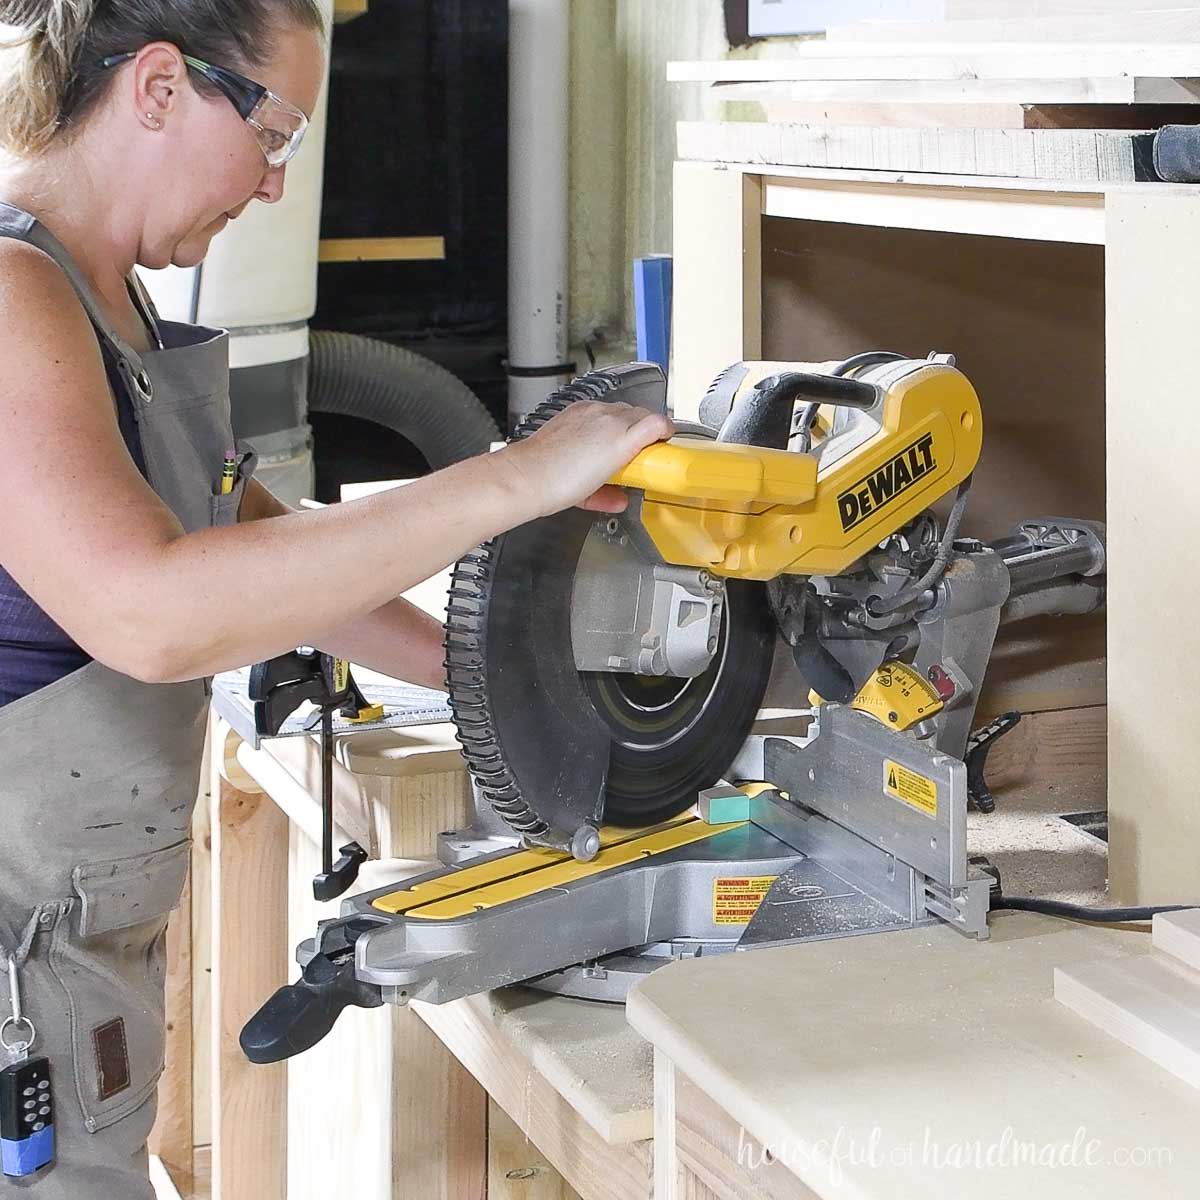
- Miter saw
- I recently upgraded to this larger sliding miter saw (watch for it to go on sale), but all my projects before were built with this inexpensive miter saw that I loved.
- Drill
- Impact driver (optional, but I love not having to switch bits with the drill)
- Multi-mark measuring tool
- Portable drill guide
- Sander
Supplies:
- Wood products
- 1×2 scraps or (1) 1×2 board, 7′ long
- 2×2 scrap, 12″ long
- 3/8″ dowel, 8′ long
- (2) 1 1/2″ shoulder screws
- (2) threaded inserts
- (2) 3/8″ dowel pins
- Wood glue
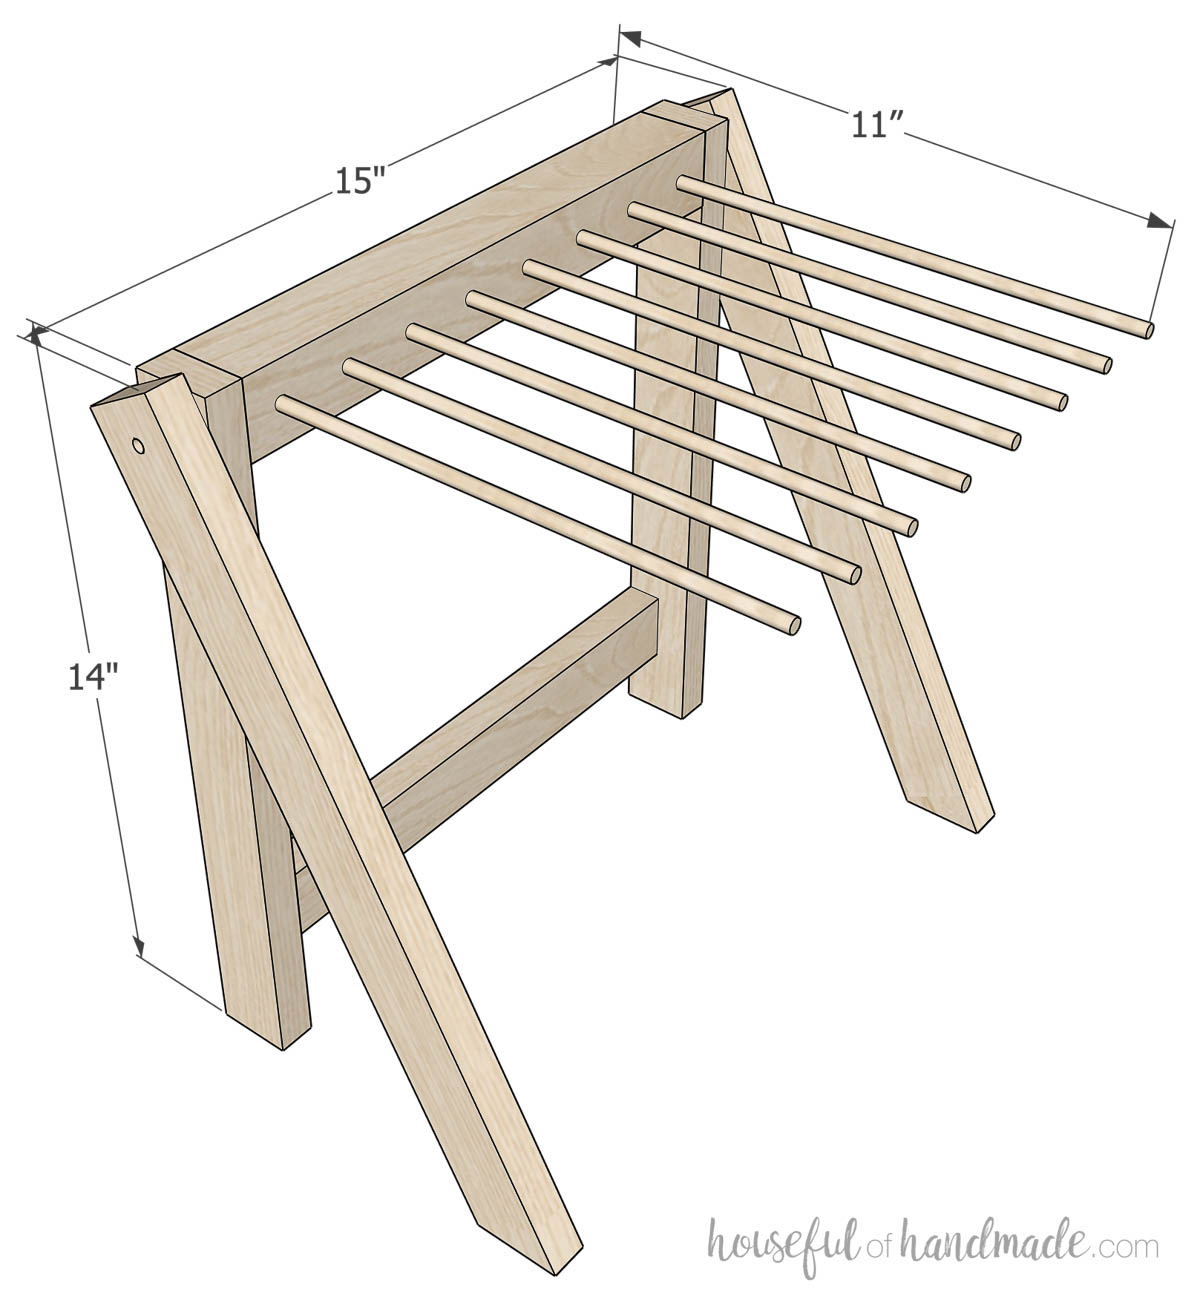
Overall Dimensions
The finished pasta rack is 15″ wide and 14″ tall. The top is 11″ deep with 9 1/2″ of drying rack on each dowel.
STEP 1- Build the top
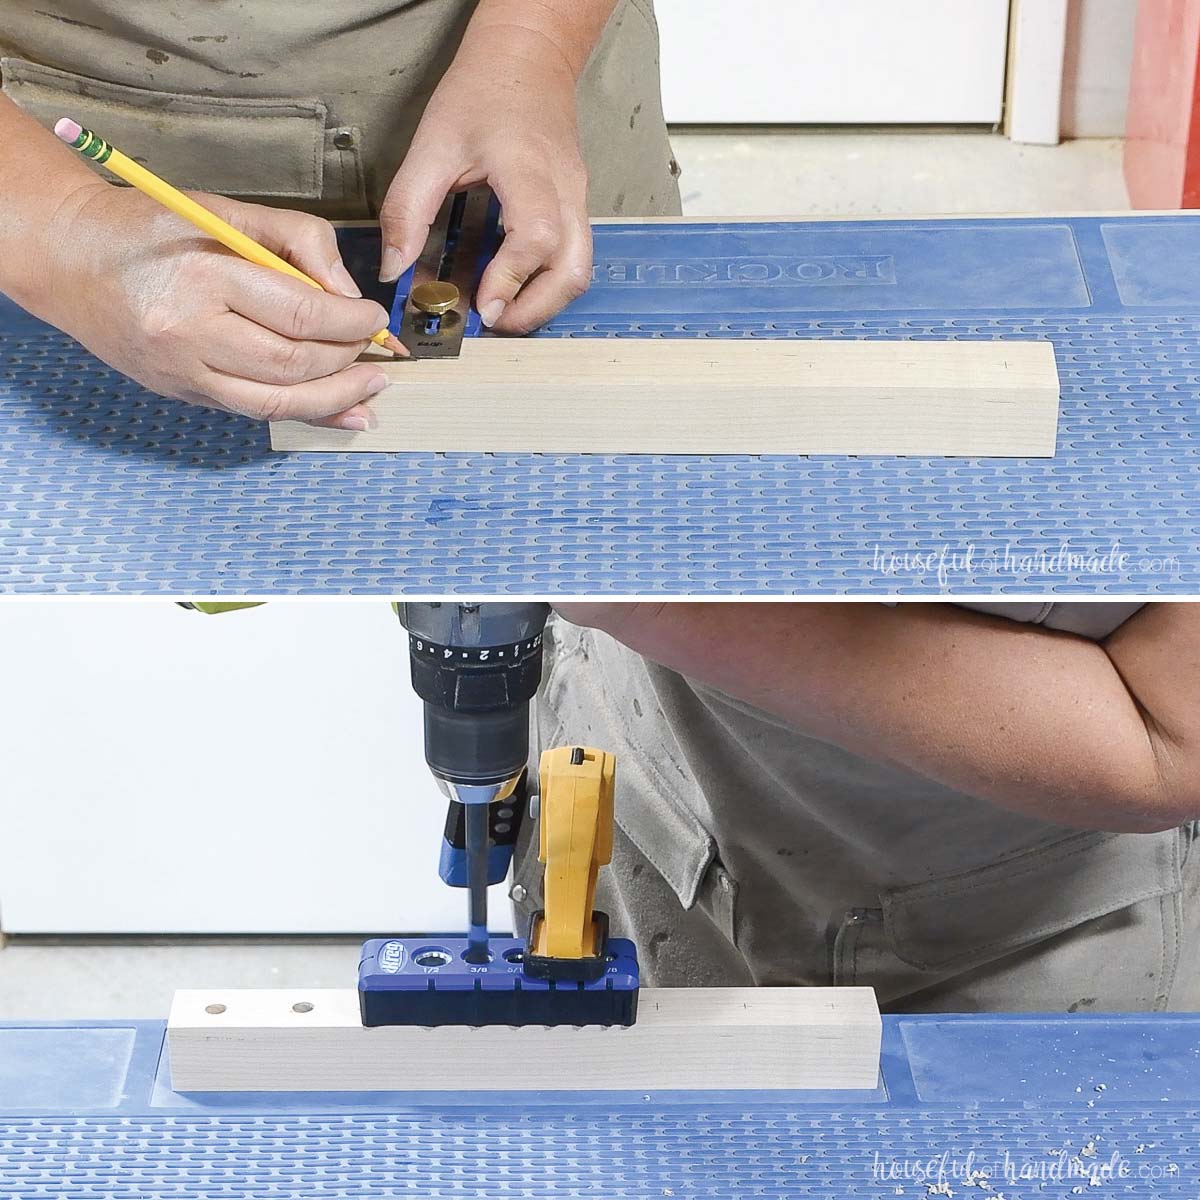
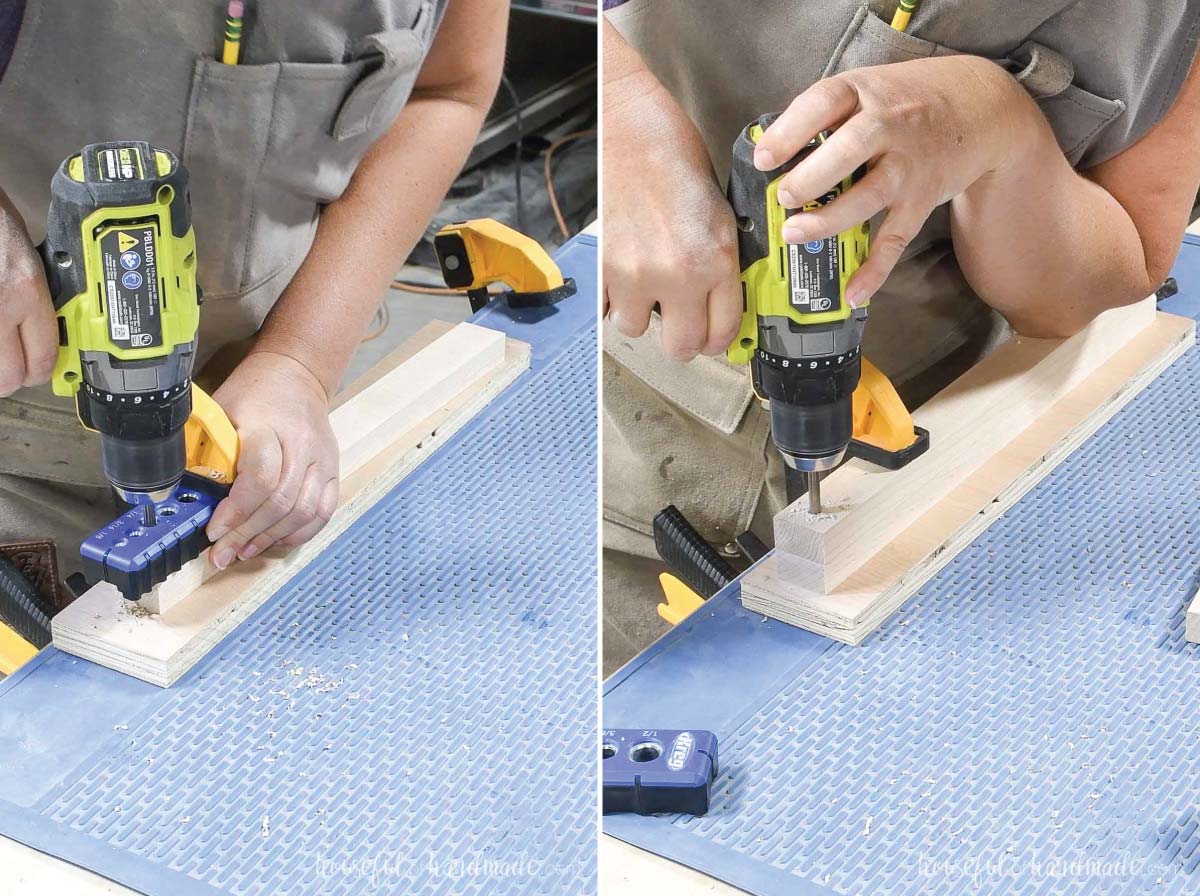
On the 2×2 top piece, mark out points centered on board. They should be 3/4″ in from the ends and 1 1/2″ between them.
Drill 1/2″ deep holes the size of your dowel on these marks.
Use a drill guide to keep your holes straight as you drill them.
EXPERT TIP:
I mark the depth of my hole on the drill bit with a thin piece of painters tape to ensure my holes are the proper depth.
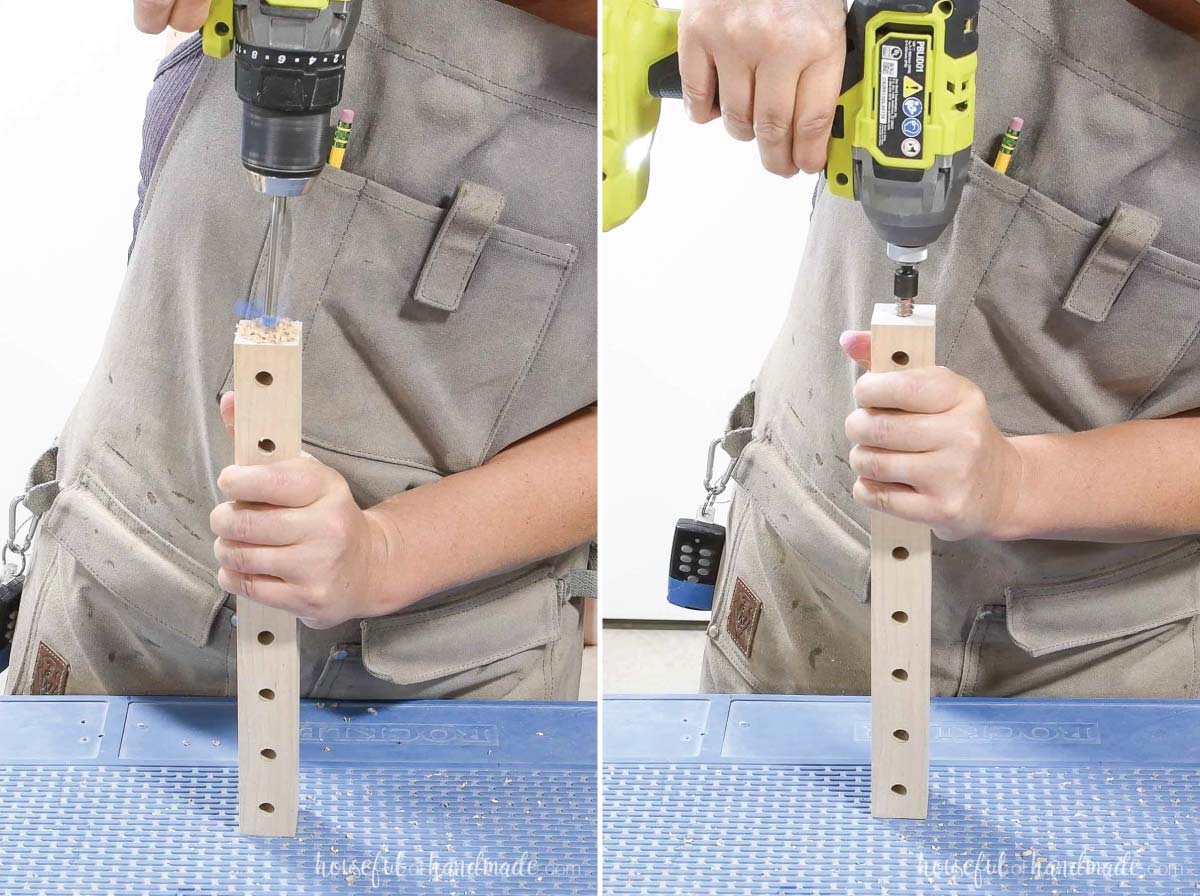
In the ends of the top piece, drill a hole as detailed in the instructions for your threaded insert.
Then secure your threaded insert into the holes. Drive the insert in slow and steady so you do not strip the top of it.
EXPERT TIP:
Make sure to get the proper threaded insert for your wood type, hardwoods need the knife threads to be able to cut through the wood without splitting it.
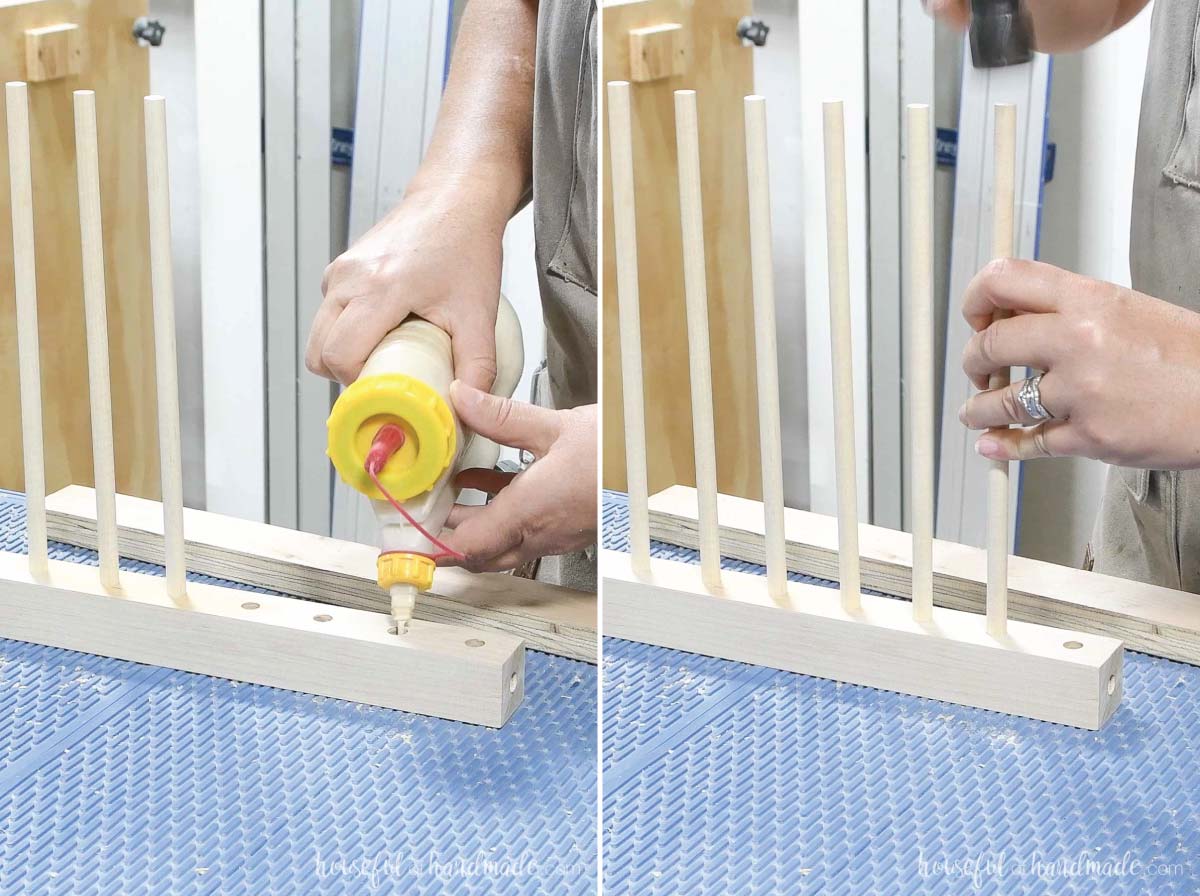
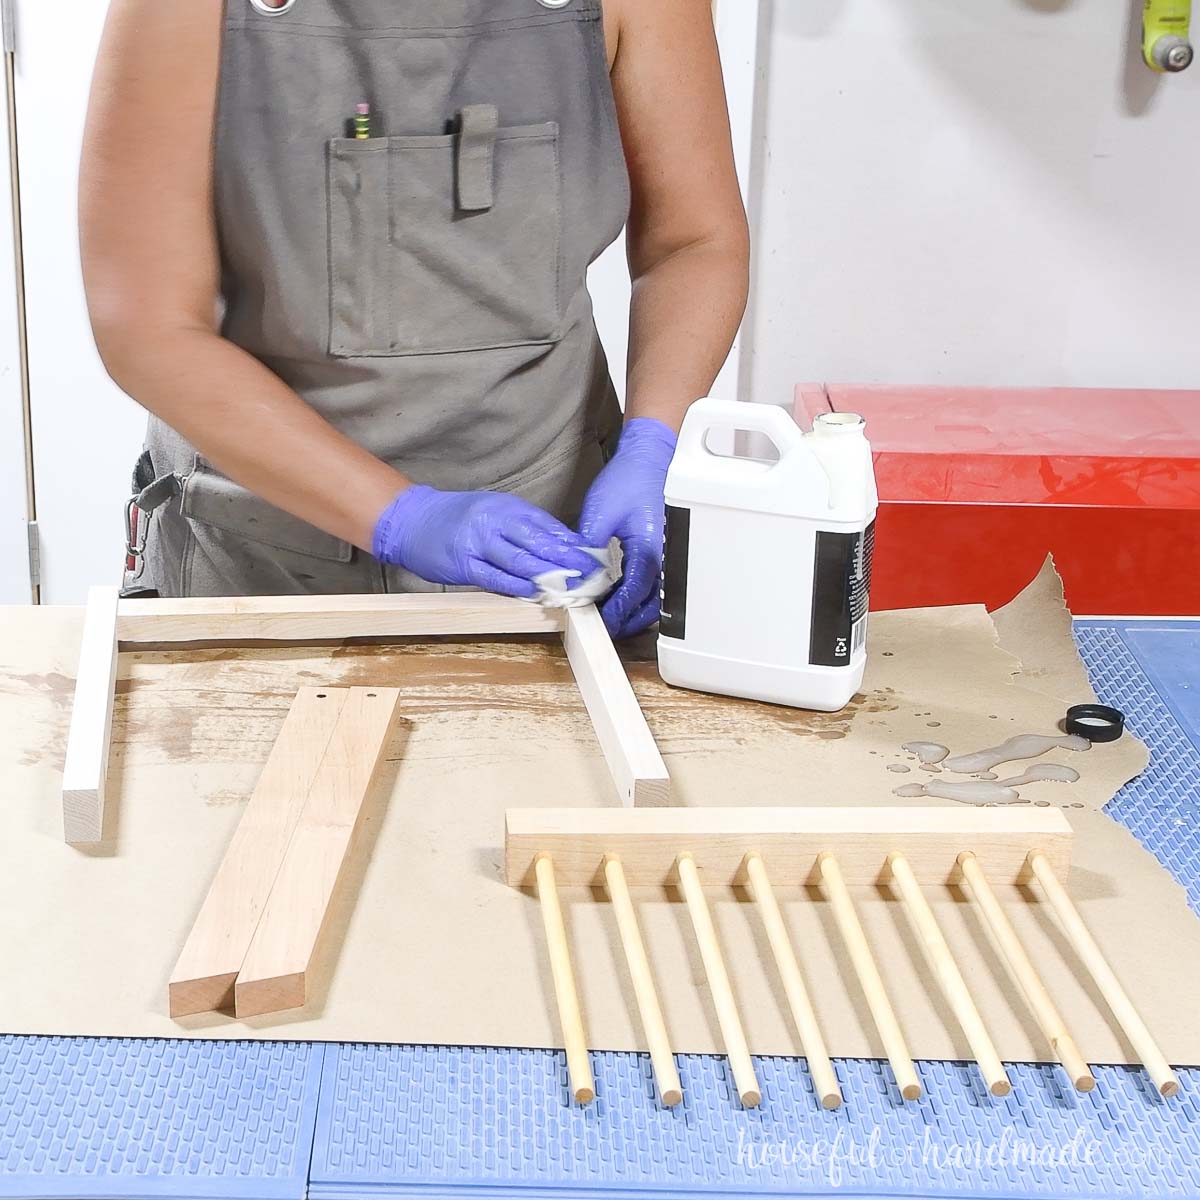
Cut the dowels to 10″ long. Glue them into the holes on the top piece.
Tap them carefully in with a hammer to make sure the dowels are full seated in the holes.
STEP 2- Build the base
From the 1×2 scraps, cut 2 back legs at 14″ long, 1 back support at 12″ long and 2 front legs at 16 3/16″ long.
One end of the front legs should be cut at a 28 degree angle.
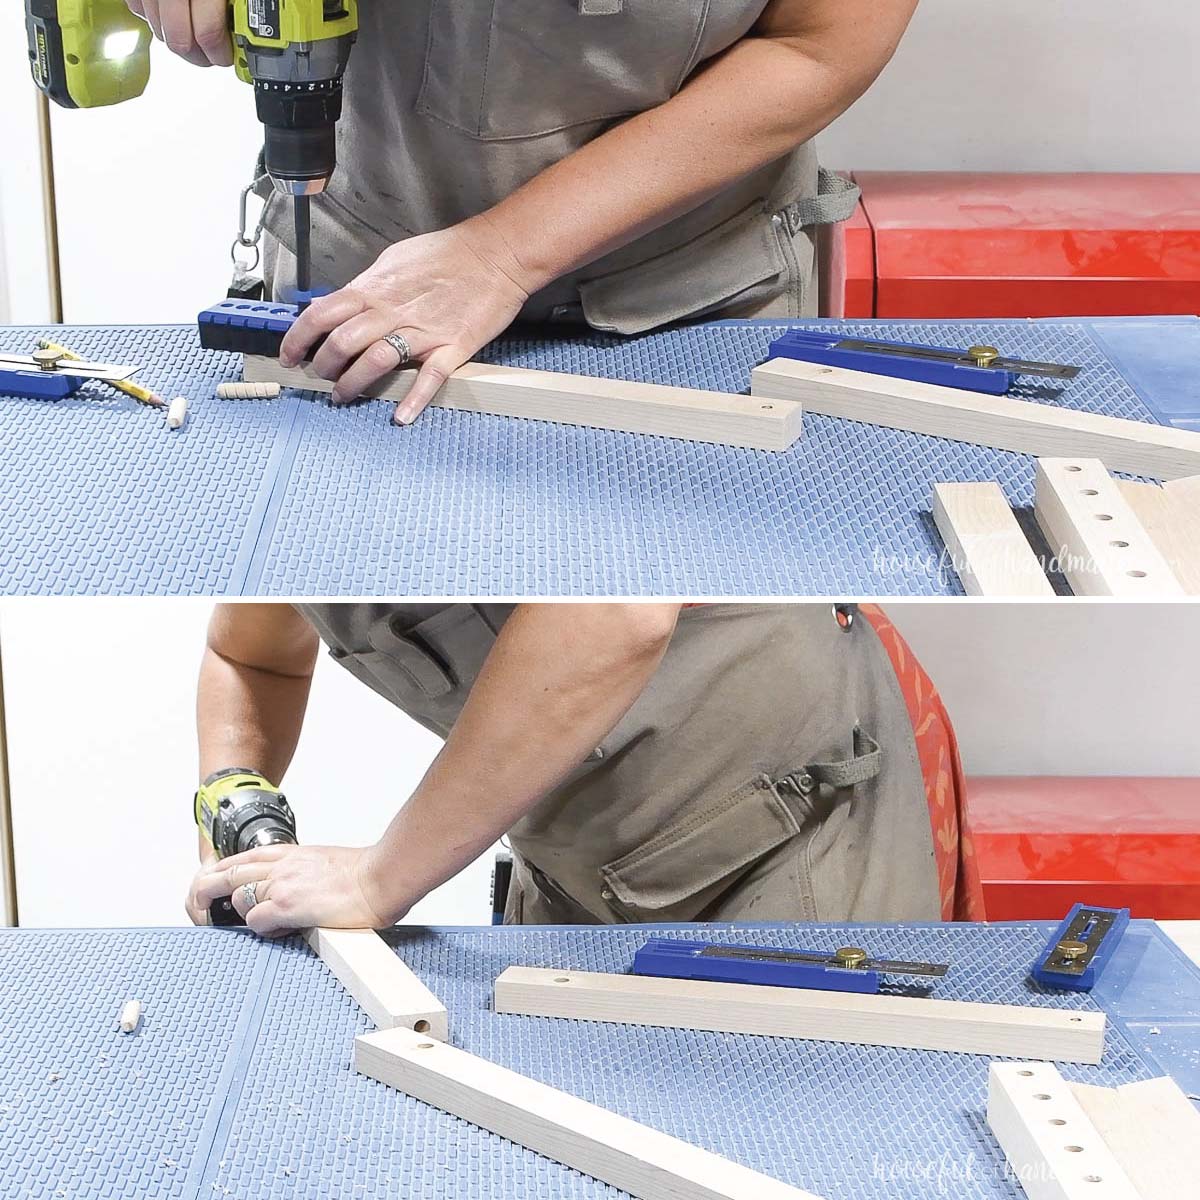
Mark the center of the leg pieces and drill a 1/4″ hole 3/4″ down from the top.
Use a drill guide keep the holes straight.
Line up one front leg with one back leg so the holes are the same going through both pieces.
I attached the back support between the back legs using dowel pins to prevent any visible screws/holes. But you can use a screw if you prefer.
Drill holes 1/2 the depth of the dowel pin in the sides of the back support and the lower part of the sides.
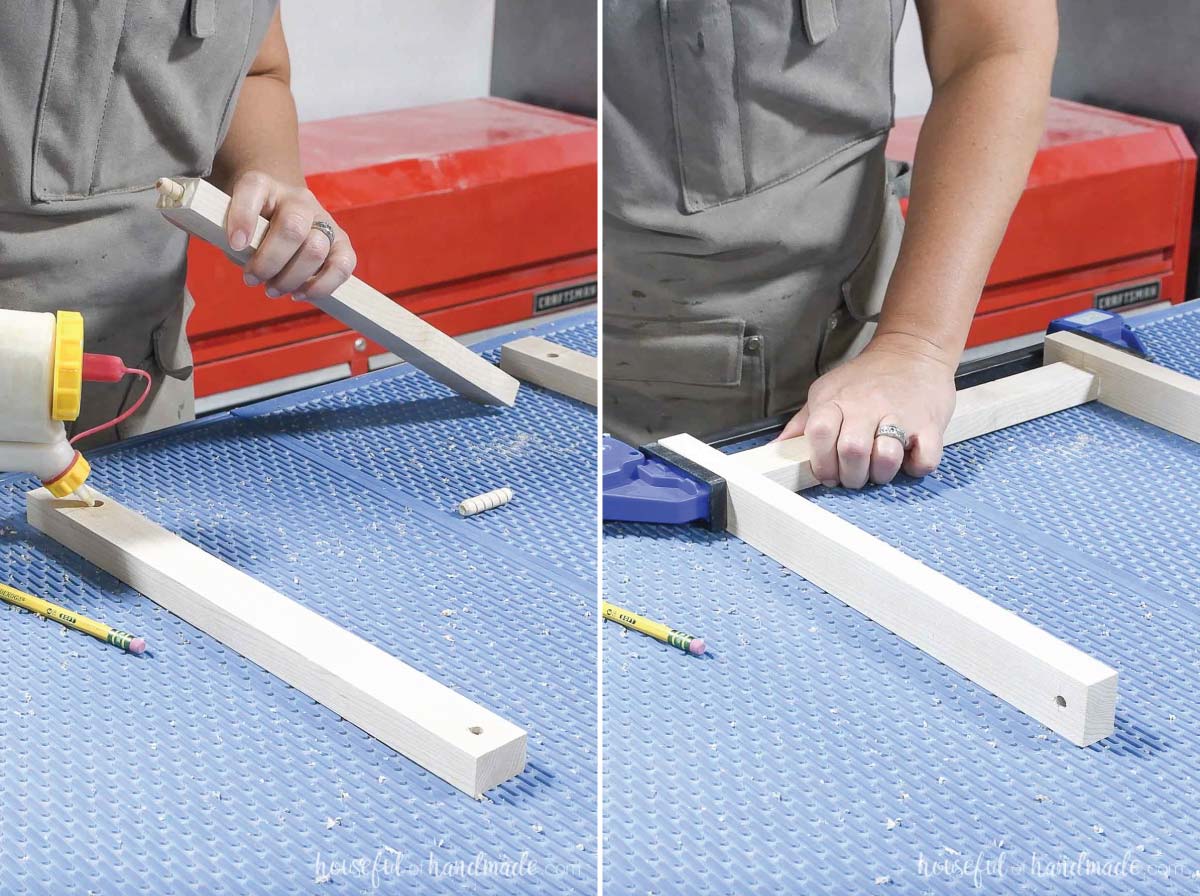
Glue the dowel into the hole then add glue to the ends of the boards.
Clamp the support piece between the legs until the glue is dry.
I put the top piece between the legs at the top to keep my sides straight in the clamp.
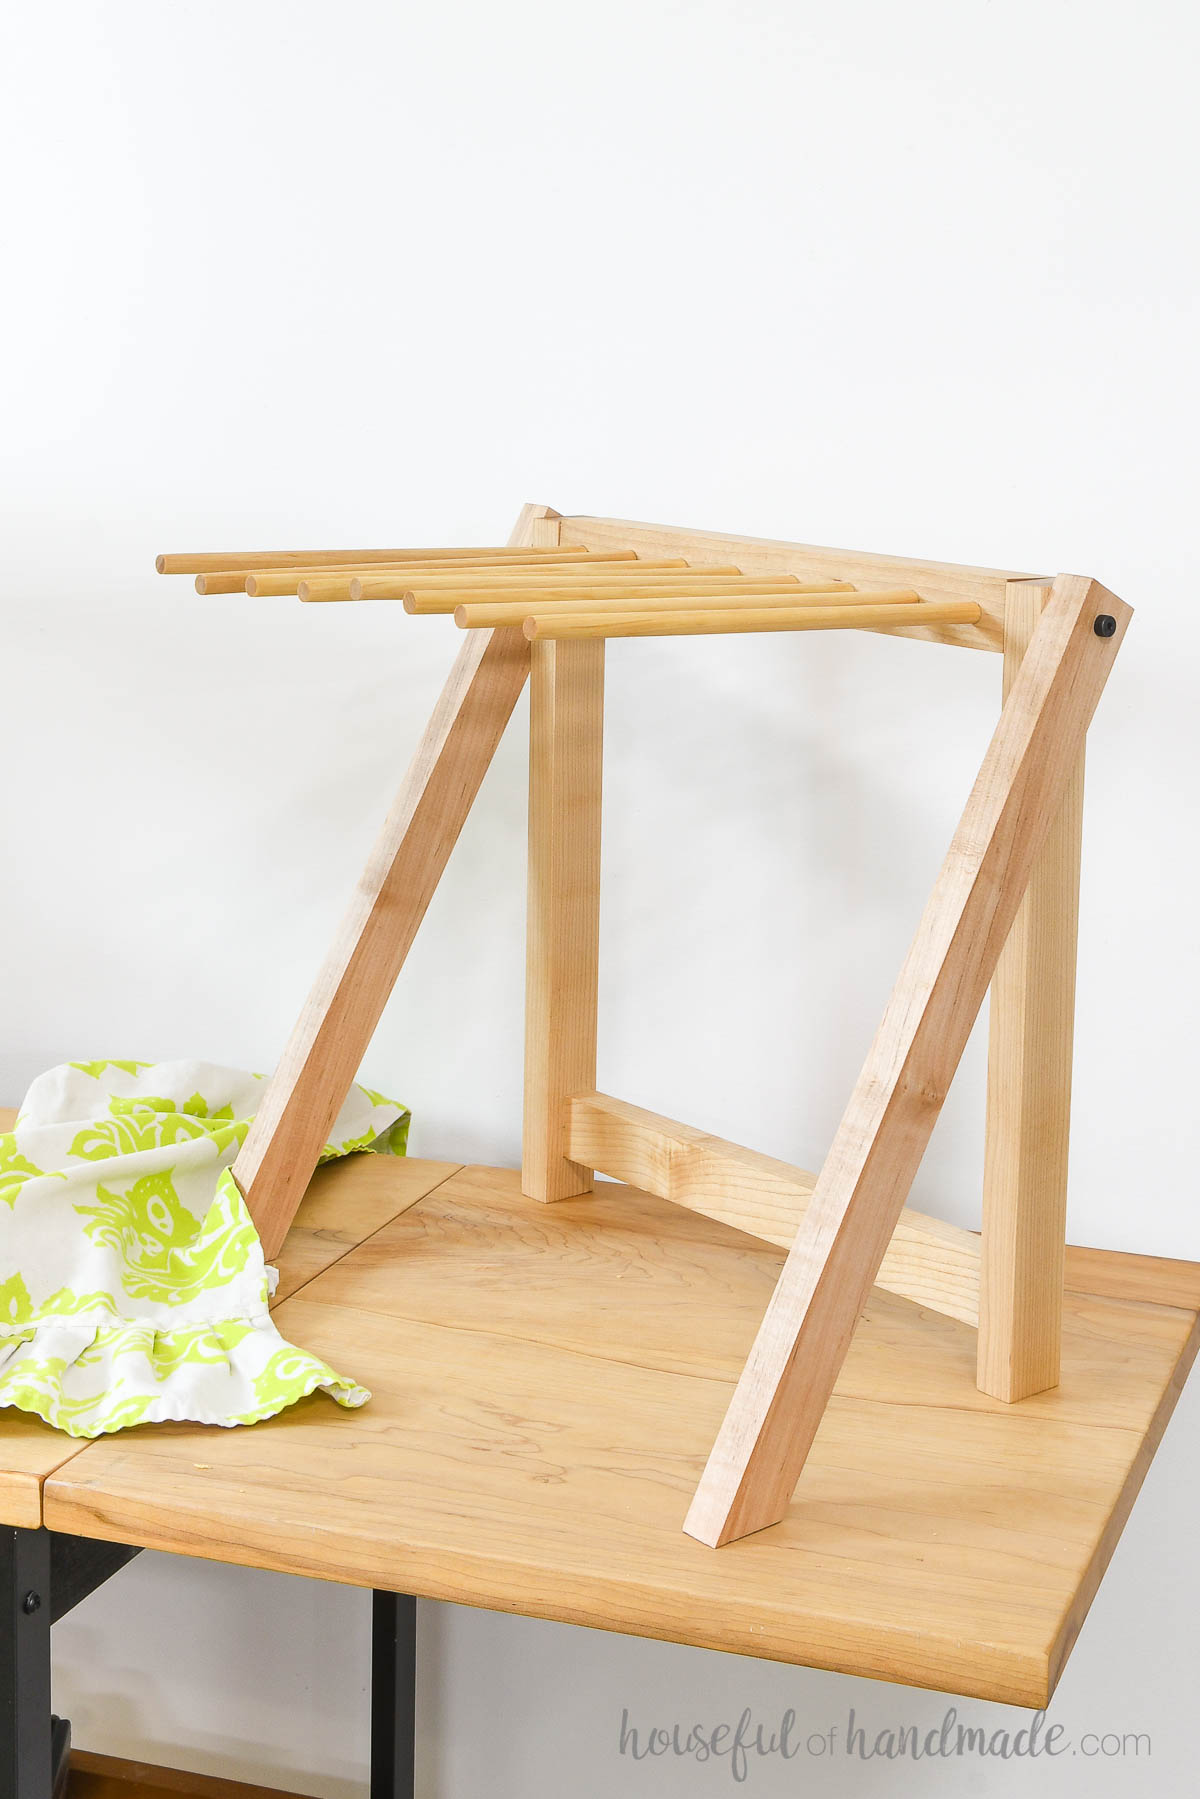
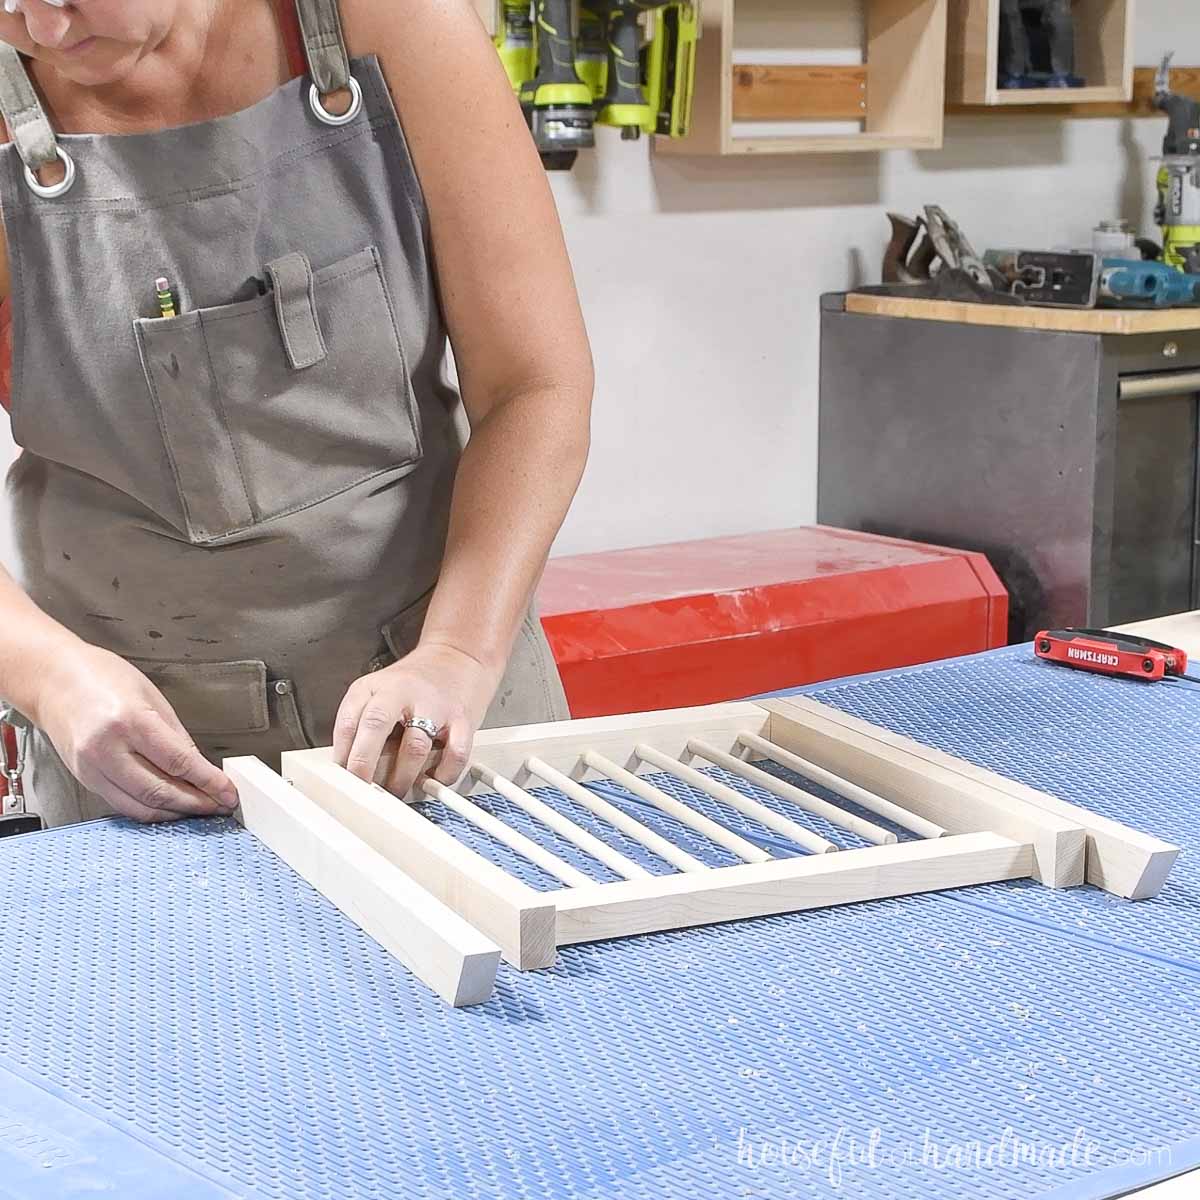
STEP 3- Assemble and finish
Test fit the pieces.
Place the top between the back legs so the top is facing up. Then add the front legs on the outside so the angle is facing down.
Slide the shoulder screws into the holes in the top of the legs and into the threaded inserts. Twist to secure.
Test the rack sitting open and closed and adjust as needed.
Once you are happy with your pasta rack, remove the screws and sand everything.
Seal the wood with food-grade sealer. I built my rack out of maple hardwood so I use cutting board oil to seal it.
Once the sealer is dry, put the pieces back together with the screws.
You did it!
Now you can open up your new pasta drying rack and lay your noodles over the dowels to dry.
Twist the shoulder screws so they are snug enough to hold the legs in place when open. Then press the legs closed and rotate the top to fold it flat for storage.
Happy building!
