Elevate your next build with a beautiful tapered leg.
Creating a tapered leg might seem complicated, but it is actually very simple with a DIY tapered leg jig.
And you don’t have to spend a lot of money buying a jig, you can make one from scraps of wood and a couple clamps.
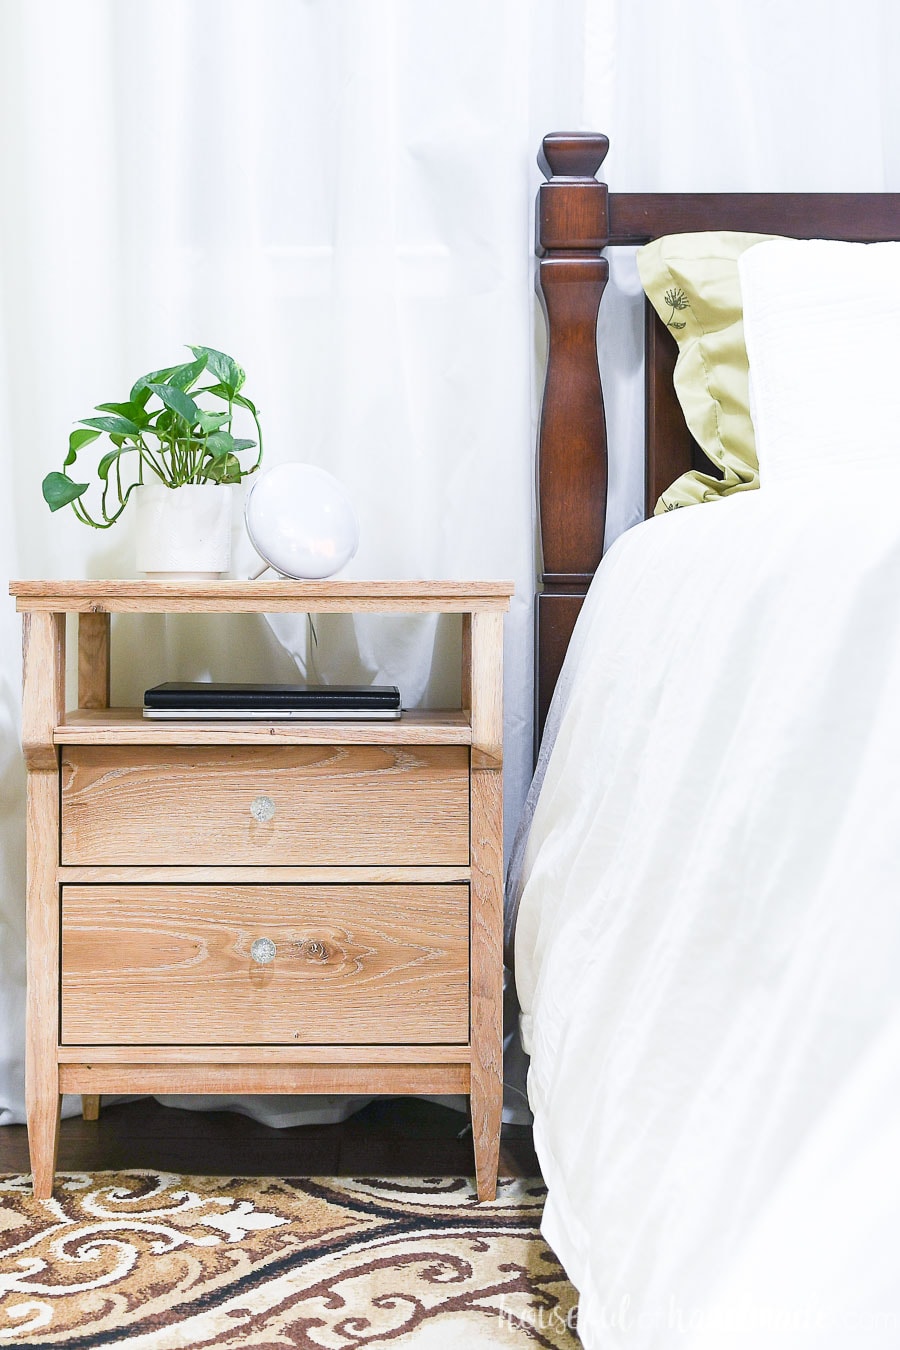
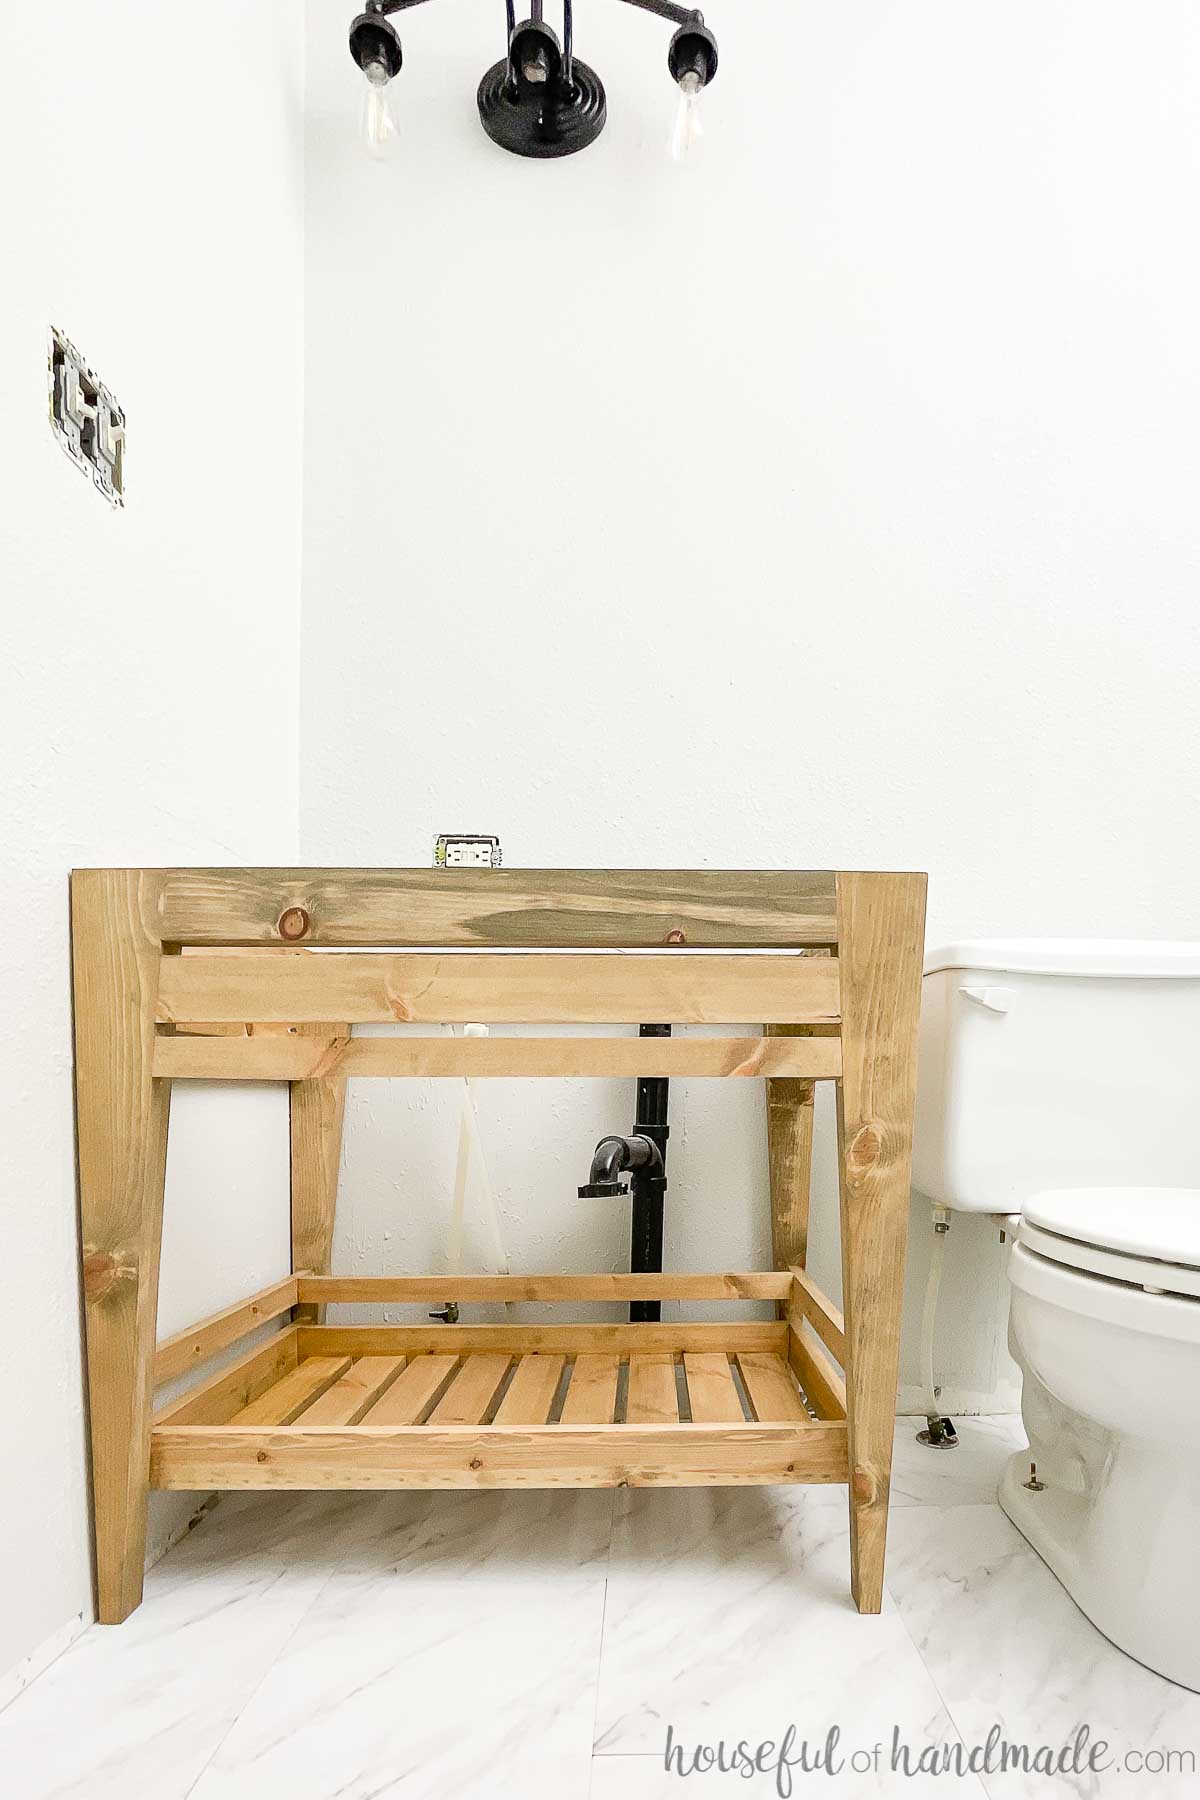
I used this easy to build tapered leg jig to make a lot of projects like these DIY tall nightstands, cheap DIY bathroom vanity, and DIY platform bed frame to name a few.
This post may contain affiliate links. As an Amazon Associate I earn from qualifying purchases. Click here to read my full disclosure policy.

What is a Tapered Leg
A tapered leg is a leg on a piece of furniture cut narrower at the bottom.
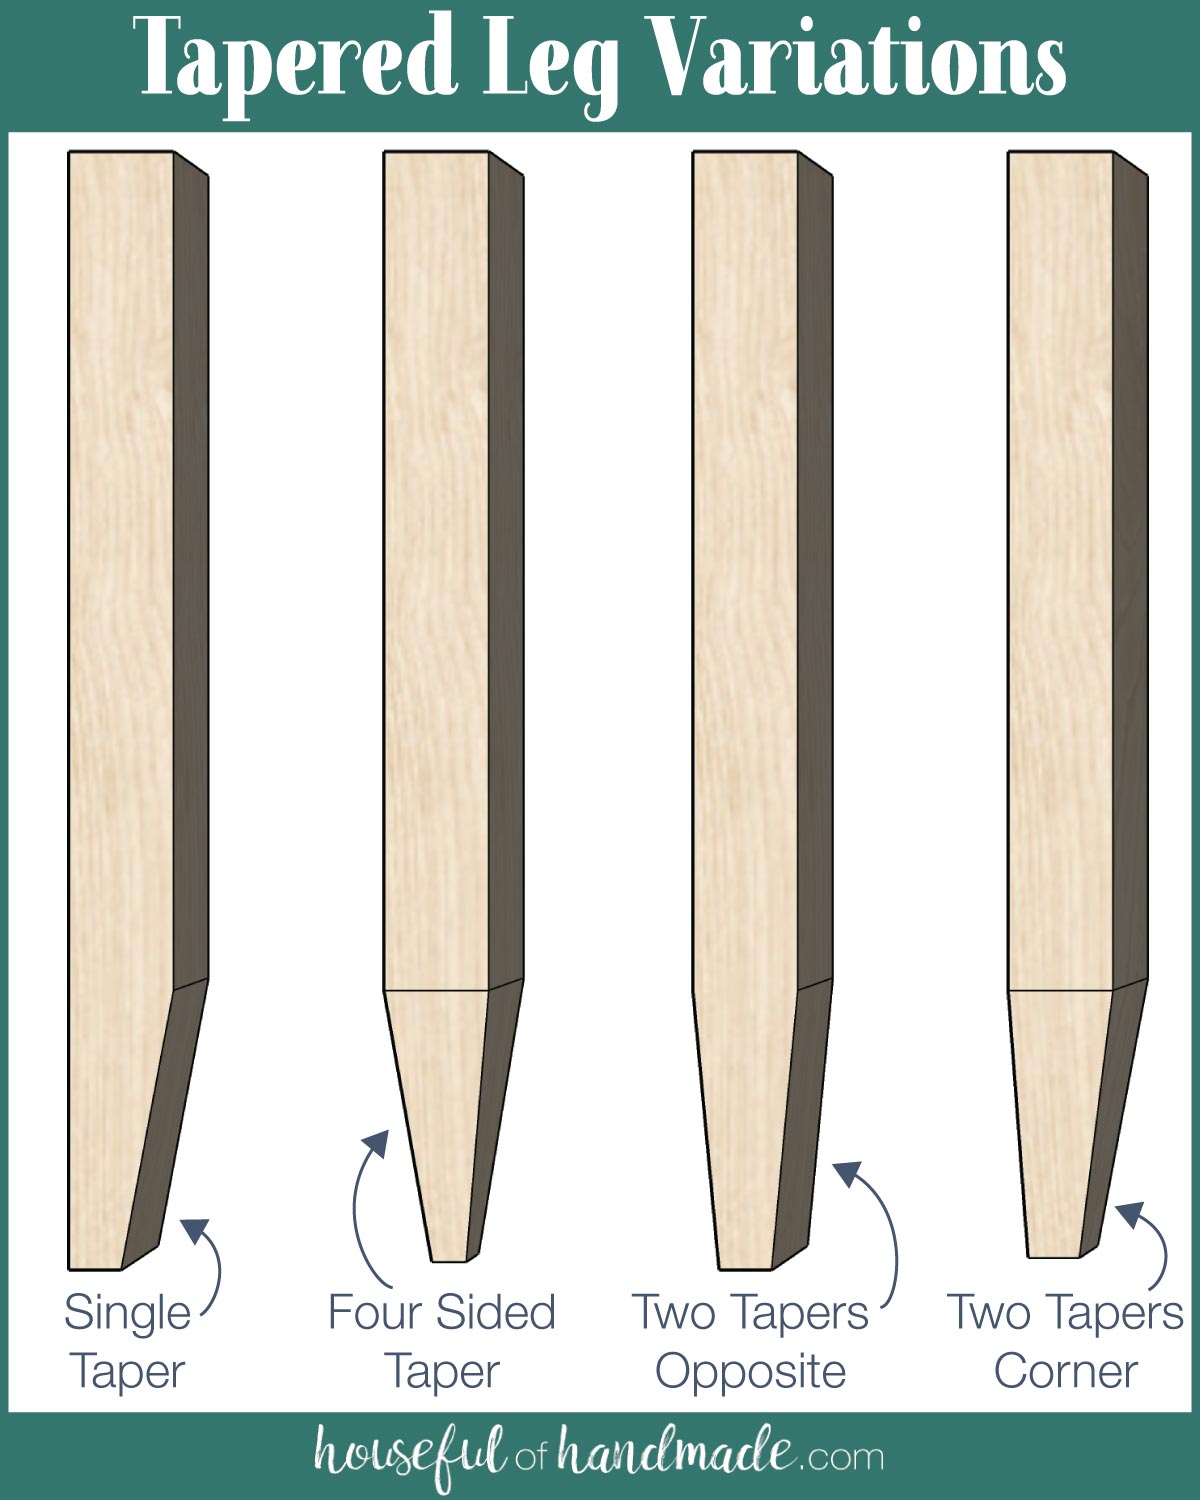
You can cut a tapered leg in a variety of ways:
- Cut one side angled
- Cut all four sides tapered toward a point
- Cut two sides angled opposite each other
- Cut two side tapered in a corner.
You can cut the angles on your leg as far up the leg as you want.
If your furniture piece has a shelf, face frame or skirt, it is easier to have the section of leg attached to it not tapered.
For my tall nightstand build, I only tapered the part of the leg just below the bottom skirt board.
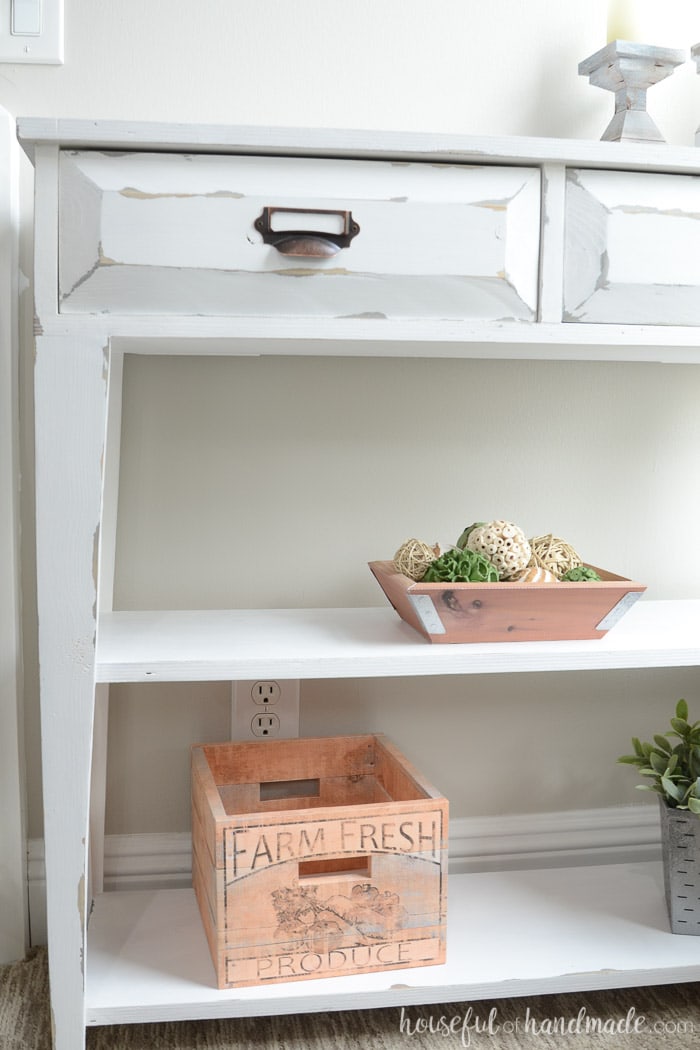
Or you can attach the shelf behind the tapered leg like I did for this DIY small console table.
This allowed me to have a tall taper on the leg and still maximize the storage of the console table with 2 shelves.
How to Make a Tapered Leg Jig
Tools needed:
- Table saw
- Drill or impact driver
- Clamp
Supplies:
- Scrap of plywood
- The plywood needs to be longer than the leg you are cutting by a few inches
- Scrap of 1×2
- Self-adjusting toggle clamps
Cut your plywood on your table saw so you have a straight edge on both sides. One side will ride along the fence and the other will hold the leg.
Mark off the angle of the taper on your leg board.
Lay it on top of your plywood so it the line of the taper is flush with the edge of the plywood. Make sure the part of the leg you want cut off is hanging over the plywood edge.
Clamp it to the plywood to secure.
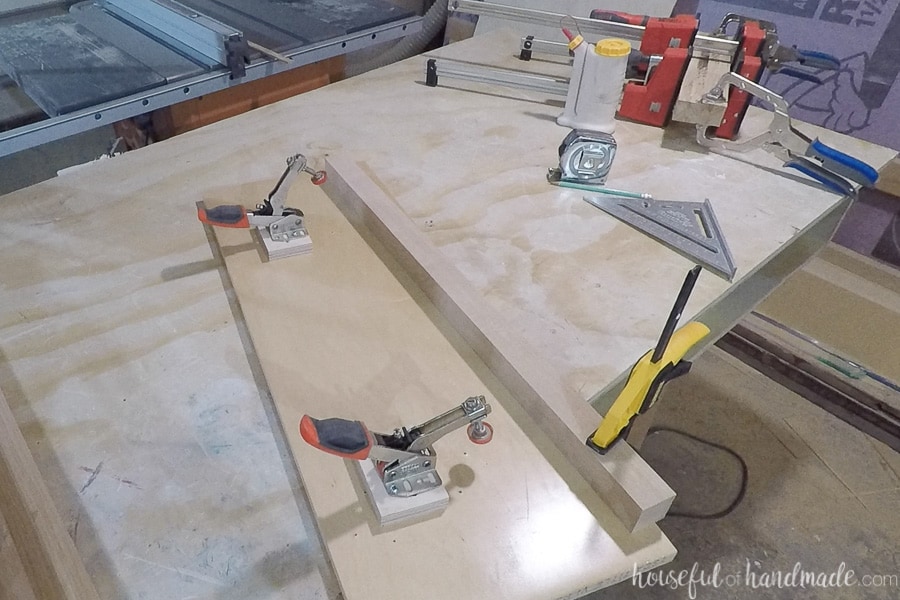
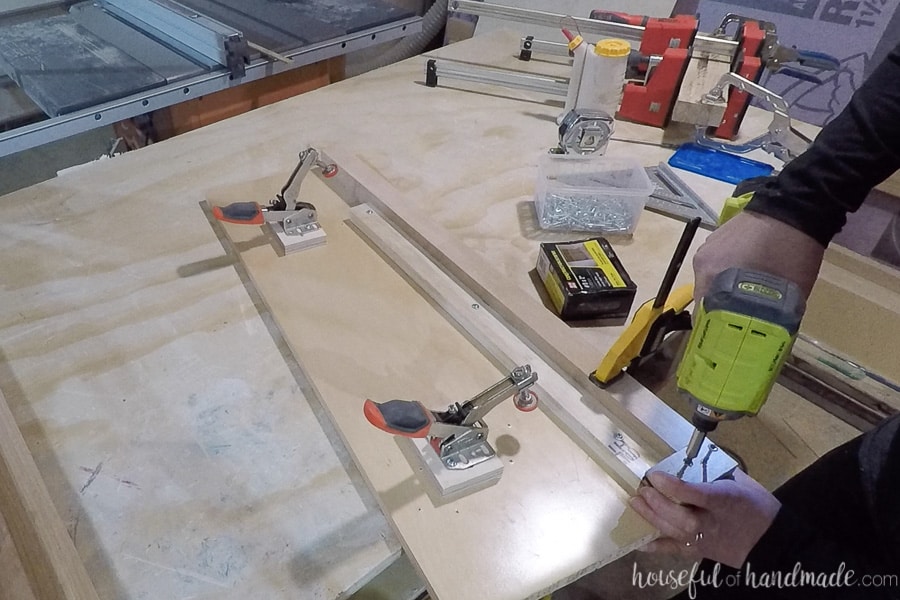
Lay a scrap of 1×2 along the inside edge of the leg board and secure it to the plywood with wood screws (I used 1 1/4″ Kreg pocket hole screws since they are self-tapping).
Then secure a smaller scrap along the bottom of the leg board.
For a larger leg with tapers on multiple sides, a 1×2 might not be tall enough to rest the leg on as you cut. Use a 2×2 board instead.
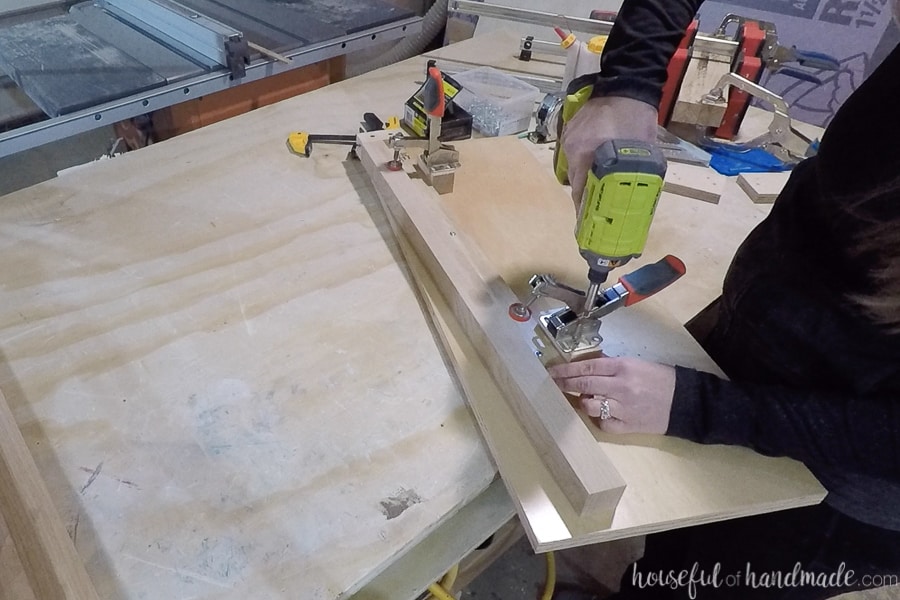
Add two or more self-adjusting toggle clamps to the jig. Depending on the height of the leg you are cutting, you may need to add a scrap of 1×2 under the clamps to raise them up.
These clamps are the biggest expense for this jig. However, they are a great investment for any shop because you can move them from jig to jig as needed.
Or you can find cheaper clamps that are not self-adjusting if you prefer.
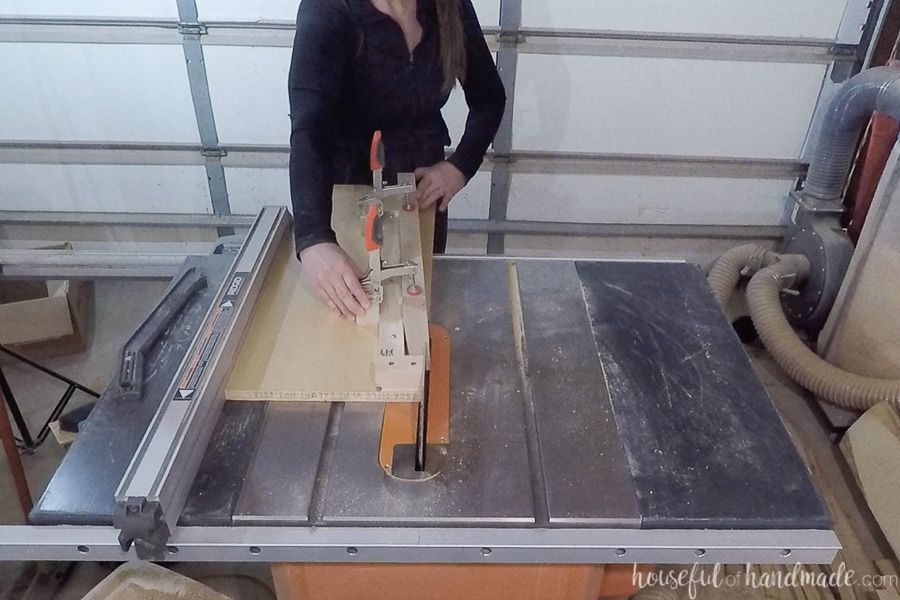
How to Cut a Tapered Leg with the Jig
Clamp your board to the jig. Make sure the side is flush to the 1×2 and the bottom is flush to the 2×2 board.
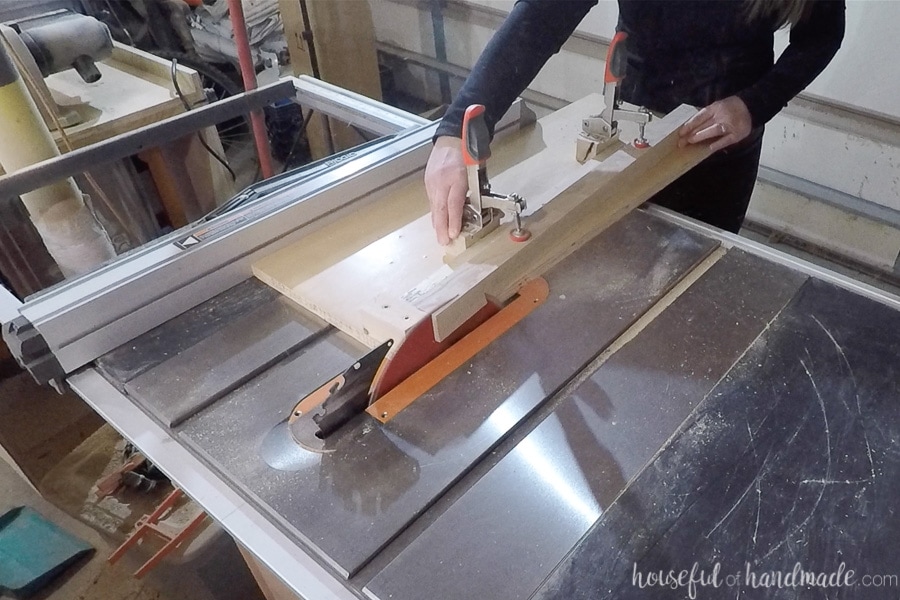
Set up your table saw so fence is away from the blade the same width as your plywood back. Raise the blade so it will cut through the entire leg board.
Cut the first taper on your leg by running the jig, with the board clamped to it, through the table saw. It will cut the angle off the bottom.
If you only want one angle on your leg, you are done! Clamp the next board into the jig and repeat.
If you want to cut a taper in another side, rotate the leg board and cut again. Repeat as many times as you want for the tapered leg variation you need.
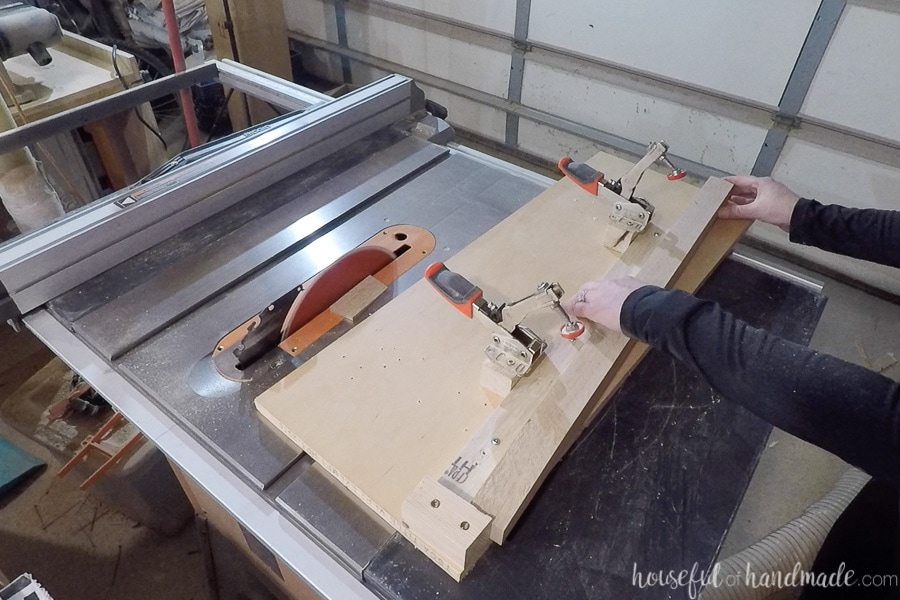
Once one board is done, you can quickly swap out another leg board and repeat.
This tapered leg jig will create fast repeatable cuts for perfect tapers.
When you are done with your project, you can store away your jig for use again.
To set it up for a new tapered leg, remove the clamps, 1×2 and 2×2 boards from the plywood. Clamp the new leg board, with new angle marked, to the plywood edge.
Then reattach the scrap boards and clamps to hold the new leg board and cut!
I have reused my jig many times. Someday I may need a new piece of plywood, but I am sure I can find another scrap to use 😉
Happy building!
