Sometimes you need some place to display and store things, but you don’t have any floor space for another piece of furniture…
This is where these DIY wall shelves come in! They are the perfect way to add storage to a small space.
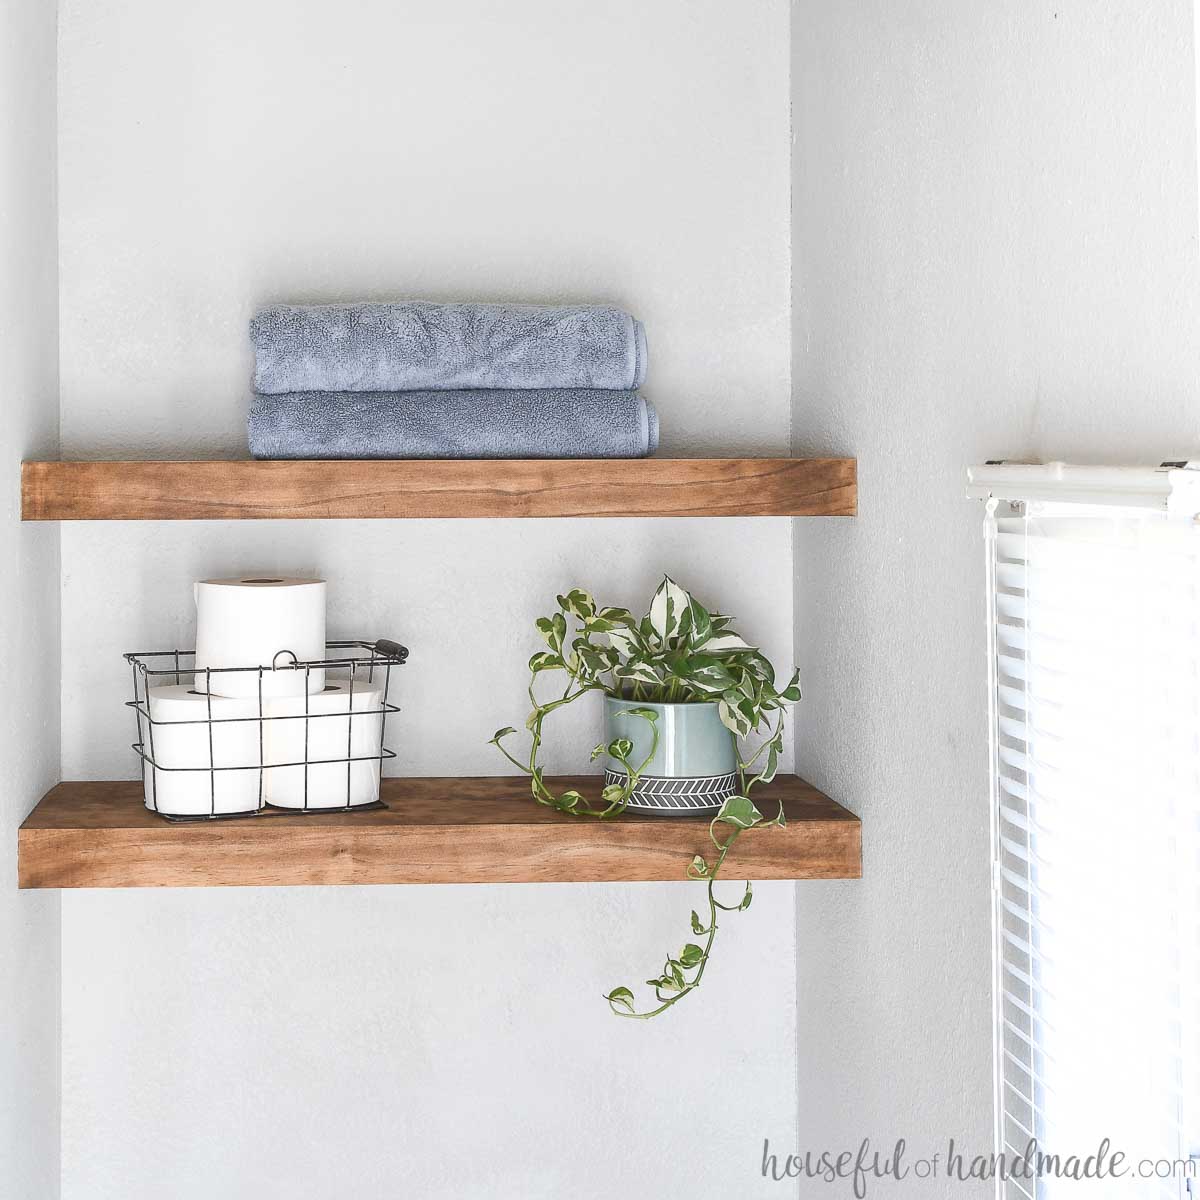
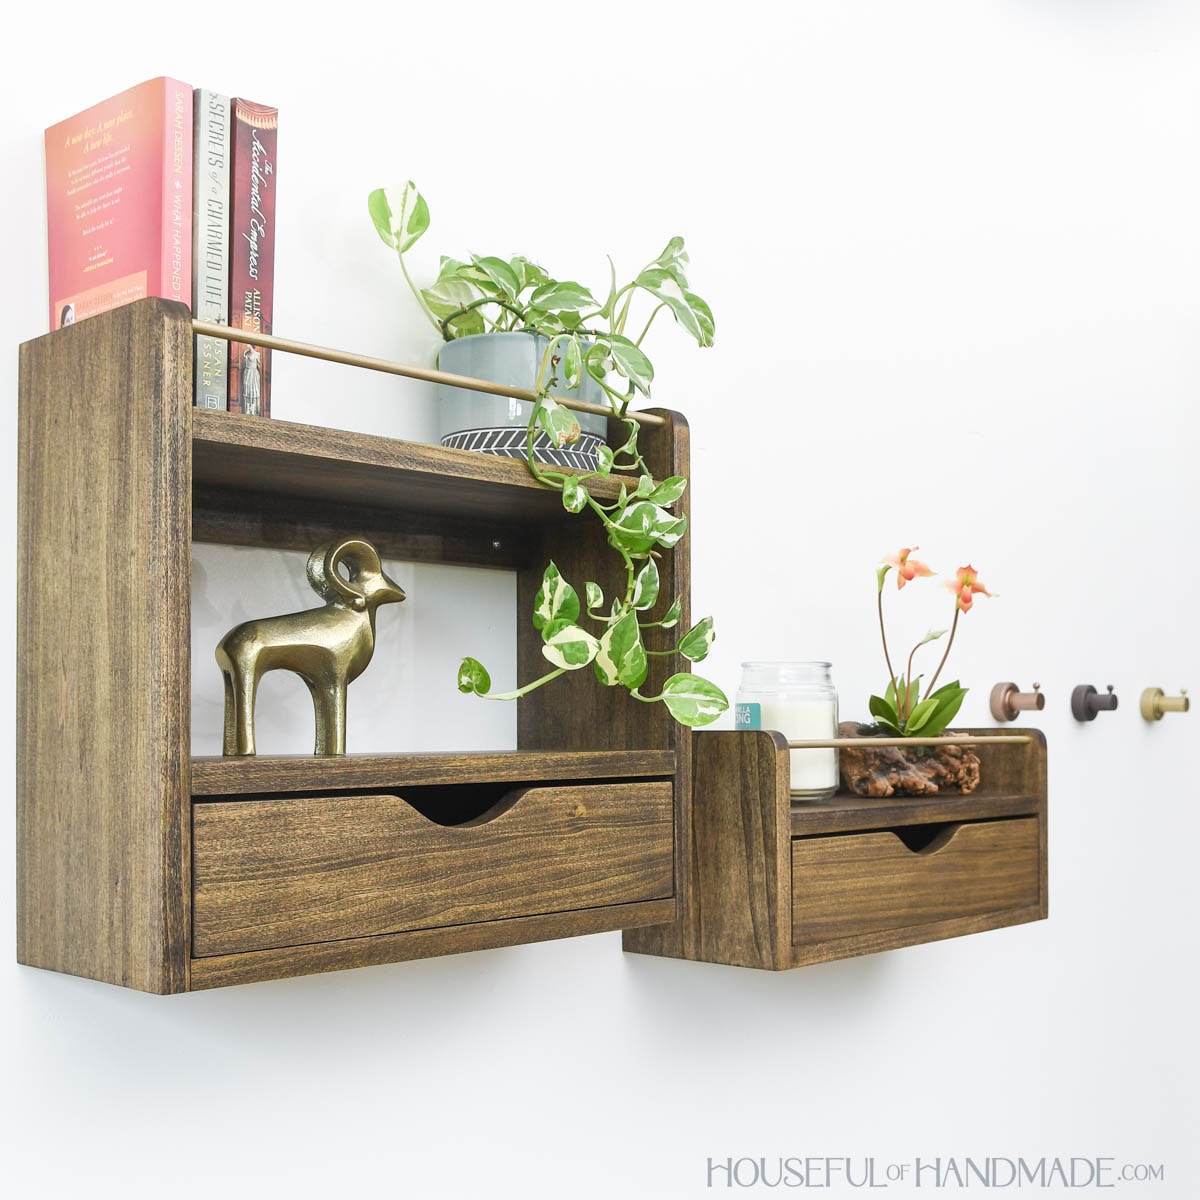
Don’t you think they would be perfect in a bathroom or bedroom? The drawer is great for hidden storage of things like make-up or hair supplies.
This post may contain affiliate links. As an Amazon Associate I earn from qualifying purchases. Click here to read my full disclosure policy.
Easy Floating Shelf
My favorite part of these beautiful shelves is how easy they are to build and install!
The shelf box is quick to assemble with pocket holes that are strategically placed to keep them hidden.
The drawer is built with a few brad nails and is made to just slide into the opening, no drawer slides needed.
The perfect beginner drawer so you can build up your confidence to tackle a DIY dresser someday.

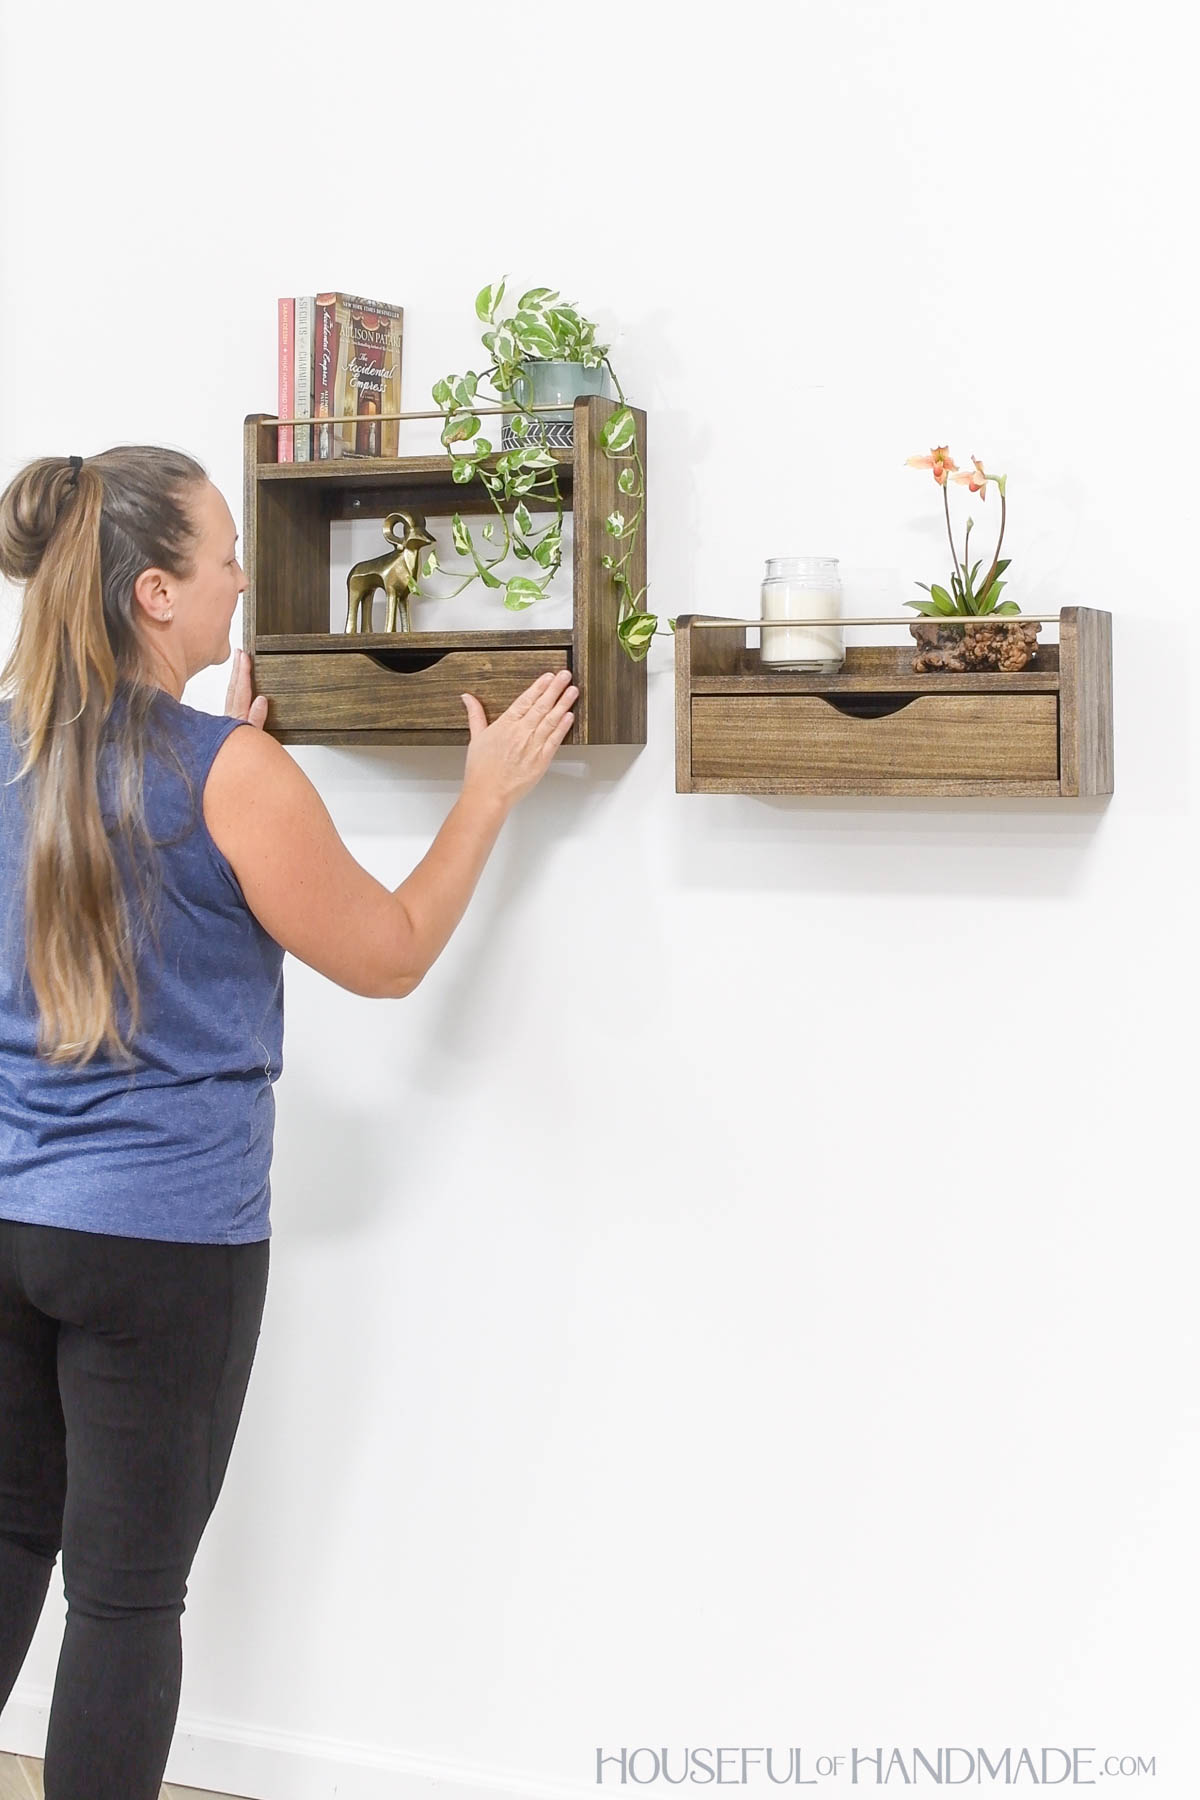
And to hang these easy shelves, no complicated fasteners are needed.
All you need to do is attach them to the wall through the back support board. Make sure to get them into a wall stud for nice and sturdy shelves.
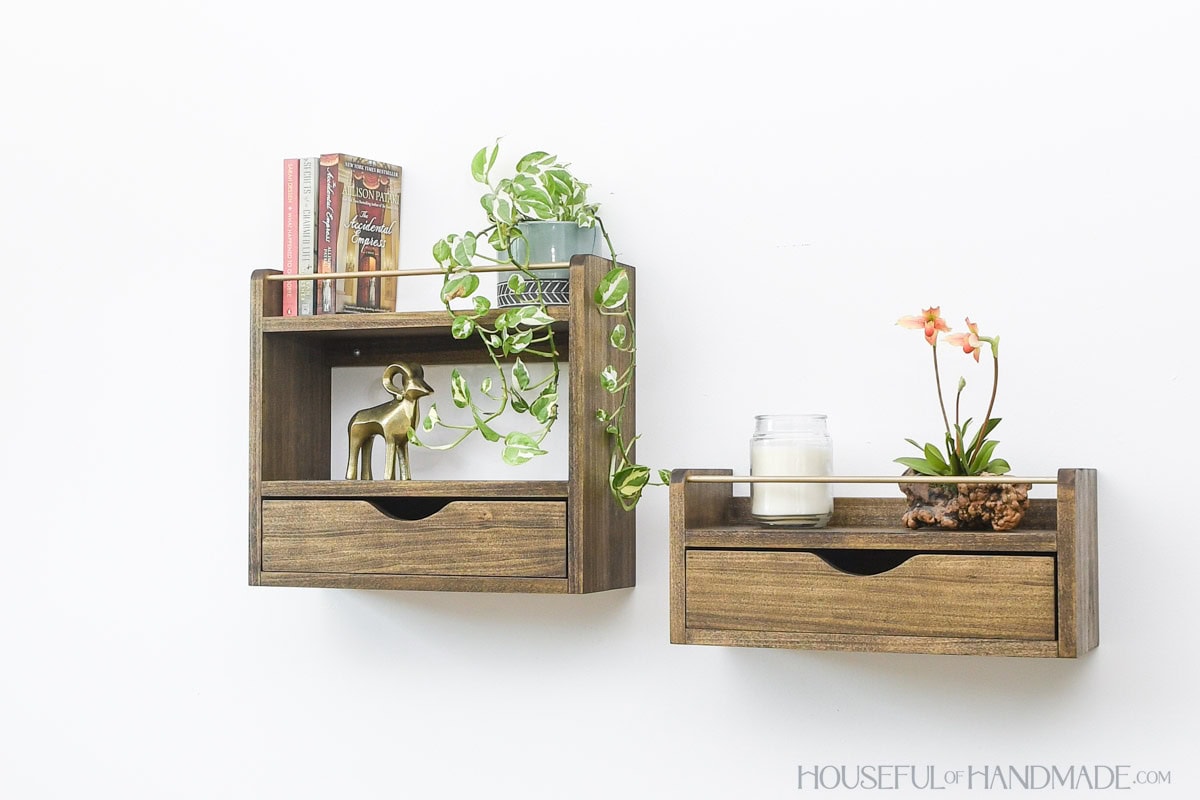
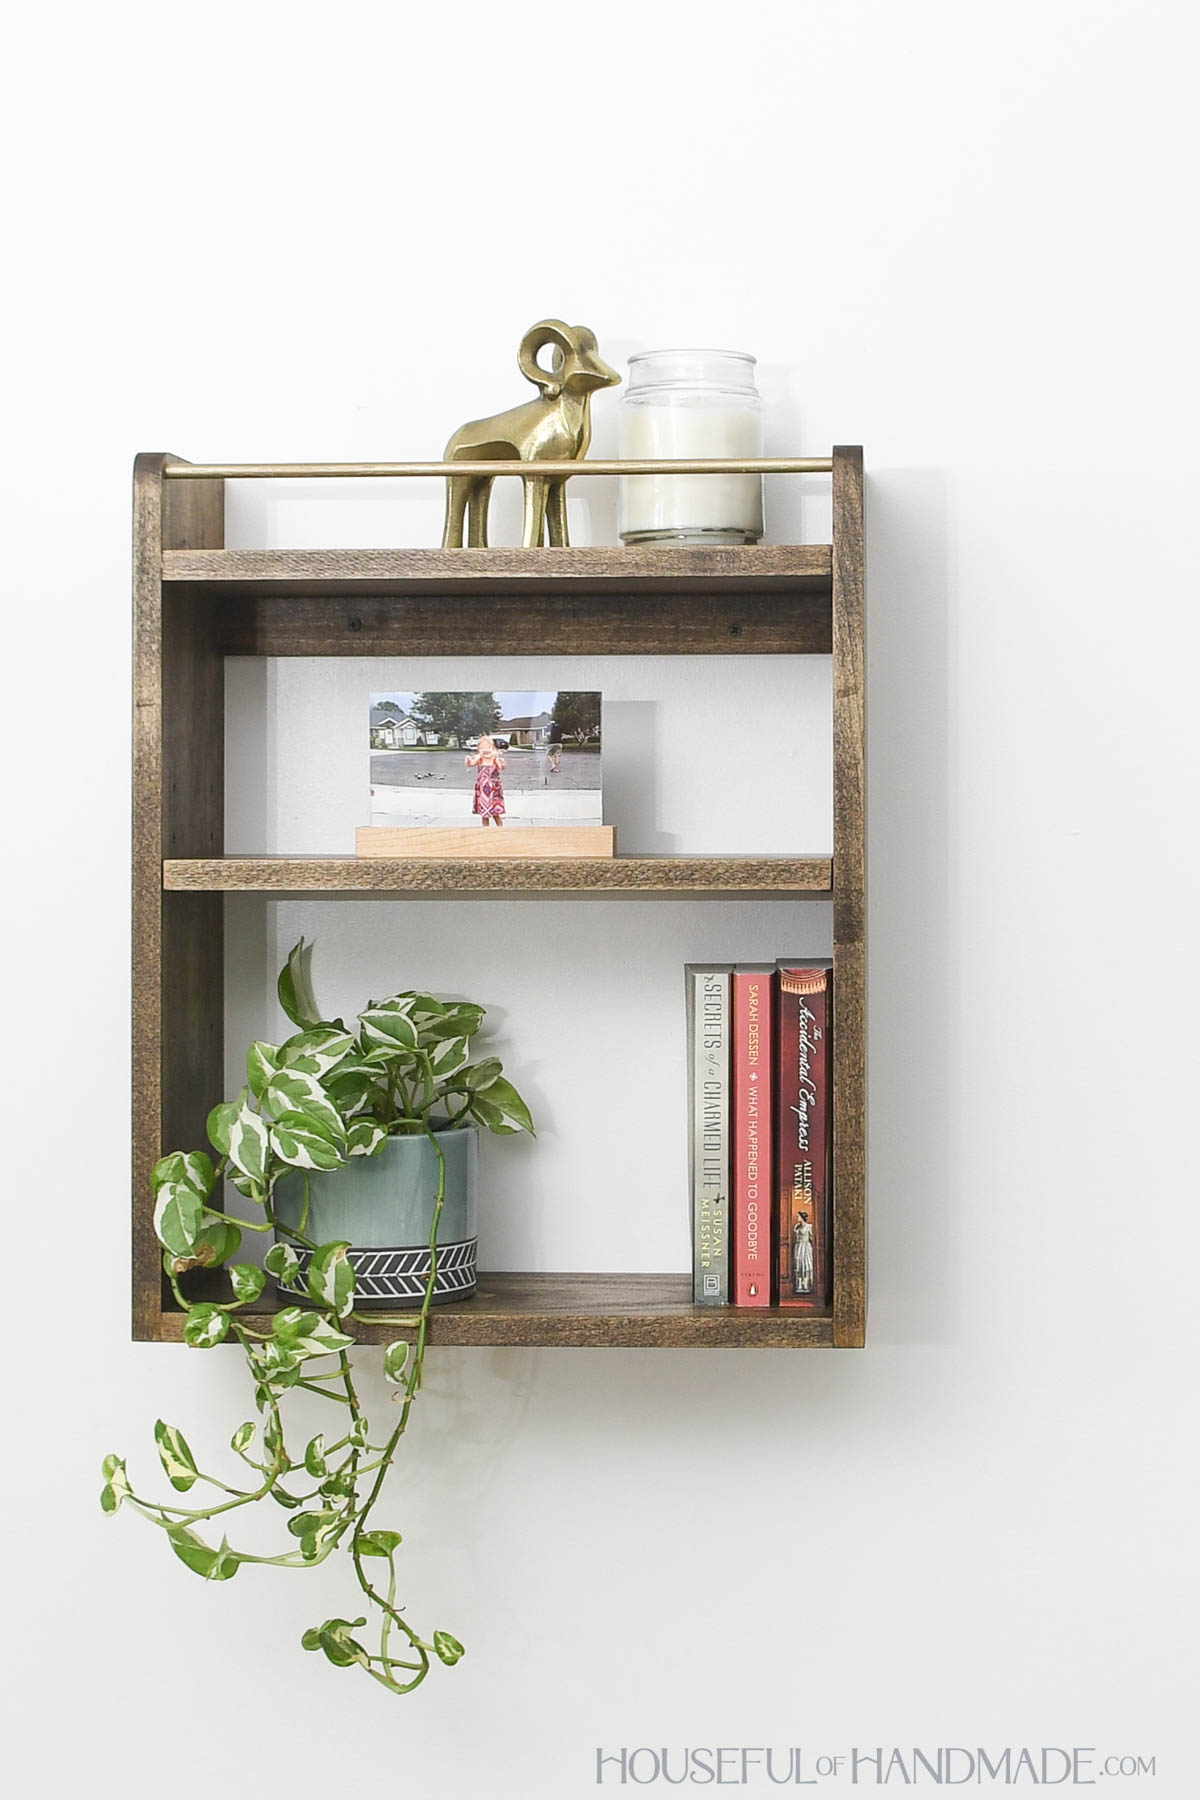
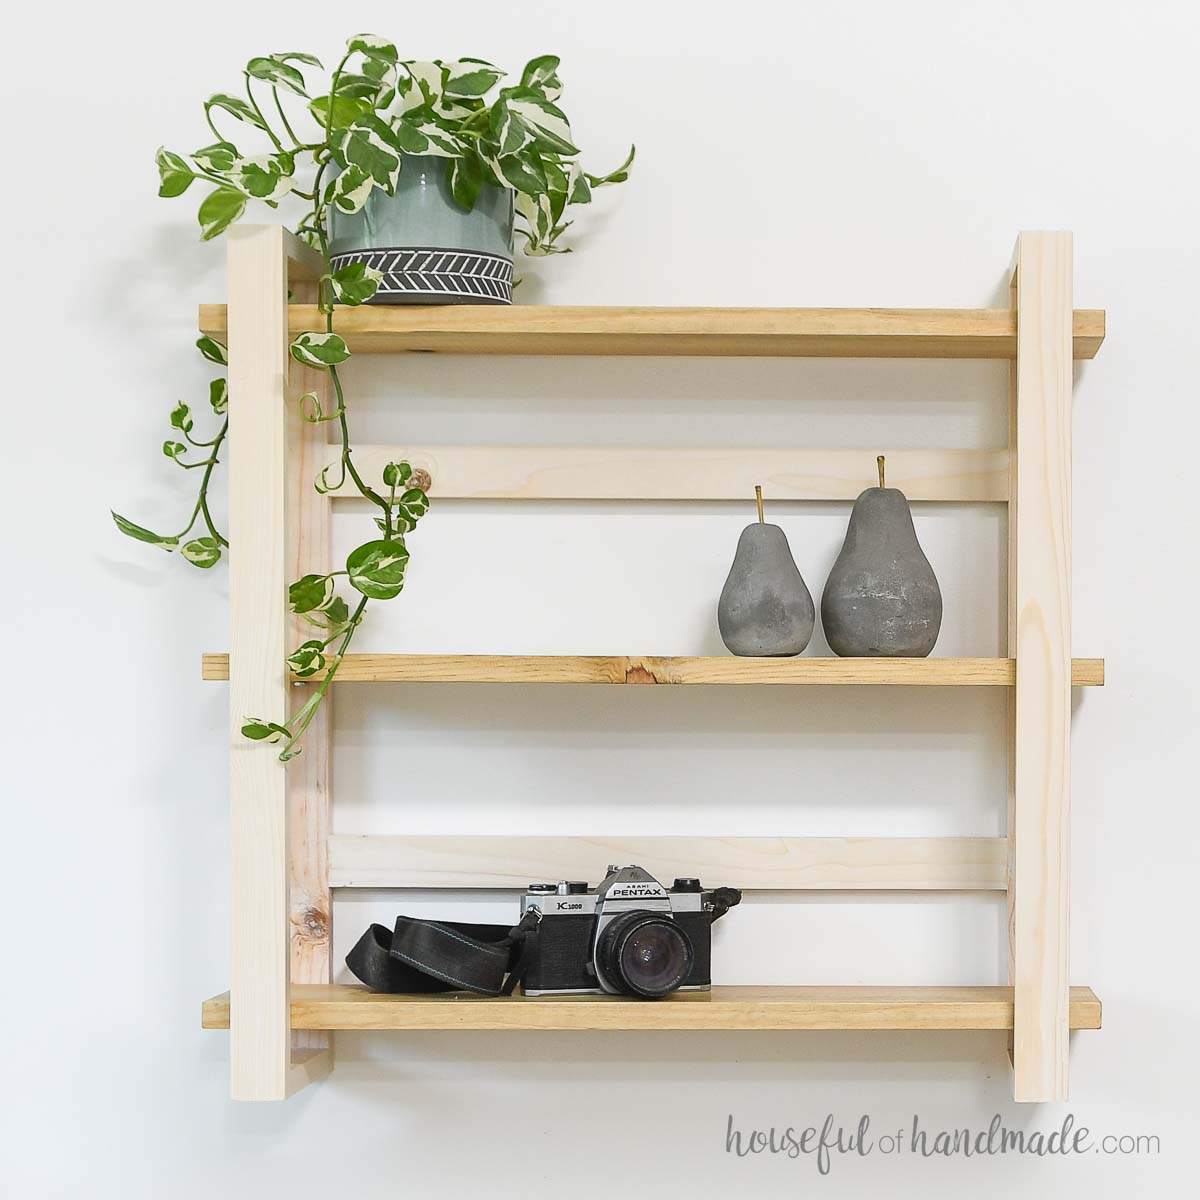
Plus if you do not need a drawer in your shelf, or want to create a fun gallery with multiple shelves, I also designed a wall shelf with an adjustable center shelf to match.
I am sharing the plans for this shelf on KregTool.com. You can get the plans for it here.
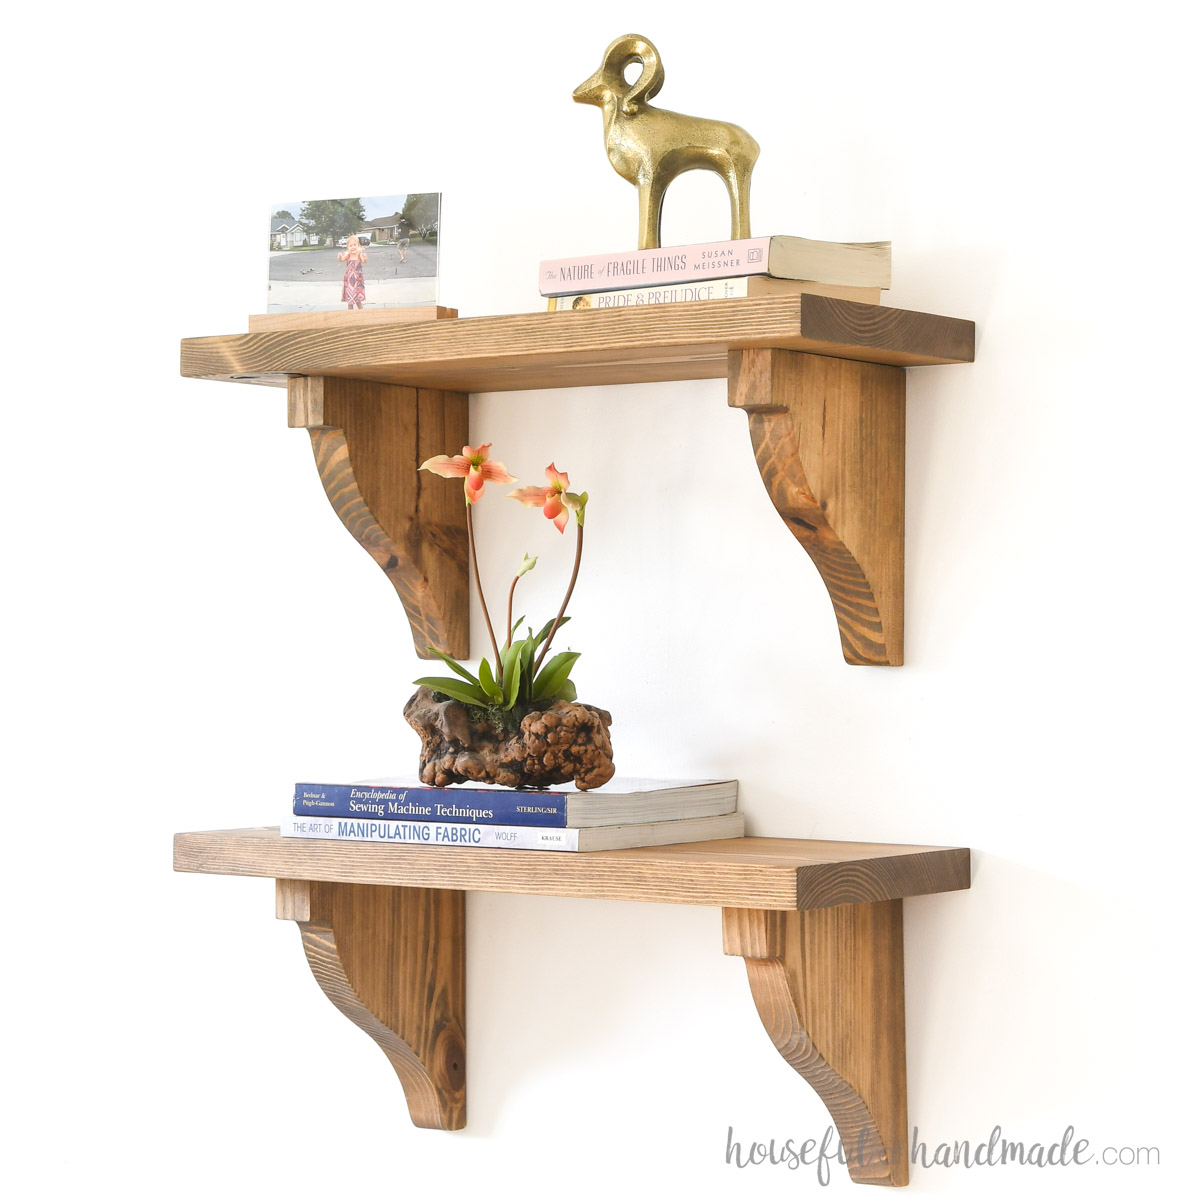
More Fun Shelf Ideas
You can never have too much storage! Check out these other DIY shelves you can build.
How to Build a Simple Shelf with a Drawer
Tools & Materials
Recommended Tools:
- Miter saw
- I recently upgraded to this sliding miter saw (watch for it to go on sale), but previously used this inexpensive miter saw that I love.
- Jig saw
- Pocket hole jig
- Drill
- Impact driver (optional, but I love not having to switch bits with the drill)
- Speed square
- Multi-mark measuring tool
- Brad nailer
- Sander
Supplies:
- Wood products
- (1) 1×8 boards, 8’ long
- (1) 1×8 boards, 5’ long
- (1) 1×4 boards, 3’ long
- (1) 1×2 boards, 3’ long
- (1) 1/2” x 4 boards, 5’ long
- (2) 1/2” plywood, 6” x 15 1/4”
- 1 1/4” pocket hole screws
- 1 1/4” brad nails
- Pocket hole plugs or wood filler
- Wood glue
- 2” wood screws
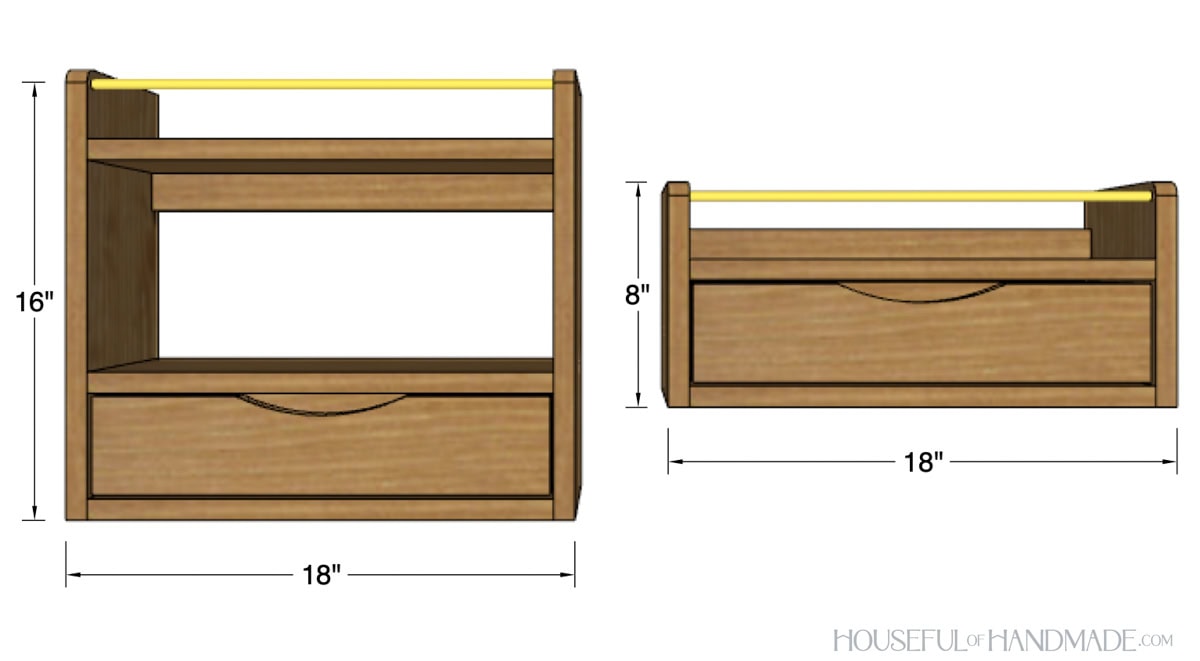
Overall Dimensions
The larger shelf is 16″ tall and the smaller shelf is 8″ tall. Both shelves are 18″ wide and 7 1/4″ deep.
Cut List
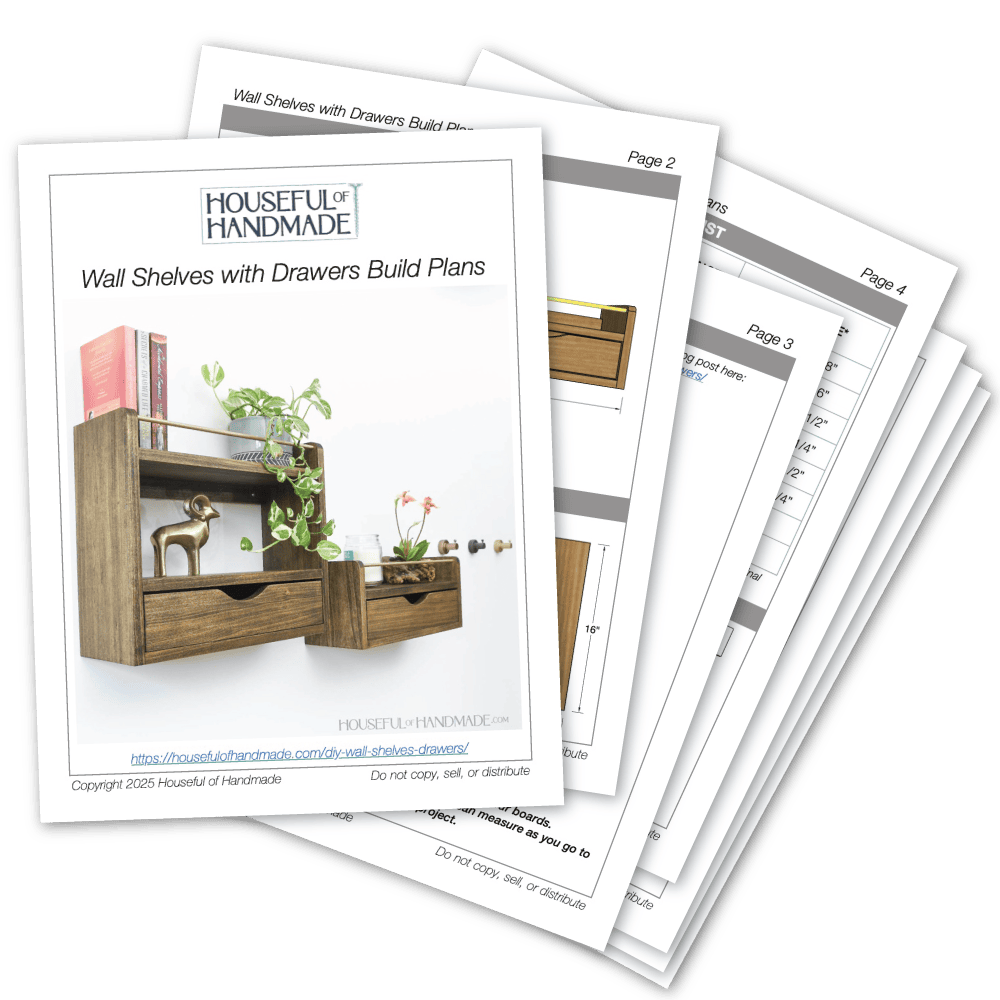
Cut out the pieces according to the easy-to-read table in the PDF plans.
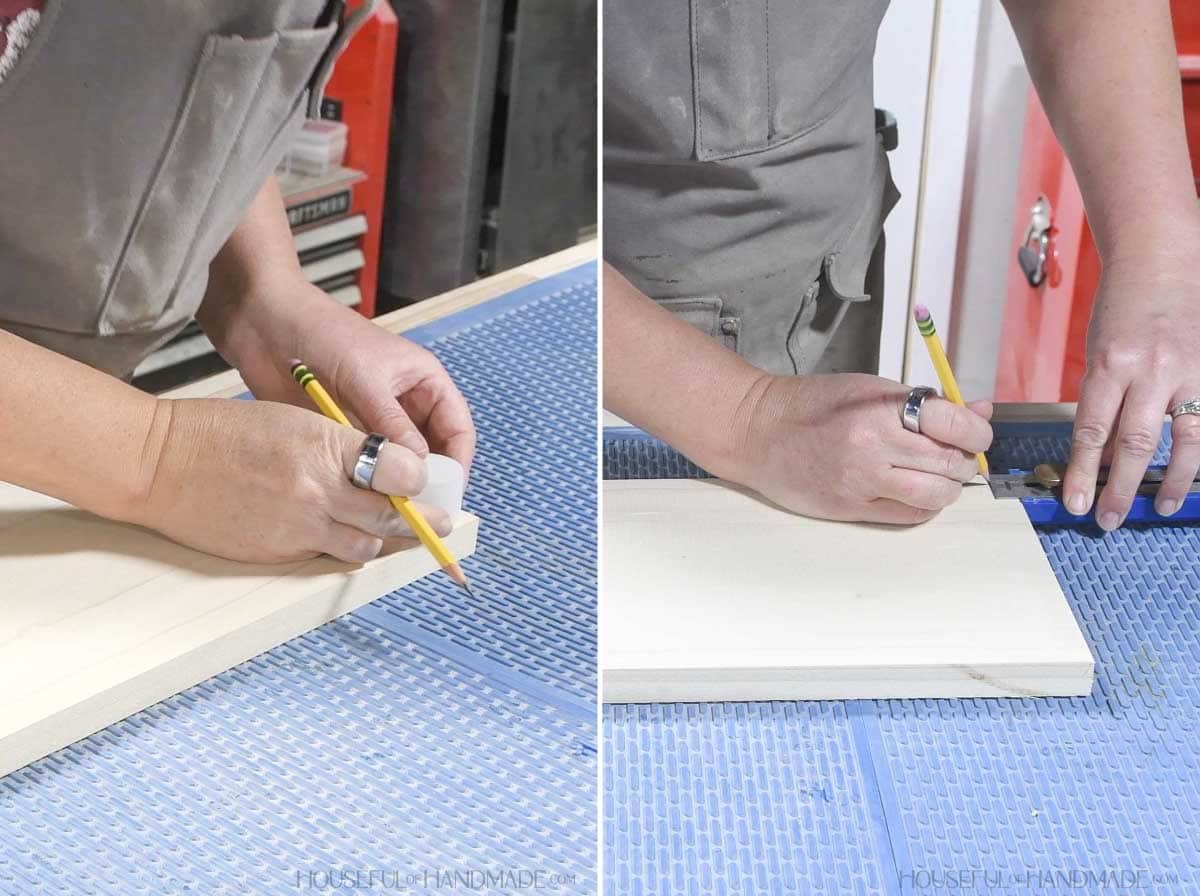
STEP 1- Prep the sides
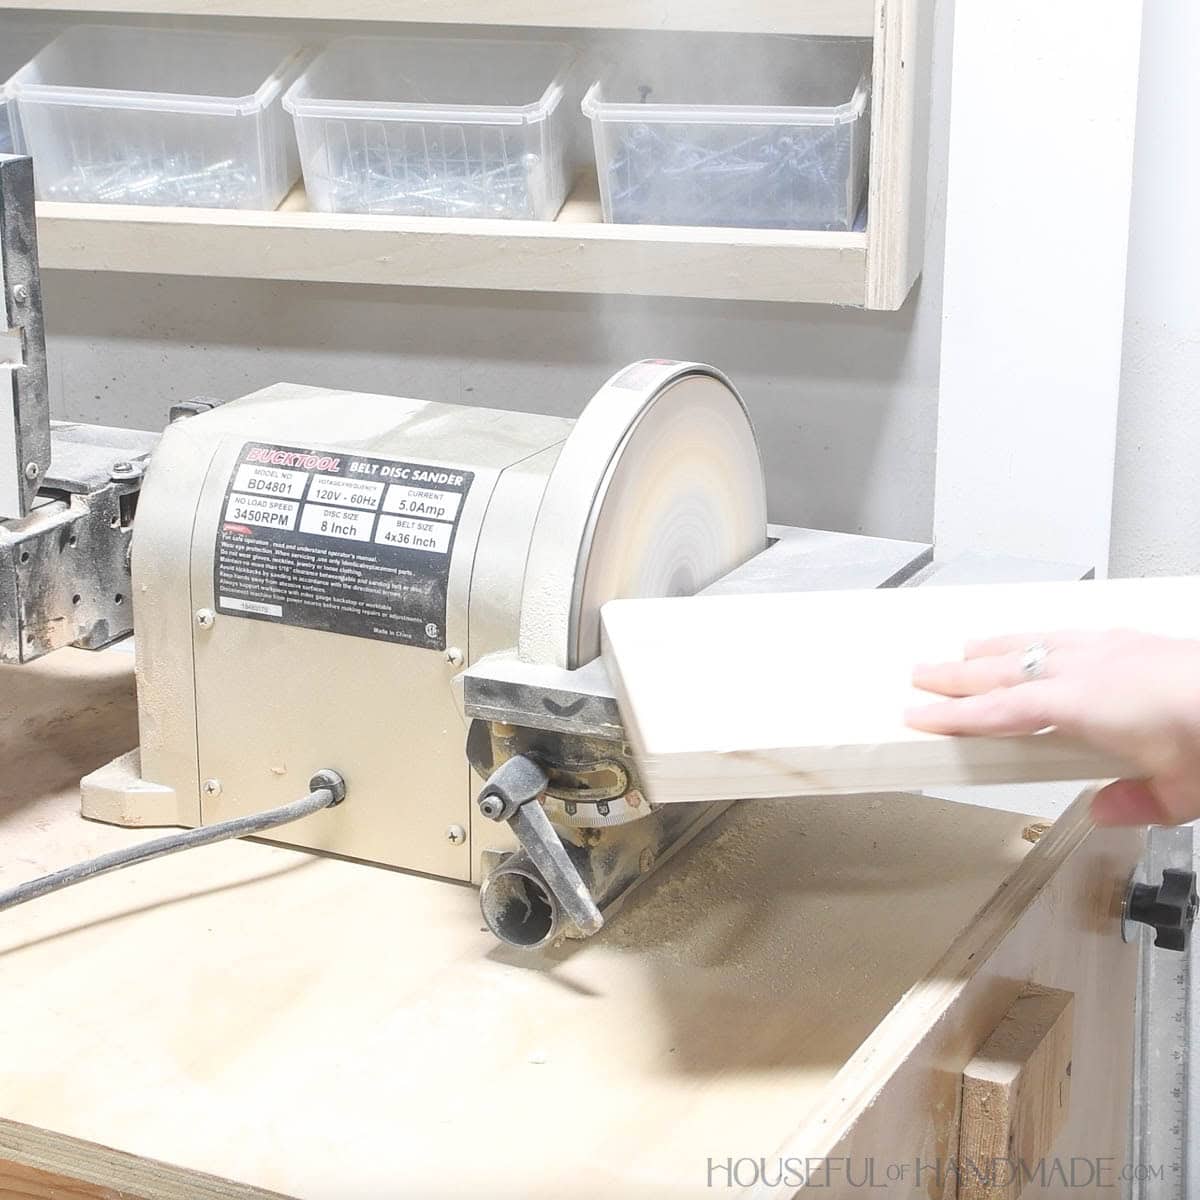
Draw a curve on the front top corner of each side. I used a small cap to trace a small curve in the corner then sanded it to the line.
Then measure in 1/2″ and down 1/2″ on the top front corner and make a mark.
EXPERT TIP:
Mark your center point for your hole before rounding the corner so you have a flat surface to measure from.
Cut the curve with a jigsaw or just sand it into the board.
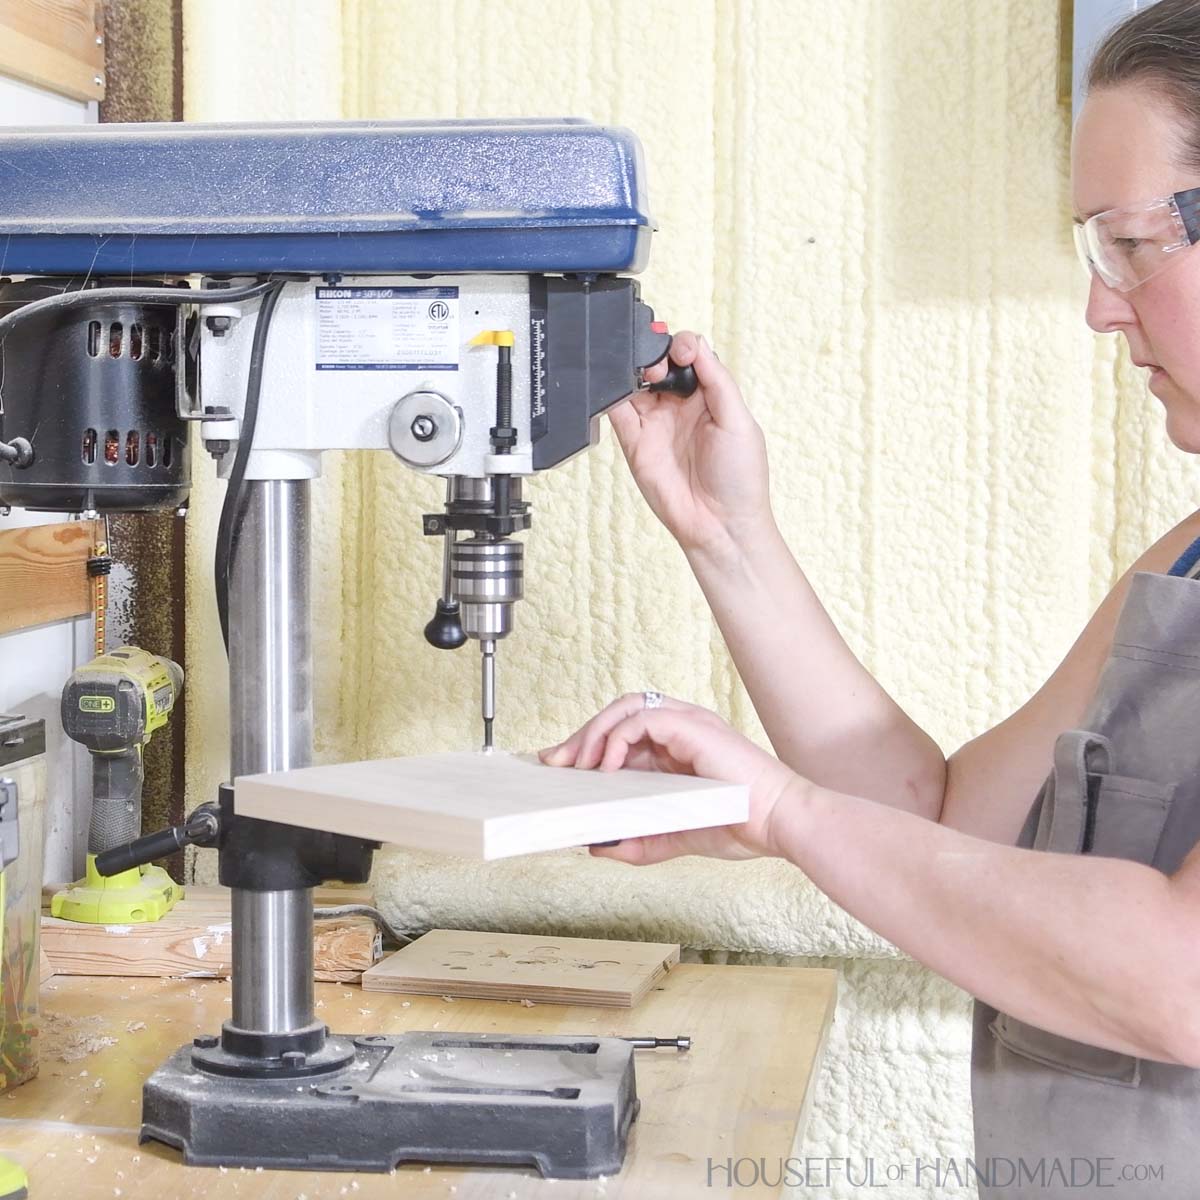
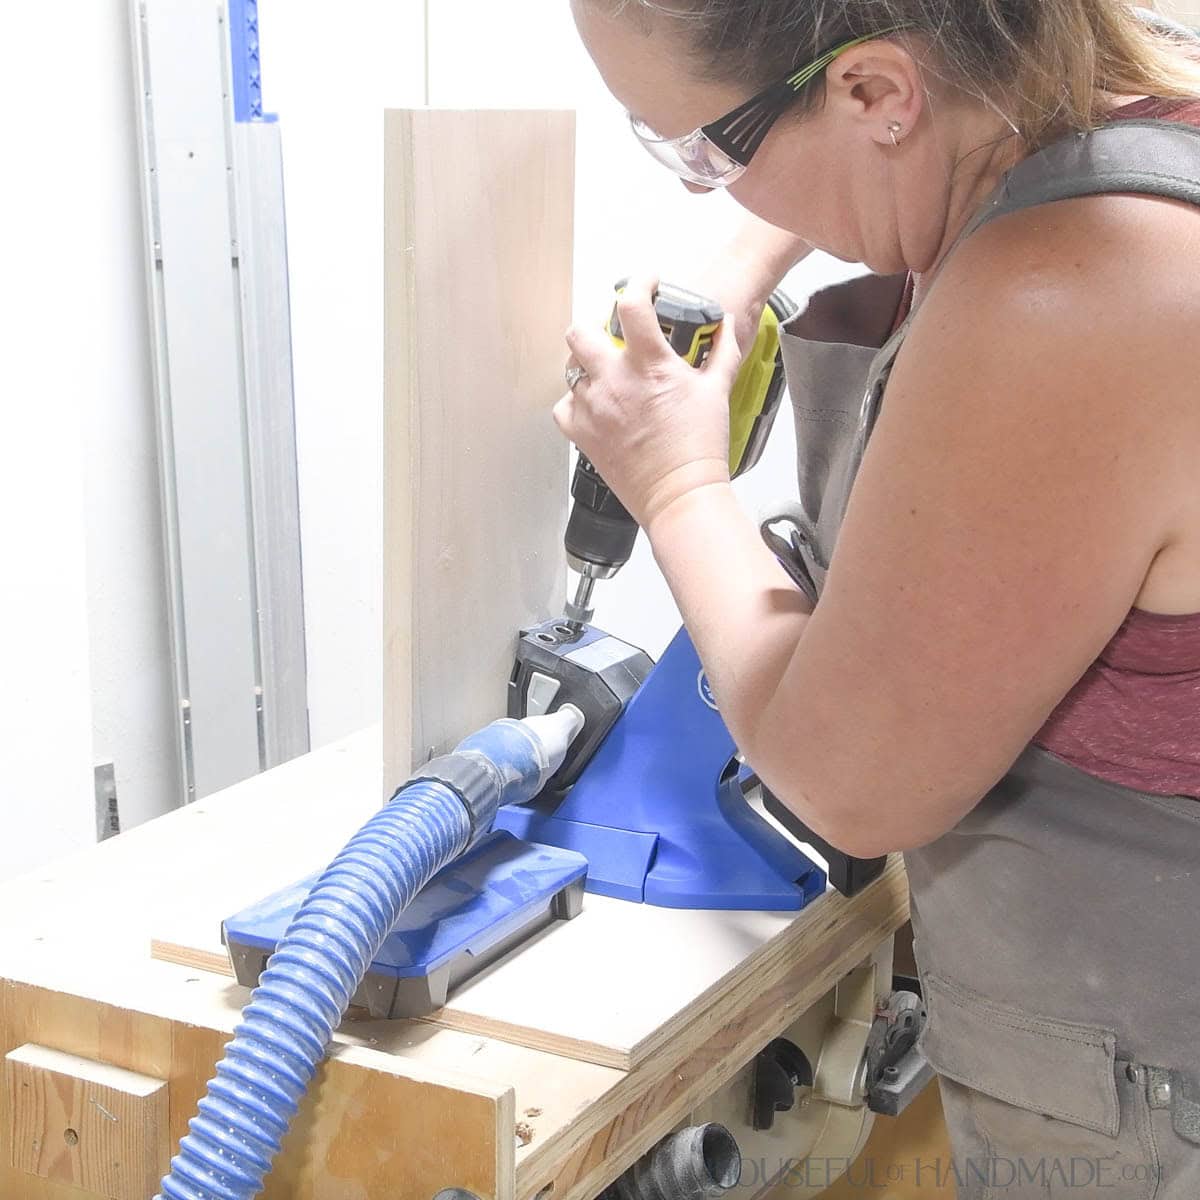
Drill a 3/8″ hole 3/8″deep so the center is on this mark.
EXPERT TIP:
Make sure to mirror the sides when adding the holes & round-over.
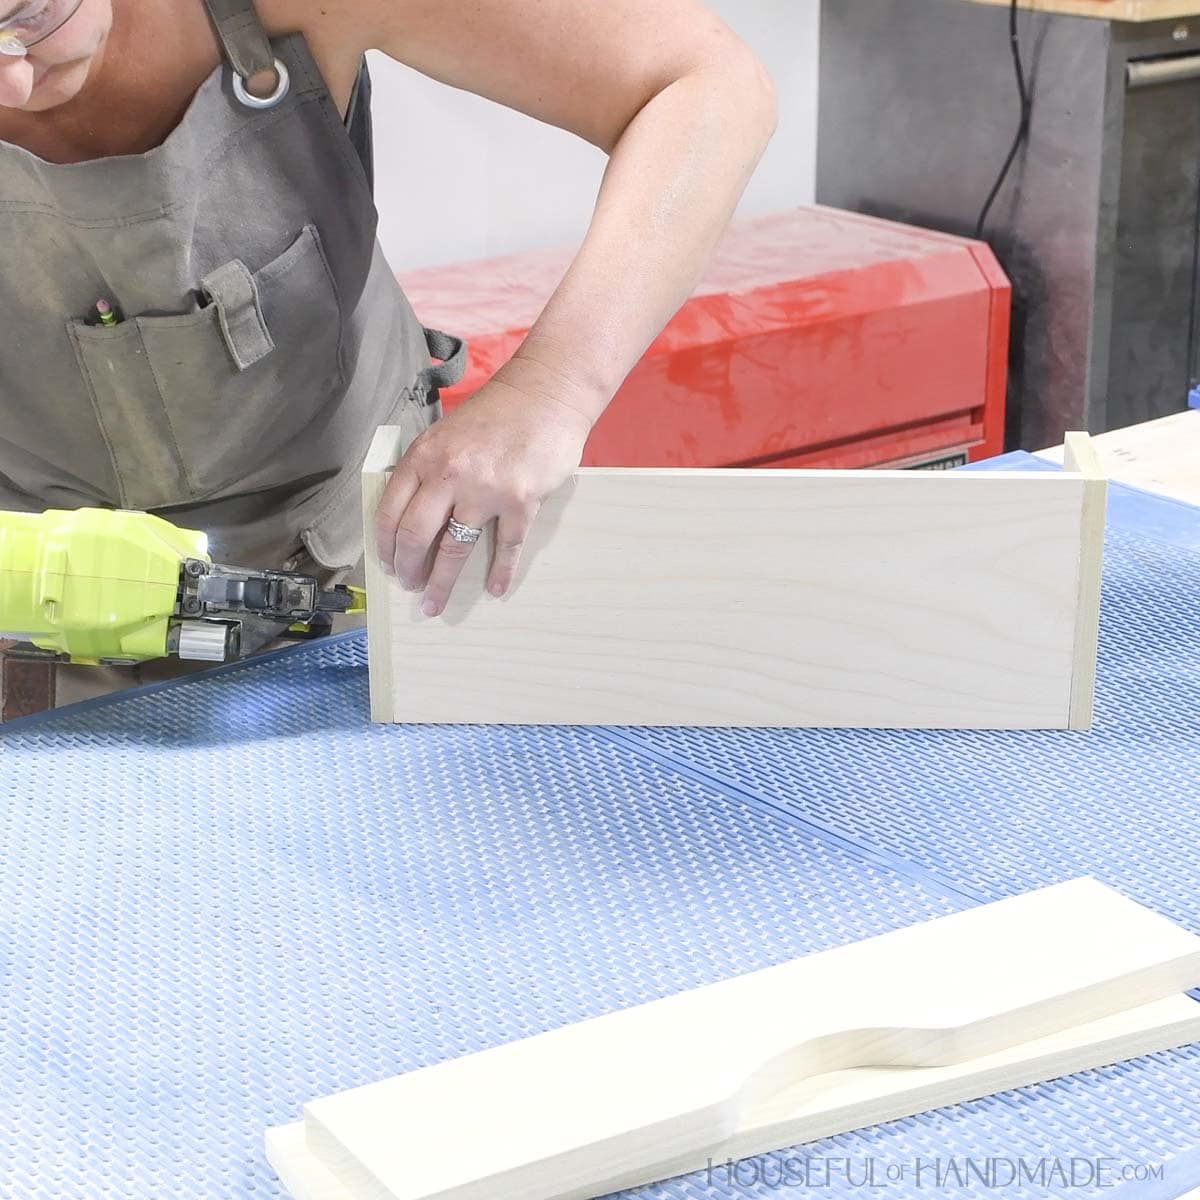
STEP 2- Assemble the shelf
Set your pocket hole jig to drill holes in 3/4″ material. Drill 3 pocket holes in both sides of the shelf boards.
For the small shelf, attach the top shelf to one side board so it is 2 3/4” down from the top. Attach the bottom board so it is flush with the bottom of the side.
Secure with wood glue and 1 1/4″ pocket hole screws.
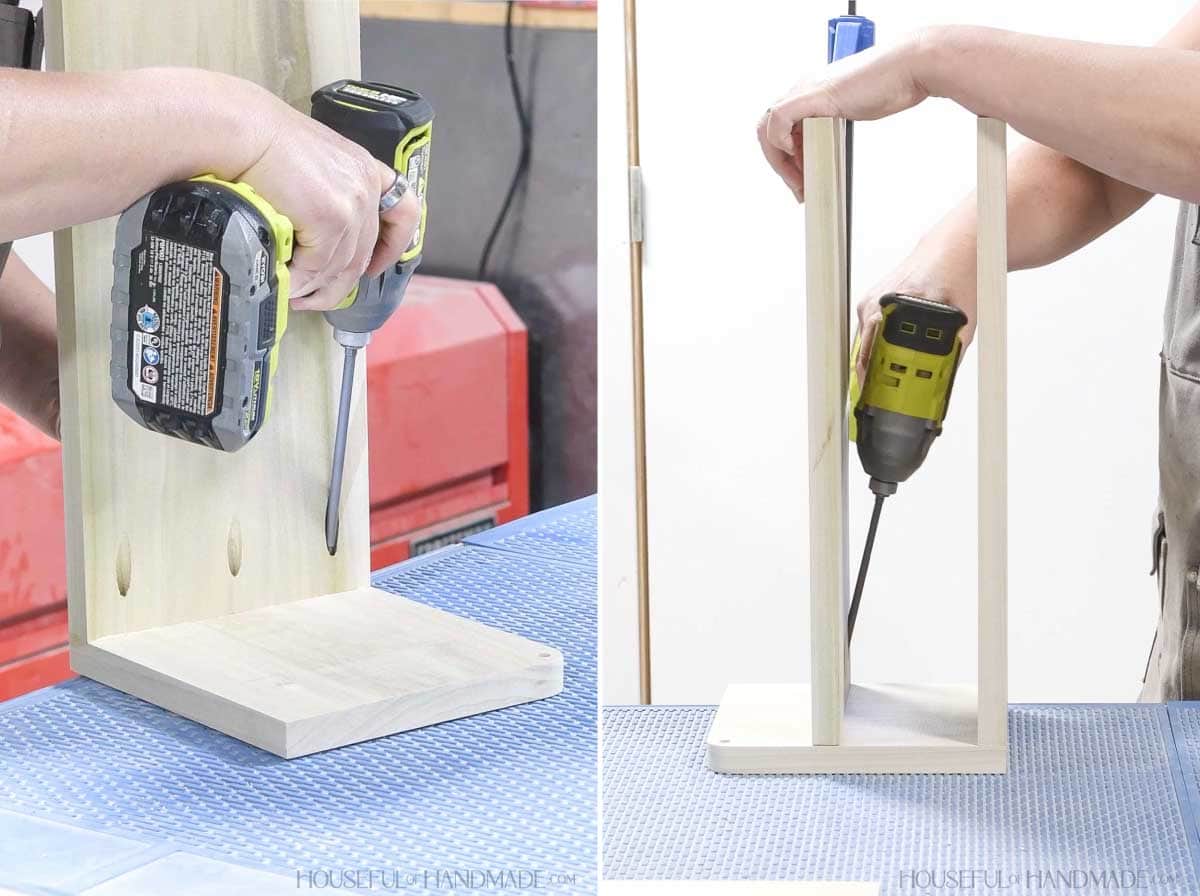
For the large shelf, attach the top shelf to one side board so it is 2 1/2″ down from the top.
Attach the bottom board so it is flush with the bottom of the side. Then attach the 3rd shelf so it is 3 3/4” above the bottom shelf.
EXPERT TIP:
To hide the pocket holes, face the holes in the lower two boards so they are inside the drawer area. For the top board of the large shelf, it may seem odd, but if you face the pocket holes toward the top of the shelf, the items on the shelf will help hide them when it is hung on the wall.
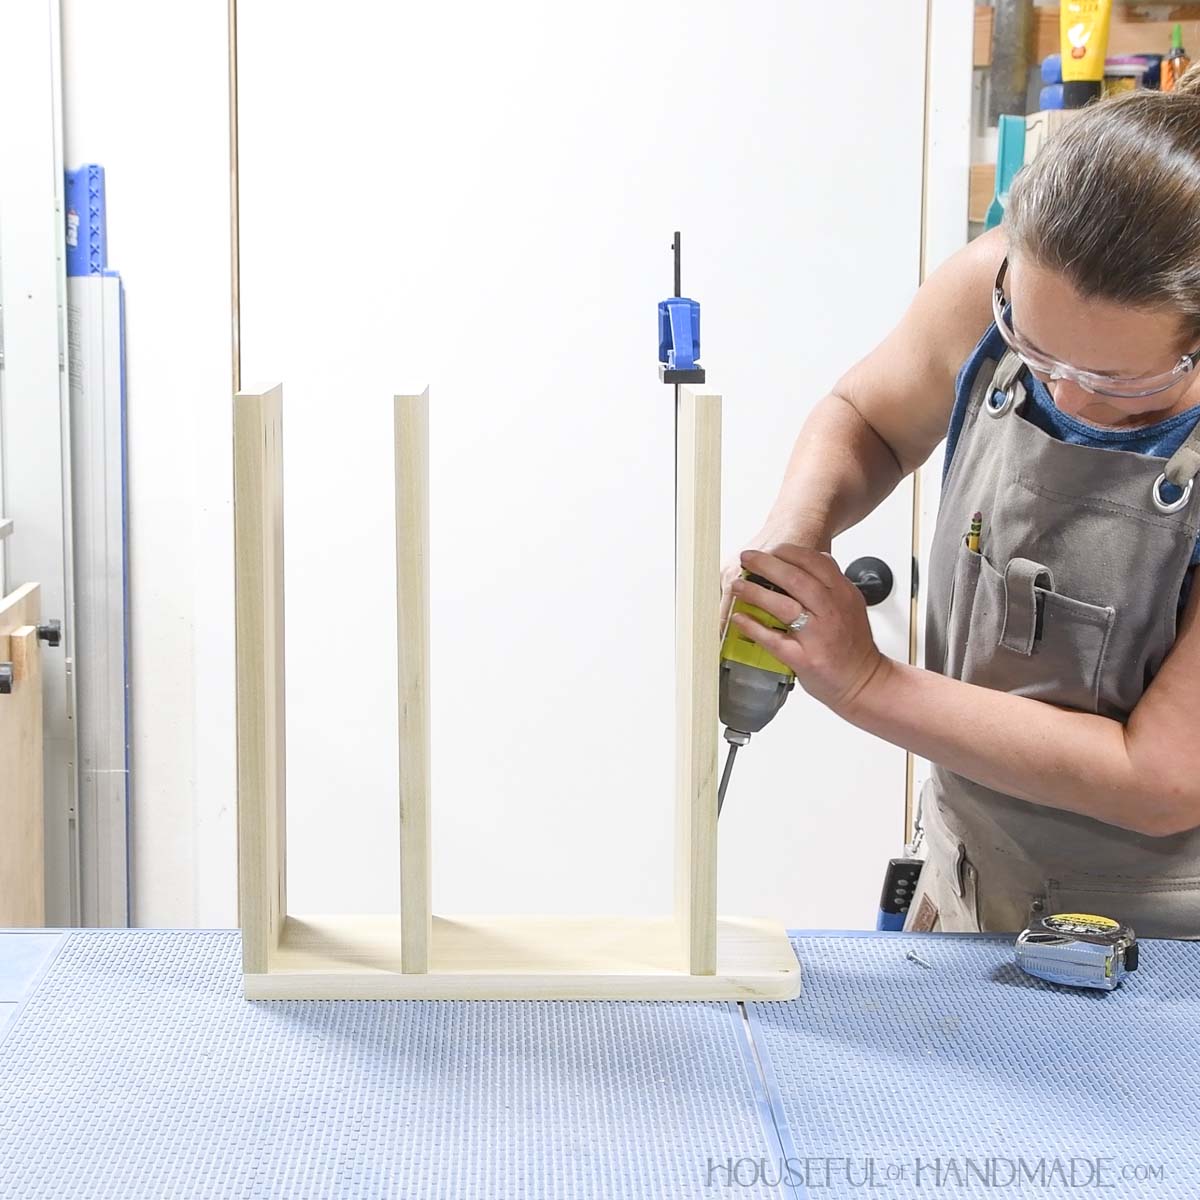
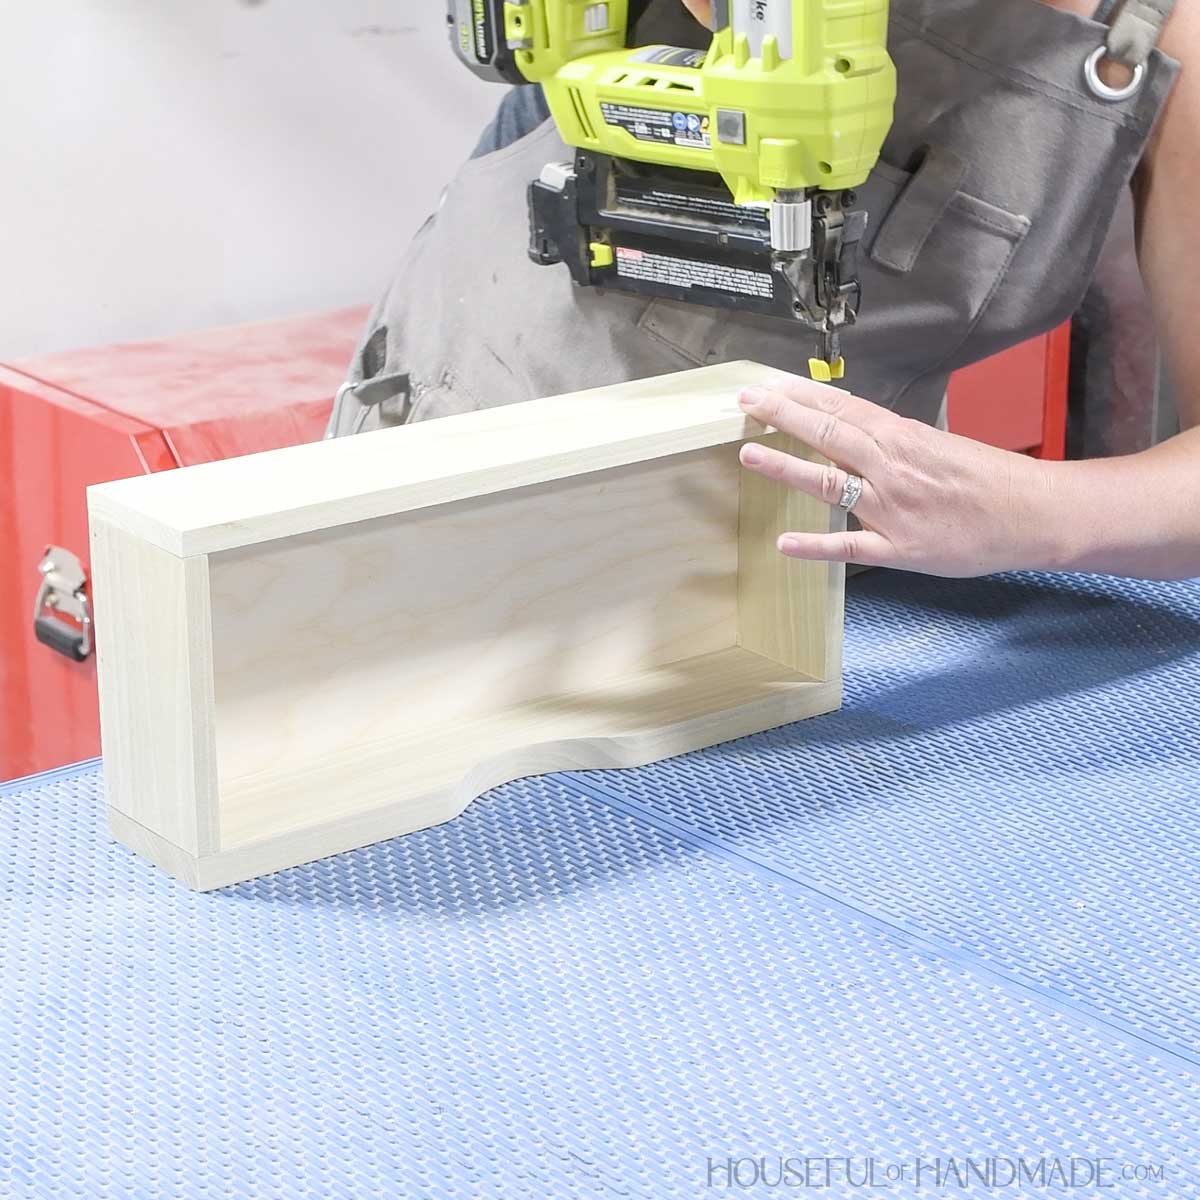
With the pocket hole jig still set for 3/4″ thick material, drill 2 pocket holes on each end of the back support boards.
For the large shelf, attach the support to the side board directly below the top board so it is flush with the back.
For the small shelf, attach the support to the side so it is directly above the top shelf and flush with the back.
Secure with wood glue and 1 1/4″ pocket hole screws.
If you want the dowel to be painted different than the rest of the shelf, paint it before attaching it to the shelf to make it easier.
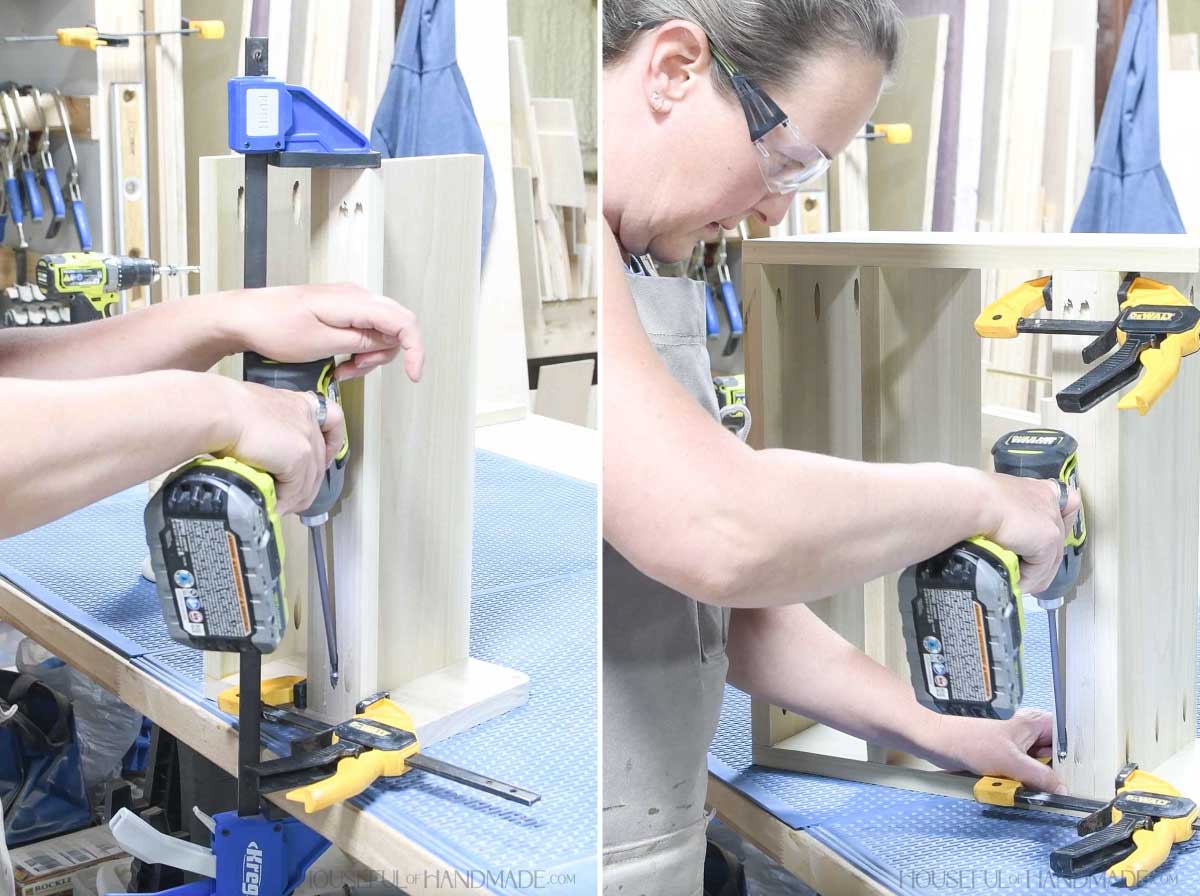
Slide the rail dowel into the hole on the top of the side board.
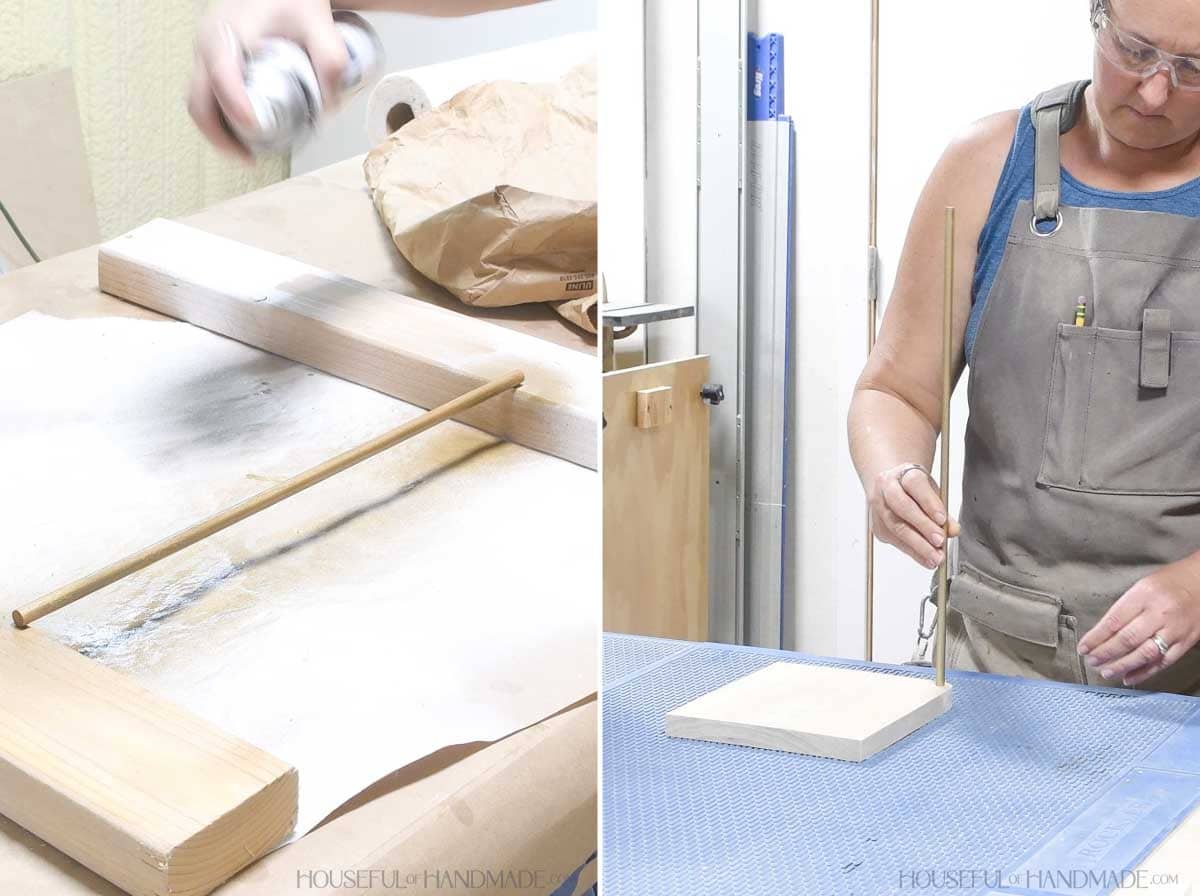
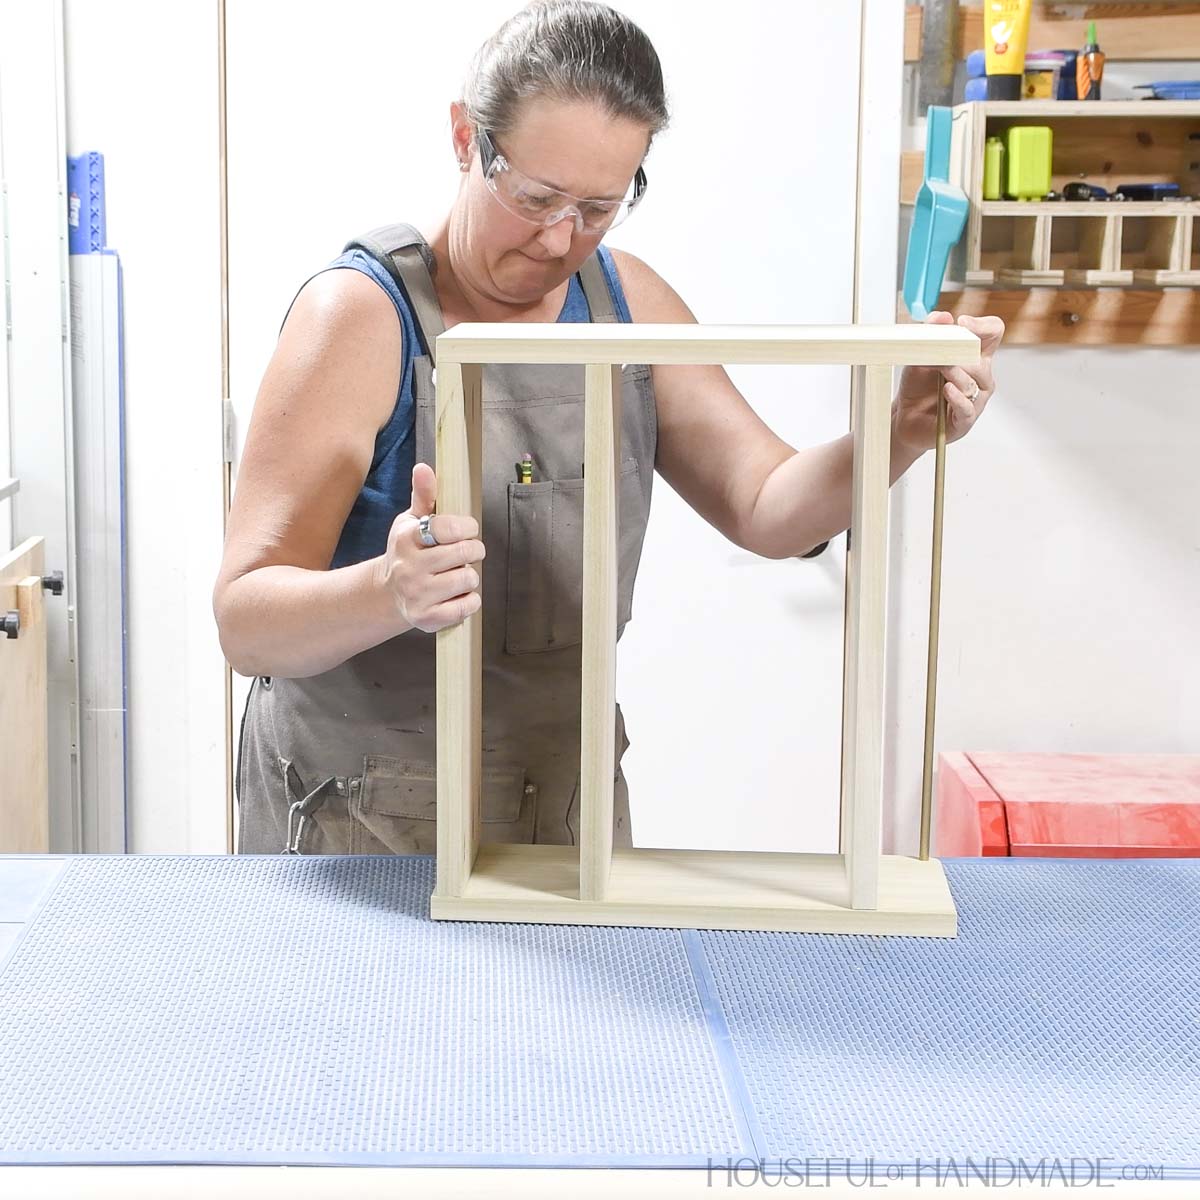
Then slide the second side piece on top of it so the dowel is seated in the hole in it as well.
Line the side up so the shelf boards are lined up the same as they are on the other side.
Secure all boards to the second side with 1 1/4″ pocket hole screws and glue.
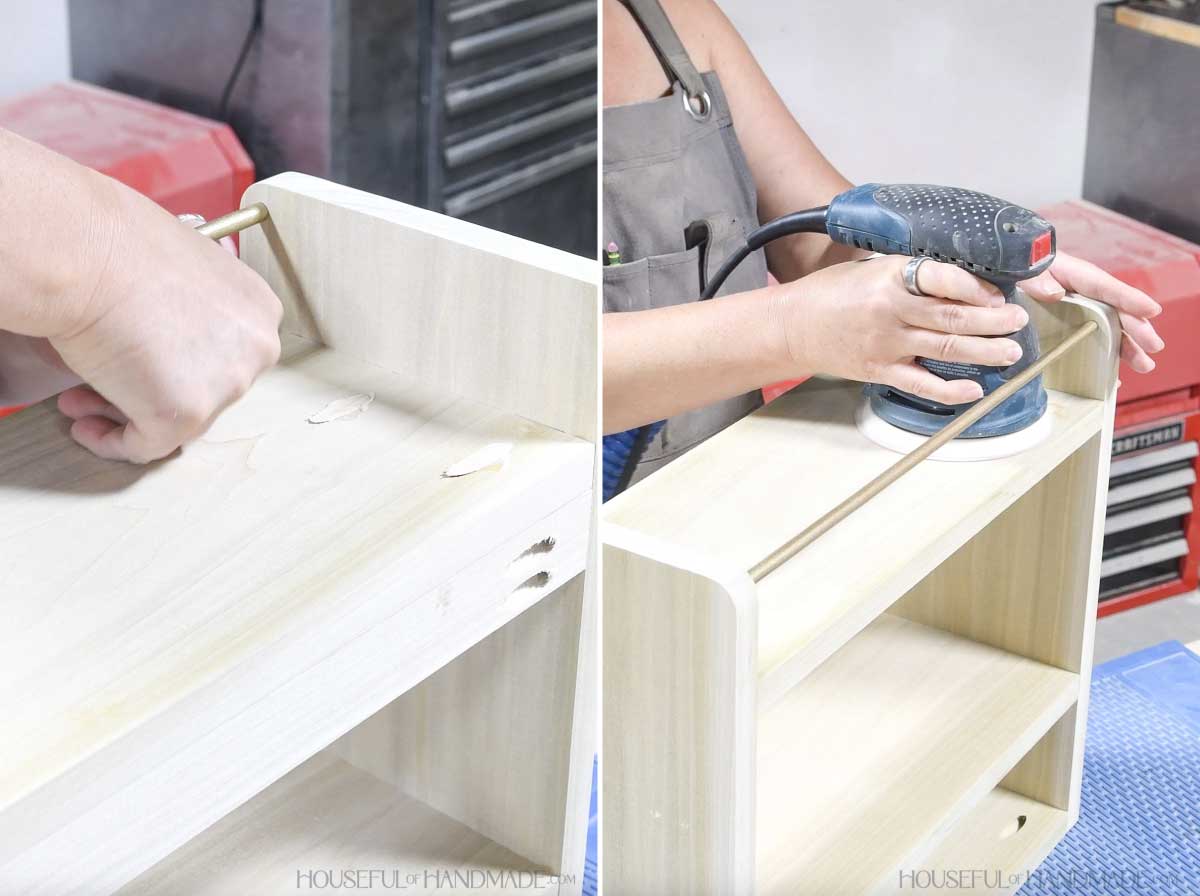
Fill the pocket holes with plugs or wood filler. Then sand smooth.
I only filled the holes in the top, the ones inside the drawer box area are well hidden.
STEP 3- Build the drawer
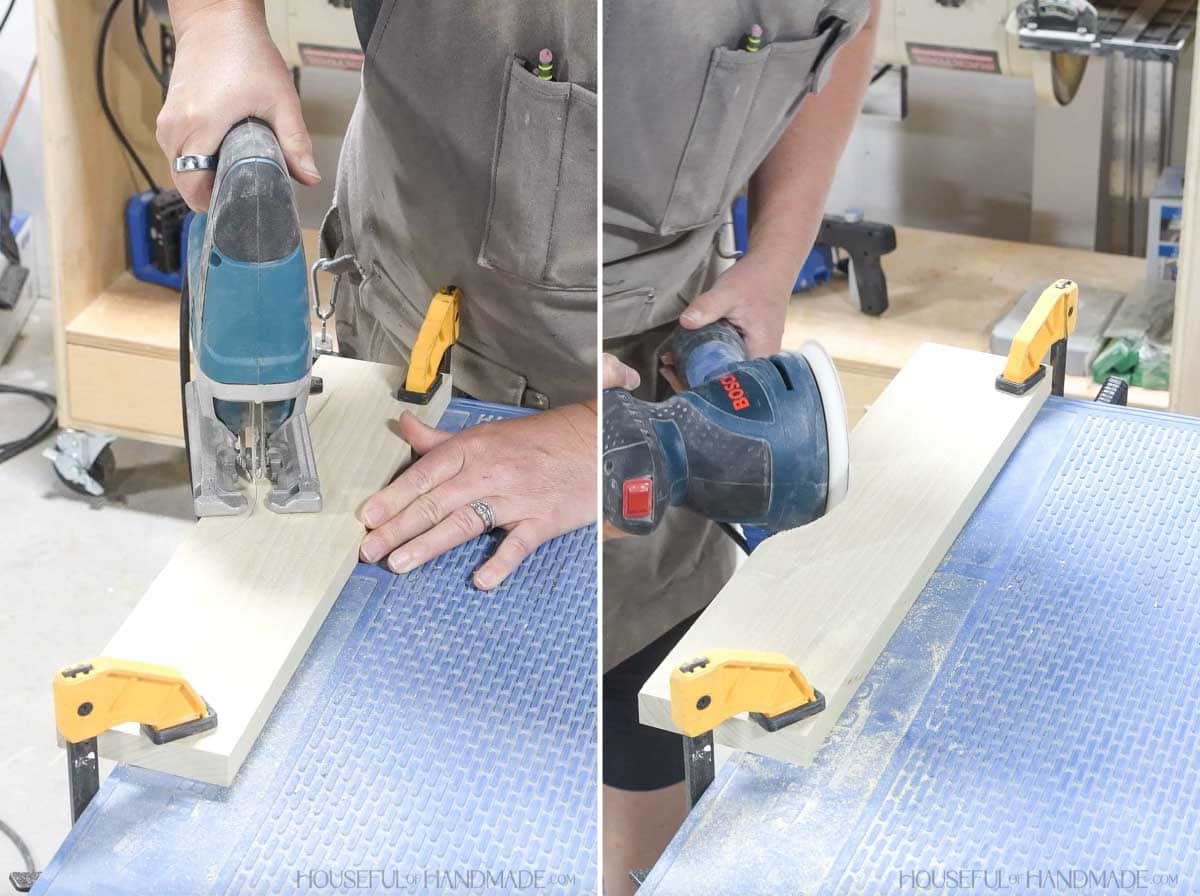
Draw a curve in the drawer front boards according to the diagram in the plans. I used a gallon paint can to help draw the curve between the marks.
Then cut it out with a jig saw and sand it smooth.
Attach the sides of the drawer to the bottom so they are flush on the sides and bottom.
Secure with wood glue and 1 1/4” nails. I used 3 nails into the bottom on each side.
Then attach the front and back to the drawer so they are flush with the sides and bottom.
Secure with glue and 1 1/4” nails.
For the front, I only used a couple nails into the sides, to minimize visible nail holes. For the back, added nails in the sides and bottom.
STEP 4- Finish & hang the shelves
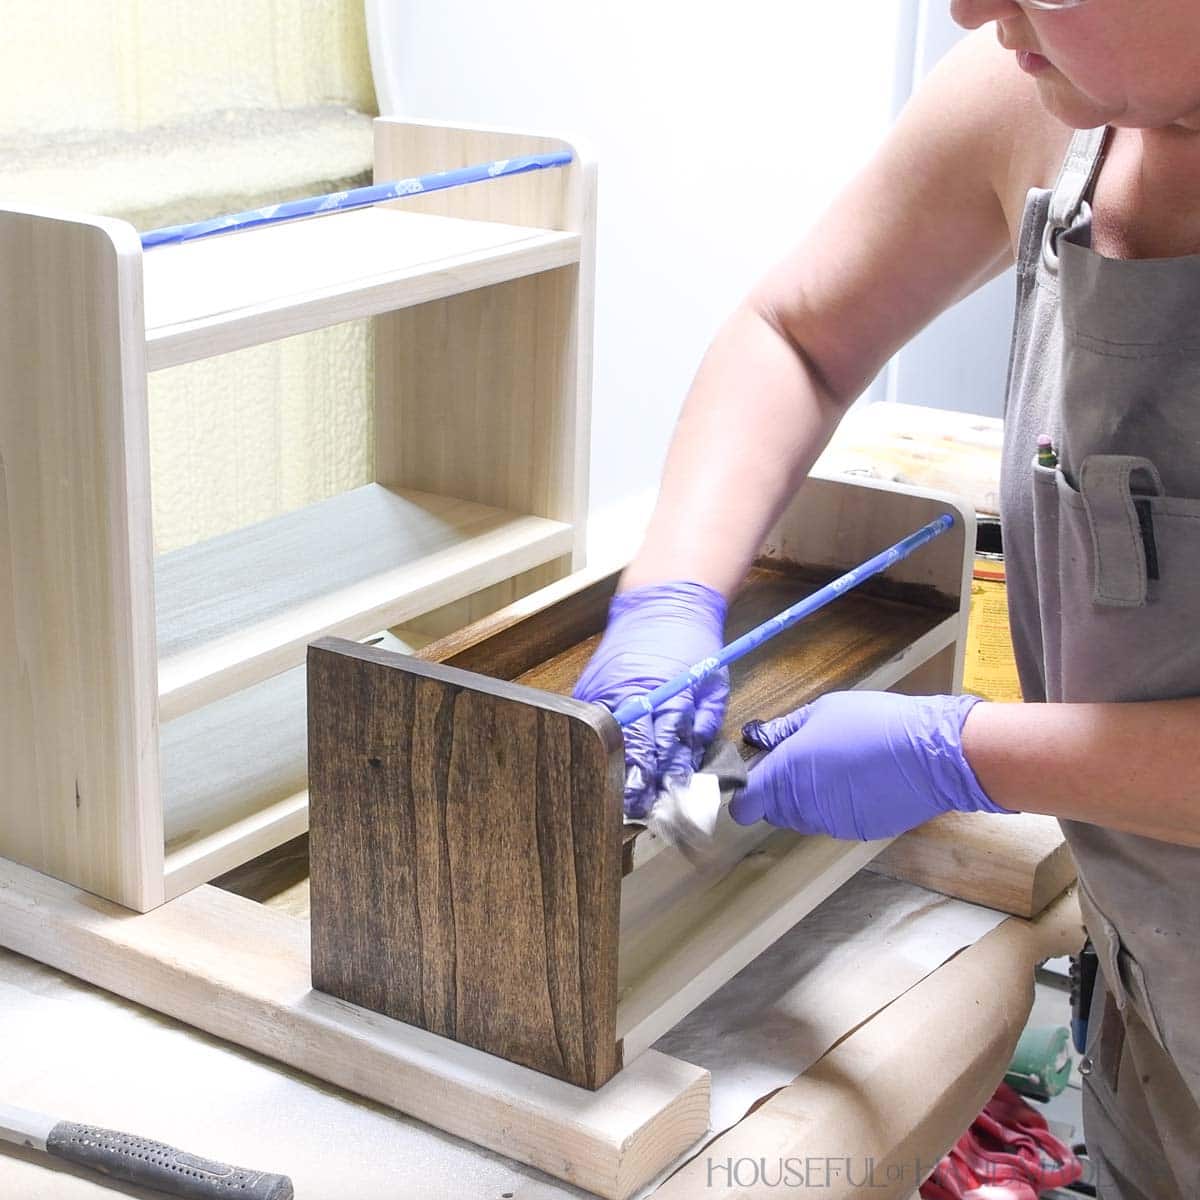
Sand and finish your shelves.
I built my shelves out of poplar and stainged them with a dark walnut stain from Minwax.
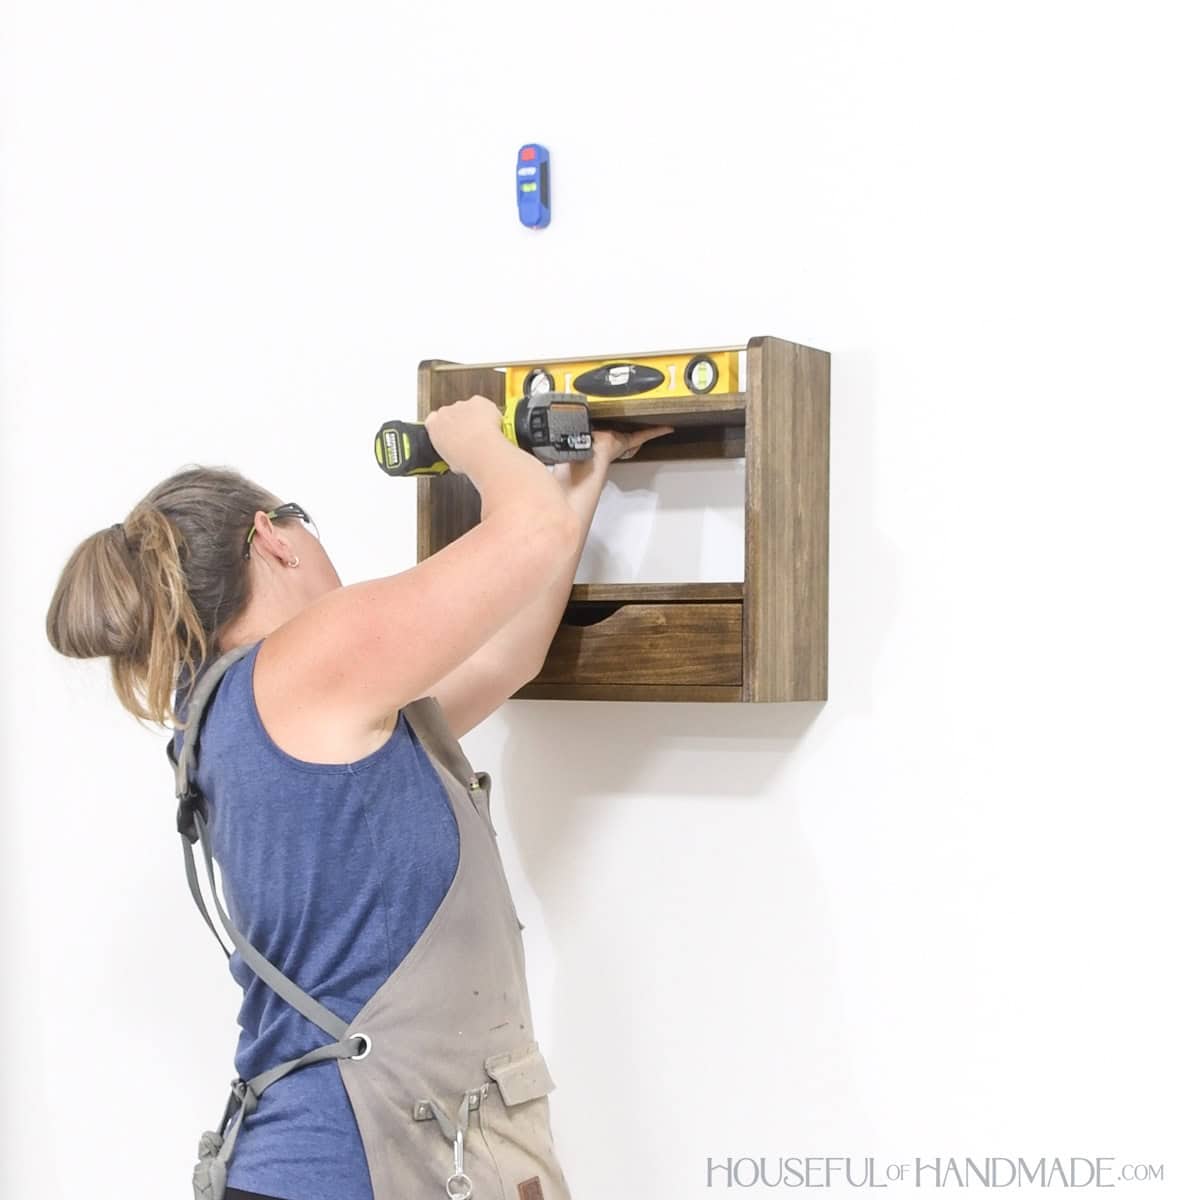
To hang your shelf on the wall, ensure it is level. Then use the 2″ wood screws through the back support into the wall studs to secure.
If you cannot get both screws into a stud, use a heavy duty wall anchor on the one that is not in a stud.
But make sure at least 1 screw is in a wall stud for a secure shelf.
Premium plans include:
- Recommended Tools
- Shopping list
- Easy to read cut list table
- Cut diagrams
- Step-by-step instructions with 3D renderings
- Helpful resources
- BONUS: 3D SketchUp file
You did it!
Slide the drawers into the shelf and have fun decorating them. I love that I can hide some things in the drawers while displaying others.
Happy building!
