Have a nook, niche or alcove in your house? Use it to create more storage and display space with some beautiful floating shelves.
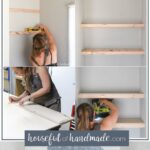
This DIY is so easy! In just an afternoon, you can transform any 3-sided spot into the perfect place to store things.
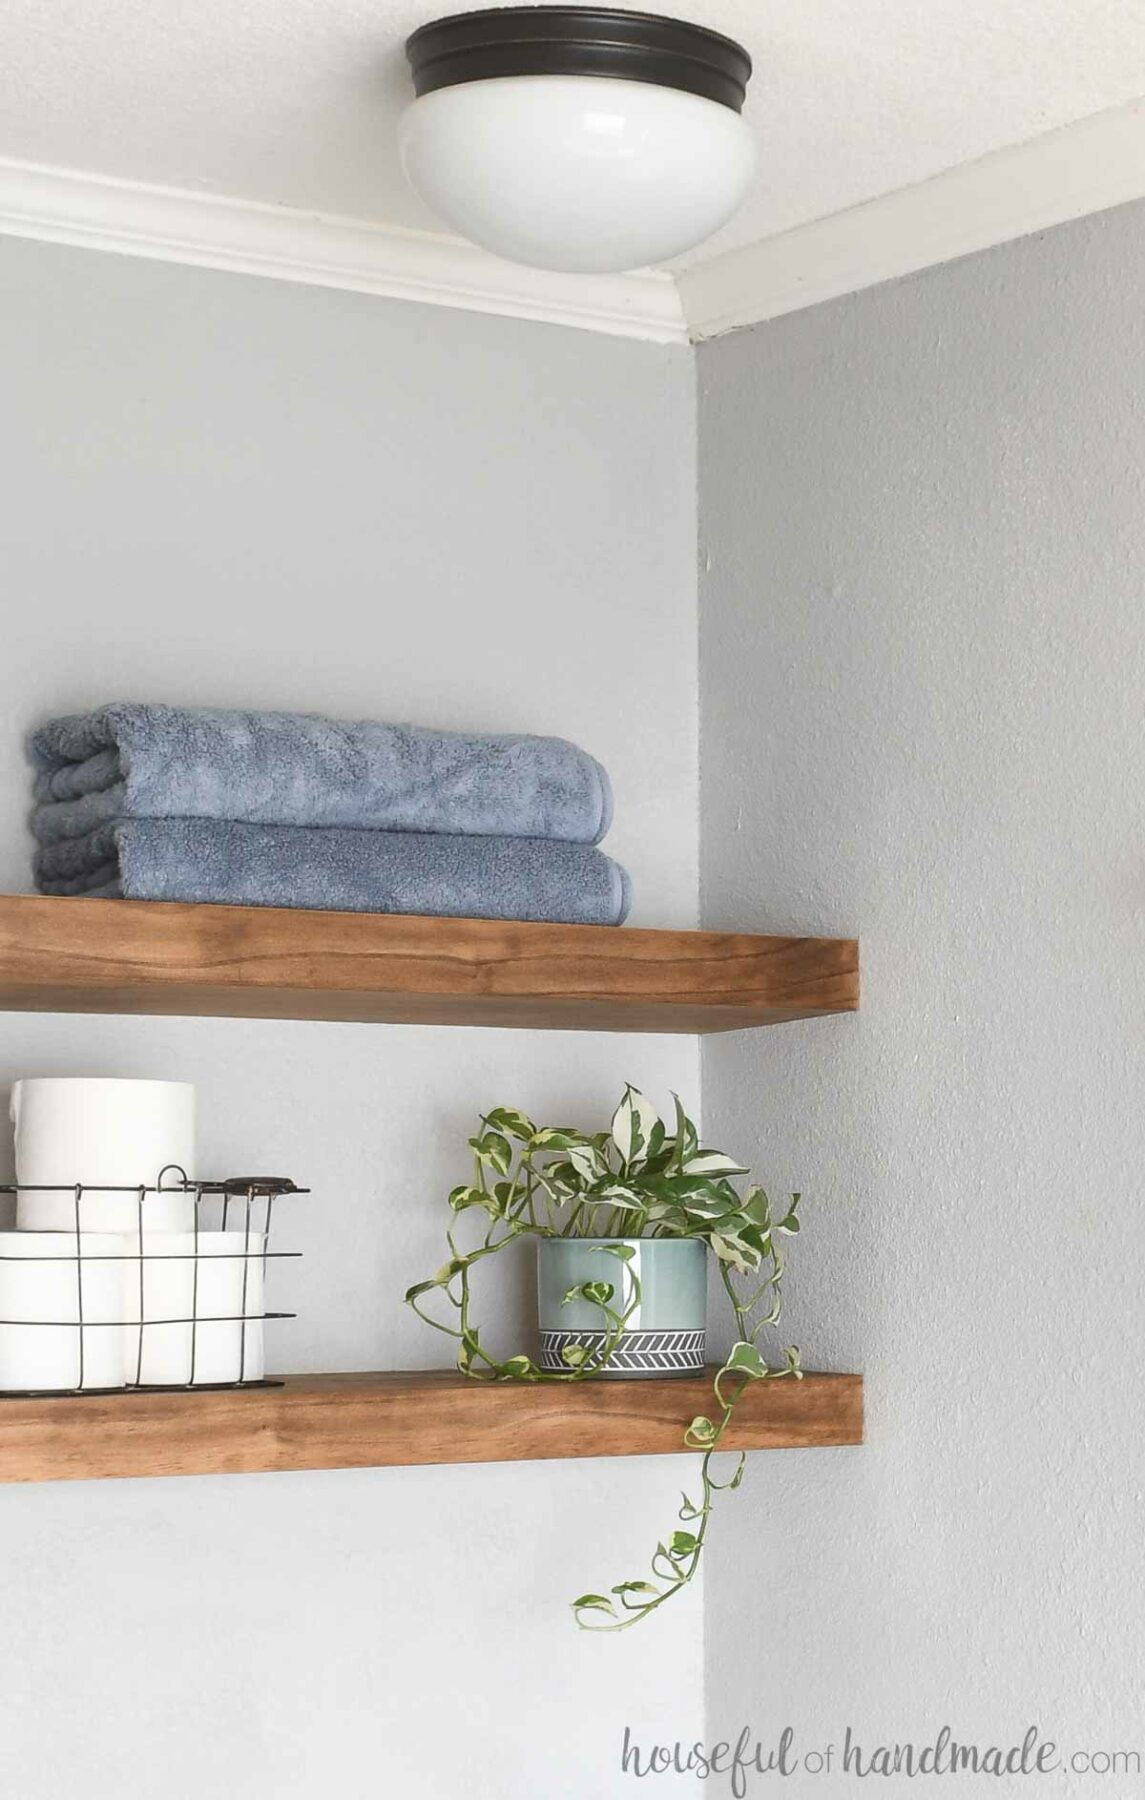
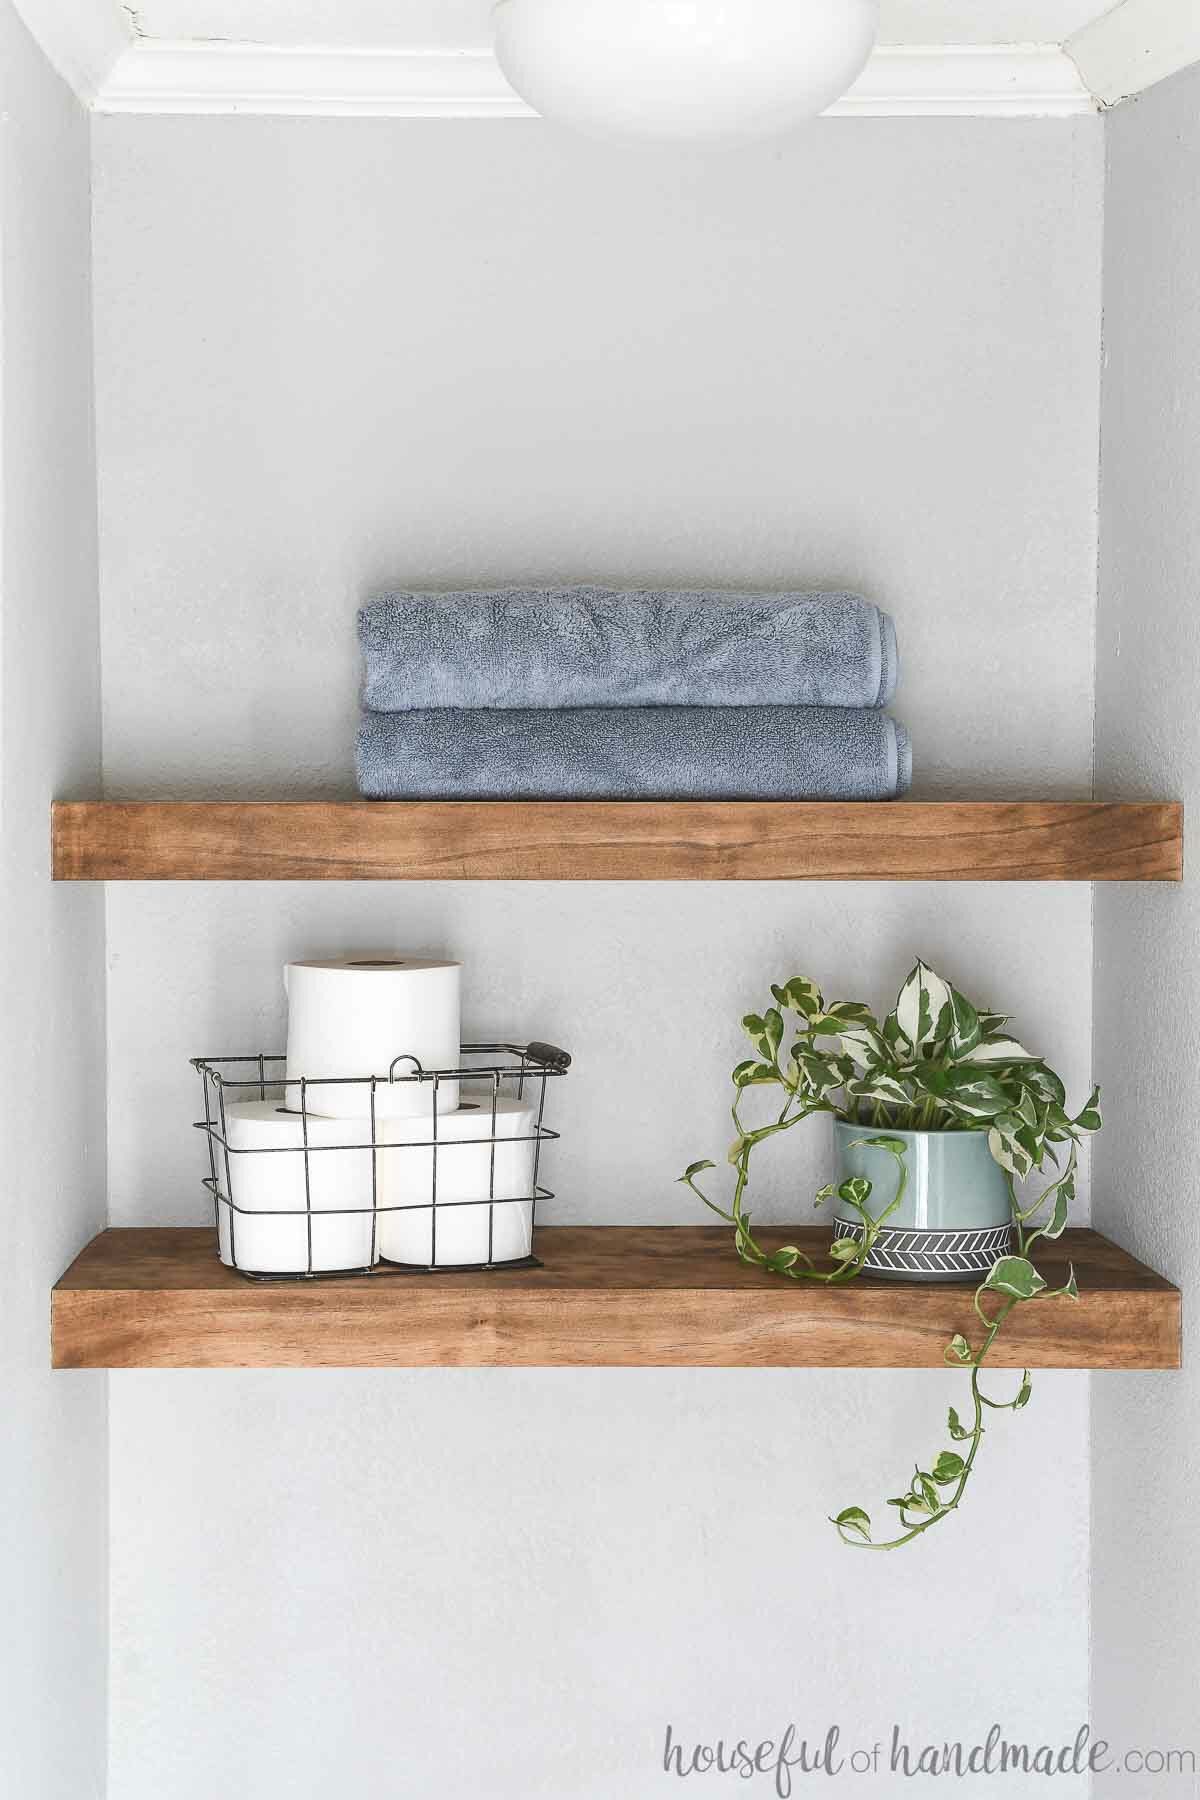
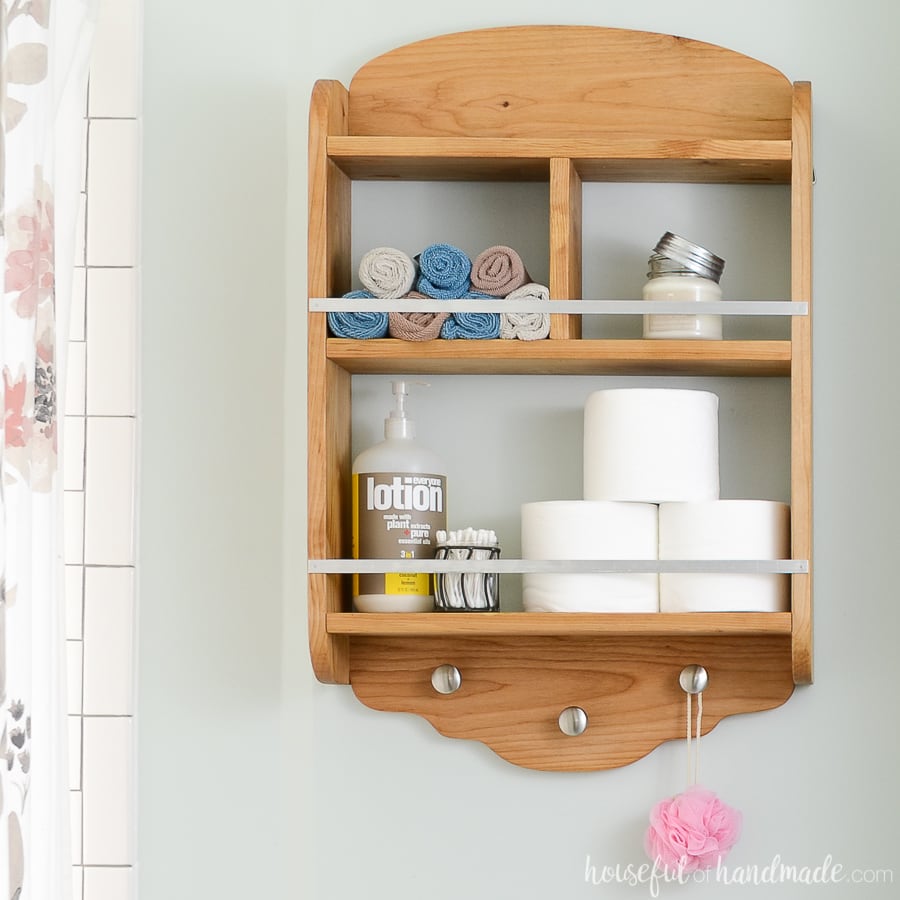
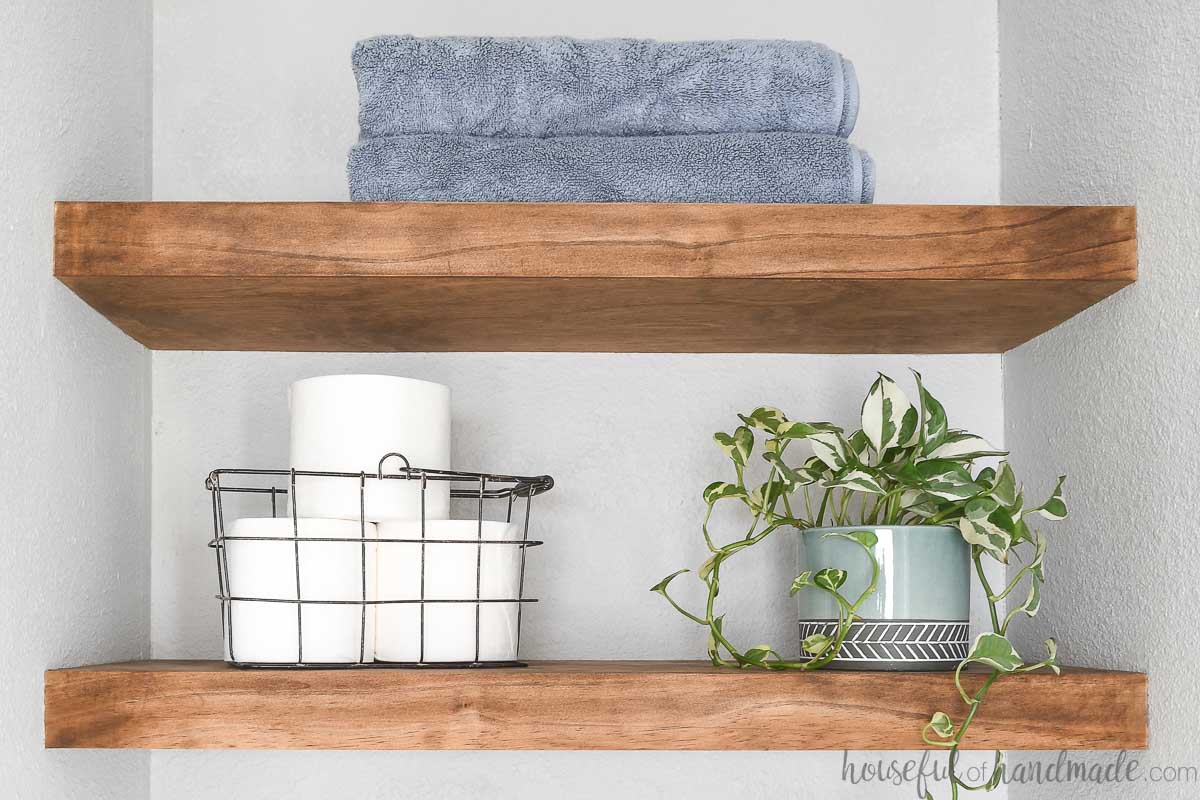
Use bins or baskets on floating shelves to hide away things and keep the focus on your beautiful shelves. Or use them for displaying objects like books, towels, linens, toys and more.
This post may contain affiliate links. As an Amazon Associate I earn from qualifying purchases. Click here to read my full disclosure policy.
What Alcoves Can you Build Floating Shelves In
Any 3-sided nook is a perfect place to add some DIY floating shelves.
Here are just a few places I have found alcoves to add shelves to in my homes:
- Above the toilet
- In a closet
- Above a washer and dryer
- In the mudroom
- Between built in bookcases
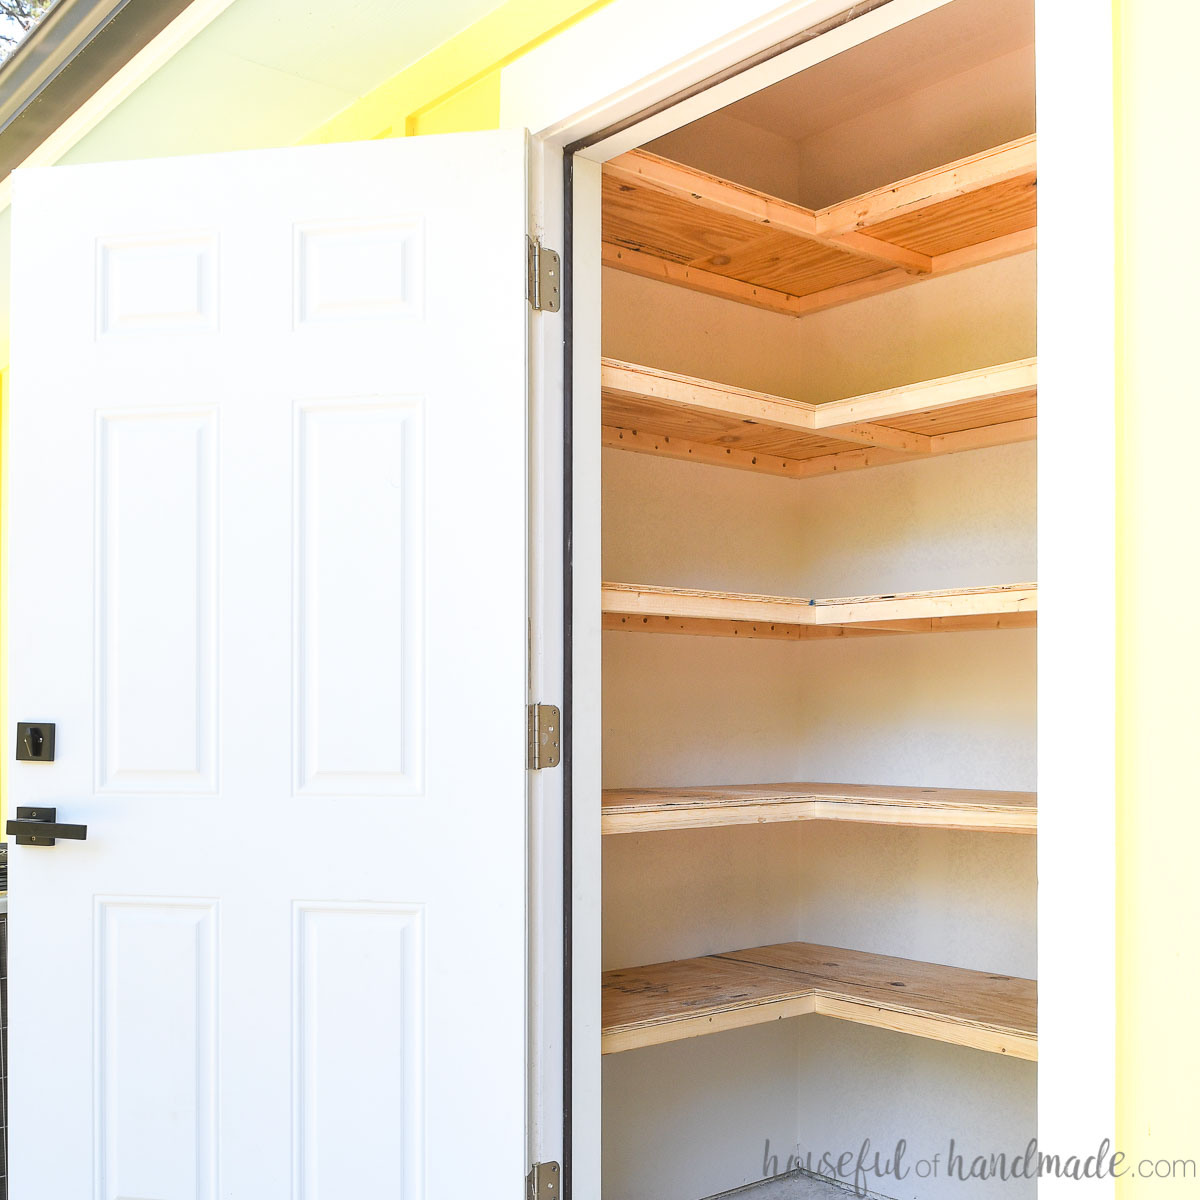
I love turning a messy closet into a beautiful space by removing the door and adding floating shelves. This is great for linen closets, entry ways and more.
And I find it is way easier to keep a closet like that organized. Maybe it is because it is more visible or maybe because it is seen more often.
If you do not remove a closet door, you can still make your closets beautiful with chunky floating shelves. Even if no one sees it but you!
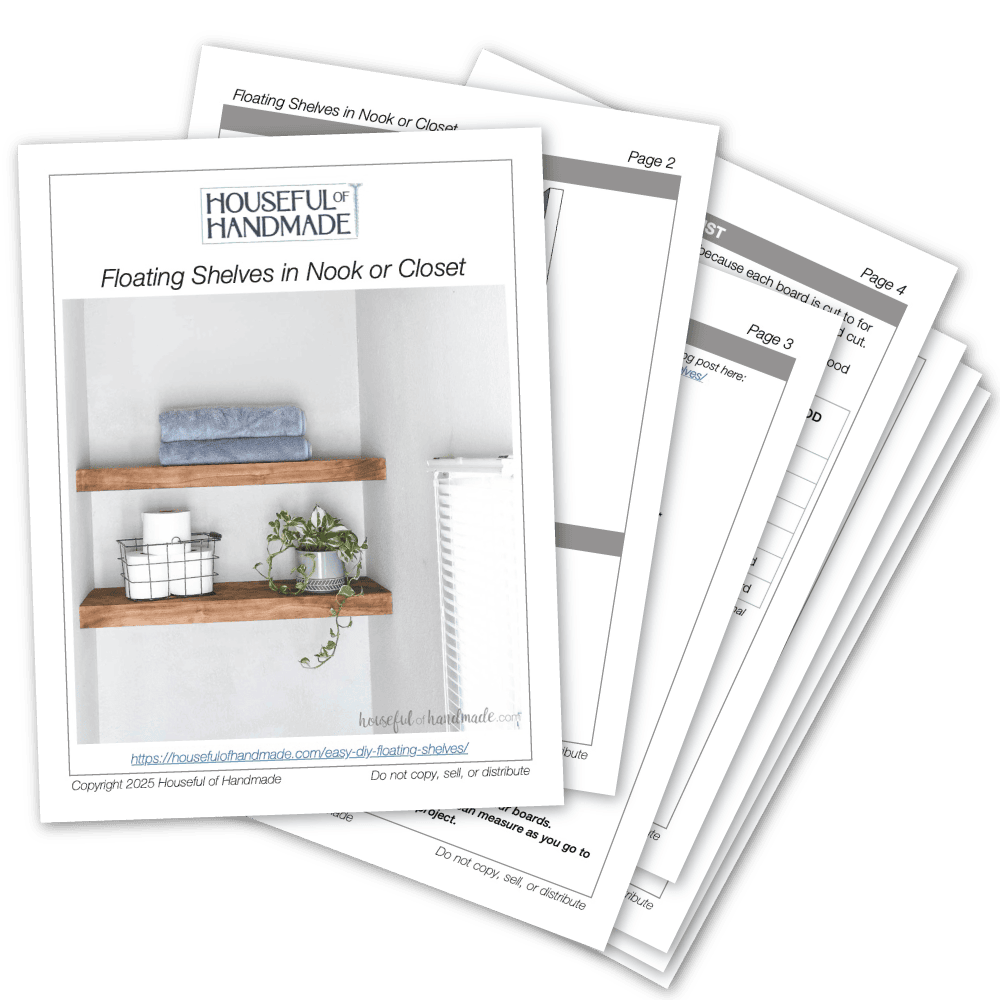
Printable PDF Plans
Get ready to add shelves to every nook, alcove and closet in your home.
The premium plans include all the instructions below plus additional information on building wider shelves for larger spaces.
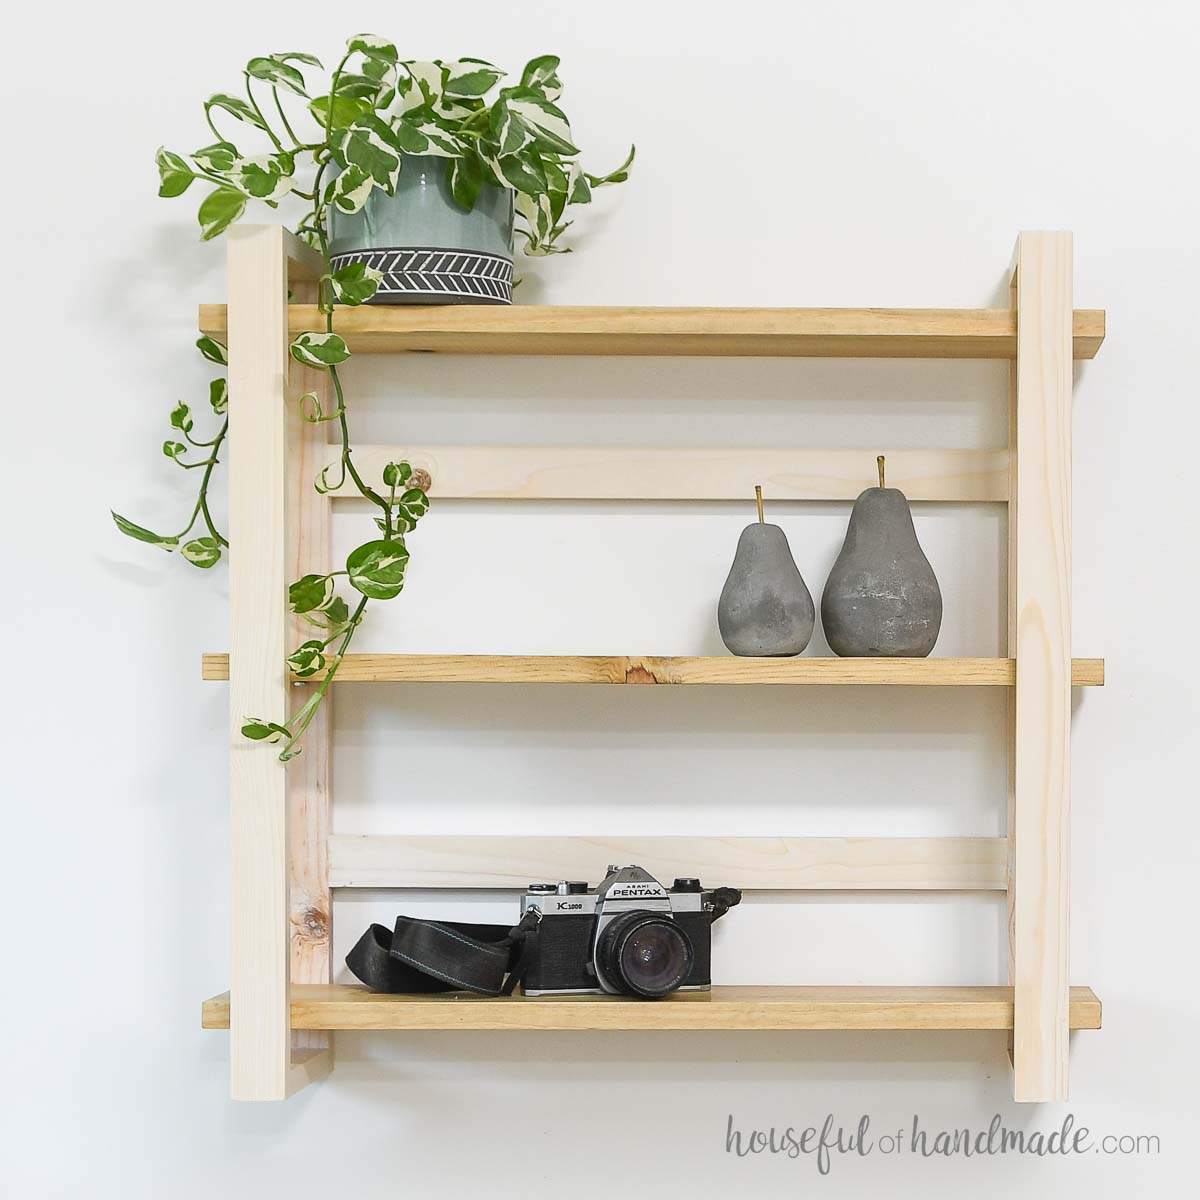
More DIY Shelves
Shelves are a great way to add storage to any room. Check out these other shelf ideas you can DIY in your home.
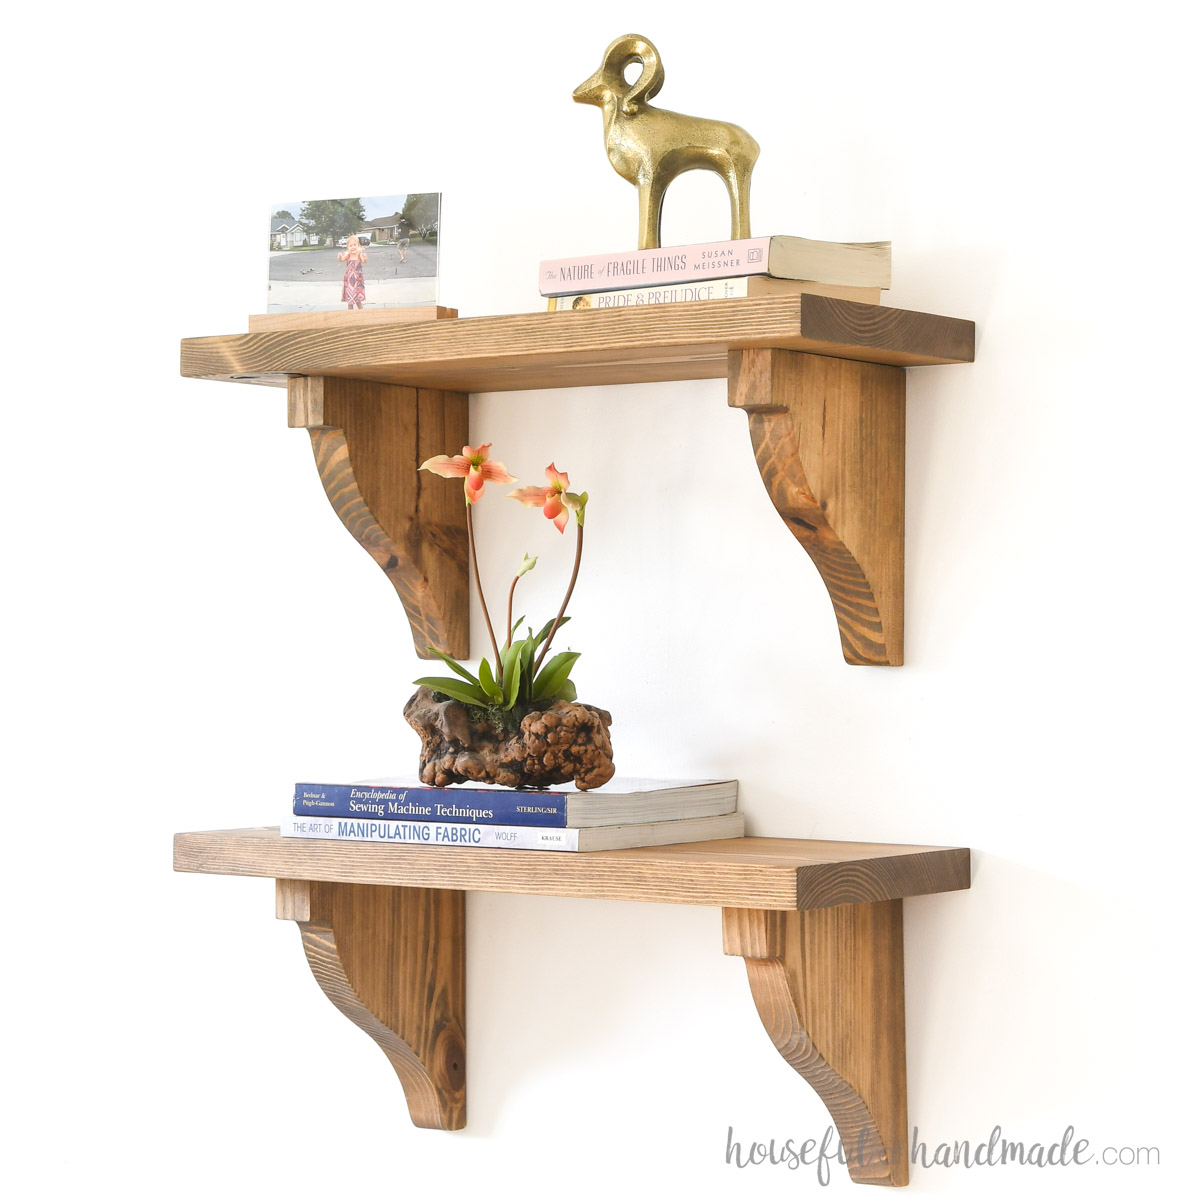
How to Build Floating Shelves
Tools & Materials
Recommended Tools:
- Miter saw
- I recently upgraded to this larger sliding miter saw (watch for it to go on sale), but all my projects before were built with this inexpensive miter saw that I loved.
- Jig saw
- Pocket hole jig
- Drill
- Impact driver (optional, but I love not having to switch bits with the drill)
- Brad nailer
- Flush cut saw
- Sander
- Level
- Measuring tape
Supplies:
- Wood products
- 2×2 boards
- 1/2″ thick plywood
- 1×3 boards or 1/4″ thick boards
- Optional: 1/4″ thick plywood
- 2 1/2″ pocket hole screws
- 1 1/4″ brad nails
- Optional: drywall anchors
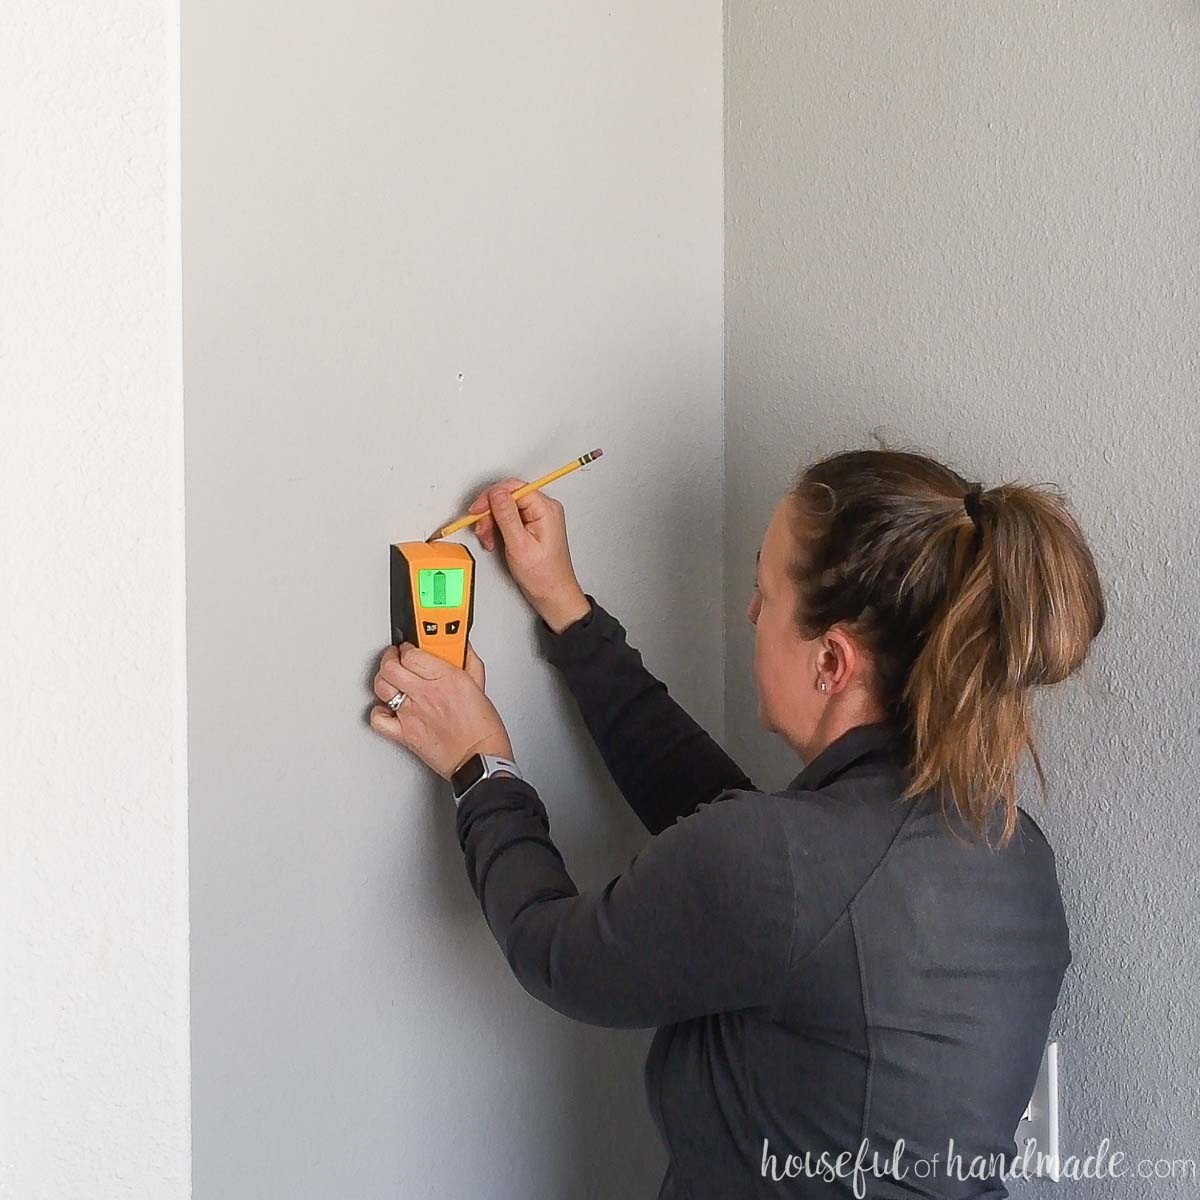
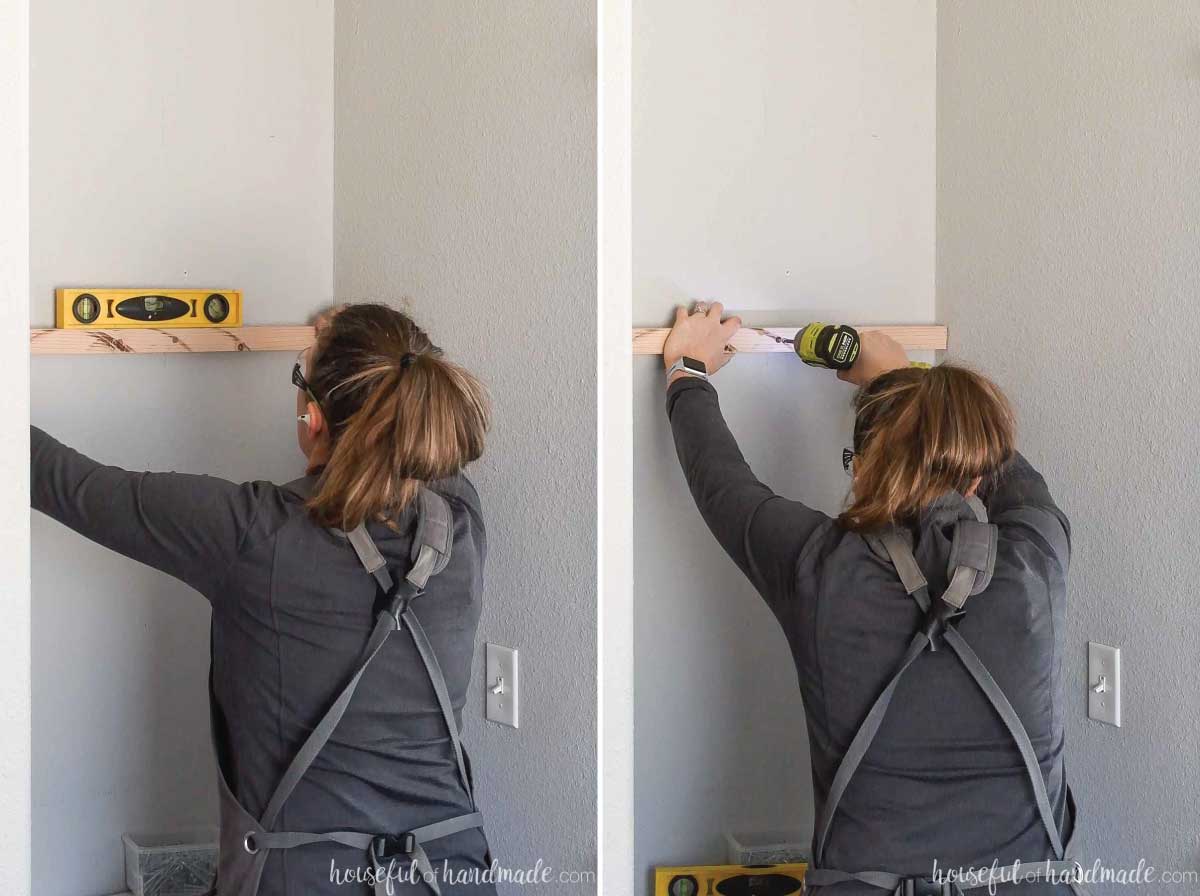
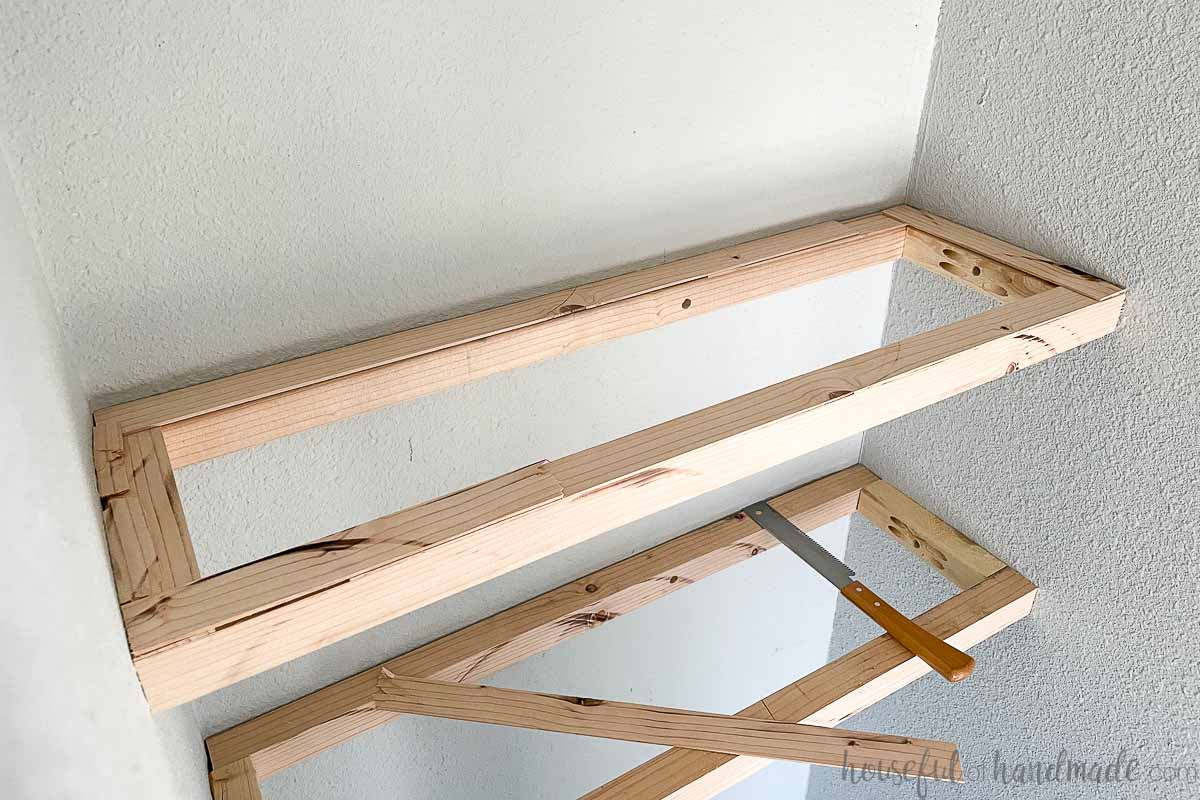
STEP 1- Build the frame
Locate the studs in your wall and mark them.
EXPERT TIP:
Make sure the back support is secured into at least 2 wall studs and each side support is into 1 stud.
Determine where you want the shelves in your nook/closet/alcove. Mark those out.
Measure at these marks the full width of the back wall. Measure the wall at every shelf line because walls are not perfectly straight.
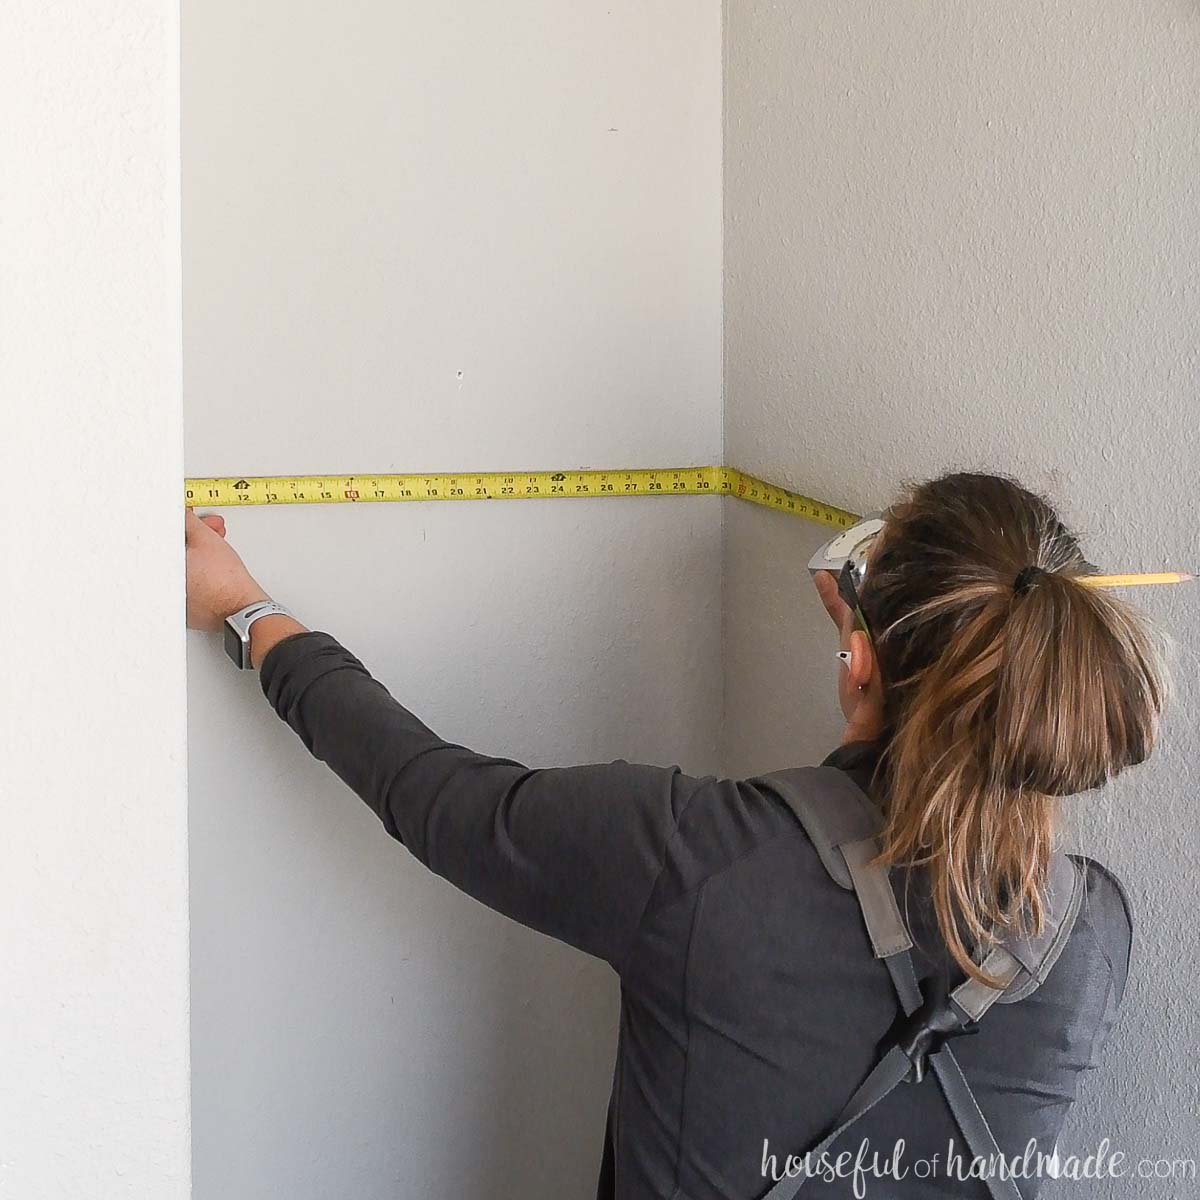
Cut a piece of 2×2 to this measurement. Cut 1 piece for each shelf (with their own unique measurement).
Attach the board to the back wall. Put one screw into each stud on the back wall ensuring it stays level.
Countersink the screw into the 2×2 and secure with a 2 1/2″ or longer screw.
EXPERT TIP:
Don’t forget to account for the thickness of your drywall when determining screw length. You want the screw to go into the stud at least an inch, so you need to countersink the 2 1/2″ screw 1/2″ so it deep enough into the stud.
Determine the length of the side boards according to the instructions in the plans. They should be the total depth you want your shelves the front and back frame boards and the thickness of your front board.
Cut the boards and drill 2 pocket holes set for 1 1/2″ thick material in each end.
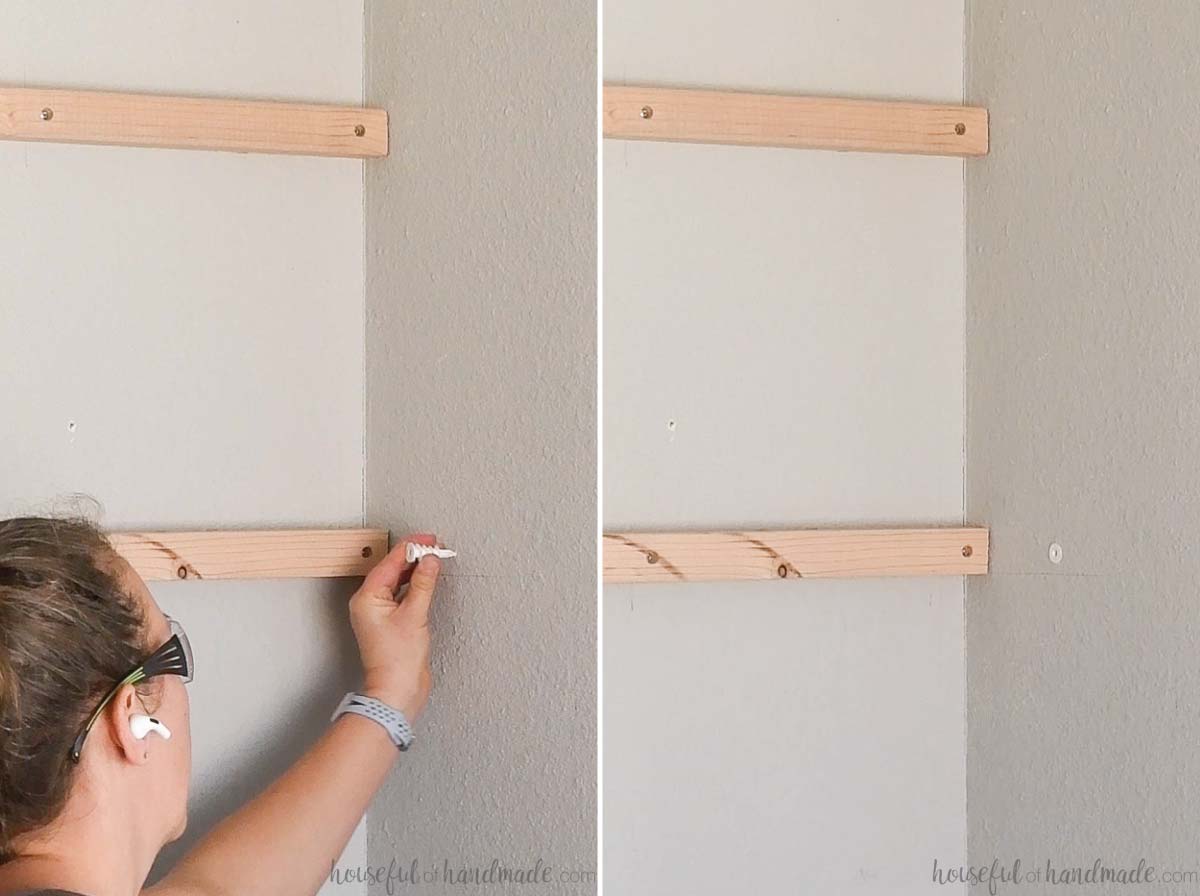
For my shelves, I didn’t want them very deep and would not be able to anchor the sides into a stud. So I used a wall anchor behind it.
I would only recommend this for smaller nooks where you will not be using the shelves for heavy items.
To install the wall anchor, I first drilled the countersunk hole for the screw. Then lined it up on the side where it would go.
Drill through the countersunk hole into the drywall to mark the location for the anchor.
Remove the board and install the anchor.
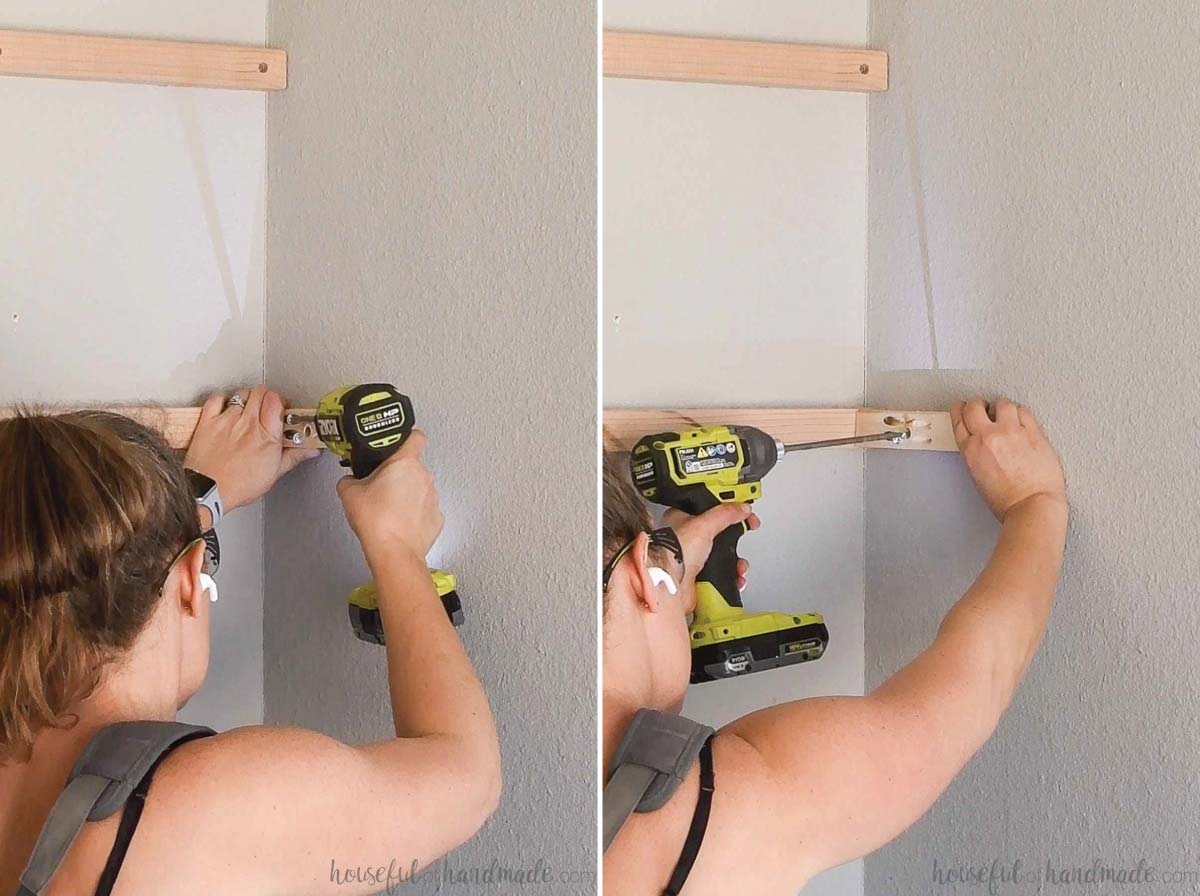
Attach the side piece first to the back frame board with 2 1/2″ pocket hole screws.
Then secure it to the wall into the stud (or the anchor). Make sure it stays level as you attach it to the wall.
The pocket holes into the back frame piece will help give more stability to the sides that would otherwise only be attached to the wall with 1 screw because studs are 16″ apart and most shelves will not be deeper than that.
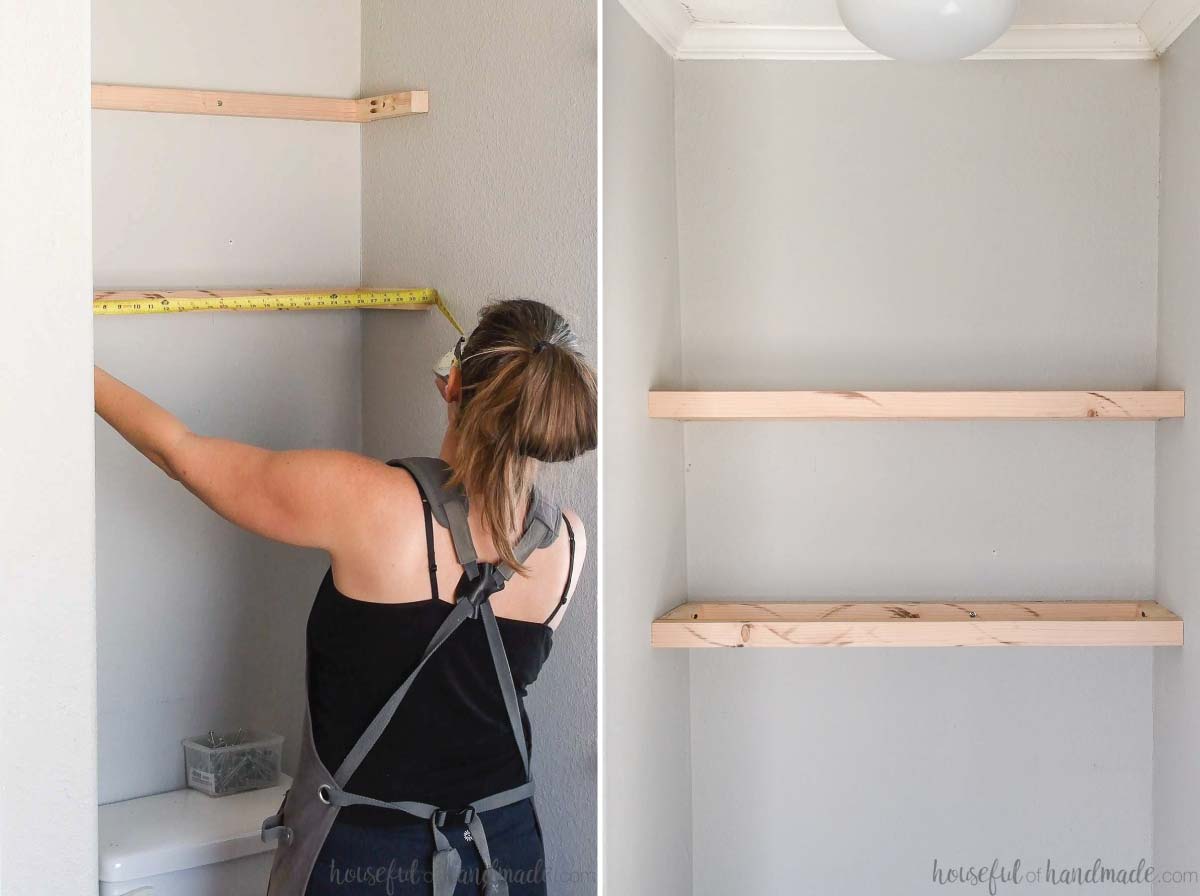
Once both side pieces are attached, measure for the front frame board.
Again, measure each shelf frame individually because your walls will likely not be straight.
Cut the board and attach it to the sides with 2 1/2″ pocket hole screws.
STEP 2- Cut the shelf top/bottom
Because the walls are probably not very straight, you cannot just measure and cut a straight piece of wood to fit on the top and bottom of your frame.
If you do, you will have large gaps and a lot of frustration trying to get it to fit.
Instead, the easiest way to get a board to perfectly fit the space is to create a template. You can use thin (~1/8″) pieces of wood, strips of cardboard, or even cardstock.
I ripped thin strips of wood off a scrap of 2×4 to make my template.
Cut or break the pieces into smaller pieces so you do not have large gaps against the wall and hot glue the pieces together.
Create a complete frame of the sides, back and front.
Transfer the shape of your template to the piece of 1/2″ plywood.
Make sure the template is oriented so the pretty side of the plywood is the top.
I like to line the front (which should be completely flat) up against the front of the plywood.
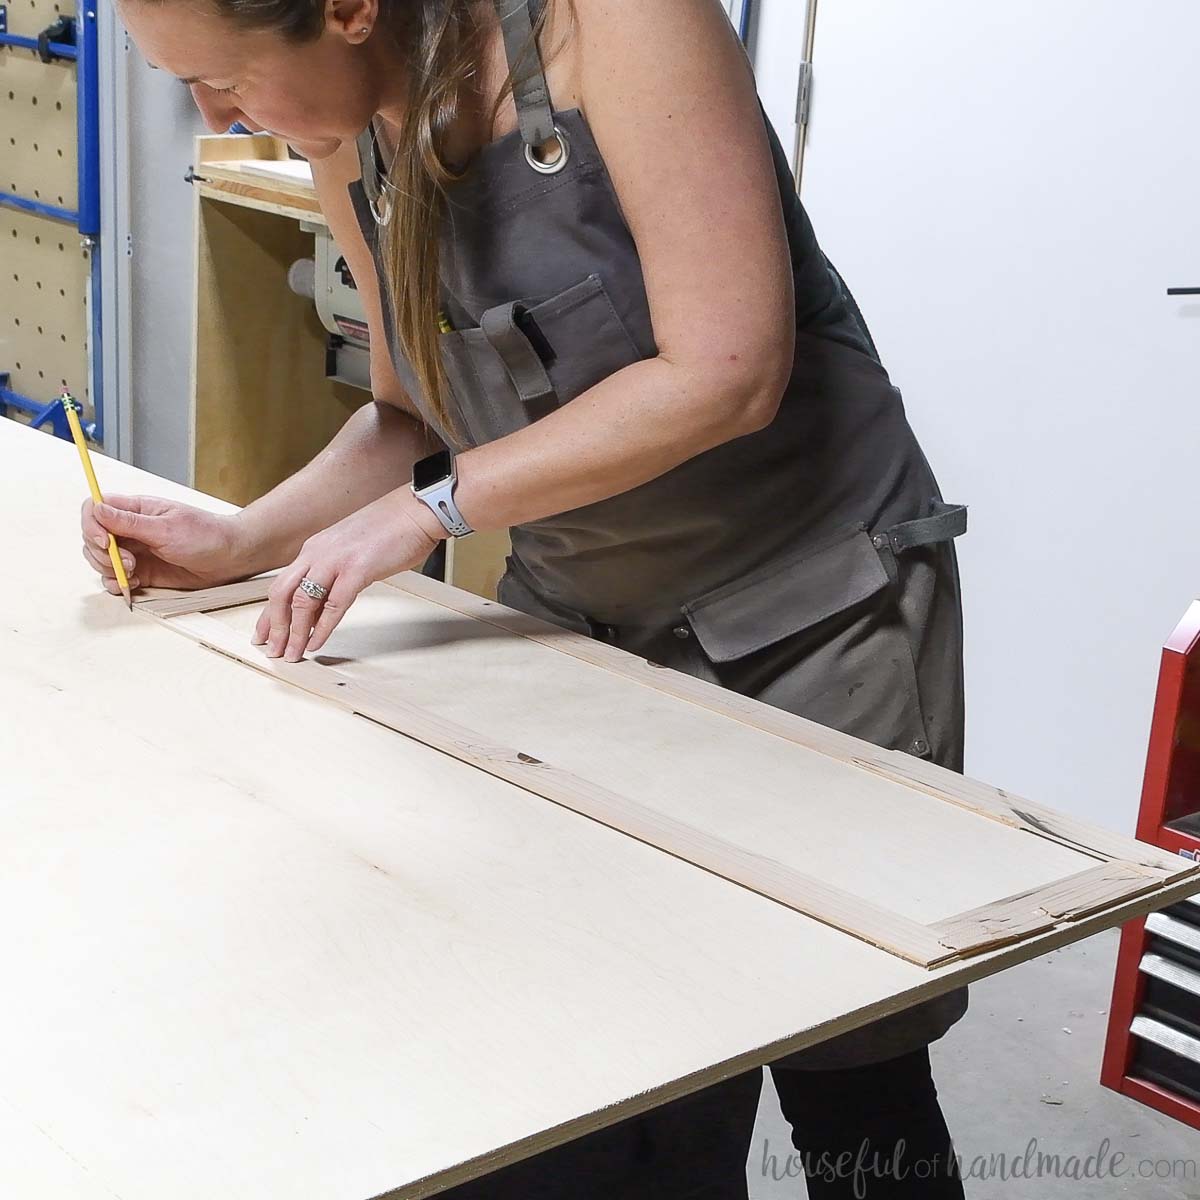
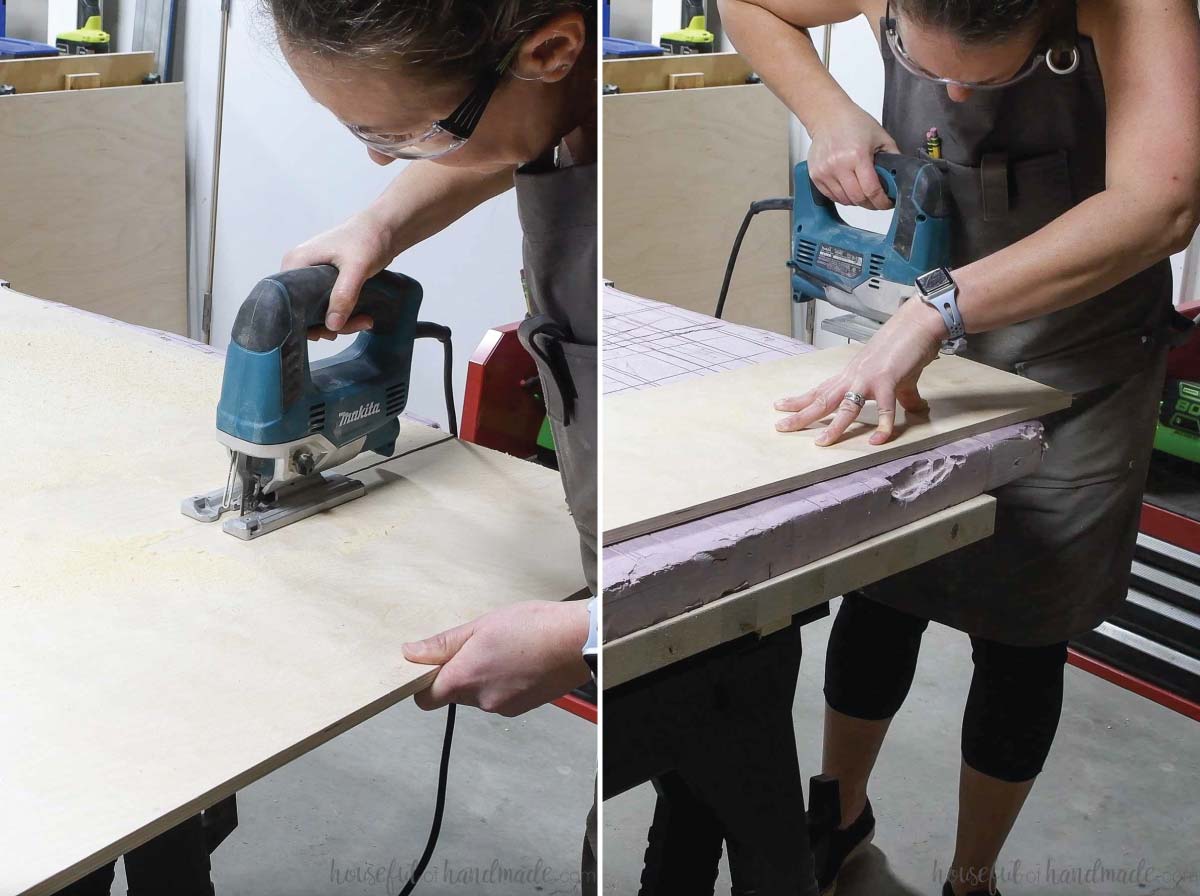
Use a jigsaw to cut the plywood out to the right shape.
Be aware that your pencil mark is slightly on the outside of the template. So cut the line off with the saw or your piece of wood might be too big.
Test your piece of wood on the shelf frame to see if it fits. Adjust as necessary.
For the bottom of the shelf, you can use another piece of 1/2″ plywood. This is convenient because it creates a 2 1/2″ thick total shelf. This means the front board is a standard 1×3.
Or you can use a 1/4″ thick plywood to create a slightly thinner shelf (2 1/4″). This is what I did to use up scraps of plywood instead of having to cut a new sheet.
With a thinner shelf, you will need to rip the board for the front down to the width of your shelf on a table saw.
STEP 3- Cover the shelf frame
Once the plywood pieces are cut, they are easy to attach to the top and bottom of the shelf frame with 1 1/4″ brad nails.
Ensure the front of the plywood is flush with the front of the frame.

Measure the front of your shelf and cut your front piece.
You can use a standard 1×3 board which is 3/4″ thick. Or if you want a thinner front profile use a 1/4″ thick board.
The home improvement sells 1/4″ thick boards sometimes labeled as hobby boards. I usually find them next to the hardwoods or dowels.
The thinner front board almost disappears into the plywood making the shelf look like 1 solid piece of lumber.
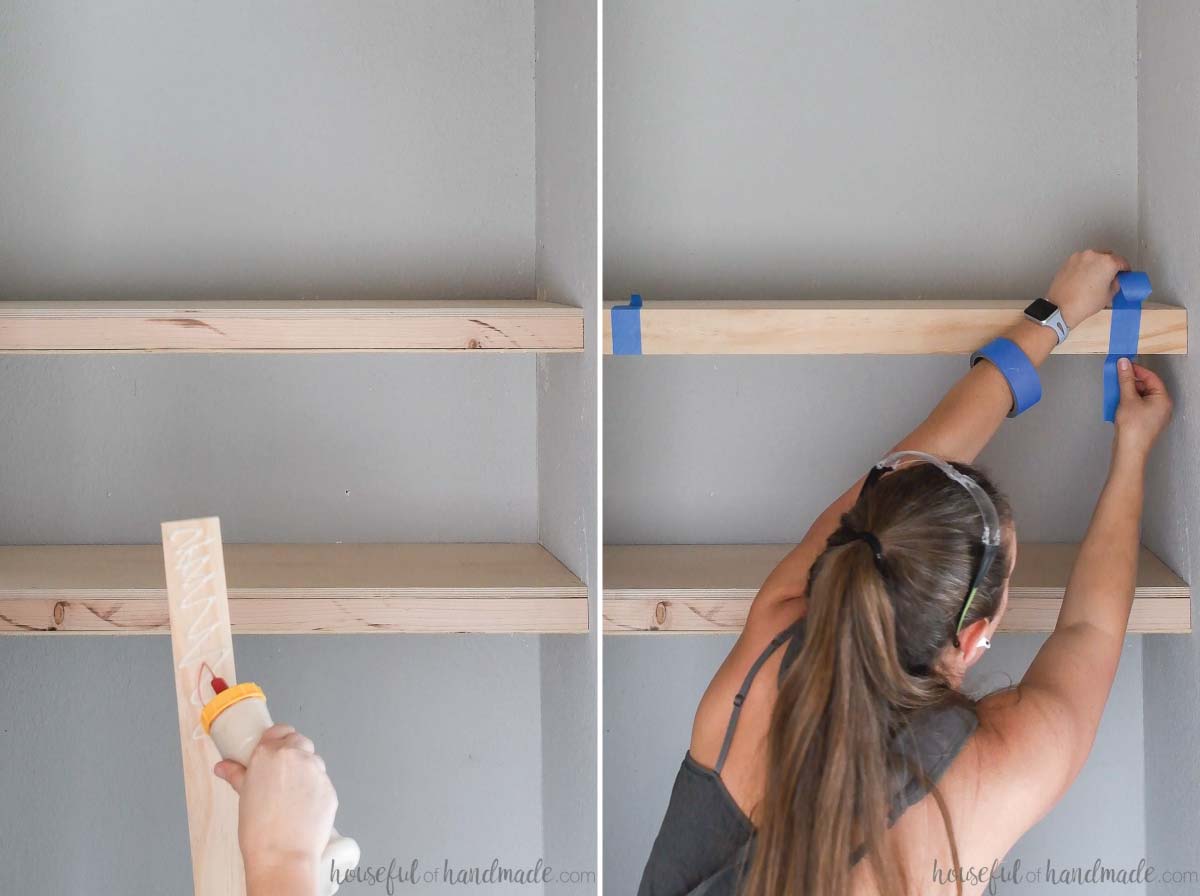
You can attach the front with no visible nail holes by glueing it into place.
Add a good amount of glue to the back of the board. Line it up and tape it into place with blue painters tape until the glue dries.
STEP 4- Finish the shelves
Sand and finish your shelves.
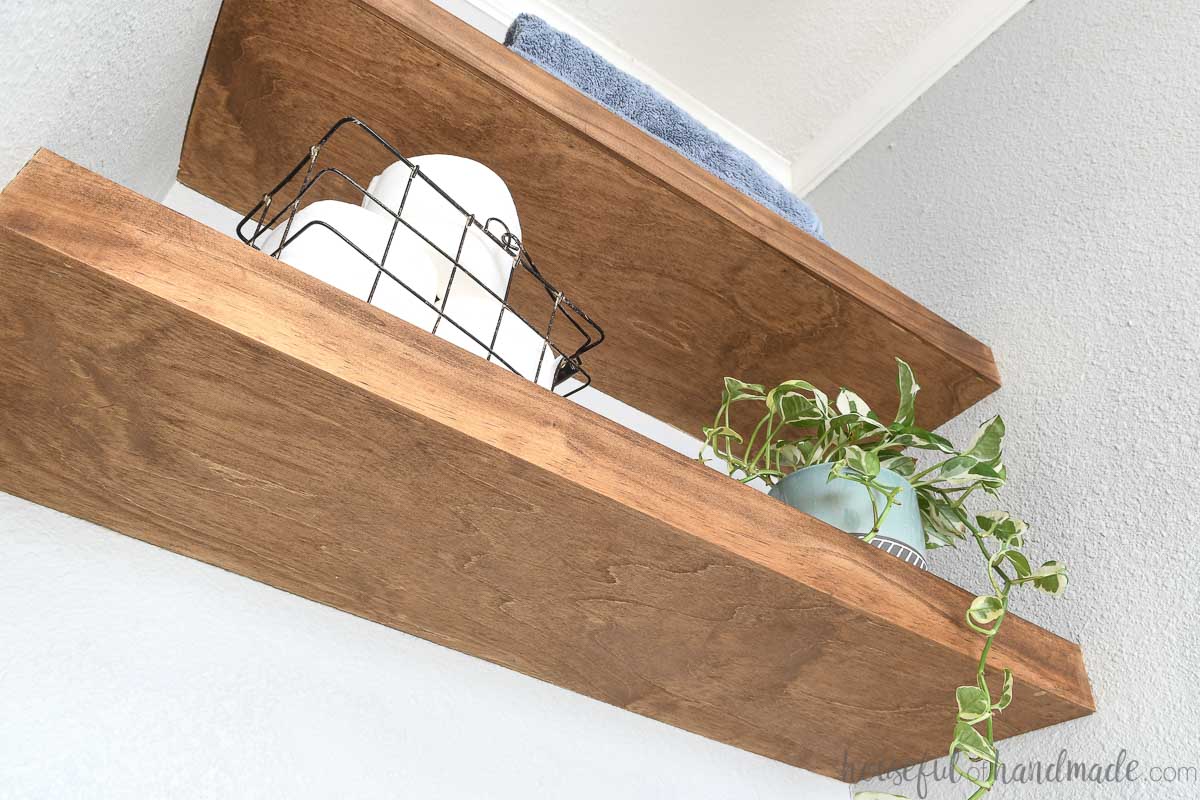
For my floating shelves, I used birch plywood with pine for the front board. They are stained with Early Americana stain by Minwax.
You may also have to do some touch up painting on the wall if you scraped the walls while installing the shelves (I know I did).
Now you are ready to load up your new shelves.
Premium plans include:
- Recommended Tools
- Shopping list
- Easy to read cut list table
- Cut diagrams
- Step-by-step instructions with 3D renderings
- Helpful resources
- BONUS: 3D SketchUp file
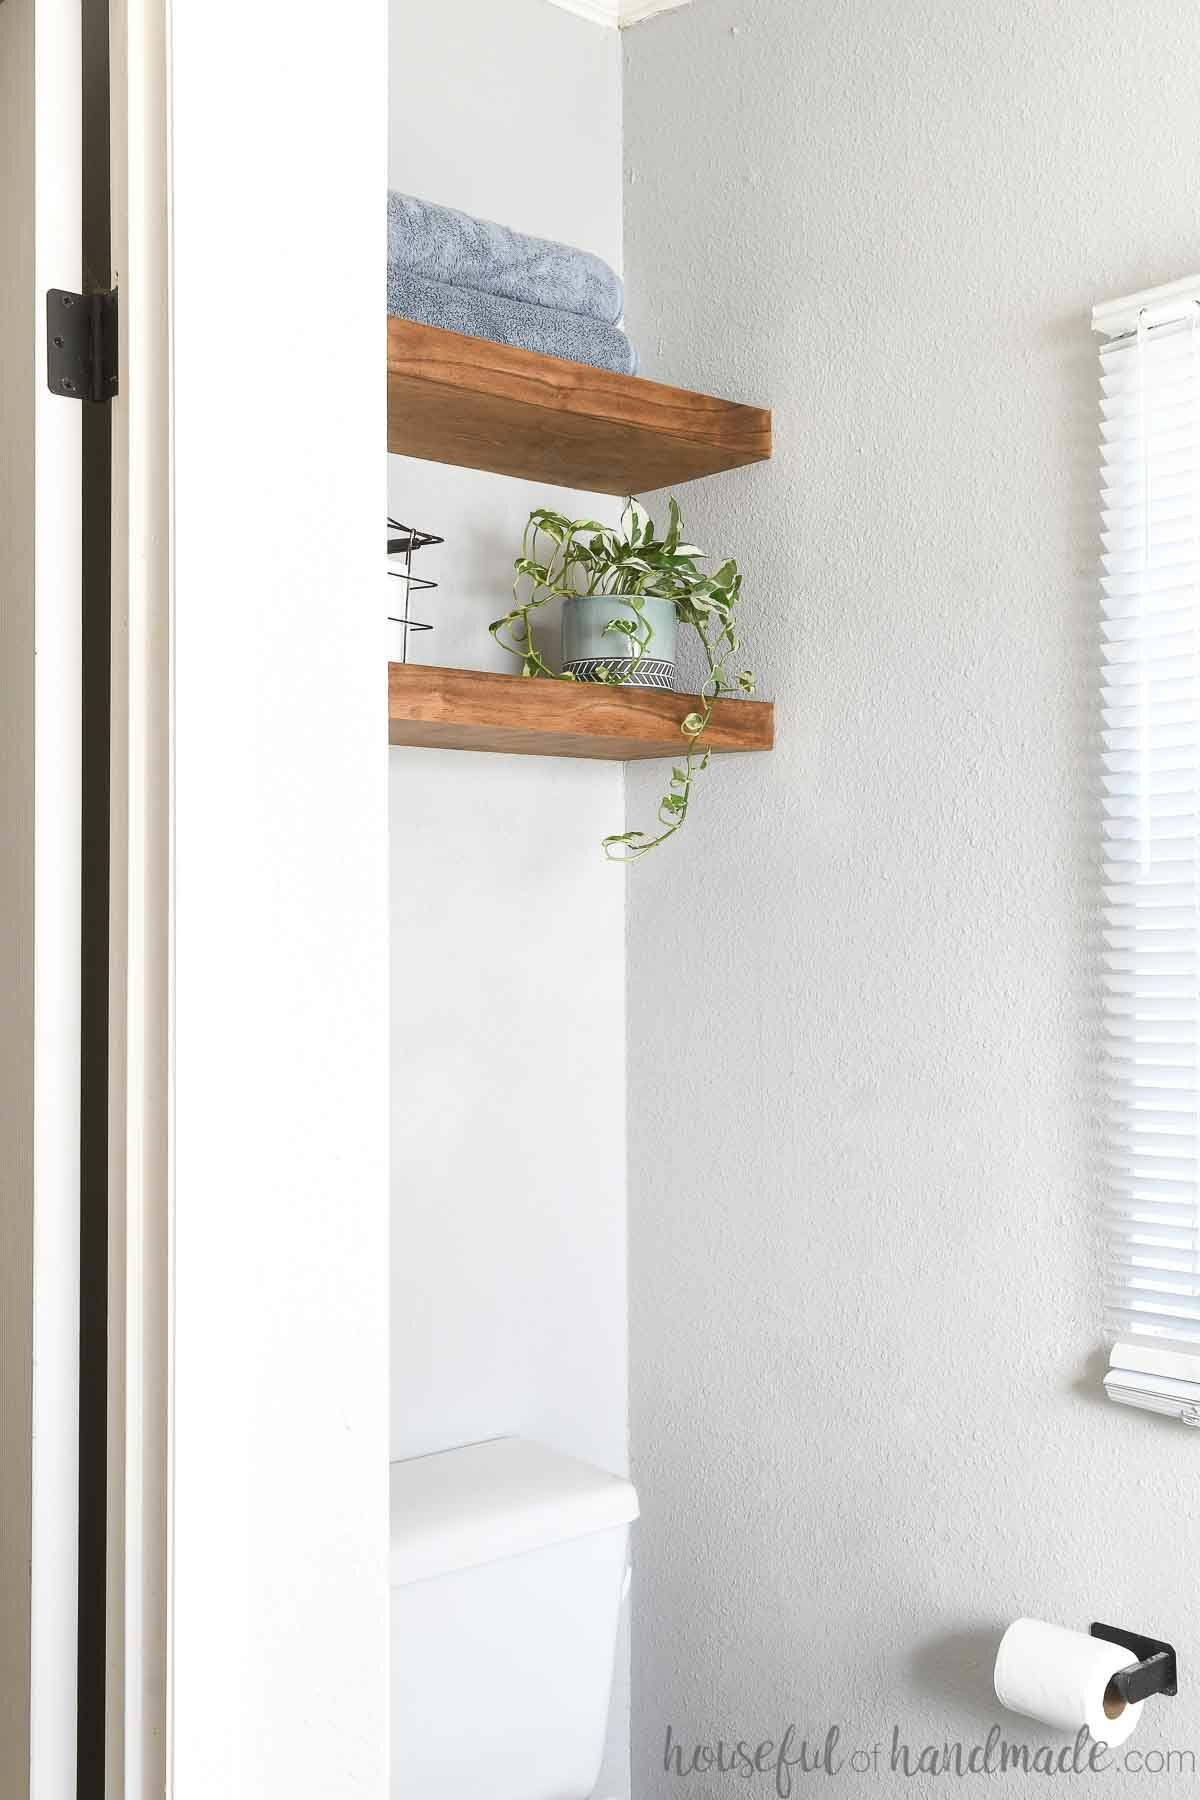
I just love how they fit so nicely into the small alcove in my bathroom. There are no unsightly gaps.
They were made to fit perfectly. And it was all done in an afternoon!
