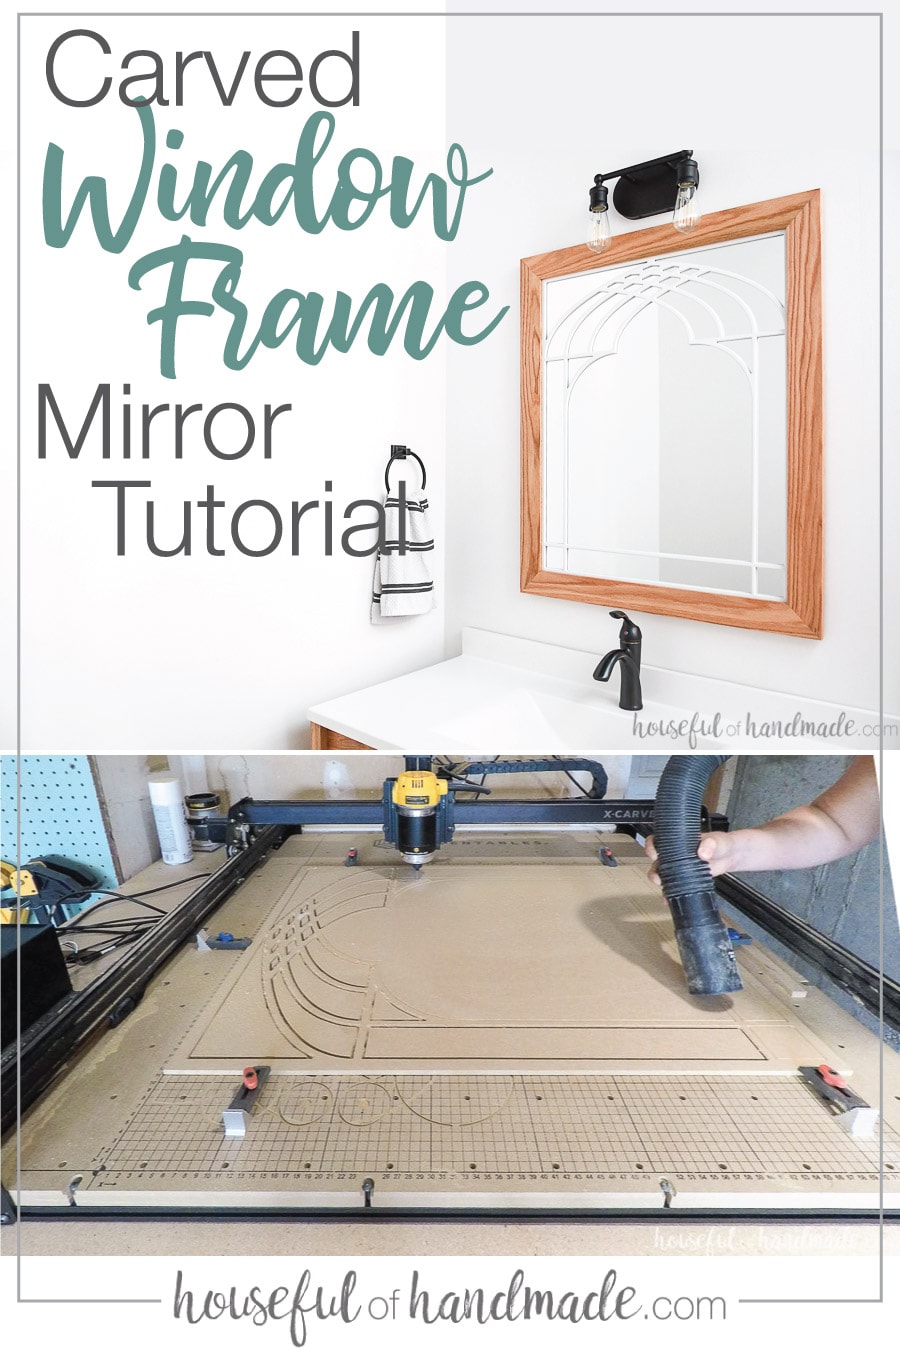
Build a beautiful window frame mirror for loads of farmhouse charm in the bathroom.
We are making more progress on the guest bathroom. One of the design elements I had not figured out for this room yet was the mirror. Bathrooms need mirrors, but I didn’t want something boring.
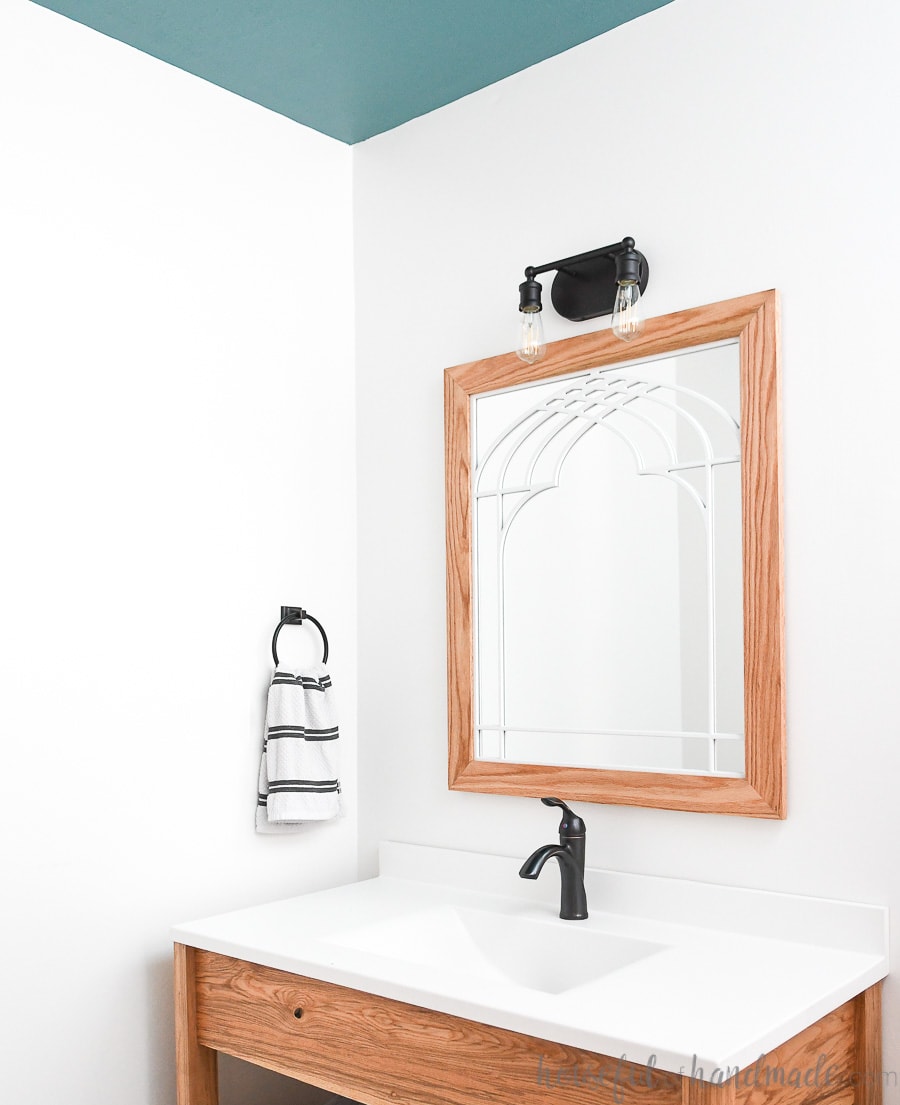
So I partnered with Inventables to make a beautiful window frame mirror for the bathroom using the X-Carve CNC machine. The computerized carving you can do with this machine made it easy to make a beautiful and unique bathroom mirror. Doesn’t it look perfect?!
Window Style Mirror
I am in love with the mirrors that look like windows. They have so much character in them. And the different arches and styles from the vintage windows means there are so many possibilities.
This post may contain affiliate links. As an Amazon Associate I earn from qualifying purchases. Click here to read my full disclosure policy.
All that inspiration had me wanting my own window frame mirror, and with the X-Carve, I knew I would make one!
Because I did not want to be cutting a curve in the mirror, I decided to make my window frame mirror fit a standard bathroom mirror size. But that did not mean I have to forgo the classic arch.
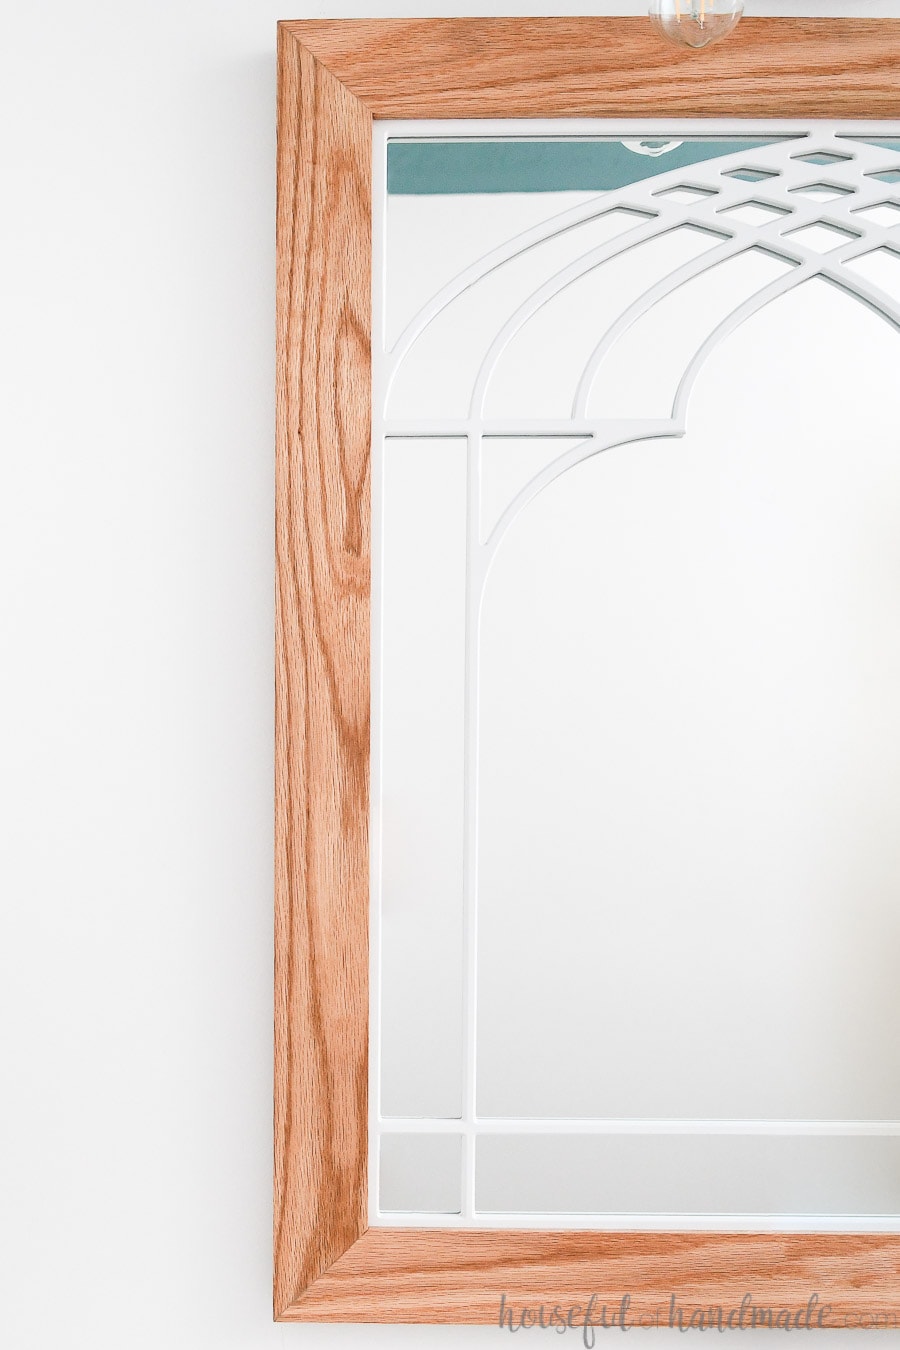
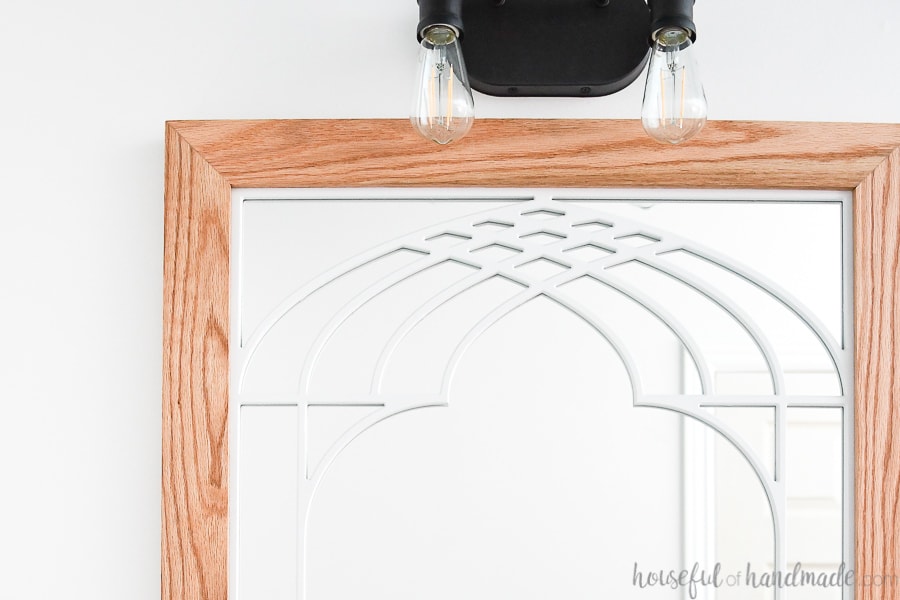
Instead I have lots of curves and arches, but with a square frame around it. I am obsessing over the cathedral arch in this mirror!
And while the mirror would have looked pretty cool with just straight cuts, I wanted to use the X-Carve to add a beautiful finishing element to the design.
The V-carving bits allow you to cut at an angle. I used the 90 degree bit to carve a chamfer in the edge of my window frame design. Just that tiny finish on the inside edges really gives the whole design a super finished look.
Unique Bathroom Mirror
To get the style of a window frame mirror in the bathroom, I had to make some adjustments to the typical window style mirror design.
Typically the window panes are evenly distributed all over the mirror. But in a bathroom, you need to have more open spaces to see yourself when getting ready in the morning.
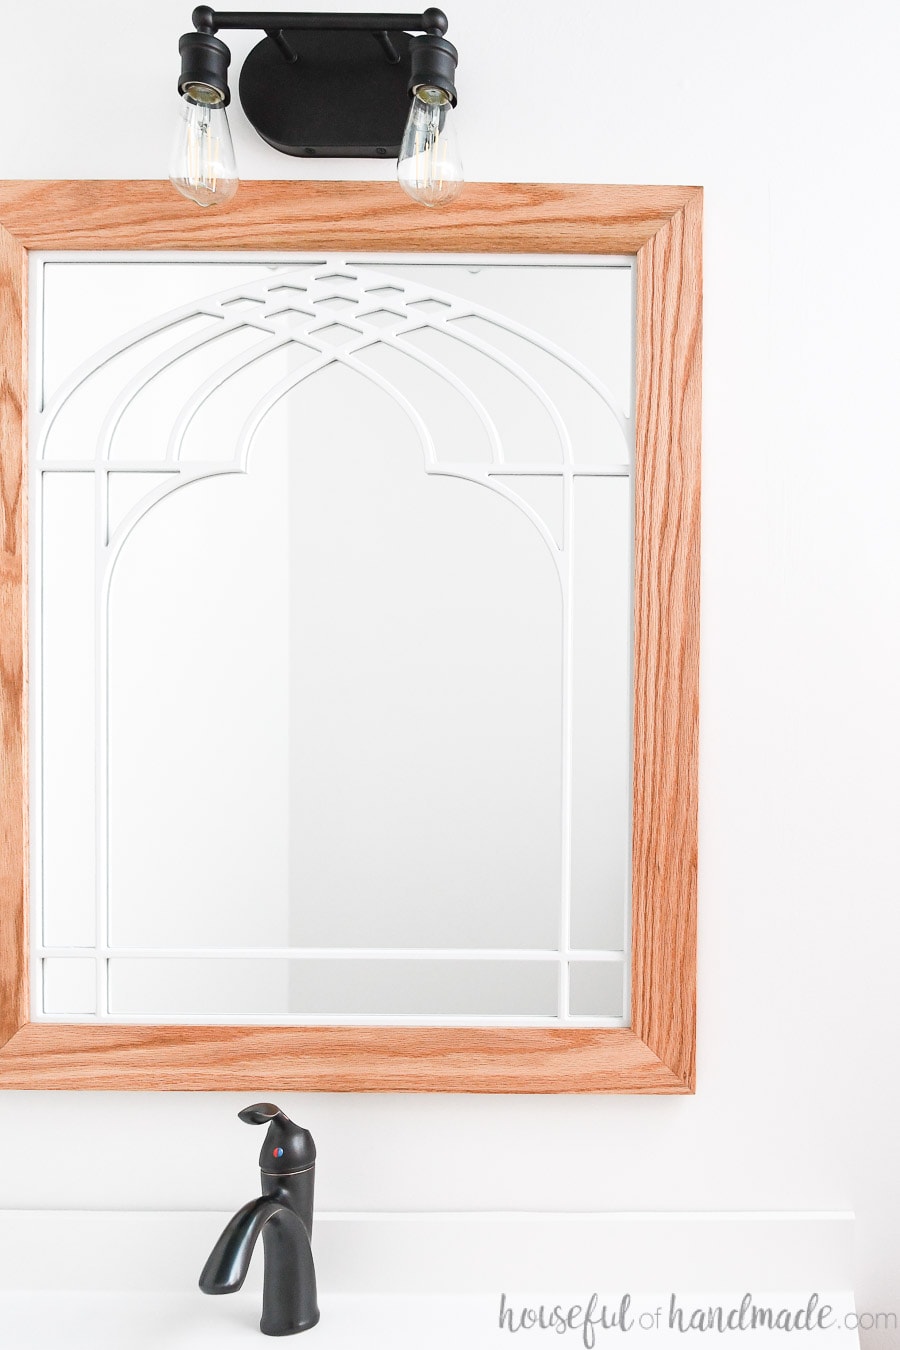
To make the window frame mirror style work, I changed up the design to have a large open cathedral arch in the center. Then the standard repetitive frame arches around it. This gives it loads of unique character, but still the function you need in a bathroom mirror.
Also, because I used the X-Carve by Inventables to carve the window frame design, I was able to make the frame more delicate. The thinner frame makes the mirror more prominent and perfect for a bathroom.
Don’t Have an X-Carve?
I know not everyone has an X-Carve. It took me a few years of drooling over them to finally decide it was right for me.
If you are interested in getting an X-carve, you can start by playing around with the free Easel software that runs it. Just sign up for an account today and see what kinds of things you can create.
Plus the Simulate option shows you what your designs will look like cut out, even with different bits, and how long it will take to carve.
And if you want to try out your designs, you can find a machine near you here. It’s a great way to get your feet wet and see if you an X-Carve is right for you.
Lastly, this design is definitely something you could cut out with a jigsaw. Drill holes in all the corners of the design and connect them with your jigsaw lines.
Then if you want to add the chamfer edge detail to the front, you could use a palm router with a small chamfer bit.
It’s not as easy or precise as the X-carve would cut, but part of woodworking is making do with the tools you have as you grow!
HOW TO MAKE A MIRROR THAT LOOKS LIKE A WINDOW
Tools Needed:
- X-Carve
- Carving bits
- For the angled detail I used a 90 degree 1/8″ v-carving bit and to cut through I used a 1/8″ two flute straight bit.
- Digital Calipers
- Clamps
- Chisel or knife
- Sander or sanding block
- Miter saw
- Router with 3/8″ deep x 1/4″ height rabbeting router bit
- Drill
- Strap clamp
Supplies:
- 24″ x 30″ piece of 1/4″ MDF
- If you do not want to paint the center of frame of your mirror, you could use plywood instead.
- 12′ 1×3 board for the outer frame
- 24″ x 30″ mirror
- (4) 1 1/2″ flat corner braces
- (4) 2″ mending plates
- Metal french cleat
- Paint
- Wood glue
- Sand paper
- Sealer
- I used Maker Brand Simple Finish.
Prefer to Watch? Check out the Video Below
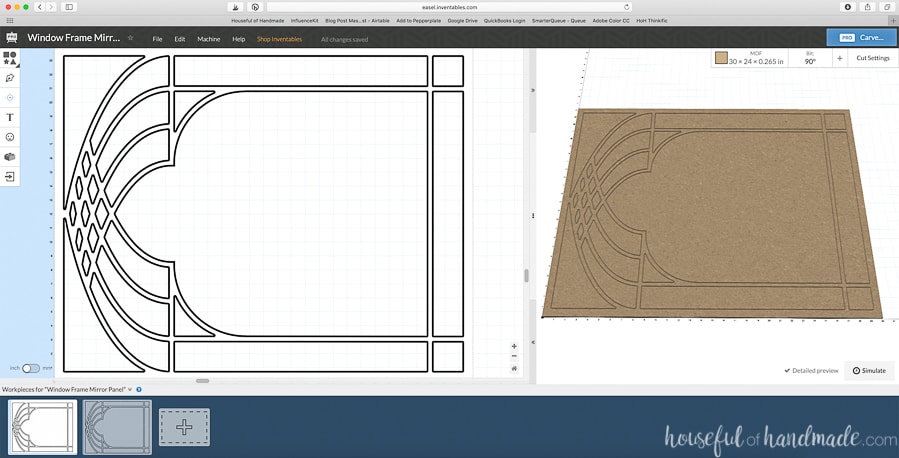
Setting up the Easel File
You can use my design for the window frame mirror by signing up for a free Easel account, then click on the link below to open the file.
When you open the link, it will not be editable unless you make a copy. Once you make a copy you can play around with it. Sometimes when using a new program it’s good to start with something already there. Then if you want to go back to the original design, you can click on the link again.
On the bottom of the screen, you will see multiple workpieces for the project. The first workpiece is for the v-carving to add the chamfer detail. You will need Easel Pro to use the v-carve bits. The second workpiece is to cut the panels out completely.
Cutting the Window Frame Panel
Clamp the MDF to the wasteboard of the X-Carve. Make sure it is secure, you do not want it moving around at all! Also, make sure the piece is square to the wasteboard so the design is cut straight in the wood. The size of the wood is the exact size needed to fit in the finished frame.
Put the 90 degree v-carve bit in the router and select Carve on the first workpiece. Walk through the prompts to make sure the machine is set up. Take extra time setting the X/Y zero. Make sure it is right at the tip of the corner of the board.
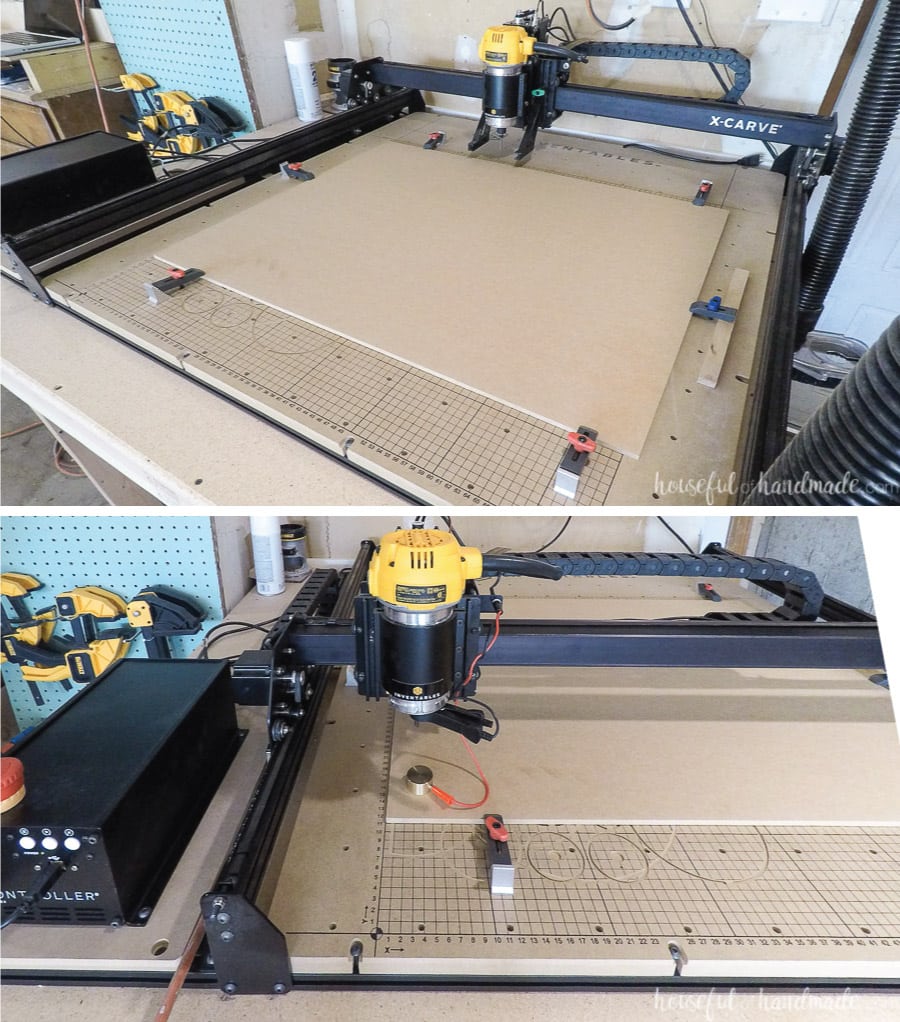
Then let the machine do it magic! I just love watching it cut.
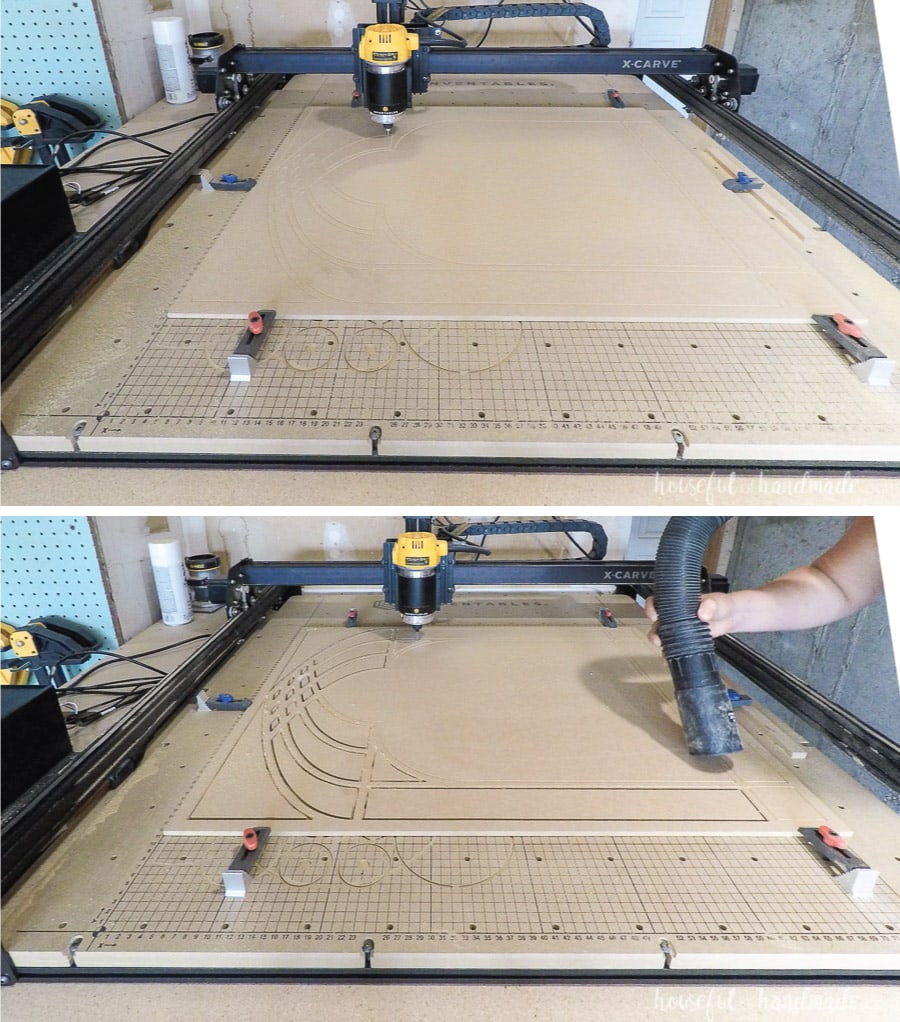
You may notice I removed the dust shoe from the machine for this cut. With the thin board and the large size, I couldn’t put the clamps far enough away not to get bumped by it, instead I used my vacuum to spot clean things up when the machine was working on a piece in the back.
After the first carve is done, you will need to change the blade to the 1/8″ straight bit to cut the second workpiece.
TIP: I learned that if you accidentally jog the machine when changing the blade, you cannot use the previous X/Y zero because it does not take into account the jogging and the entire carve will be off. I quickly stopped my carve and filled the small cut with wood putty. Then reset my X/Y zero and restarted the cut.
My second cut was a little off from the original X/Y zero (which I why I said to take extra time setting it up in the first place). So my design lost some of the chamber on side of the cut-outs. To fix this, I recut the v-carve workpiece again after the pieces were cut through.
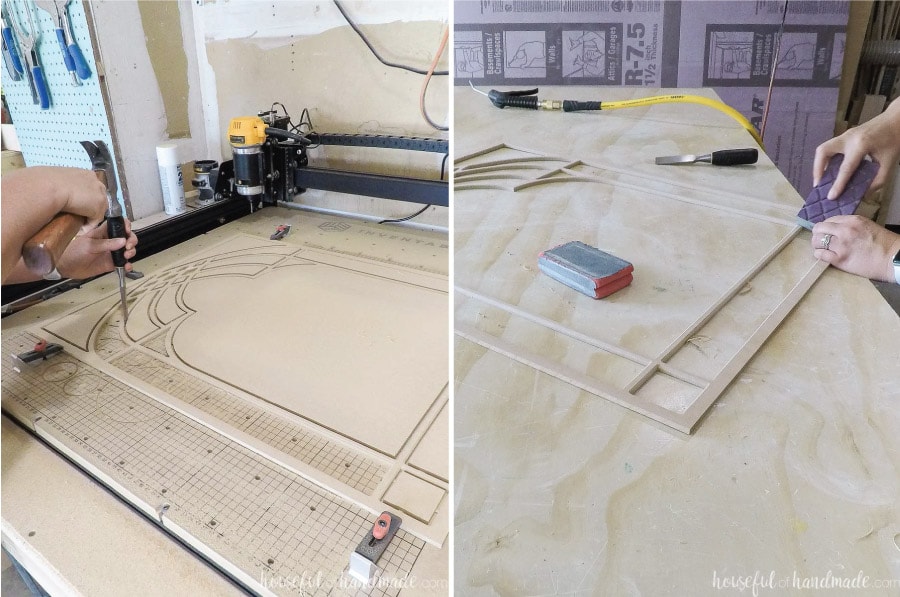
To remove the pieces from the window frame mirror panel, I like to use my wood chisel. It quickly breaks through the thin MDF tabs.
Then I took the panel to my work bench to clean up any pieces remaining from the tabs. I also had to clean up a couple spots where the cut was slightly off from my X/Y zero issue.
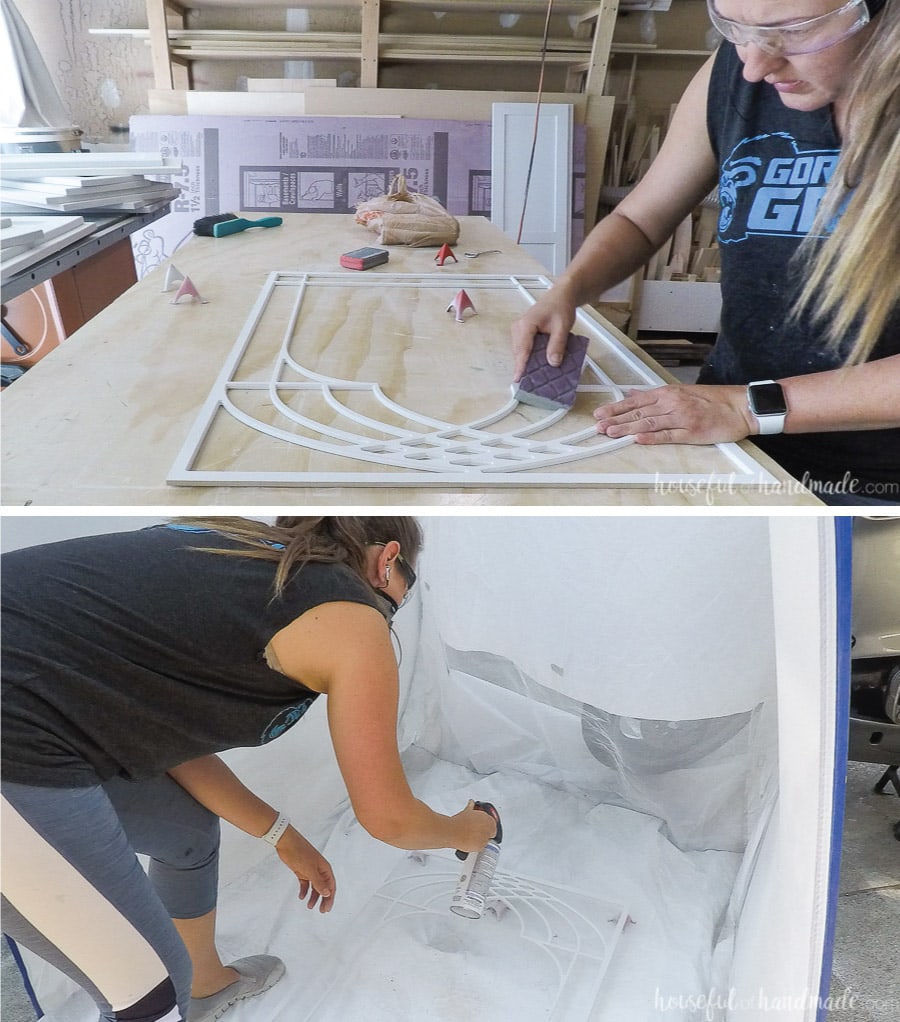
Then sand it smooth so you are ready for paint. Also, use a tack-cloth to remove any dust before painting.
Painting the Window Frame Panel
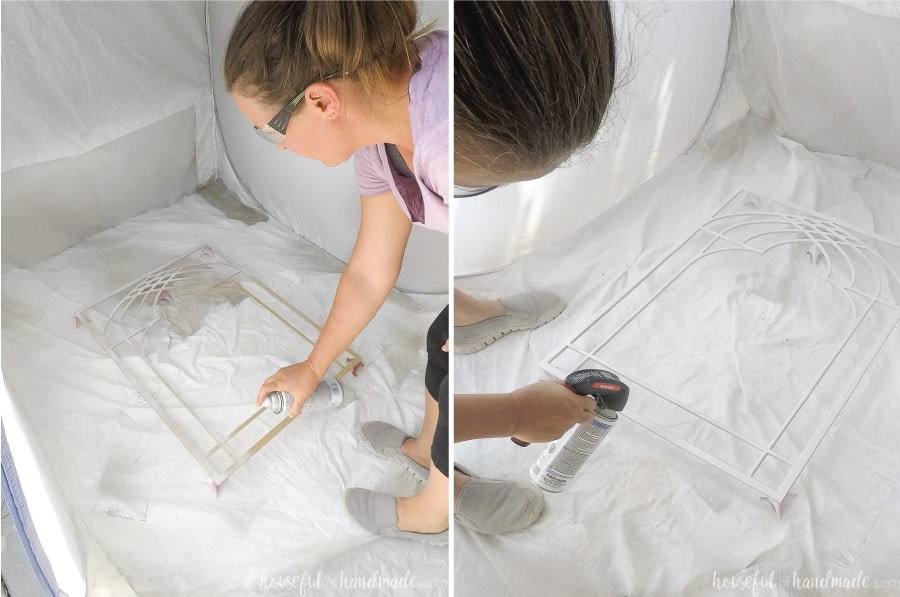
I used Rustoleum Chalked spray paint to give my DIY window frame mirror a matte white finish. The MDF soaked up the paint a lot, so I started with a basic paint/primer in one can in white to help seal it, then finished with the Chalked spray paint.
Also, I had a little struggle getting enough paint on the inside edges without getting too much on the top to make it run. So I used a paint brush and brushed some paint on the edges too.
After the first coat of paint dries, sand it lightly to remove any grittiness. Then clean it off with a tack-cloth and apply the second coat.
If you need a third coat of paint, repeat the sanding, tack-cloth and spraying.
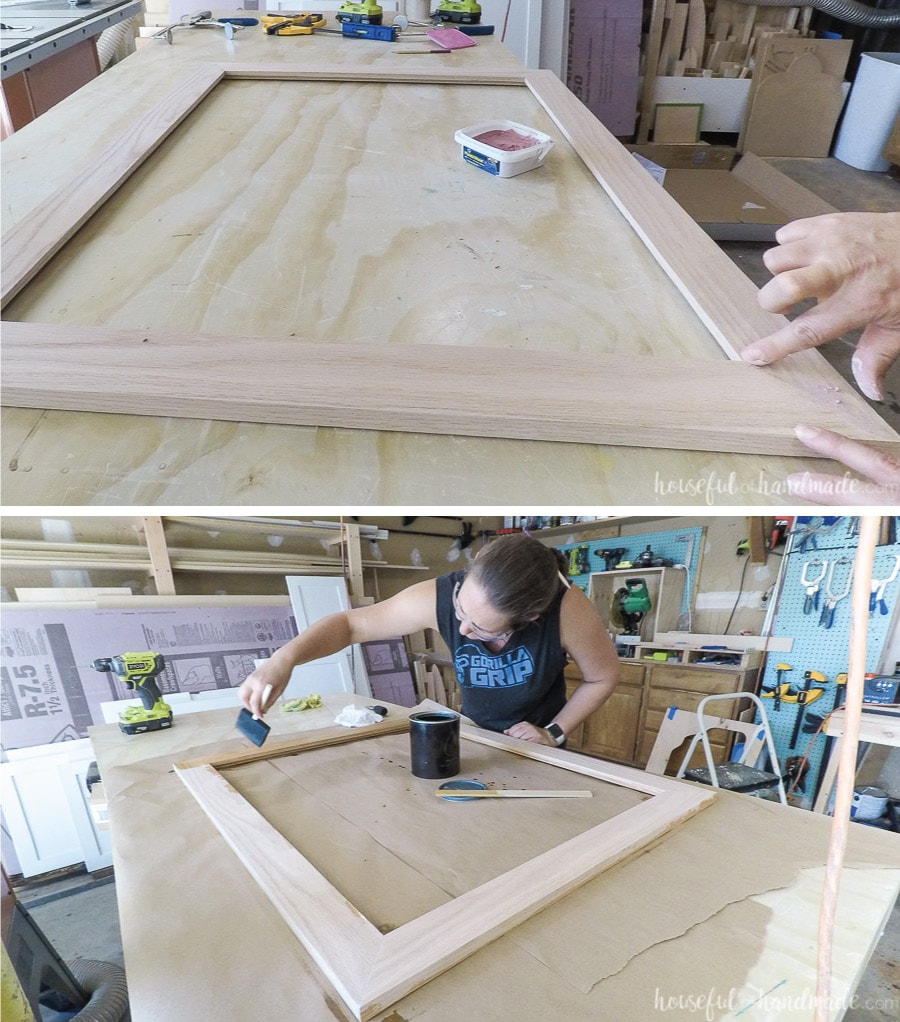
Build the Outer Frame
While the paint is drying, cut the pieces for the mirror frame. Cut 2 pieces that are 29 1/4″ on the inside of the miter and 2 that are 23 1/4″. This will allow for a 3/8″ wide groove on all sides.
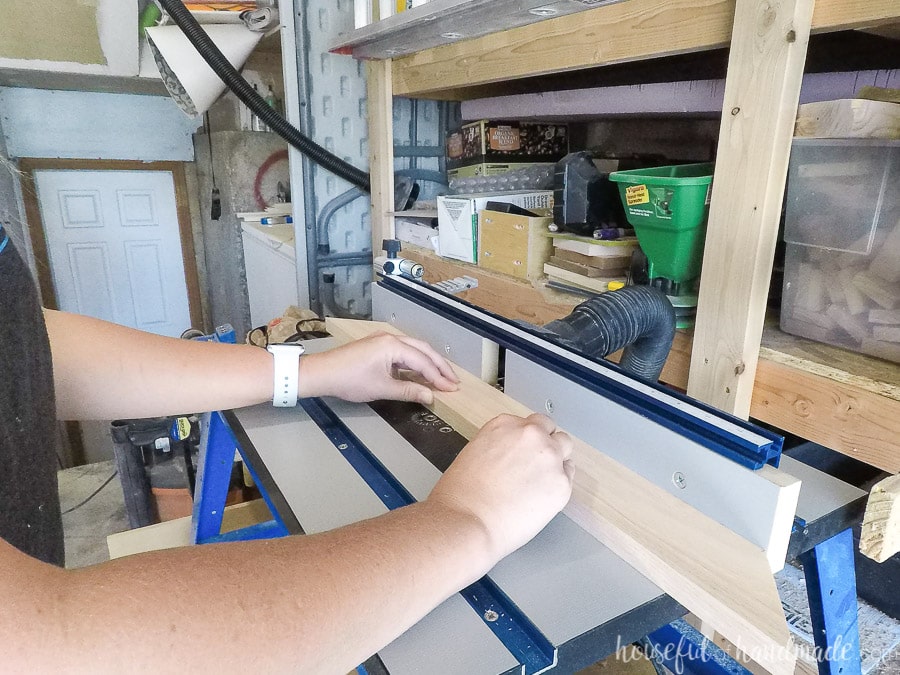
Place your window frame panel on top of your mirror and measure the depth. Mine was 3/8″. Router the groove in the frame so it is the same depth.
Because I was cutting such a large groove in the wood, I routed it in 3 passes. This will help reduce tear-out around the routed edge and give you a much cleaner groove.
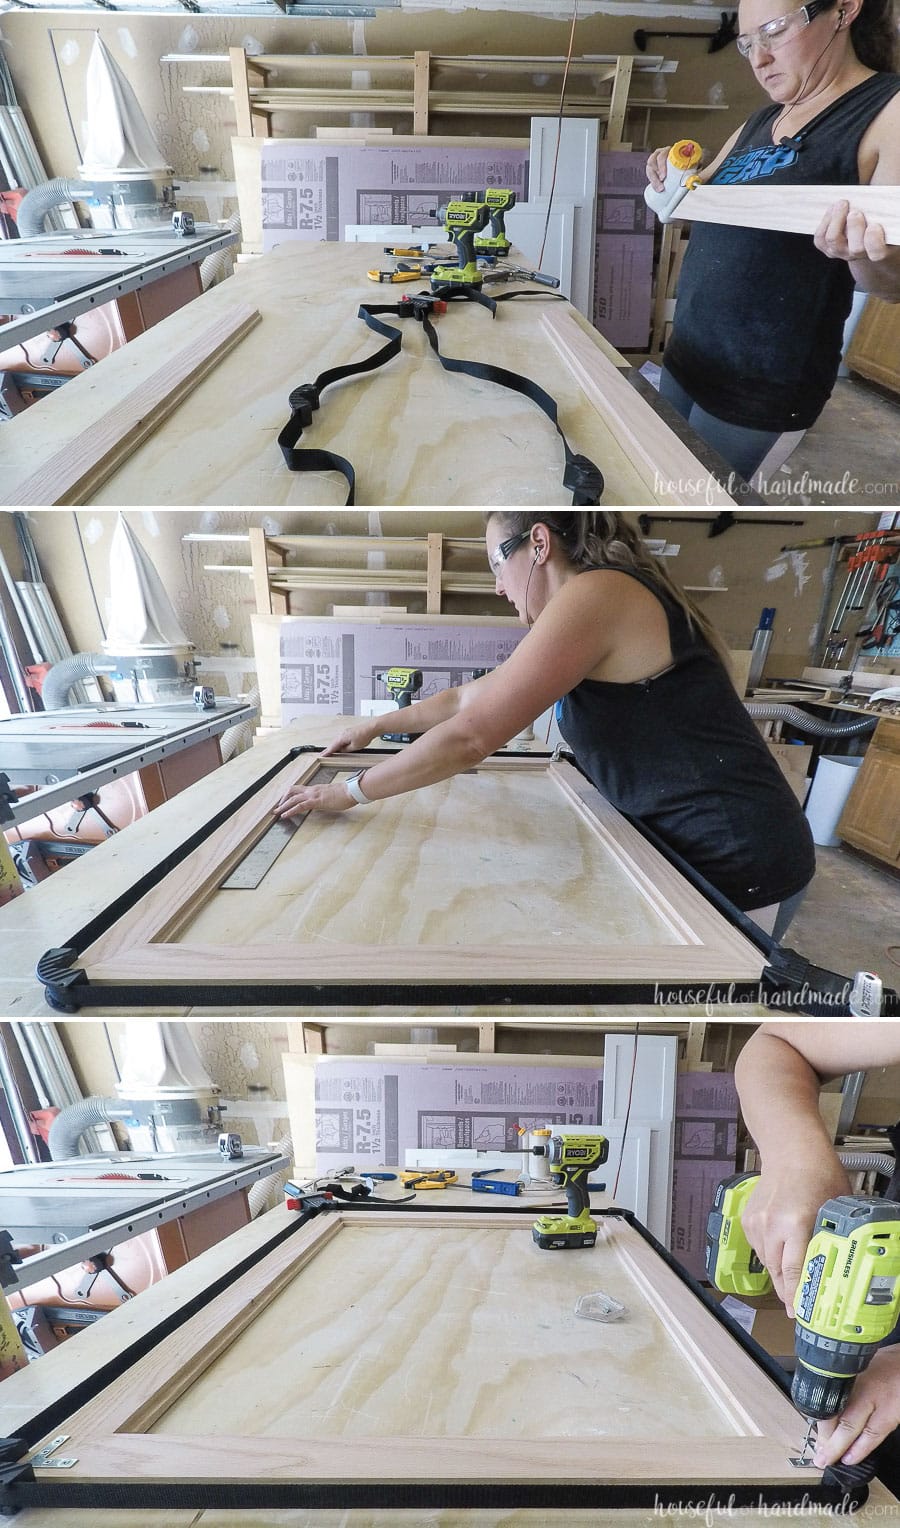
Assemble the frame. Add wood glue to the mitered ends of the boards and arrange on your for surface. Use a strap clamp (I like this one with corner jaws) to pull it tight while the glue dries.
Make sure the frame is nice and square while clamping.
To further reinforce the frame, add the flat corner braces to the corners.
If you have any cracks in your mitered corners, you can fill it with a wood putty that matches the color of your wood. Then sand the entire frame smooth.
Seal the wood before adding the window frame panel and mirror.
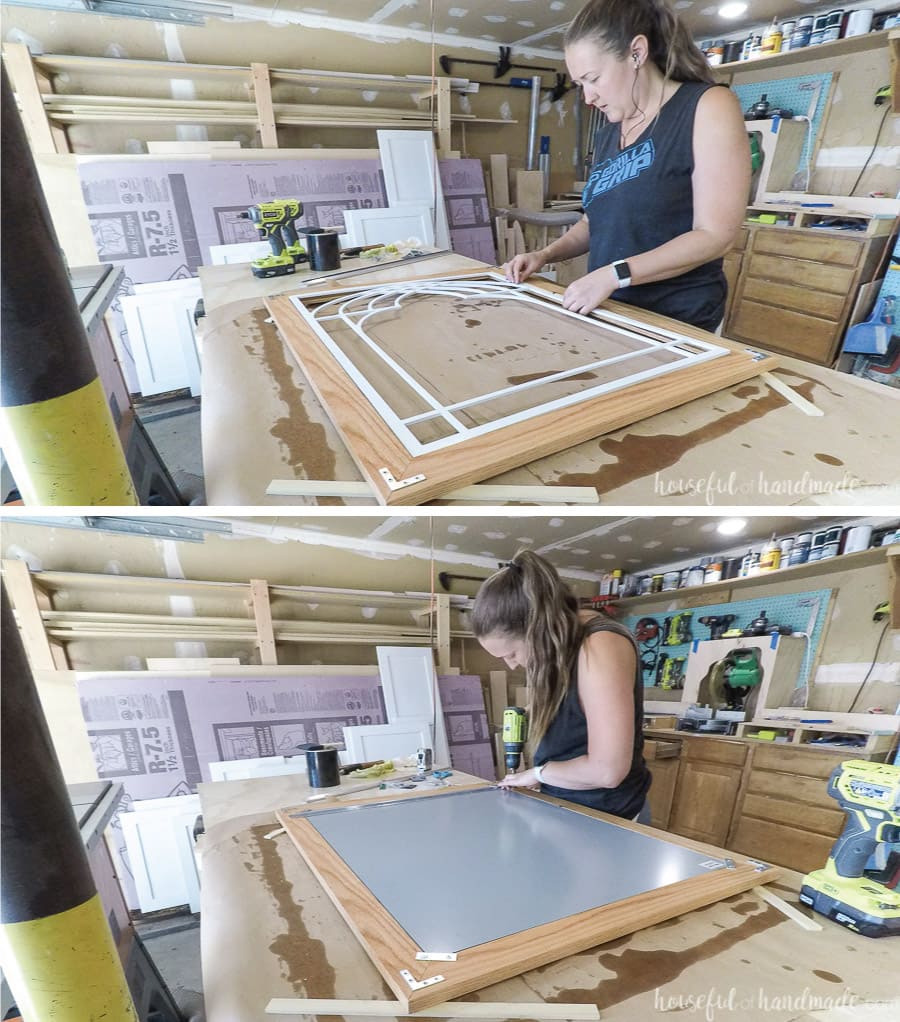
Assembling the Window Frame Mirror
Once the frame is dry, place the window frame panel inside the router groove on the back. It should fit snuggly.
Place the mirror on top of it in the groove. To secure the mirror, use the 2″ mending plates over the corners of the mirror. Secure the screws into the wood outer frame.
Attach the metal French cleat to the top of the frame, just under the mending plates. I could only find a 30″ French cleat, but since it is made from aluminum, it was easy to cut to size with my woodworking tools.
Make sure the French cleat is level to the top of the mirror and secure with screws into the outer frame. I also added a couple command strips to hold the cleat to the actual mirror. Not really necessary, but kept things a little more secure.
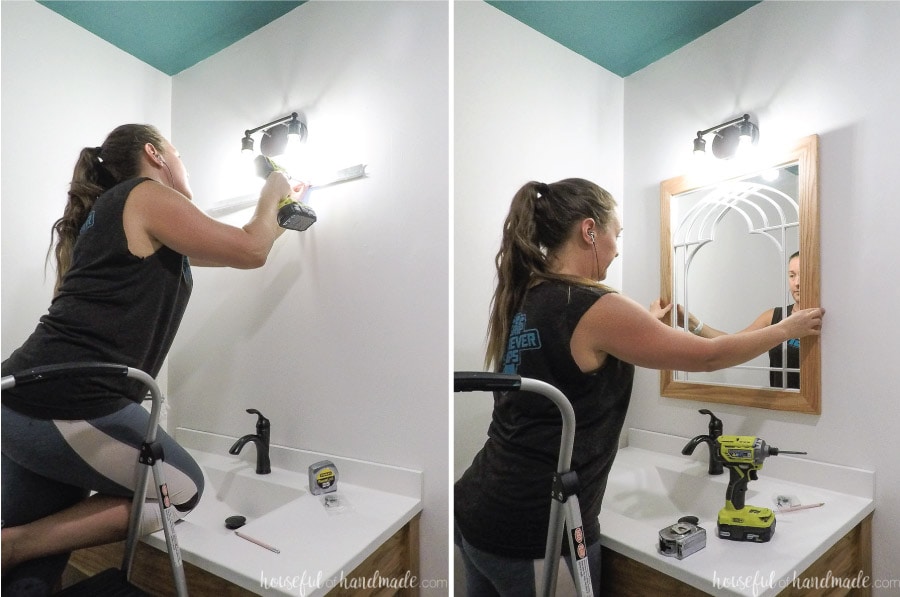
Hanging the DIY Window Pane Mirror
Hang the other side of the mirror on the wall in the bathroom. Make sure it is level and secured into studs. If you cannot secure it into at least 2 studs, use wall anchors made for heavy items.
Also, if you have a light fixture above your mirror like I do, make sure there is enough room between the fixture and the mirror to allow you to lift the mirror over the French cleat to then slide it down to secure.
The bottom of the mirror seemed to pop out slightly because the French cleat held it so tightly to the wall. To fix this, I used the cut off 3″ piece, attached it to the center bottom of the outer frame. Then carefully measured the distance from the top cleat to the bottom cleat and secured the other piece according to that measurement.
When I placed the mirror back on the wall with the second piece holding the bottom of the mirror it was perfect!
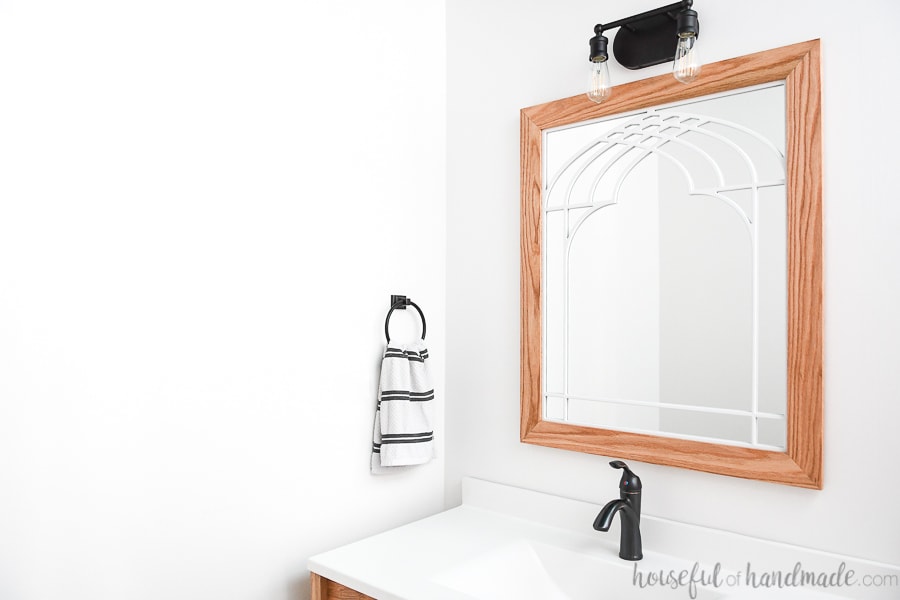
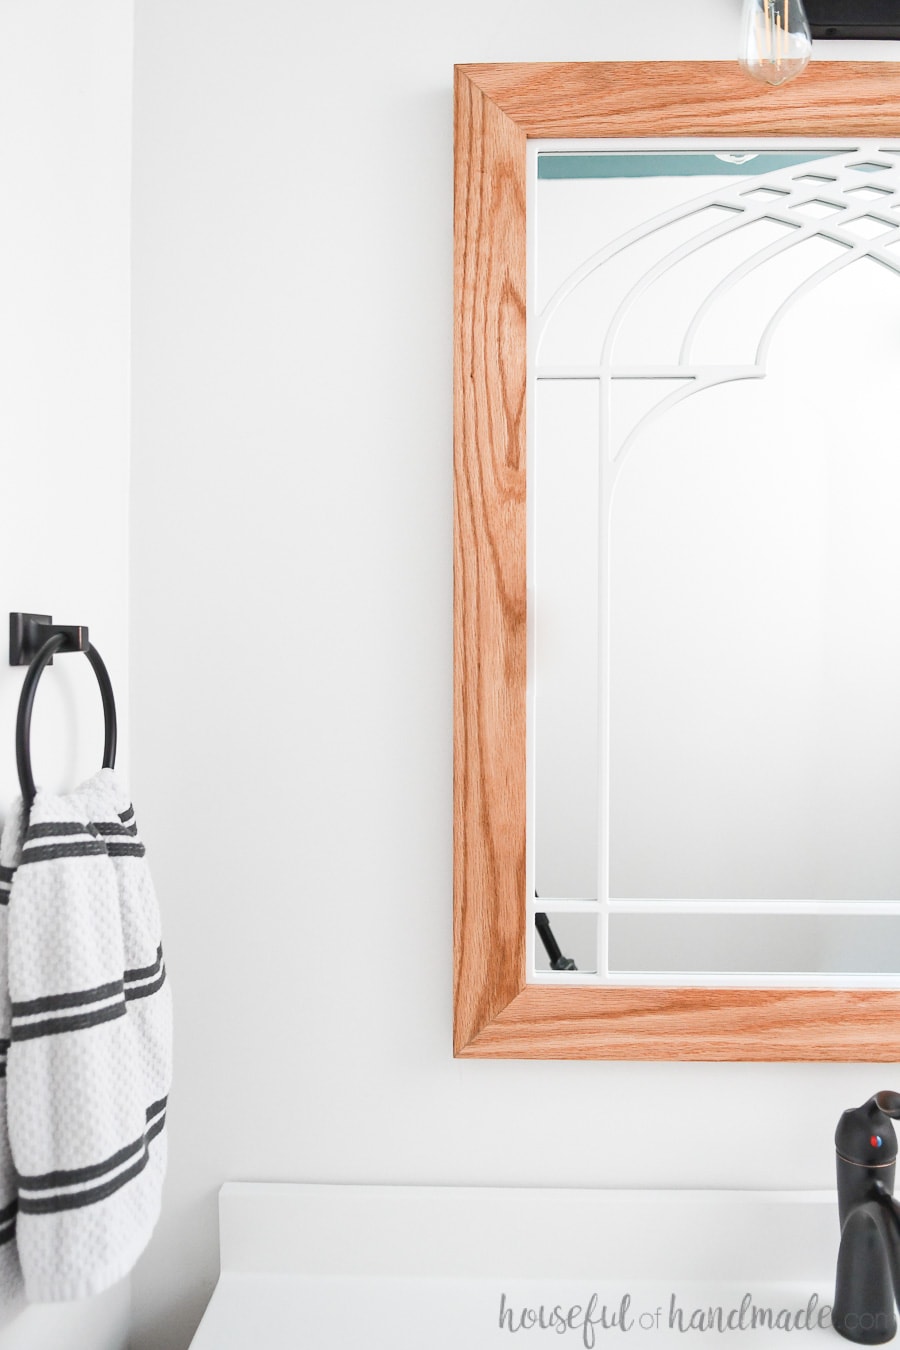
Now our guest bathroom is almost finished! I just love the way the new mirror looks in the space.
And the oak frame on the window style mirror looks great with the ash wood of the vanity. Not too matchy-matchy, but the tones works so great together.
And now I think I need to make some more mirrors that look like windows. Maybe try a more traditional style for the living room or dining room. You can never have too many mirrors!
Need more DIY mirrors?
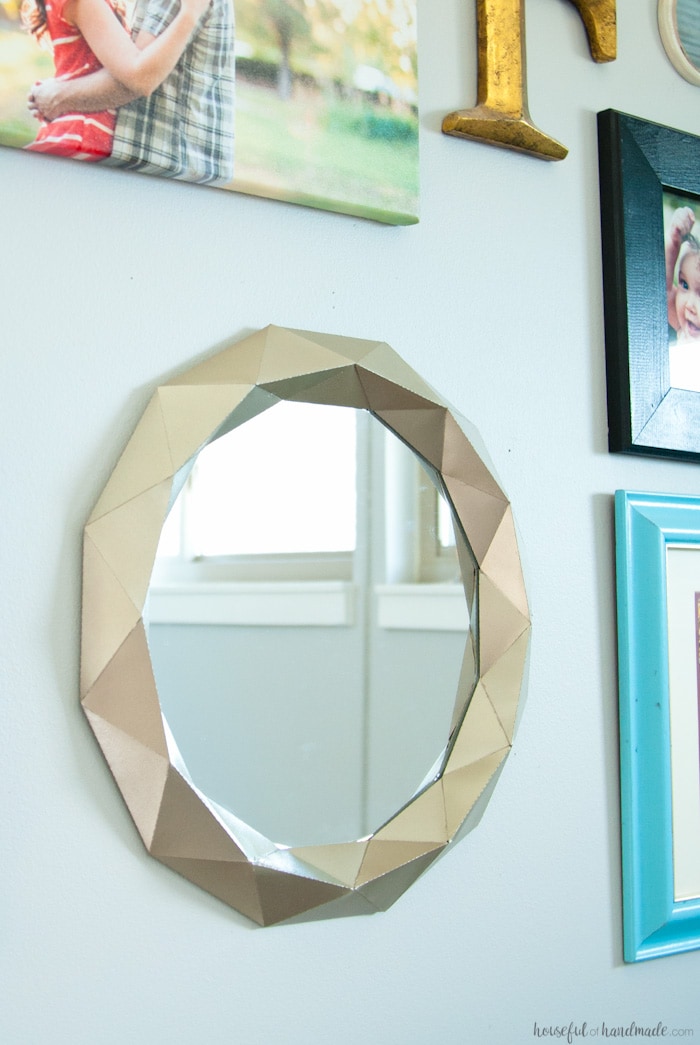
$10 Anthropologie Mirror Knock Off

Thank you to Inventables for sponsoring this post. I only recommend products that I use and love and all opinions are 100% my own. Click here to read my full disclosure policy.